

Dr.Al
Old Oak
Those of you who have been following my portable workbench build will have gathered two pieces of information. Firstly, I didn't have much to do today while some epoxy is curing. Secondly, early on in the project I broke my Axminster 311 plane:
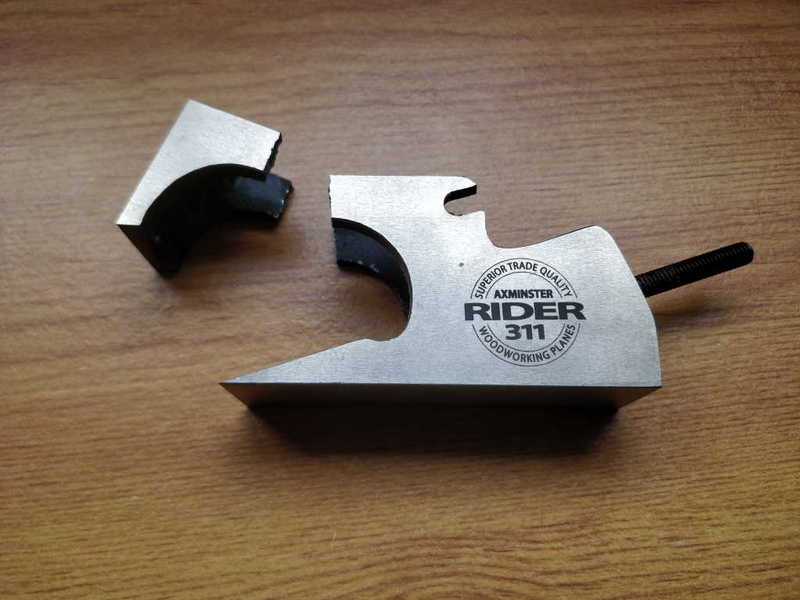
I've since bought a (second-hand Record) replacement as I didn't think there was much chance of welding cast iron and getting it anywhere near square. Despite that, I was at a bit of a loss today with the weather being rubbish and the epoxy being un-cured so I decided to have a go.
I re-attached the nose piece to the broken-off bit and I clamped it down to my aluminium fixture plate, using a 20-40-80 block as an edge to push the two halves up against and keep the base level:

Close-up of that crack:

Next up I attacked it with a triangular file:

I then got out a 986 TIG brazing rod. I bought a very small pack of these a year or two ago and had a few plays with them in the past, but only on flat bits of cleaned steel; never on anything that mattered. I thought brazing the cast body might give me a better chance of success :? . Mainly, I figured I didn't have anything to lose given that this was a write-off and would otherwise be going in the swarf bin.
I set the TIG welder up to 60 A max and played around with the foot pedal while prodding with the TIG rod. I wouldn't say what I did looks like a good joint (I feel much more comfortable TIG welding than TIG brazing), but for a first attempt it seems okay-ish. After doing the "top" (actually right) side of each bit of the break, I flipped the whole lot over, placed it on top of a couple of parallels (to make space for the previous brazed joint) and repeated the filing/brazing exercise on the left-hand side.
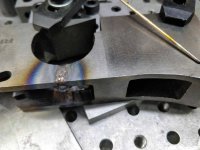
It ain't pretty...
Once that had cooled a little, I attacked the two outside surfaces with a couple of different files to try to bring it somewhere near flush with the side. As this is a shoulder plane, it's supposed to be able to get right into awkward corners and having a lump could be a problem.
It definitely ain't pretty...

... but amazingly it seems to work okay (at least for now)

I've since bought a (second-hand Record) replacement as I didn't think there was much chance of welding cast iron and getting it anywhere near square. Despite that, I was at a bit of a loss today with the weather being rubbish and the epoxy being un-cured so I decided to have a go.
I re-attached the nose piece to the broken-off bit and I clamped it down to my aluminium fixture plate, using a 20-40-80 block as an edge to push the two halves up against and keep the base level:
Close-up of that crack:
Next up I attacked it with a triangular file:
I then got out a 986 TIG brazing rod. I bought a very small pack of these a year or two ago and had a few plays with them in the past, but only on flat bits of cleaned steel; never on anything that mattered. I thought brazing the cast body might give me a better chance of success :? . Mainly, I figured I didn't have anything to lose given that this was a write-off and would otherwise be going in the swarf bin.
I set the TIG welder up to 60 A max and played around with the foot pedal while prodding with the TIG rod. I wouldn't say what I did looks like a good joint (I feel much more comfortable TIG welding than TIG brazing), but for a first attempt it seems okay-ish. After doing the "top" (actually right) side of each bit of the break, I flipped the whole lot over, placed it on top of a couple of parallels (to make space for the previous brazed joint) and repeated the filing/brazing exercise on the left-hand side.
It ain't pretty...
Once that had cooled a little, I attacked the two outside surfaces with a couple of different files to try to bring it somewhere near flush with the side. As this is a shoulder plane, it's supposed to be able to get right into awkward corners and having a lump could be a problem.
It definitely ain't pretty...
... but amazingly it seems to work okay (at least for now)


