

Dr.Al
Old Oak
I've just finished this simple project but I thought I'd post it in three instalments just to spread it out a bit.
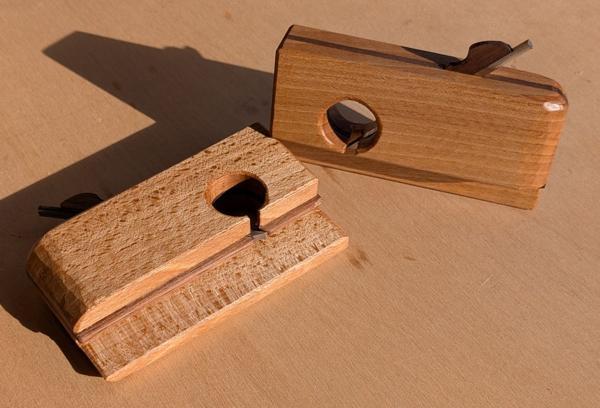
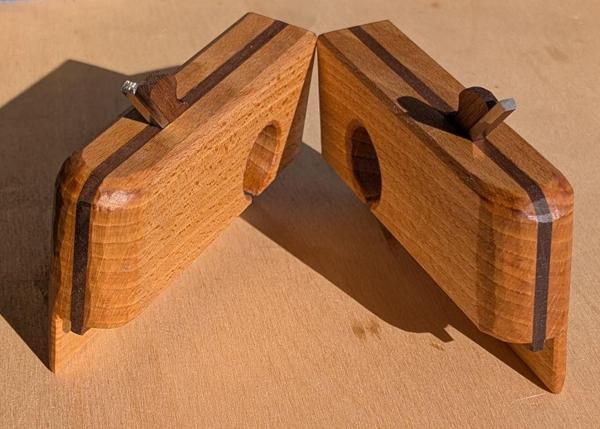
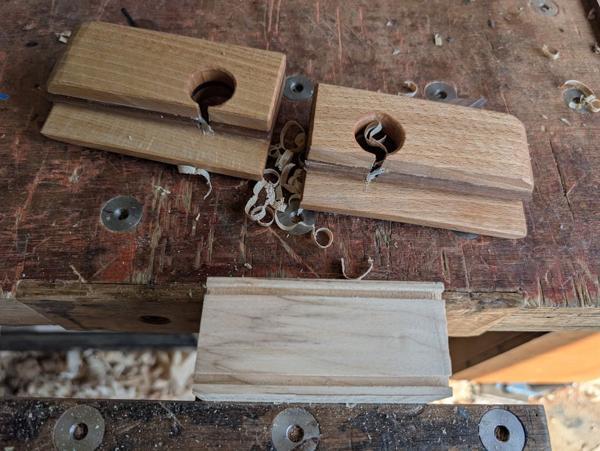
About five years ago, I made a set of grooving planes based on an idea from Matthew Kenney in a book on woodworking with hand tools. I use the four planes fairly often as they're really convenient, involving zero set-up. Here they are next to all of my other plough planes:
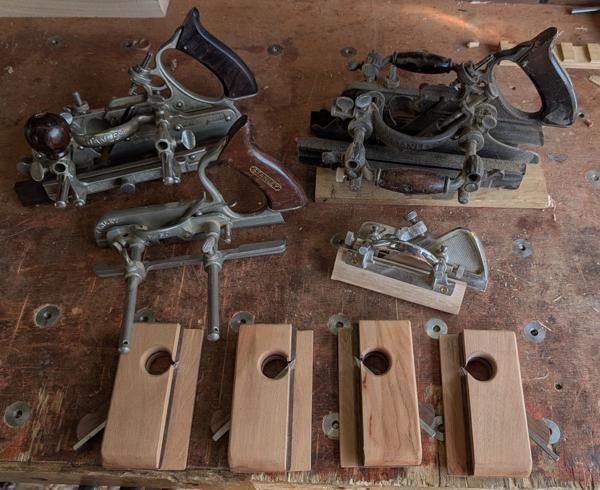
That's probably more plough planes than anyone needs, but I've though for a while that it would be handy to have a pair of 4 mm grooving planes to go with the 3 mm and 5 mm ones. I've been using the #43 quite often (with a 4 mm cutter) and as it's a size I use a lot then the fixed one would add convenience. The plane will cut a 4 mm wide groove, 4 mm deep at a 4 mm offset from the edge of the board.
If I'm honest, I don't really remember the process I went through to make those planes (it was before I was in the habit of writing up my builds in detail). My webpage about the planes says "Although I tweaked all the dimensions etc, the construction method and general principle follow Matthew Kenney's approach very closely", so I could look it up in the book but what I do remember is that it involved lots of use of the table saw and the electric router and I don't want to use them this time so I'm going to go my own way.
Another thing I remember about the process is that it was quite fiddly and time consuming at the end as the central piece of wood was either too thin to allow the blade to enter the slot or too thick to go into the groove made by the blade. I ended up doing a lot of fettling with needle files to make it work. This time I'm going to try a different approach.
I started with these raw (ish) materials:
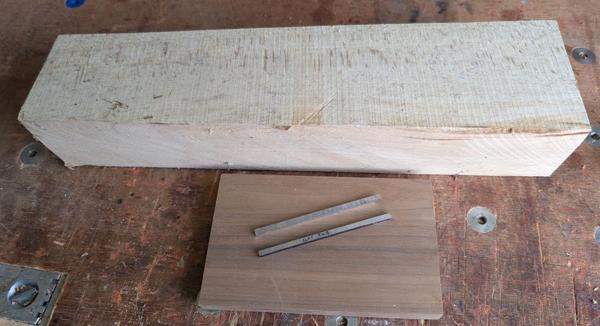
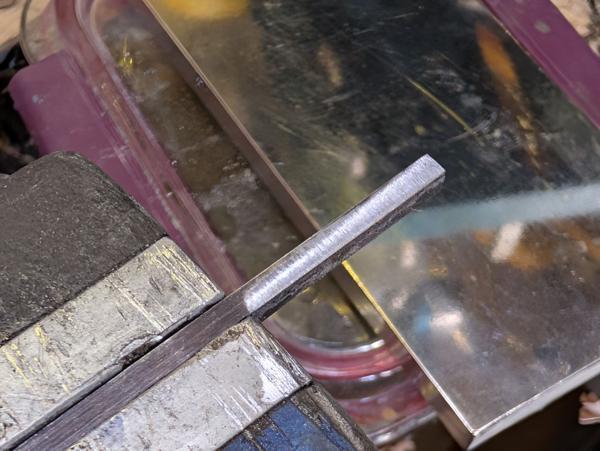
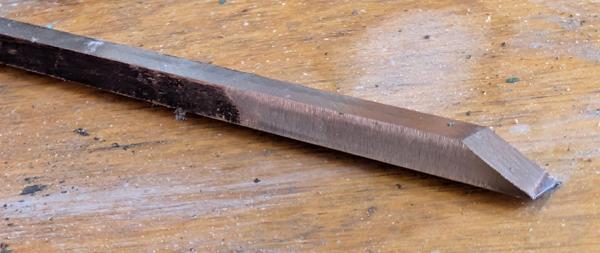
That's a big lump of Beech, a small piece of American Black Walnut and a piece of 3 × 4 mm high-speed steel that's been cut in half. One half has already been shaped into a blade (more on that later), the other half is largely untouched,
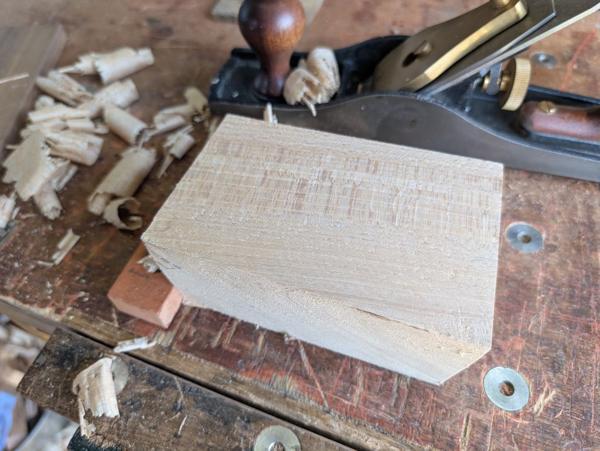
The first job was to cut off the end of that bit of beech and then plane three sides with my Axminster #5:
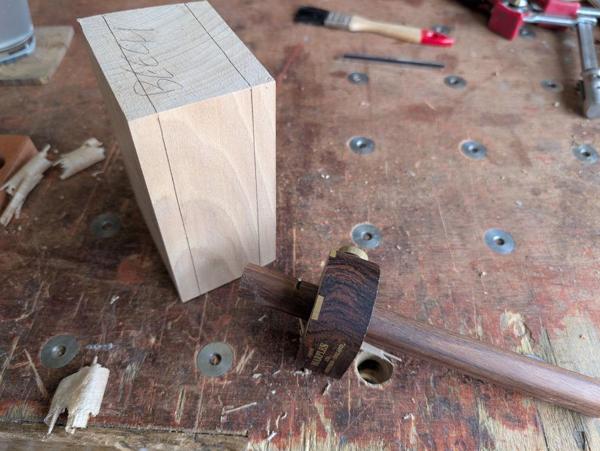
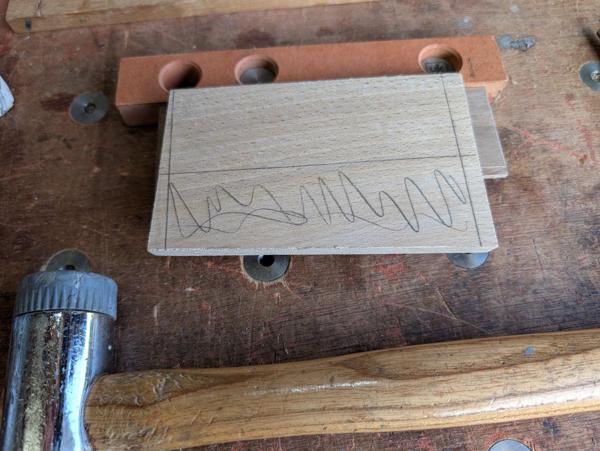
A pin marking gauge was used to mark 12 mm all the way round from each side of the block:
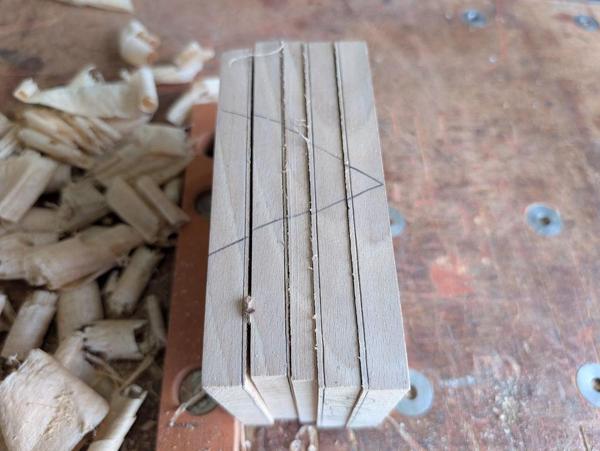
It was then sliced up on the bandsaw a little way from the line, then planed again, then marked again (10 mm this time), then sliced up on the bandsaw again, resulting in this:
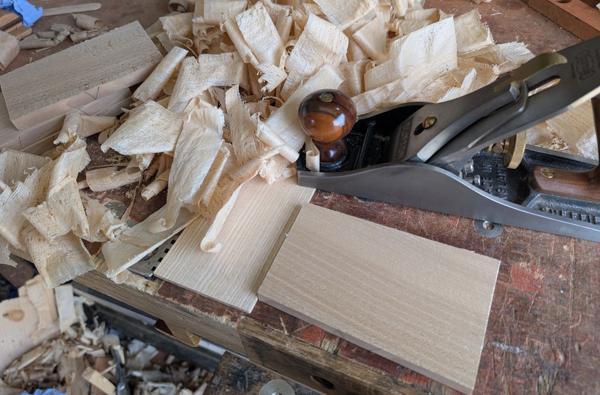
Lots more planing (this time with a Clifton #4½) brought all the pieces down to the marked lines:
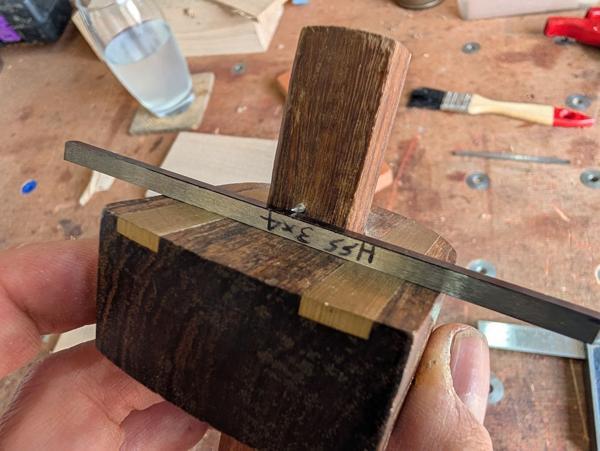
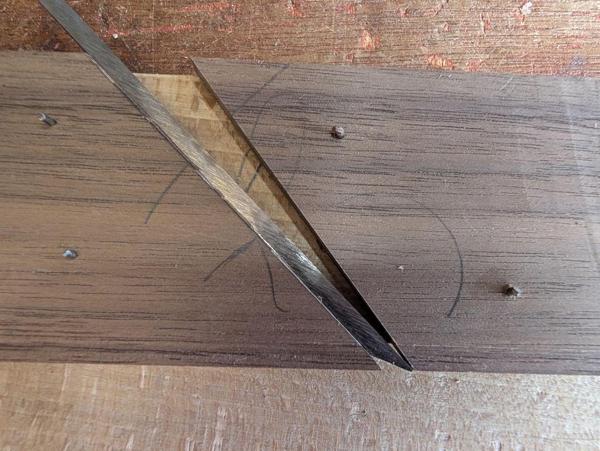
For the Walnut piece, I want it to be ever-so-slightly thicker than the blade. If it's thinner than the blade then it'll be impossible to get the blade into the opening. To aid that, I used the blade as a reference and set the pin gauge up like this:
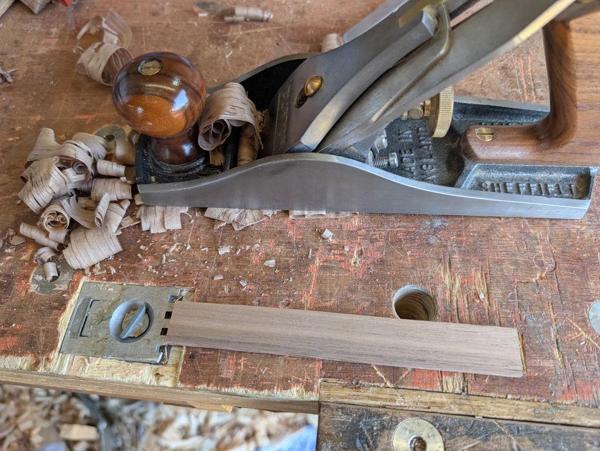
The Walnut piece then got bandsawn and planed:
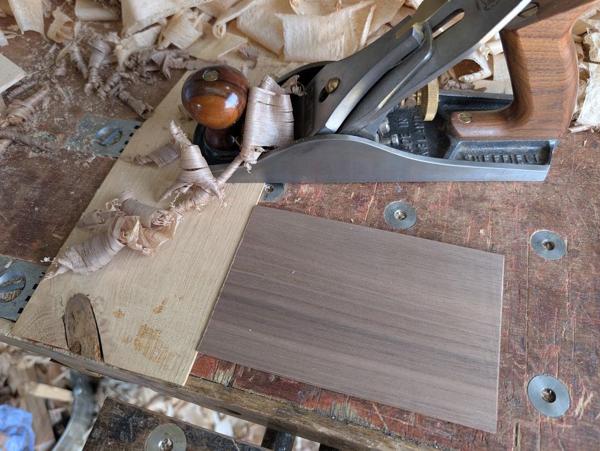
After getting it to the gauge line, I offered up the blade and made sure that there was a tiny ledge between blade and wood. It felt like quite a big ledge, so I planed it down a bit more until it was just a little thicker than the 4 mm blade.
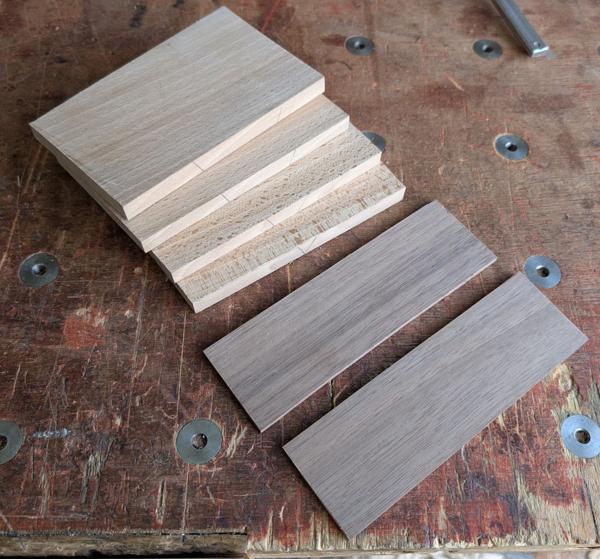
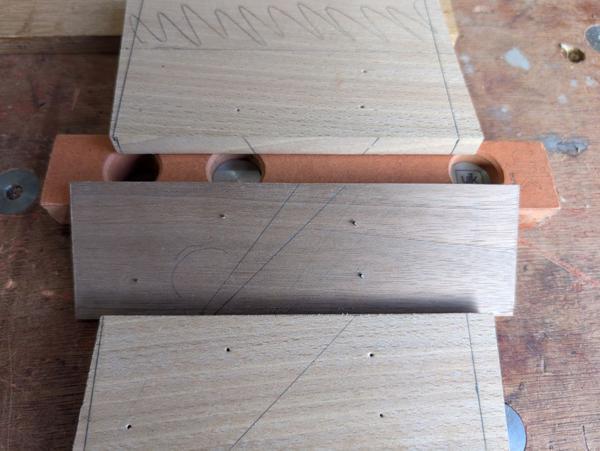
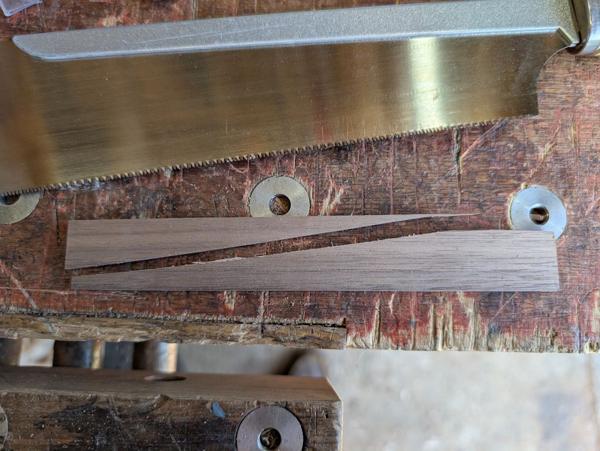
With all the face planing done and the walnut piece sawn in half, I was left with this lot:
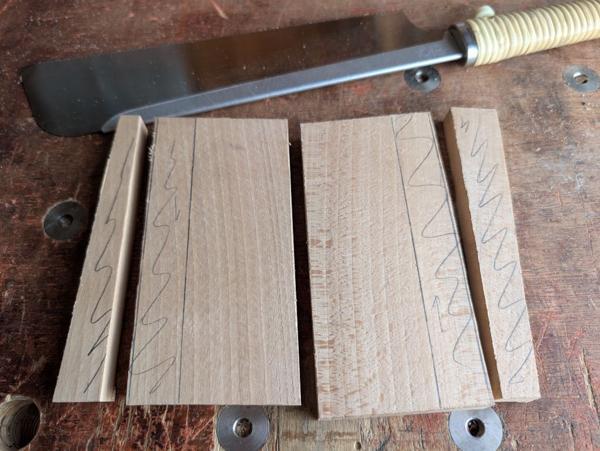
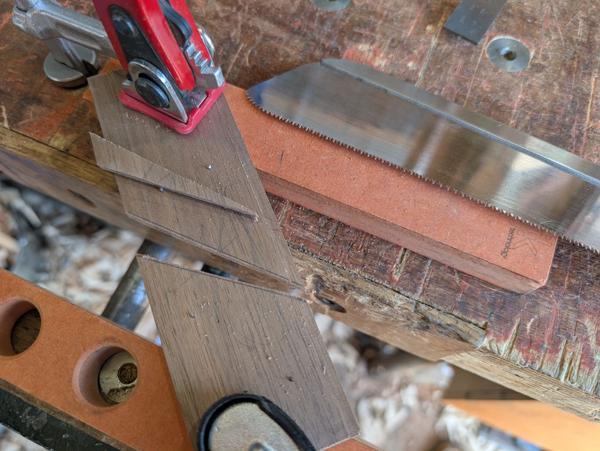
I sawed off a bit of excess:
Then used my favourite marking gauge and my recently made marking knife to mark an offset from the top on both the walnut piece and the 12 mm thick bit of beech:
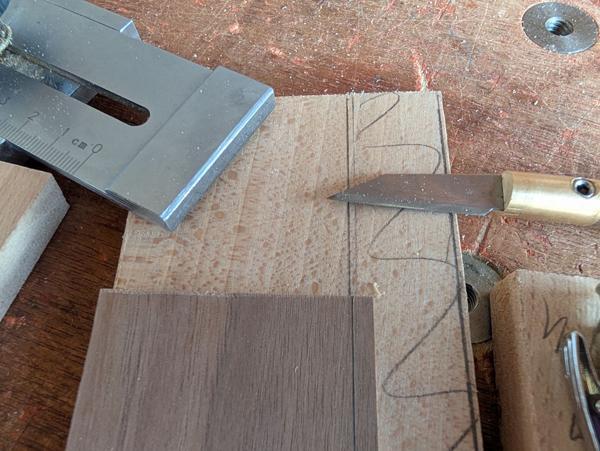
If I did this again, I think I'd leave this step until after fitting some panel pins for alignment (described in the next post) but I think it worked okay this way.
I now needed to add a rebate in the 12 mm thick beech piece. This rebate needs to be parallel with the top face of the beech and of consistent depth: the depth of the rebate defines the offset of the groove (i.e. the distance from the groove to the edge of the board or, in normal plough plane terms, the distance from fence to cutter).
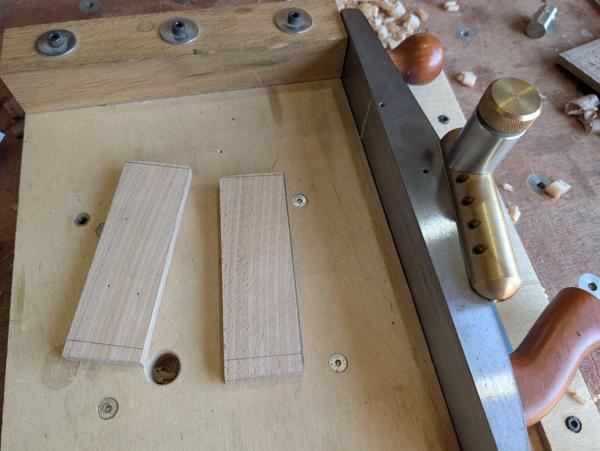
I started this rebate off with the #78 rebate plane, running it against a clamped block rather than using the fence as the grain direction suited that better:
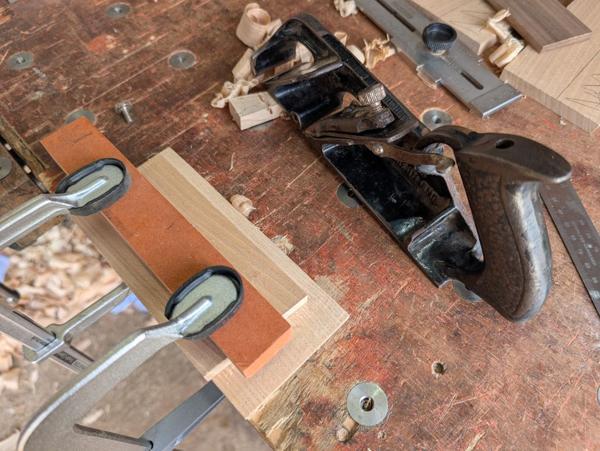
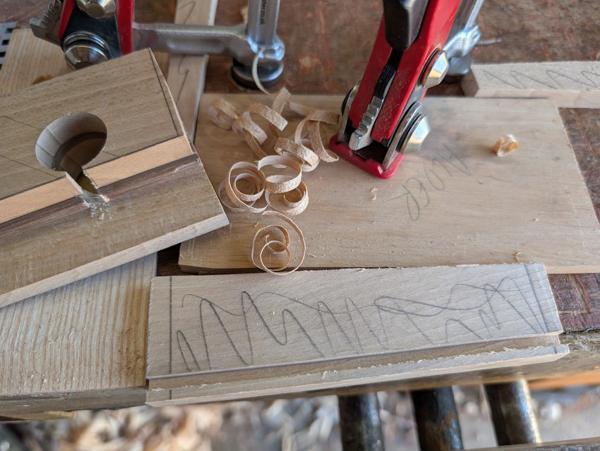
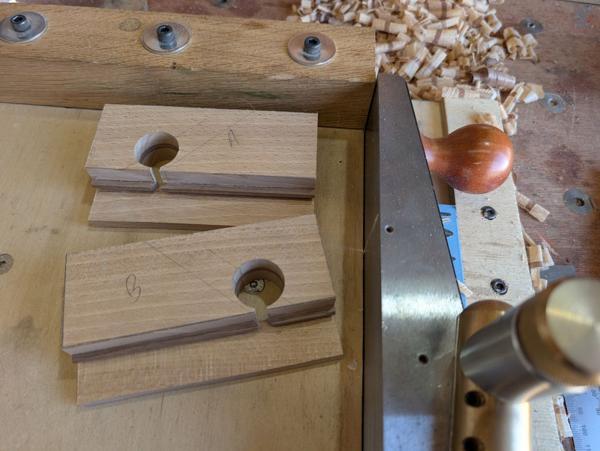
To ensure a nice parallel face with the two 12 mm pieces having identical fence offsets, I used a router plane to finish it off:
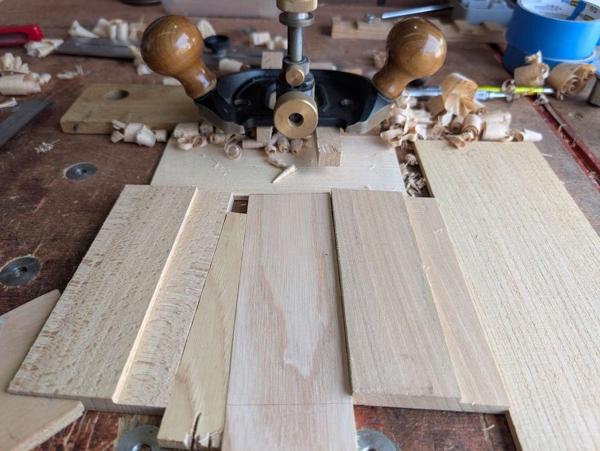
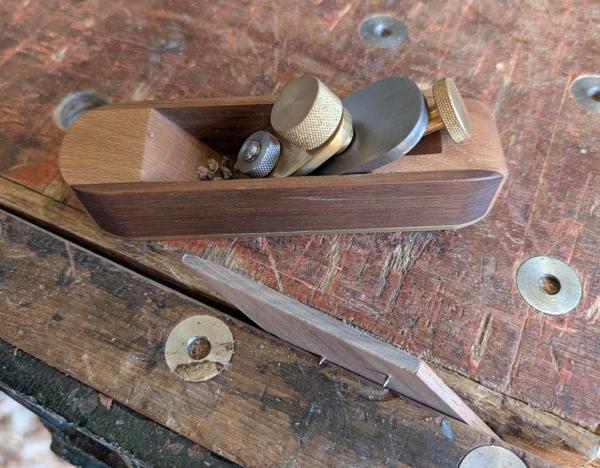
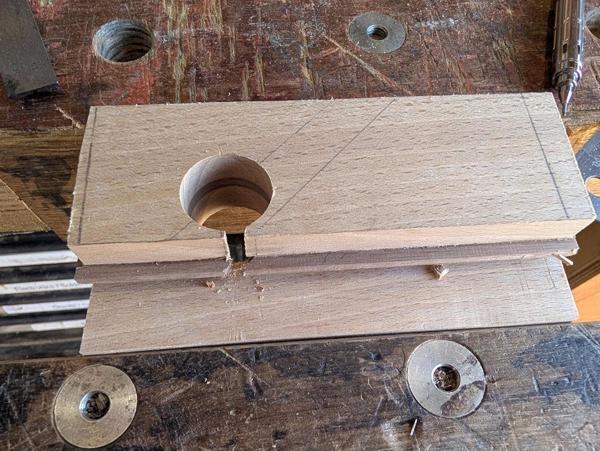
I also need a rebate on the end of the walnut pieces. This is something I'd wished I'd done when I made the other grooving planes. I made the rebate with two passes (on each side) with the rebate plane:
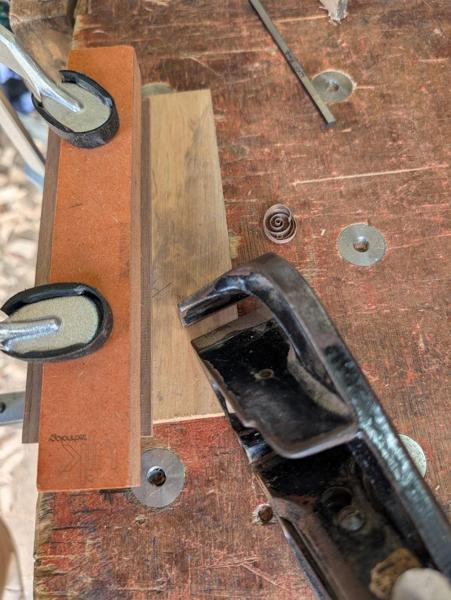
The rebates are there to make the part of the walnut that goes into the cut groove thinner than the groove itself (while the rest of the walnut is thicker than the cutter to allow the cutter to move in the slot). The width of the rebate effectively defines the depth of the groove as the walnut piece ends up about the same depth as the tip of the cutter.
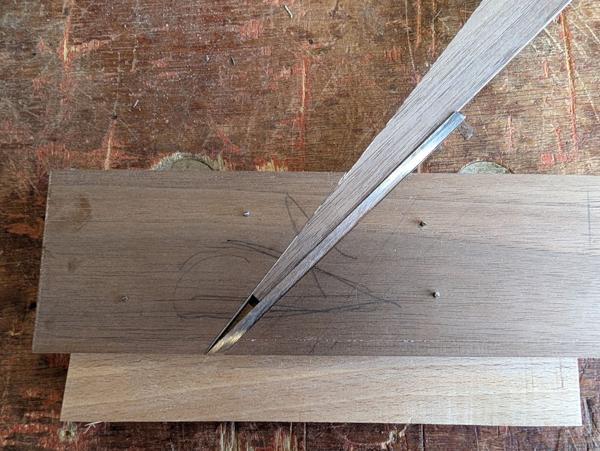
To check I'd cut enough, I placed the cutter next to the walnut board and checked that I could feel a ledge, this time stepping up from the rebated walnut piece to the cutter rather than the other way round. With the rebate added to both sides of the walnut piece, the bit that sticks up is definitely thinner than the cutter.
That took longer to explain than it did to do!
About five years ago, I made a set of grooving planes based on an idea from Matthew Kenney in a book on woodworking with hand tools. I use the four planes fairly often as they're really convenient, involving zero set-up. Here they are next to all of my other plough planes:
That's probably more plough planes than anyone needs, but I've though for a while that it would be handy to have a pair of 4 mm grooving planes to go with the 3 mm and 5 mm ones. I've been using the #43 quite often (with a 4 mm cutter) and as it's a size I use a lot then the fixed one would add convenience. The plane will cut a 4 mm wide groove, 4 mm deep at a 4 mm offset from the edge of the board.
If I'm honest, I don't really remember the process I went through to make those planes (it was before I was in the habit of writing up my builds in detail). My webpage about the planes says "Although I tweaked all the dimensions etc, the construction method and general principle follow Matthew Kenney's approach very closely", so I could look it up in the book but what I do remember is that it involved lots of use of the table saw and the electric router and I don't want to use them this time so I'm going to go my own way.
Another thing I remember about the process is that it was quite fiddly and time consuming at the end as the central piece of wood was either too thin to allow the blade to enter the slot or too thick to go into the groove made by the blade. I ended up doing a lot of fettling with needle files to make it work. This time I'm going to try a different approach.
I started with these raw (ish) materials:
That's a big lump of Beech, a small piece of American Black Walnut and a piece of 3 × 4 mm high-speed steel that's been cut in half. One half has already been shaped into a blade (more on that later), the other half is largely untouched,
The first job was to cut off the end of that bit of beech and then plane three sides with my Axminster #5:
A pin marking gauge was used to mark 12 mm all the way round from each side of the block:
It was then sliced up on the bandsaw a little way from the line, then planed again, then marked again (10 mm this time), then sliced up on the bandsaw again, resulting in this:
Lots more planing (this time with a Clifton #4½) brought all the pieces down to the marked lines:
For the Walnut piece, I want it to be ever-so-slightly thicker than the blade. If it's thinner than the blade then it'll be impossible to get the blade into the opening. To aid that, I used the blade as a reference and set the pin gauge up like this:
The Walnut piece then got bandsawn and planed:
After getting it to the gauge line, I offered up the blade and made sure that there was a tiny ledge between blade and wood. It felt like quite a big ledge, so I planed it down a bit more until it was just a little thicker than the 4 mm blade.
With all the face planing done and the walnut piece sawn in half, I was left with this lot:
I sawed off a bit of excess:
Then used my favourite marking gauge and my recently made marking knife to mark an offset from the top on both the walnut piece and the 12 mm thick bit of beech:
If I did this again, I think I'd leave this step until after fitting some panel pins for alignment (described in the next post) but I think it worked okay this way.
I now needed to add a rebate in the 12 mm thick beech piece. This rebate needs to be parallel with the top face of the beech and of consistent depth: the depth of the rebate defines the offset of the groove (i.e. the distance from the groove to the edge of the board or, in normal plough plane terms, the distance from fence to cutter).
I started this rebate off with the #78 rebate plane, running it against a clamped block rather than using the fence as the grain direction suited that better:
To ensure a nice parallel face with the two 12 mm pieces having identical fence offsets, I used a router plane to finish it off:
I also need a rebate on the end of the walnut pieces. This is something I'd wished I'd done when I made the other grooving planes. I made the rebate with two passes (on each side) with the rebate plane:
The rebates are there to make the part of the walnut that goes into the cut groove thinner than the groove itself (while the rest of the walnut is thicker than the cutter to allow the cutter to move in the slot). The width of the rebate effectively defines the depth of the groove as the walnut piece ends up about the same depth as the tip of the cutter.
To check I'd cut enough, I placed the cutter next to the walnut board and checked that I could feel a ledge, this time stepping up from the rebated walnut piece to the cutter rather than the other way round. With the rebate added to both sides of the walnut piece, the bit that sticks up is definitely thinner than the cutter.
That took longer to explain than it did to do!





 ). Making them would be quite straightforward if I went with the same construction technique I think.
