Dr.Al
Old Oak
I gave a little bit of an intro to this project in the post a photo thread but I thought I'd do something a bit more in the way of a half-hearted WIP.
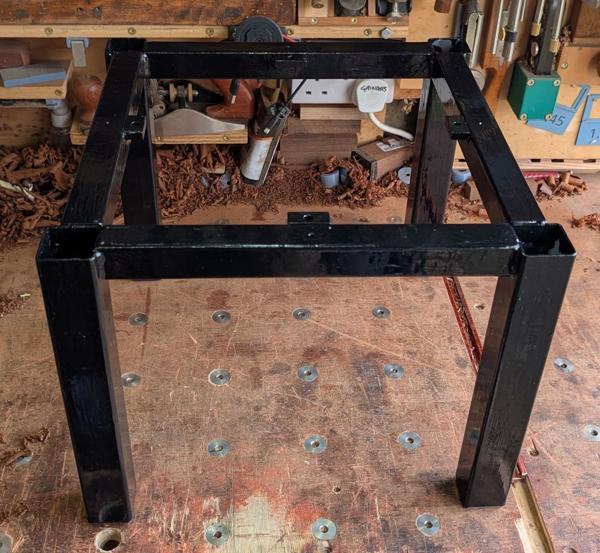
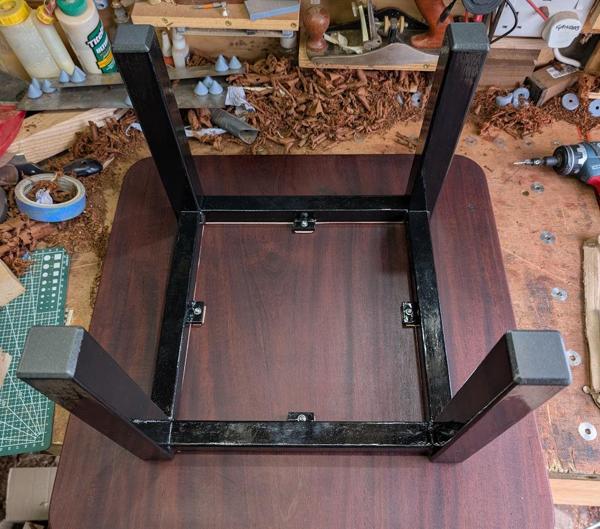
We left the action with a simple welded steel frame upon which a wooden top will sit. Onto the table top...
A year or two ago I was in an antique centre in Gloucester and saw an old table top for sale for about £10. I couldn't resist buying it, despite not really knowing what to do with it. Today is its day!
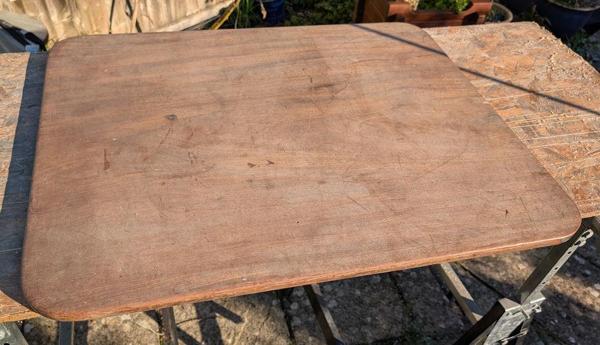
This is what the top side of the table top looked like as-bought:
The underside looked a bit shabby and made me suspect it had been stained or dyed or something:
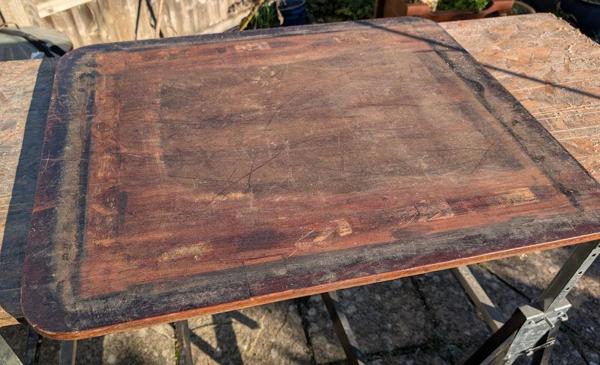
I'm not a fan of stained wood, so the plan was to plane it down enough to reveal the original wood and then apply a simple oil finish.
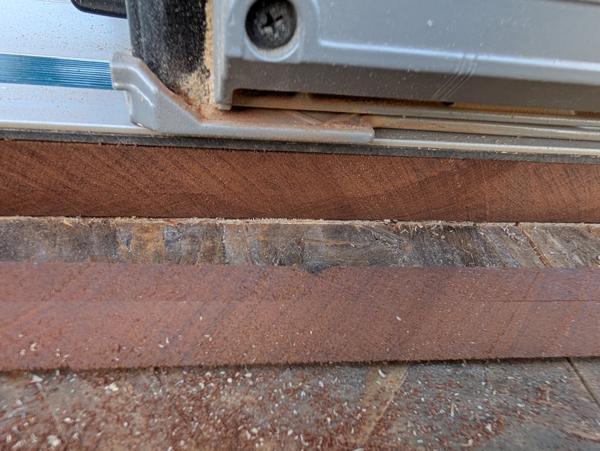
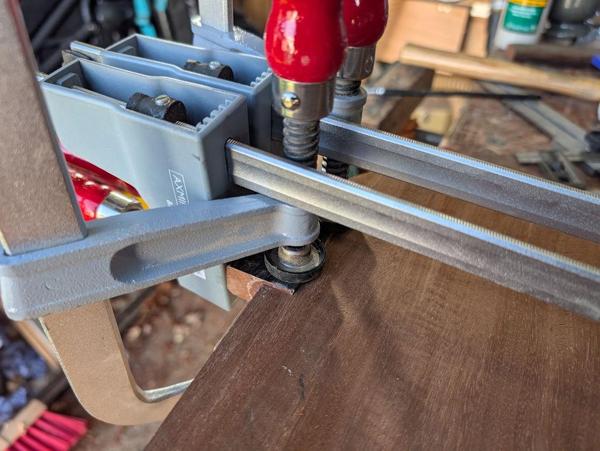
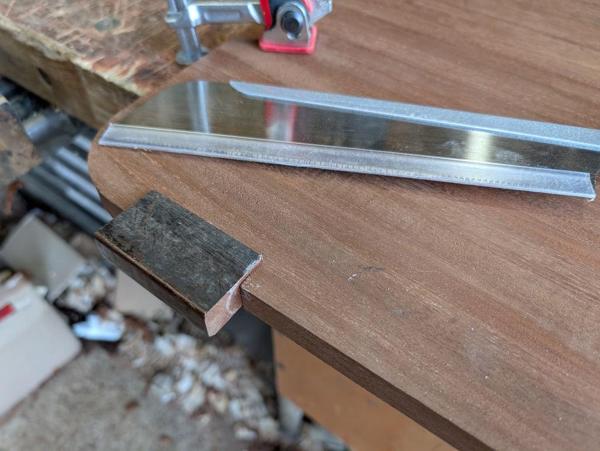
First of all though, it needed cutting down to size. I decided to just do that with the tracksaw, which revealed that it doesn't appear to have been stained, it has just browned with age from its original rich mahogany-like colour:
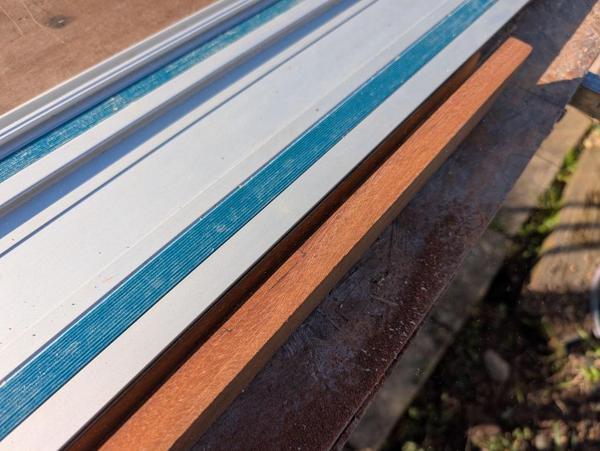
I carried on working round the sides of the table top (removing a slight crack on one end in the process) until I had a square piece:
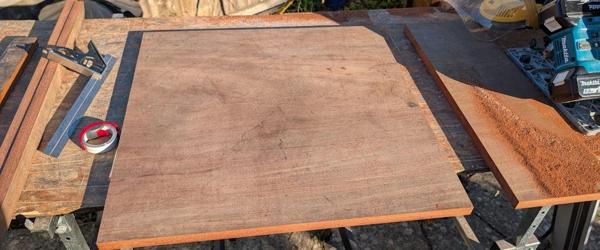
I'll round the corners off in due course, but the first job was to clean up the faces. It was flipping cold in the garage and even with gloves on and with the exercise of planing, I had to stop every now and again and go into the house to warm up!
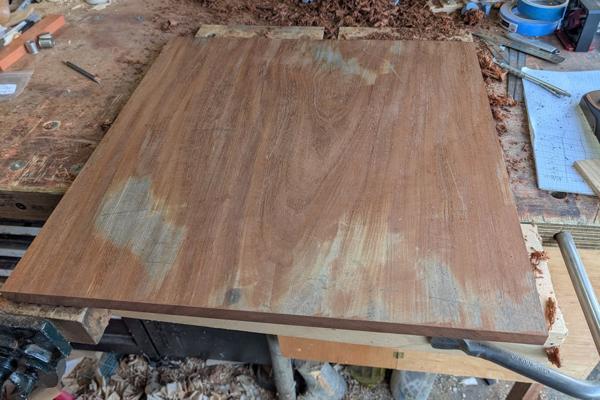
This was what the top looked like soon after I started with a plane:
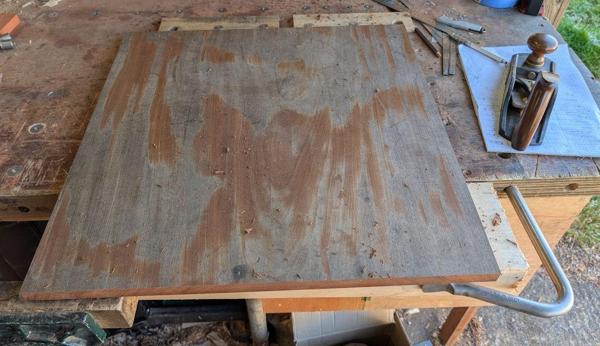
When I next stopped for a warm-up, it looked like this:
The top side finished:
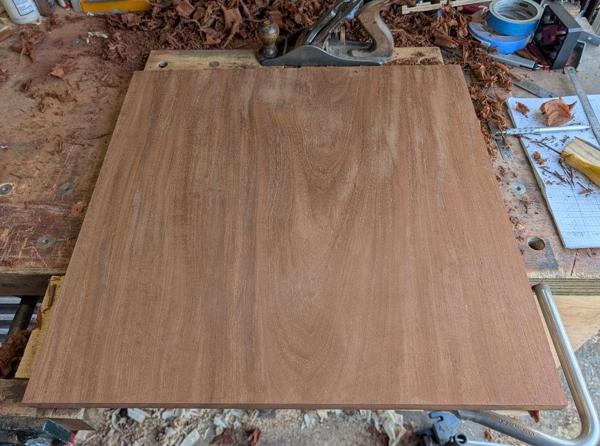
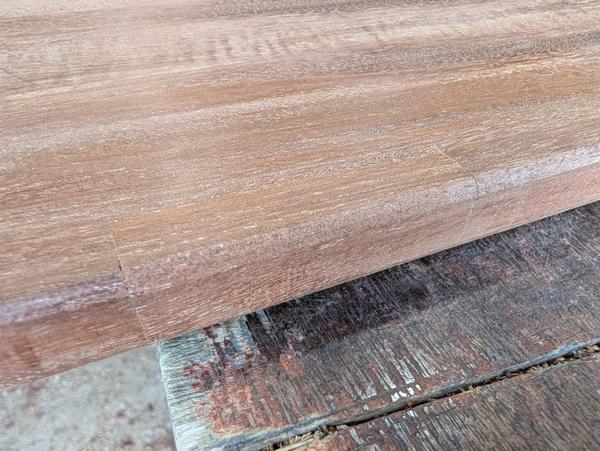
I'd expected the table, once cleaned up, to show lots of planks joined together but from looking at the end grain, I'm pretty sure this is a single plank (that was about 660 mm wide but is now 580 mm square).
I then flipped it up and repeated the process on the bottom, but not being quite so careful about making sure I got it perfect:
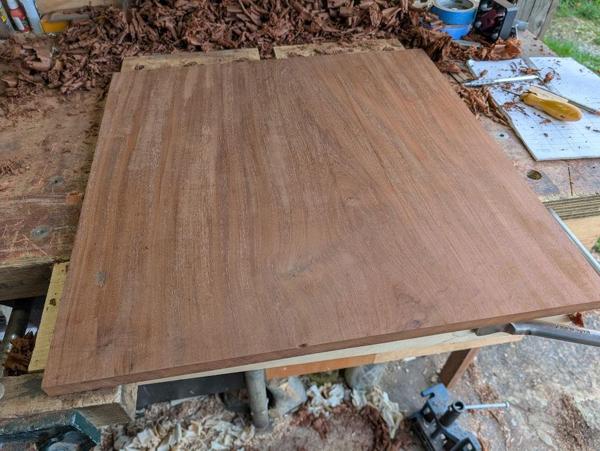
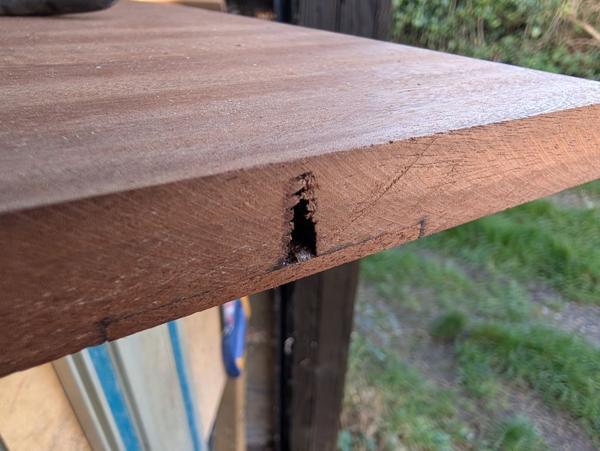
During the process I then dropped the smoothing plane. I caught it before it headed for a concrete floor, but it made a bit of a dent in the edge of the bottom side:
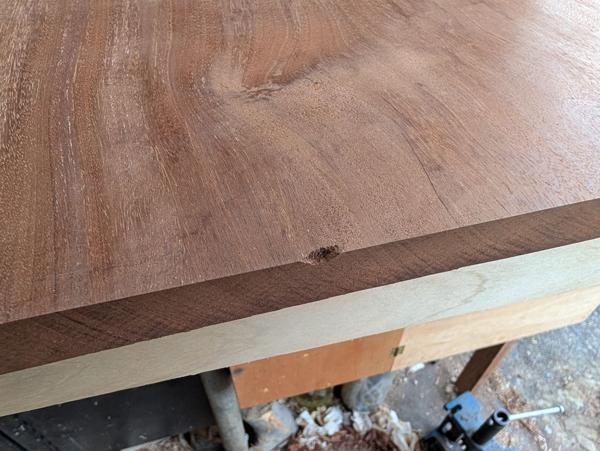
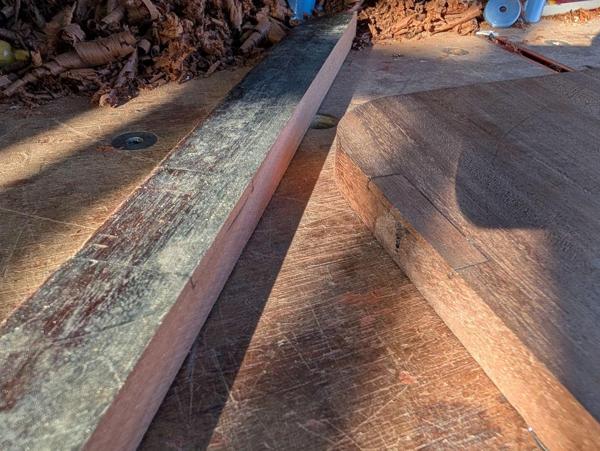
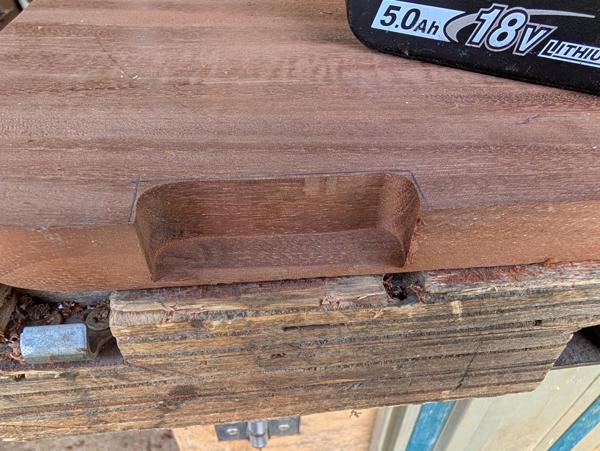
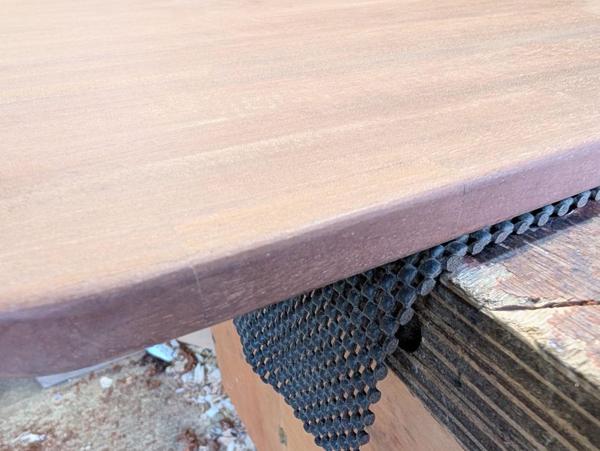
I'll probably round off the edges after I've rounded the corners, so I expect that'll at least mostly go, so as it's on the underside I'm not going to worry about it for now. On the underside there's evidence of an earlier repair of some sort:
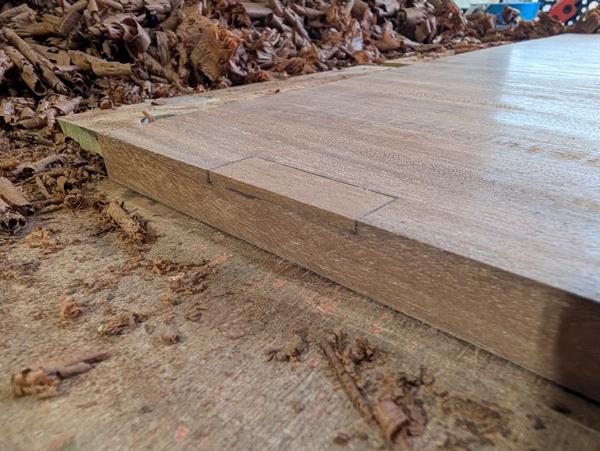
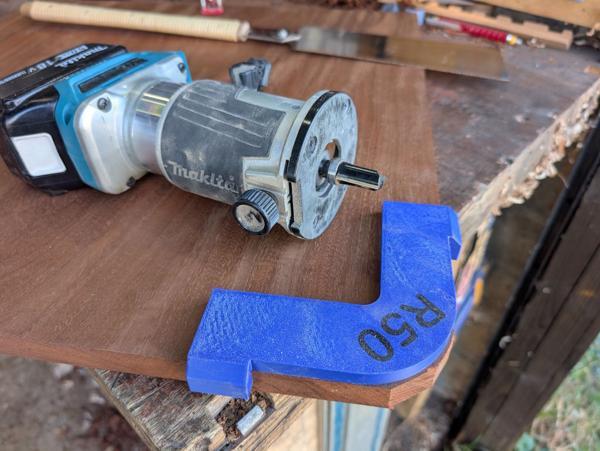
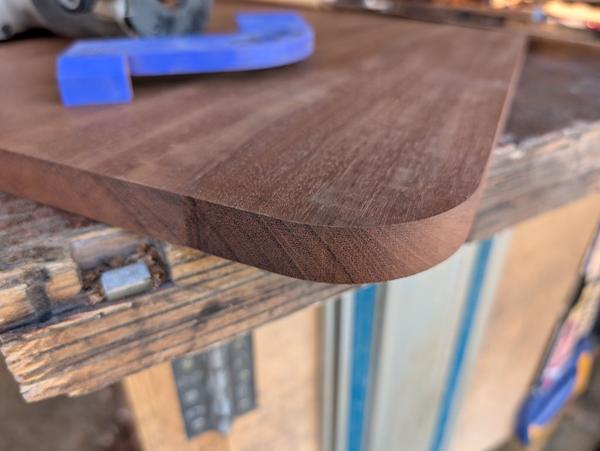
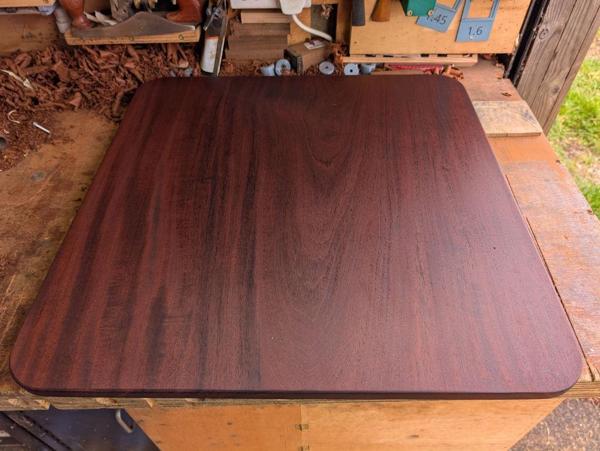
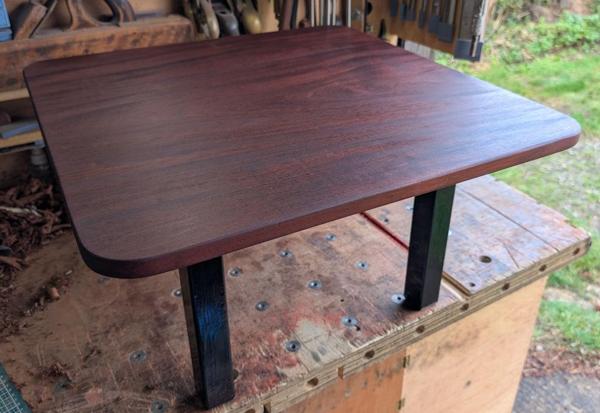
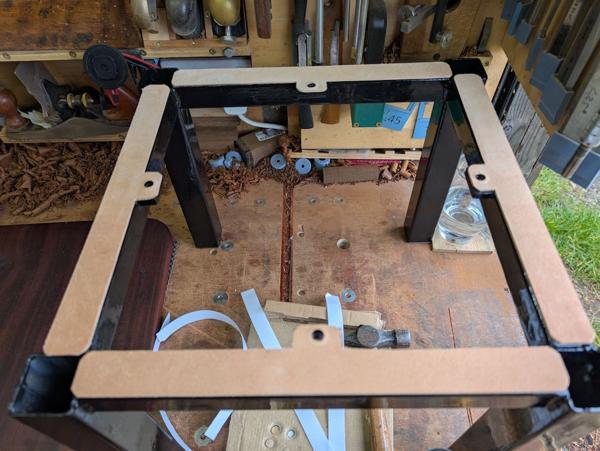
The next job will be to round the corners off, then chamfer/fillet the edges and finally daub it in Mike's Magic Mix. Carolyn has been getting on with painting the base frame: it's had two coats of primer and one coat of black paint so far, so by the time the top is oiled it should all be ready to go together.
We left the action with a simple welded steel frame upon which a wooden top will sit. Onto the table top...
A year or two ago I was in an antique centre in Gloucester and saw an old table top for sale for about £10. I couldn't resist buying it, despite not really knowing what to do with it. Today is its day!
This is what the top side of the table top looked like as-bought:
The underside looked a bit shabby and made me suspect it had been stained or dyed or something:
I'm not a fan of stained wood, so the plan was to plane it down enough to reveal the original wood and then apply a simple oil finish.
First of all though, it needed cutting down to size. I decided to just do that with the tracksaw, which revealed that it doesn't appear to have been stained, it has just browned with age from its original rich mahogany-like colour:
I carried on working round the sides of the table top (removing a slight crack on one end in the process) until I had a square piece:
I'll round the corners off in due course, but the first job was to clean up the faces. It was flipping cold in the garage and even with gloves on and with the exercise of planing, I had to stop every now and again and go into the house to warm up!
This was what the top looked like soon after I started with a plane:
When I next stopped for a warm-up, it looked like this:
The top side finished:
I'd expected the table, once cleaned up, to show lots of planks joined together but from looking at the end grain, I'm pretty sure this is a single plank (that was about 660 mm wide but is now 580 mm square).
I then flipped it up and repeated the process on the bottom, but not being quite so careful about making sure I got it perfect:
During the process I then dropped the smoothing plane. I caught it before it headed for a concrete floor, but it made a bit of a dent in the edge of the bottom side:
I'll probably round off the edges after I've rounded the corners, so I expect that'll at least mostly go, so as it's on the underside I'm not going to worry about it for now. On the underside there's evidence of an earlier repair of some sort:
The next job will be to round the corners off, then chamfer/fillet the edges and finally daub it in Mike's Magic Mix. Carolyn has been getting on with painting the base frame: it's had two coats of primer and one coat of black paint so far, so by the time the top is oiled it should all be ready to go together.