Dr.Al
Old Oak
Although I've started the bedside table project, I haven't got very far with it yet. The legs have been planed on two sides and are sitting "in stick" (with some weights on top to try to keep them flat) and I'd like to leave them like that for a little while before finishing planing. It's far too hot at the moment to think about planing all the rest of the wood for the table so I thought I'd do a much smaller and (hopefully) quicker project in the interim.
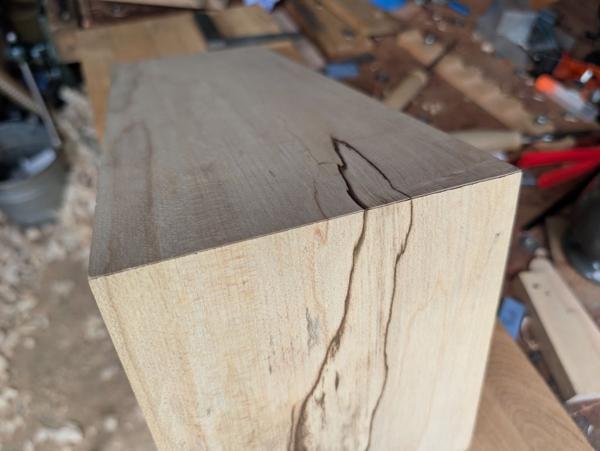
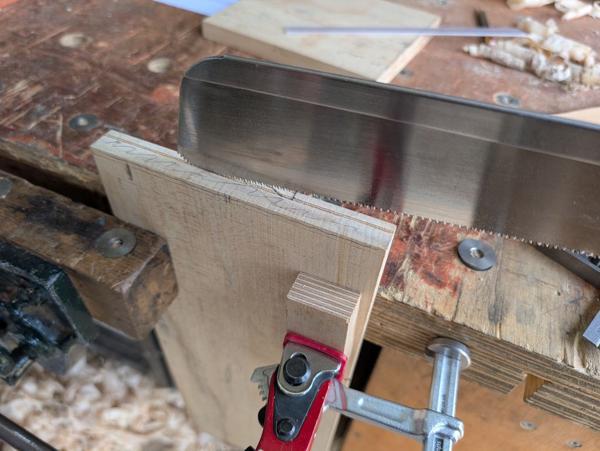
It started with one of the thinner bits of Sycamore that I'd bought for the bedside table. This one started at about 18 mm thick and I cut a bit off the end yesterday evening with the Ryoba (which was a lot quicker to do than the 40+ mm Sycamore I used for the table legs!)
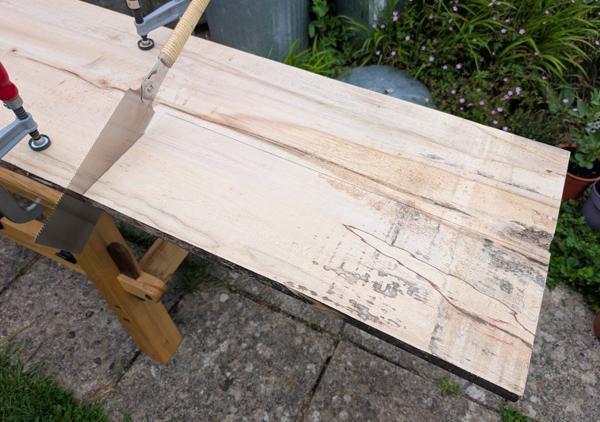
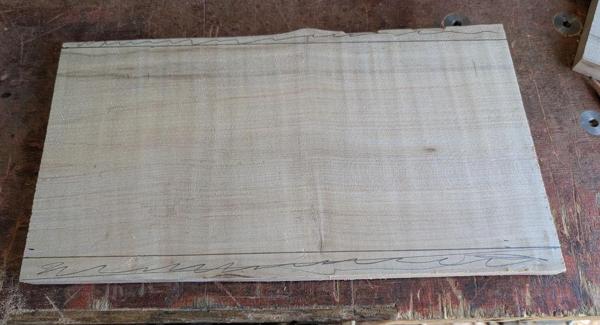
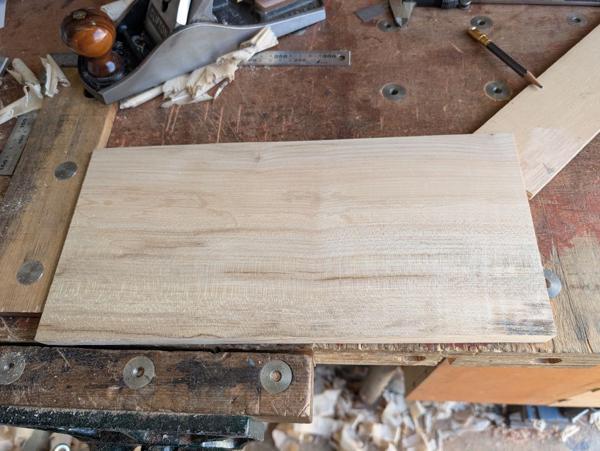
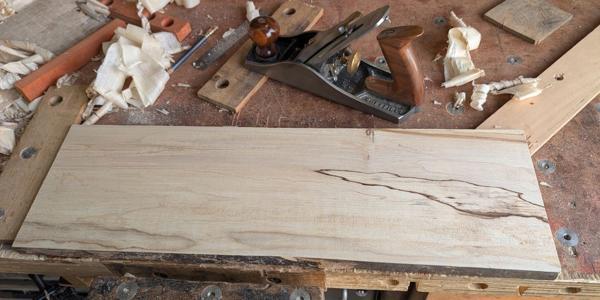
This is what the plank looked like once it was on the bench (the other side is a lot rougher but I forgot to take a photo of that):
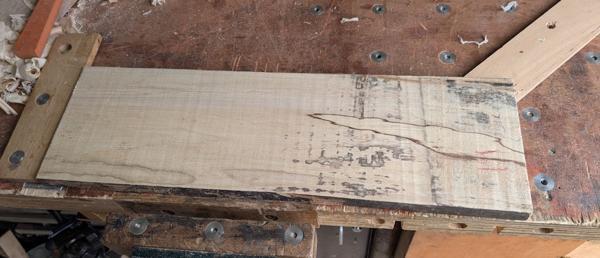
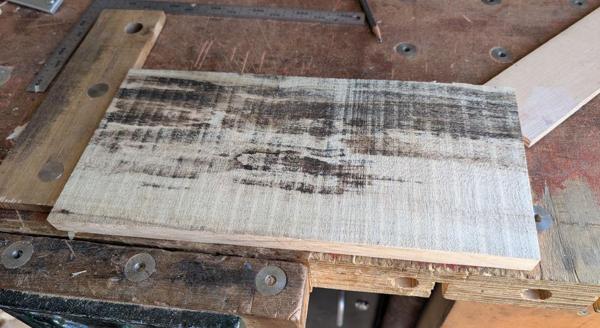
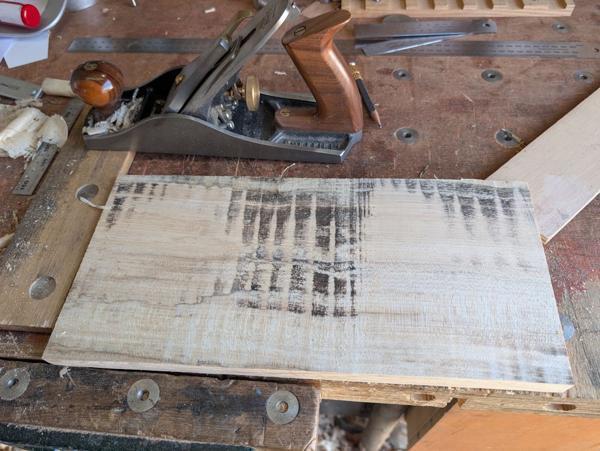
After hand planing (both sides) with the #4½ it looked like this:
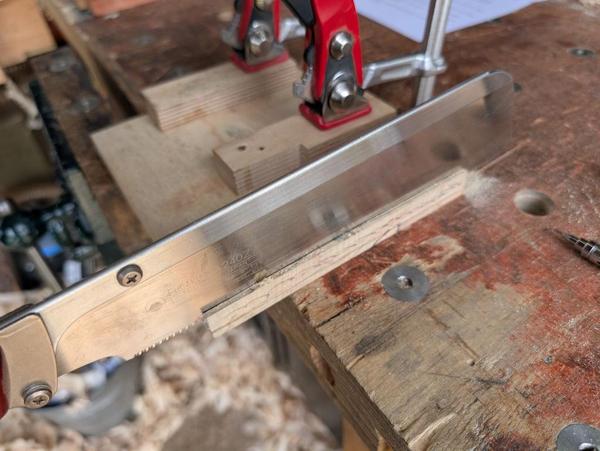
After drawing a pencil line on the edge, I chopped off the bark with my Dozuki...
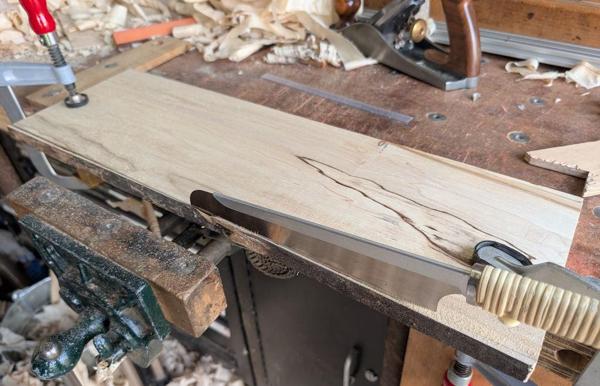
... and then planed the edge square with the #7:
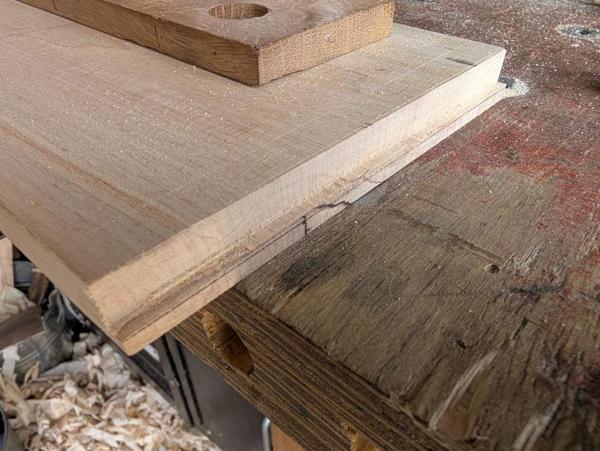
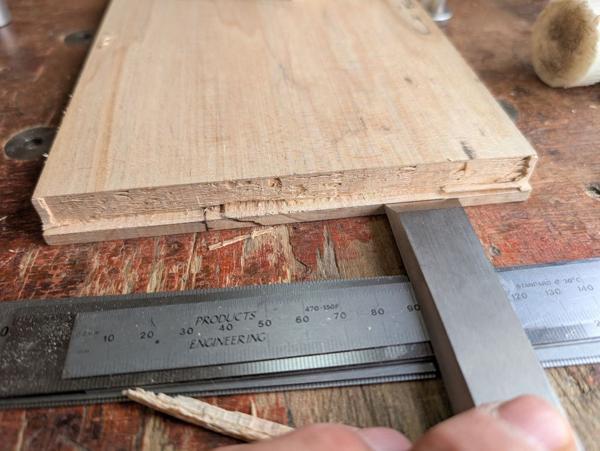
It was wider than necessary and I was keen to get rid of a knot near the edge, so I drew a pencil line for a rough size guide, chopped the other edge off with the Dozuki again and then used my panel marking gauge to scribe a line on both faces at what felt like the largest width I could achieve from the remnant:
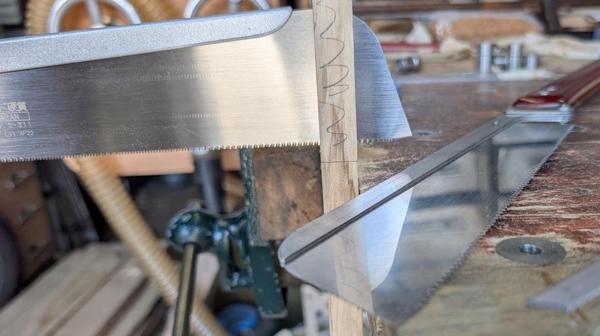
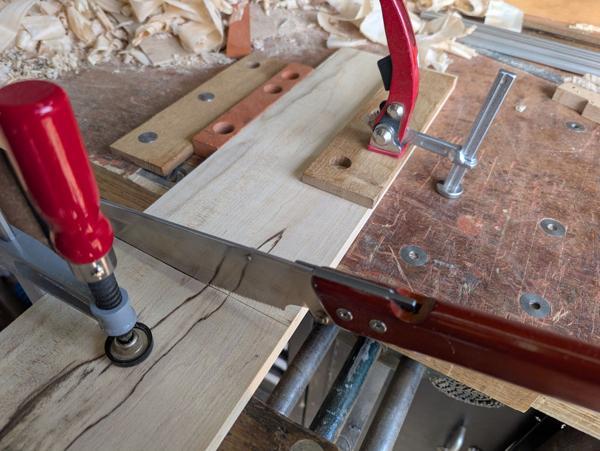
After planing that edge to the marking gauge lines, I picked a spot for a cross-cut. The aim was to select a bit of grain that was relatively straight for the area immediately around the cut line such that it would still match when closed up again (as a mitre). With the line picked, I carefully chopped it up with the cross-cut Dozuki:
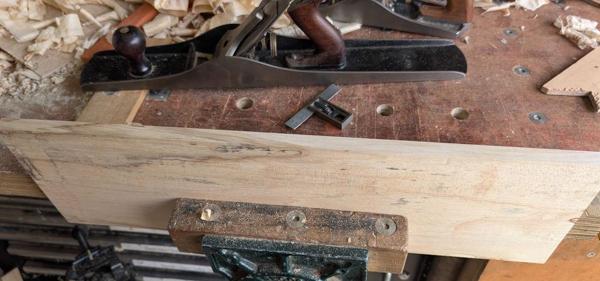
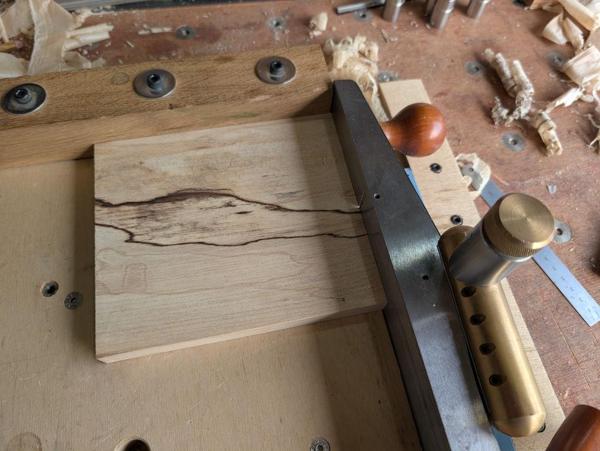
The shooting board did its thing...
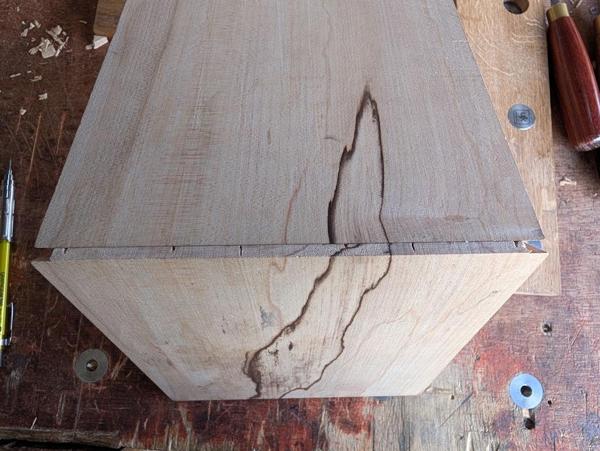
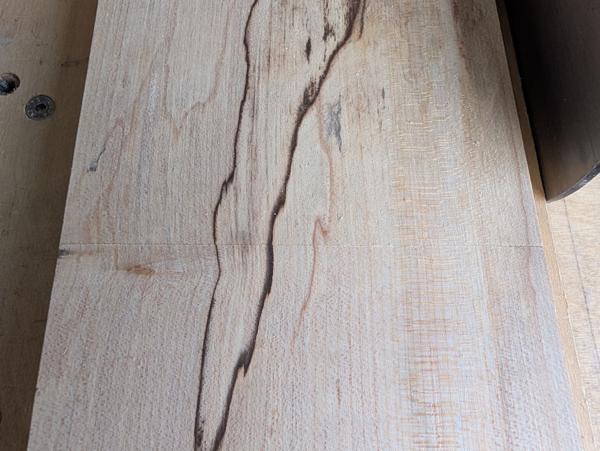
... and I was pleased to see that the grain lines still matched nicely:
That was the easy bit. My plan with this part is to try a type of joint that I've never before attempted, even in scrap wood. Doing it in rather pretty bit of Sycamore with some comparatively soft spalting around the joint area is probably not my smartest idea, but if it all goes wrong I've got loads of Sycamore! It's also a bit thinner than I would have ideally chosen (the planed wood ended up at just over 16 mm thick whereas my initial plan was for about 20–22 mm). I went for the thinner wood in the end purely because I've got loads of it and I think it should be thick enough assuming I can do the joint properly.
The joint I'm alluding to is called a secret mitre dovetail. Arguably it should be called a secret dovetail mitre as the dovetail is the bit that's hidden, but we won't dwell on that. It looks like a challenging joint to cut but I've read a few books on the matter (including Ernest Joyce's Furniture Making book and Charles Hayward's superb Woodwork Joints book; incidentally, Charles Hayward calls it the "mitre dovetail" so obviously doesn't consider it to be a great secret!). I've also watched (and re-watched) David Charlesworth's excellent video on the subject.
Having written copious notes based on those various sources, I have a plan (which will, I think, follow David Charlesworth's method relatively closely).
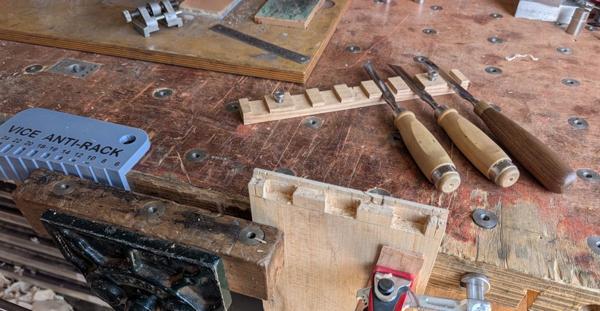
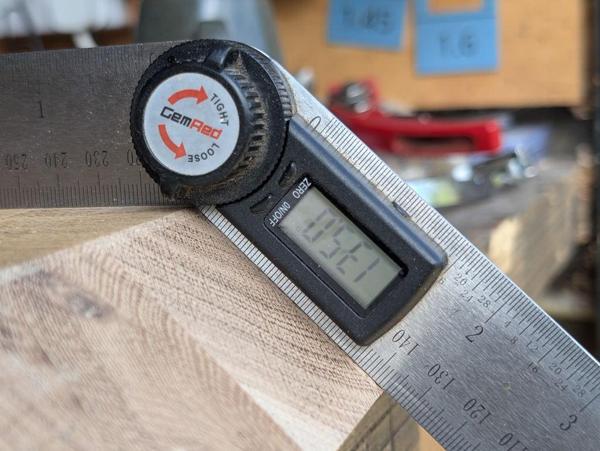
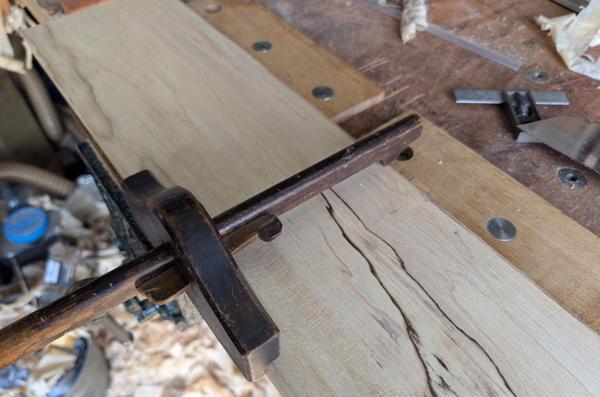
With the two planks ready to be joined, the first step was lots of marking out, using three marking gauges (one set for slightly over the thickness of the wood, one set for the thickness of the wood minus the thickness of the rebate and one set for the depth of the rebate at the mitre line) and this little Shinwa mitre square, which has the required 135° angle:

That photo looks a bit weird as the plank seems to be enormous, but that's just a perspective trick: the other plank is lying on the bench.
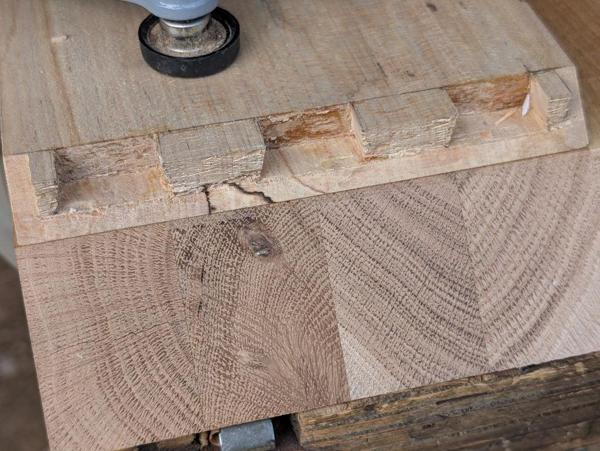
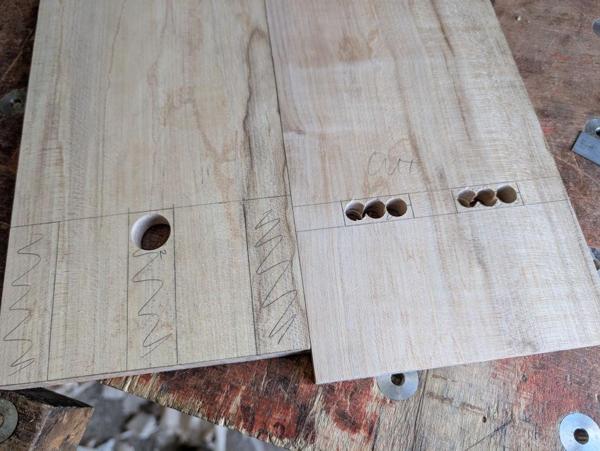
This is what one corner looked like after all the marking up:
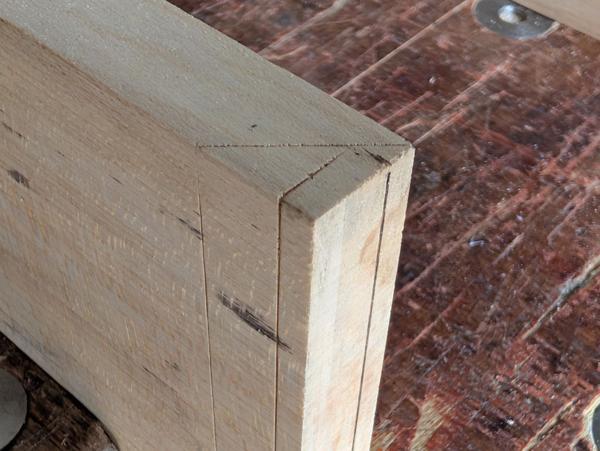
The marks for the rebate don't quite intersect as they're deliberately offset by a little bit to create a tiny pocket for glue to be squeezed into.
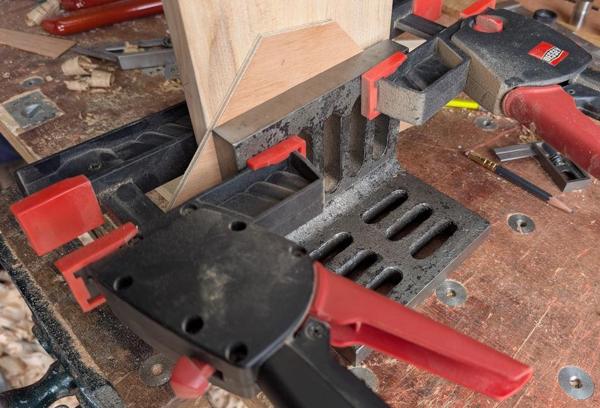
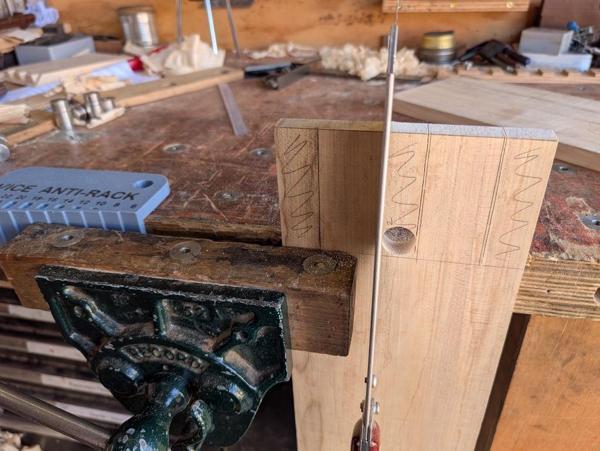
David Charlesworth cut the rebate using a powered mitre saw. I don't have one of them and, after considering a few alternatives, I opted to cut it with a cross-cut Dozuki, taking advantage of the teeth at the tip so I could cut the whole length without worrying about the far end going too deep:
The cross-grain cut was done in much the same way:
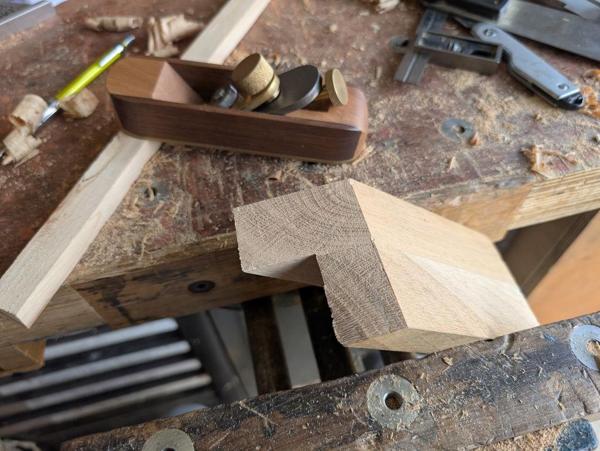
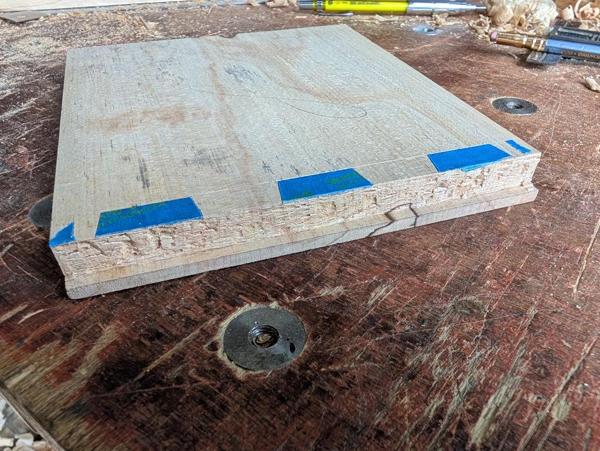
Straight off the saw:
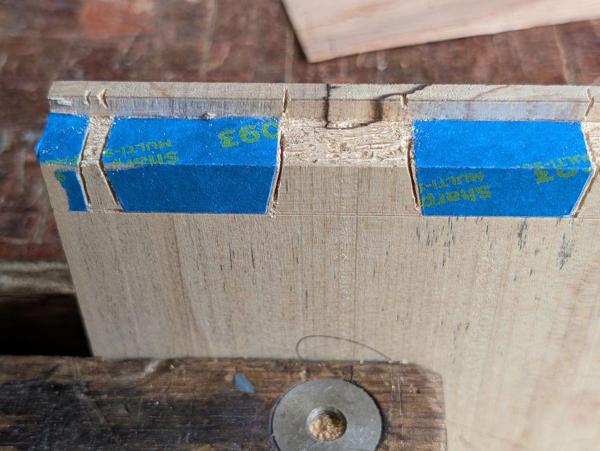
After chopping the rebate's shoulder line with a chisel, it was time to pare into the end grain. In David Charlesworth's video, he planed a little strip of wood to be slightly thicker than the rebate and then used that as a shelf for the chisel, thereby guaranteeing that the chisel would be going very slightly downhill and not leaving an undesirable lump. I was too lazy to plane a strip of wood, so I just piled up a few steel rules:
You can see from that photo that the shoulder line is a bit shabby, with bits of torn-out wood rather than a nice clean end-grain cut. The chisel was freshly sharpened and I took light cuts, but I think the softness of the spalted wood meant that I would have been better using a smaller chisel and minimising the force. I don't think it's an issue so I'm carrying on regardless.
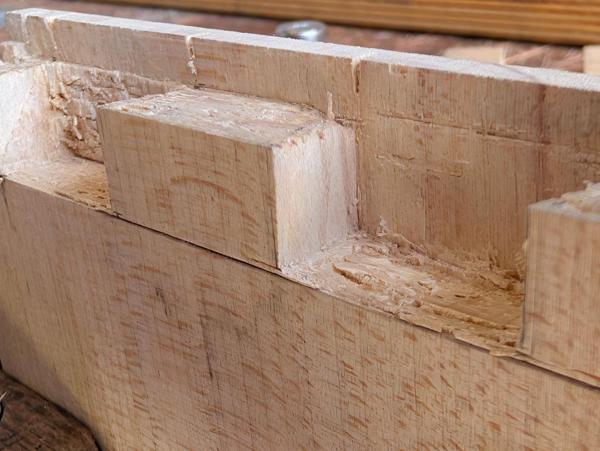
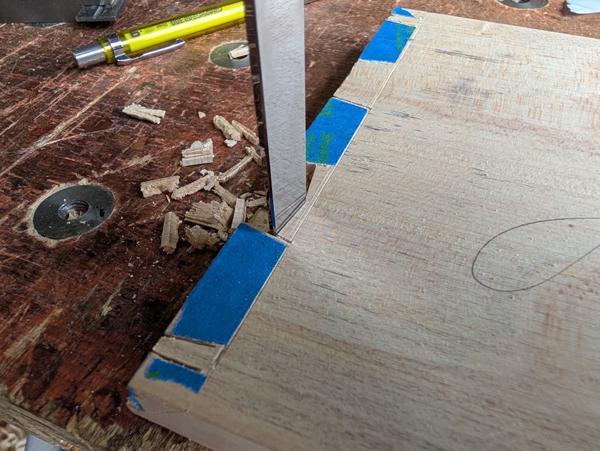
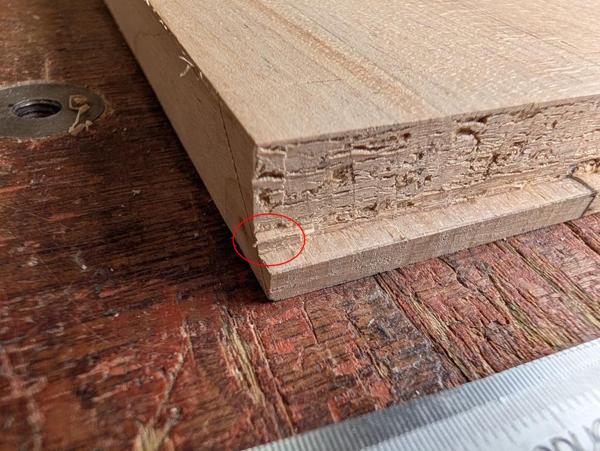
I mentioned before that the the two marked rebate lines didn't quite meet. For that reason, a tiny little lump of wood is left in the corner so as not to inadvertently cut into the mitre line:
Up to this point, everything I've done has been done to both of the boards (pin board and tail board); now is the first time the method deviates.
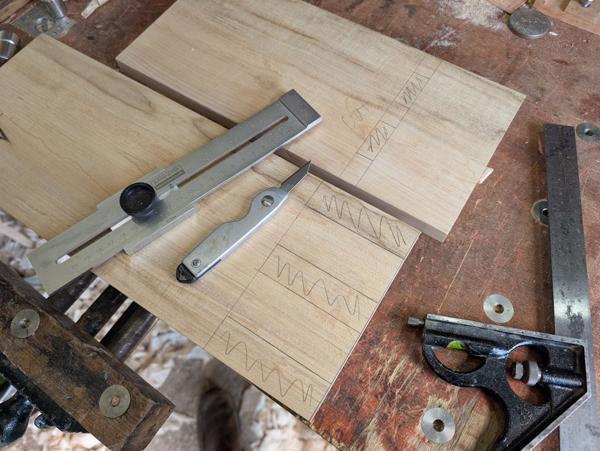
After drawing out the tail/pin pattern in full scale on a piece of paper, I made a little marking guide out of a bit of cardboard packaging and used that to mark the pin board:

The pin walls got cut (to the line) with a Dozuki held at about 45°, cutting down to just above the shoulder line and just into the rebate:
In David Charlesworth's video he saws a little way away from the line and then pares to the line with a chisel (on both pin board and tail board). For through or lapped dovetails I usually saw straight to the line and I figured it would be fine to do the same the pin board. I may follow David Charlesworth's approach when I cut the tails but I'll decide closer to the time.
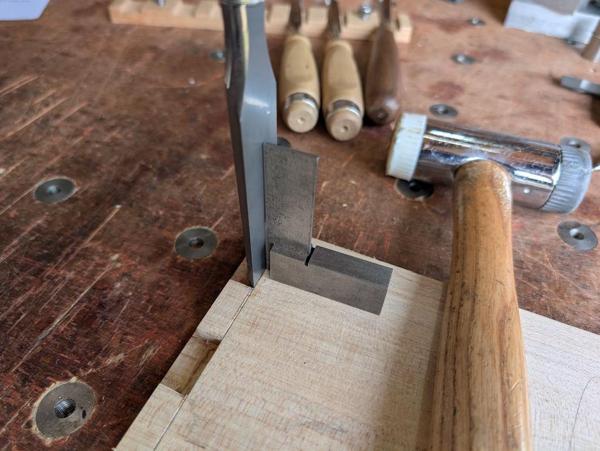
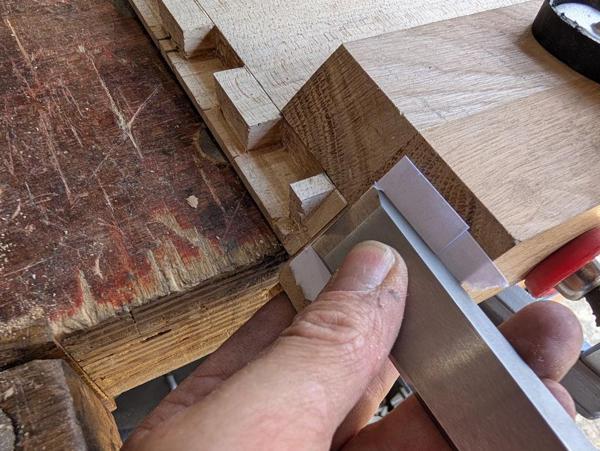
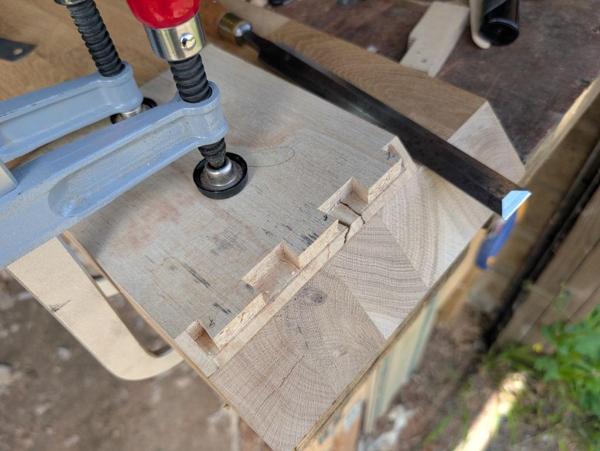
Next up was to mark a second shoulder line about 0.5 mm closer to the end of the board than the existing one with a combination square and knife. I could then chop to that line (hence leaving a tiny bit for a final clean-up with a freshly sharpened chisel) using a smaller chisel (10 mm or 12 mm if memory serves) with a depth line marked in marker pen on the back of the chisel:
Each chop was straight down (so ignoring the dovetail angle) and to full depth.
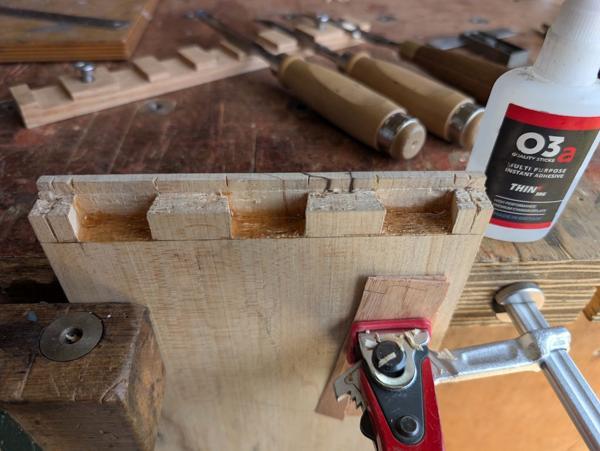
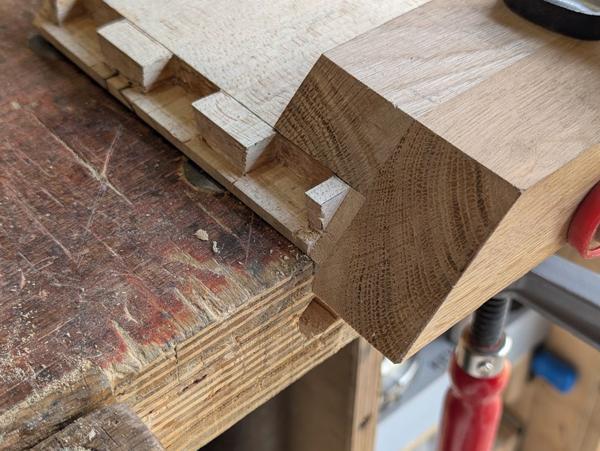
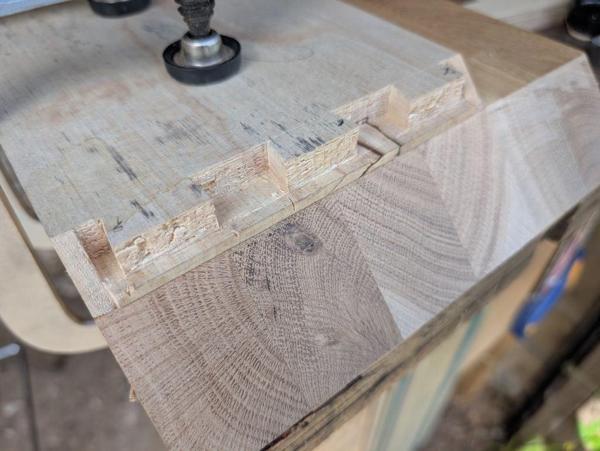
That left the pin board looking like this:
The next job is to chop out the angled faces, clean up the bit that's parallel with the rebate line and then do the final cut to the shoulder line. However, it's far too hot in the workshop now so I've called it a day. I'm not sure when I'll get more time on it but I'm pleased with the progress so far.
It started with one of the thinner bits of Sycamore that I'd bought for the bedside table. This one started at about 18 mm thick and I cut a bit off the end yesterday evening with the Ryoba (which was a lot quicker to do than the 40+ mm Sycamore I used for the table legs!)
This is what the plank looked like once it was on the bench (the other side is a lot rougher but I forgot to take a photo of that):
After hand planing (both sides) with the #4½ it looked like this:
After drawing a pencil line on the edge, I chopped off the bark with my Dozuki...
... and then planed the edge square with the #7:
It was wider than necessary and I was keen to get rid of a knot near the edge, so I drew a pencil line for a rough size guide, chopped the other edge off with the Dozuki again and then used my panel marking gauge to scribe a line on both faces at what felt like the largest width I could achieve from the remnant:
After planing that edge to the marking gauge lines, I picked a spot for a cross-cut. The aim was to select a bit of grain that was relatively straight for the area immediately around the cut line such that it would still match when closed up again (as a mitre). With the line picked, I carefully chopped it up with the cross-cut Dozuki:
The shooting board did its thing...
... and I was pleased to see that the grain lines still matched nicely:
That was the easy bit. My plan with this part is to try a type of joint that I've never before attempted, even in scrap wood. Doing it in rather pretty bit of Sycamore with some comparatively soft spalting around the joint area is probably not my smartest idea, but if it all goes wrong I've got loads of Sycamore! It's also a bit thinner than I would have ideally chosen (the planed wood ended up at just over 16 mm thick whereas my initial plan was for about 20–22 mm). I went for the thinner wood in the end purely because I've got loads of it and I think it should be thick enough assuming I can do the joint properly.
The joint I'm alluding to is called a secret mitre dovetail. Arguably it should be called a secret dovetail mitre as the dovetail is the bit that's hidden, but we won't dwell on that. It looks like a challenging joint to cut but I've read a few books on the matter (including Ernest Joyce's Furniture Making book and Charles Hayward's superb Woodwork Joints book; incidentally, Charles Hayward calls it the "mitre dovetail" so obviously doesn't consider it to be a great secret!). I've also watched (and re-watched) David Charlesworth's excellent video on the subject.
Having written copious notes based on those various sources, I have a plan (which will, I think, follow David Charlesworth's method relatively closely).
With the two planks ready to be joined, the first step was lots of marking out, using three marking gauges (one set for slightly over the thickness of the wood, one set for the thickness of the wood minus the thickness of the rebate and one set for the depth of the rebate at the mitre line) and this little Shinwa mitre square, which has the required 135° angle:
That photo looks a bit weird as the plank seems to be enormous, but that's just a perspective trick: the other plank is lying on the bench.
This is what one corner looked like after all the marking up:
The marks for the rebate don't quite intersect as they're deliberately offset by a little bit to create a tiny pocket for glue to be squeezed into.
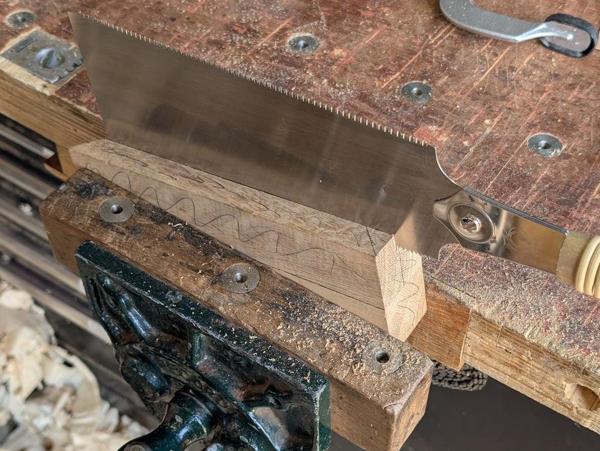
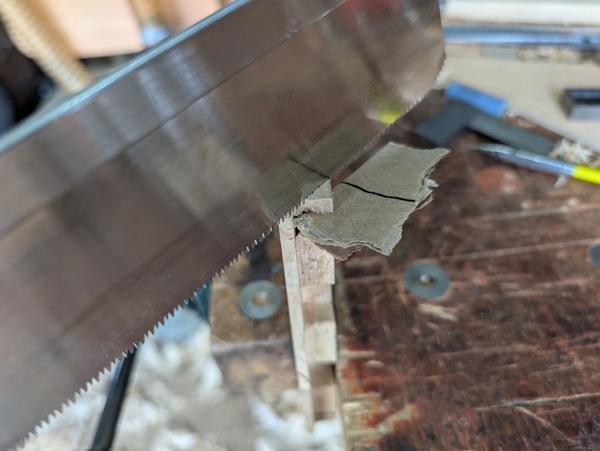
David Charlesworth cut the rebate using a powered mitre saw. I don't have one of them and, after considering a few alternatives, I opted to cut it with a cross-cut Dozuki, taking advantage of the teeth at the tip so I could cut the whole length without worrying about the far end going too deep:
The cross-grain cut was done in much the same way:
Straight off the saw:
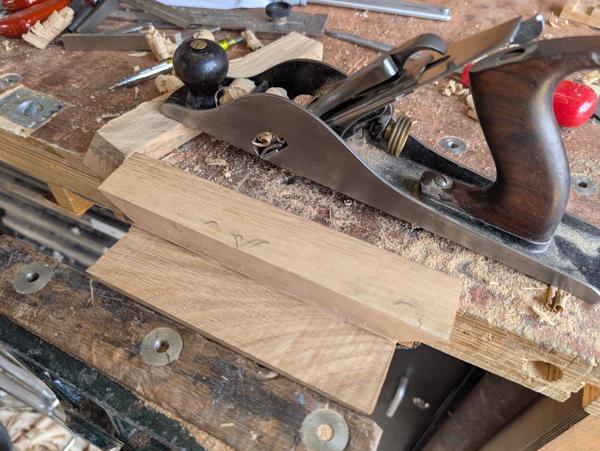
After chopping the rebate's shoulder line with a chisel, it was time to pare into the end grain. In David Charlesworth's video, he planed a little strip of wood to be slightly thicker than the rebate and then used that as a shelf for the chisel, thereby guaranteeing that the chisel would be going very slightly downhill and not leaving an undesirable lump. I was too lazy to plane a strip of wood, so I just piled up a few steel rules:
You can see from that photo that the shoulder line is a bit shabby, with bits of torn-out wood rather than a nice clean end-grain cut. The chisel was freshly sharpened and I took light cuts, but I think the softness of the spalted wood meant that I would have been better using a smaller chisel and minimising the force. I don't think it's an issue so I'm carrying on regardless.
I mentioned before that the the two marked rebate lines didn't quite meet. For that reason, a tiny little lump of wood is left in the corner so as not to inadvertently cut into the mitre line:
Up to this point, everything I've done has been done to both of the boards (pin board and tail board); now is the first time the method deviates.
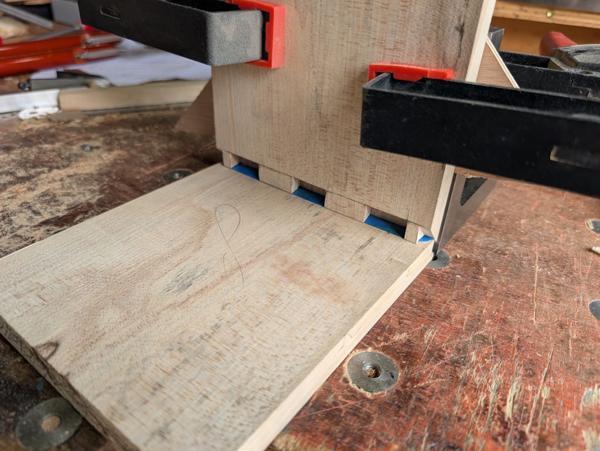
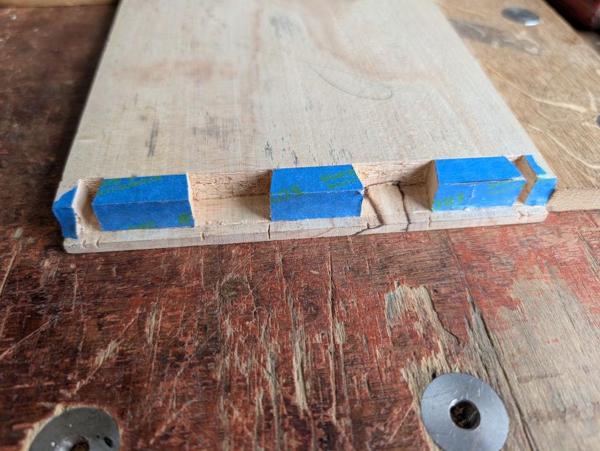
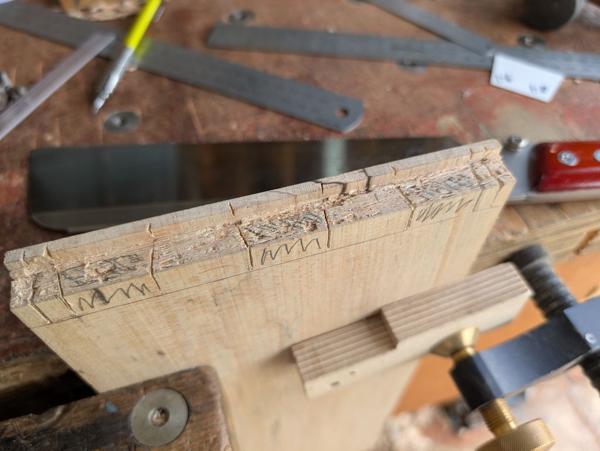
After drawing out the tail/pin pattern in full scale on a piece of paper, I made a little marking guide out of a bit of cardboard packaging and used that to mark the pin board:
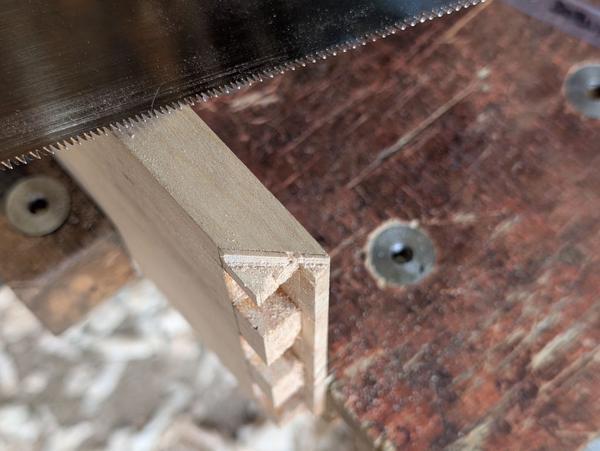
The pin walls got cut (to the line) with a Dozuki held at about 45°, cutting down to just above the shoulder line and just into the rebate:
In David Charlesworth's video he saws a little way away from the line and then pares to the line with a chisel (on both pin board and tail board). For through or lapped dovetails I usually saw straight to the line and I figured it would be fine to do the same the pin board. I may follow David Charlesworth's approach when I cut the tails but I'll decide closer to the time.
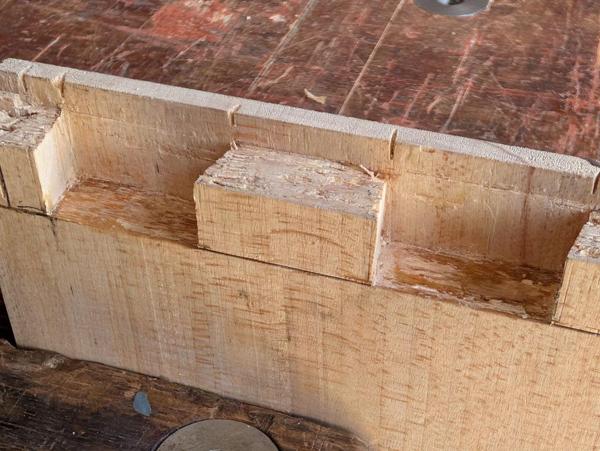
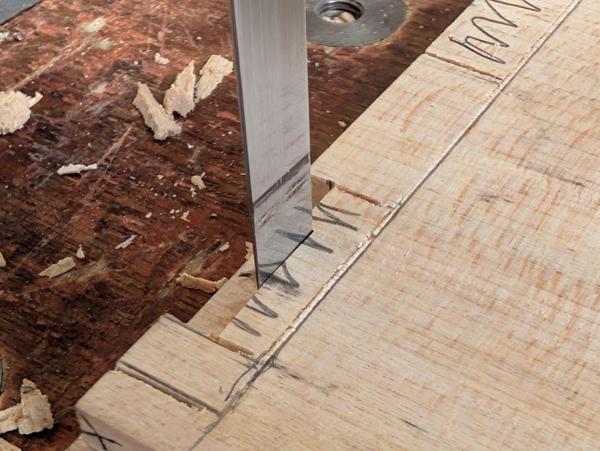
Next up was to mark a second shoulder line about 0.5 mm closer to the end of the board than the existing one with a combination square and knife. I could then chop to that line (hence leaving a tiny bit for a final clean-up with a freshly sharpened chisel) using a smaller chisel (10 mm or 12 mm if memory serves) with a depth line marked in marker pen on the back of the chisel:
Each chop was straight down (so ignoring the dovetail angle) and to full depth.
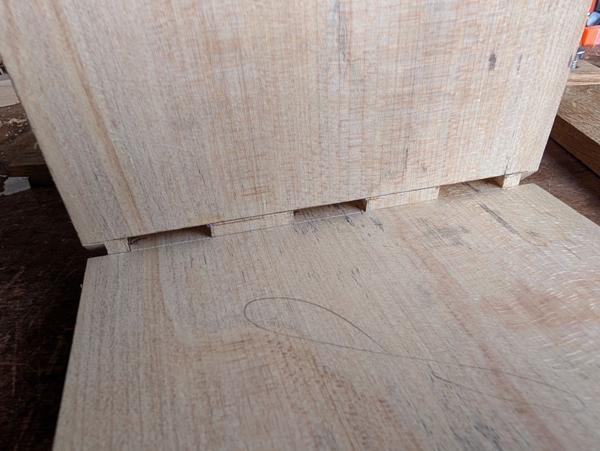
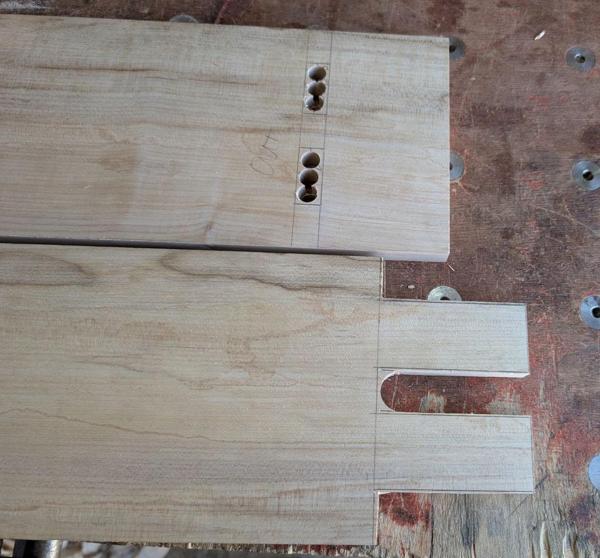
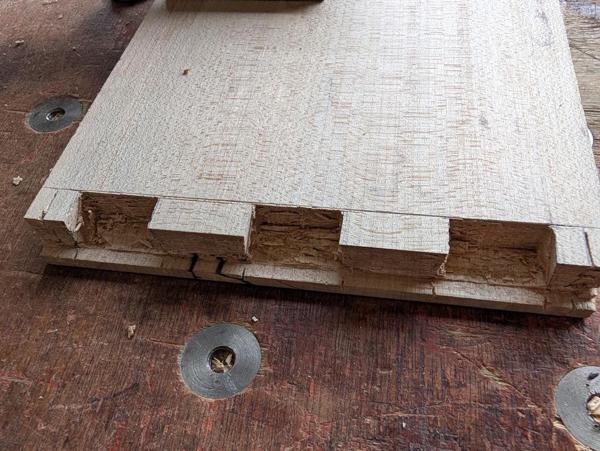
That left the pin board looking like this:
The next job is to chop out the angled faces, clean up the bit that's parallel with the rebate line and then do the final cut to the shoulder line. However, it's far too hot in the workshop now so I've called it a day. I'm not sure when I'll get more time on it but I'm pleased with the progress so far.
 ) but was really nice to chisel.