• Hi all and welcome to TheWoodHaven2 brought into the 21st Century, kicking and screaming! We all have Alasdair to thank for the vast bulk of the heavy lifting to get us here, no more so than me because he's taken away a huge burden of responsibility from my shoulders and brought us to this new shiny home, with all your previous content (hopefully) still intact! Please peruse and feed back. There is still plenty to do, like changing the colour scheme, adding the banner graphic, tweaking the odd setting here and there so I have added a new thread in the 'Technical Issues, Bugs and Feature Requests' forum for you to add any issues you find, any missing settings or just anything you'd like to see added/removed from the feature set that Xenforo offers. We will get to everything over the coming weeks so please be patient, but add anything at all to the thread I mention above and we promise to get to them over the next few days/weeks/months. In the meantime, please enjoy!

Another box - WIP

Dr.Al

Old Oak
Joined
Dec 31, 2020
Messages
3,875
Reaction score
2,785
Location
Dursley, Gloucestershire
Name
Al
I've decided to have a go at another box. This one's going to have mitred dovetails, even though at this point I've only ever cut one of them. I thought I'd write this one up as a WIP because, well, why not? This is probably the first box I've made for which I've got a fairly clear idea in my head of what it's going to look like at the end, so it'll be interesting to see if it all goes to plan!

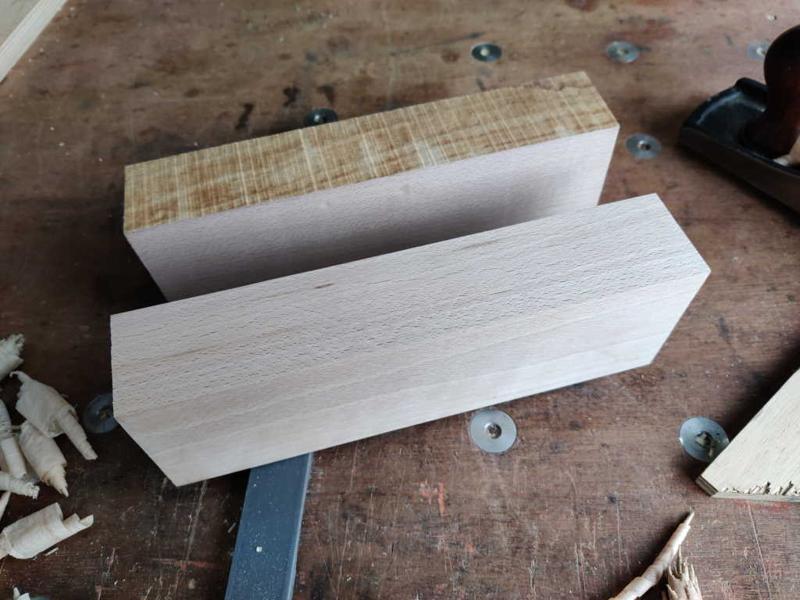
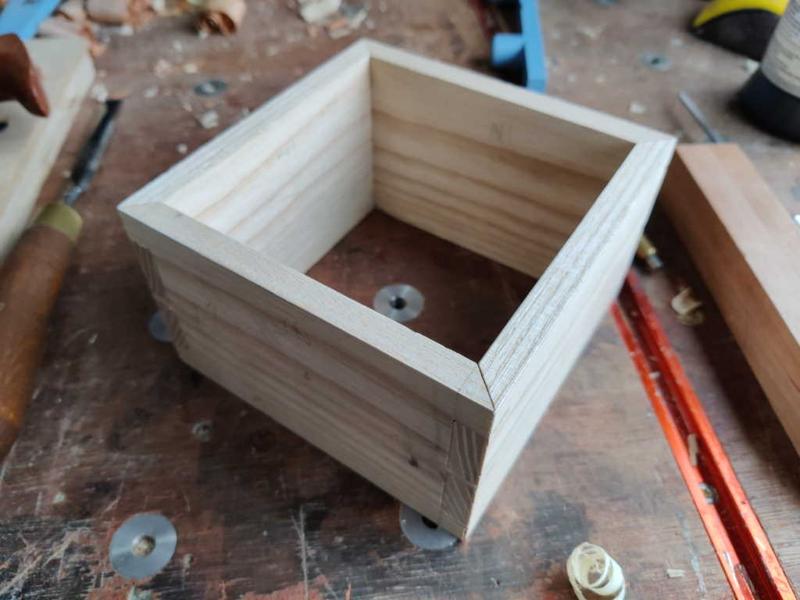
I started with a piece of ash about 10 mm thick. I skimmed the faces with a Stanley #4 and then chopped it into four pieces and squared everything up with my shooting board. Ideally I'd probably resaw a thicker piece to guarantee that I could get the grain to wrap around the box, but I had a piece of ash about the right size and the grain seemed fairly straight so I thought I might as well just go with what I've got.

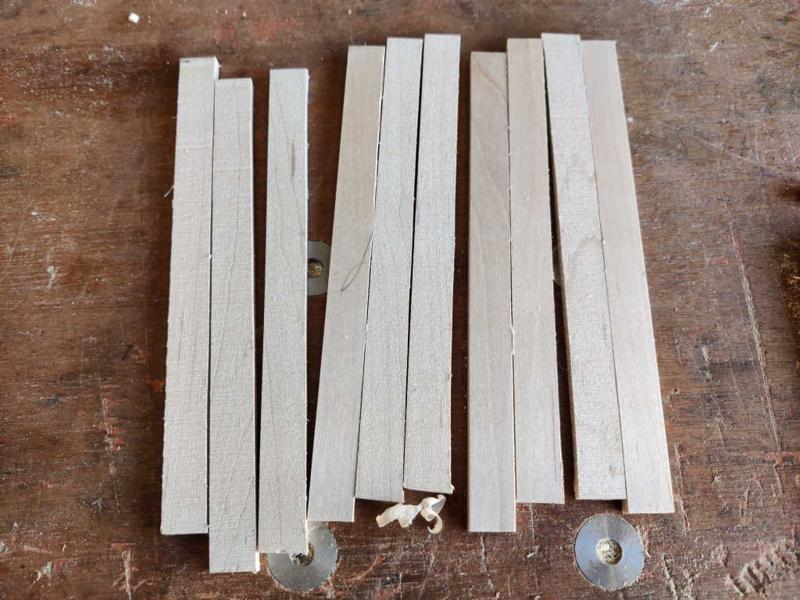
These are the ash boards, all are approximately 130 mm × 80 mm × 10 mm (and shot to be exactly the same as each other, which I thought was more important than being any particular size):
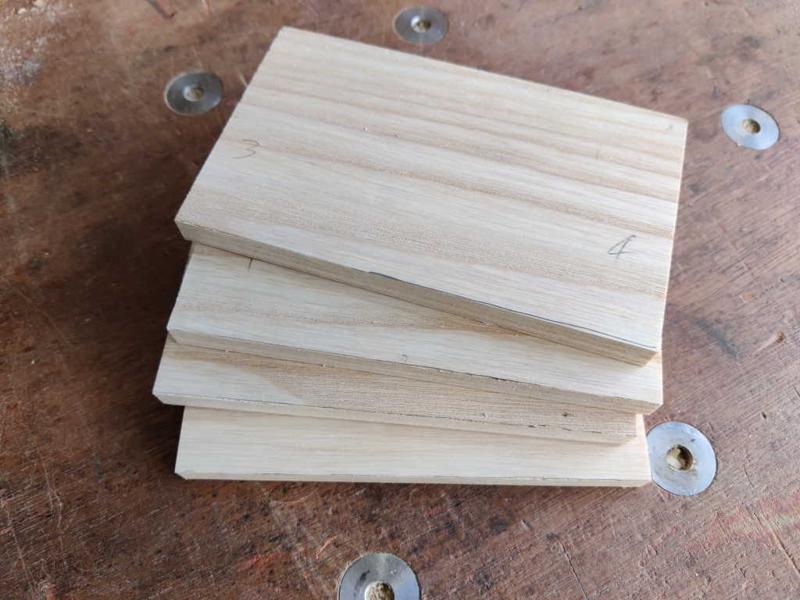
01_pile_of_ash_800.jpg


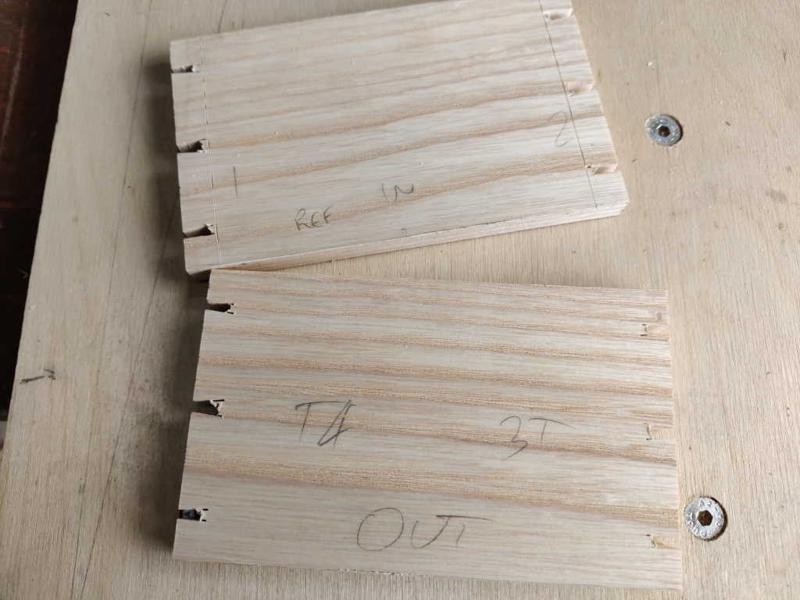
The first job was to lay them out and choose which side was the outside and which boards would be tail boards vs pin boards:
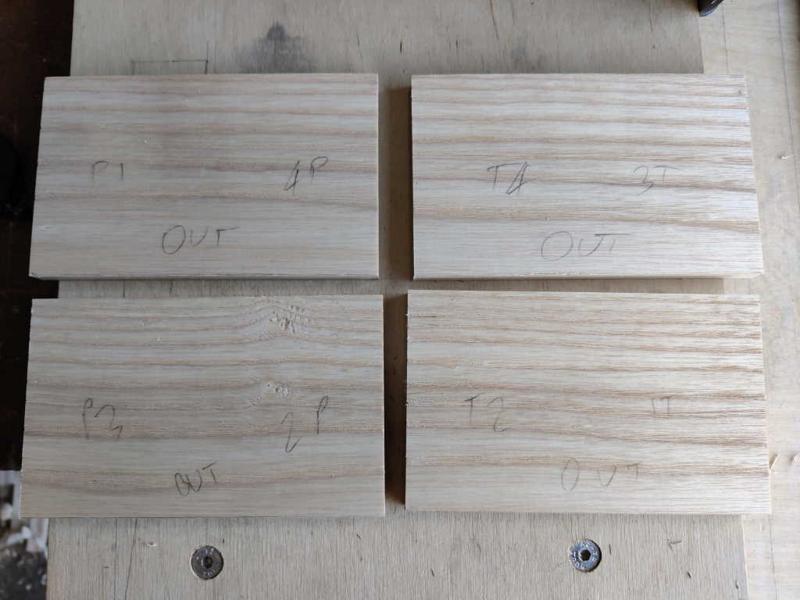
02_label_ash_pieces_800.jpg


I then used a square and a knife to mark 10 mm in from one edge of each board, on the inside face only. I wasn't too worried about getting this spot on: I figured I'd probably plane the outside down a little at the end and that'll sort it out:
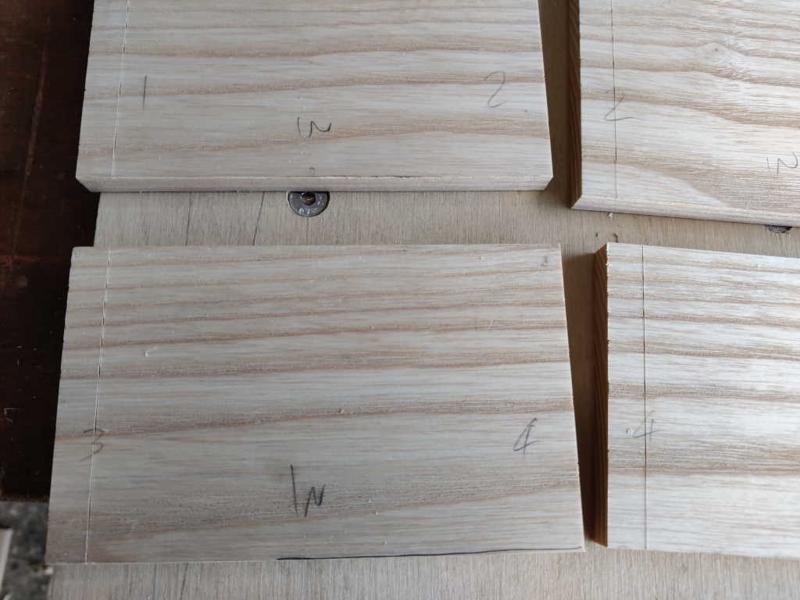
03_mark_one_inside_edge_800.jpg


I then picked one board as a reference board and butted its reference edge against the reference edge of a second board. That allowed me to transfer the edge mark across from the second board onto the other end of the reference board:
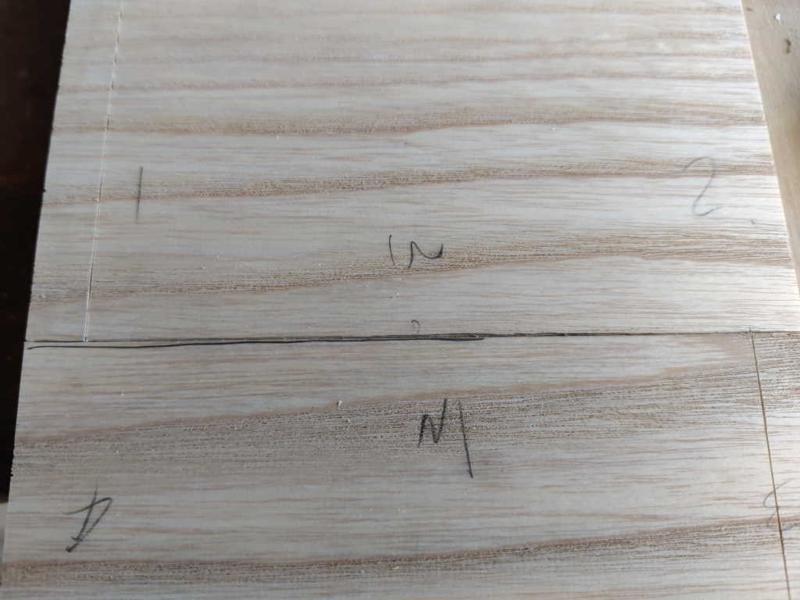
04_transfer_to_make_ref_800.jpg


After squaring that mark all across the inside face of the reference board and I could then use the reference board to mark all the other boards:
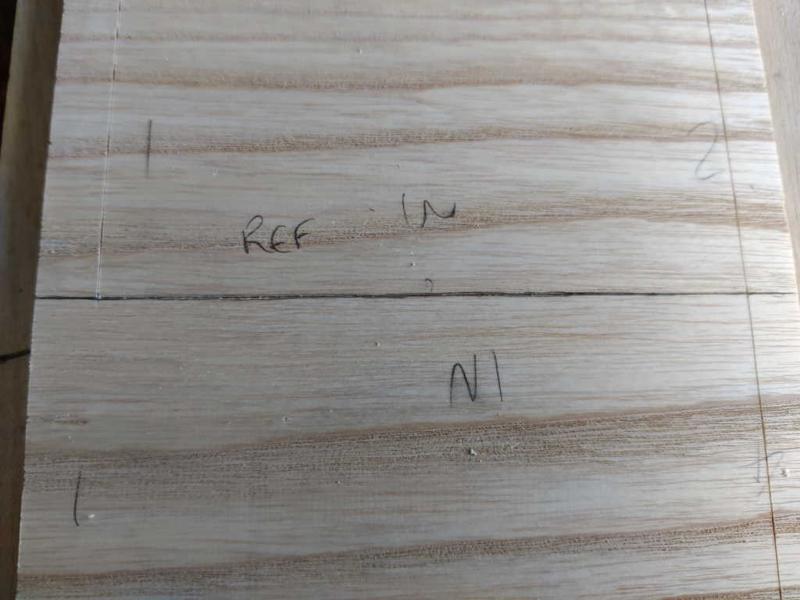
05_use_ref_800.jpg


The tails were marked out roughly (on the end face only) using my edge distance gauge and a 0.5 mm pencil. I thought I'd try marking and sawing them out in pairs (with the outside faces together such that the visible sides both had knife lines visible). The plan is to try having separate sections for the mitres (my first test had a mitre that merged with one of the tails):
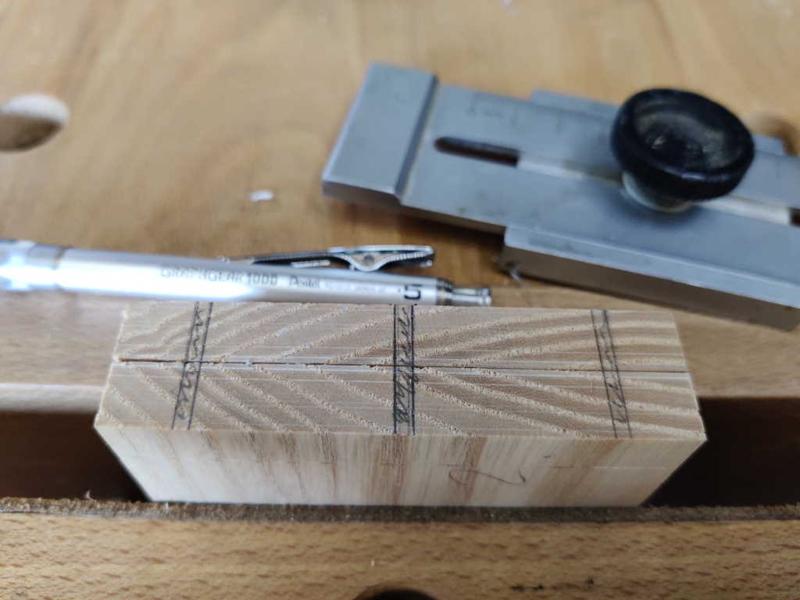
06_mark_out_tails_800.jpg


I didn't put any vertical (or 1:8) marks down the face: just a mark on the end grain and the knifed line for depth.

I used a 3D printed 90° saw guide to cut the outside marks, using the pencil line as a rough guide for position and relying on the magnetic saw guide to keep the cut square:
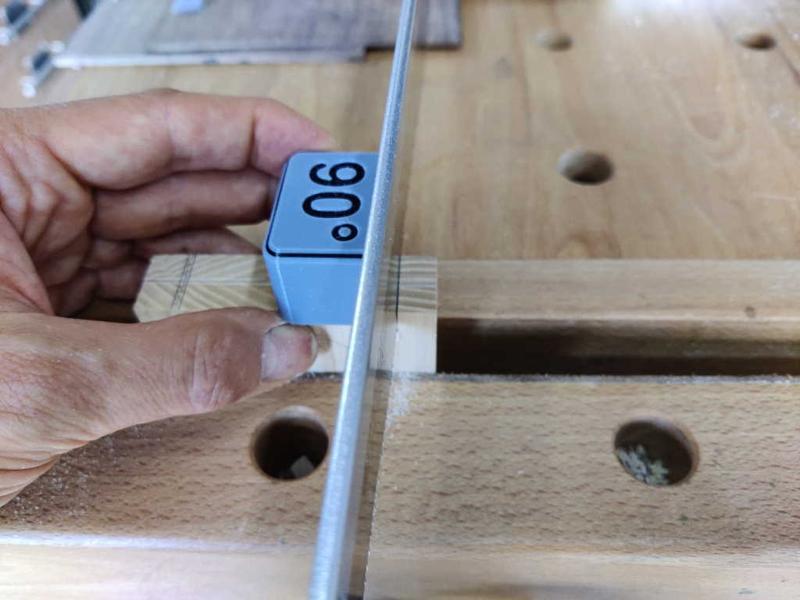
07_saw_square_cuts_800.jpg


I then used a 3D printed 1:8 saw guide in the same way to cut the sides of the tails:
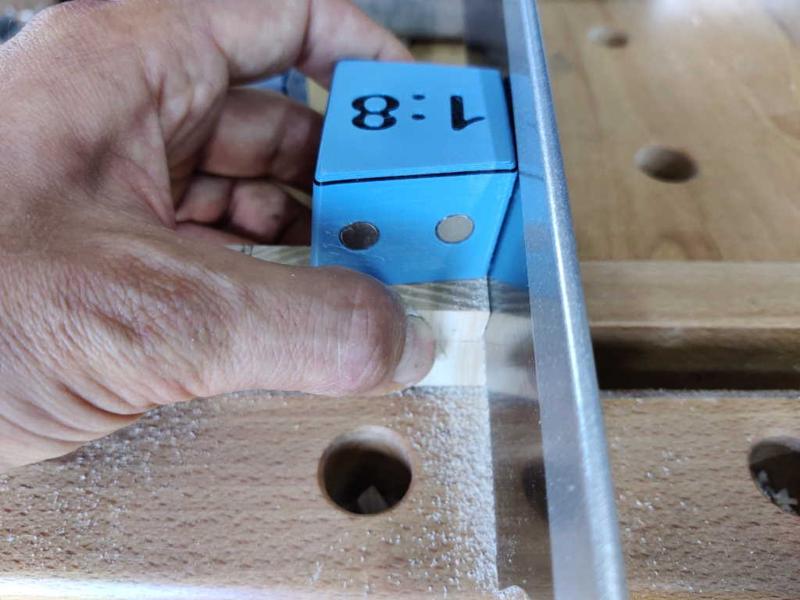
08_saw_1_in_8_800.jpg
 
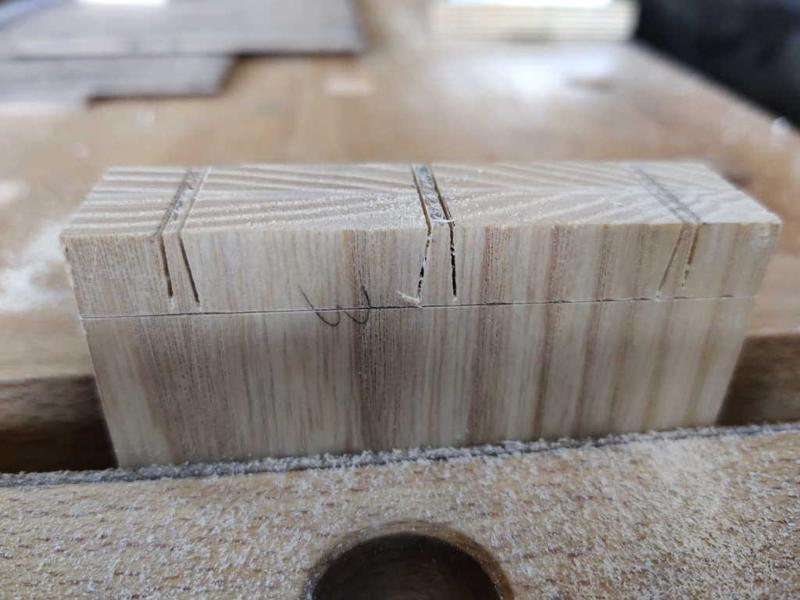
After sawing all the sides, it looked like this:

09_tail_sawing_complete_800.jpg


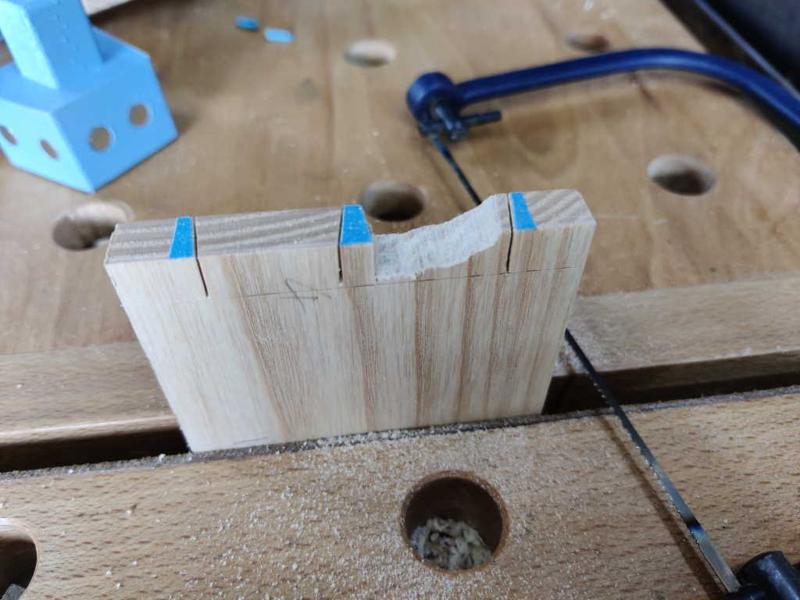
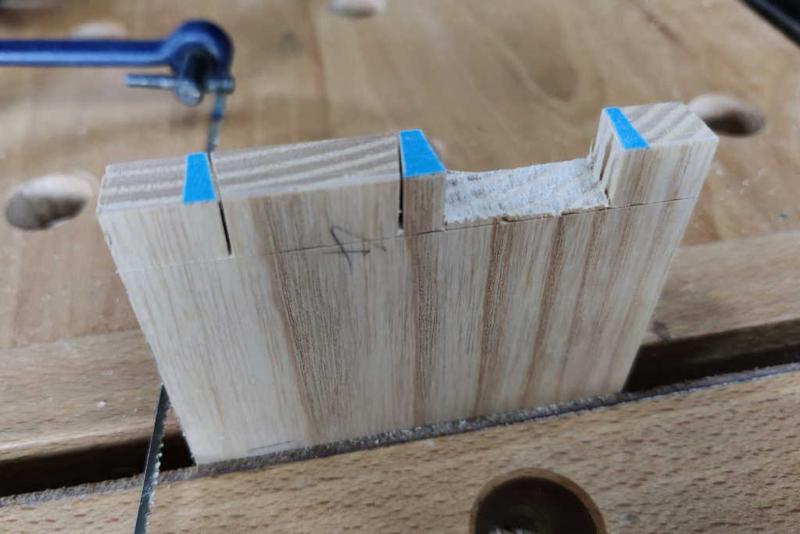
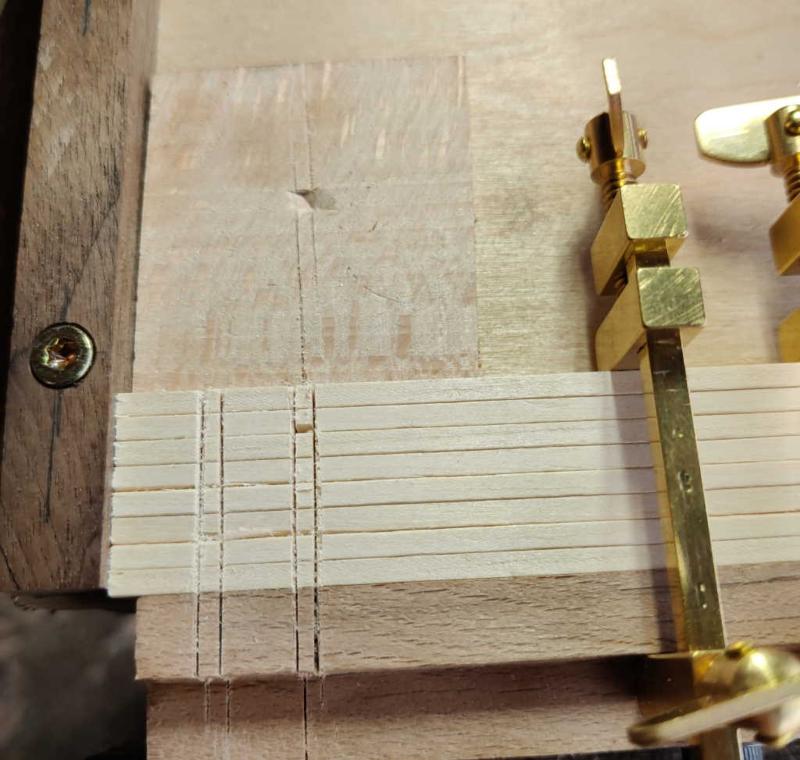
I usually cut out the bulk of the waste with a coping saw, but I've designed the pins to be very narrow so I thought I'd try my new-ish fretsaw for these. If slots down into the kerf of the dozuki and worked very well:

10_fretsaw_800.jpg


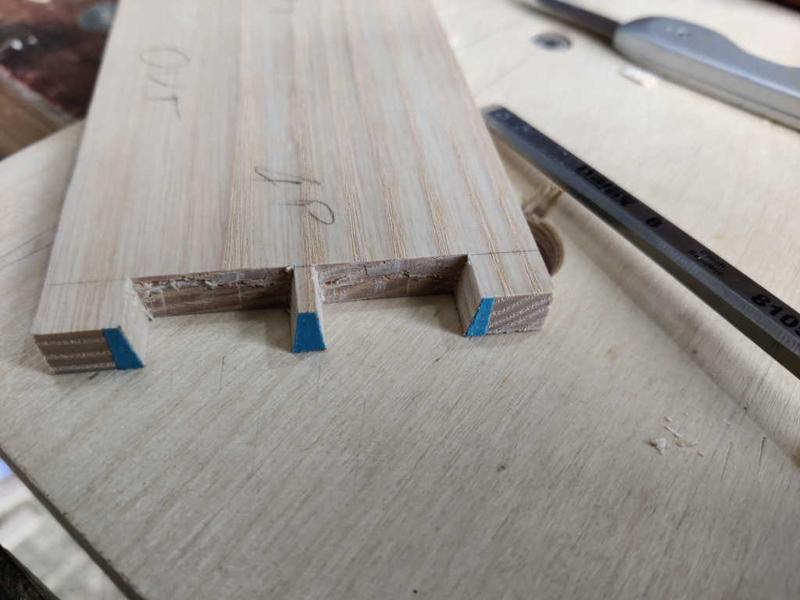
All four boards waiting for the pin holes to be cleaned out:

11_need_pins_chopping_800.jpg


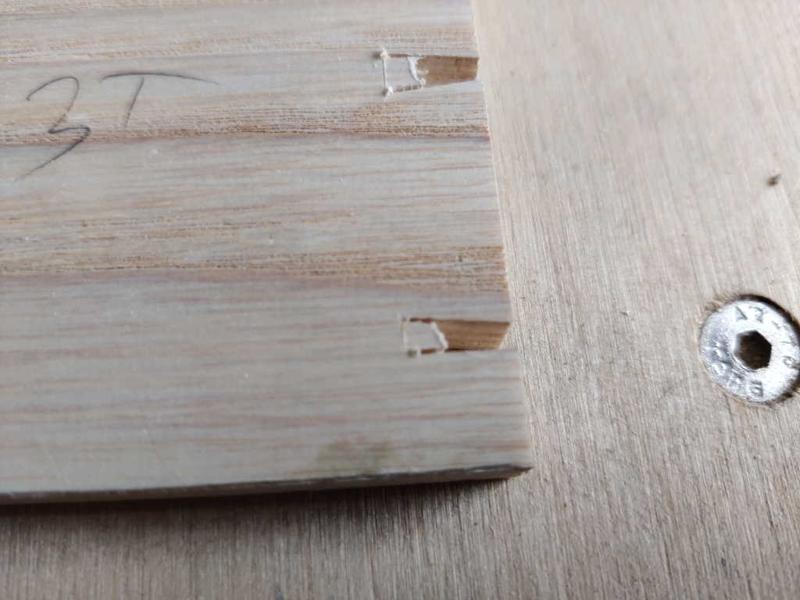
I now needed to mark the depth of the pin sockets on the outside face, so I transferred the knife marks round the edge (with a little notch on the corner) and cut a line just in the places where the pin sockets needed to come out:

13_mark_outside_face_800.jpg


While I was in the process of knife marking, I also marked the mitres on all the tail and pin boards (checking several times to make sure I was marking them the right way round!):

12_mark_mitres_800.jpg


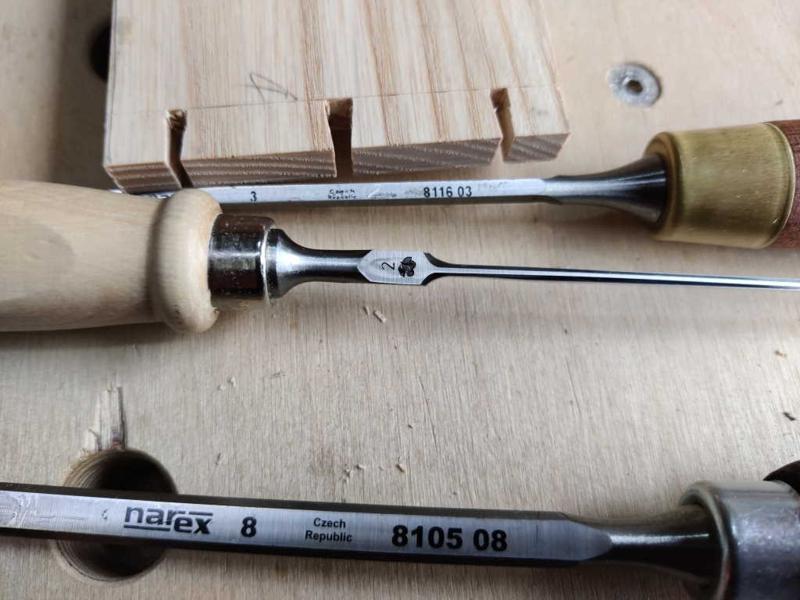
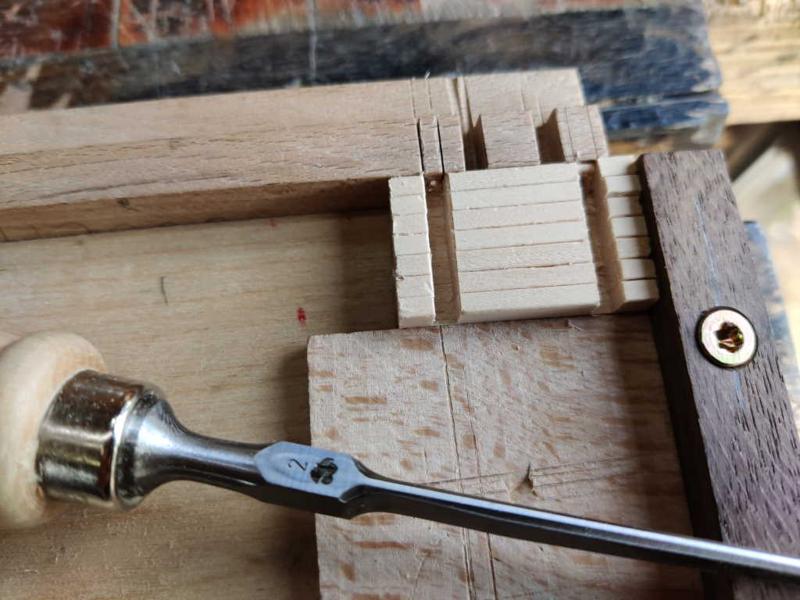
I'd intended to do all the chopping out of the pin sockets with my 3 mm chisel, but hadn't taken into account that it isn't a bevel edged chisel and it doesn't really fit into those tiny pin sockets. Instead, I resorted to a relatively new acquisition: a 2 mm chisel. It's still doesn't have bevel edges, but it's small enough to get into those pin sockets and can be angled a little to get round the lack of a bevel:

14_tiny_chisel_800.jpg


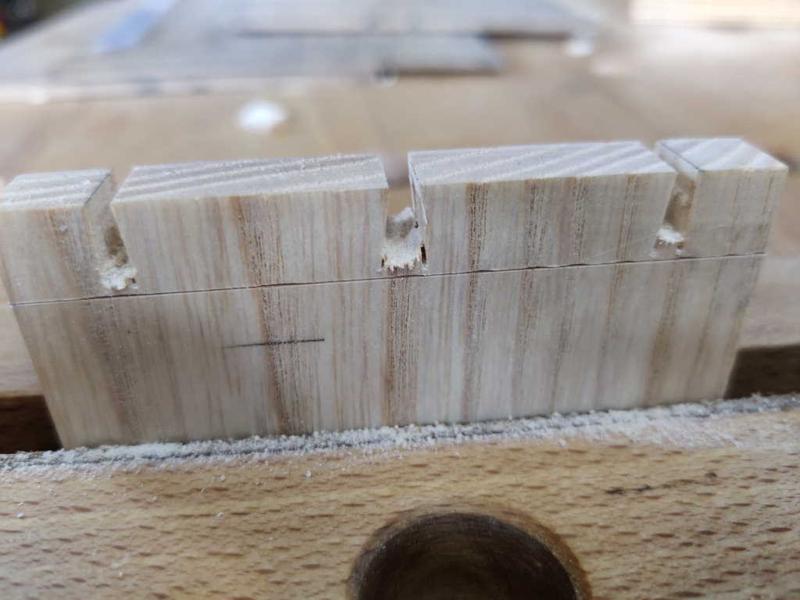
After not too long, all the pin sockets were cleared:

15_chopped_out_pin_holes_800.jpg
 
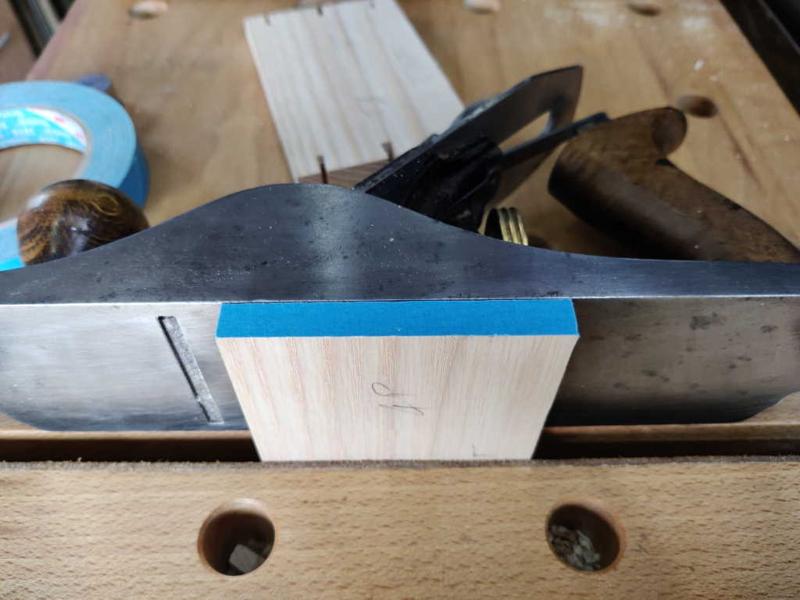
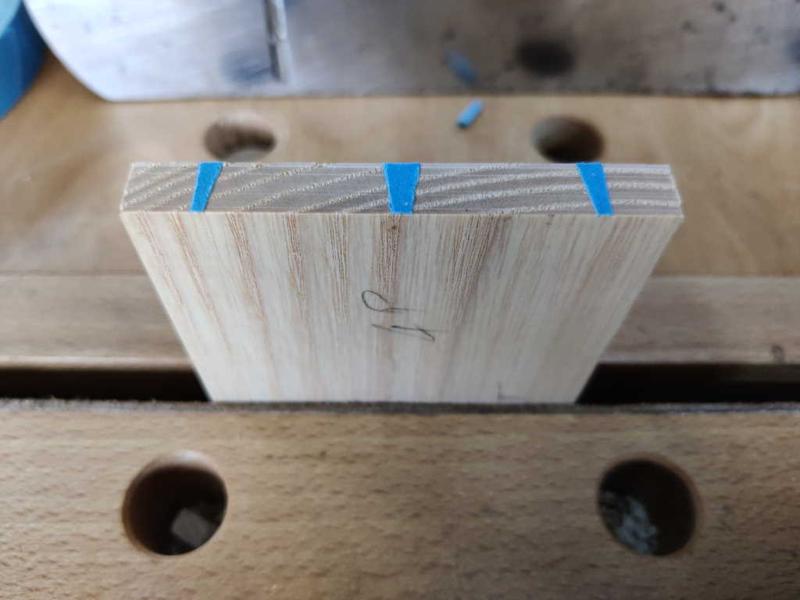
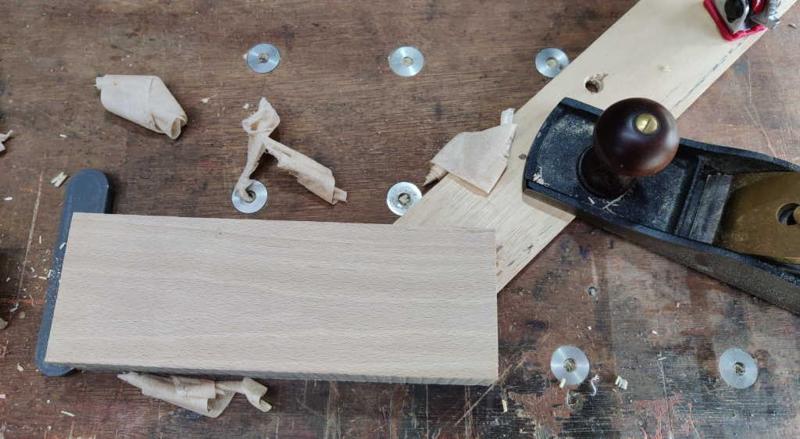
The first step in marking out the first pin board was to cover the end grain with some masking tape. I then put it in the vice of my portable workbench, raised up to match the width of my Stanley #4:

16_masking_tape_and_plane_800.jpg


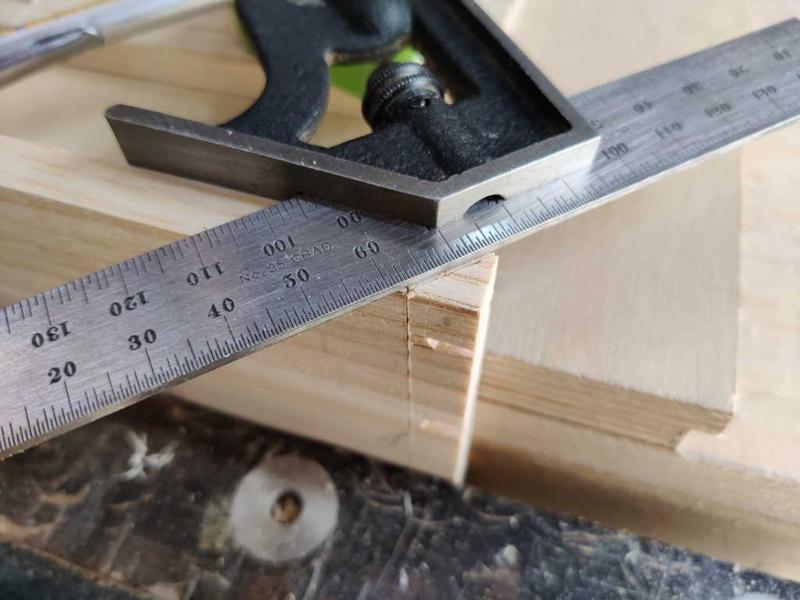
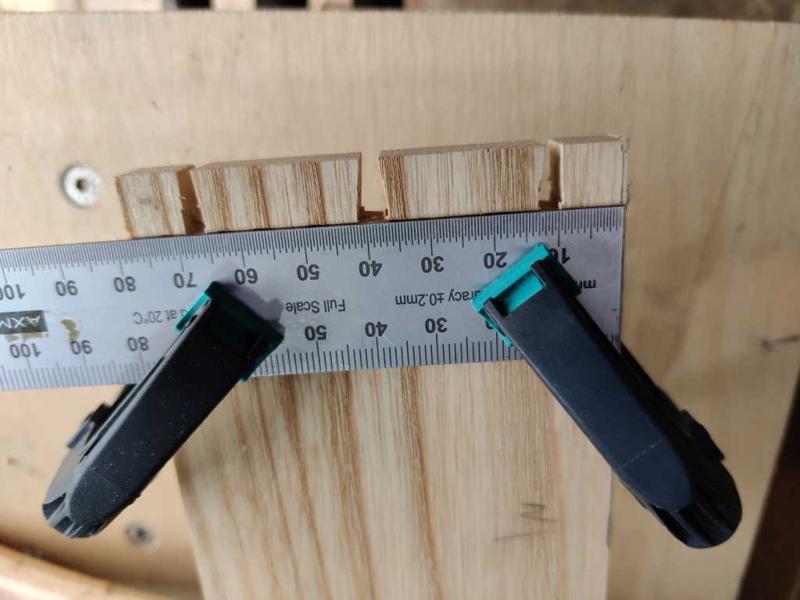
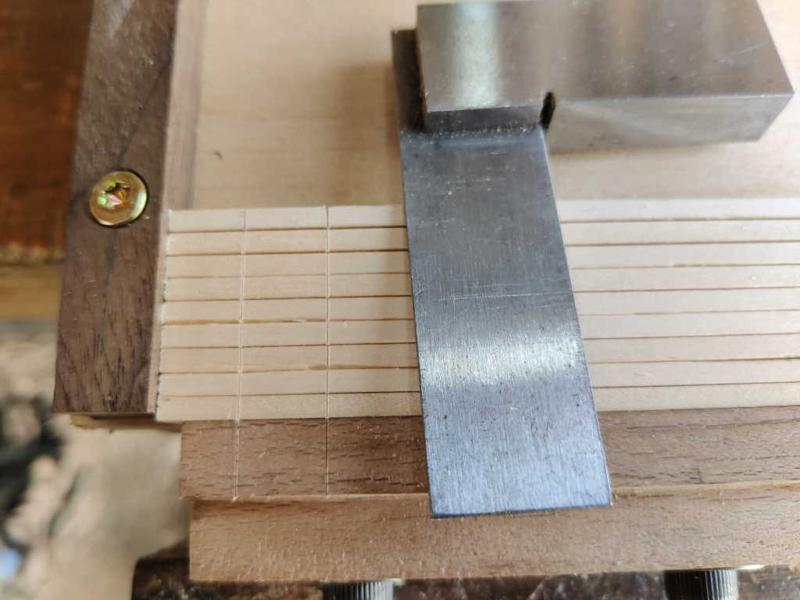
I then took my 1 mm thick steel rule and clamped it to the tail board using a couple of offset jaw spring clamps. The end of the rule is slightly in-board of the reference edge and the side of the rule is flush with the knifed line on the inside face of the board:

17_ruler_against_scribed_line_800.jpg


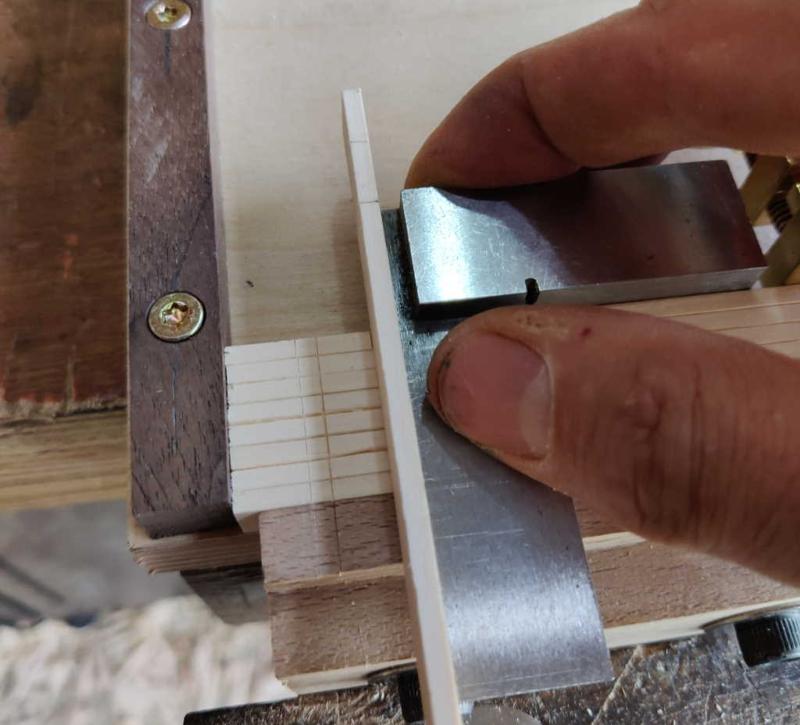
That 1 mm thick rule gives a "positive stop" for the tail board when offering it up to the pin board, making it really easy to get it into the right place. Having the ruler slightly in-board of the reference edge means I can use the back of a chisel to push the two reference edges into line, while relying on the ruler to keep the board at the right depth:

18_marking_out_pins_800.jpg


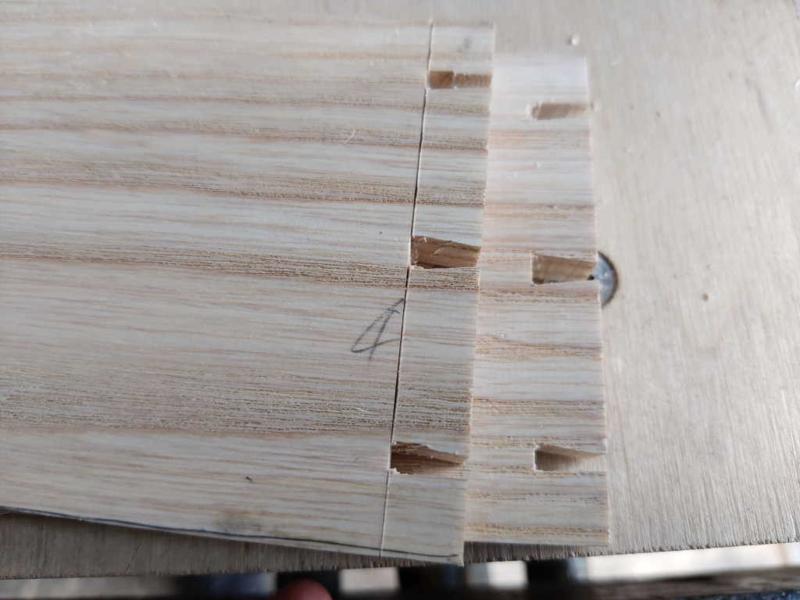
With the tail board held over the pin board, I use a knife to cut the masking tape in the pin sockets and can then peel the waste bits away:

19_pin_board_tape_waste_800.jpg


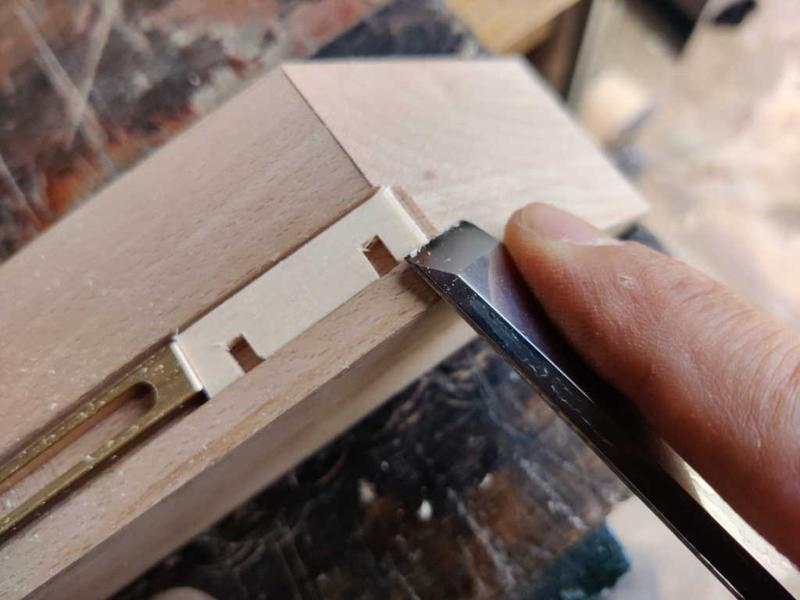
After running a pencil line across the outside face at about the right depth, I got the 1:8 jig out again and used its other sides to guide the saw through the pin cut. The saw guide is placed over the masking tape with the fence flush against the back of the board. The face is angled to match the angle produced when cutting the tails, so it simply needs to be slid up to the edge of the tape and it can then be used to guide the saw:

20_pin_board_jig_close_up_800.jpg


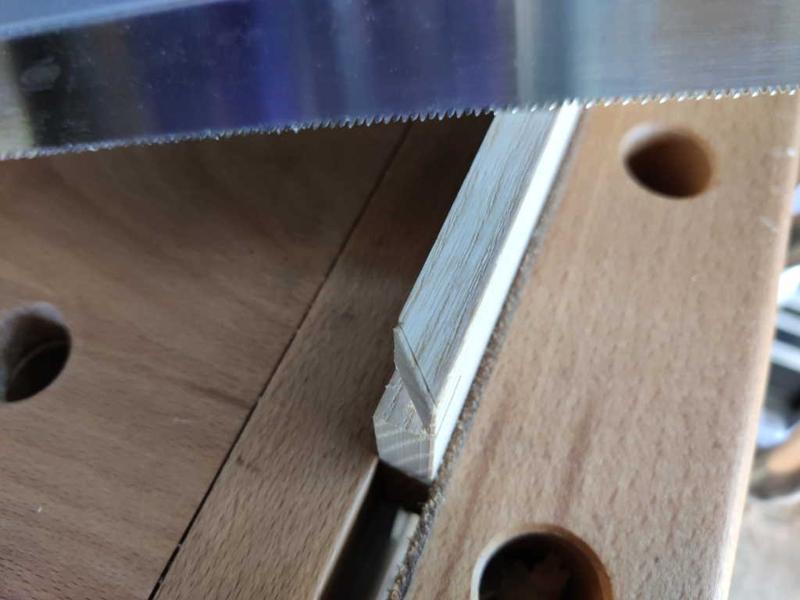
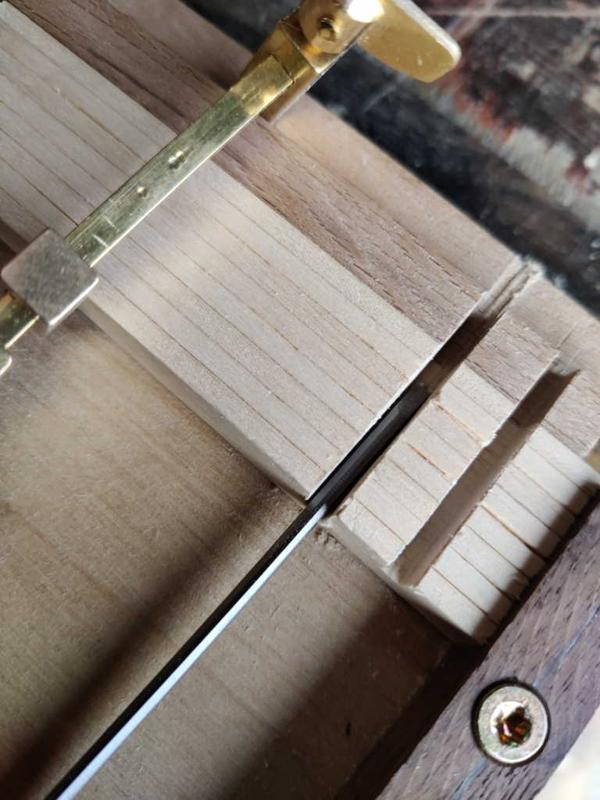
This time I decided to go back to using the coping saw (no idea why really). Since it won't go down into the dozuki kerf, I tend to do the coping saw cuts in two passes. The first one starts at the top (a couple of millimetres away from the kerf) and angles down until it meets the other kerf:

21_coping_saw_1_800.jpg


The second cut goes back across to clear the other side:

22_coping_saw_2_800.jpg


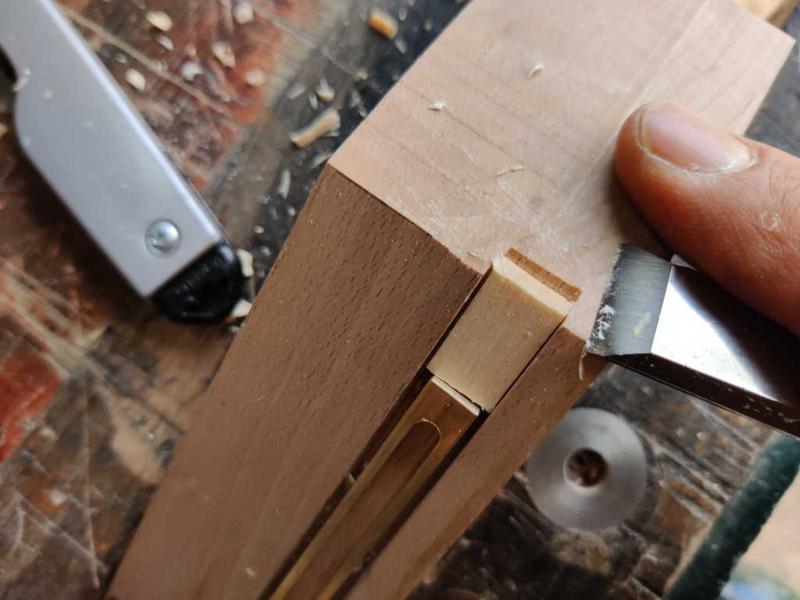
I can then chop out the rest of the waste (this time with an 8 mm chisel, although a bigger one would have worked fine):

23_chopped_out_tail_holes_800.jpg


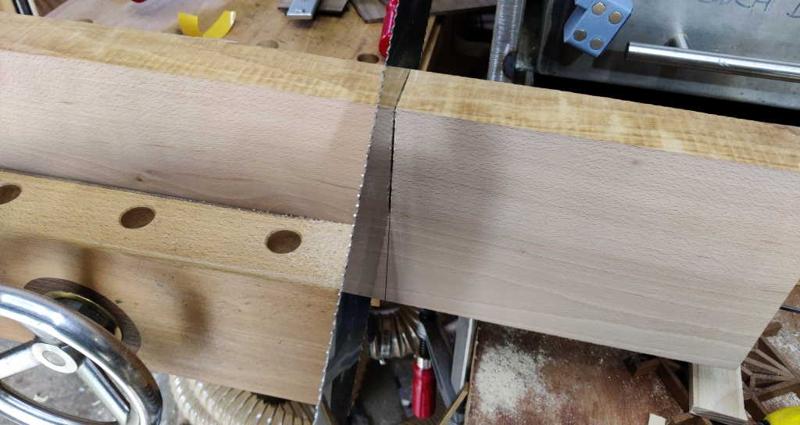
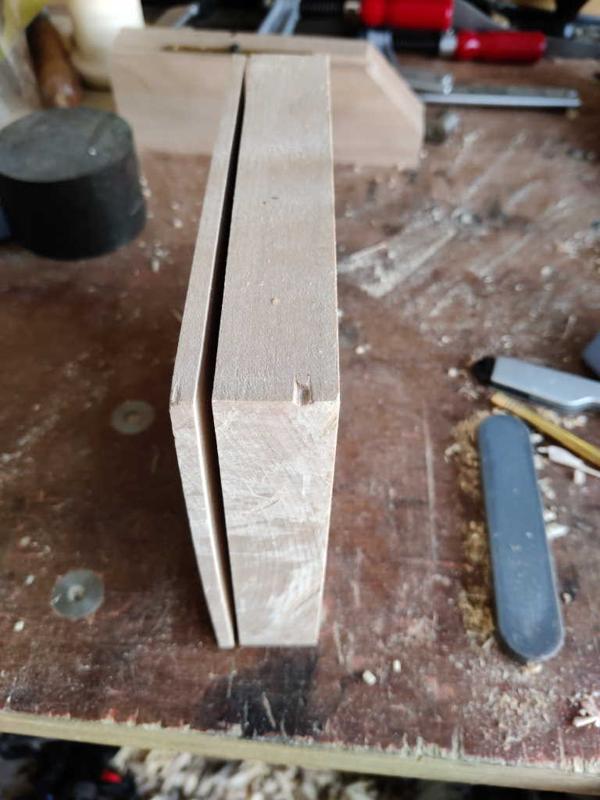
Next up was sawing off the mitres, keeping well away from the knifed line. First the tail board:

24_sawn_off_mitre_tail_board_800.jpg


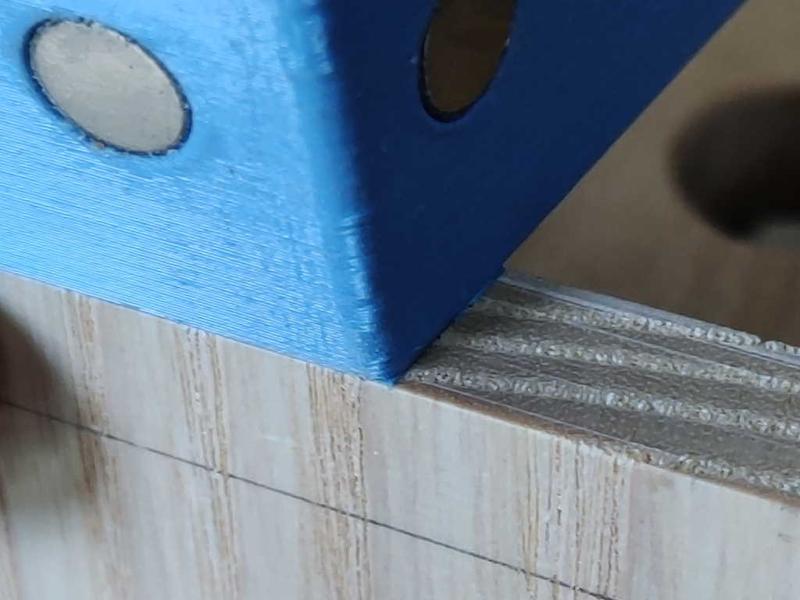
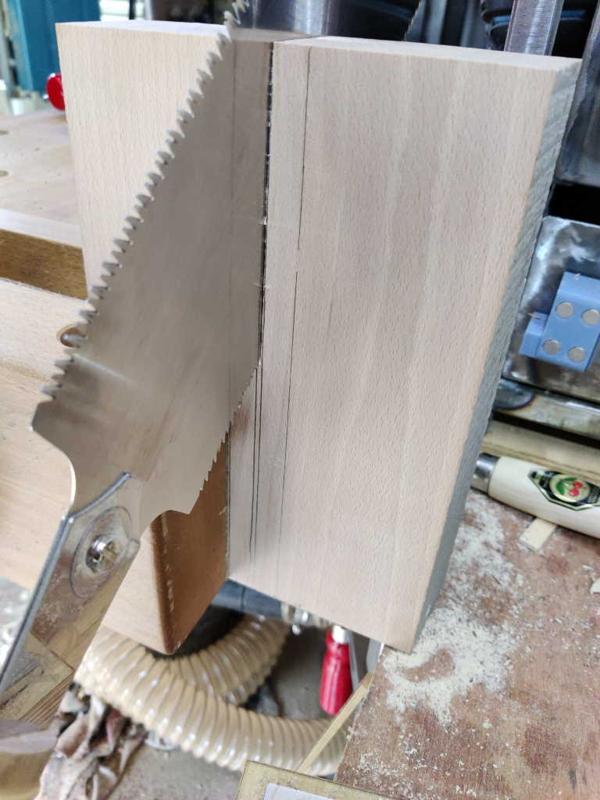
I then used another 90° 3D printed jig (with the saw handle held down low to make the 45° angle) to produce the two rip cuts:

25_square_jig_for_pin_board_mitres_800.jpg


I could then saw off the waste, again staying away from the line:

26_sawn_off_pin_mitres_800.jpg
 
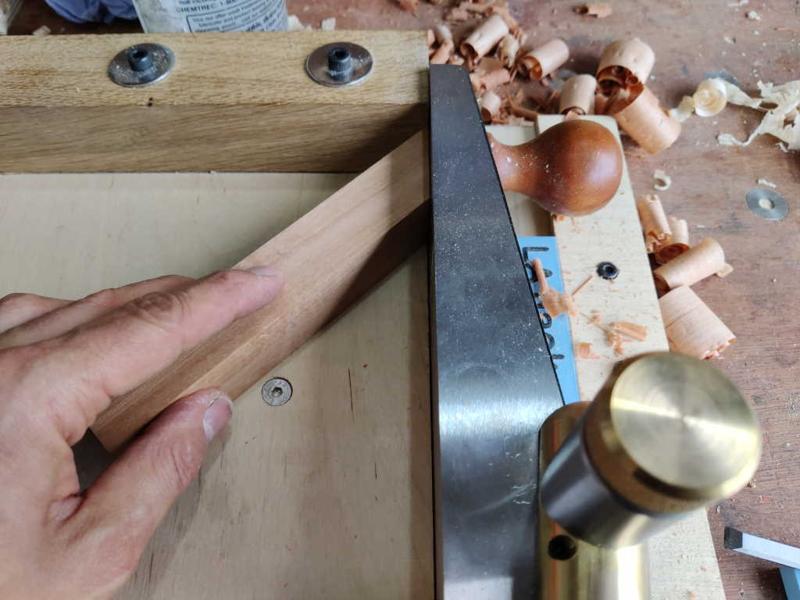
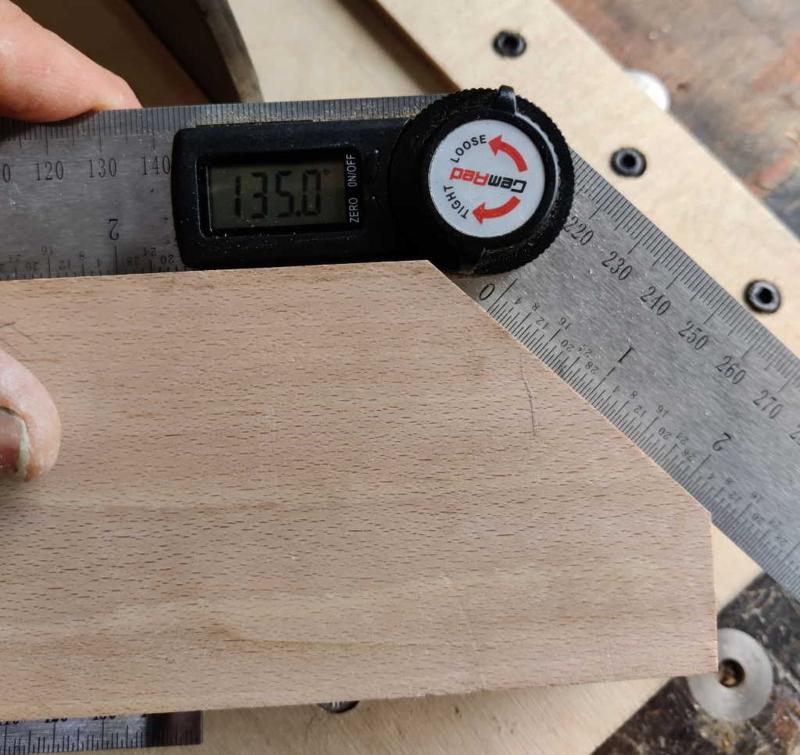
When I made my mitred dovetail test piece, I used a bit of oak that I'd previously cut at 45° with my table saw (before I sold it). Since I'm trying to do more with hand tools, I thought I'd have a go at making a new 45° reference piece using hand tools only. I had a short-ish bit of square-ish cherry in the drawer. I planed it so that all four sides were square with each other and then cut a very rough 45° angle into the end with my ryoba. With that done, I could hold the block on my shooting board and shoot the end to approximately 45°:

27_shooting_45_800.jpg


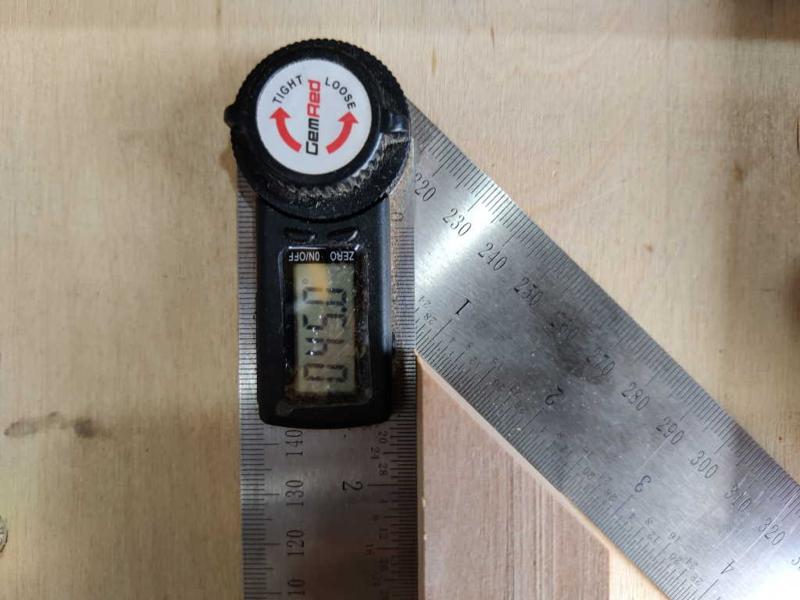
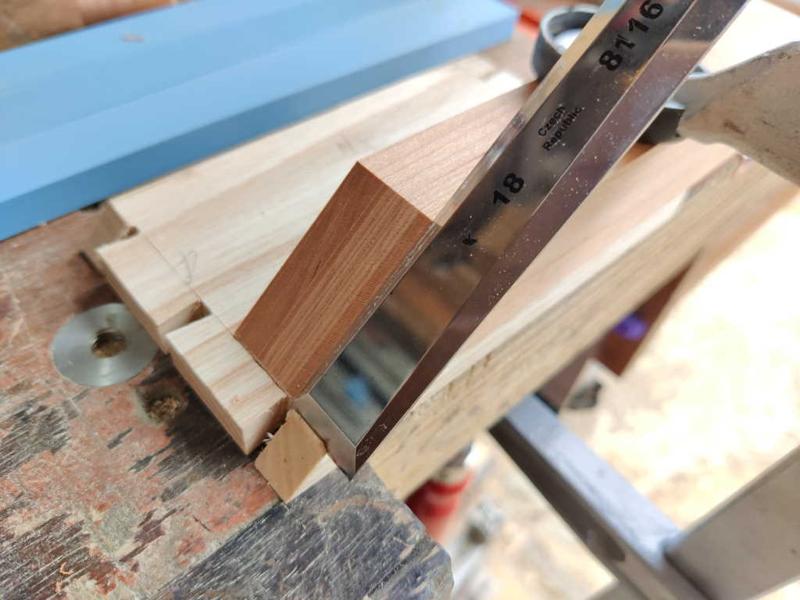
I checked the angle with a digital protractor and kept tweaking the angle, shooting again, checking the angle over and over until I got it spot on:

28_checking_angle_800.jpg


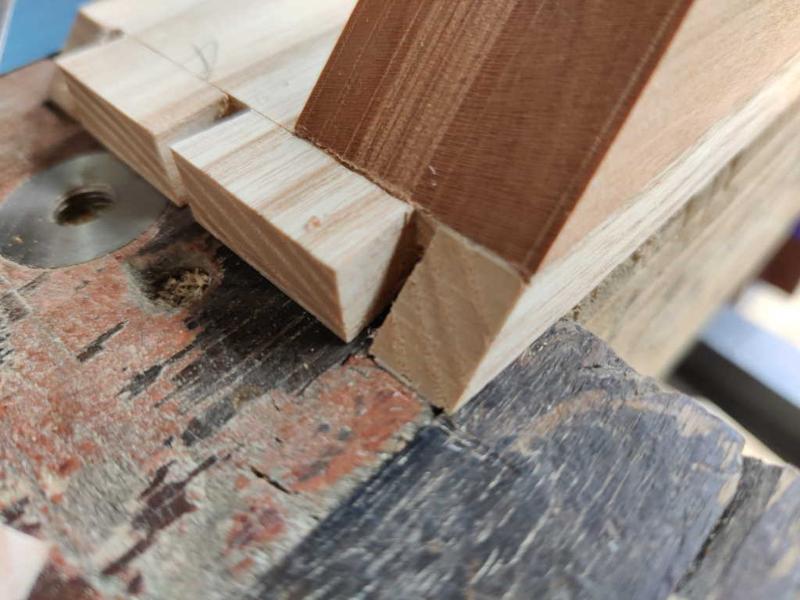
I could then clamp that cherry block down onto the tail board and gently push a chisel down to cut the mitre (in two stages in some cases). I thought I'd be brave (stupid?) and chop to the scribed line rather than doing lots of test fits and creeping up on it:

29_chisel_mitre_800.jpg


Chiselled mitre:

30_chiselled_mitre_800.jpg


With that, the first joint is nearly ready for test fitting:

31_first_pair_800.jpg


Before trying to push them together, I relieved the inside edges of the tails with a chisel:

32_relieve_tail_inside_corners_800.jpg


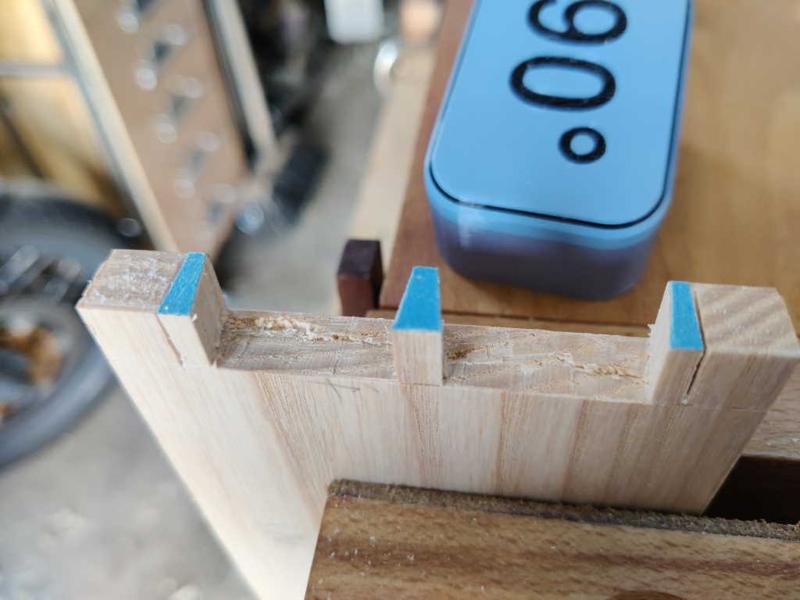
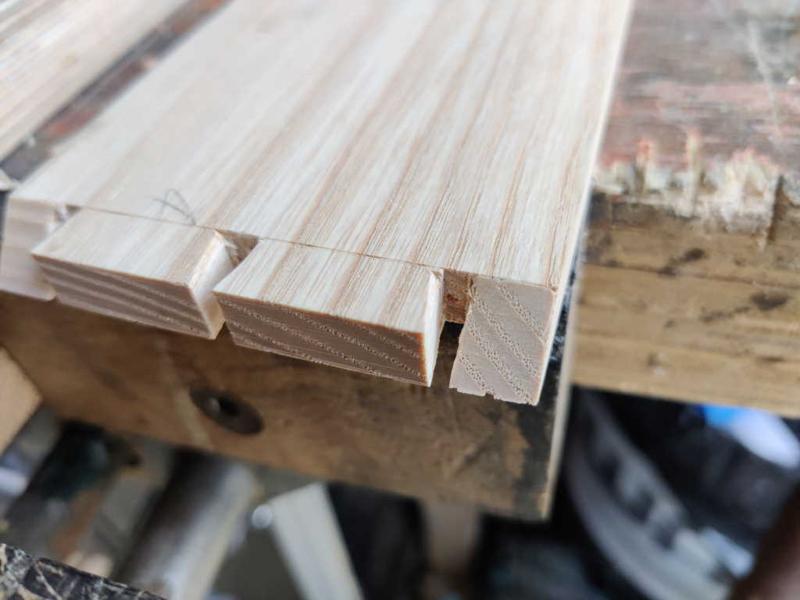
The pins and tails weren't quite right and I had to widen the tail openings very slightly, but it didn't need much and in very little time the first joint was together:

33_it_fits_800.jpg


That's it for today; tomorrow I'll get on with the other three sets of pins & mitres.
 
This is a really good wip - plenty of detail to consider/copy/adapt. Thank you!

I remember seeing your clamped on ruler idea, but had forgotten it, so it's useful to see a reminder for that.

When cutting the tails in pairs, there are several advantages. One is that you don't need to mark where you can't see. Another is that it's easier to judge a right angle cut if it's longer than one thin board. Your 90° guide takes care of that for you though.
 
Looks like you're using some of that finest kiln dried American Ash :D as well; not my first choice for cutting dovetails - Rob
 
Woodbloke":226913jh said:
Looks like you're using some of that finest kiln dried American Ash :D as well; not my first choice for cutting dovetails - Rob
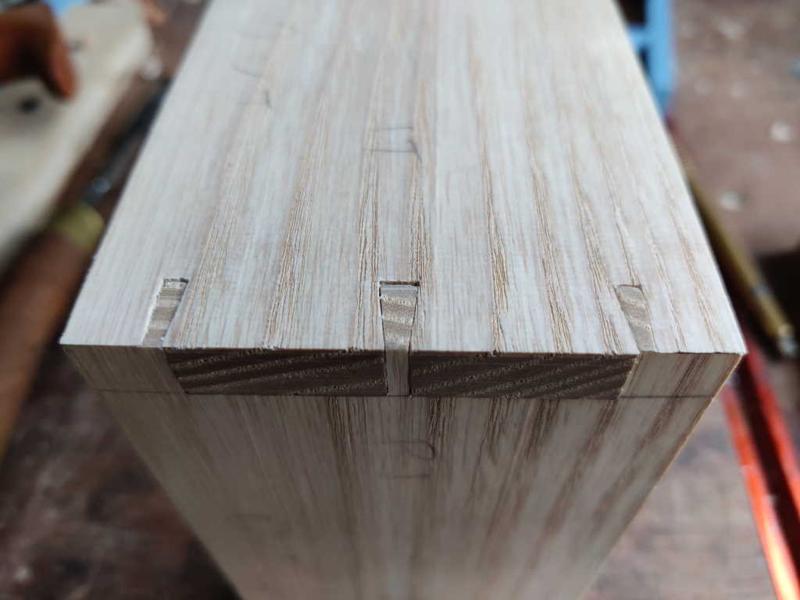
I've no idea. I think it's whatever Yandles marks up as Ash, although it might be whatever Wentwood marks up as Ash. It seems okay to me, but then I'm still at the point where I could quite easily count the number of dovetails I've ever cut, so my experience isn't exactly comprehensive.

Rezi":226913jh said:
Great WIP, thanks for making this post, it's good to see more woodworking on this website.

Malc2098":226913jh said:

Phil":226913jh said:
Rezi":226913jh said:
Great WIP, thanks for making this post

:text-+1:


:text-goodpost:

Thanks all

AndyT":226913jh said:
This is a really good wip - plenty of detail to consider/copy/adapt. Thank you!

Thanks Andy. I still feel like I've got a lot to learn, but it can be helpful for me to write down the details of how I do things and, if they're right: I might remember to do them again. If they're wrong, I'll either realise what I've done wrong or someone on here will point me in the right direction!

AndyT":226913jh said:
I remember seeing your clamped on ruler idea, but had forgotten it, so it's useful to see a reminder for that.

That one occurred to me when I was on holiday in France and trying to cut some dovetails. I was getting frustrated following Derek Cohen's (I think) method of shining a light from behind and tweaking the position and I thought there had to be a better way. The clamped on ruler thing is so quick and easy I can't imagine looking for another way now.

AndyT":226913jh said:
When cutting the tails in pairs, there are several advantages. One is that you don't need to mark where you can't see. Another is that it's easier to judge a right angle cut if it's longer than one thin board. Your 90° guide takes care of that for you though.

One of these days I'll have another go at sawing the dovetails without a guide, but the guide does make it very easy (and relatively idiot-proof, which is handy for me!). Until I'd tried cutting the tails in pairs, it hadn't occurred to me that it saves marking the outside of the board, but that's definitely a great benefit.
 
I didn't take many photos this morning as it was just a case of more of the same. However, a couple of hours of marking, sawing and chiselling and the box frame is together:

34_all_mitre_dovetails_800.jpg


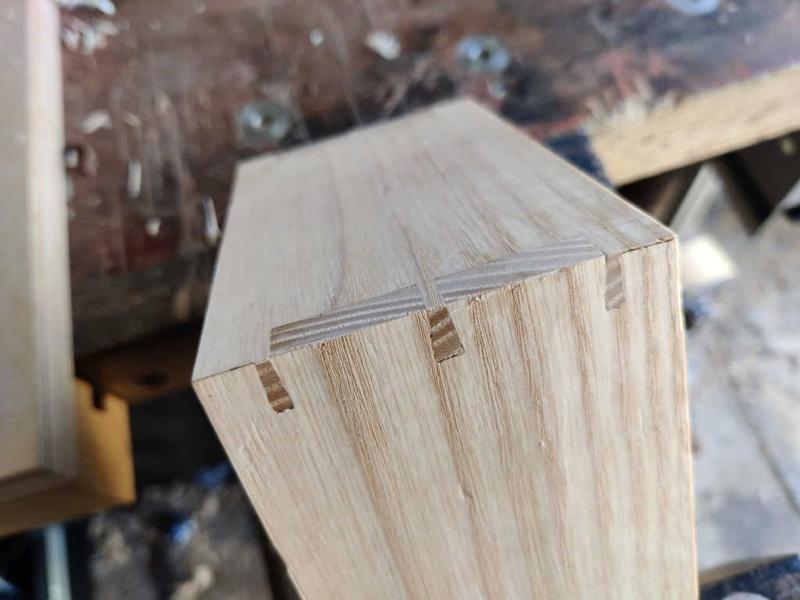
The joints were mostly good, not needing much fettling to get them to go together. Here's one of the ones I did this morning:

35_mitre_1_800.jpg


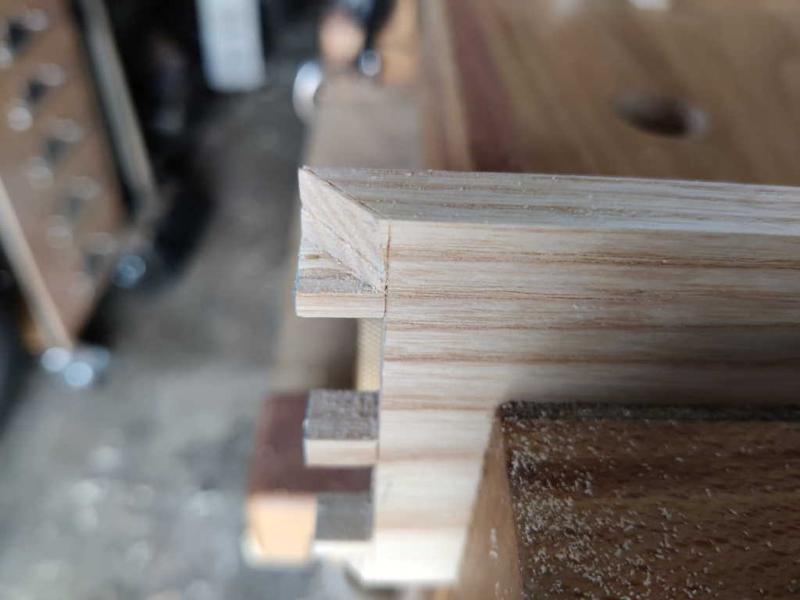
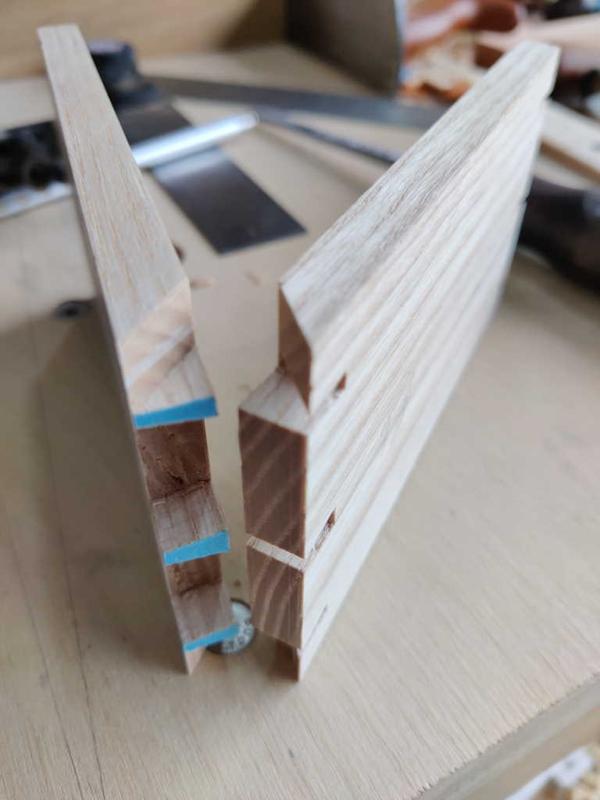
Unfortunately, I messed up the mitre a bit on one of them:

36_mitre_saw_too_close_800.jpg


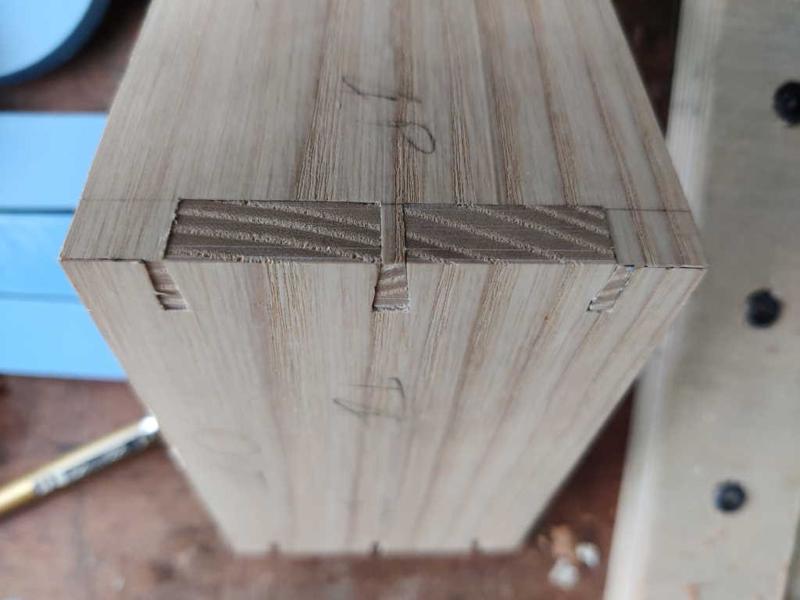
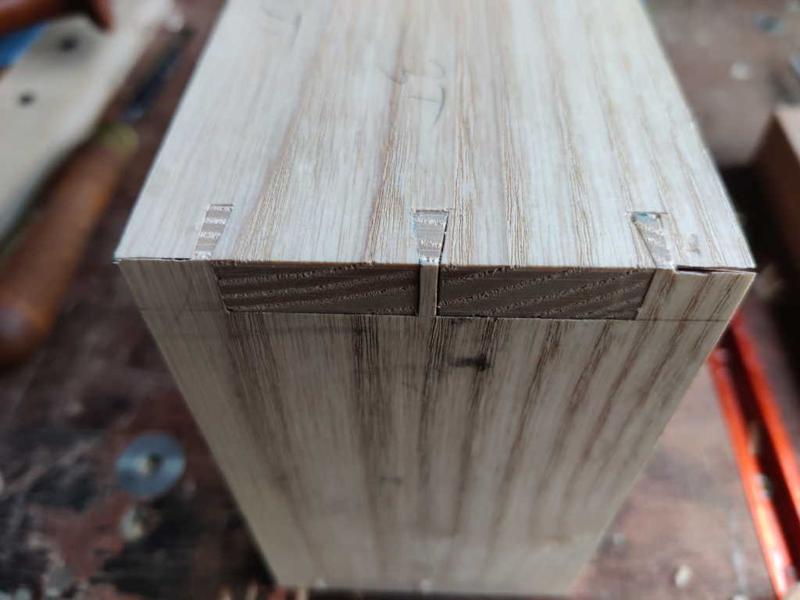
When I was sawing off the waste before chiselling, I went too close to the line and also sawed on the wonk and that meant there wasn't enough material left to pare it down to the line. It's not a huge gap and I may be able to close it up with glue and clamps and a bit of careful tweaking of the dovetail, but I decided it was time to come and have a hot drink and ponder for a bit before carrying on.
 
Just a suggestion - not sure if it will work - on my ash bed project I've been surprised how much the water-based finish raises the grain. You could see if just wetting the skinny parts, then letting them dry, will persuade them to meet to your satisfaction.

Other fixes include gluing a sliver of fresh wood on, then paring it back again. Or gluing a little patch into the gap after assembly. Or hammering on the adjacent part to make it wider - one of my old books calls this "bishoping" the dovetails, as if it was a frequent practice.
 
AndyT":1x2fq4zj said:
Just a suggestion - not sure if it will work - on my ash bed project I've been surprised how much the water-based finish raises the grain. You could see if just wetting the skinny parts, then letting them dry, will persuade them to meet to your satisfaction.

Other fixes include gluing a sliver of fresh wood on, then paring it back again. Or gluing a little patch into the gap after assembly. Or hammering on the adjacent part to make it wider - one of my old books calls this "bishoping" the dovetails, as if it was a frequent practice.

Wow, that's a lot of things I didn't know! I don't know how many of them will be practical though as I've already glued it together!

I tweaked the dovetail fit on that corner a little and it seems to have gone together okay. There are still gaps (photos to follow in a mo), but it's definitely looking better). I'm going to have to bookmark your post for future reference though...
 
Put some glue in the gaps. after 10 mins or so whilst the glue is still wet, run a ROS 120grit ish over the area taking care not to round the corners. Dont use dust extraction. The dust will be forced into the gaps.

I cant possibly say how I know that it is effective! :lol:

Bob
 
After a bit of playing around with the joint to try to improve the fit, I decided the only thing for it was to get on with getting it to the point it could be glued together.

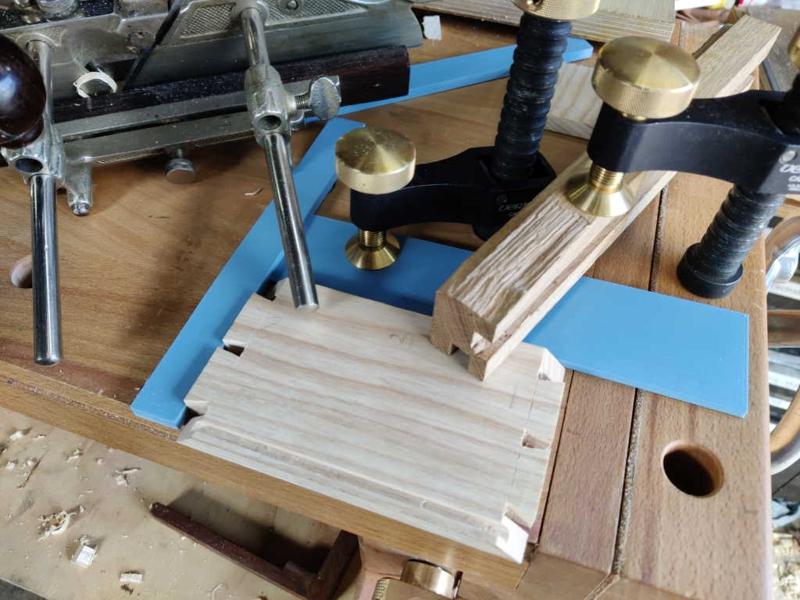
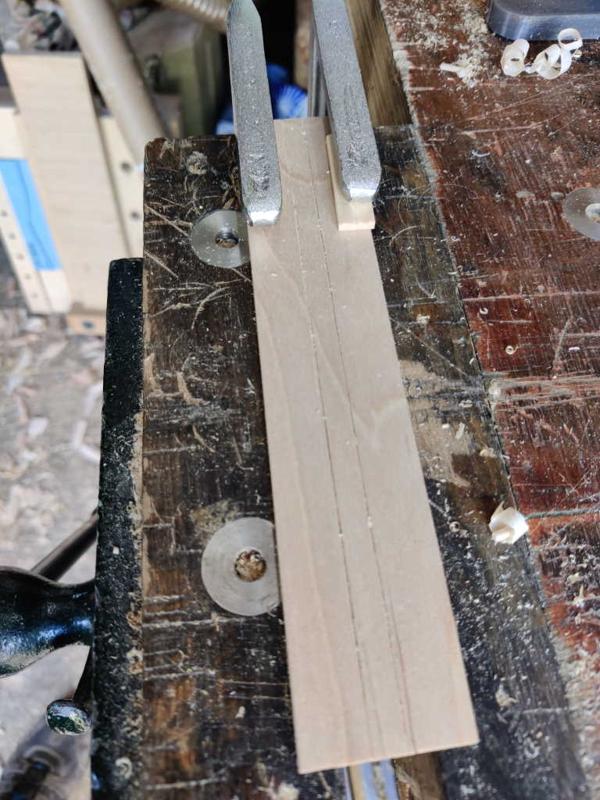
First job was to plough the 4 mm grooves for the base. It always takes me ages to figure out a way to hold material for ploughing or rebating and this was no exception. This is what I came up with in the end:

37_ploughing_4mm_grooves_800.jpg


Once I'd got the first one done, the others were quick and straightforward and with that, the sides are complete.

38_ploughed_grooves_800.jpg


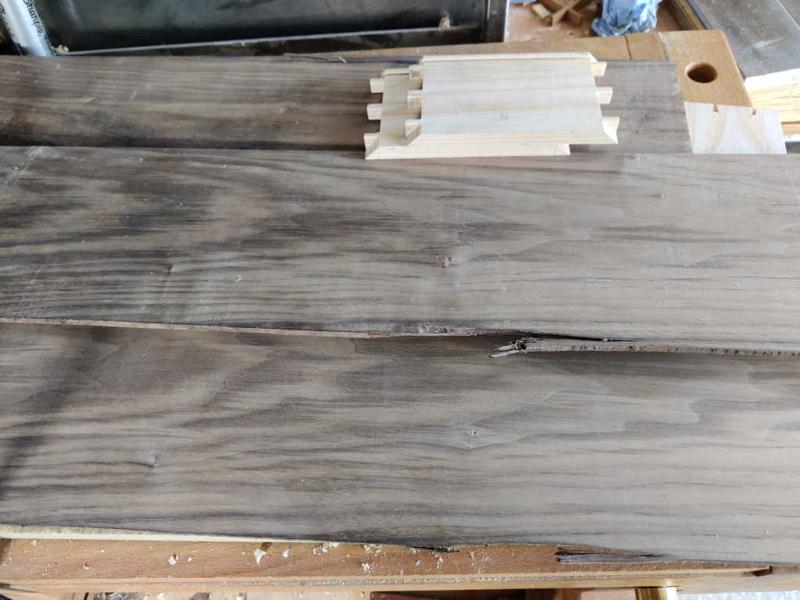
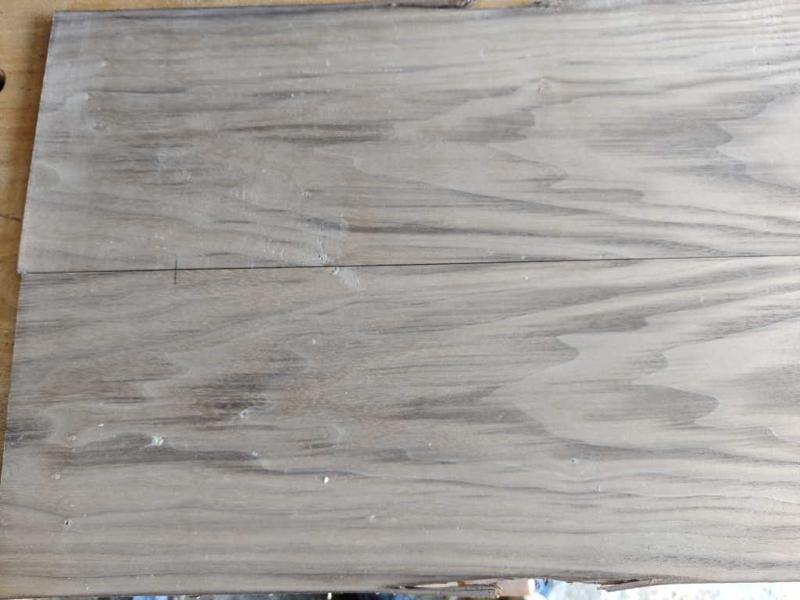
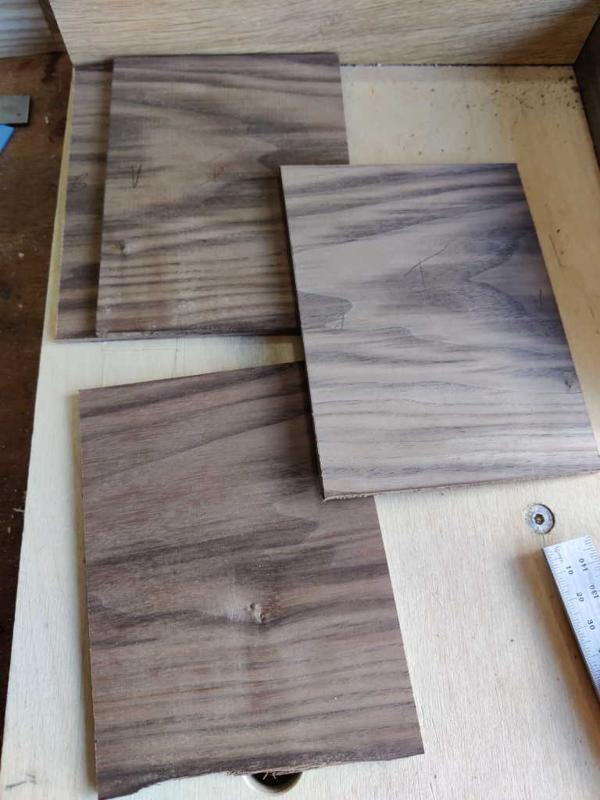
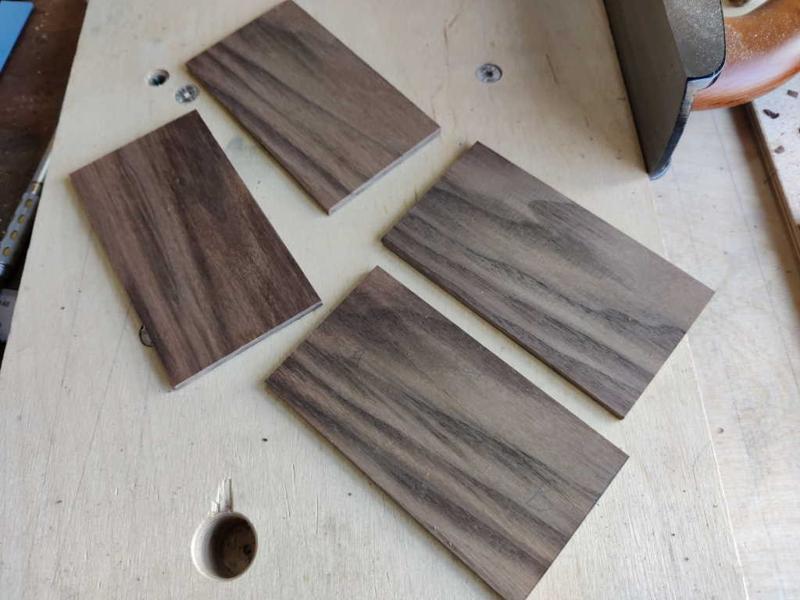
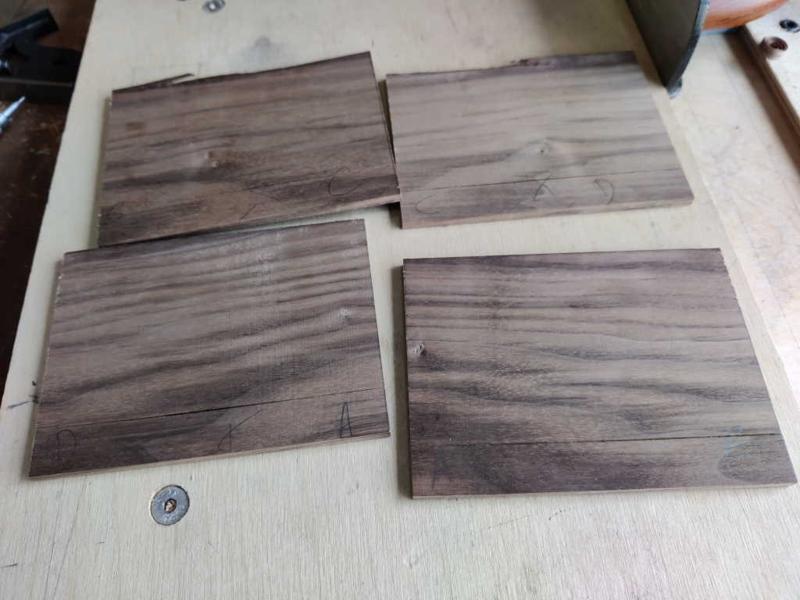
A week or so ago I used my bandsaw to resaw a American Black Walnut plank into three pieces and fed those pieces through the thicknesser, to make these three planks. Two are 4 mm thick and one is 2 mm thick:

39_walnut_800.jpg


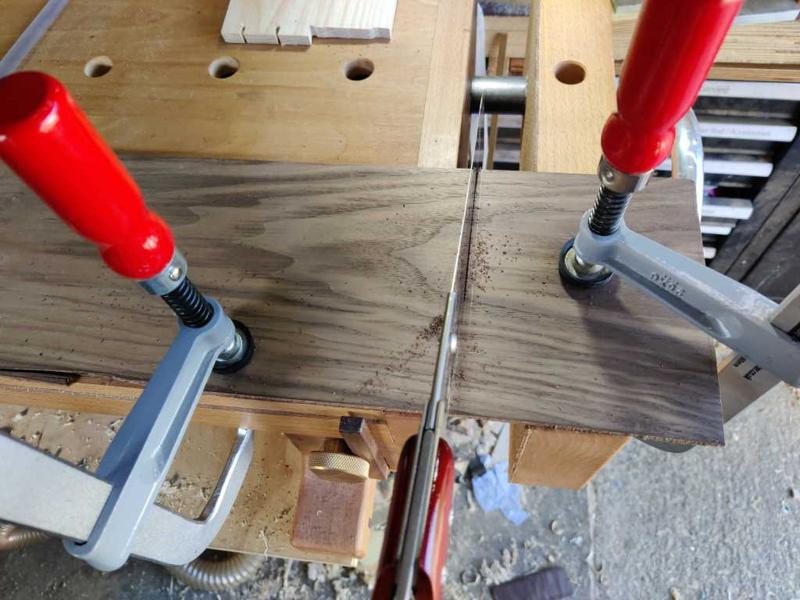
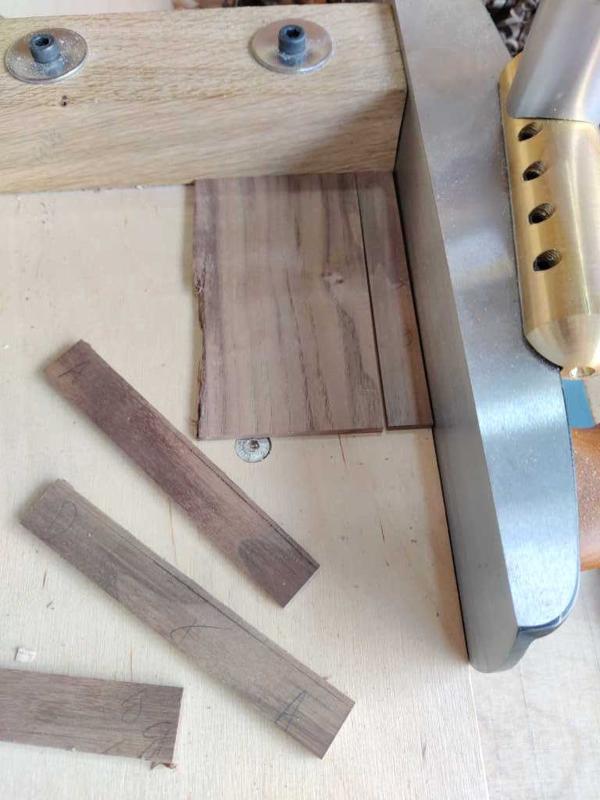
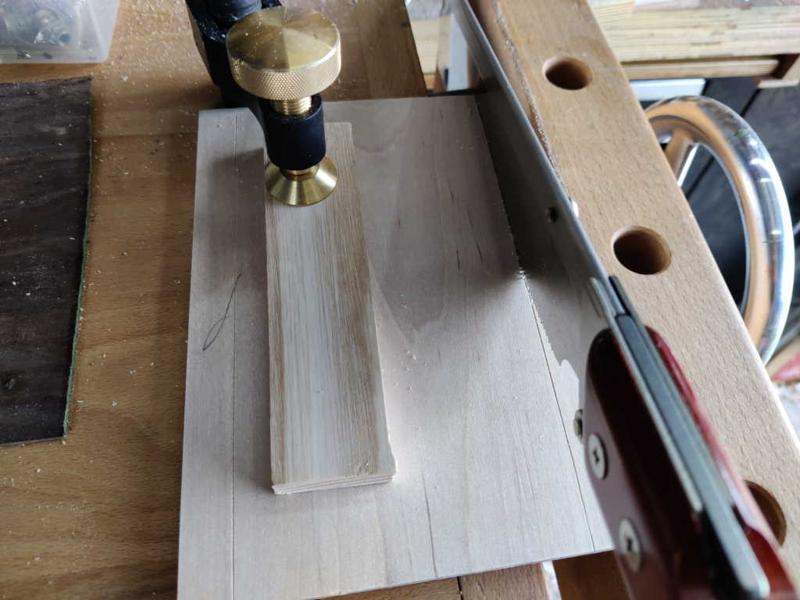
I clamped one of the 4 mm pieces to my portable workbench and sawed a roughly square bit off (after trimming the snipey bit off the end):

40_sawing_base_from_walnut_800.jpg


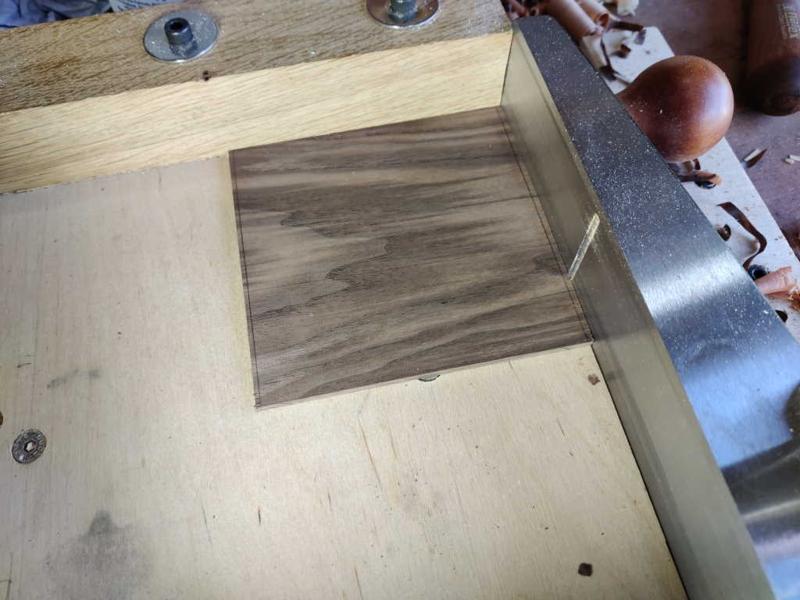
I then used my beloved shooting board to square it up and bring it to the right size:

41_shooting_walnut_base_800.jpg


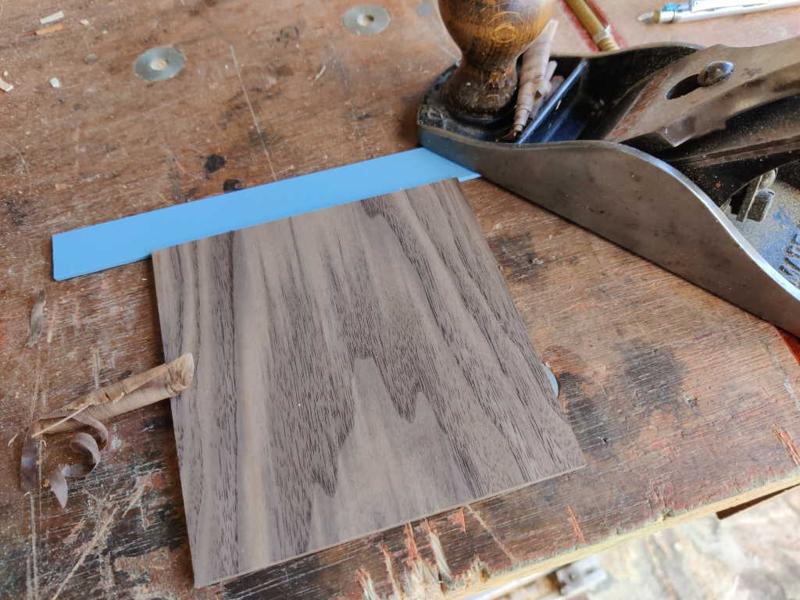
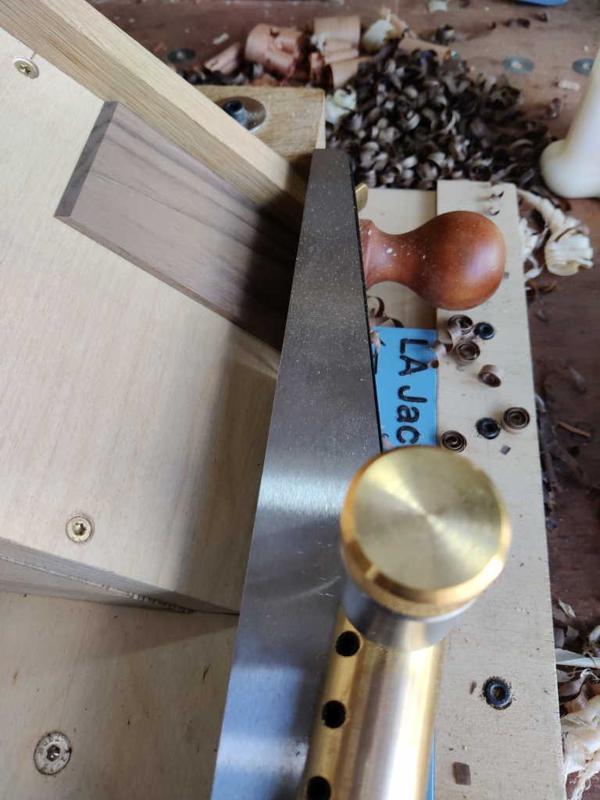
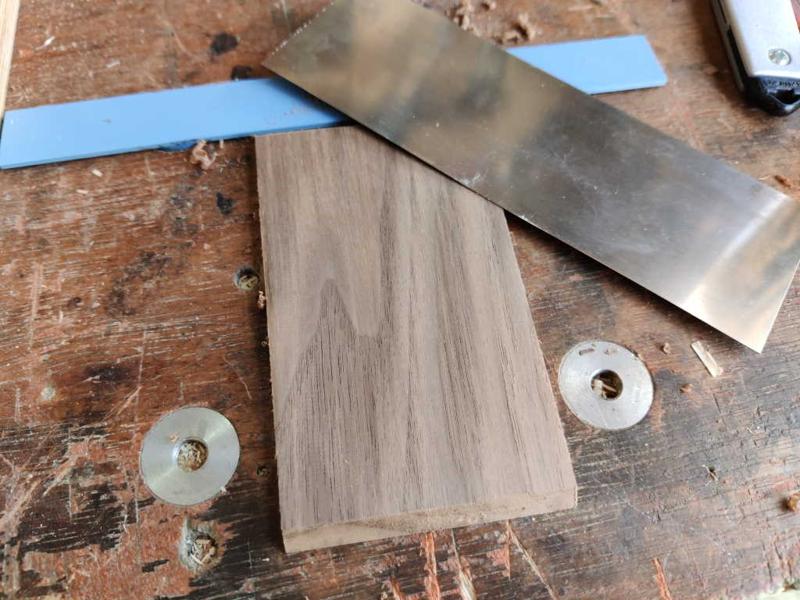
To clean up the marks from the thicknesser, I fitted a 3D printed stop into the dog holes in my bench (this one is only 2 mm thick, so it's quite handy for jobs like this) and used a Stanley #4 to skim the surface:

42_planing_faces_of_base_800.jpg


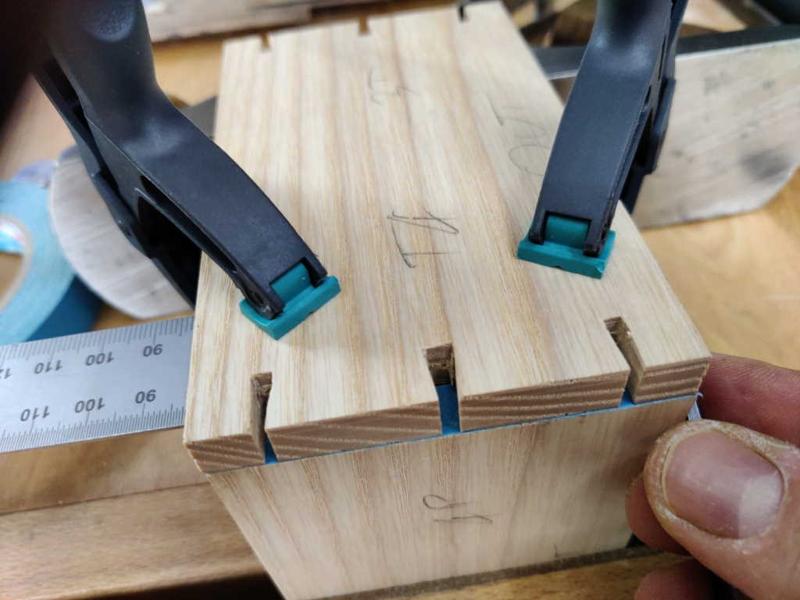
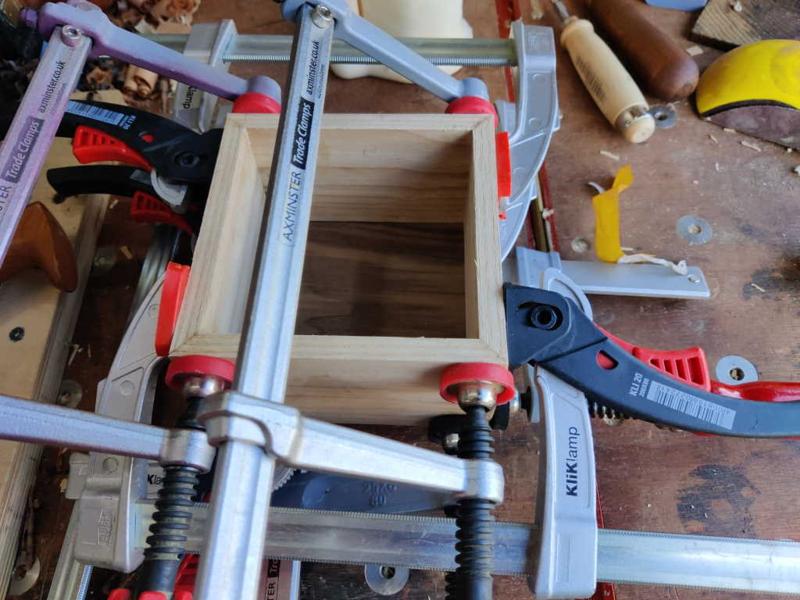
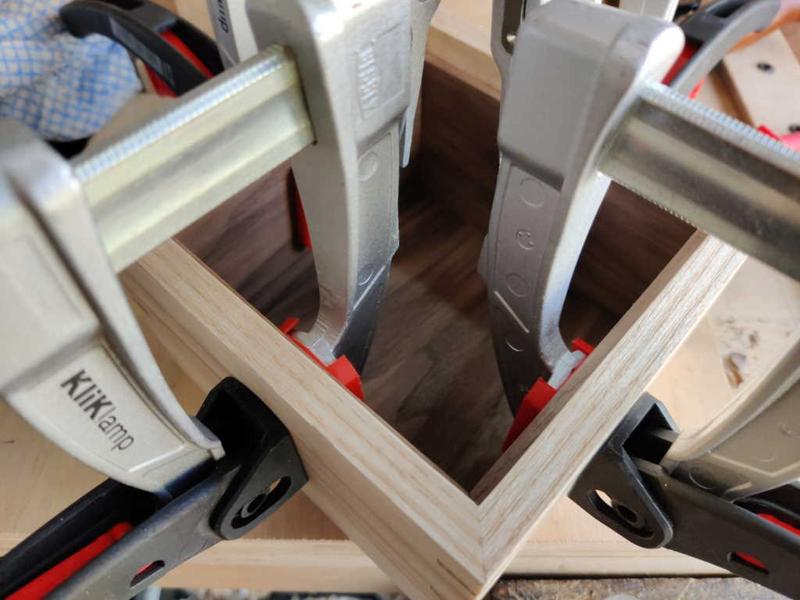
Then it was just a case of applying glue to the dovetails and mitres and clamping it together with no fewer than eight clamps!

43_clamped_box_800.jpg
 
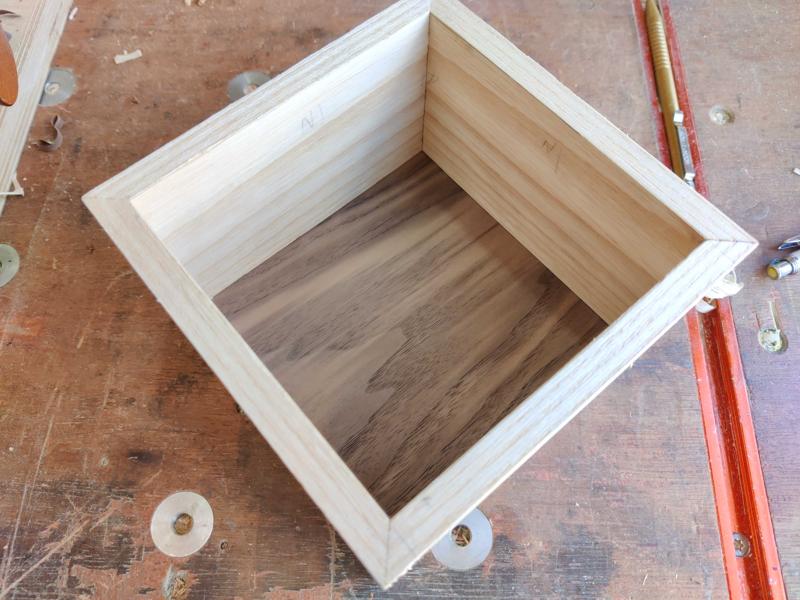
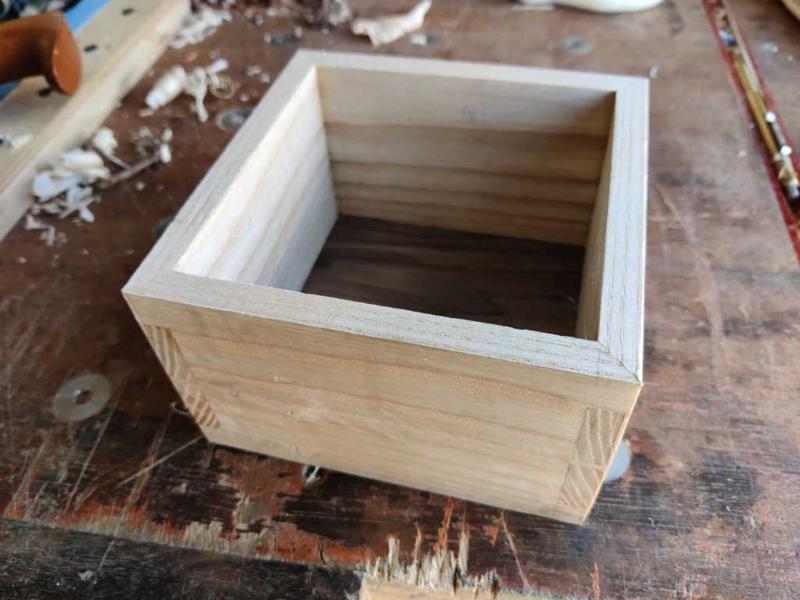
After a stop for lunch, I took the clamps off:

44_glued_box_without_lining_800.jpg


Another view:

45_another_box_view_800.jpg


This is the joint with the dodgy mitre: it's not perfect, but it's a lot better than it was:

46_joint_close_up_1_800.jpg


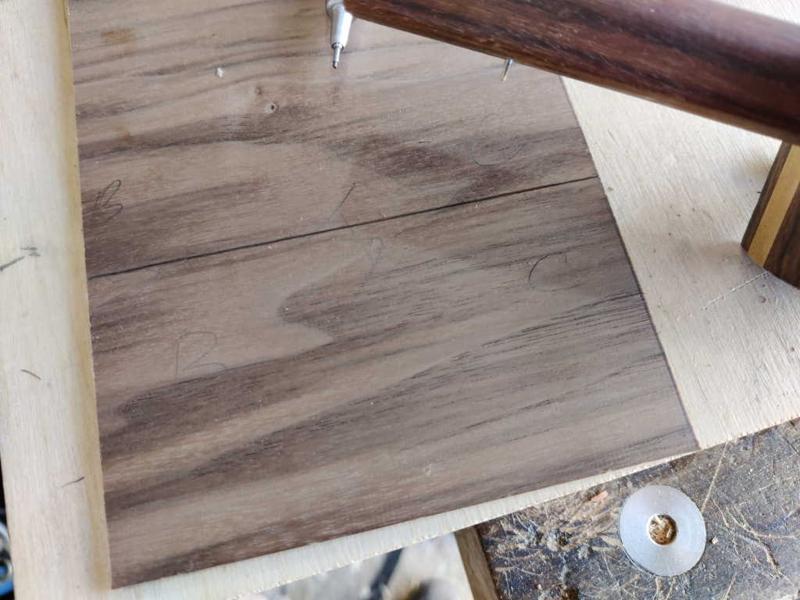
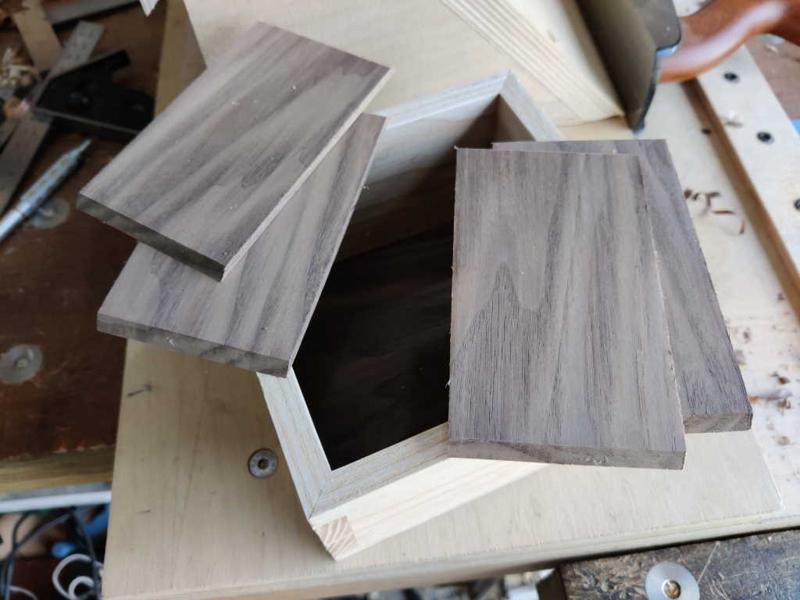
Going back to the 4 mm walnut pieces, as they were resawn from the same piece of walnut, they could be positioned such that they formed a nice bookmatched pattern:

47_bookmatched_walnut_800.jpg


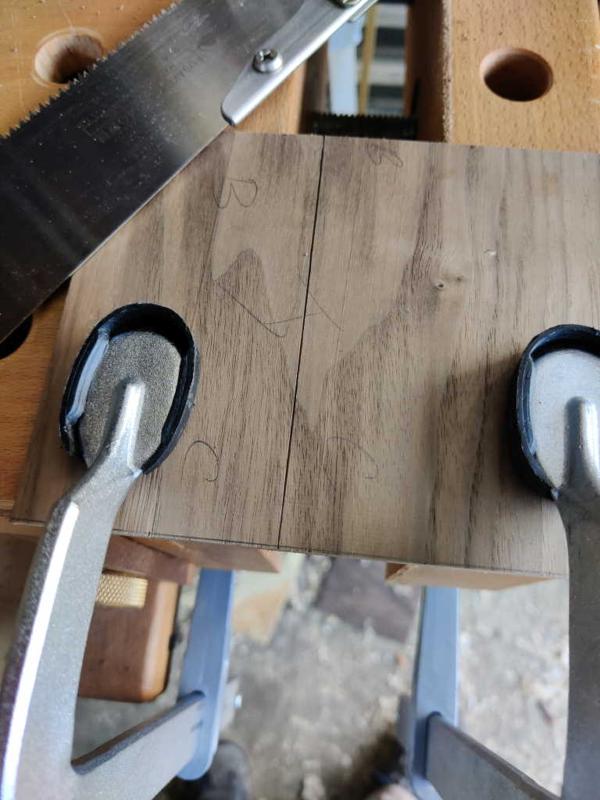
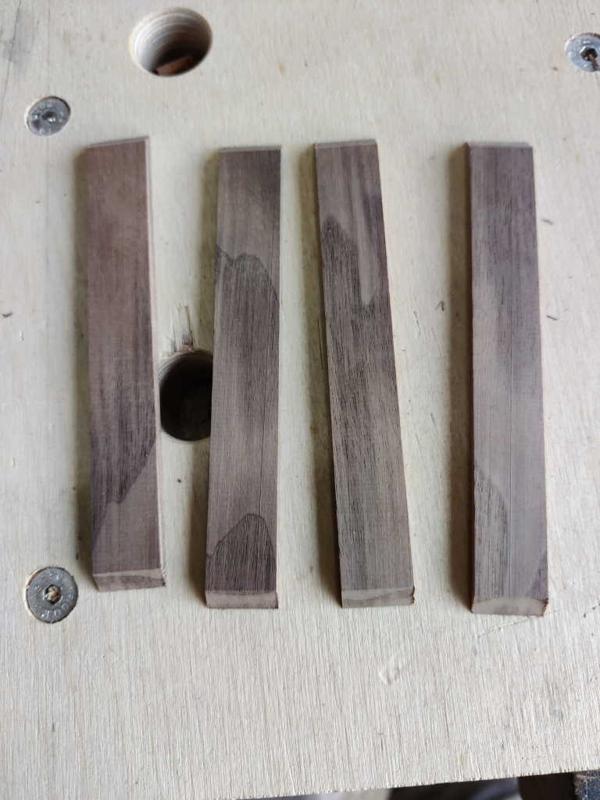
By using both of the bookmatched pieces, I can maintain the pattern all the way around the inside face of the lining (or at least that's the theory). I used the same method as before to chop the walnut bits into pieces and squared them up on the shooting board:

48_lining_pieces_cut_and_squared_800.jpg


I then used a marking gauge to mark the height I wanted the lining to be.

49_marking_height_of_lining_800.jpg


I could then saw the lining pieces slightly oversize:

50_sawing_lining_to_height_800.jpg


... and square the corners all round on the shooting board. The height isn't especially important, but it's critical that the two long edges are parallel with each other (so I can reference off either of them when shooting the mitres) and that all the pieces are the same height (so they meet at the corners):

51_lining_squared_all_round_800.jpg


Once the pieces were squared all round, I could shoot the mitres, gradually taking more material off until they were a snug fit in the box:

52_shooting_mitres_800.jpg


Before gluing them in, I used my thin 3D printed bench stop and a card scraper to give the inside faces a once over:

53_scraping_lining_face_800.jpg


With that, the linings were all ready...

54_linings_ready_800.jpg


... to be glued into place:

55_linings_glued_in_800.jpg


Apart from any final card scraping and oiling, that's the base finished I think. There's plenty more in the way of challenge yet though: the lid is the next job.
 
The next job was to get started on the box lid. Do you remember the offcuts from when I made the lining? I used the marking gauge again to make a line across them all:

56_lining_offcuts_800.jpg


I could then cut them roughly to shape and use the shooting board to bring the two long edges parallel (using a piece that had previously been squared to give a longer edge reference):

57_shooting_parallel_800.jpg


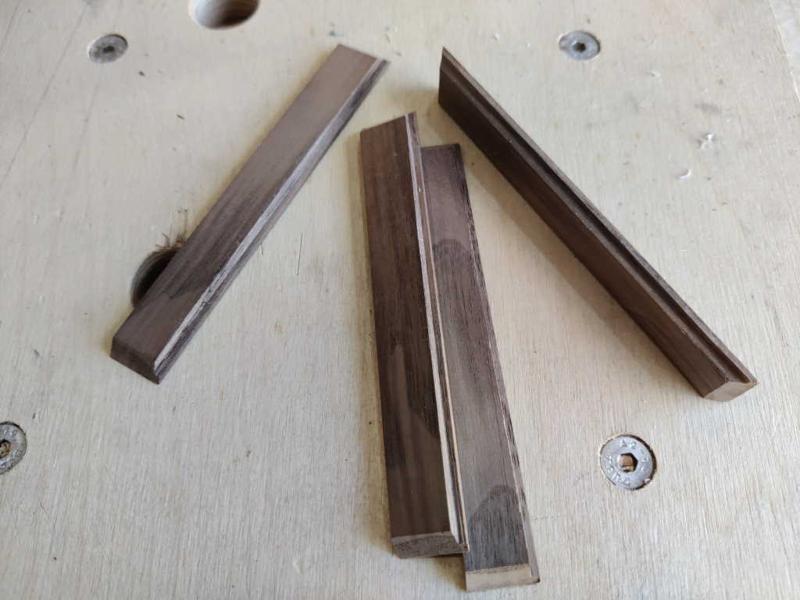
The pieces could then be mitred to length to be a loose fit in the top of the box:

58_mitred_for_lid_box_800.jpg


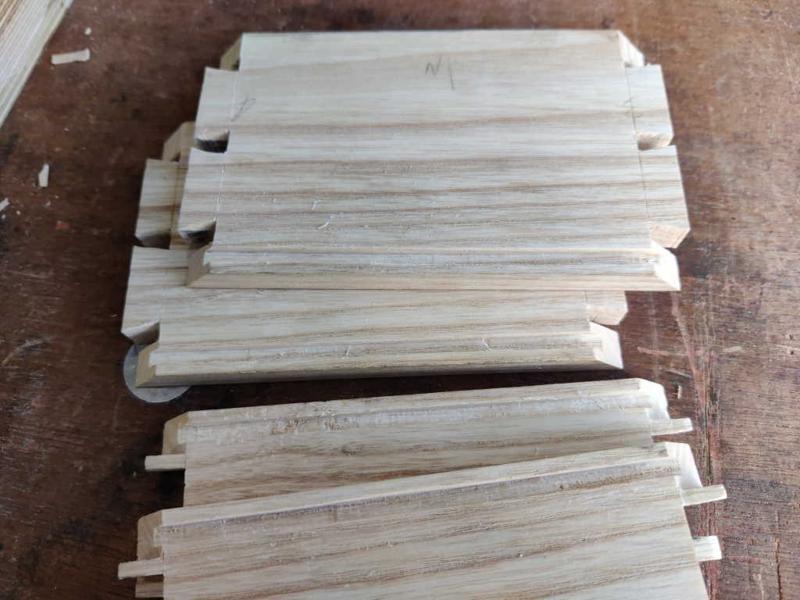
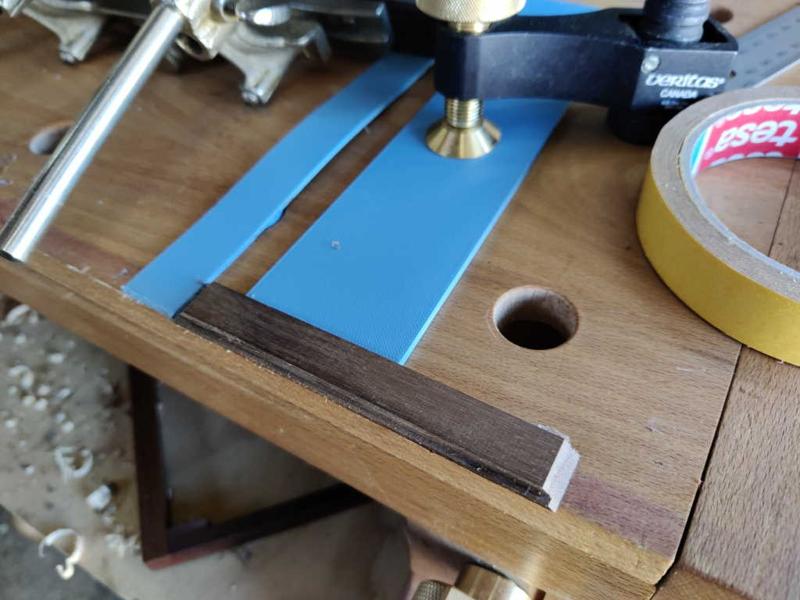
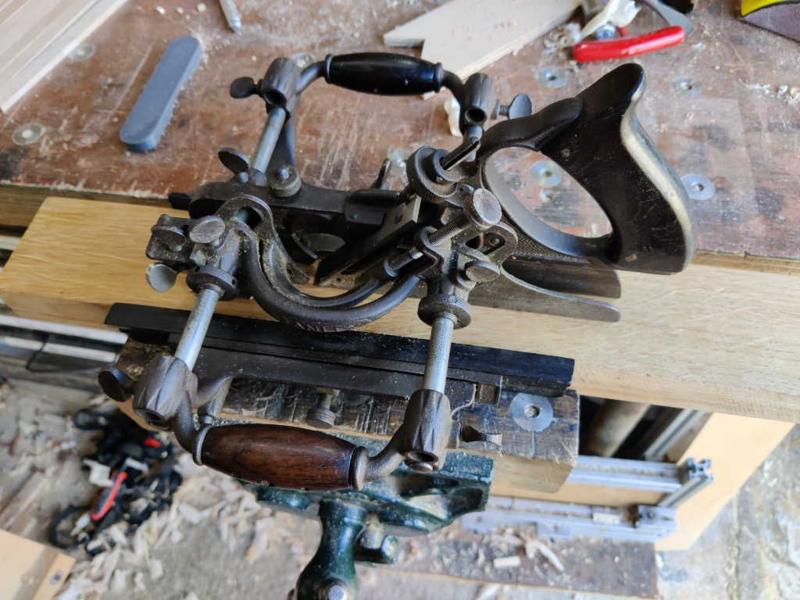
Again I found myself trying to solve the problem of holding small pieces in order to use the Stanley #45. In this case, I resorted to a couple of stops and some double-sided tape to hold the pieces down while I cut the rebate.

59_taped_down_and_rebated_800.jpg


It was a bit of a pain to remove the double-sided tape, but I got there in the end and all the pieces got rebated:

60_all_rebated_800.jpg


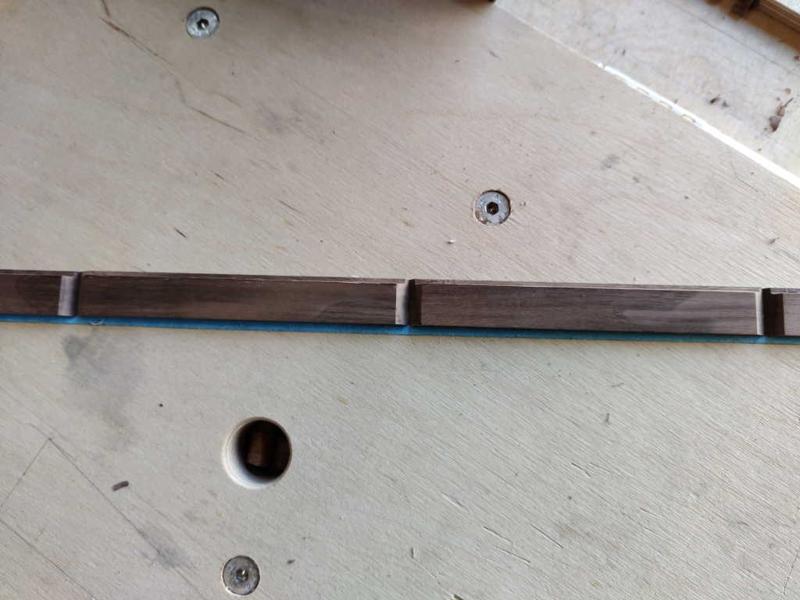
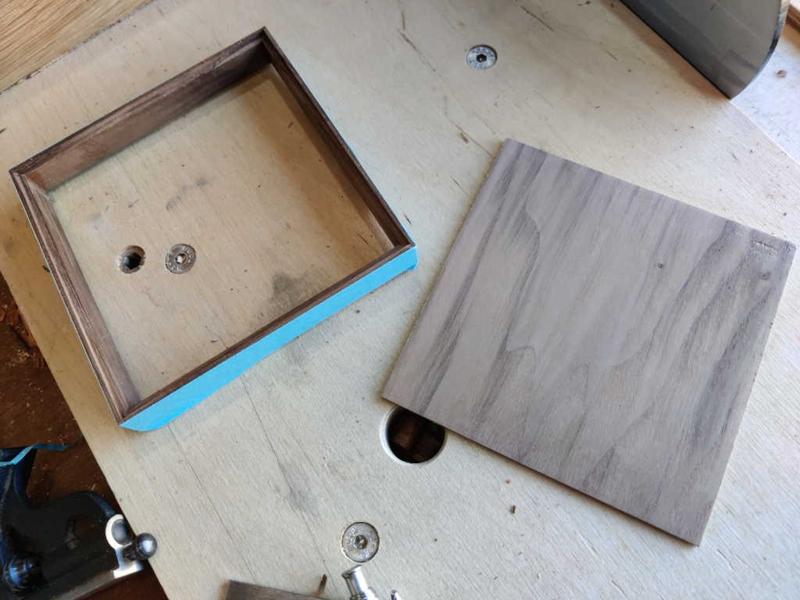
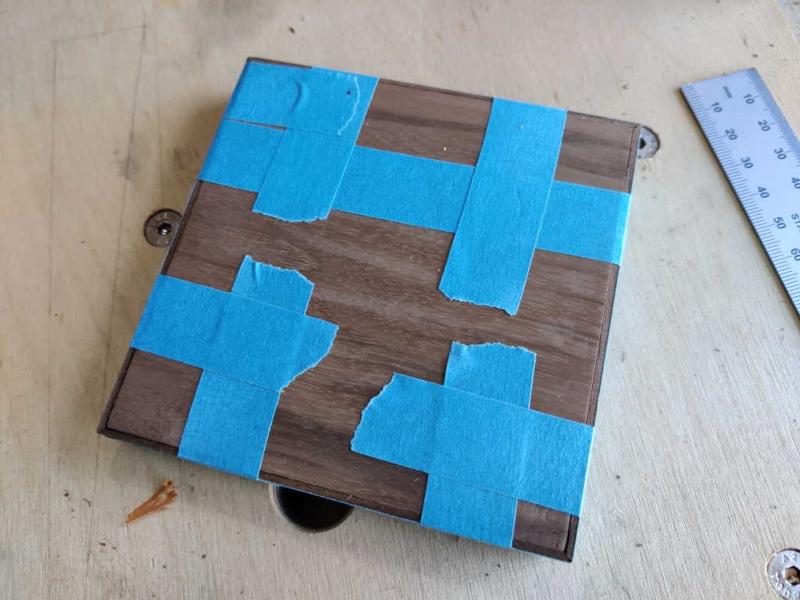
I stuck all four pieces down to some masking tape and then put glue on the mitres and folded them up:

61_masking_tape_for_gluing_800.jpg


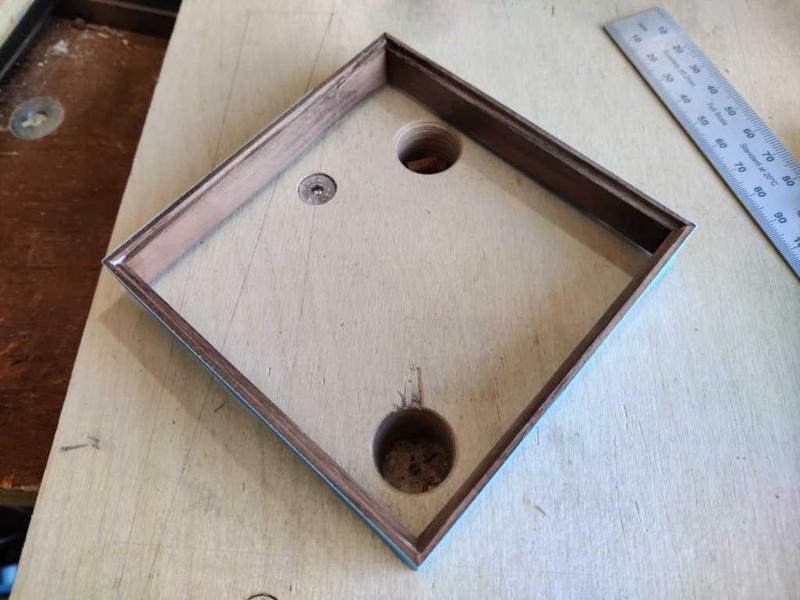
62_glued_frame_800.jpg


I then got the 2 mm thick bit of walnut and cut/shot it to be a reasonably good fit in the rebate.

63_2mm_lid_base_800.jpg


I could then glue it in place. I'm hoping that the relatively small size of the lid (about 106 mm square) and the fact that the base is so thin will mean I won't have problems with wood movement, but we shall see.

64_lid_base_glued_in_800.jpg


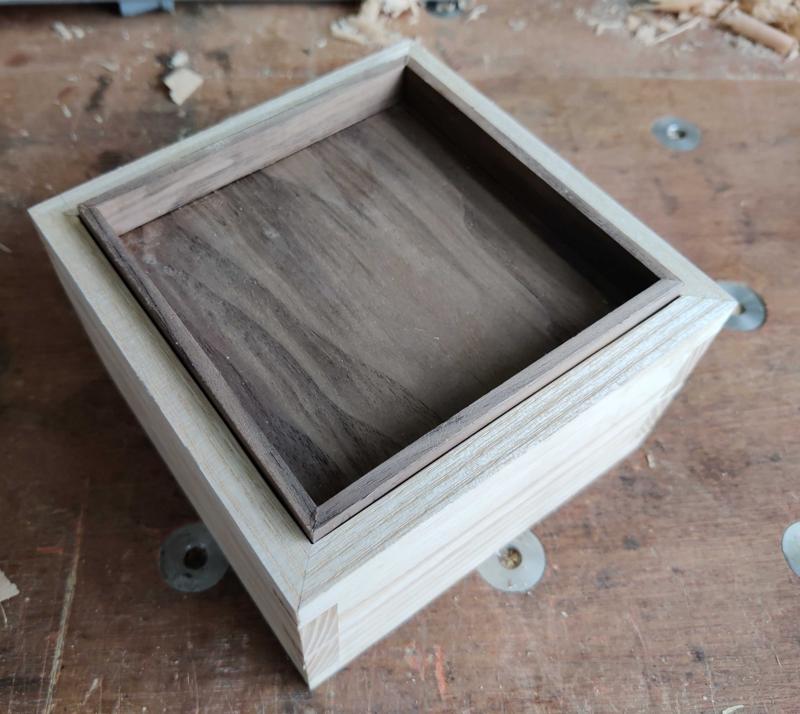
Once the masking tape was removed and the bottom surface cleaned up a bit, I could test fit it in the box:

65_bare_box_lid_800.jpg


I did all of the above last night, but couldn't be bothered to write it up until now!
 
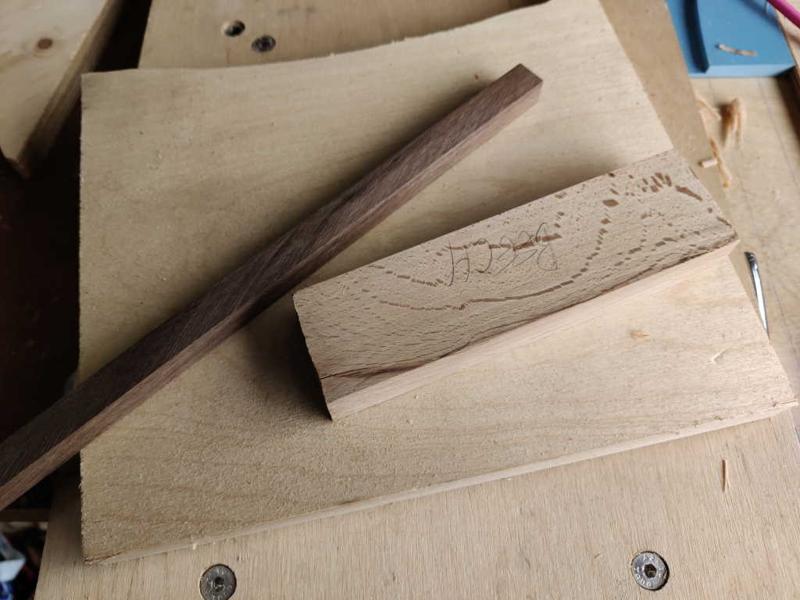
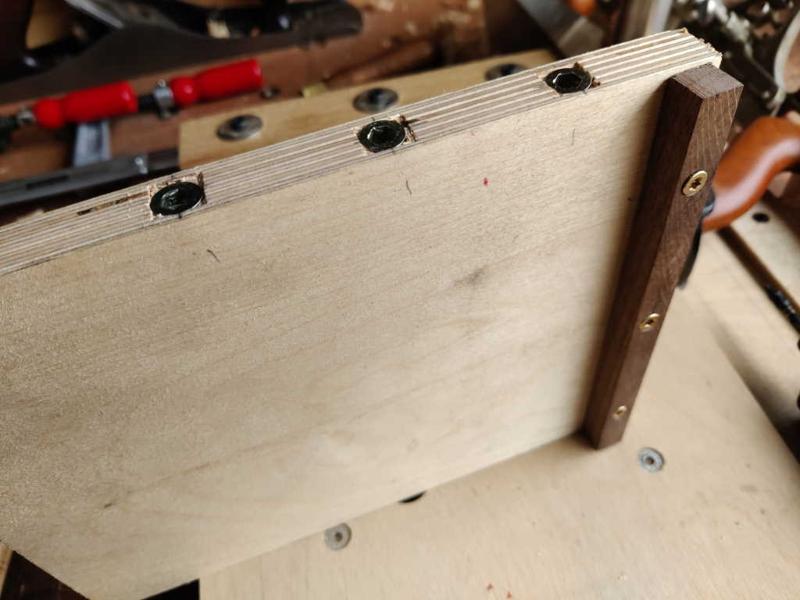
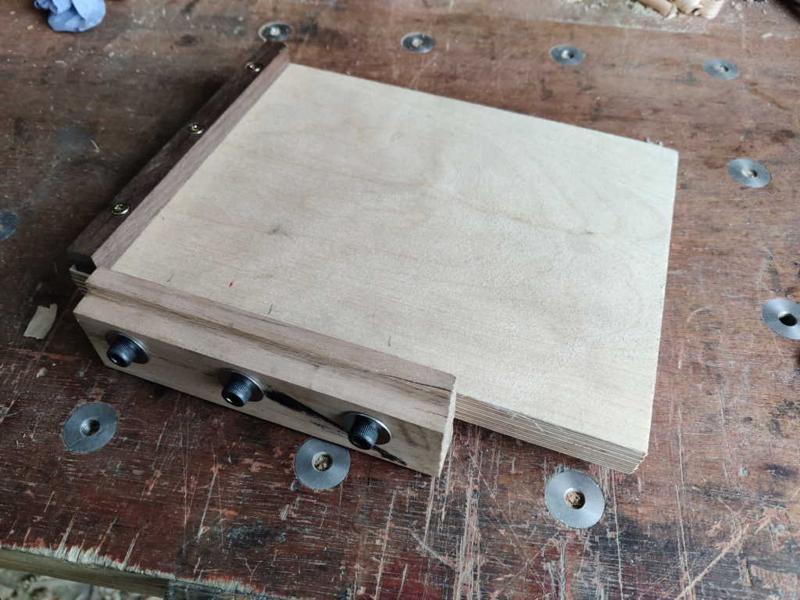
The first job for this morning was to get started on a jig. This jig is made from a piece of plywood and a couple of offcuts, of beech and American black walnut:

66_material_for_half_lap_jig_800.jpg


The plywood was trimmed to have four square corners and straight edges and the walnut was drilled, countersunk and screwed to the plywood base. I drilled the edge of the plywood and screwed in some M6 threaded inserts:

67_half_lap_jig_threaded_inserts_800.jpg


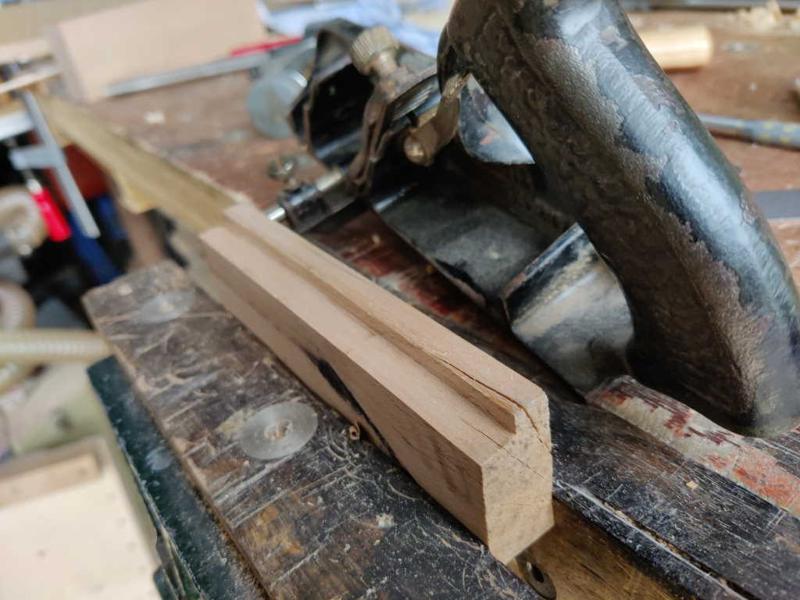
I wanted a 5 mm deep rebate on one corner of the beech block and, for a change, I decided to do it with a #78 instead of the #45. The piece was tall enough that it was easy to hold in the vice for rebating.

68_half_lap_jig_rebate_800.jpg


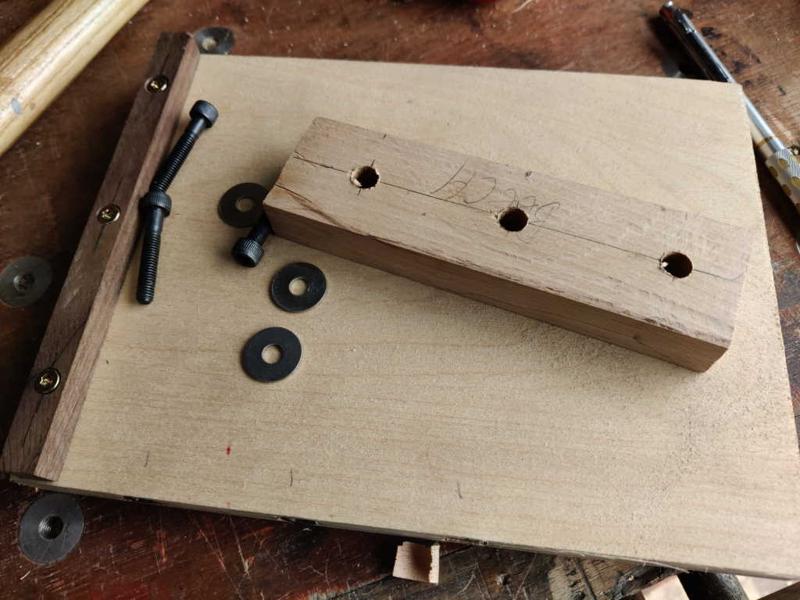
The beech block then got three 9 mm holes drilled through. The size was chosen so that there was plenty of clearance and the position of the beech block can be adjusted:

69_half_lap_jig_holes_for_screws_800.jpg


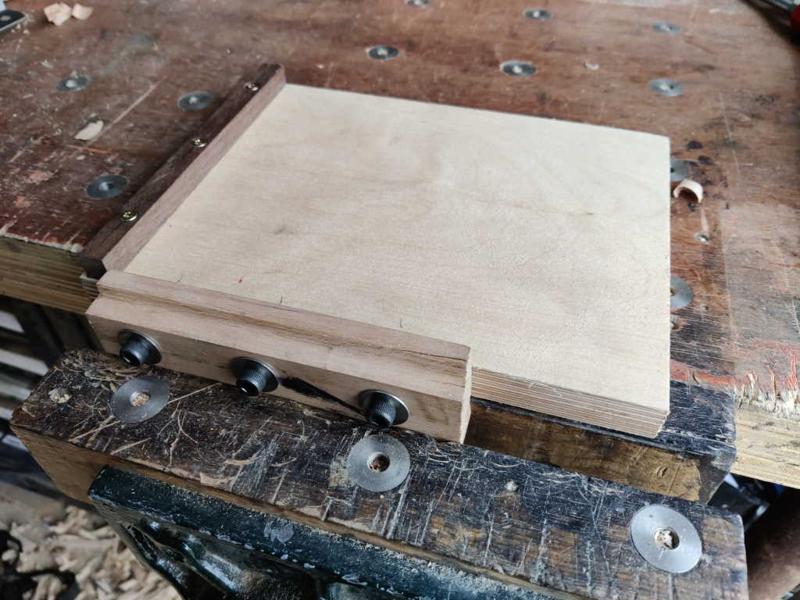
With that, this simple jig was ready for use. The beech block gets adjusted such that the top surface is 10 mm above the plywood face.

70_half_lap_jig_assembled_before_cutting_down_800.jpg


The beech block hangs down a bit below the bottom of the plywood, which means the whole jig can be easily held in the vice:

71_half_lap_jig_in_vice_800.jpg
 
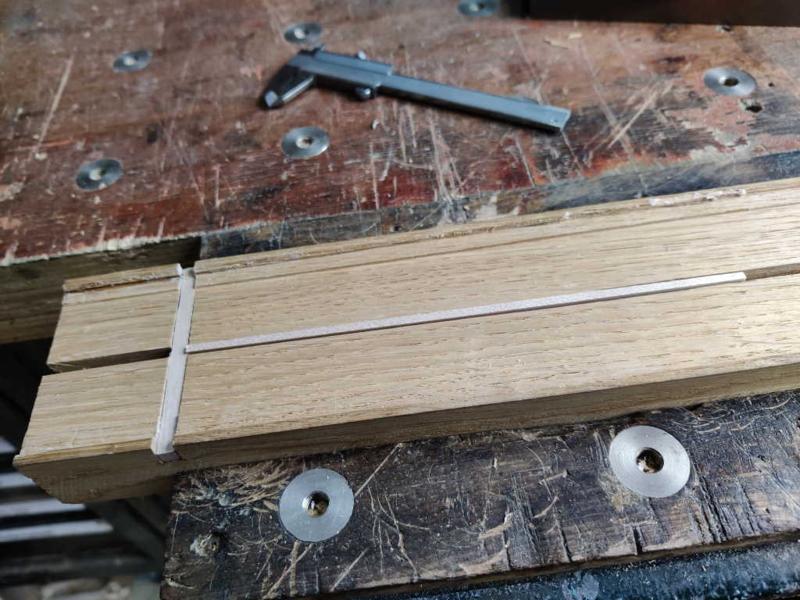
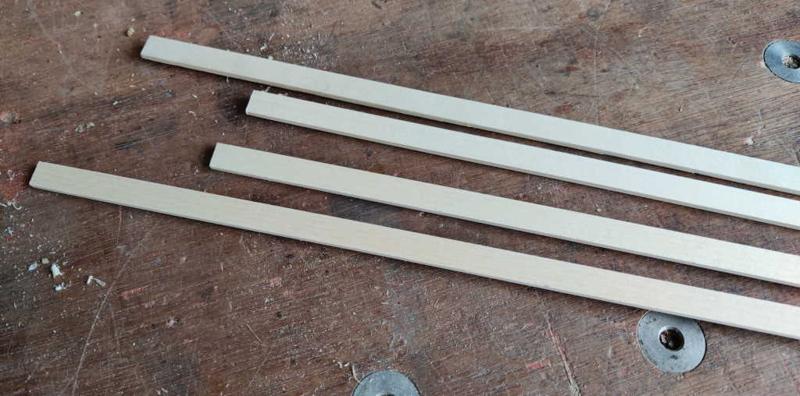
To save a lot of work, I bought some 10 mm × 3 mm lime strips, which seem to be readily available as they're used for model boat building:

72_lime_strips_800.jpg


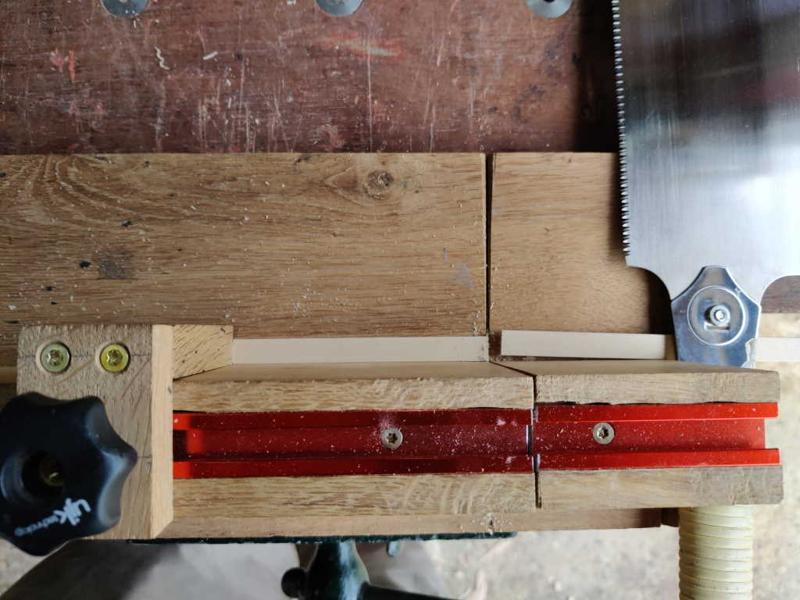
I used my simple bench hook thing with a stop to cut the lime strips into pieces:

73_sawing_lime_strips_with_stop_800.jpg


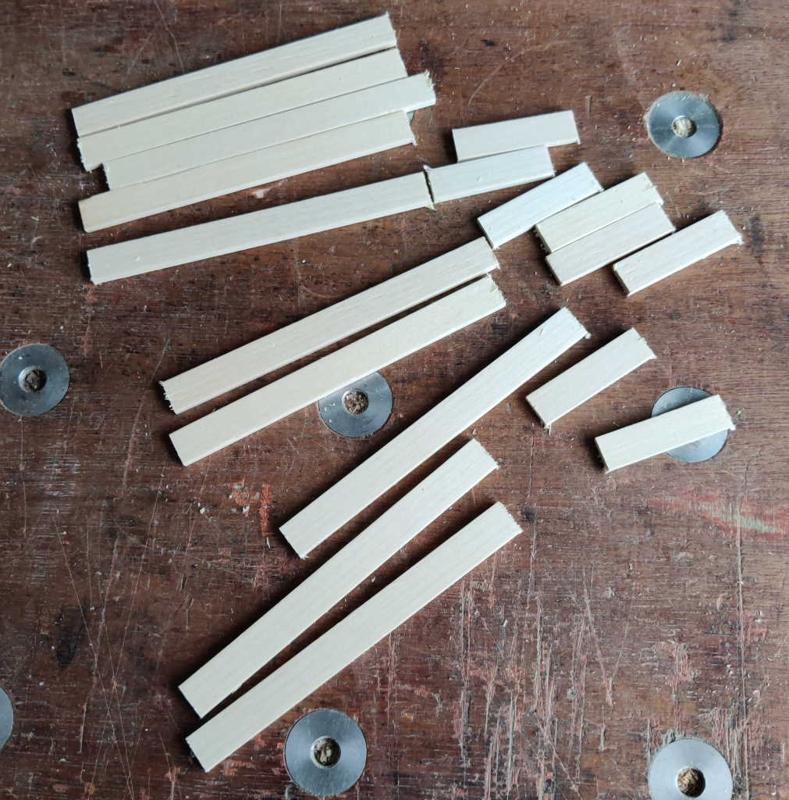
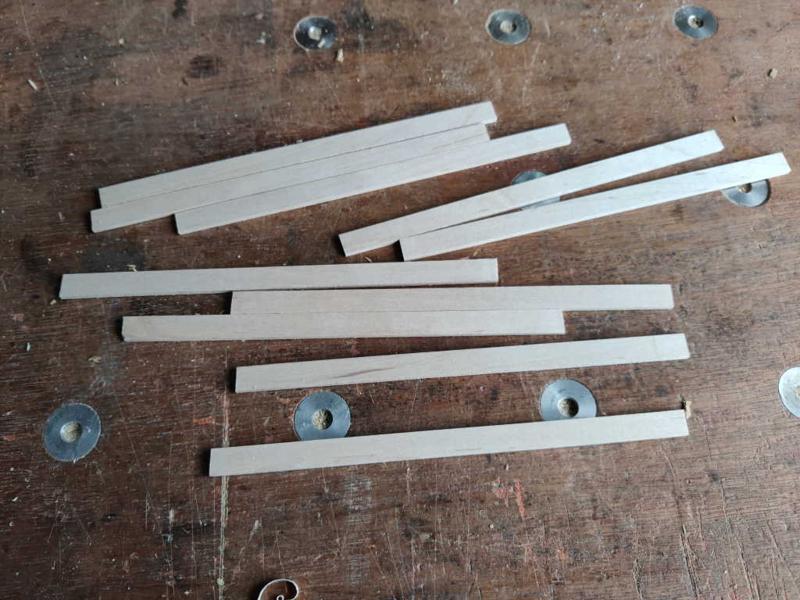
That resulted in this lot (I later cut a LOT more of these!):

74_lots_of_strips_800.jpg


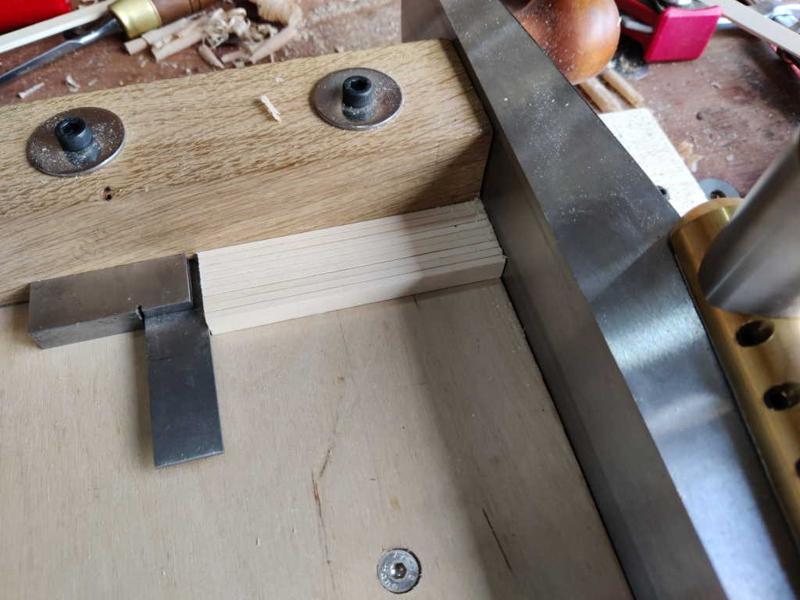
I took the strips in sets (by length) and used the shooting board to bring them all down to the same (and correct) length:

75_shooting_strips_800.jpg


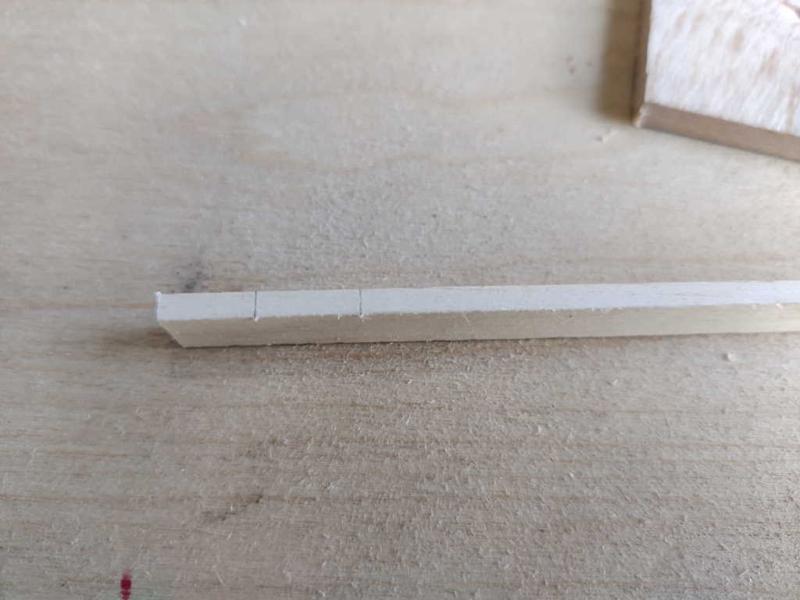
One of the strips gained two knife marks, one 10 mm from the end and one 21 mm from the end:

76_strip_reference_marks_800.jpg


This strip was placed alongside all the others and held in the new jig and a small square was used to transfer the marks across all the pieces:

77_transferring_reference_800.jpg


I then used the reference strip as a width guide to mark a second line across all the pieces:

78_using_strip_for_second_line_800.jpg


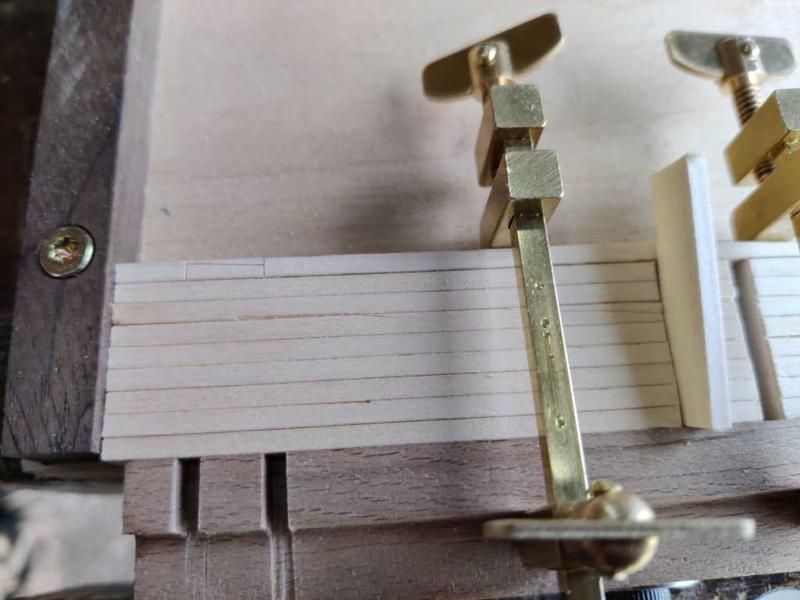
With a spare bit of 5 mm thick beech I had lying around as a second depth stop, I could saw along the lines with a fine tooth pitch saw until the saw hit the rebate and the spare beech piece (for a consistent depth):

79_sawing_sides_800.jpg


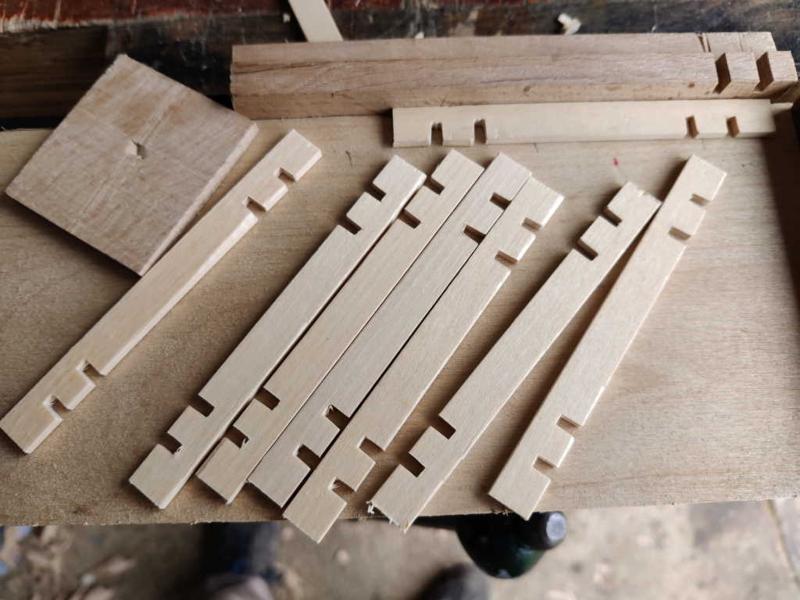
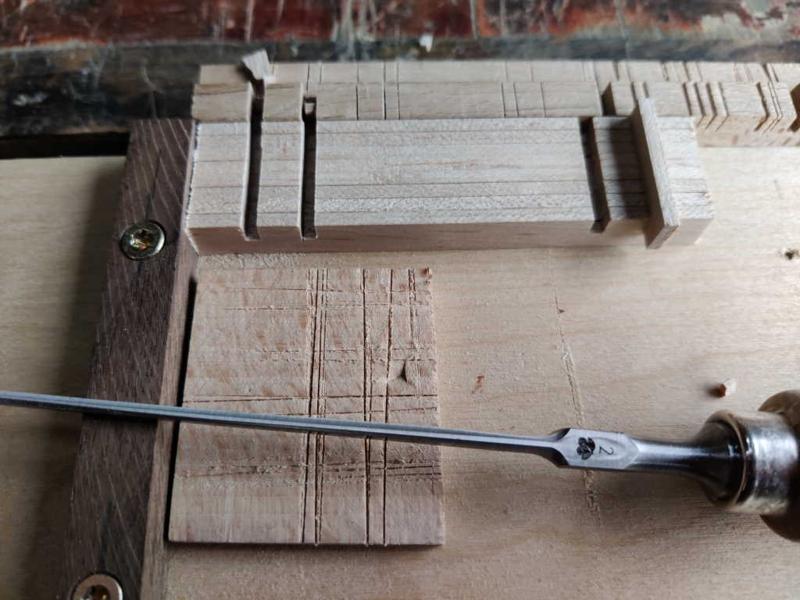
At this point, I trimmed (with a ryoba) the jig down to be a bit narrower. I could then use my 2 mm chisel to remove the sawn out pieces:

80_chiselling_slots_800.jpg


I then flipped the pieces over and reused the same reference piece to mark the location of the second pair of slots:

81_reusing_reference_800.jpg


With that I was left with a pile of frame pieces...

82_frame_pieces_800.jpg


... which go in the lid like this:

83_frame_in_box_lid_800.jpg
 
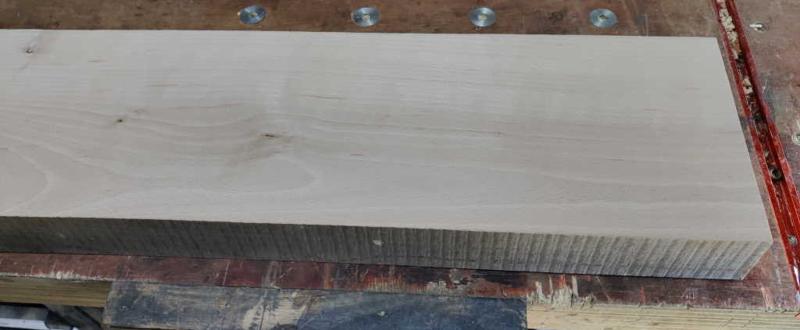
The next job was to make a second jig. I started with a big lump of beech:

84_beech_for_jigs_800.jpg


I used my big ryoba to cross-cut it...

85_cross_cut_beech_800.jpg


... and also rip cut it:

86_rip_cut_beech_800.jpg


I then used my Axminster #5 to plane the faces...

87_planing_beech_faces_800.jpg


... and also the edges of one of the pieces:

88_beech_edge_planed_800.jpg


The Stanley #45 then got another outing with my home-made 10 mm cutter to make a 10 mm wide and 3 mm deep groove:

89_ploughing_beech_groove_800.jpg


I used this handy Clifton mitre marking thing to mark a 45° line on the face and a square line across the edge:

90_mitre_marking_800.jpg


After sawing the waste off, I used the shooting board again to finish the mitred edge. This time I used my Stanley #5½ as it has a wider iron than the low-angle jack plane:

91_mitre_shooting_800.jpg


Once again, I kept tweaking and reshooting until the angle between the bottom of the ploughed groove and the shot mitre face was spot on:

92_mitre_angle_check_800.jpg
 
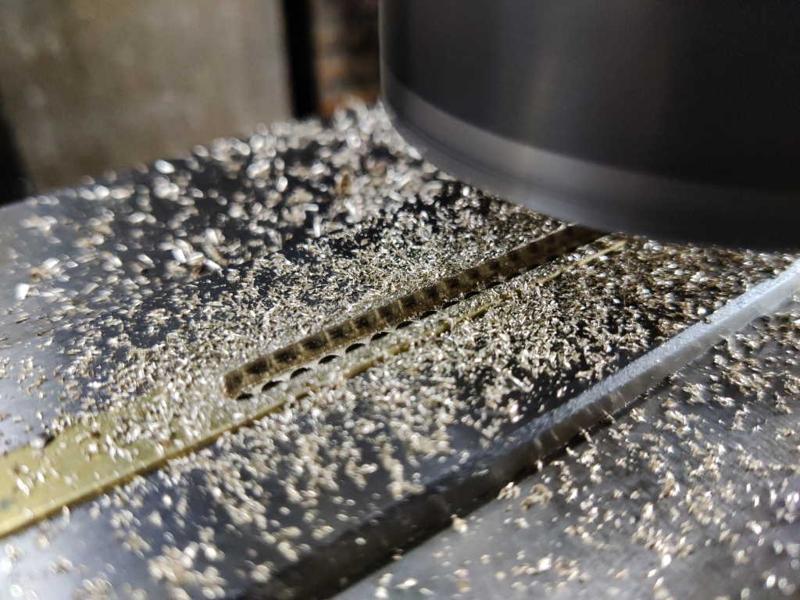
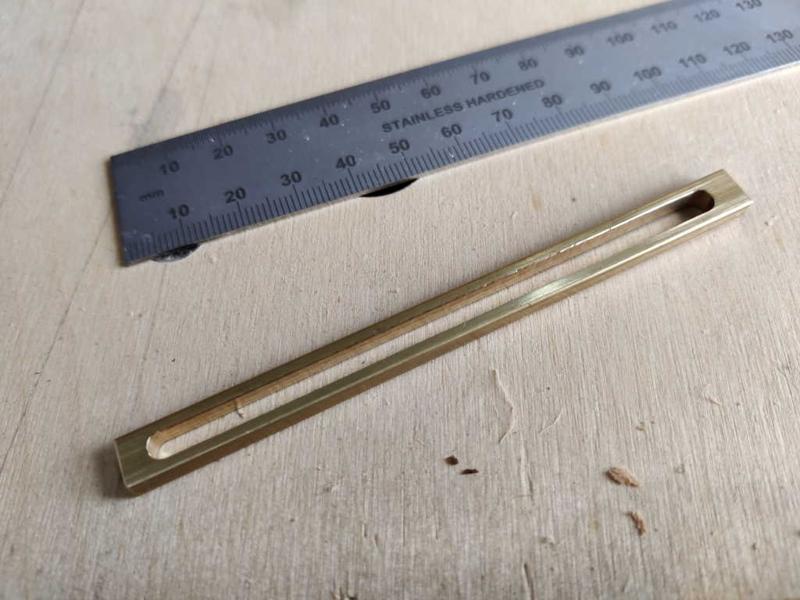
It was then over to the milling machine. I wanted a 10 mm wide fence and I've ordered some 10 mm × 3 mm brass bar, but it hasn't arrived yet, so I decided to use some 8 mm × 4 mm bar I already had. I drilled and milled a 4 mm slot in the bar:

93_milling_brass_800.jpg


I then cut it to length, tidied up the ends and deburred everything:

94_brass_strip_800.jpg


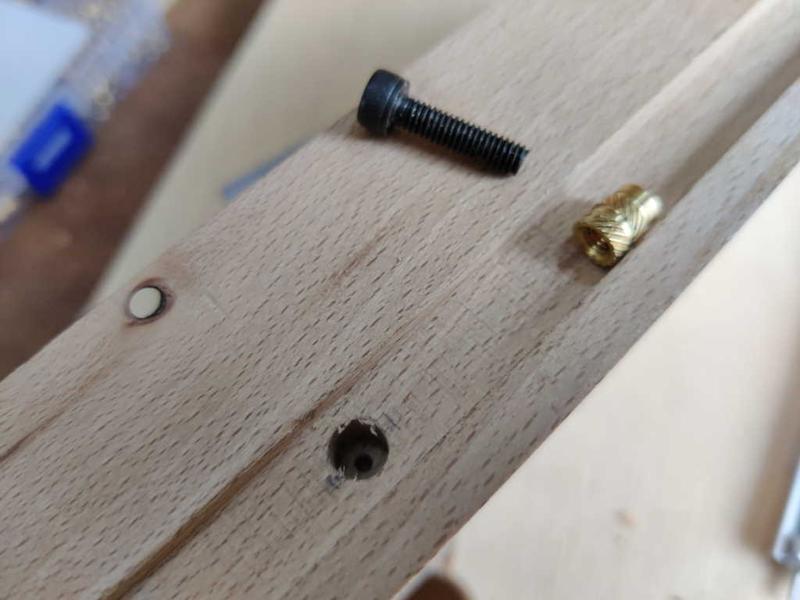
I didn't have any M4 screw-in threaded inserts, so I used a heat-set one and just used a hole that was a very tight fit to house it:

95_press_fit_insert_800.jpg


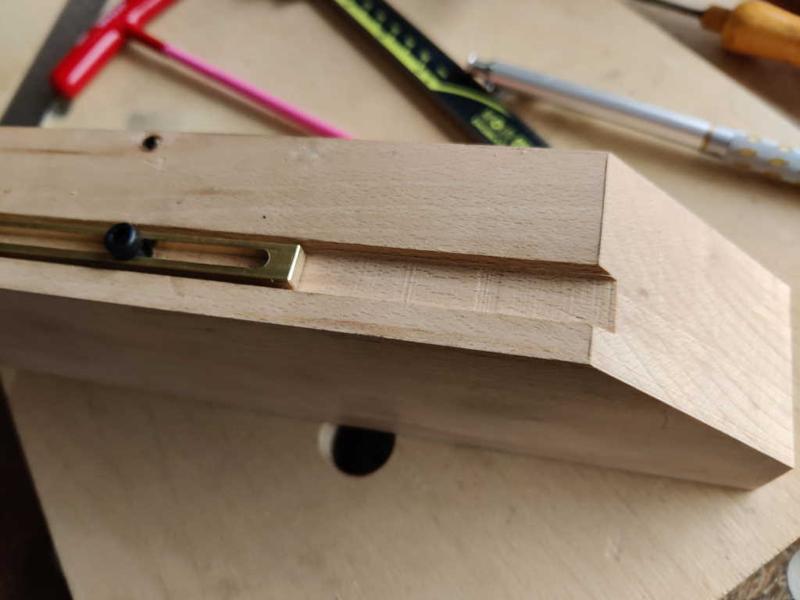
The finished jig:

96_finished_jig_800.jpg


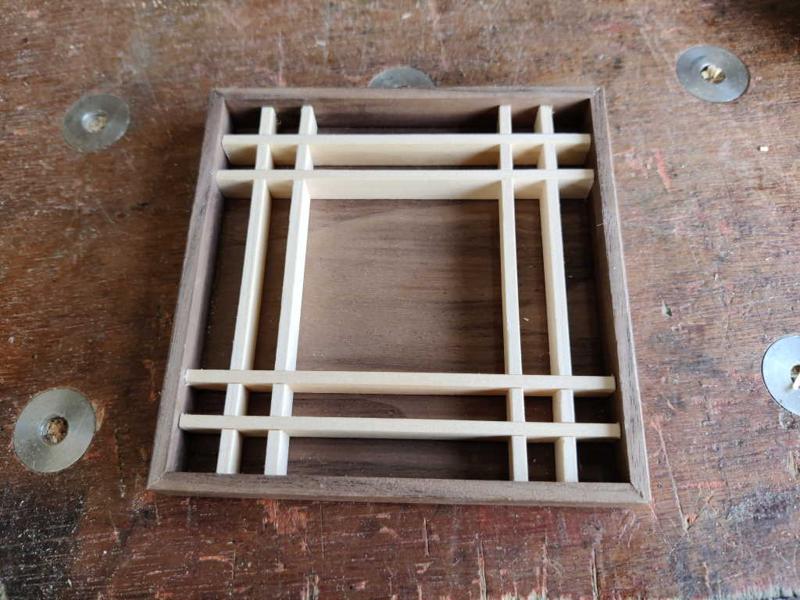
With that jig complete, it was time to get on with making another grid, this time much smaller:

97_first_attempt_at_small_grid_800.jpg


Each piece got the edges chamfered very slightly, using the new jig and a chisel pressed up against the mitred face (with hindsight it would have been better to have the ploughed groove on the far side of the jig to give the chisel more of a surface to reference, but I couldn't be bothered to plough another groove):

98_chamfering_edges_800.jpg


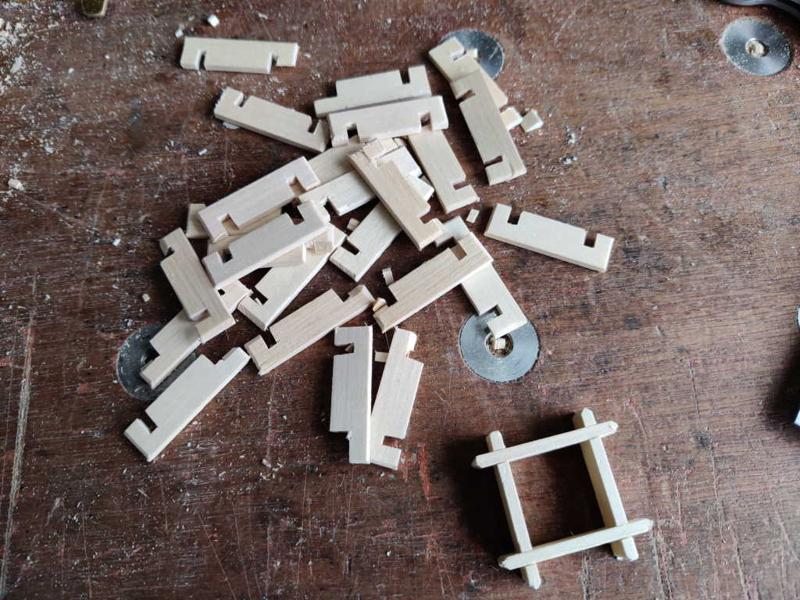
After remaking the pieces rather a lot of times (eventually chamfering the edges before cutting the half-laps), I ended up with a small grid and a big pile of scrap:

99_small_grid_and_scrap_800.jpg


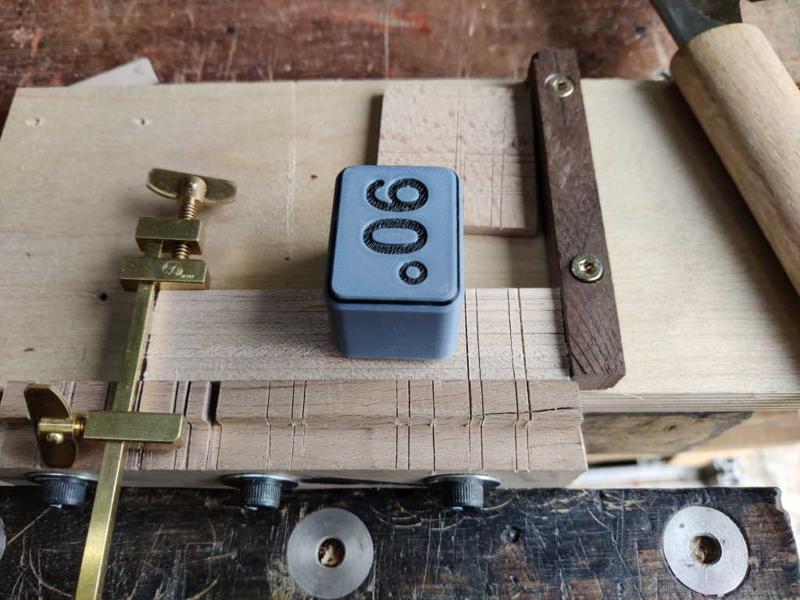
The final job was to make some small pieces with a double 45° angle cut in the end to form the lock pieces that hold the pattern together. The position of the brass stop was tweaked (and hence the length of the lock pieces was tweaked) until two pieces locked the middle grid in place and then the other two lock pieces were cut to the same length:

100_lock_pieces_800.jpg


With that the lid could be dry fitted:

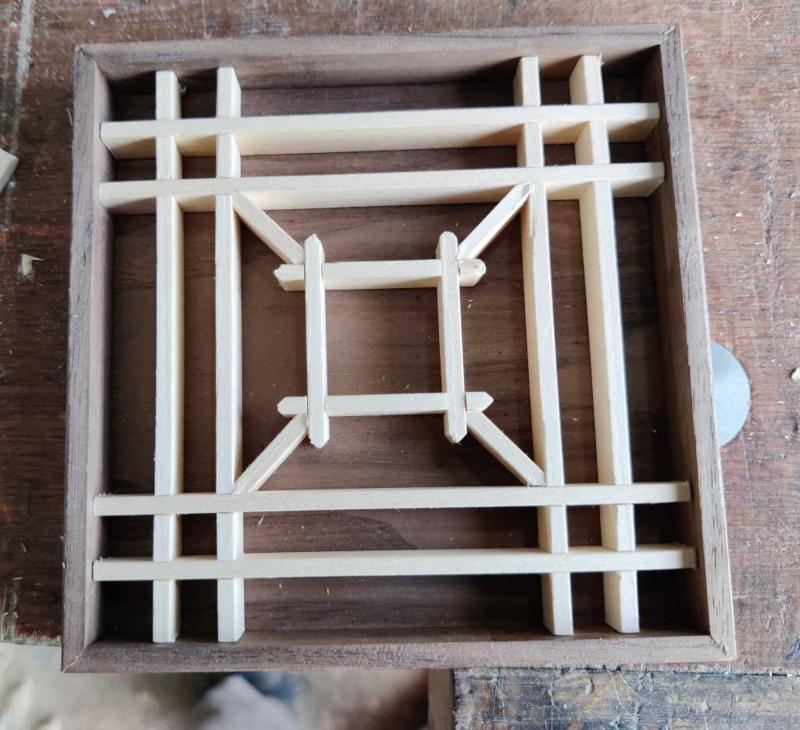
101_lid_with_kumiko_800.jpg


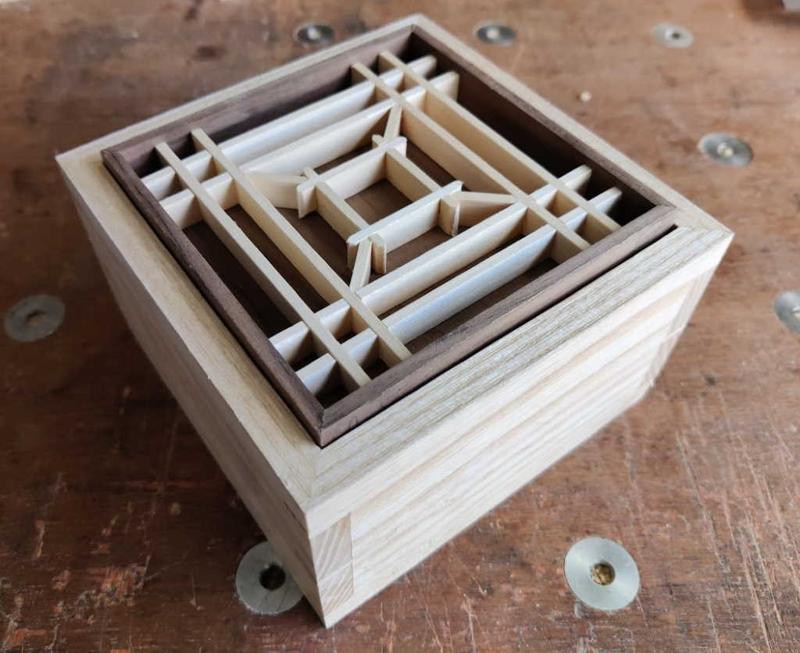
This is what it looks like on the box:

102_kumiko_lid_in_box_800.jpg


I can't believe I've managed to produce 102 photos on this simple box project! I haven't worked out how to glue the Kumiko pattern in place without any squeeze-out and I may make the whole Kumiko pattern again to see whether I'm improving with practice. I think it needs to come out of the box lid and have a bit of sanding (which may break it, in which case I'll definitely have another go!). I'll then need to oil everything, which will again offer some interesting challenges as I try to figure out how to oil the Kumiko pattern without ending up with a gloopy mess in the pockets as I won't be able to wipe away the excess oil very easily. One option is to oil the Kumiko and box lid frame separately, but I'd like the Kumiko to be glued in place and the oil may make that difficult.

Something to ponder anyway, but I'm pleased with how the box has turned out so far anyway.
 
Wow!

Such patience with so many tiny bits. Have you been watching Pask Makes on YouTube?
 
AndyT":1z6xijl7 said:
Wow!

Such patience with so many tiny bits. Have you been watching Pask Makes on YouTube?

I'm not sure patience is the right word given the number of swear words that came out of my mouth as the lime pieces split. Stubbornness might be more appropriate.

I've followed Pask Makes for a while (on youtube & patreon). I like a lot of what he does but wanted to experiment with a different pattern to the Asa-no-ha that he usually uses. I also wanted to make the grid by hand, not table saw, which resulted in a lot of that swearing!
 
Dr.Al":6ko2zp5i said:
I haven't worked out how to glue the Kumiko pattern in place without any squeeze-out and I may make the whole Kumiko pattern again to see whether I'm improving with practice. I think it needs to come out of the box lid and have a bit of sanding (which may break it, in which case I'll definitely have another go!). I'll then need to oil everything, which will again offer some interesting challenges as I try to figure out how to oil the Kumiko pattern without ending up with a gloopy mess in the pockets as I won't be able to wipe away the excess oil very easily. One option is to oil the Kumiko and box lid frame separately, but I'd like the Kumiko to be glued in place and the oil may make that difficult.

Something to ponder anyway, but I'm pleased with how the box has turned out so far anyway.
Good effort with the box thus far Dr.Al! Without wishing to steal your thunder, I've had a go at this kumiko lark and it's good fun but very, very fiddly as you've no doubt found out:

IMG_6982.jpeg

This was my effort in proper Japanese cedar and it took a lot more than one attempt to get all the bits to fit. When you're gluing the bits in place my advice would be to use a teeny tiny blob on the pointy end of a bar-b-q stick; that's all you need and you won't get any squeeze out. Don't even think about trying to oil or polish the individual pieces; it's almost impossible. Glue up the pattern, leave it to set and then get a bit of 320g paper round a block of wood to smooth off and level the tops; then leave well alone 'cos it's dun! - Rob
 
Woodbloke":3noh0a0h said:
Dr.Al":3noh0a0h said:
I haven't worked out how to glue the Kumiko pattern in place without any squeeze-out and I may make the whole Kumiko pattern again to see whether I'm improving with practice. I think it needs to come out of the box lid and have a bit of sanding (which may break it, in which case I'll definitely have another go!). I'll then need to oil everything, which will again offer some interesting challenges as I try to figure out how to oil the Kumiko pattern without ending up with a gloopy mess in the pockets as I won't be able to wipe away the excess oil very easily. One option is to oil the Kumiko and box lid frame separately, but I'd like the Kumiko to be glued in place and the oil may make that difficult.

Something to ponder anyway, but I'm pleased with how the box has turned out so far anyway.
Good effort with the box thus far Dr.Al! Without wishing to steal your thunder, I've had a go at this kumiko lark and it's good fun but very, very fiddly as you've no doubt found out:

View attachment 1

This was my effort in proper Japanese cedar and it took a lot more than one attempt to get all the bits to fit. When you're gluing the bits in place my advice would be to use a teeny tiny blob on the pointy end of a bar-b-q stick; that's all you need and you won't get any squeeze out. Don't even think about trying to oil or polish the individual pieces; it's almost impossible. Glue up the pattern, leave it to set and then get a bit of 320g paper round a block of wood to smooth off and level the tops; then leave well alone 'cos it's dun! - Rob
Thanks for the gluing advice, that's useful.

I had a go at the Asa-no-ha pattern on my first attempt at Kumiko which was a while ago now. I only made it as a single let's-try-it-out-and-see-what-happens thing, with no particular purpose and I never got as far as applying glue or finish. It was a bit small for the thickness of the wood really, so I just use it as a coaster in the workshop now. Here it is next to the one I made today:

IMG_2022-08-21-18-26-28-500 - Copy.jpg

I didn't find that one especially challenging or fiddly, but there were a few key differences:

  1. The wood is substantially thicker (I didn't measure it, but maybe 4 mm at a guess from the picture - 4 mm would be 33% thicker and I think that makes a big difference)
  2. I made the grid (and the jigs) using a table saw, so didn't have to chisel out the half-laps
  3. While the Asa-no-ha pattern is arguably more complicated (there are more angles needed for the ends of the pieces), it has the enormous advantage that it doesn't have the little grid in the middle, which was a complete ar*e to make. The bits sticking out (beyond the half-laps) are 5 mm long and 3 mm wide so there really isn't very much holding them on.
  4. I didn't use lime. The lime strips I've used to make the one today seem to be held together with chalk rather than cellulose given how easily they break apart :lol:

I had another go this evening at making another lime one. The grid went together very quickly, but even though I made 12 of the inner grid pieces in the hope that four would survive, only 3 did, at which point I decided to call it a day :(
 
I think the thinness of the wood makes a big difference; I've just measured the one I did and it's 3mm but it's also (as I mentioned) Japanese cedar from the island of Yakushima and is very soft, which makes it ideal for fitting/fettling the little bits together. As I don't use a table saw, the 90deg half-laps were cut using a small 3mm bit on the router table and again, I had to do a few trial runs before I machined a set that fitted properly. A drum sander is an ideal bit of kit for bringing the components down to an exact and uniform size - Rob
 
How on earth do you dust those things? Wont a horizontal box lid made like that just fill up with dust and stuff?
 
Andyp":254otiy4 said:
How on earth do you dust those things? Wont a horizontal box lid made like that just fill up with dust and stuff?

Yes, probably... I wasn't particularly thinking of practicality :? :lol: There's always the air compressor!

Woodbloke":254otiy4 said:
I think the thinness of the wood makes a big difference; I've just measured the one I did and it's 3mm but it's also (as I mentioned) Japanese cedar from the island of Yakushima and is very soft, which makes it ideal for fitting/fettling the little bits together. As I don't use a table saw, the 90deg half-laps were cut using a small 3mm bit on the router table and again, I had to do a few trial runs before I machined a set that fitted properly. A drum sander is an ideal bit of kit for bringing the components down to an exact and uniform size - Rob
I can imagine the router table and drum sander make it a lot easier, but they don't exactly fit with my attempts to make everything by hand :D
 
After pondering gradually during the week at work, I decided I wasn't happy with the Kumiko pattern. There were (albeit tiny) bits of broken edges on the bottom side of the panel and some gaps that I knew would bug me. I tried another go at making the Kumiko but the lime kept disintegrating and I found myself getting frustrated. Today I decided to be the bad workman who always blames his wood! I thought I'd have a go at making the strips out of maple rather than using the pre-sized lime. As well as hopefully being more robust than the fragile lime, it'll give me the satisfaction of having made the strips myself.

I started with a block of maple; I hand planed the outside faces and then cut a strip off the side with the bandsaw (I later cut a second strip):

103_maple_resawn_800.jpg


I gradually cut the slice into strips. I planed the edges square (on the shooting board), then used a marking gauge to score a line a consistent distance from each planed edge. I could then saw along the line with my Dozuki, before planing the edges square again and marking another pair of pieces:

104_sawing_maple_strips_800.jpg


The last strips were a bit more awkward to hold for sawing, but I found a way:

105_sawing_last_strips_800.jpg


That gave me a pile of strips, all with one hand planed edge and one hand planed face:

106_sawn_strips_800.jpg


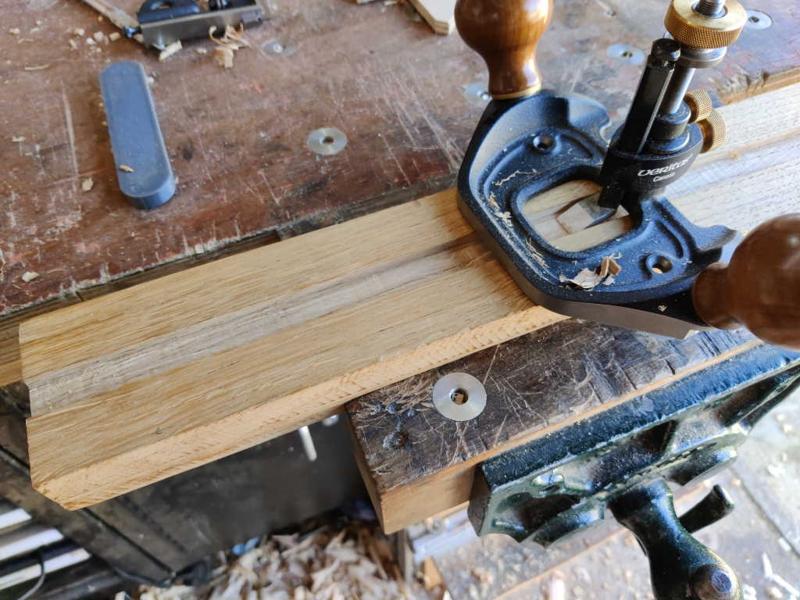
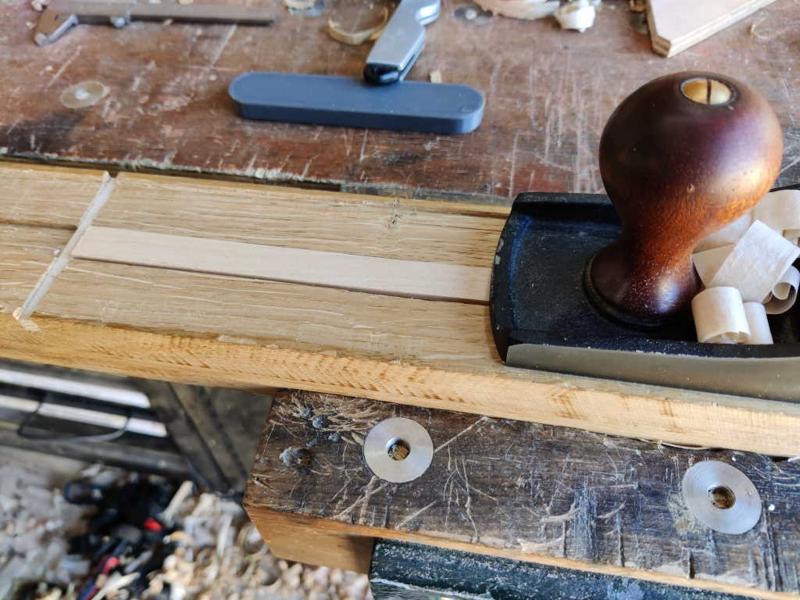
I took a lump of (approximately 70 mm wide) oak and used my Stanley 55 (for a change) and my home-made 16 mm cutter to plough a groove down the middle:

107_stanley_55_16mm_800.jpg


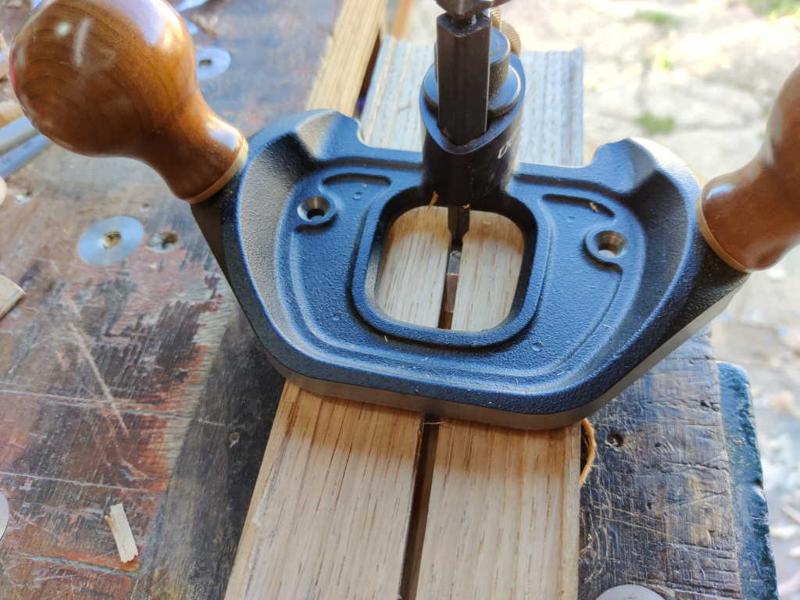
I then used my router plane to tidy up the bottom of the ploughed groove and get the depth right.

108_router_plane_thickness_jig_800.jpg


I also used the router plane to clear out a 65 mm wide channel in the middle, but I didn't take any photos of the process of doing that. Once that channel was cut, I used my jack plane to take lots of cuts down the middle with the iron gradually being extended more and more. That produced a big area in the middle with clearance for the iron (which was retracted back to a more normal extension for use) and two narrow strips on either side for the plane body to run on. I used the Dozuki and a chisel to cross-cut a channel through the oak block and inserted the maple offcut as a planing stop. I could then plane all the strips down to a consistent thickness:

109_thicknessing_strips_800.jpg


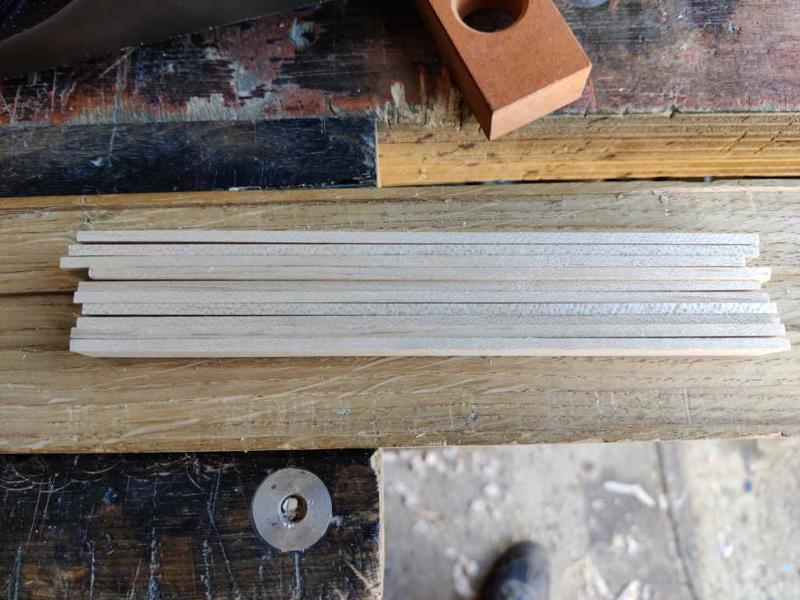
That resulted in a pile of 3 mm thick strips, with one planed and one sawn edge:

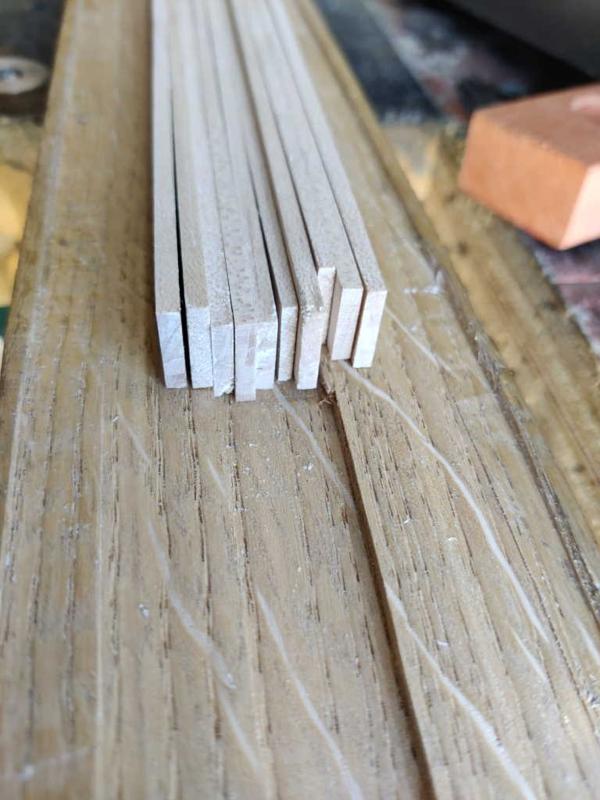
110_equal_thickness_800.jpg


111_equal_thickness_end_view_800.jpg


On a fresh piece of oak, I ploughed a 4 mm wide groove as deep as I could (which wasn't especially deep due to the thickness of the #45's body). I then put a 4 mm cutter in the router plane and followed the same process as before to make a jig for planing to width:

112_narrow_slot_with_router_800.jpg


This shows a strip in the jig just after planing (in this photo you can see the strip on which the plane body runs).

113_strip_in_jig_800.jpg


Et voila:

114_planed_to_width_800.jpg
 
Cutting the Kumiko followed much the same process as before, with a few minor differences:

  • I cut the slots on one side of the strips and then inserted a strip into the slot before shooting the other end square. I don't think this was necessary, but it helped make sure everything lined up nicely.
  • I moved the fence to the other end of the sawing jig, which made it easier to hold the pieces while sawing.
  • I used my 90° jig to help with the sawn cuts as they really need to be perfectly vertical (if the slot gets wider as it gets deeper, chiselling the slots results in breakage; if the slot gets narrower as it gets deeper then it'll either break on assembly or leave an unsightly gap).

115_sawing_slots_in_maple_800.jpg


Chiselling was done just as before:

116_chiselling_slots_in_maple_800.jpg


I still had a few wasted pieces on the fiddly bits that make up the interior grid, but the maple was far, far easier to work with than the lime. The lime suffered from lots of little corners breaking off at every stage (including simple things like chamfering the corners). A couple of the maple strips broke where they're really weak on that middle grid, but other than that, they held together fine and were easy to cut with a chisel. The end result, a maple Kumiko grid (shown on the left of this photo, along with the lime one on the right):

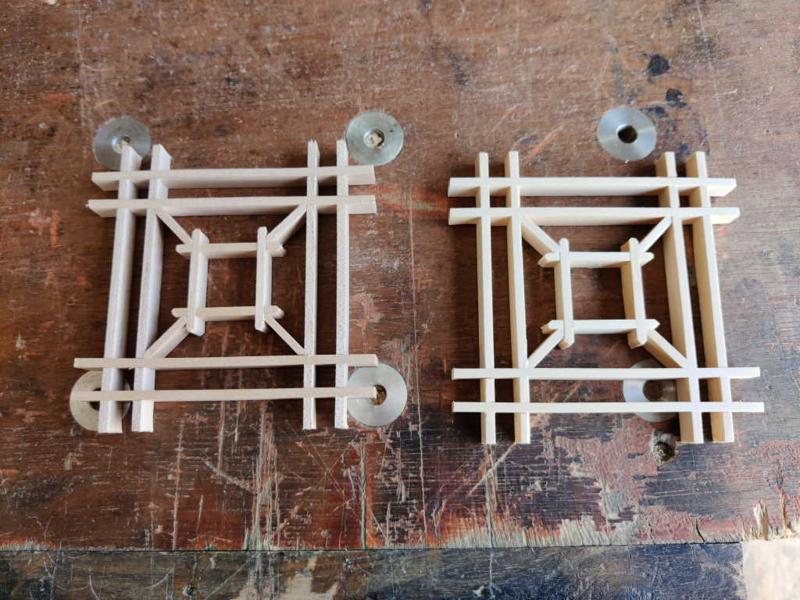
117_maple_and_lime_800.jpg


A few tiny drops of glue (applied with a pin-ended scriber) attached the Kumiko together and, after rubbing it on some 240 grit sandpaper to clean up the top face, I glued it into the lid in the same way. I could then apply a coat of Danish oil. After the oil had been left to soak in for 10 minutes, it was a real chore to clean out the excess. I used cotton buds as well as bits of tissue to try to get rid of all the excess. I'm sure I've left the odd dot here and there, but I think I got most of it eventually. I don't think it's going to get many coats!

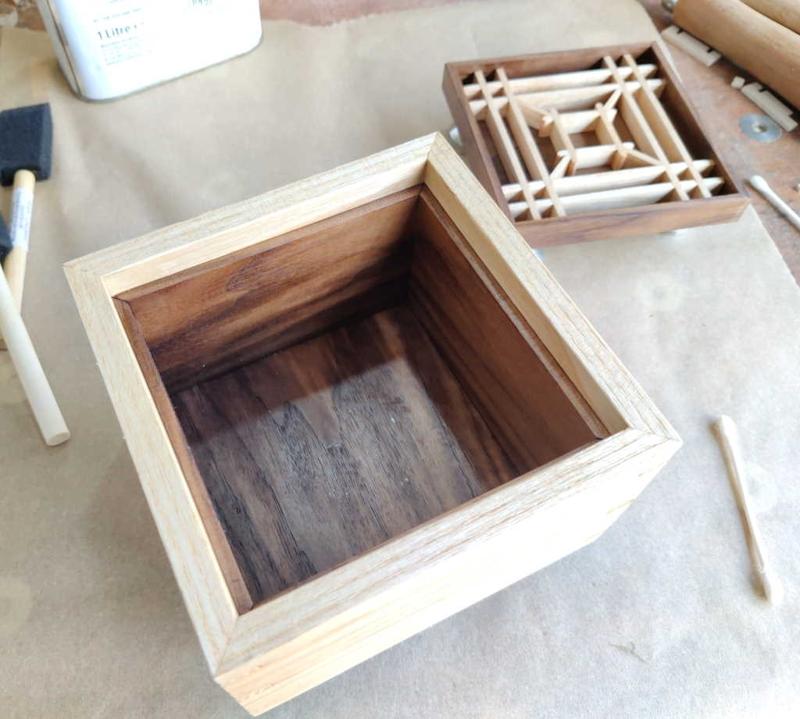
118_inside_of_oiled_box_800.jpg


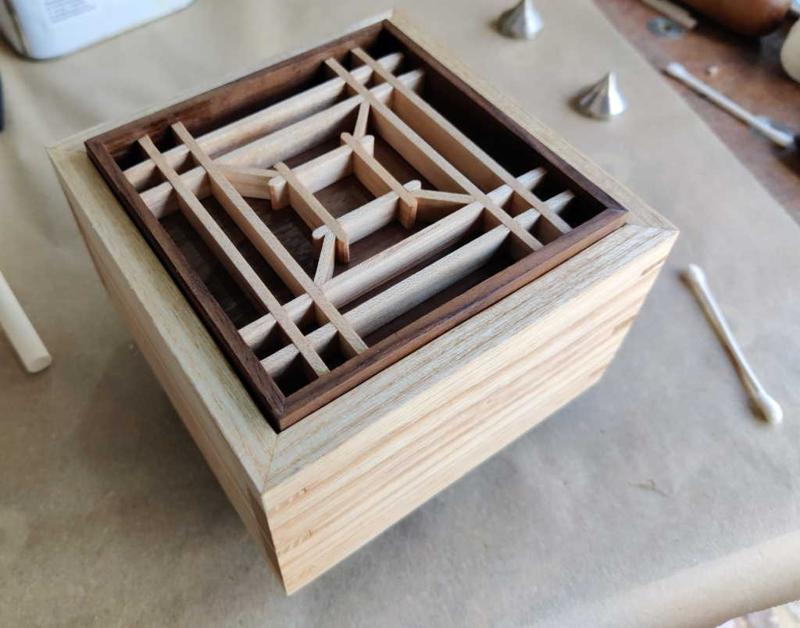
I couldn't resist fitting the lid and taking a photo:

119_first_coat_of_oil_800.jpg


I'm really pleased with how this box has turned out. I don't think I'll be in a rush to do the Izutsu-tsunagi pattern again, at least at this scale. The middle grid with its 5 mm ends was the cause of a lot of frustration. Compared to the Asa-no-ha pattern I tried before, this was much harder. The Asa-no-ha pattern has a lot more angles involved, but that just means more chisel jigs rather than any extra difficulty. The grid for the Asa-no-ha is simpler and doesn't involve anything quite so flimsy! Having said all that, I'm definitely tempted to experiment with other patterns and will be re-reading the excellent Desmond King books (The Basics and Beyond the Basics) that I have. I've also got Matt Kenney's book, but (in my opinion) it isn't in the same league as Desmond King's ones (and I think Matt Kenney's book should be subtitled "Learn to Make Beautiful Panels with a Table Saw" instead of "Learn to Make Beautiful Panels by Hand").
 
Andyp":khmyu75a said:
I wonder if you get a nice piece of glass in the lid?

It's an interesting idea, but I think I'm going to leave it as a dust trap! I realise it will probably get dust cluttering up the holes a bit, but I like the look of it being open. The exposed Kumiko also works as quite an effective handle to lift the lid up by!

It's going to be a present for my dad and he's got an air compressor, so I'm sure he'll be able to cope with a bit of dust :lol:
 
Dr.Al":2xbx4nl1 said:
I could then apply a coat of Danish oil. After the oil had been left to soak in for 10 minutes, it was a real chore to clean out the excess. I used cotton buds as well as bits of tissue to try to get rid of all the excess. I'm sure I've left the odd dot here and there, but I think I got most of it eventually. I don't think it's going to get many coats!
You didn't listen :lol:; told you not to apply a finish (all the proper Japanese ones I've seen are unfinished.) Now you know why :lol: - Rob
 
Woodbloke":3atd65it said:
Dr.Al":3atd65it said:
I could then apply a coat of Danish oil. After the oil had been left to soak in for 10 minutes, it was a real chore to clean out the excess. I used cotton buds as well as bits of tissue to try to get rid of all the excess. I'm sure I've left the odd dot here and there, but I think I got most of it eventually. I don't think it's going to get many coats!
You didn't listen :lol:; told you not to apply a finish (all the proper Japanese ones I've seen are unfinished.) Now you know why :lol: - Rob
I did listen, I just chose to ignore you :lol:

I really like the effect of oil on walnut, so I really wanted the oiled finish. I guess I could have oiled the walnut and then put the Kumiko in afterwards, but I wanted it to be glued in place.
 
Splendid, Al. Really good stuff.

Minor matters arising:

-I think that you are skilled enough now to do your tails without a guide. If you need to, mark the angle using a bevel gauge, but getting the "correct" angle is massively over-rated. They don't even need to be the same as each other on the same face. It's far more important to get the spacings right at the end. Have a go freehand, and see how forgiving they are in reality.

-I don't get the appeal of this Kumiko thing at all, so I've never done it (although making little dividers for a cutlery drawer involves roughly the same skills and processes). However, looking at what you've done, the slightly thinner one definitely looks better (it's subtle but significant). My primary comment would be, though, that the whole pattern looks too deep. You could, I reckon, glue it all up and slice the whole thing in half giving you two identical patterns.

-I've got one of those little mitre marking thingies. Absolutely indispensible when working with mouldings. It can sit unused for years on end, and then be critical to progress as the only way to marking something.

-Danish oil and ash is something you might take a view on in a year or two. I am not a fan of the colour it goes over time.

Great WIP and write up. Thanks for doing that. It's great watching your skills developing.
 
Back
Top