• Hi all and welcome to TheWoodHaven2 brought into the 21st Century, kicking and screaming! We all have Alasdair to thank for the vast bulk of the heavy lifting to get us here, no more so than me because he's taken away a huge burden of responsibility from my shoulders and brought us to this new shiny home, with all your previous content (hopefully) still intact! Please peruse and feed back. There is still plenty to do, like changing the colour scheme, adding the banner graphic, tweaking the odd setting here and there so I have added a new thread in the 'Technical Issues, Bugs and Feature Requests' forum for you to add any issues you find, any missing settings or just anything you'd like to see added/removed from the feature set that Xenforo offers. We will get to everything over the coming weeks so please be patient, but add anything at all to the thread I mention above and we promise to get to them over the next few days/weeks/months. In the meantime, please enjoy!

Another end grain chopping board design #3

Robert

Moderator
Staff member
Joined
Jul 21, 2014
Messages
2,683
Reaction score
63
Location
Woodford Green
Name
I'm not Bob
I've been messing about with this for a while now. Didn't take many pictures at the start but once it looked like it might work out I took more.

This is a 'I did it my way' version :)

I don't have the big machines you see in the youtube videos. I also don't have huge amounts of wood to waste cutting bits off to make angles. So no big slabs of wood. It was mostly old flooring and some wood I found in the shed.

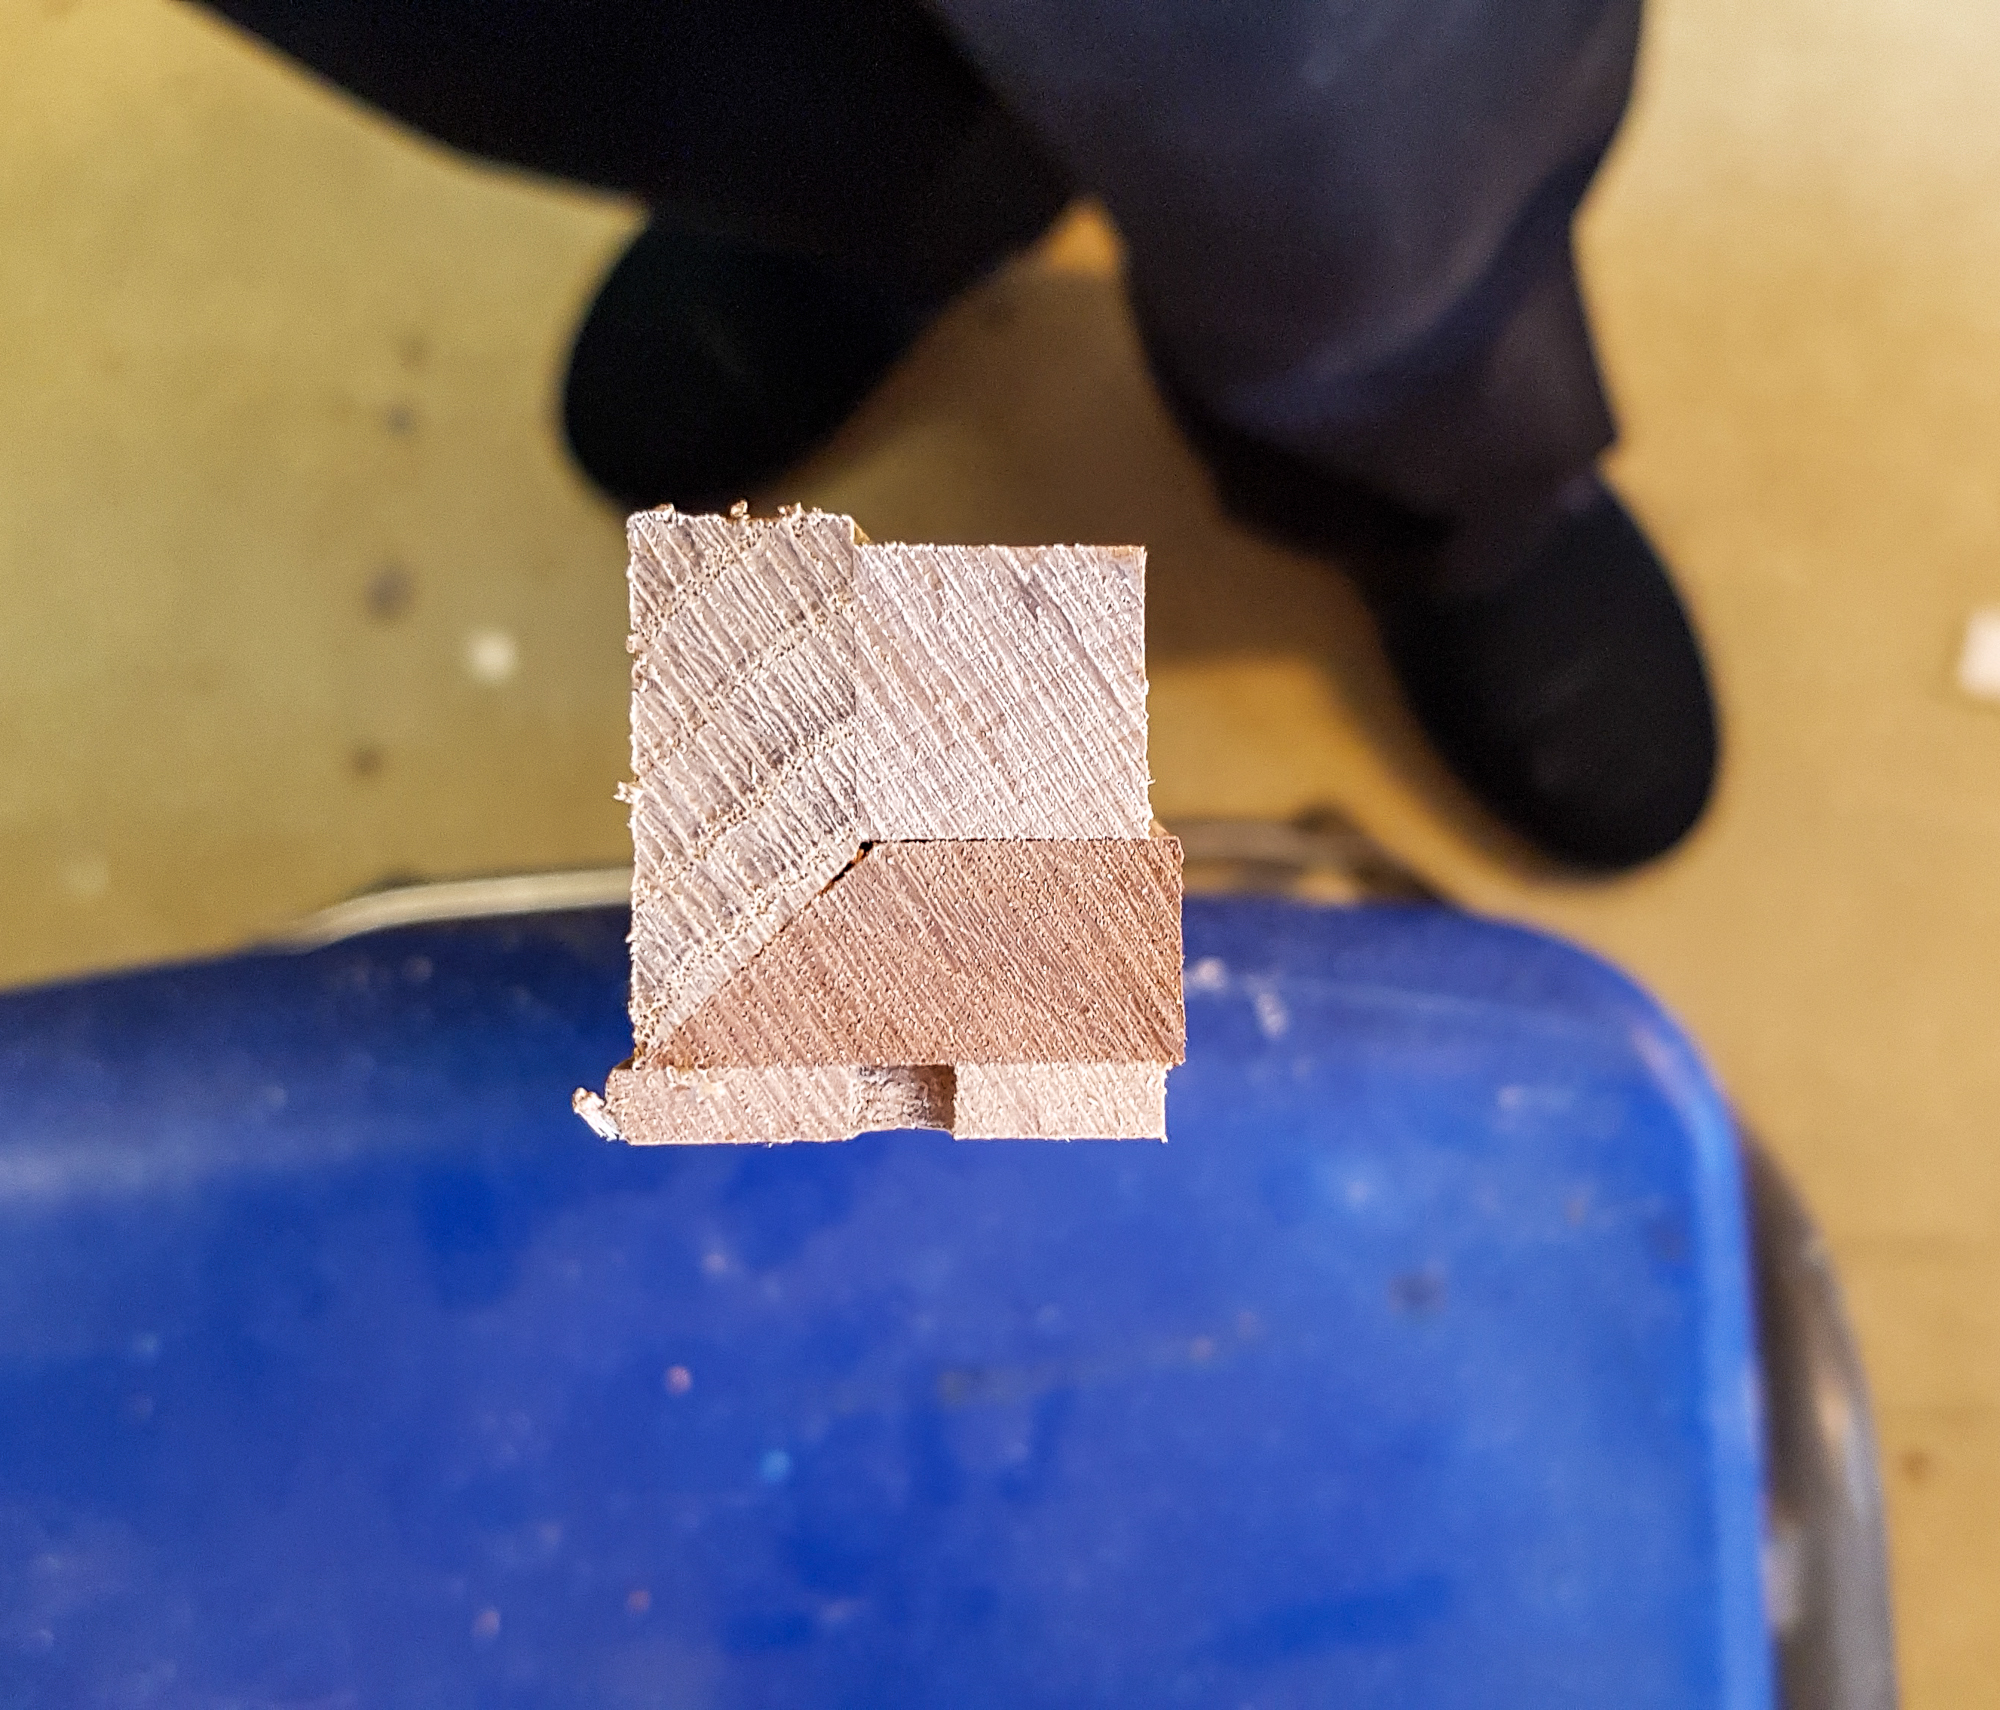
The test piece (about 3ft long)
3dcb1-101.jpg


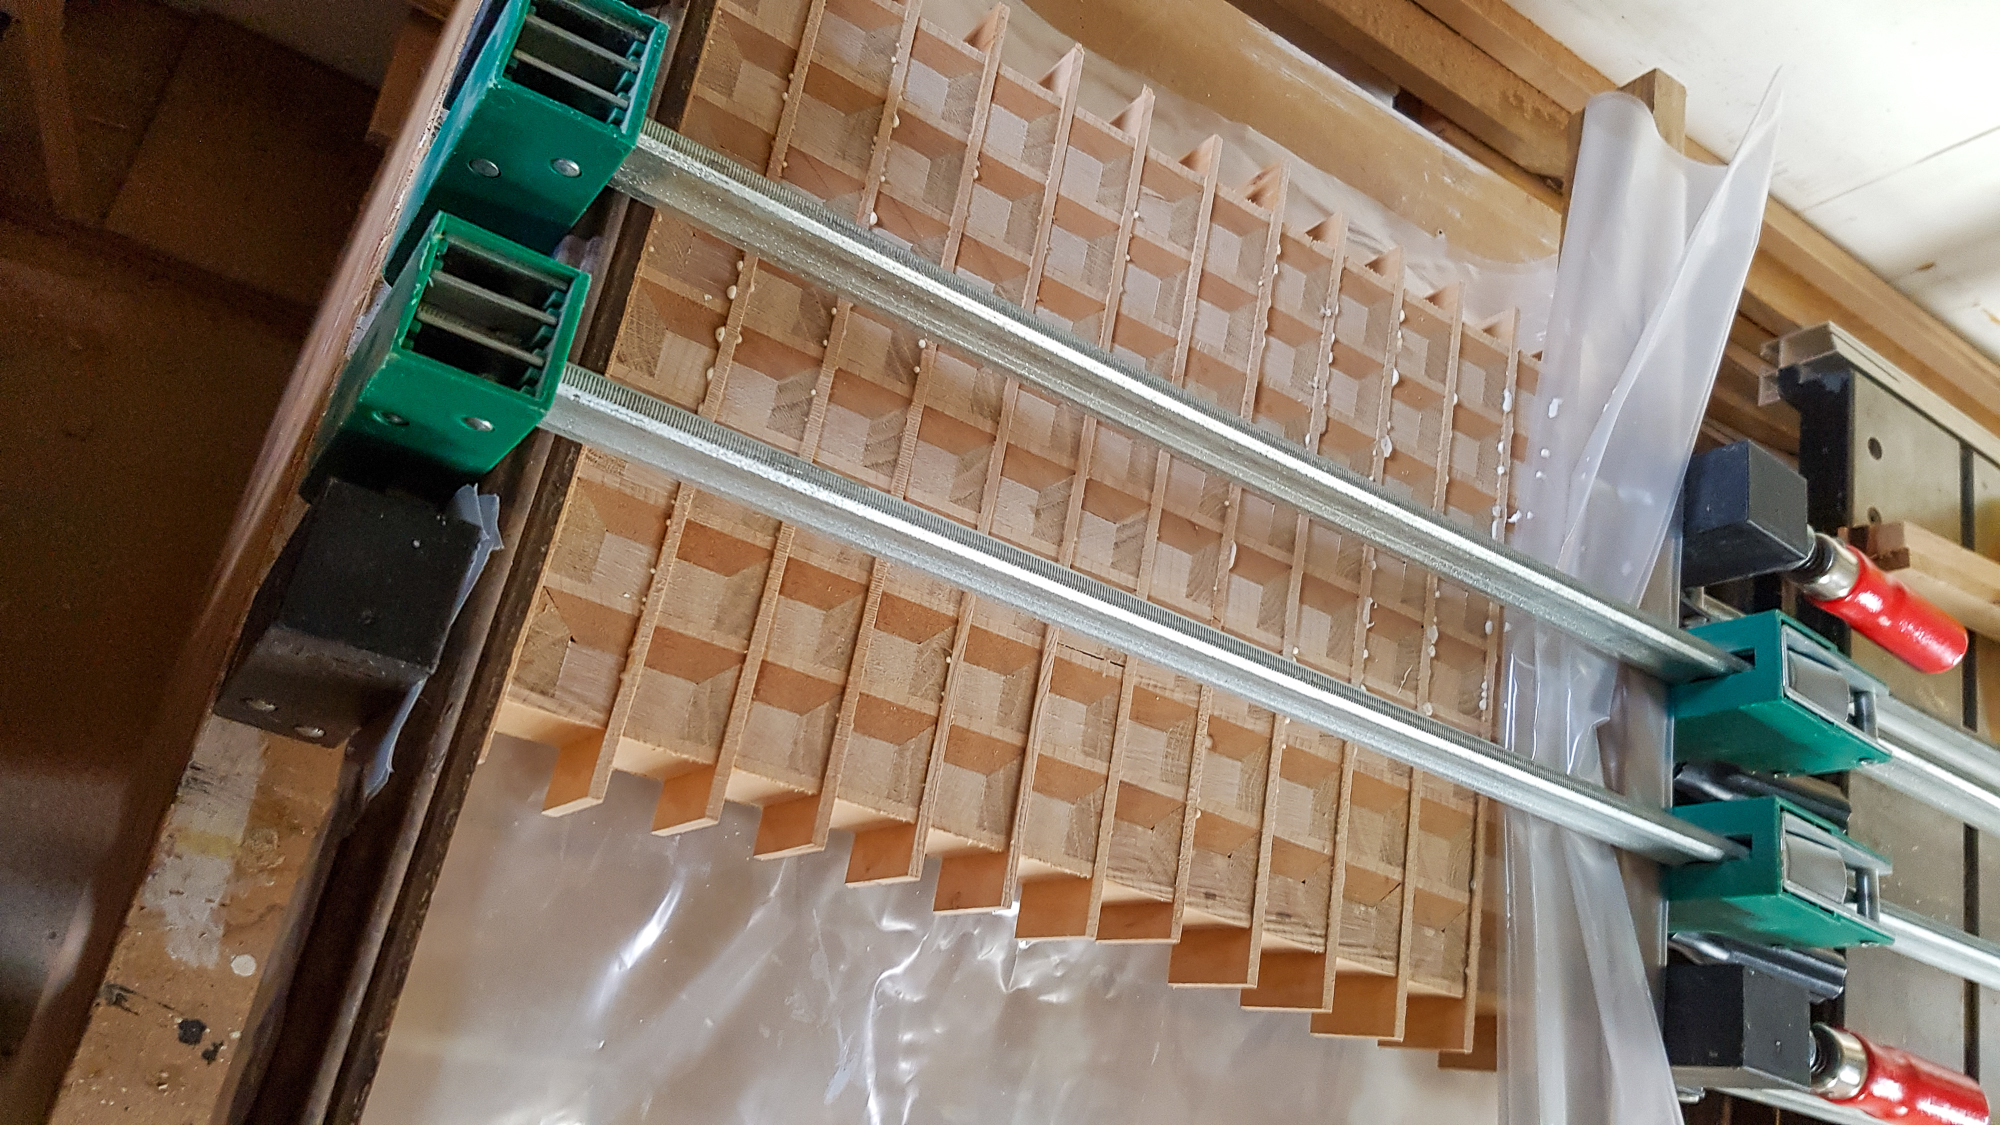
I cut the 4 strips and wrapped masking tape bands around it to keep it together then unrolled the bundle and glued the touching surfaces. Then it went in the vacuum press bag. The idea being the shapes would naturally pull into alignment when under pressure from all sides.

It kind of worked but the the beech lath was hard to keep in the right place.

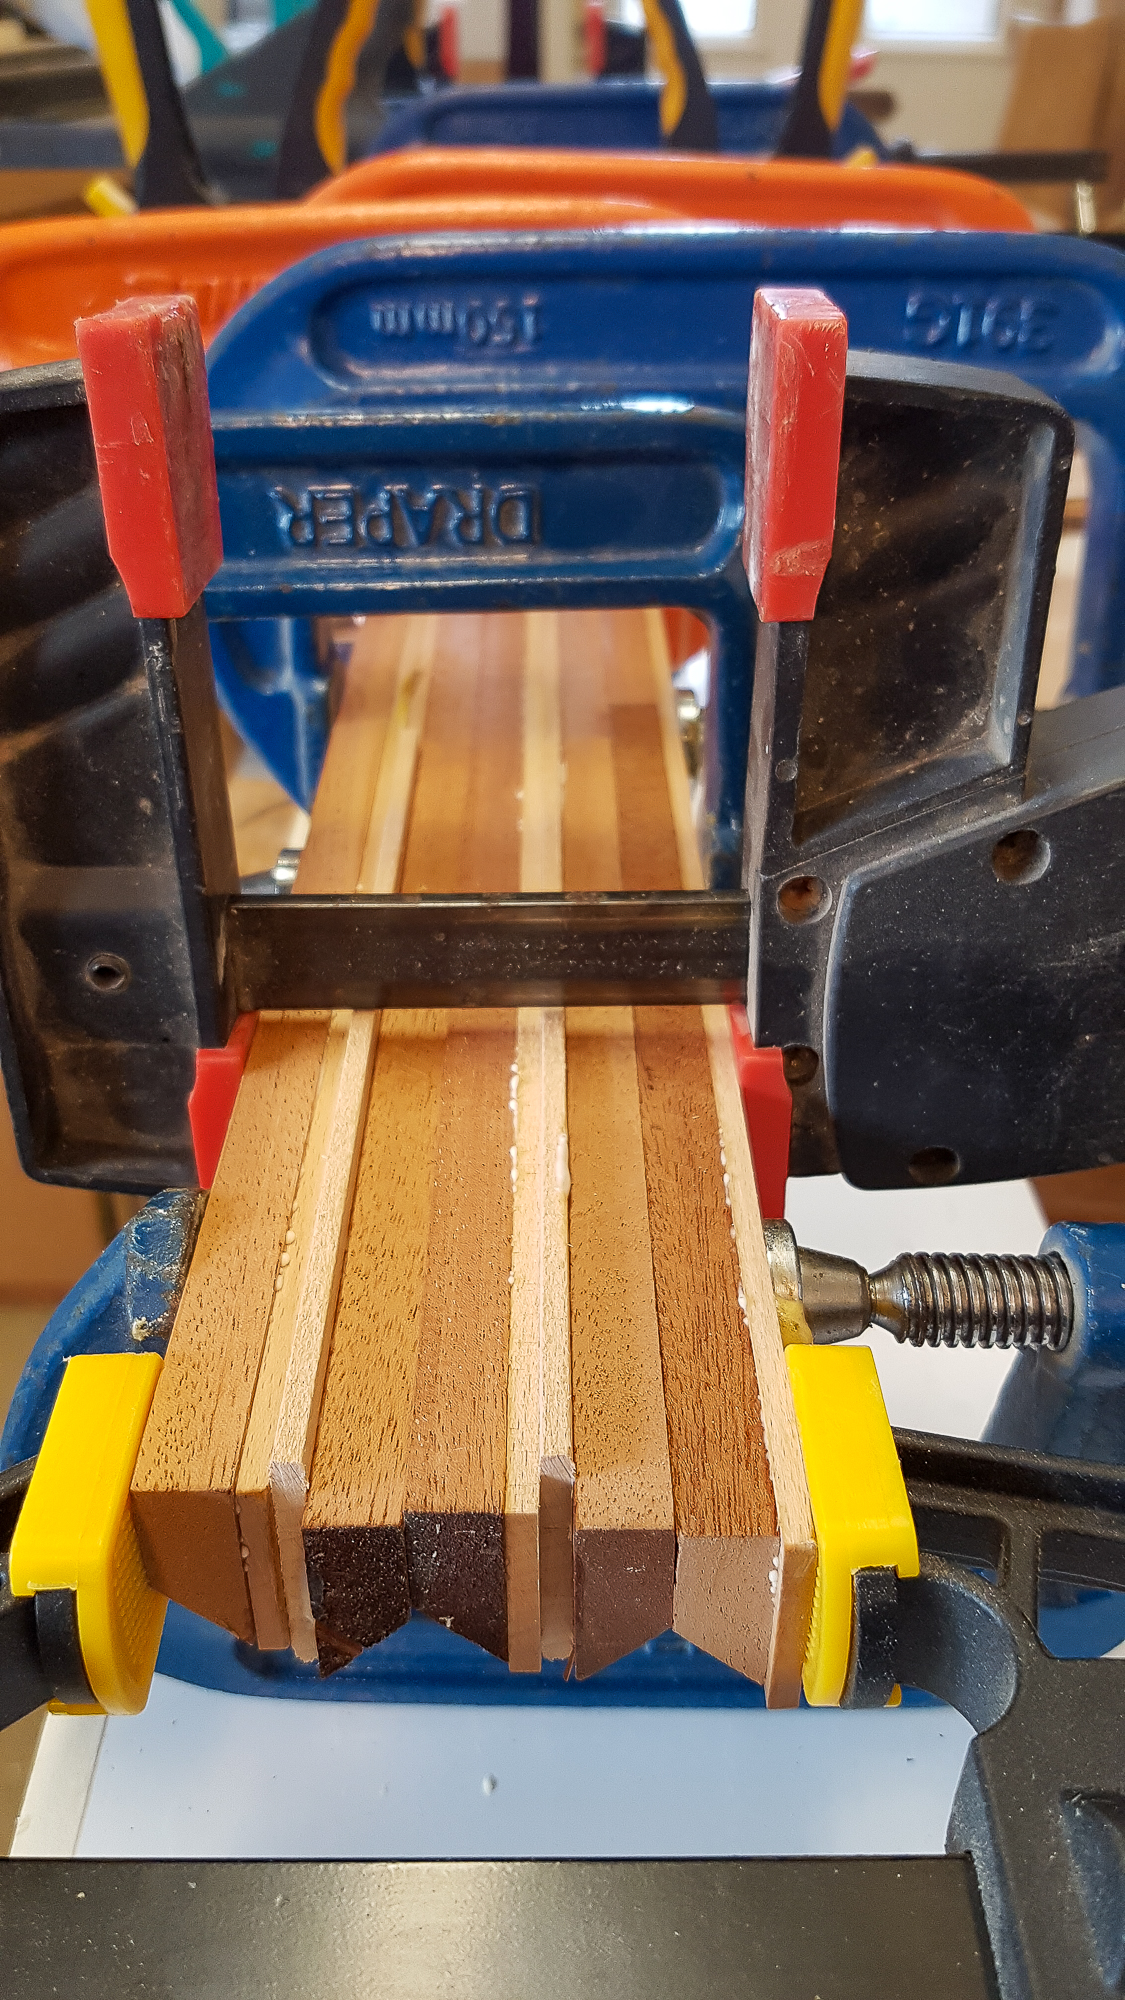
So next I glued just the lath to the bevelled mahogany batten
3dcb1-100.jpg


Once they were dry it was back to the original method but more at a time
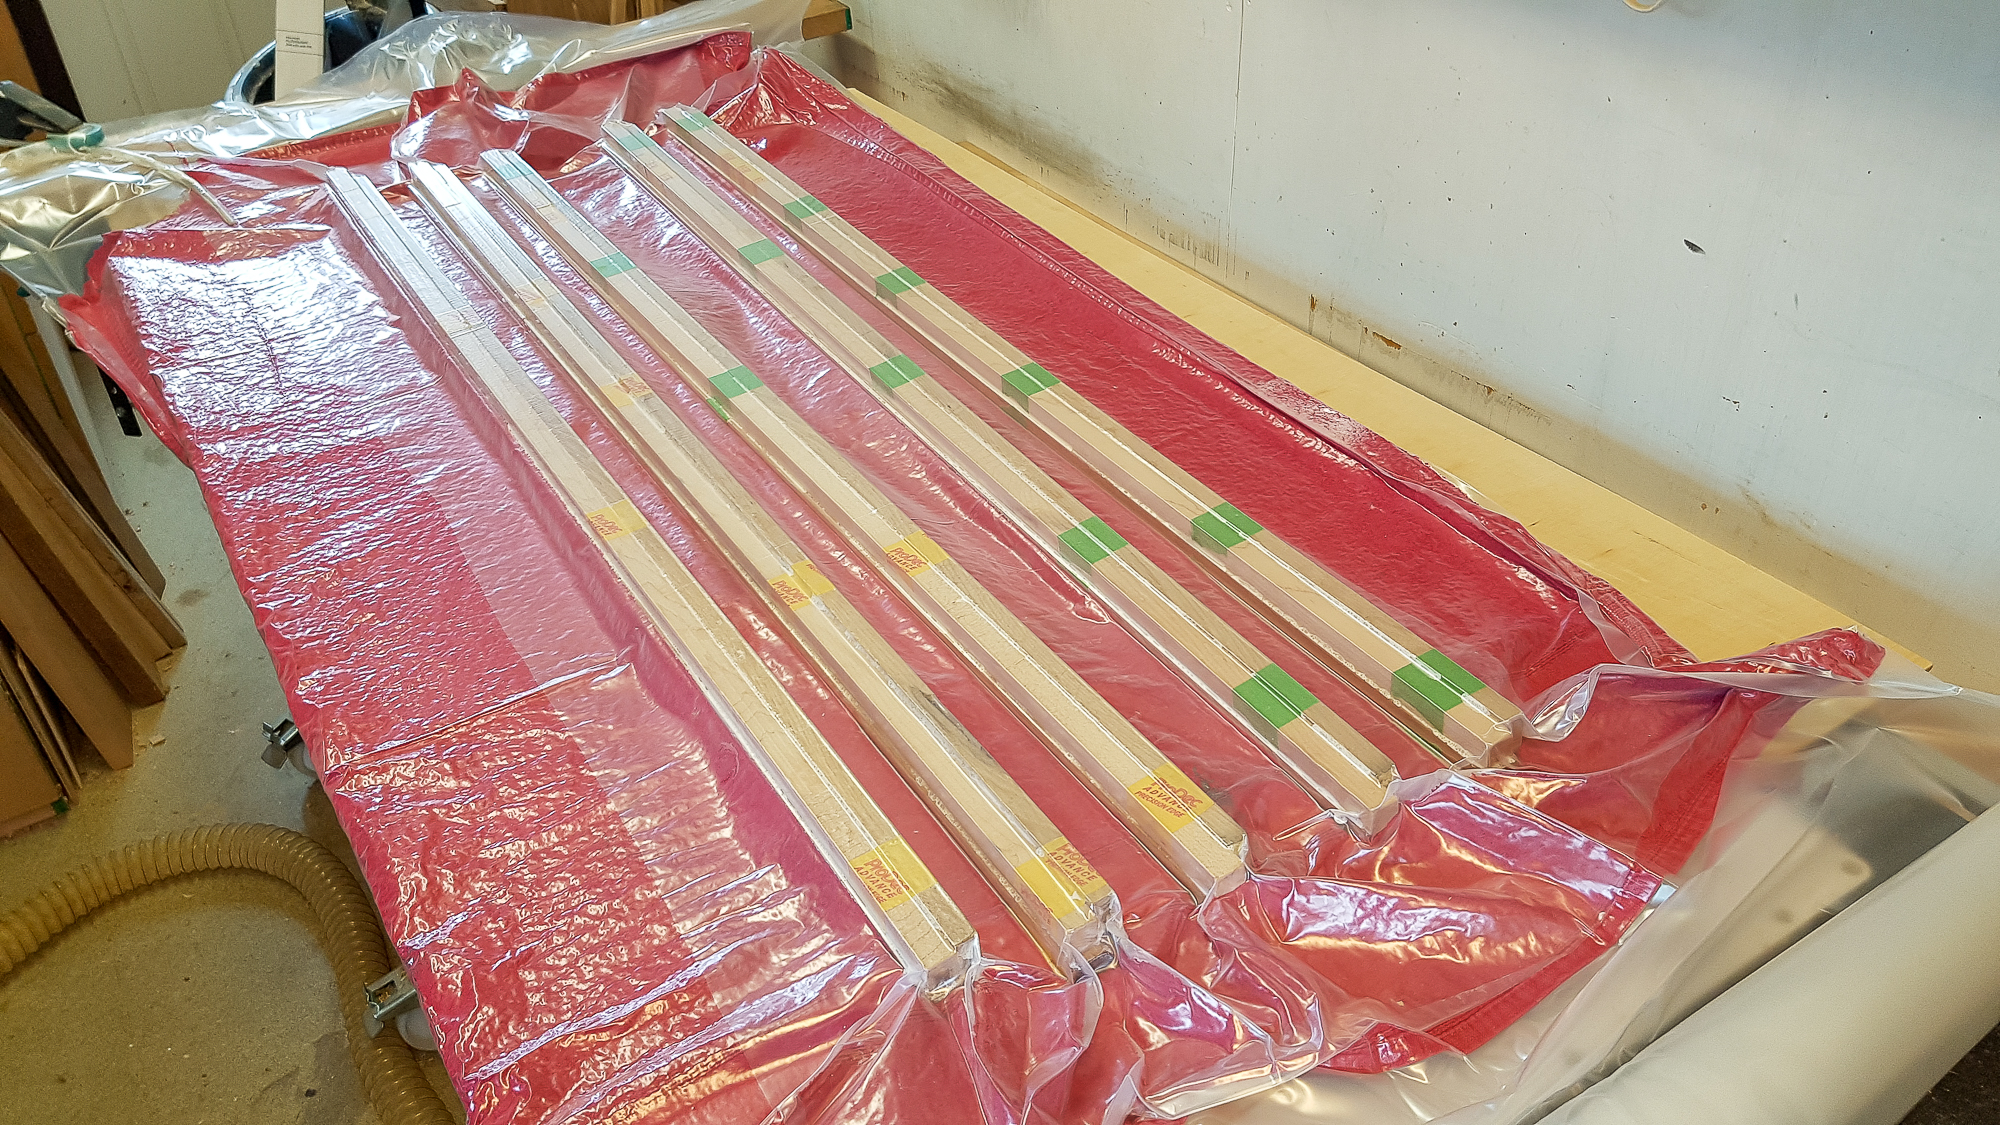
3dcb1-102.jpg


Then make those strip assemblies into a slab
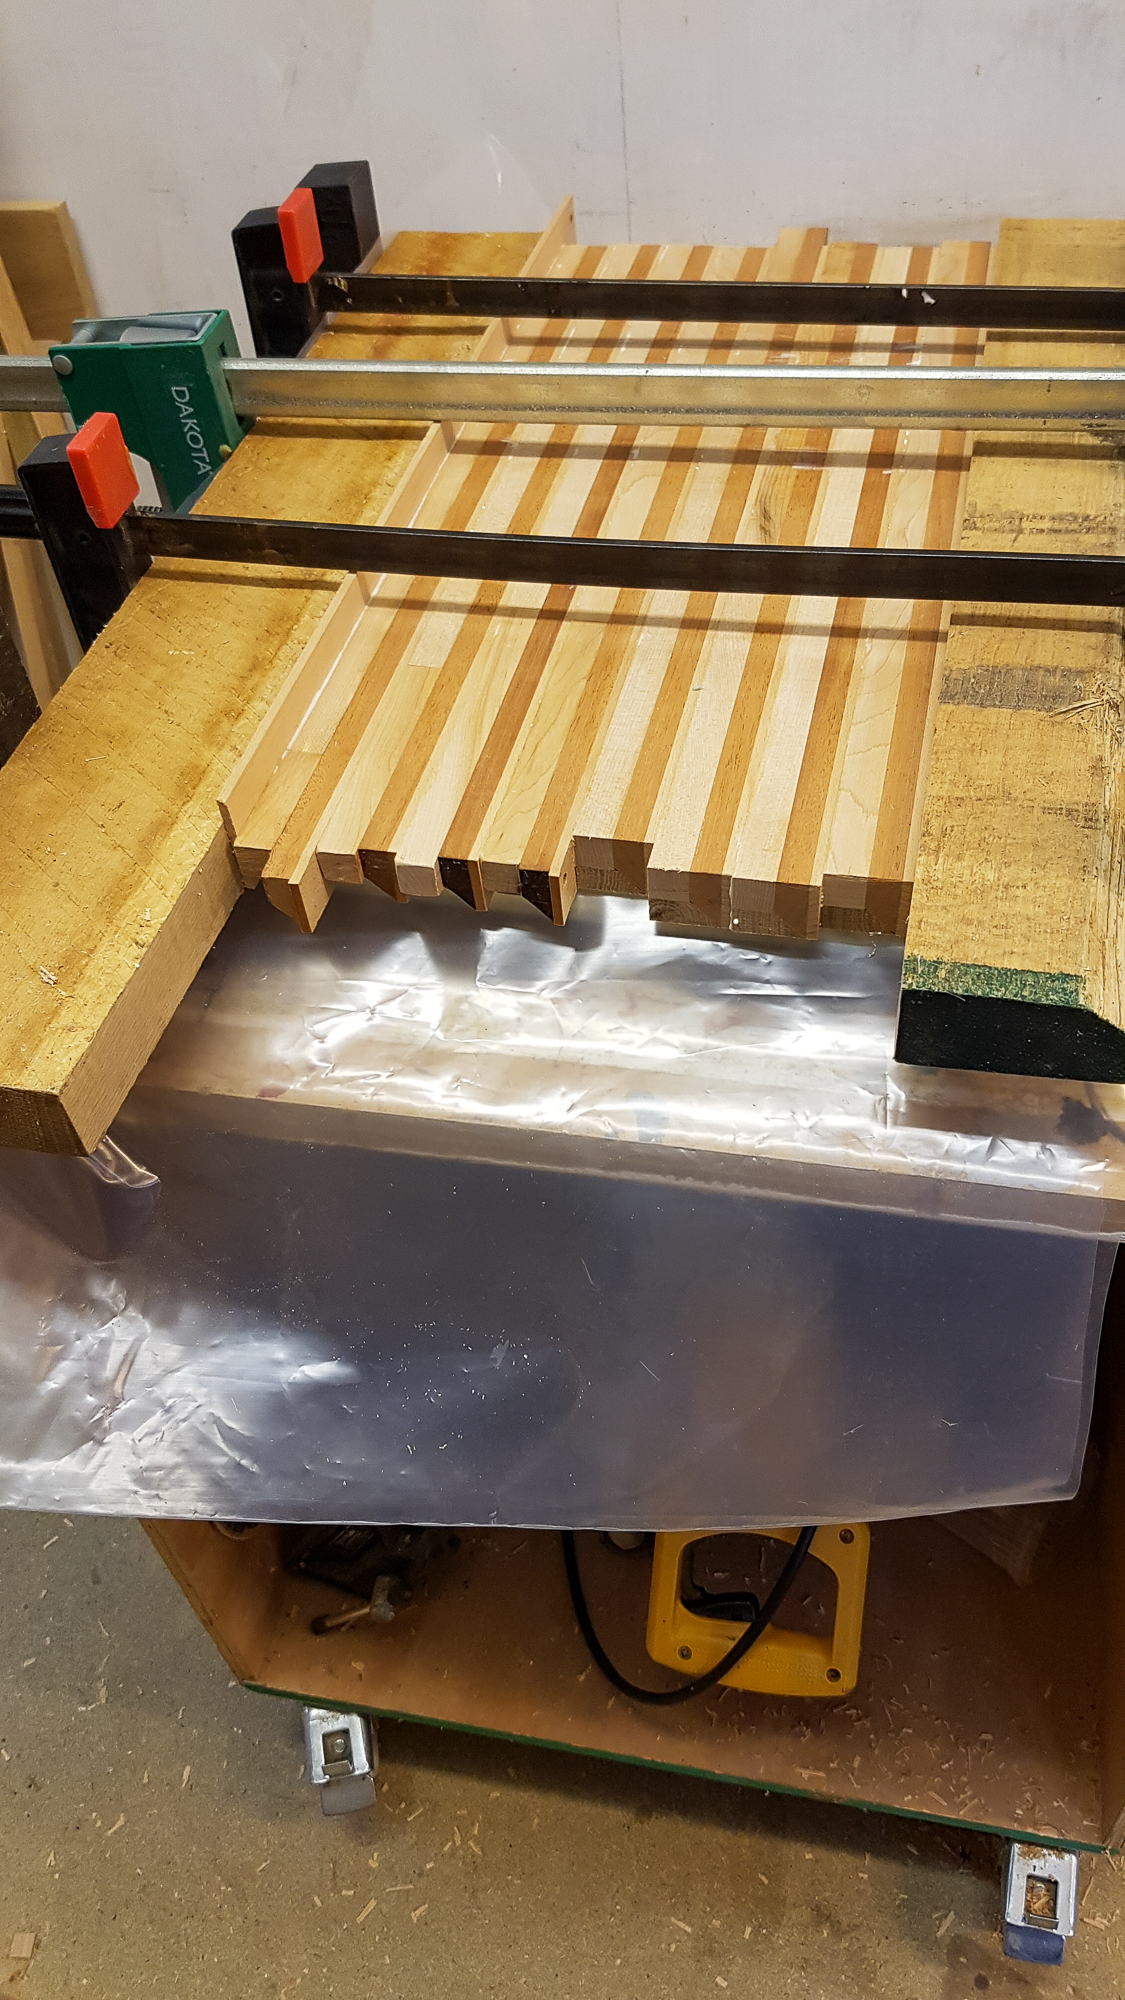
3dcb1-103.jpg


No pictures but I glued some beech into a short wide plank, cross cut it at 46mm and then band sawed those into end grain strips.

Then the slab was cut into 45mm cross cut strips
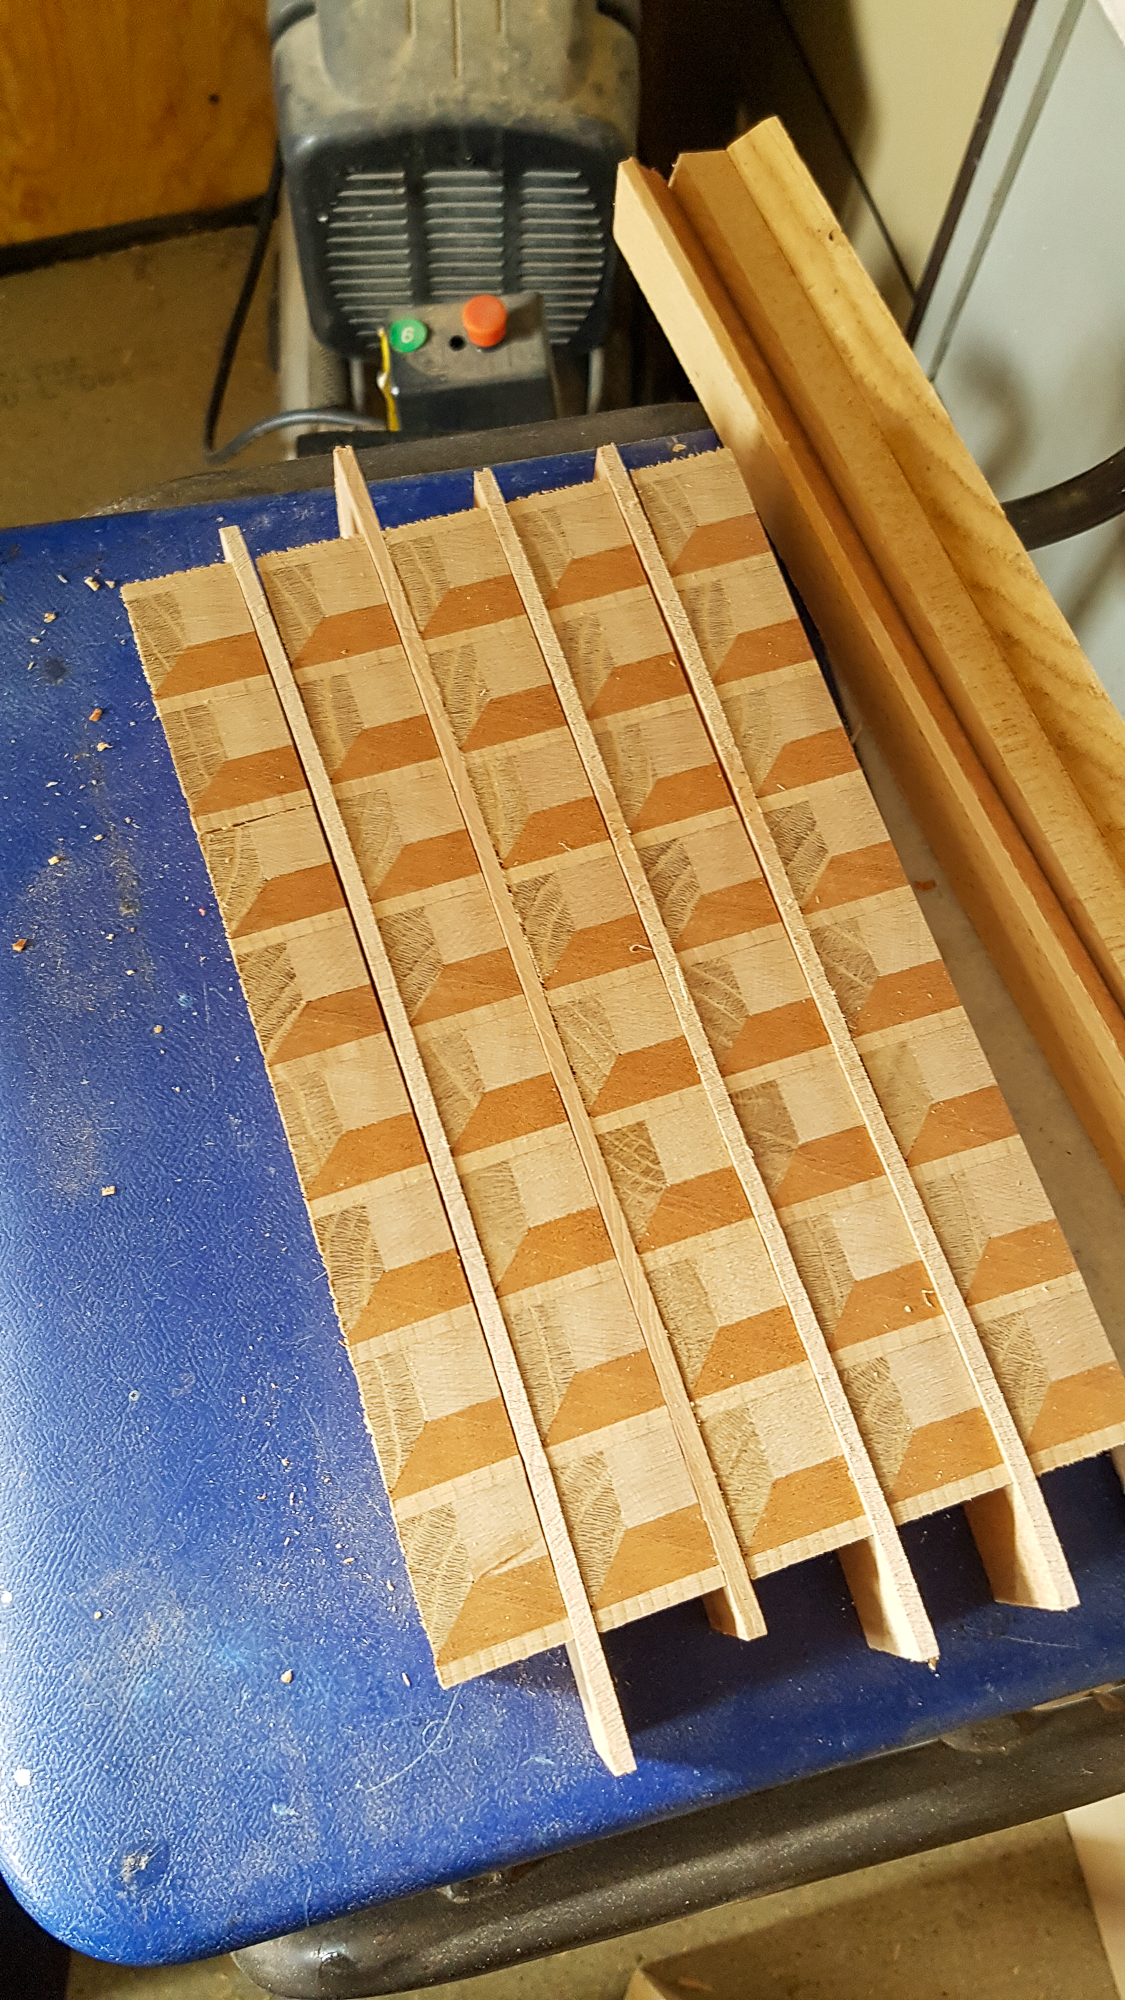
3dcb1-104.jpg


Glue up
3dcb1-105.jpg


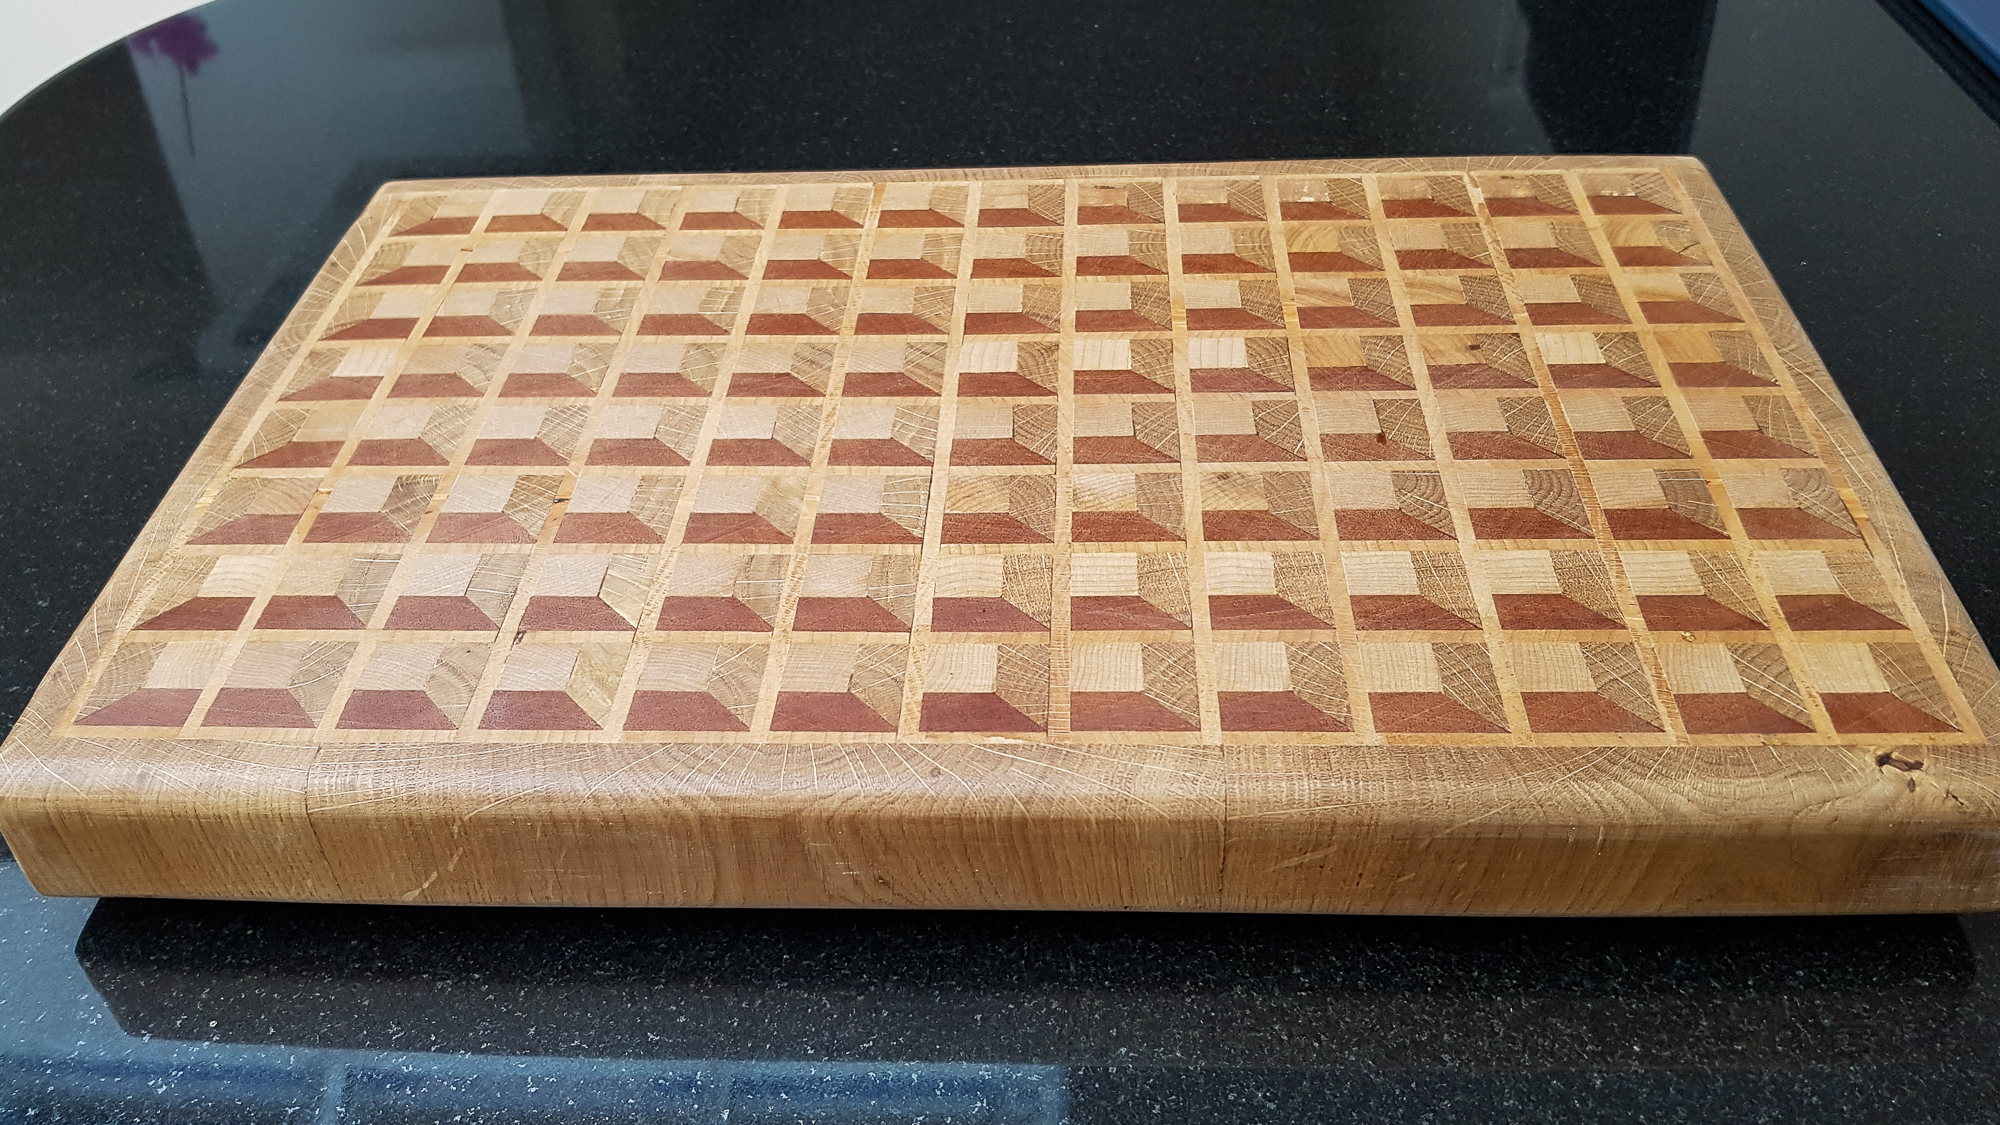
An Oak frame and lots of sanding later...
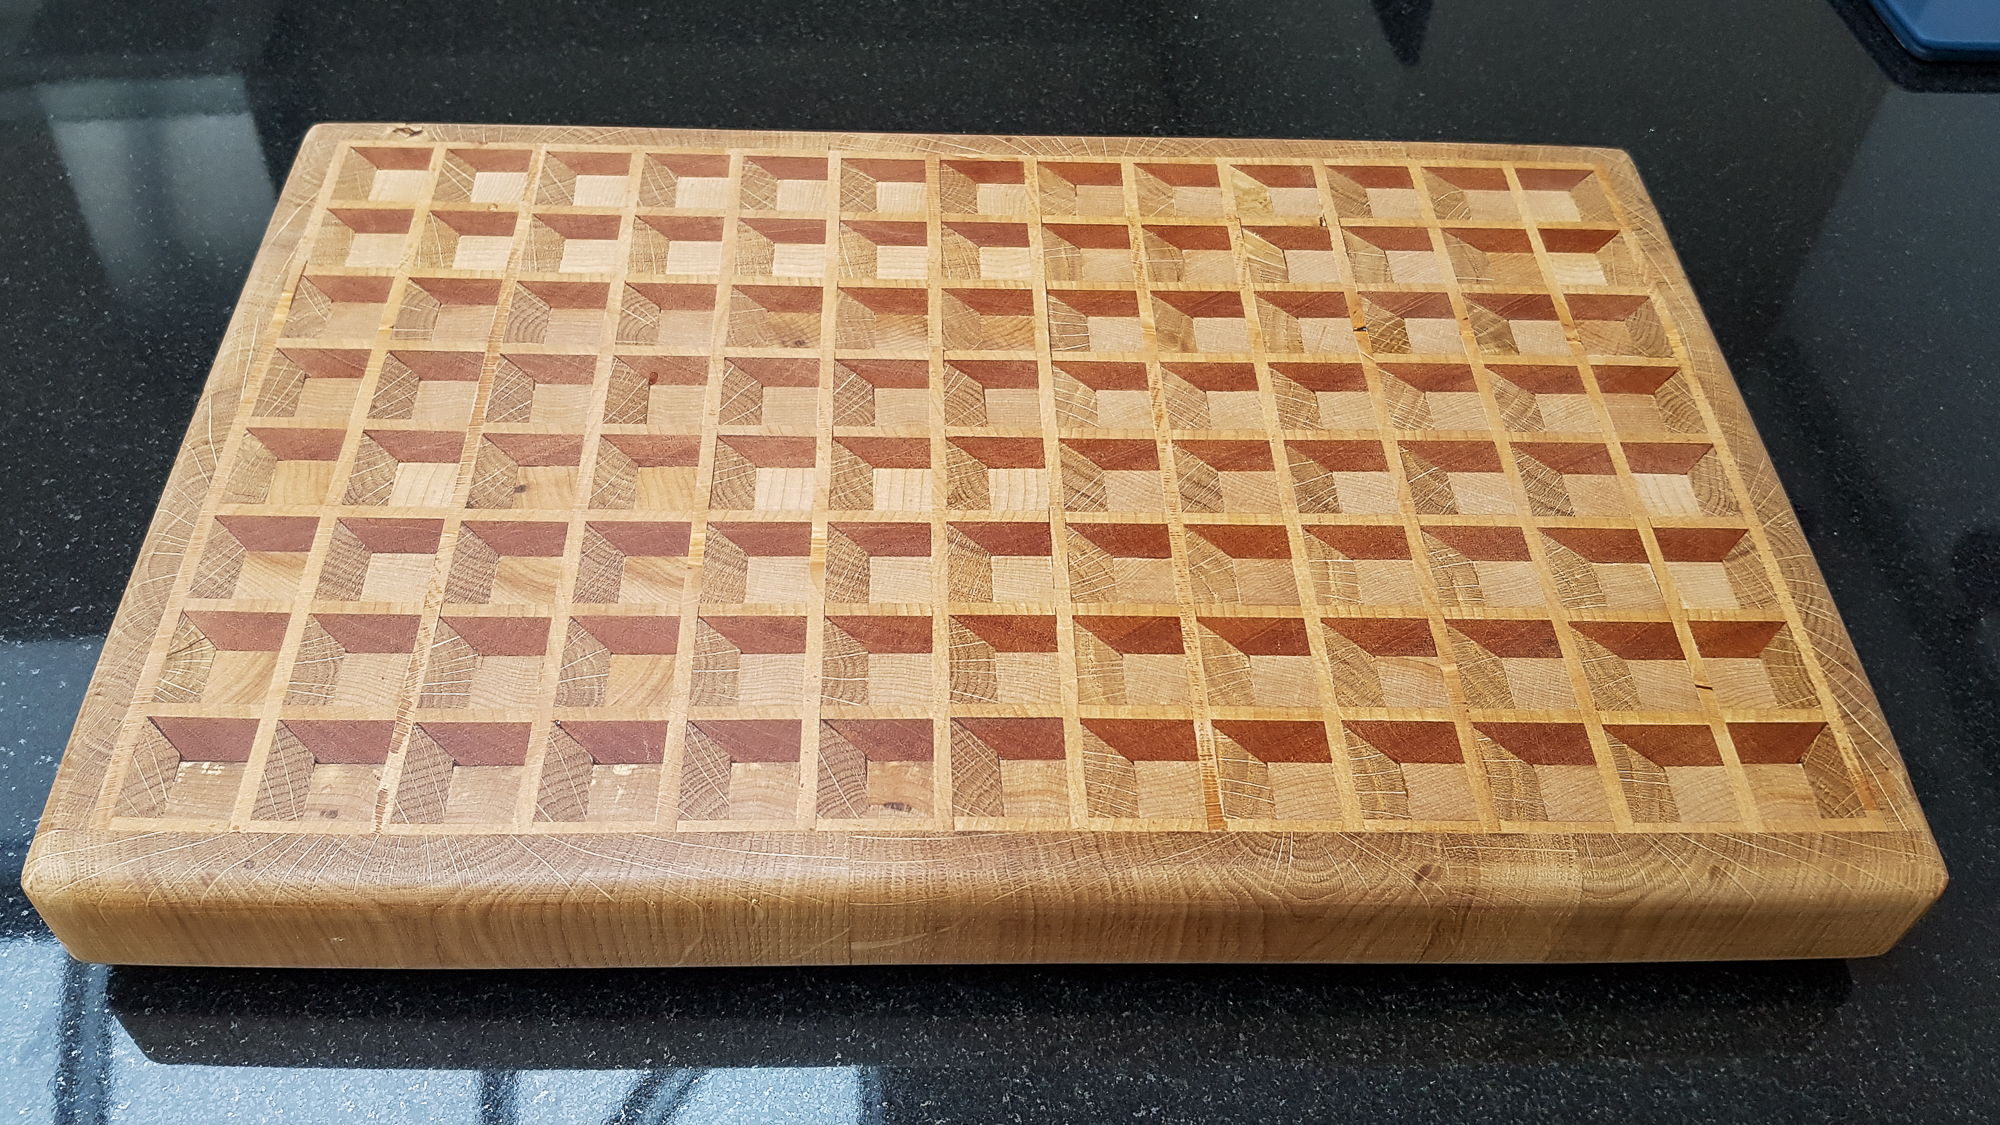
3dcb1-106.jpg


3dcb1-107.jpg


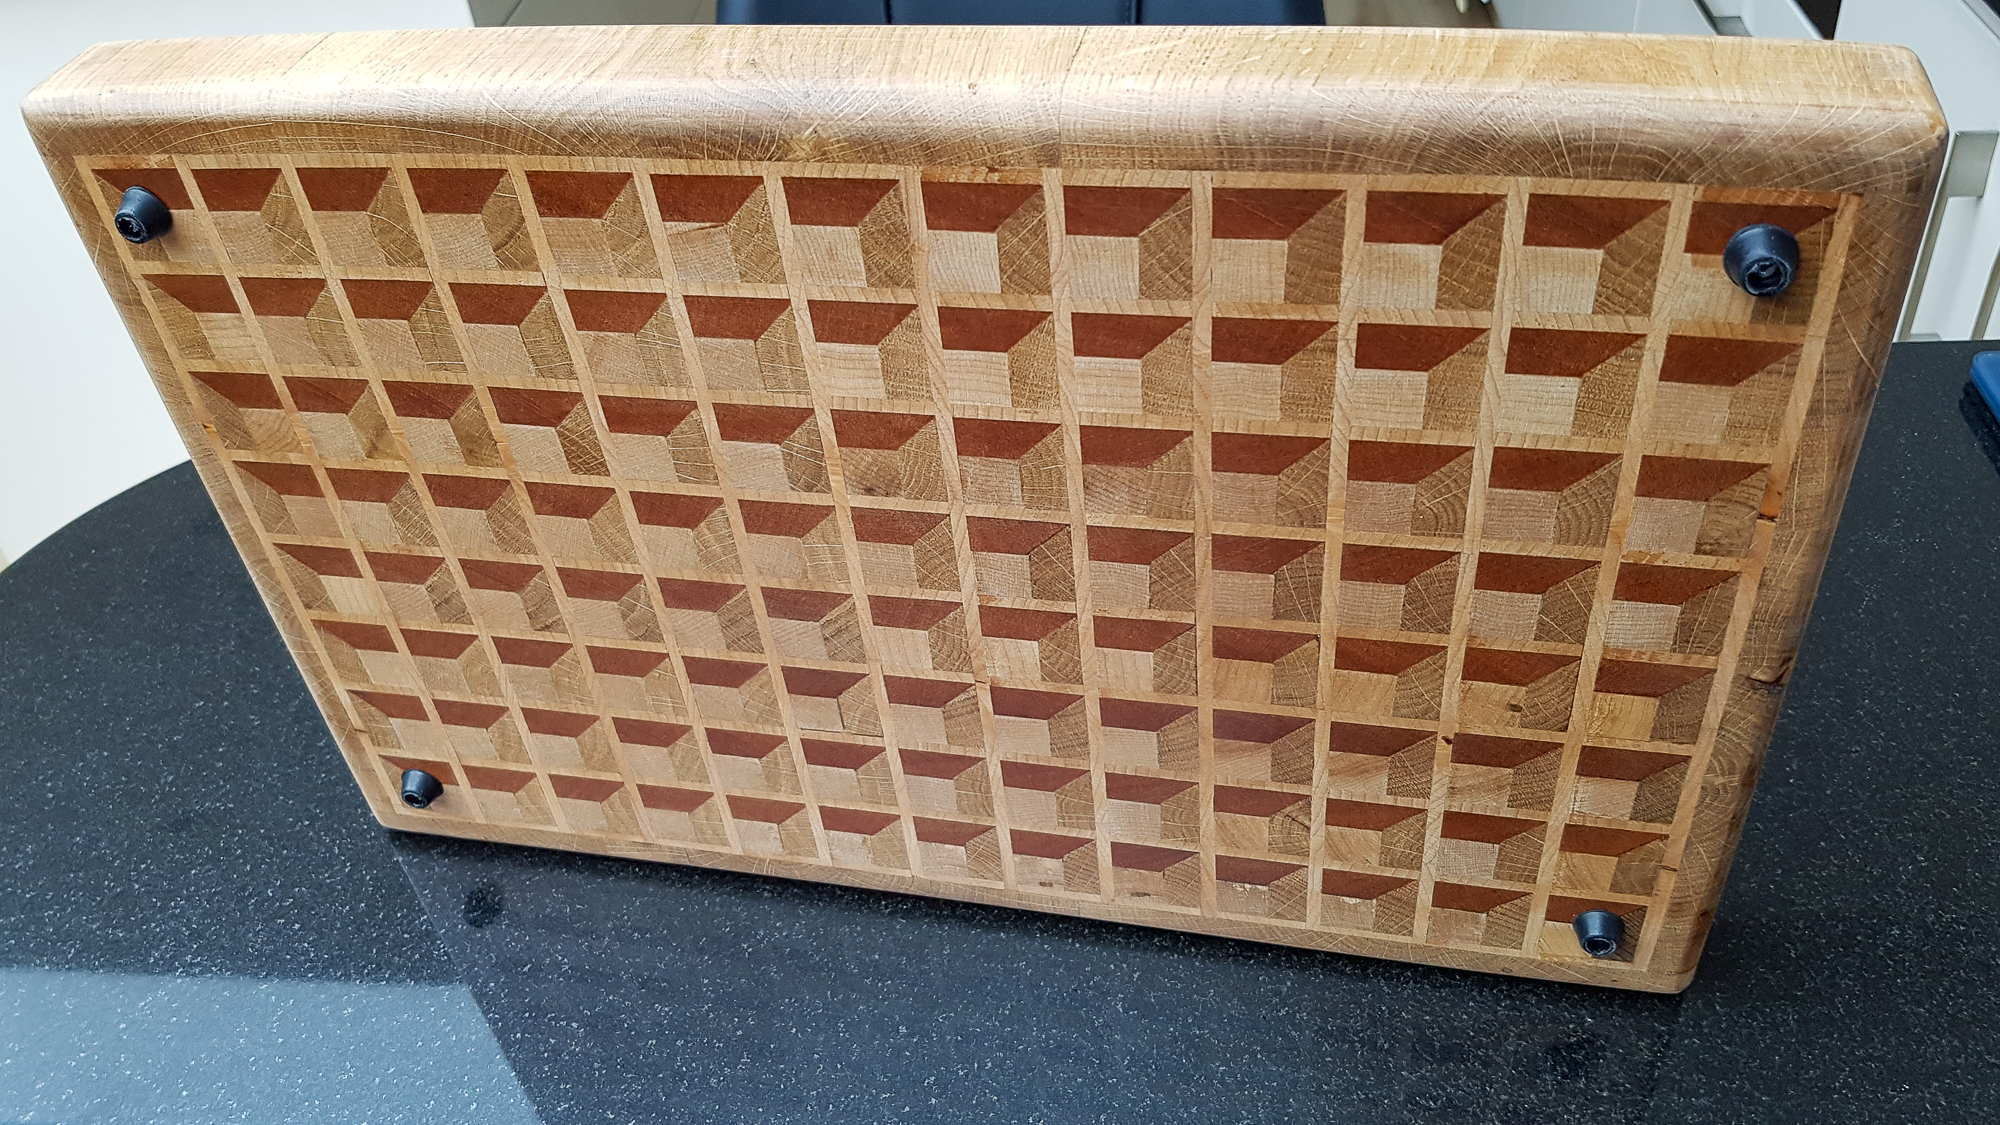
Underside
3dcb1-110.jpg


To anyone just looking at it, it looks quite impressive. to me though i mostly see the faults-

Like the small gaps
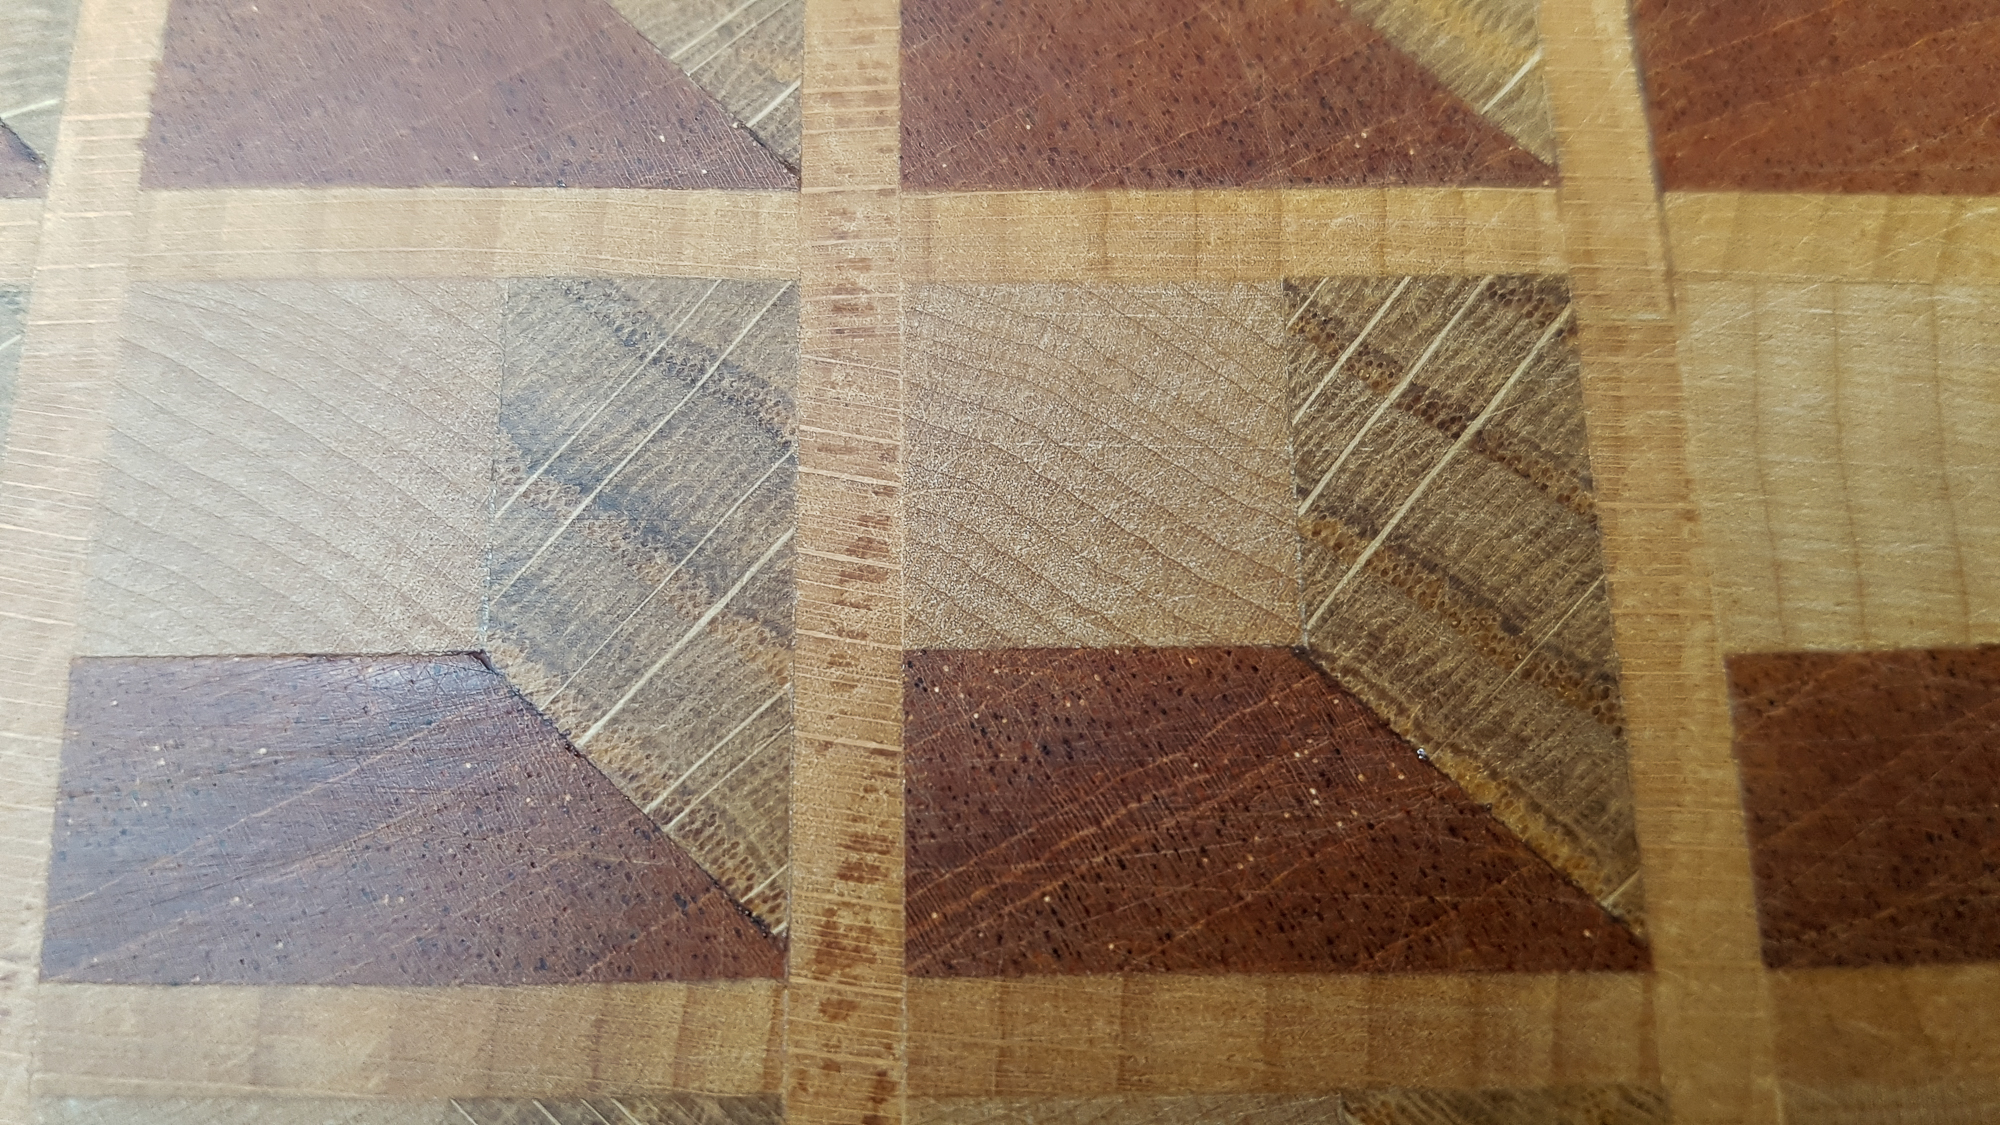
3dcb1-108.jpg


And that one column I glued in the wrong way round!!
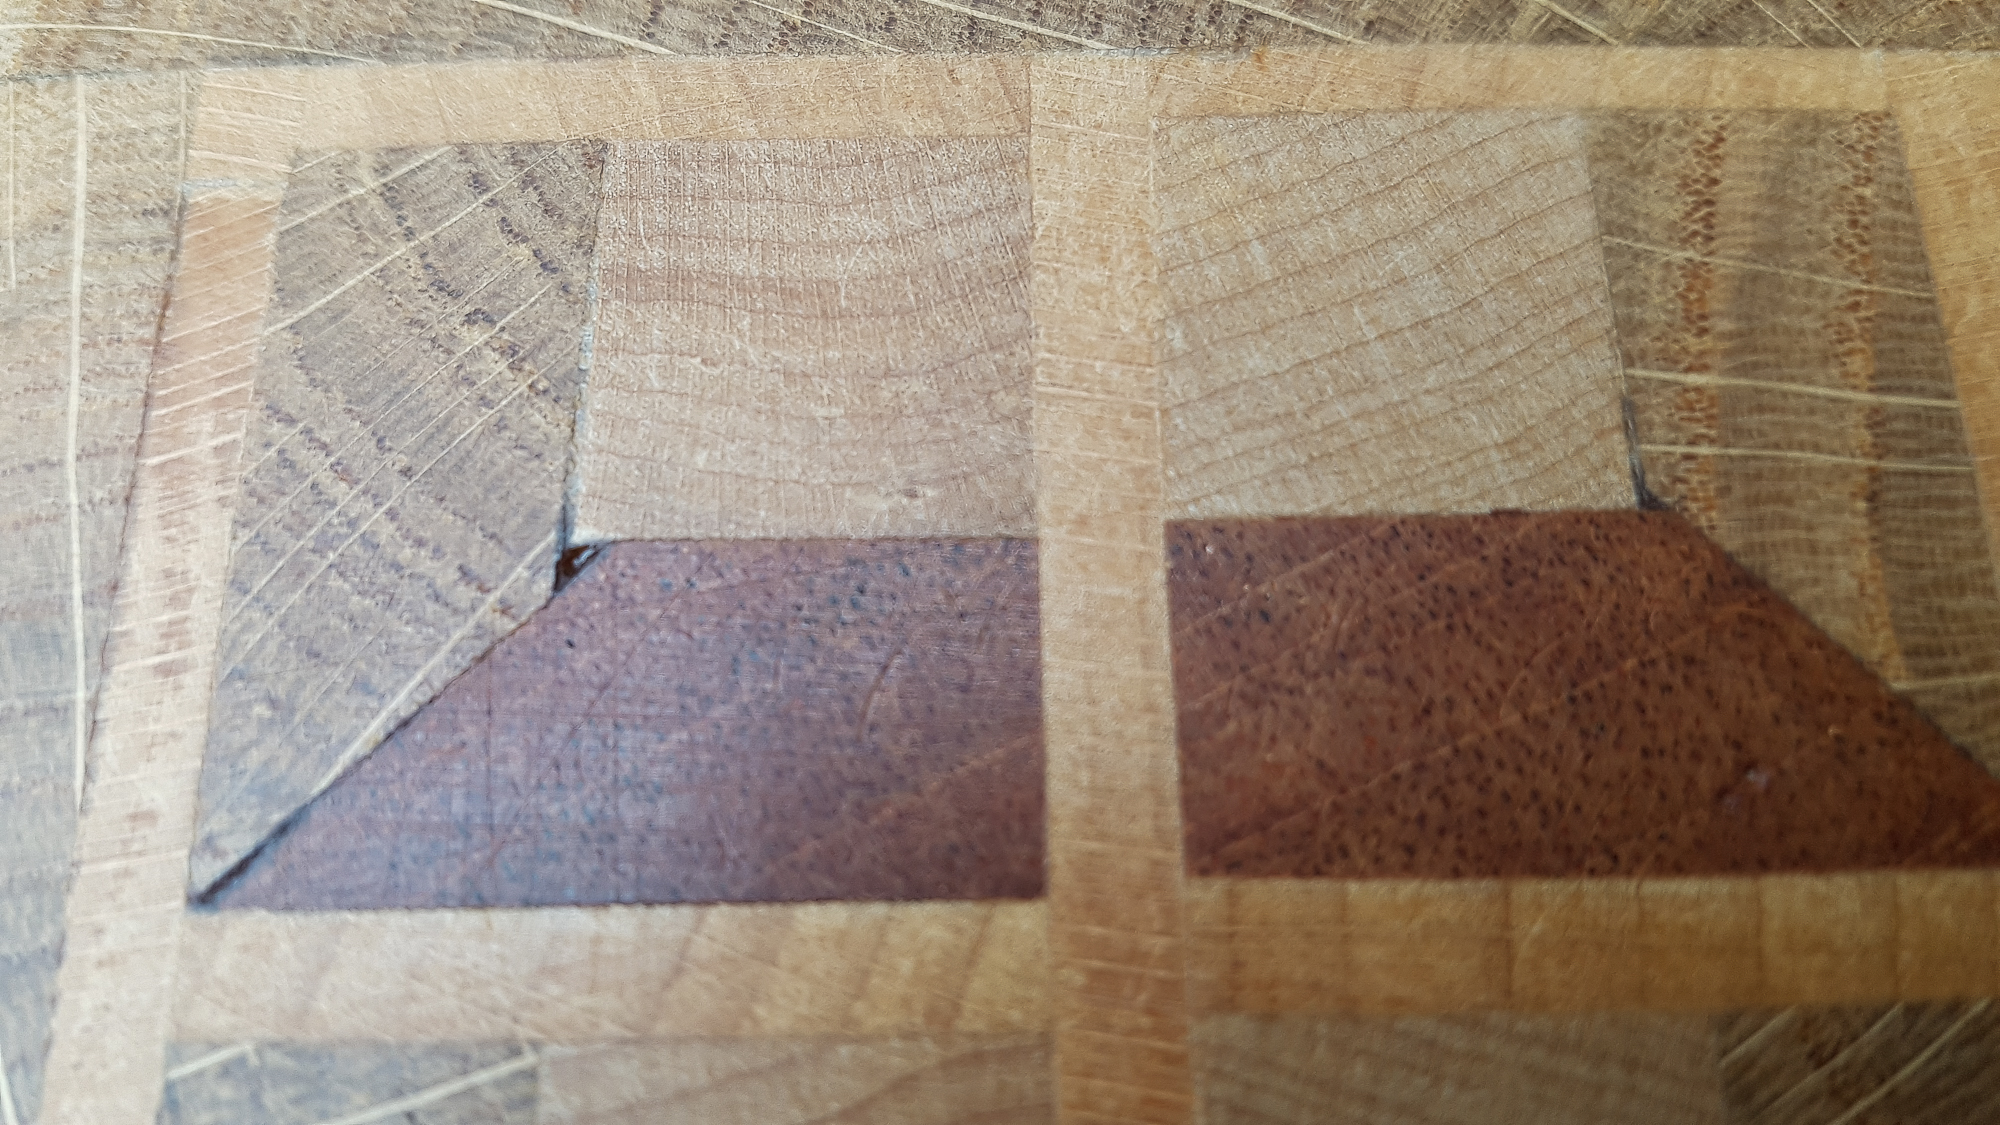
3dcb1-109.jpg


And I'm currently sorting out wood for a different design..
 
Looking good! well done.

If it is not too late, adding a little glue to any gaps, rubbing it in with a finger tip and then run the ROS over it is surprisingly effective at hiding them.
I could not possibly say how I know this :lol:

Bob
 
Still trying to decide the best way to flatten something like this without a drum sander or large planer.

Thinking about making a router set up where the router is bolted to a channel and you bridge across 2 battens then plough away at the surface.

Then there is the wood lathe that i almost never use. Maybe some lash up on there could work as a drum sander..
 
Nice job Robert. I know from my own efforts how tiny measuring errors in the early stages seem to be exaggerated when accumulated in the final piece, but unless you point them out to people they'll never notice. I made the mistake of talking to "Woodbloke" (always an expensive experience - and I never learn) so ended up having to buy a drum sander, which is indeed the mutts nuts, but for this job I think I would go down the route of flattening with a router much as you describe, and then going down through the grits with a ROS, starting perhaps at 80. Or tell yourself that you're going to have a need to thickness veneers for future projects and justify a drum sander to yourself. You know you're worth it! :lol: :lol: :lol:
 
Nice work Roger.
Would love a sander but I’ve got a sledge I use for such purposes with my thicknesser.

Rod
 
9fingers":383hlpkt said:
Flattening can also be done with a thicknesser - subject to its max cutting width.
Sacrifical end pieces of any timber can be glued on to leading and trailing edges to prevent breakout and then sawn off after planing.

Bob

True but my planer/thicknesser is only 10 inch.

As to the drum sander it is as much the size of the thing as the cost. I don't have the space.
 
Rod":9g9e2p6v said:
Nice work Roger.
Would love a sander but I’ve got a sledge I use for such purposes with my thicknesser.

Rod

If I see Roger I'll tell him ;)

Robert
 
Robert":fezm0gqy said:
9fingers":fezm0gqy said:
Flattening can also be done with a thicknesser - subject to its max cutting width.
Sacrifical end pieces of any timber can be glued on to leading and trailing edges to prevent breakout and then sawn off after planing.

Bob

True but my planer/thicknesser is only 10 inch.

As to the drum sander it is as much the size of the thing as the cost. I don't have the space.

Maybe make two half boards <= 10" and glue together after thicknessing?

Bob
 
I took it you were going along with the humour of Rod's error Andy.

Sitting here smiling so no worries anyone :)
 
I've been chopping up some old window boards and glueing them back together again as thick boards and I've planed and thicknessed some Maple flooring into strips that are glued into similar thick boards.

I need the thicker boards to have a go at this style.

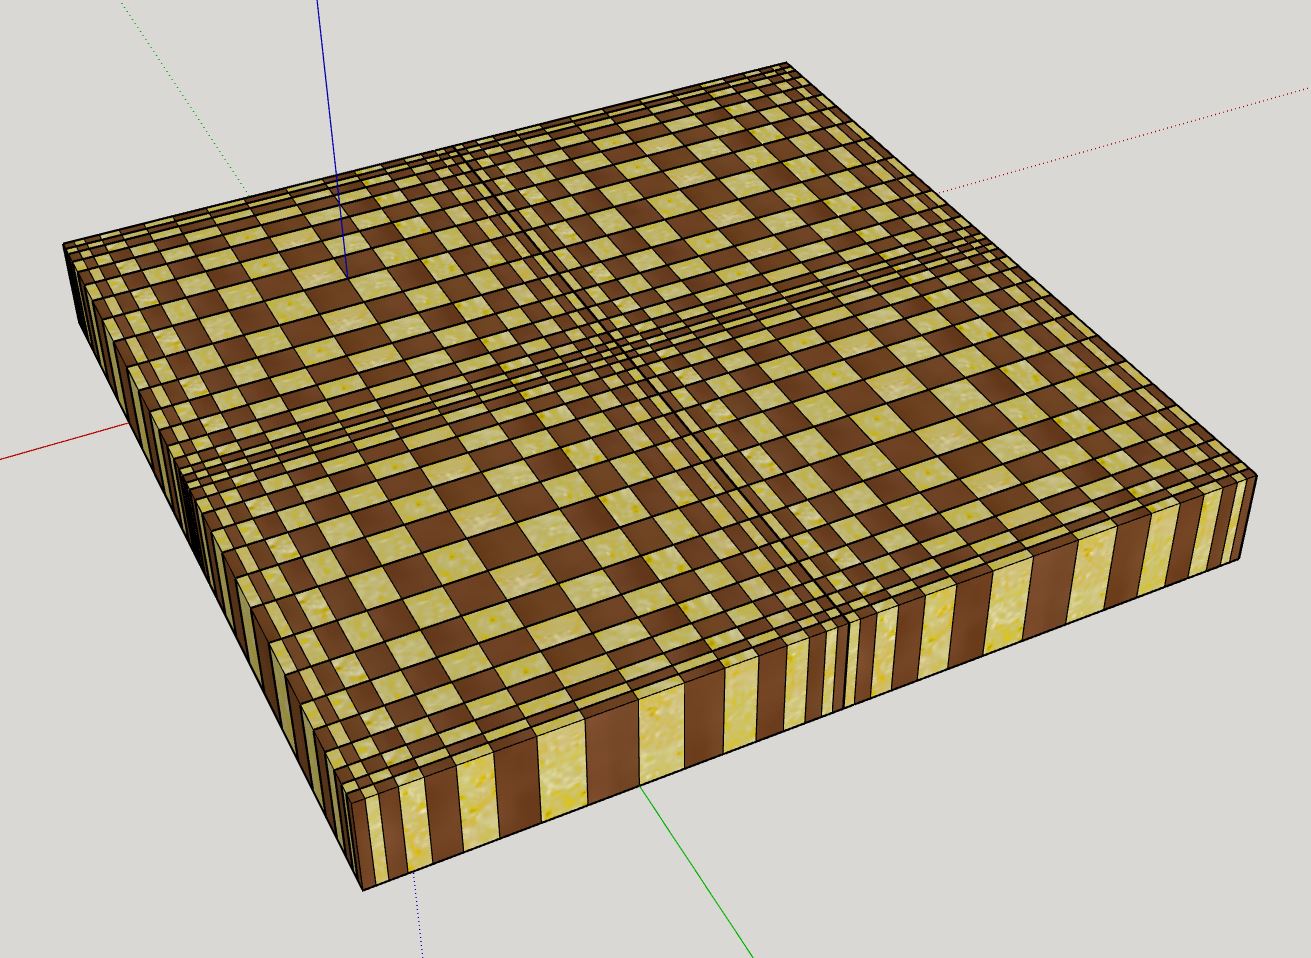
cb2sketchup.JPG


That is my sketchup drawing. Based on the Russian guys ideas but using my own sizes as theirs looks far too big. Should end up around 400mm square and it will have a similar edge frame to the one above.

Always assuming I get it right of course.

Idea is any new ones will make Christmas gifts. Might just get 2 boards out of what I have but may lose too much in sawdust from all the cutting. I'm getting through a lot of D4 glue!
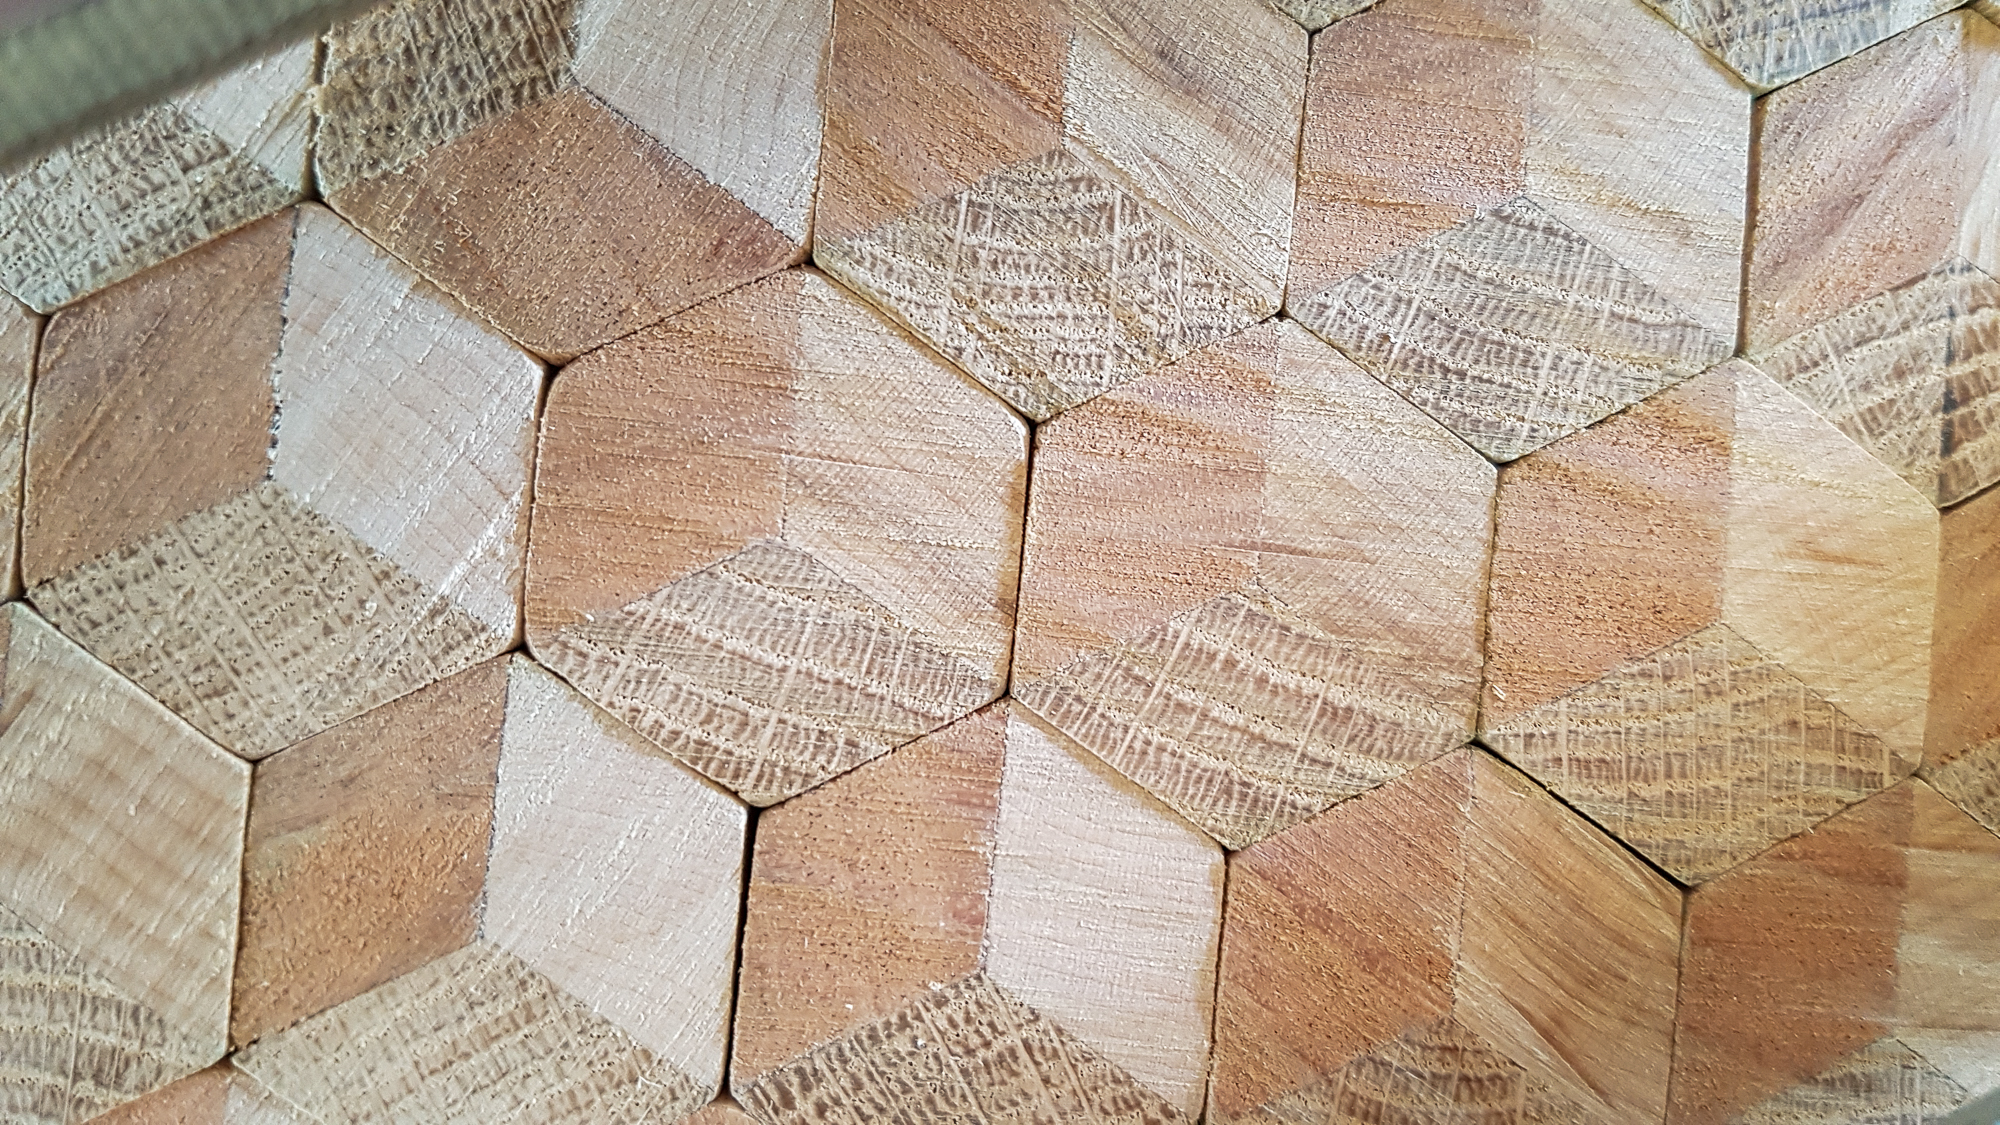
 
Nice! That one's on my list as well. It's amazing how much wood and glue you get through with these isn't it. No wonder they are so expensive to buy, but very satisfying to make as well.
 
RogerM":3olftg2m said:
I made the mistake of talking to "Woodbloke" (always an expensive experience - and I never learn)

:lol: :lol: - Rob

Edit - I'm quite taken by these 3D boards. I wonder if my recent 'lockdown' purchase of a gallon of TB3 would be enough to make one or two?
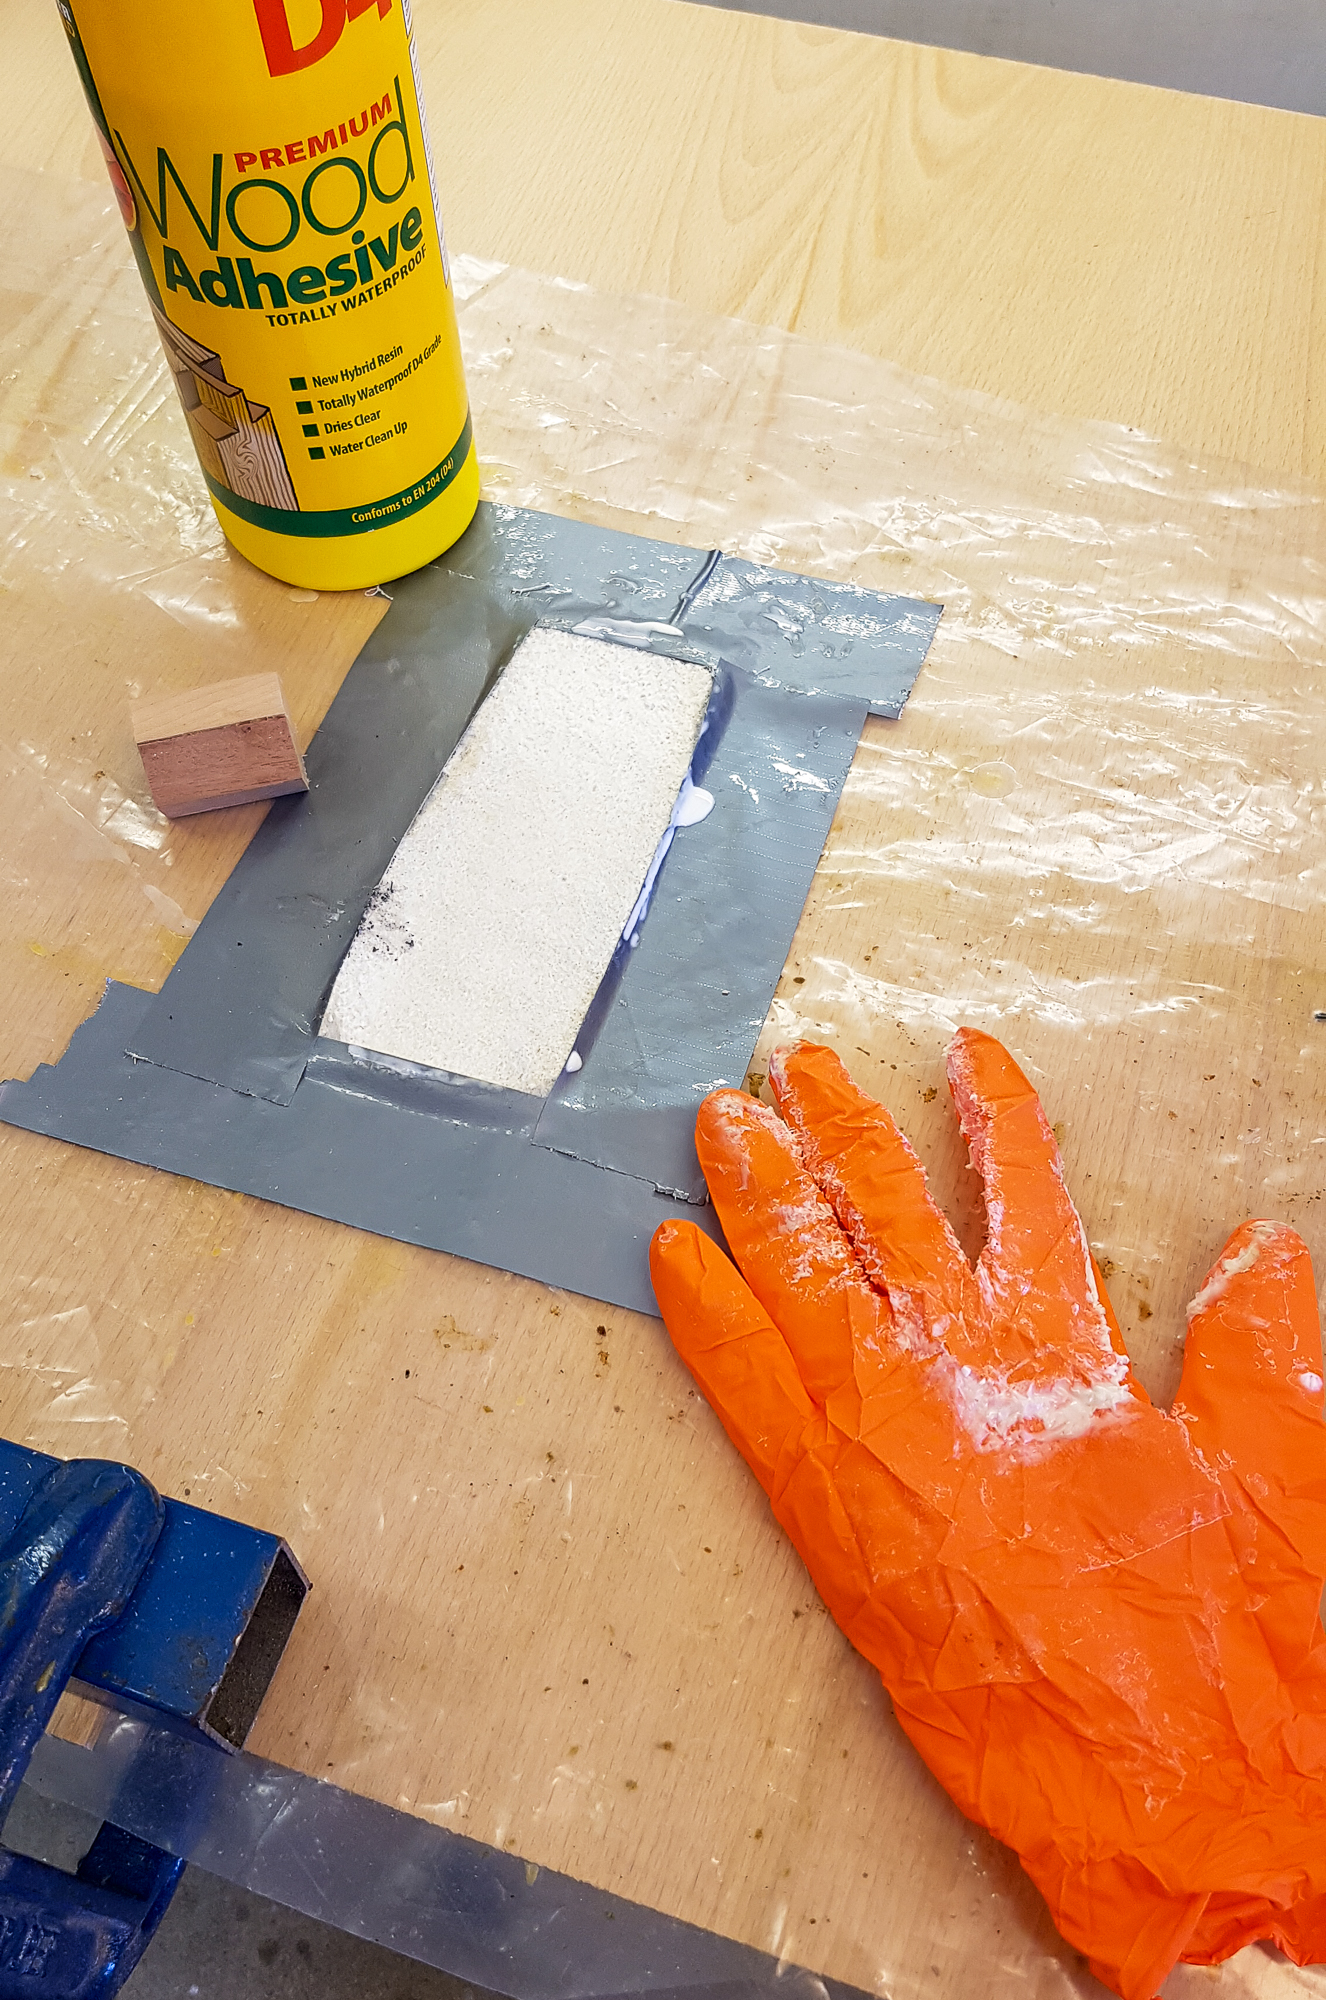
 
I'm band sawing a huge pile of strips at the moment so I don't lose so much in cut widths.
I keep stopping and thinking am I doing this right? Very confusing business. Have to build stacks with alternating colours and identical stacks with the colours reversed....i think :)

That first board above took about half a litre of glue. I've been a bit tight with it based on what may have been your past experiments comparing liberal glue to a thin smear and concluding thin was just as strong. Working OK so far.
 
Thinking about glue.

The author of the bandsaw box book I got for my birthday recommends sizing joints, especially mitre joints, before gluing.

He suggests 50/50 yellow glue and water for sizing both sides of the joint, particularly as it's end grain. Then when dry, gluing joint at normal strength. I find this uses less glue than even using the baby gluebot.

I now use a proper stiffish small paintbrush to brush the size, and glue on and I'm finding I'm getting less, but even squeeze out.

Not exactly, but something like these....s-l640.jpg
 
No.

Might be interesting to compare their strip width ratios for the 'bubble' design to mine on that second site but it's all in inches and I work in mm so CBA :)

Beyond that not sure they help me much. Probably more help to someone without CAD ability. Like the weave pattern but that's not '3D'. Interesting find though. I'd never looked beyond youtube.
 
Remember this?

cb2sketchup.JPG


Well I'm still working on it :)

I'm making 4 of them at once. They are for family gifts and I'll need 5 to keep everyone happy. Not sure if I'll make another design or give someone the one I made first in this thread.

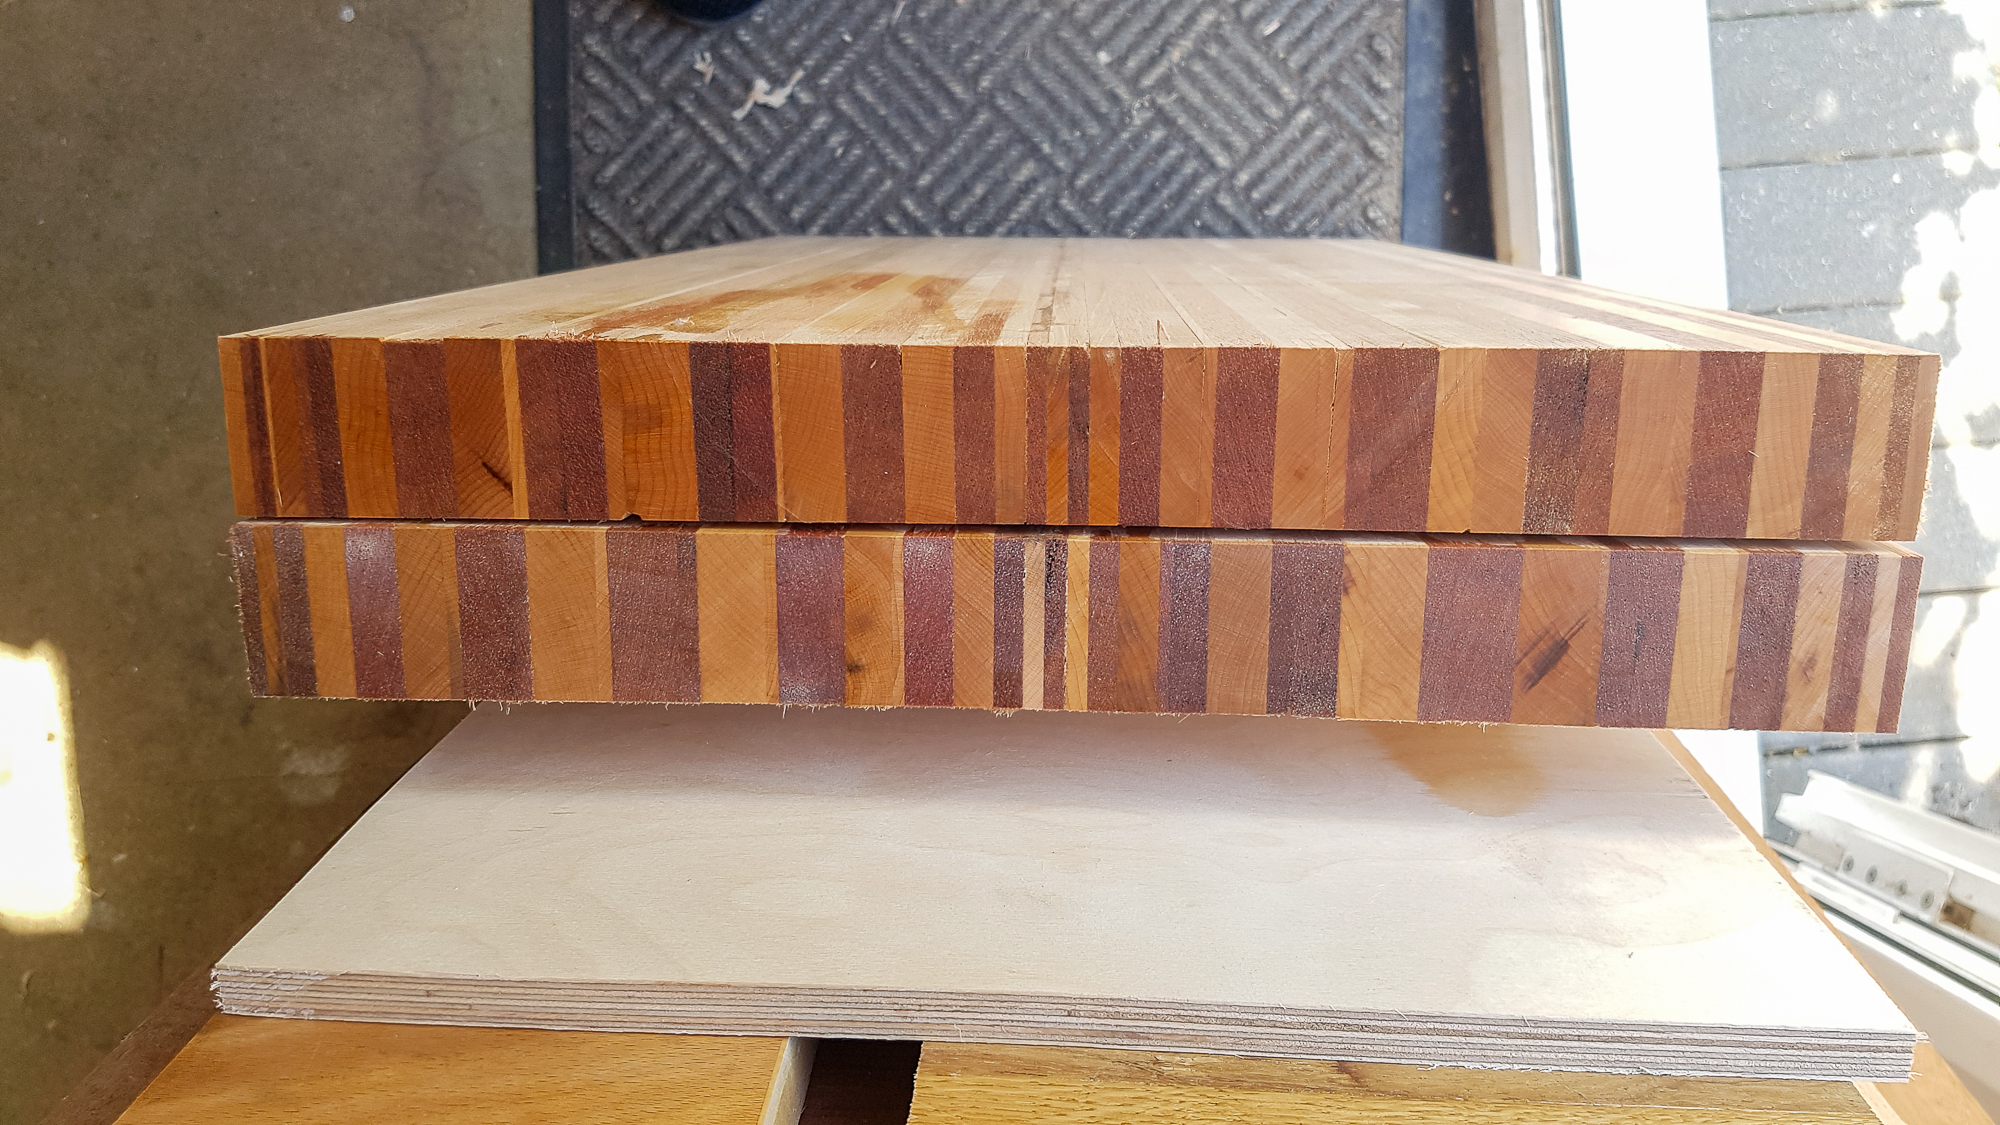
It's all recycled wood so it was never going to be easy. The darker stuff is old window boards from our long demolished conservatory and the lighter is Maple flooring strips I bought from ebay for a fiver. Most of the money on this job has gone on wood glue!

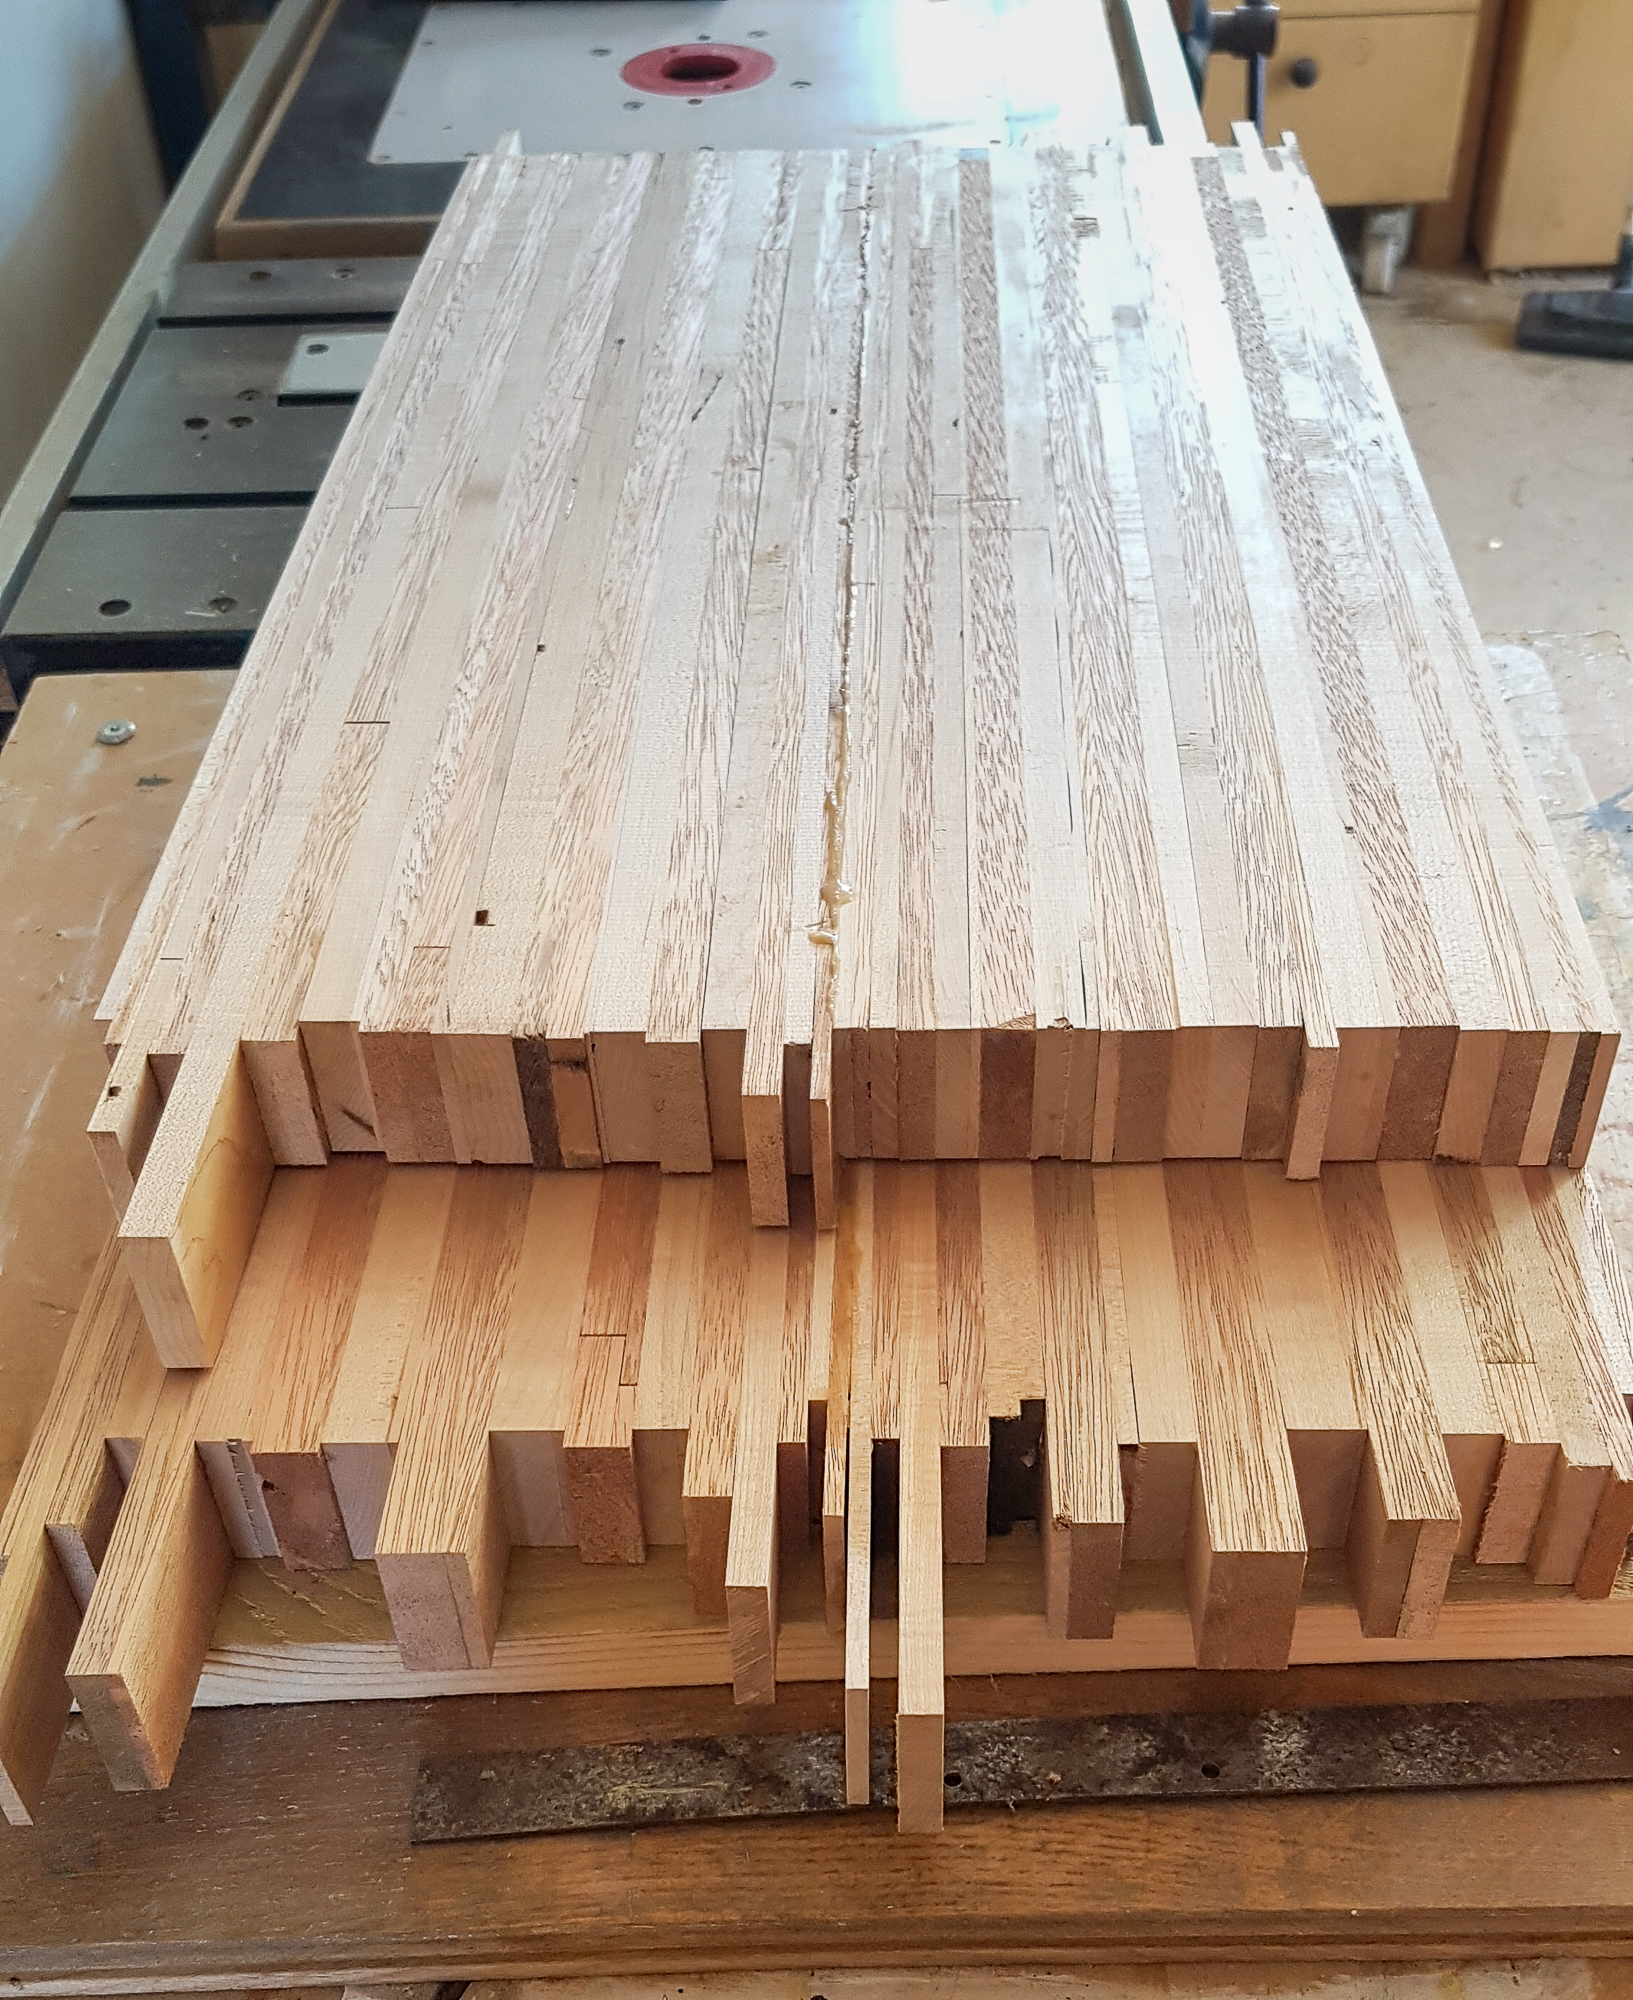
I glued the materials into thick planks (no pictures) then band sawed the planks into strips of different thicknesses. After each cut I planed the cut face on the board before cutting the next strip so all had one good face. Then thicknessed to exact size.
3dcb2--100.jpg


Sorting was a continuing nightmare but I got them glued into half cutting board widths.
3dcb2--101.jpg


3dcb2--102.jpg


The half widths would fit the planer thicknesser so that helped. When it came to glue 2 sets to make a whole board I found I should have had a stronger straight edge when clamping as there was a slight banana to the edge. Took off the absolute minimum as I didn't want to spoil the pattern then glued them.
3dcb2--103.jpg


Cut square then a wipe with varnish on the end for some encouragement. Loads of work in these.
3dcb2--104.jpg


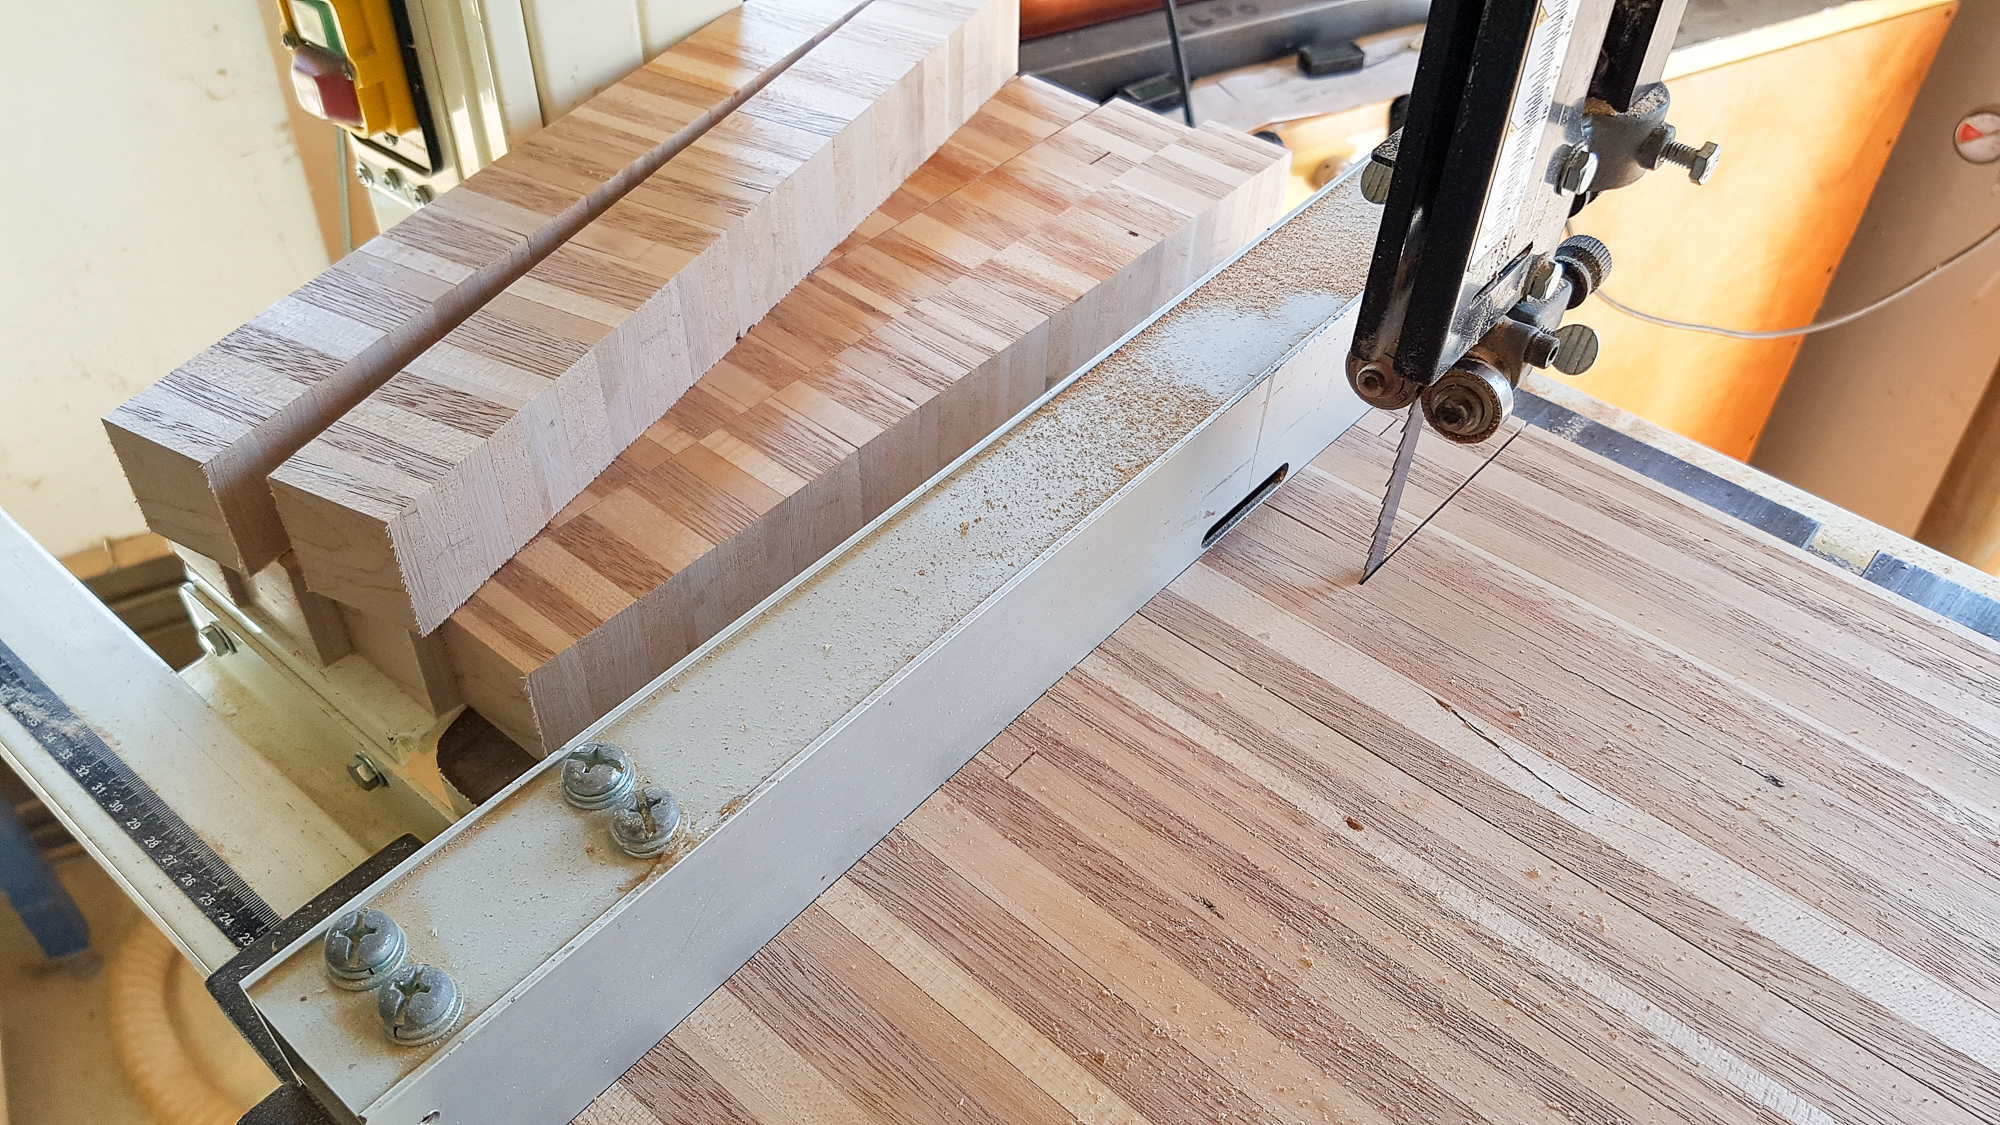
Now I need end grain so cut to a bit over cutting board thickness.
3dcb2--105.jpg


looking at what I had I could only get 2 boards out of it with a fair bit left over. So I scaled the drawing in one direction by 0.8x. That meant I now had rectangular boards instead of square but I could get 4 of them.

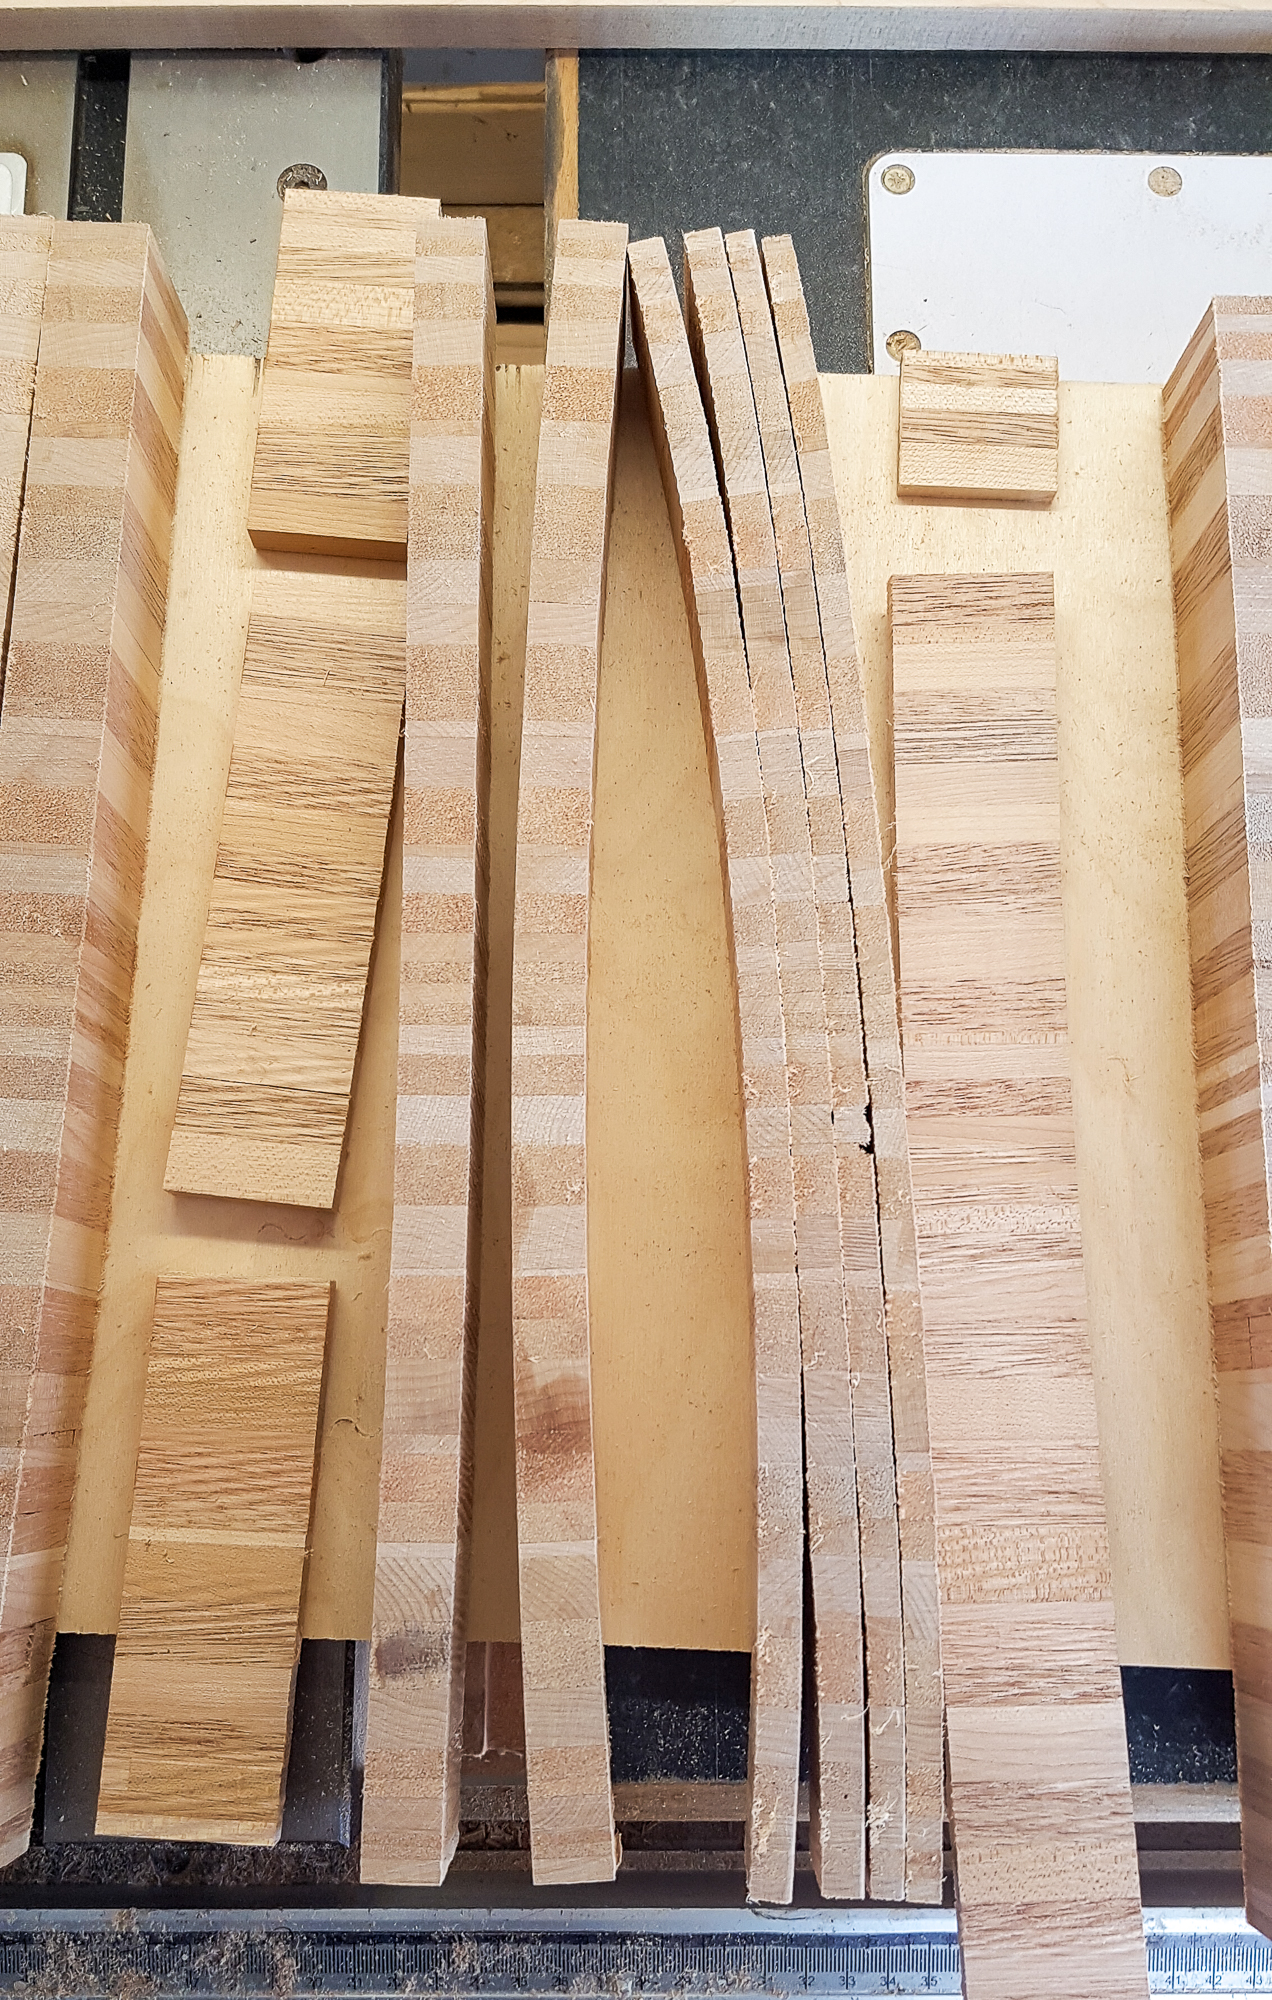
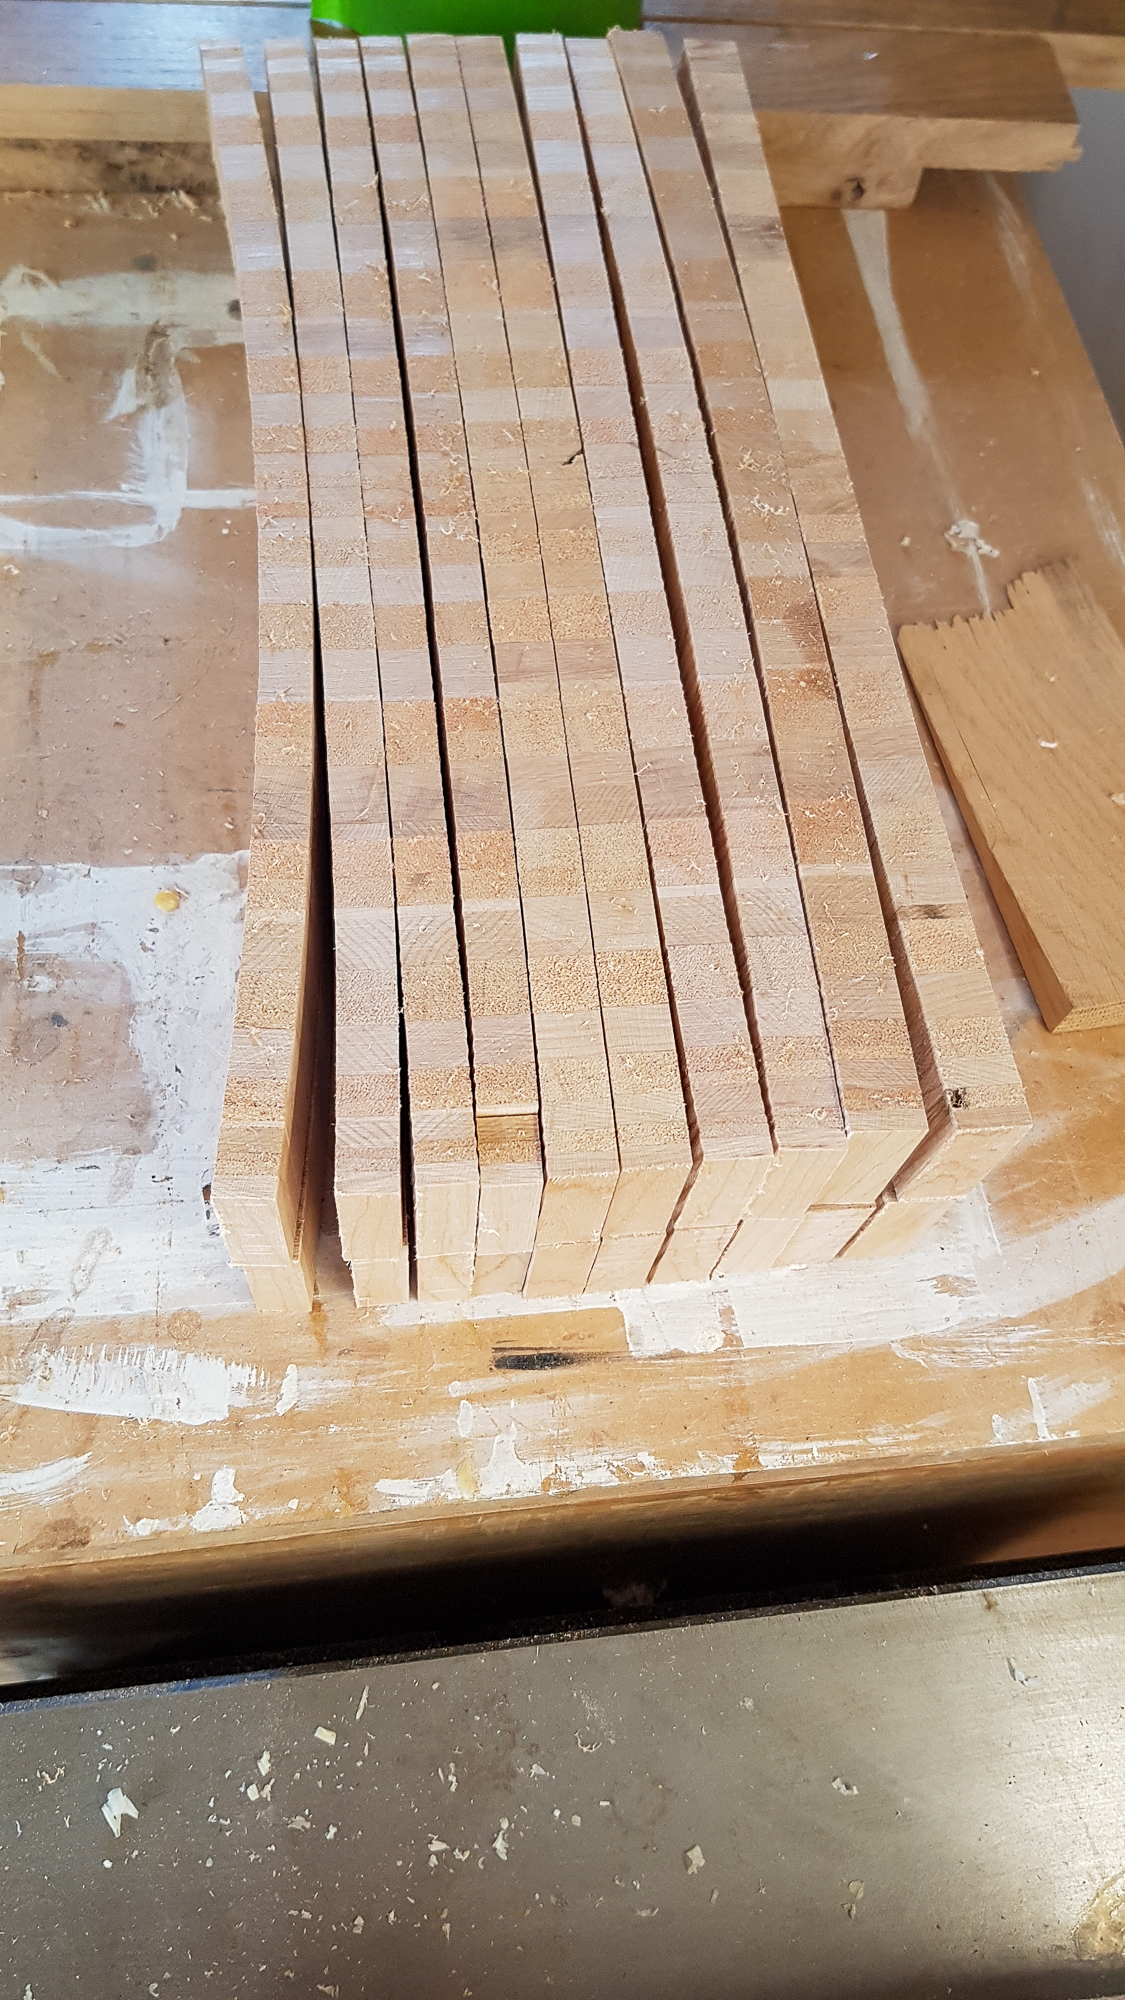
So these blocks need cutting into strips. Can you spot the problem?
3dcb2--106.jpg


They are fragile and like to curve while you look at them.
3dcb2--107.jpg


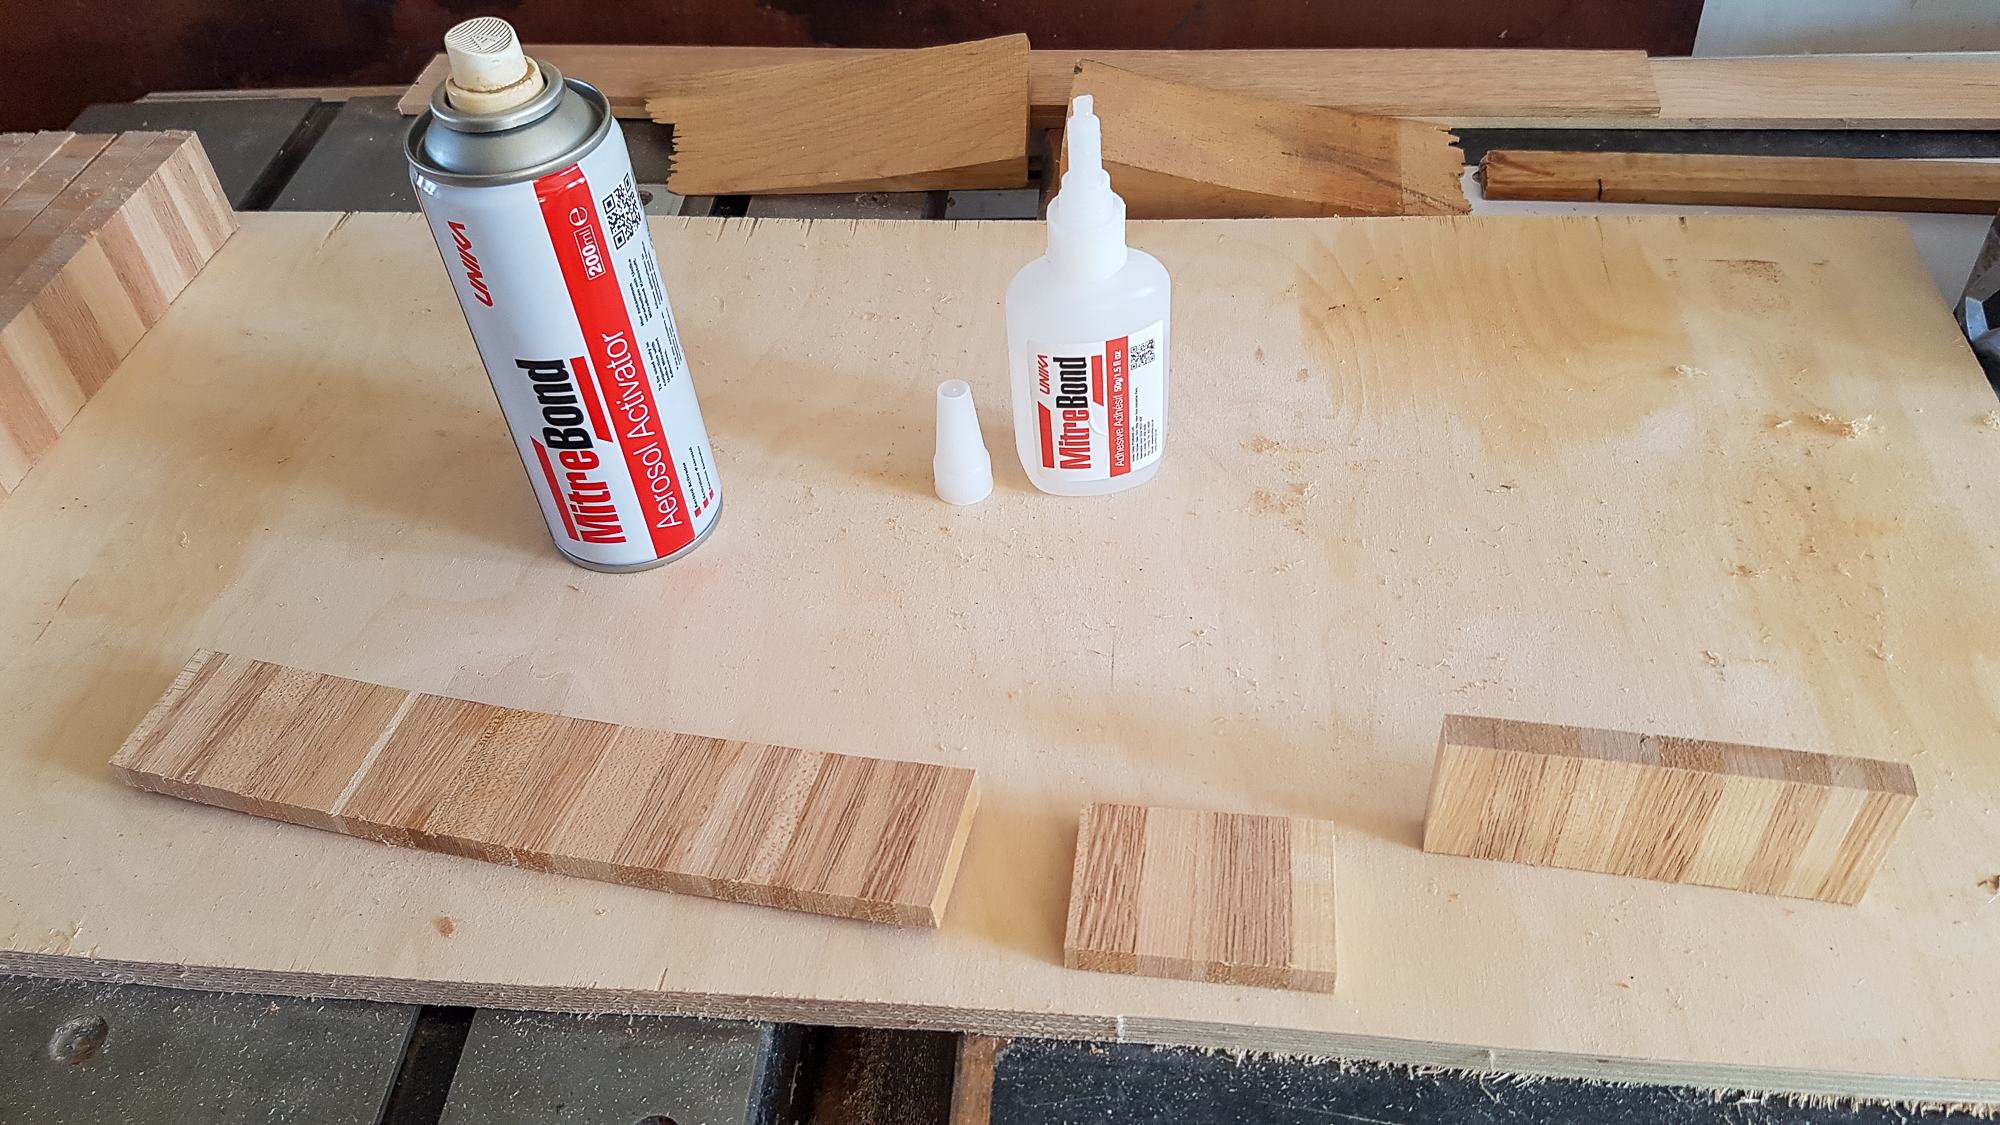
Had to buy some mitre adhesive as mine was old and didn't work any more.
3dcb2--108.jpg


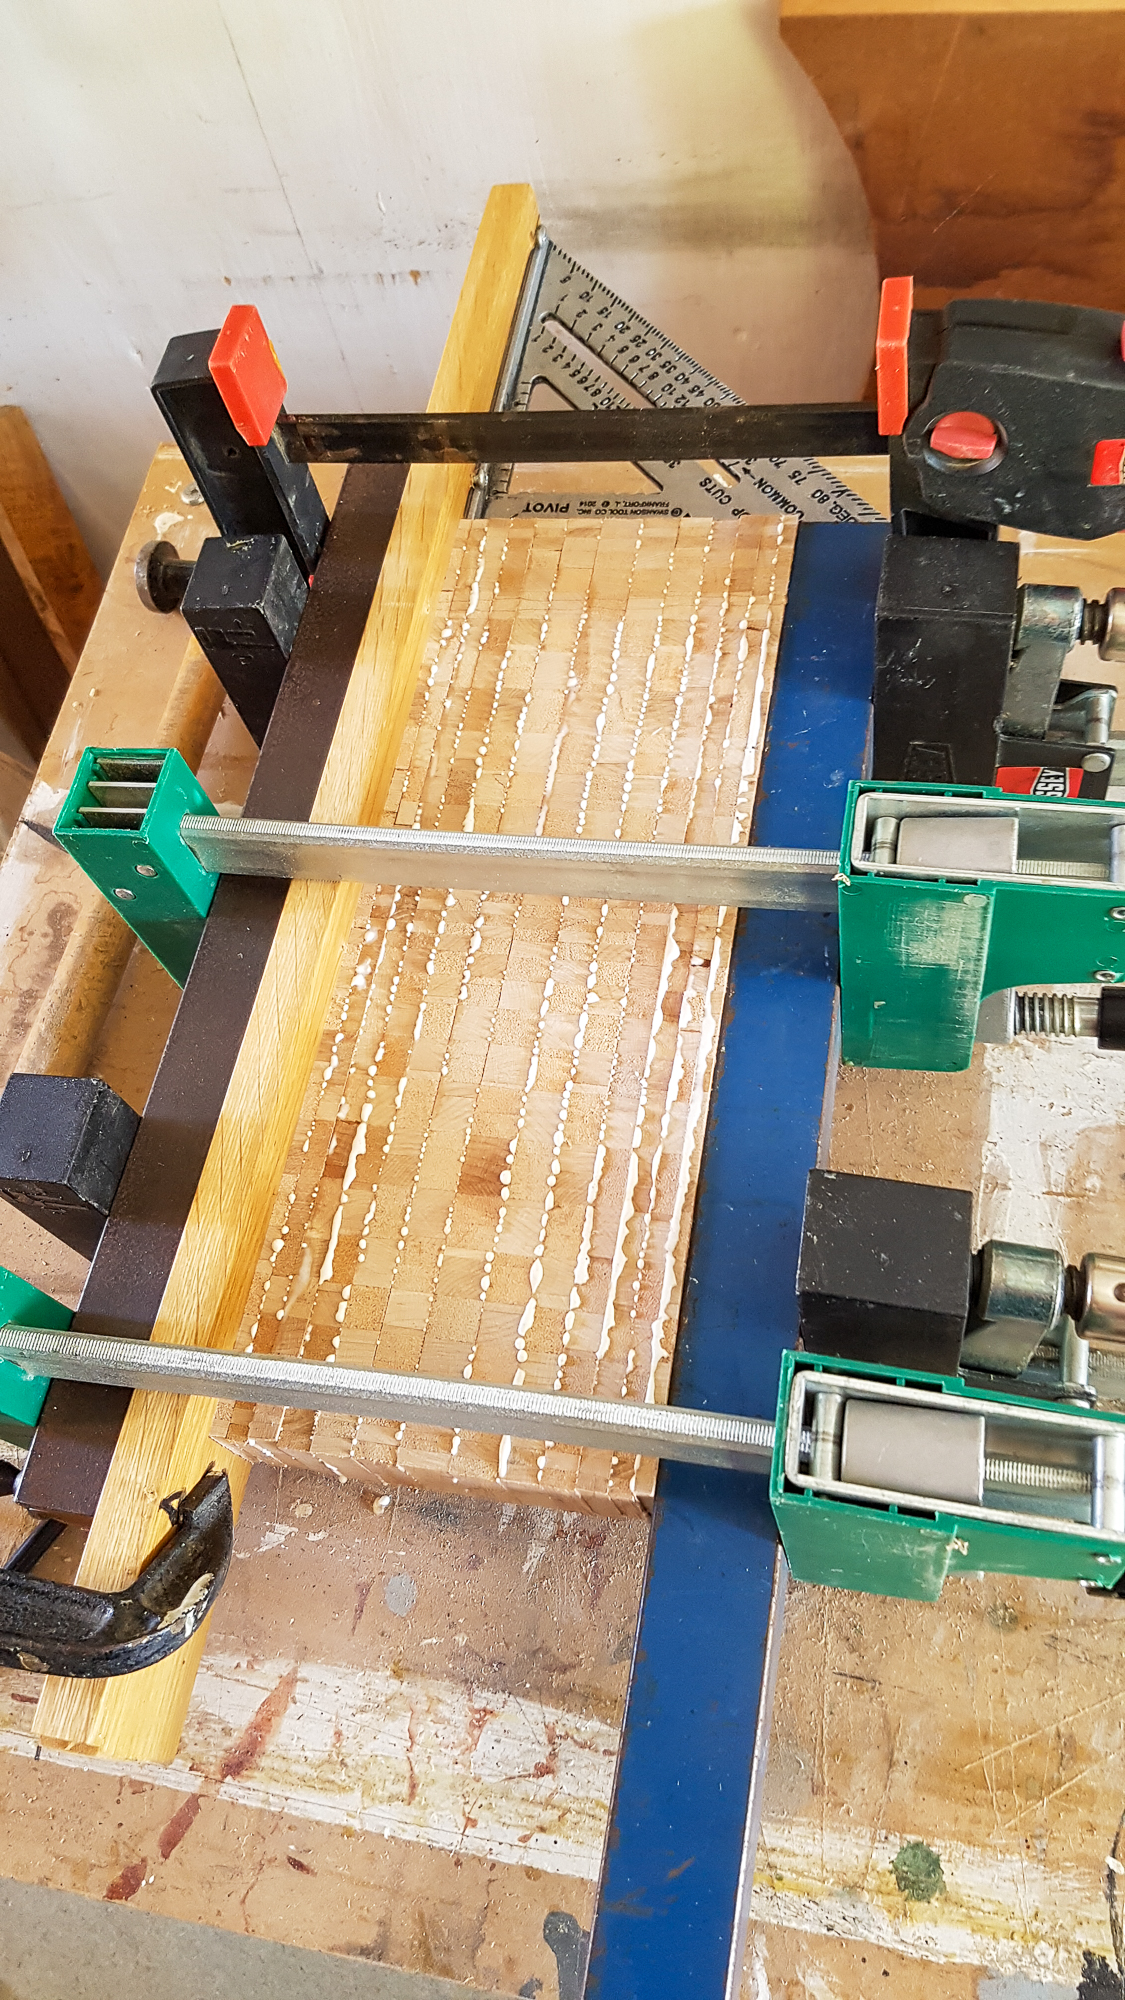
After my earlier banana clamping I found a lump of solid steel press tooling I'd kept from the business and a piece of square steel tube as my clamping straight edges.
3dcb2--109.jpg


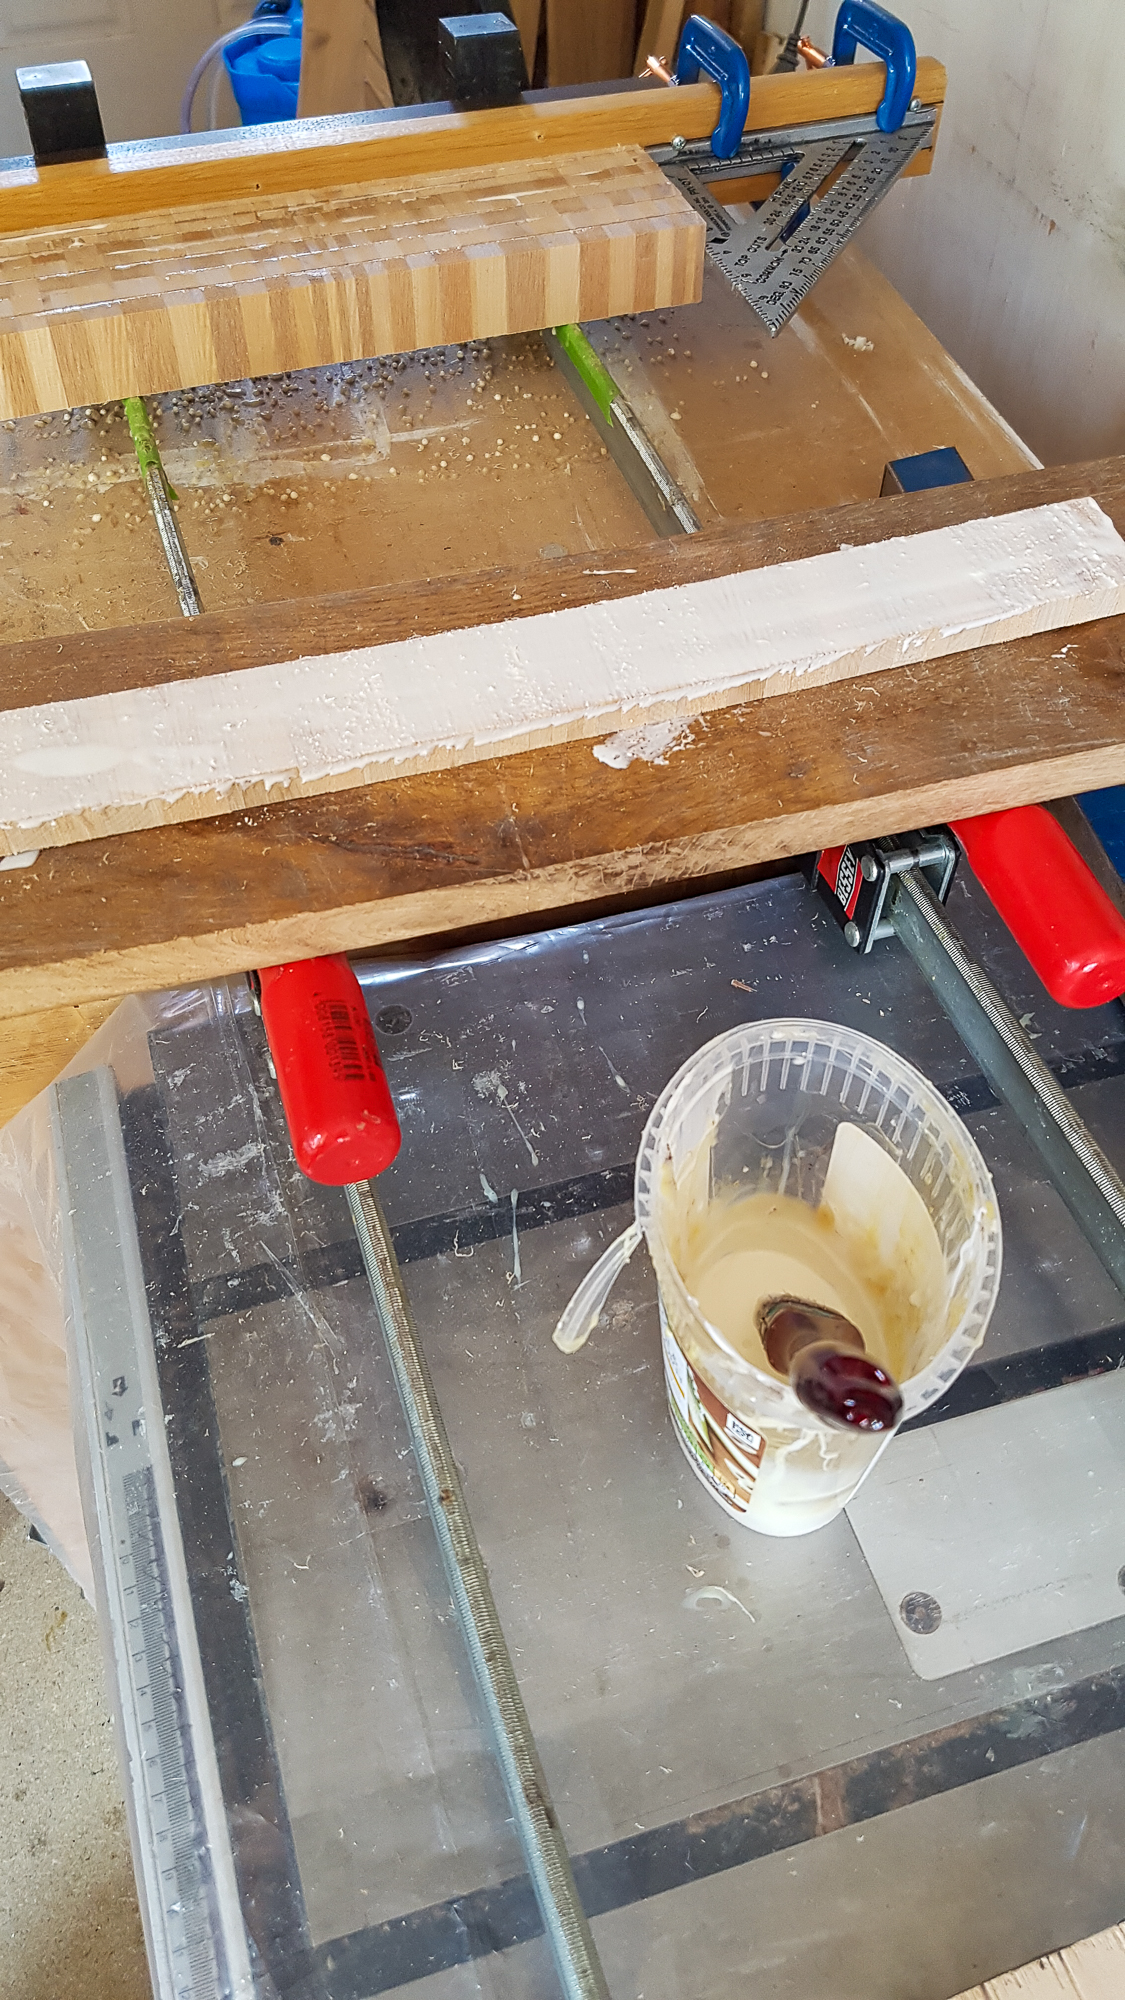
I did a lot of this
3dcb2--110.jpg


There is polythene underneath.

I have done more and will update again but that took a lot of typing so it can wait :)
 
Now where was I...

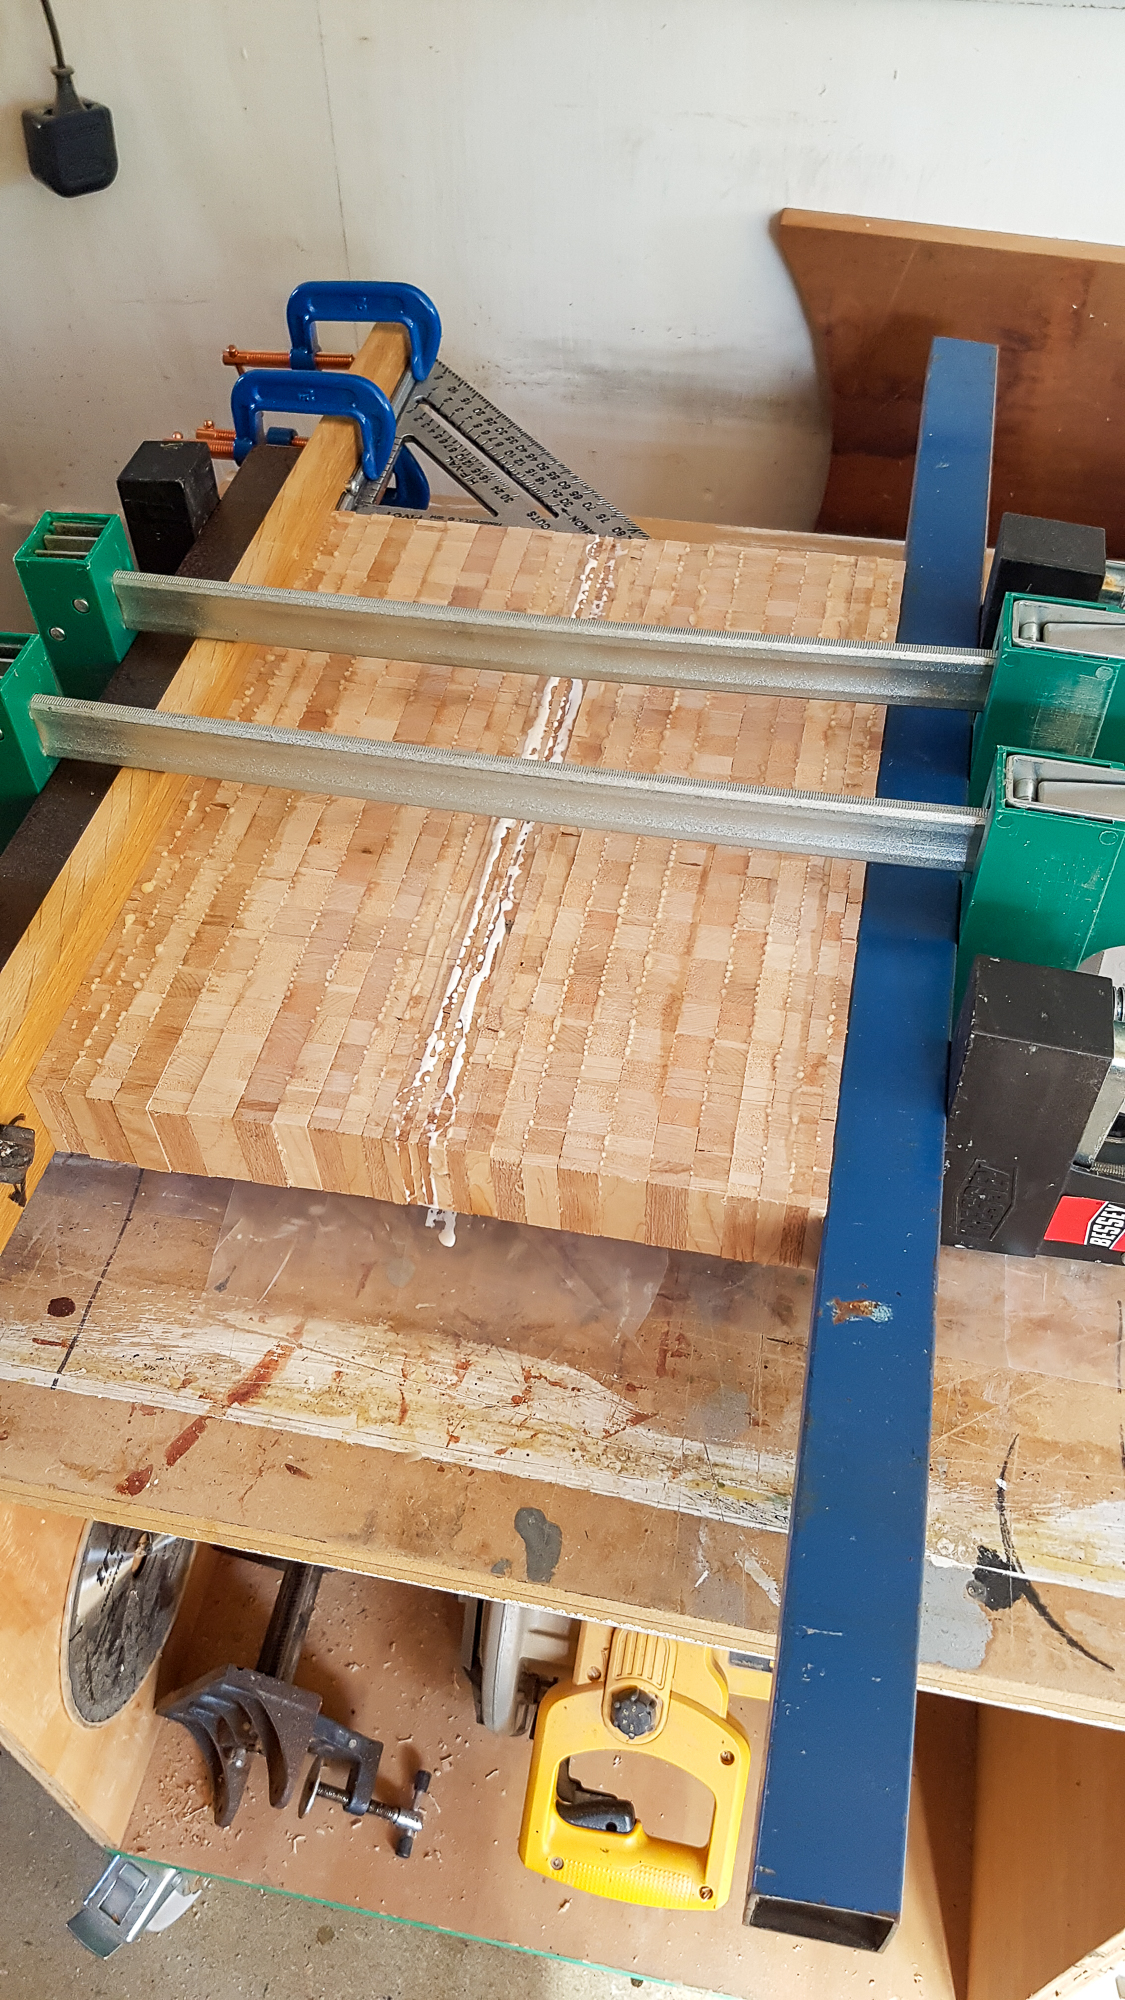
The metal straight edged bars worked a treat and the glued half cutting boards had straight edges. This is putting 2 of them together. The thinnest cross cut strips are only 3mm thick and very fragile and some went on now. 2 on each outer edge went on with the oak surround and 3 in the middle now.
3dcb2--111.jpg


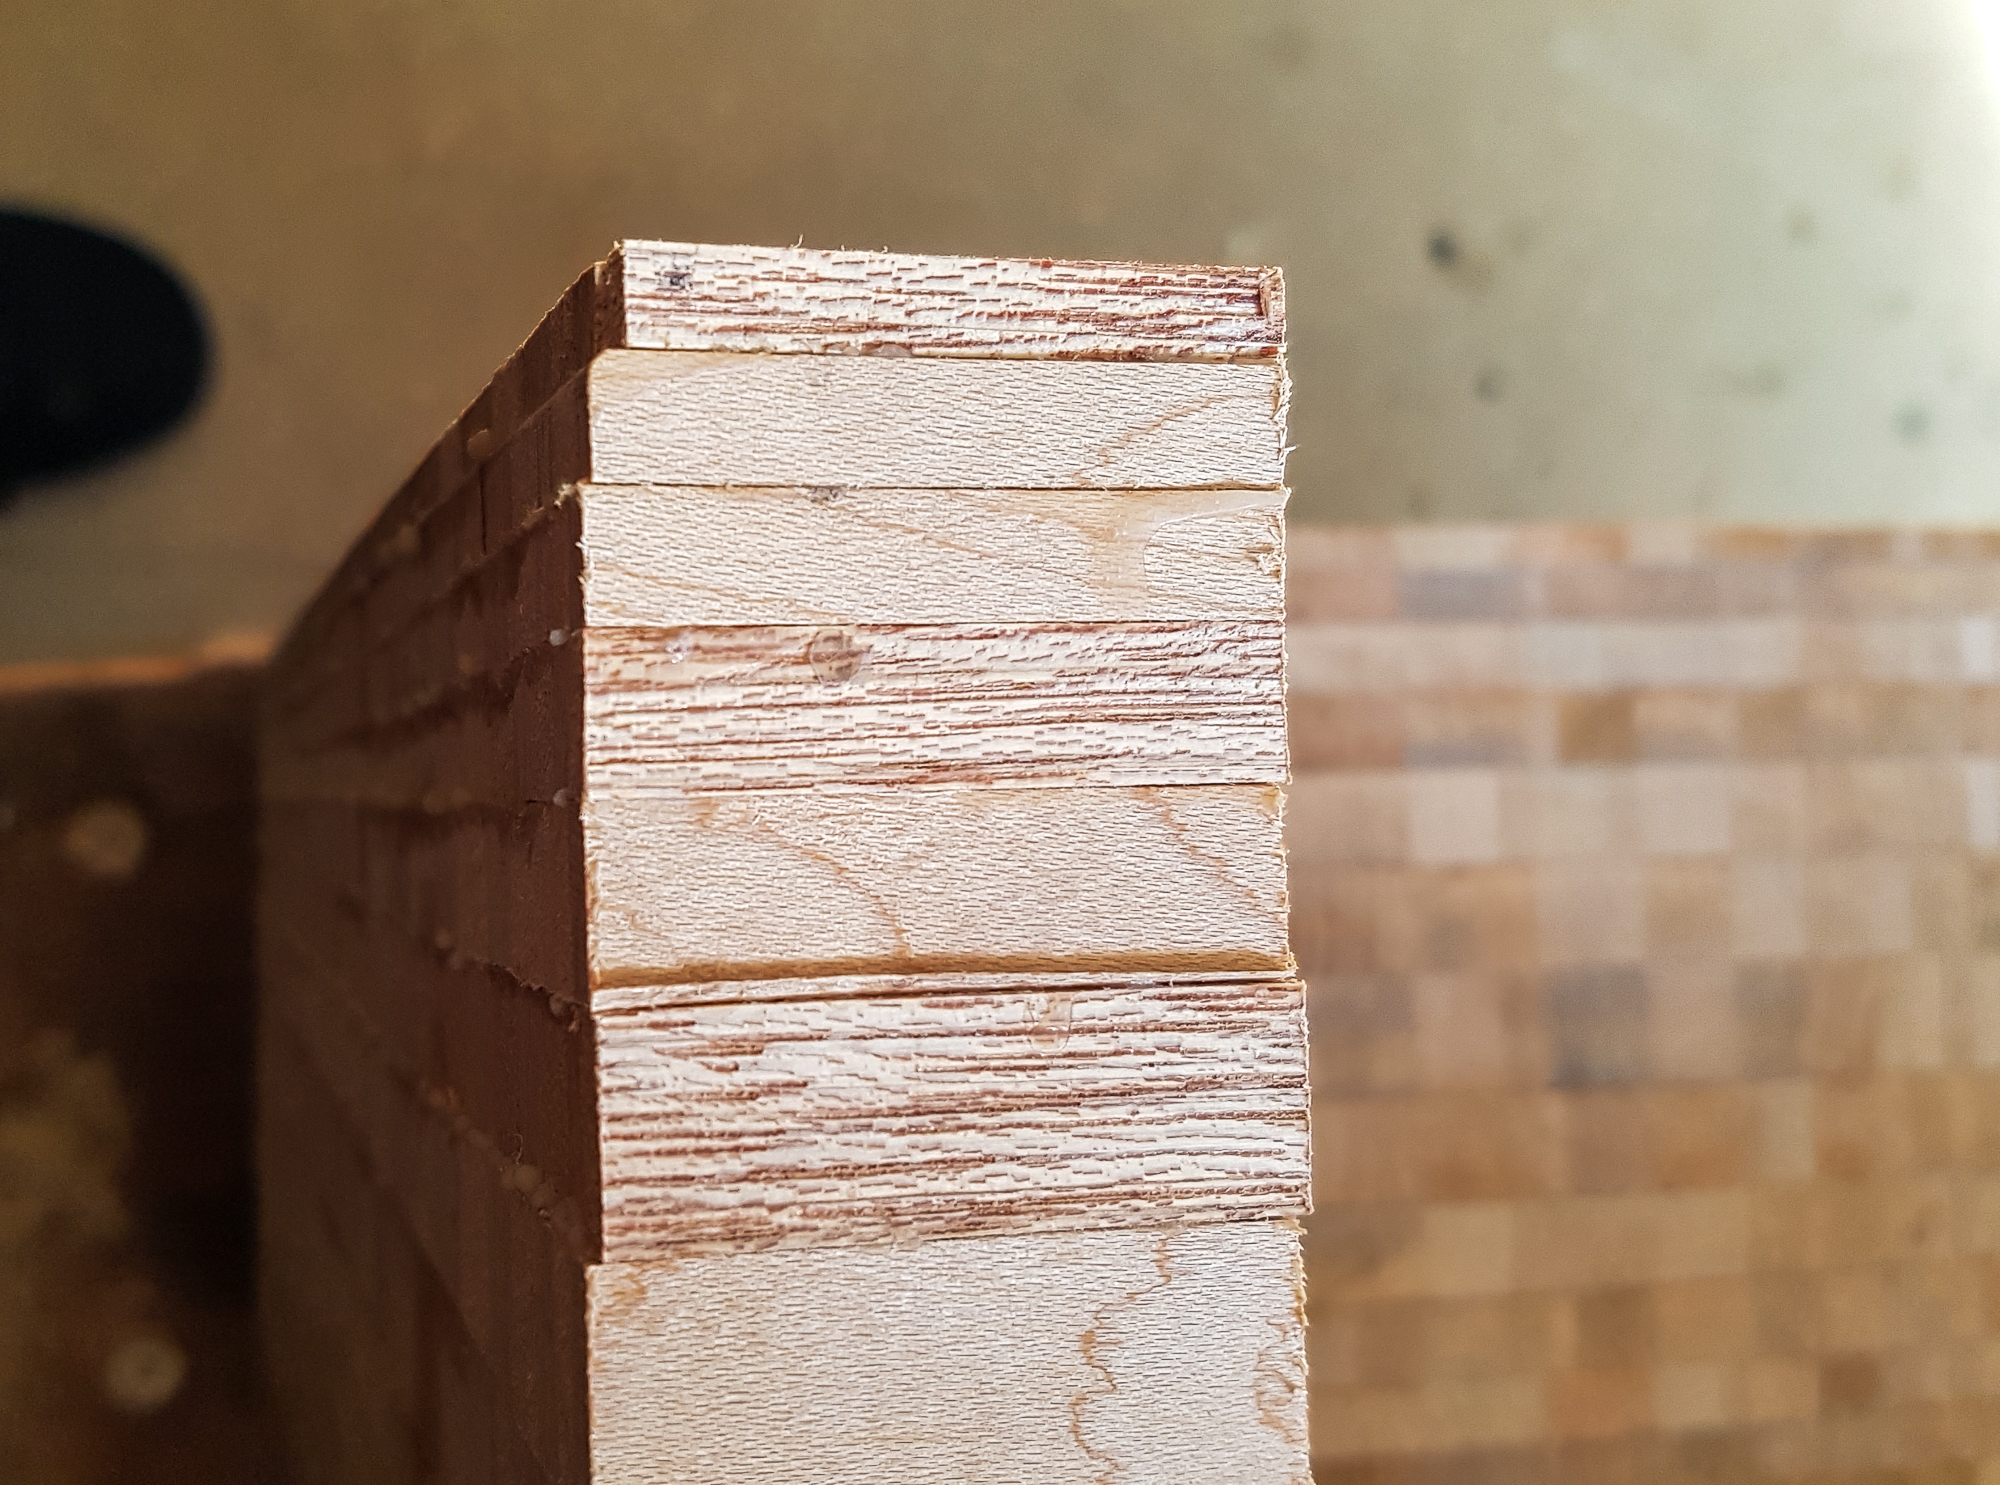
vertical alignment was a problem sometimes due to dried glue drips. I did take the worst off before glueing
3dcb2--112.jpg


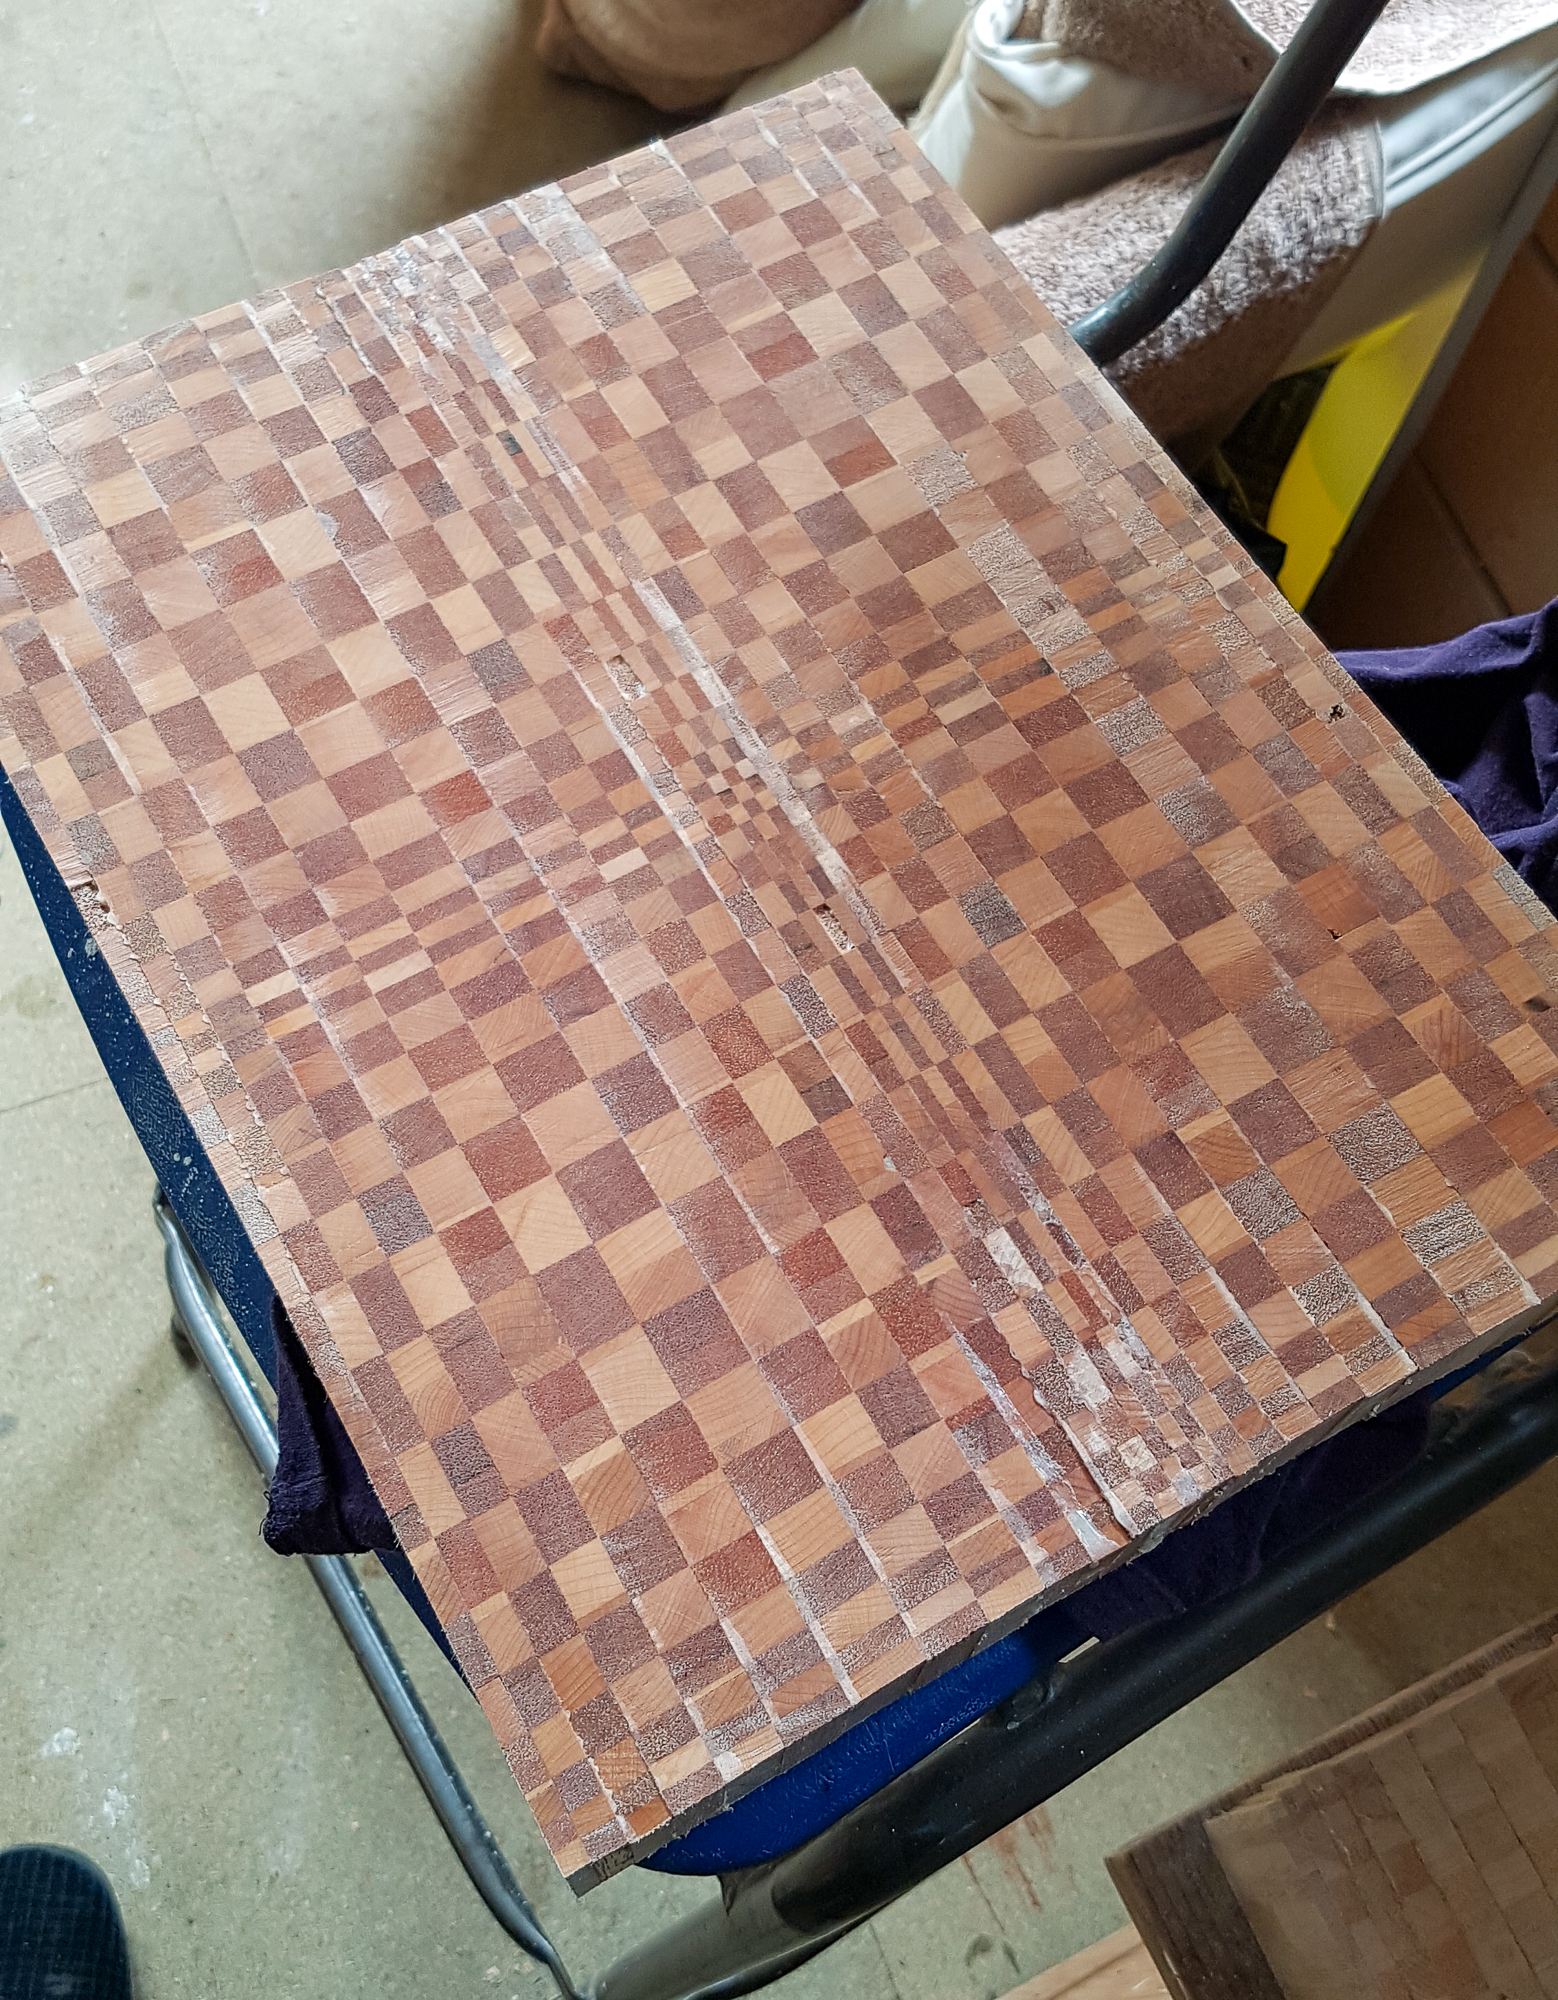
Needed encouragement so a run over with the sander and a wash with white spirit
3dcb2--113.jpg


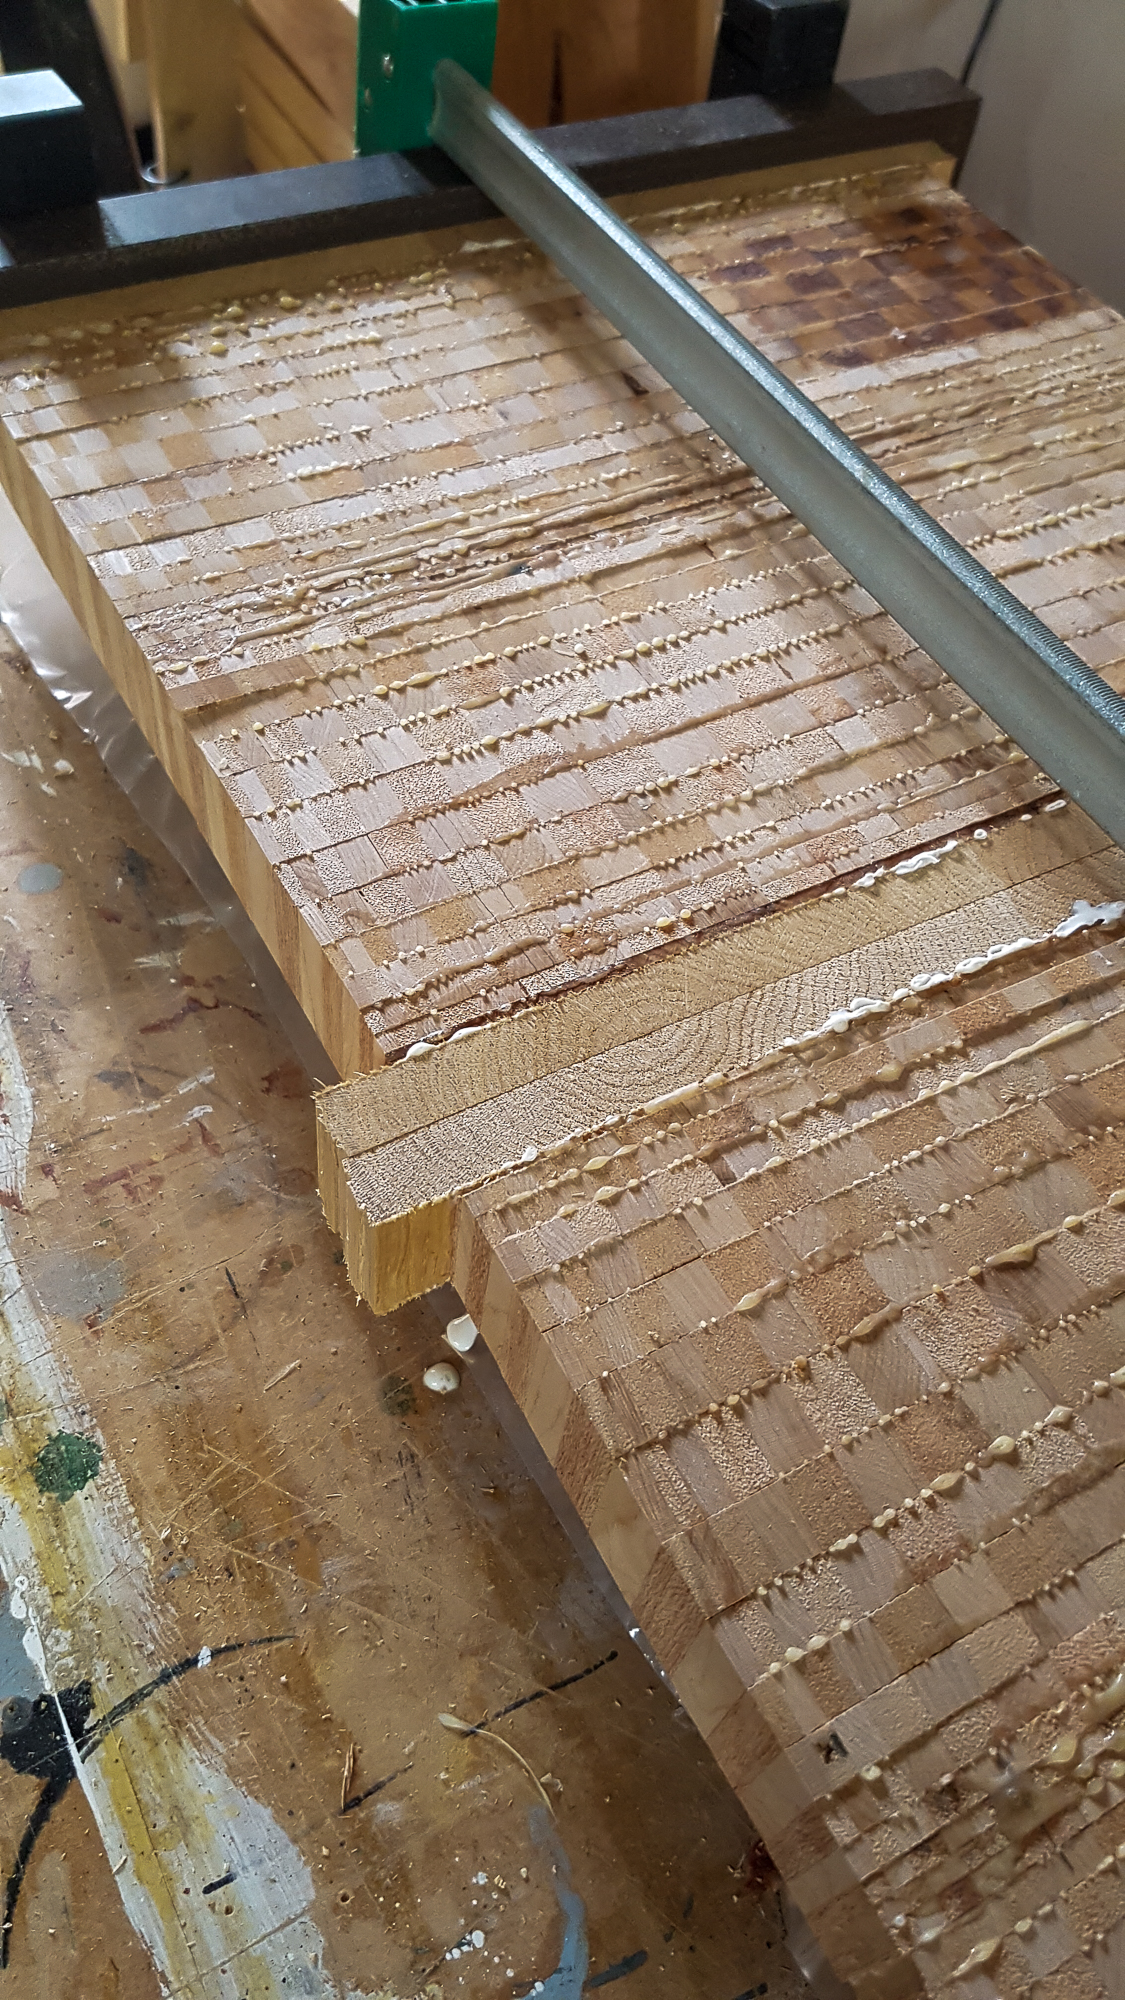
2 at one go in glue up. Start of the oak framing.
3dcb2--114.jpg


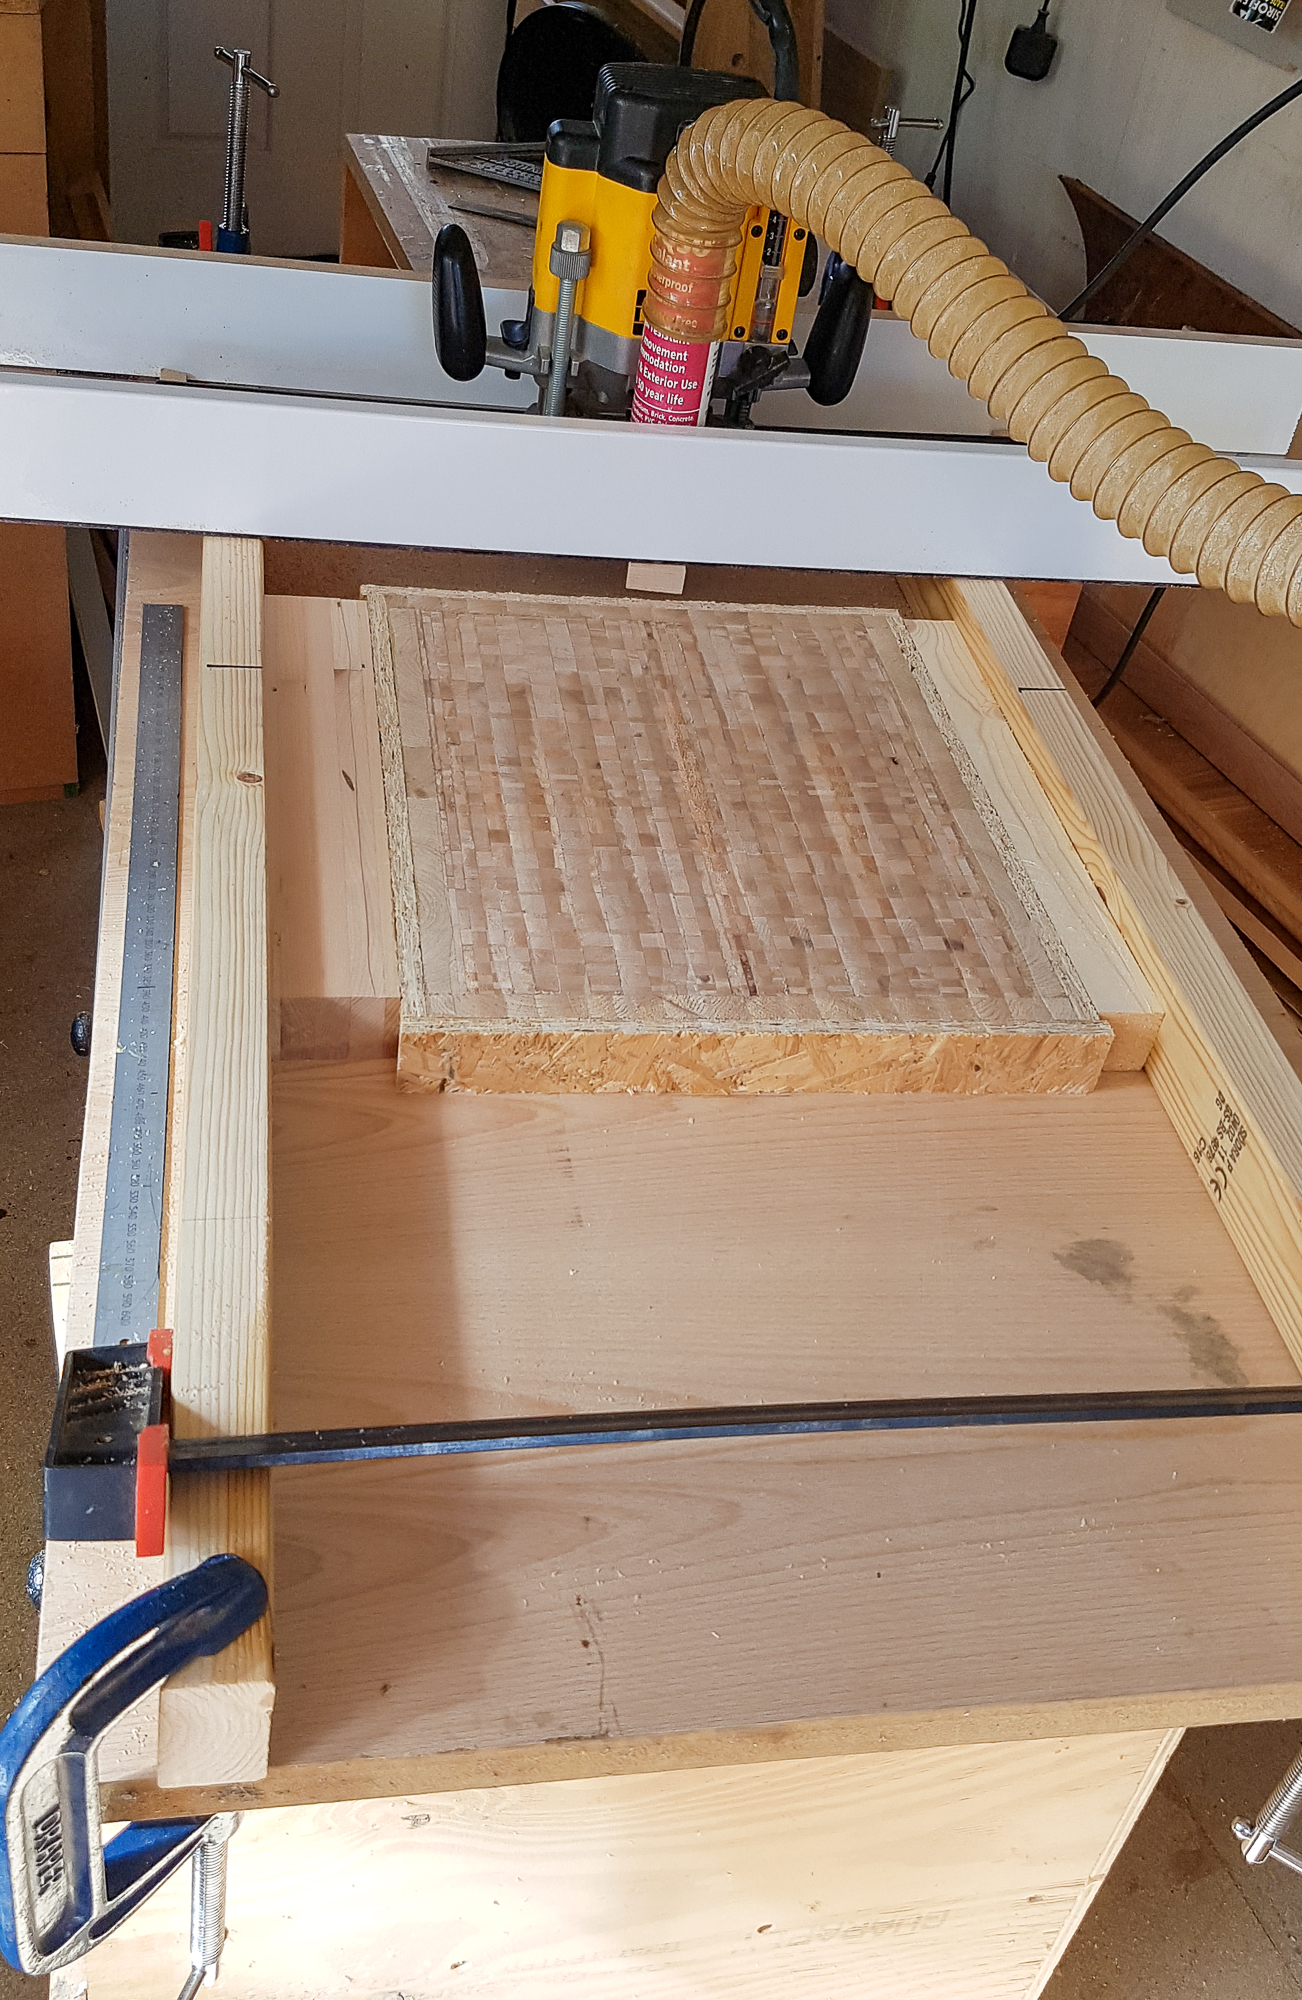
So on to flattening and no pictures of the bit in between where I finished edging the boards with oak and then edged them again with some OSB or a bit of MDF as sacrificial edges. I had a 2 x 4 ft lump of 25mm veneered MDF in the shed so that became the bed of my 'mill'. I planed and thicknessed 2 pieces of CLS timber and clamped them to the panel. Then I realised I could clamp the cutting board with the battens.
3dcb2--115.jpg


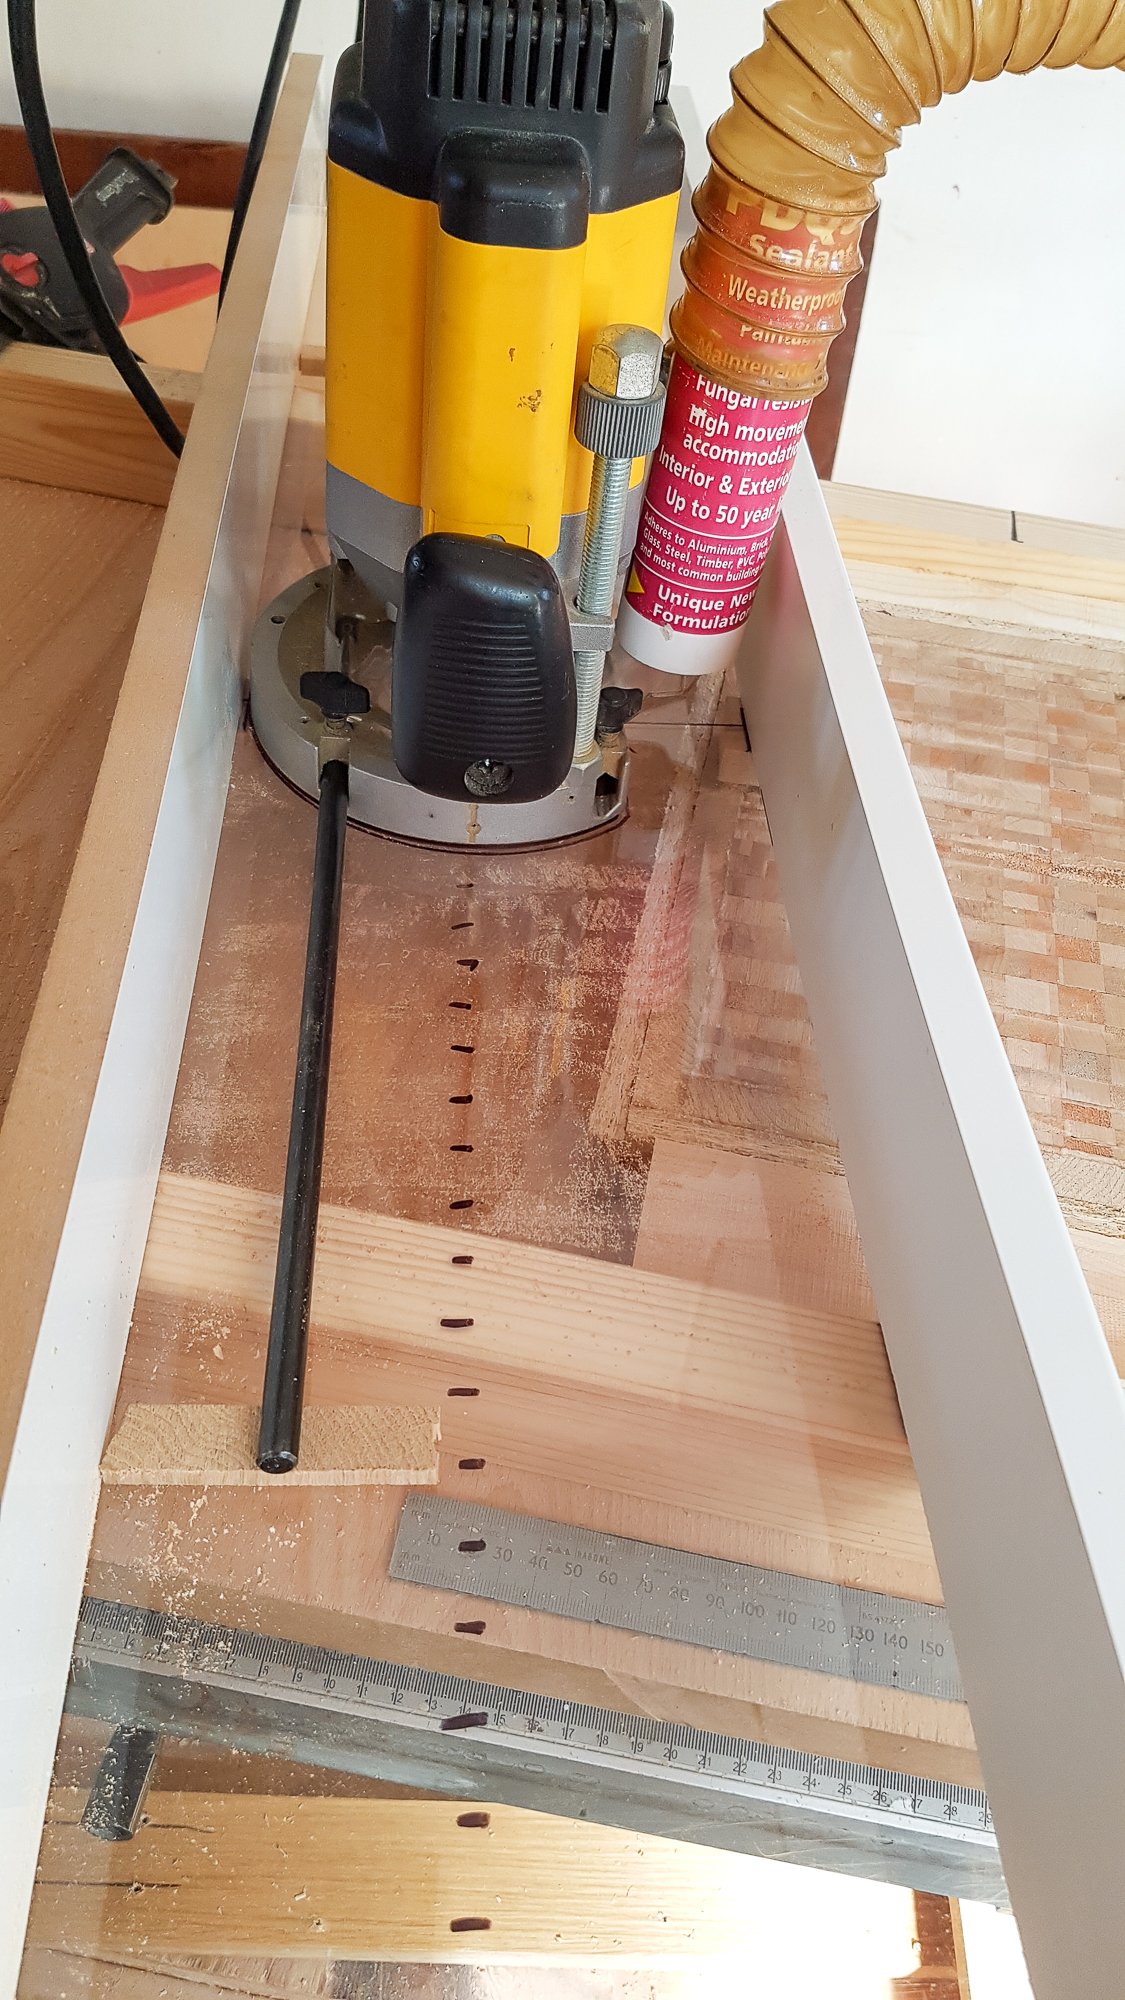
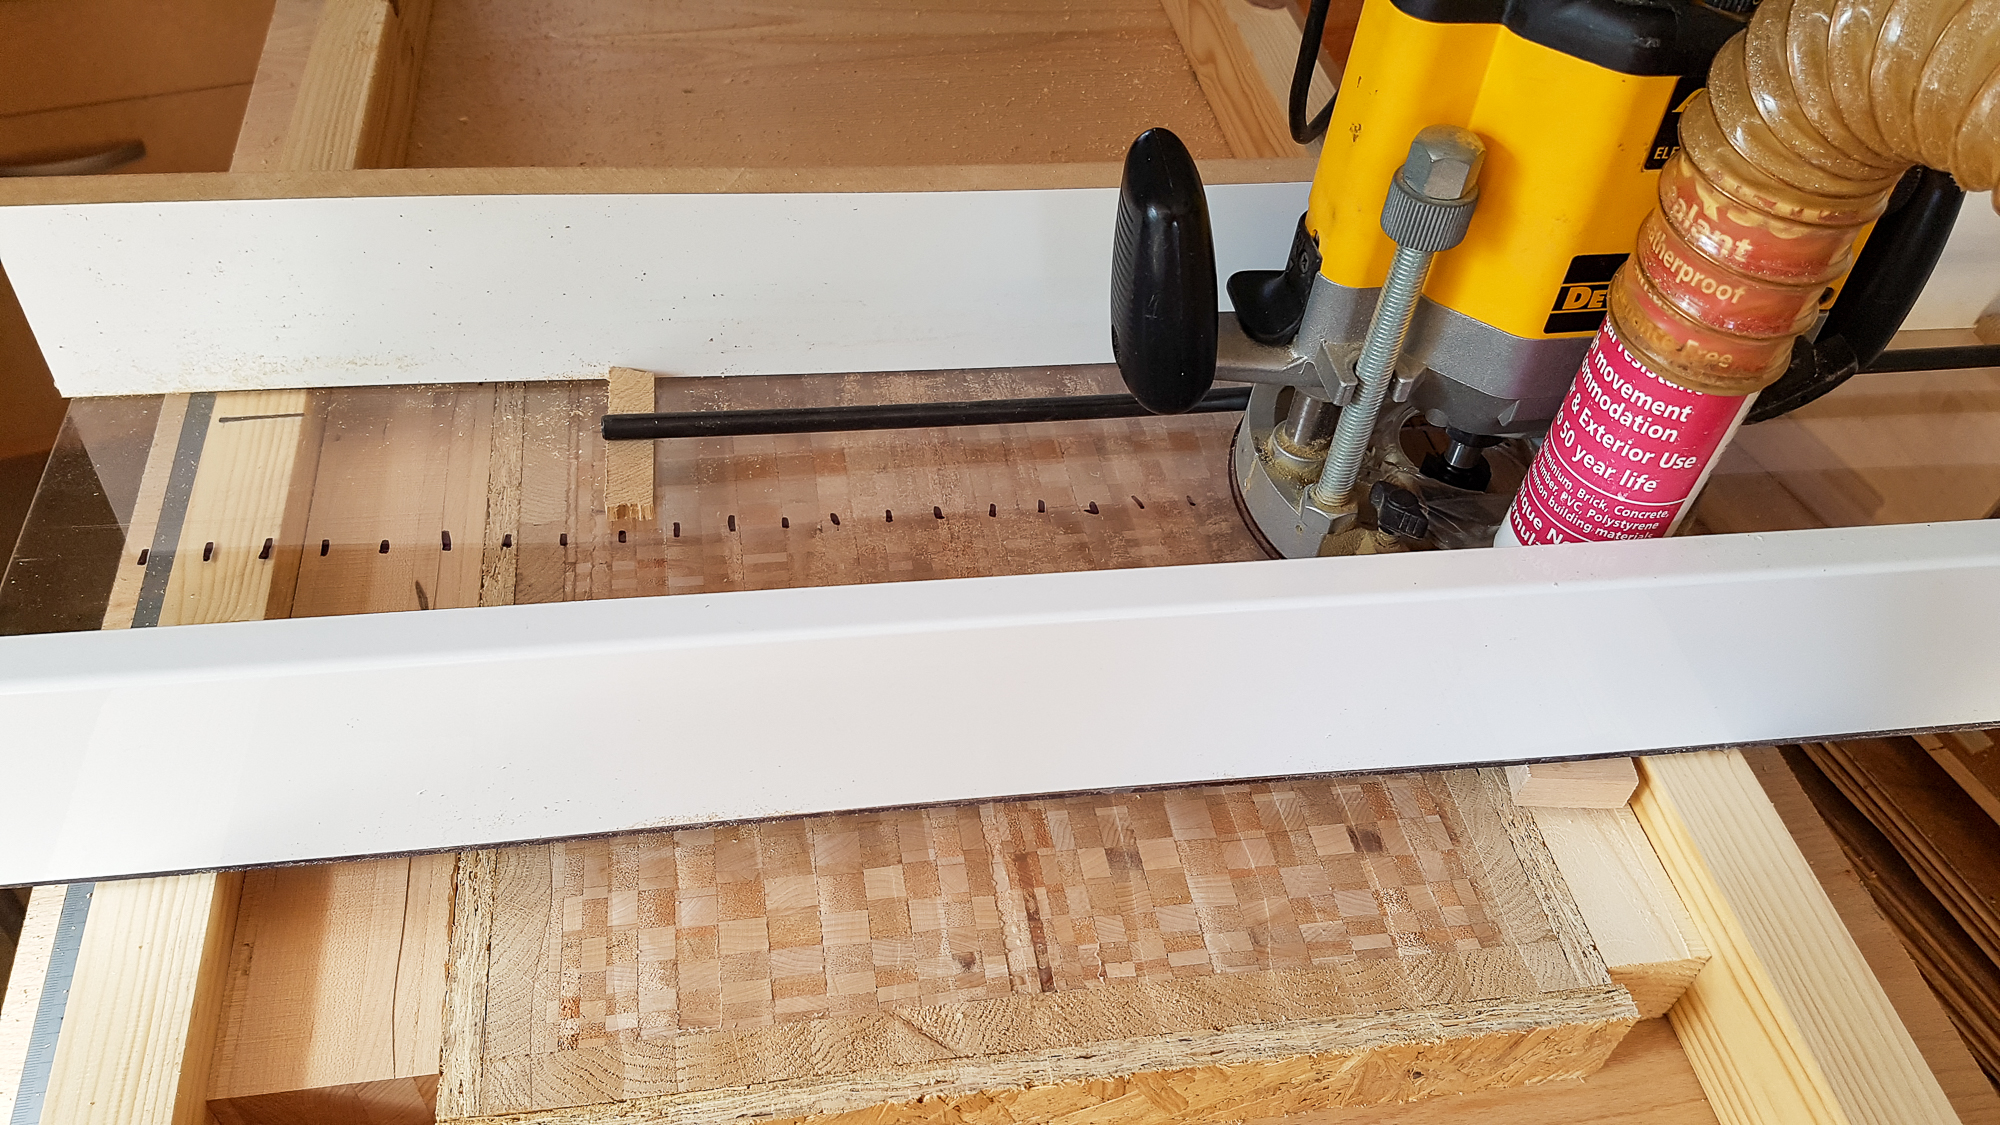
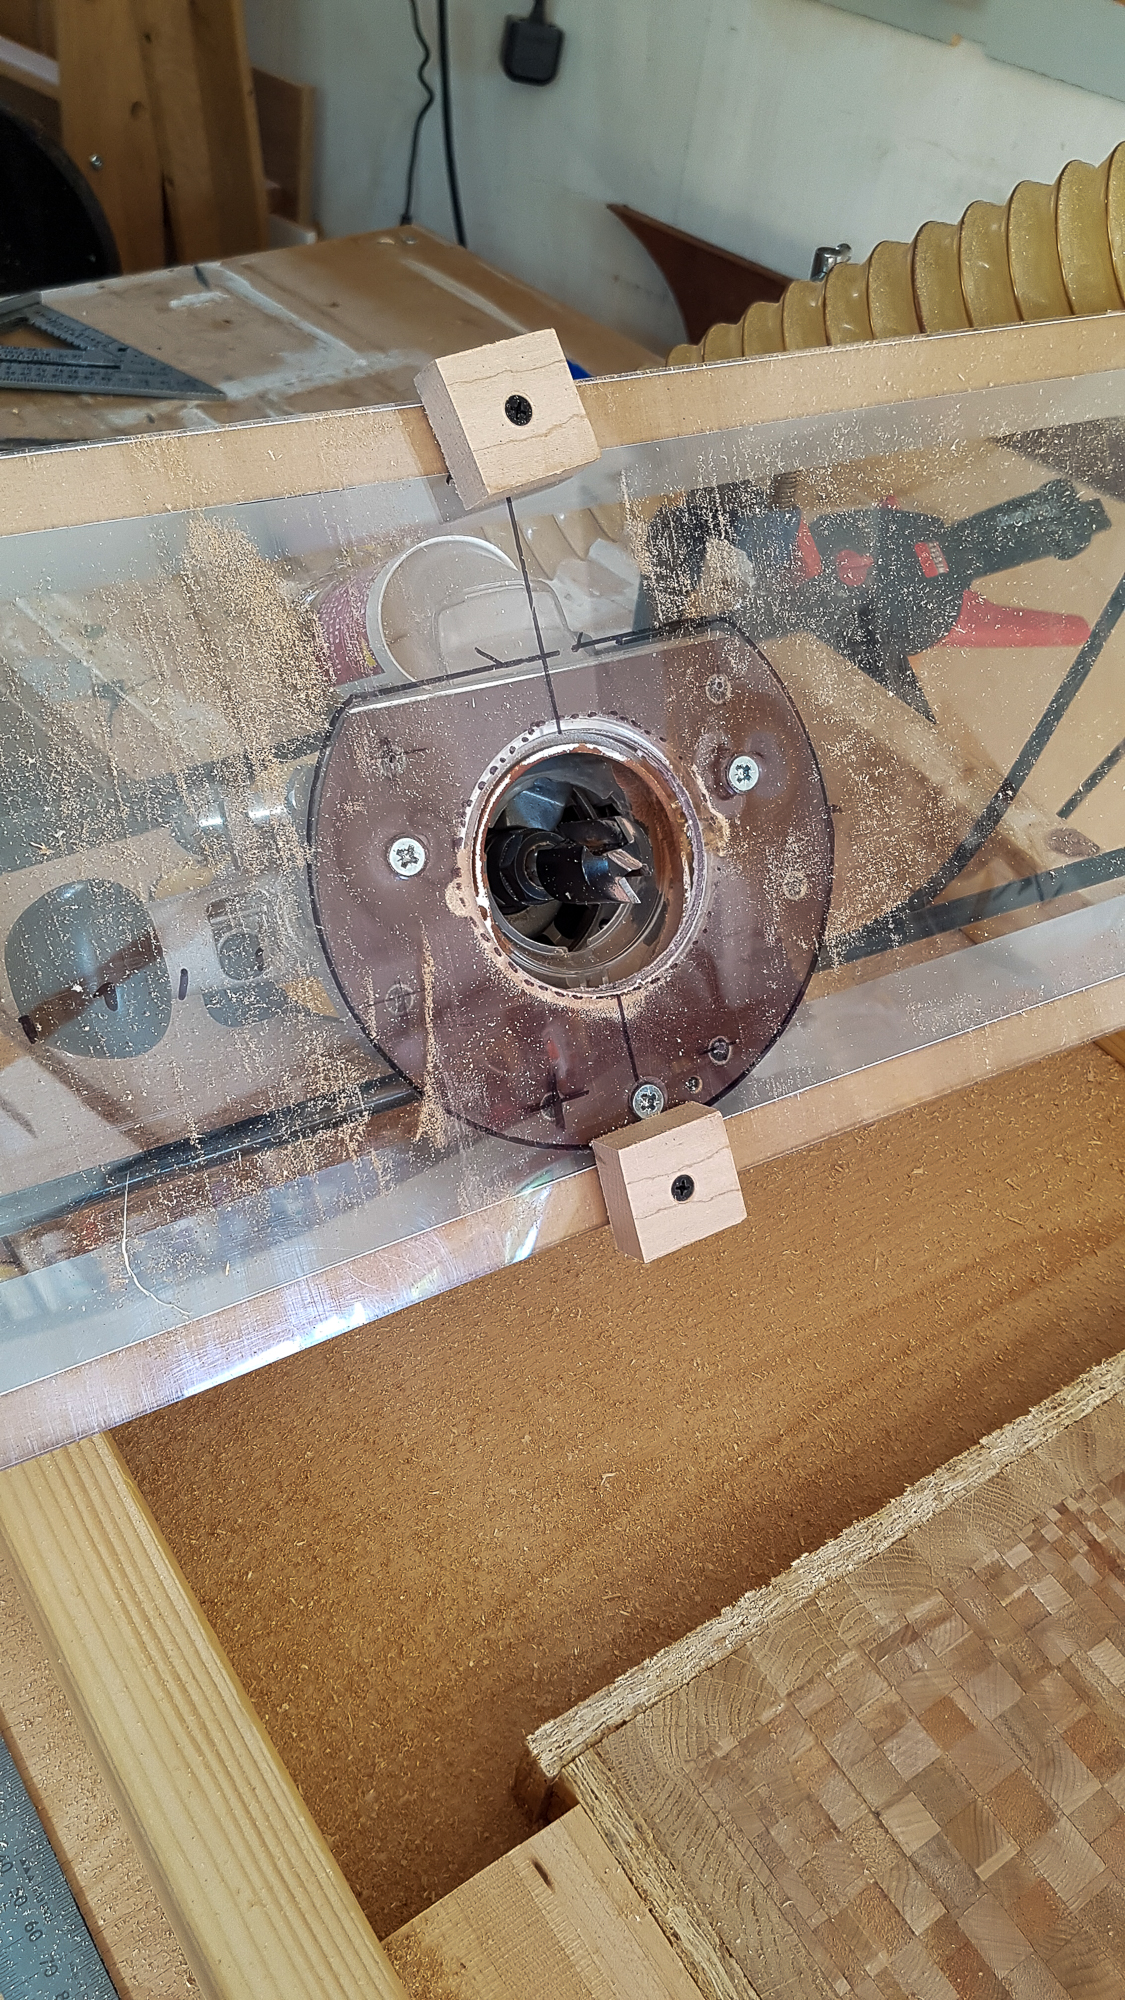
Thought it might be nice to be able to see through the 'bridge' with the router mounted to it so i use a piece of clear polycarbonate as the base. The sides are MDF. It almost worked but the polcarb was a bit springy and let the router wobble slightly. fitting the guide bars and wood packer sorted it. marks on 20mm pitch gave me something to look at. i used a 25mm cutter.
3dcb2--116.jpg


After a pass
3dcb2--117.jpg


Surface finish was a bit coarse but OK
3dcb2--118.jpg


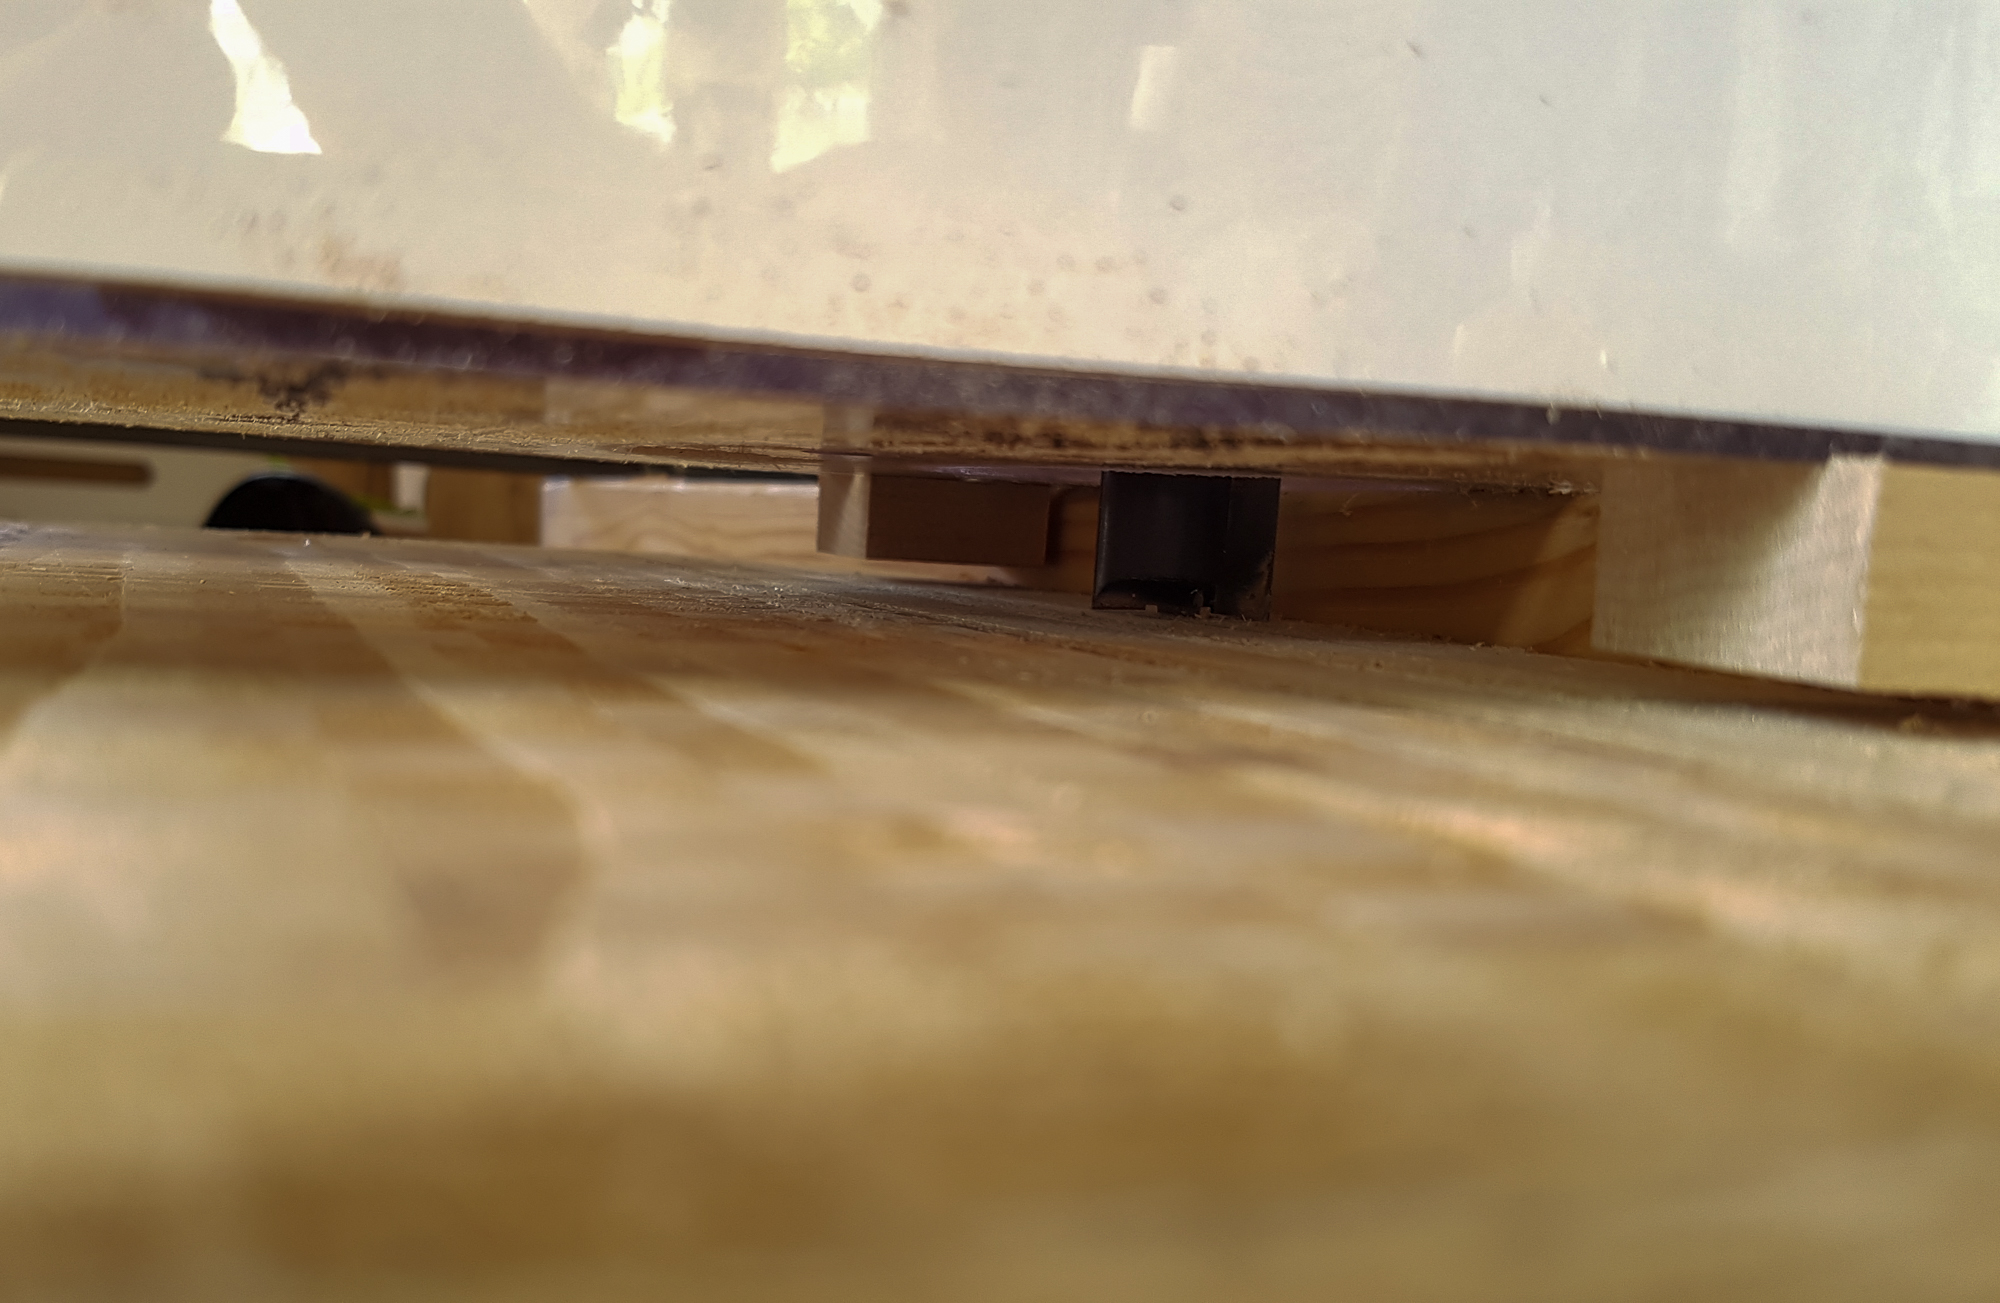
I took 1mm cuts by putting a ruler on top of the battens to lift the 'bridge' the lowered the cutter (router off) on to the work and locked the height. remove the rulers and back to work. Took a few passes sometimes.
3dcb2--119.jpg


Slow job but satisfying that it works
3dcb2--120.jpg


Got there in the end. These blocks stopped me machining the battens
3dcb2--121.jpg


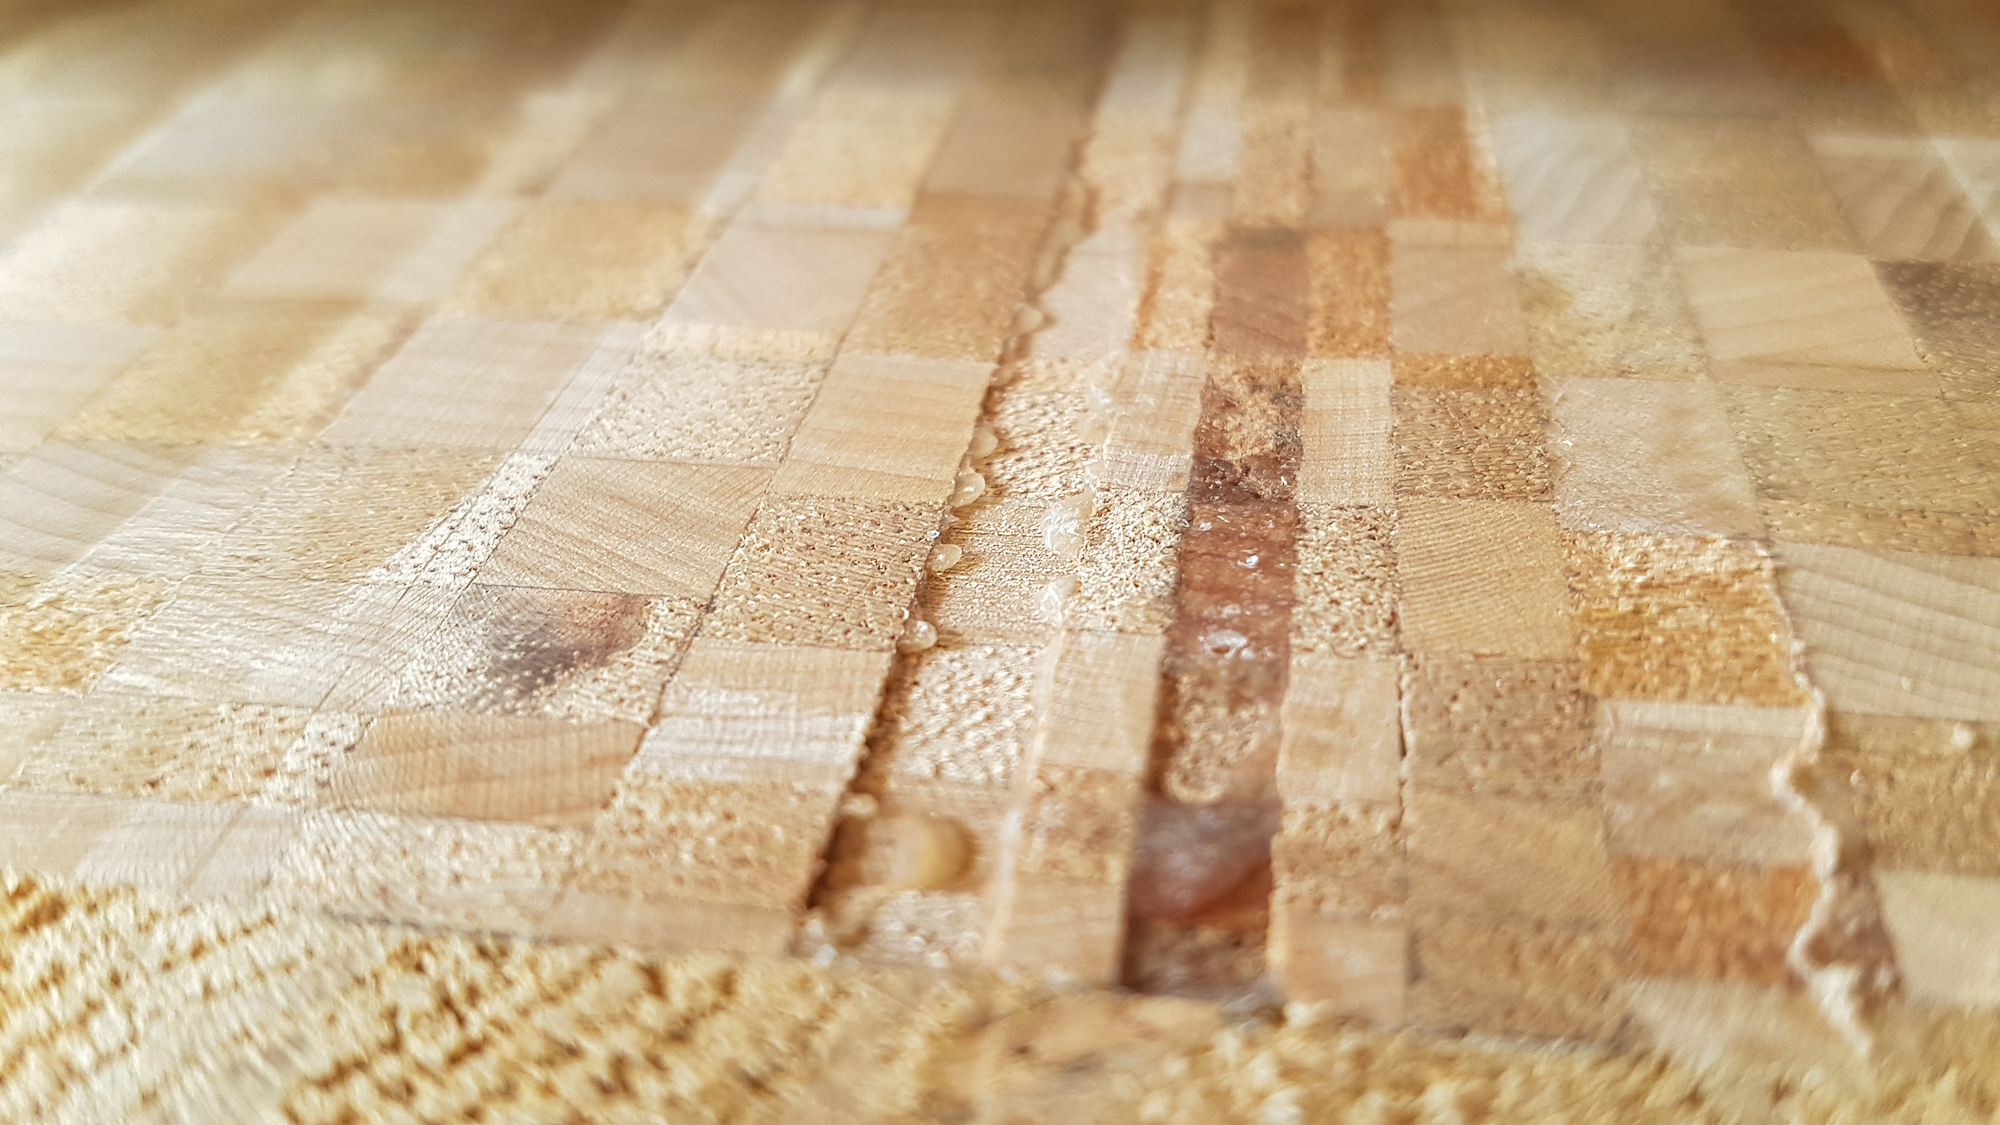
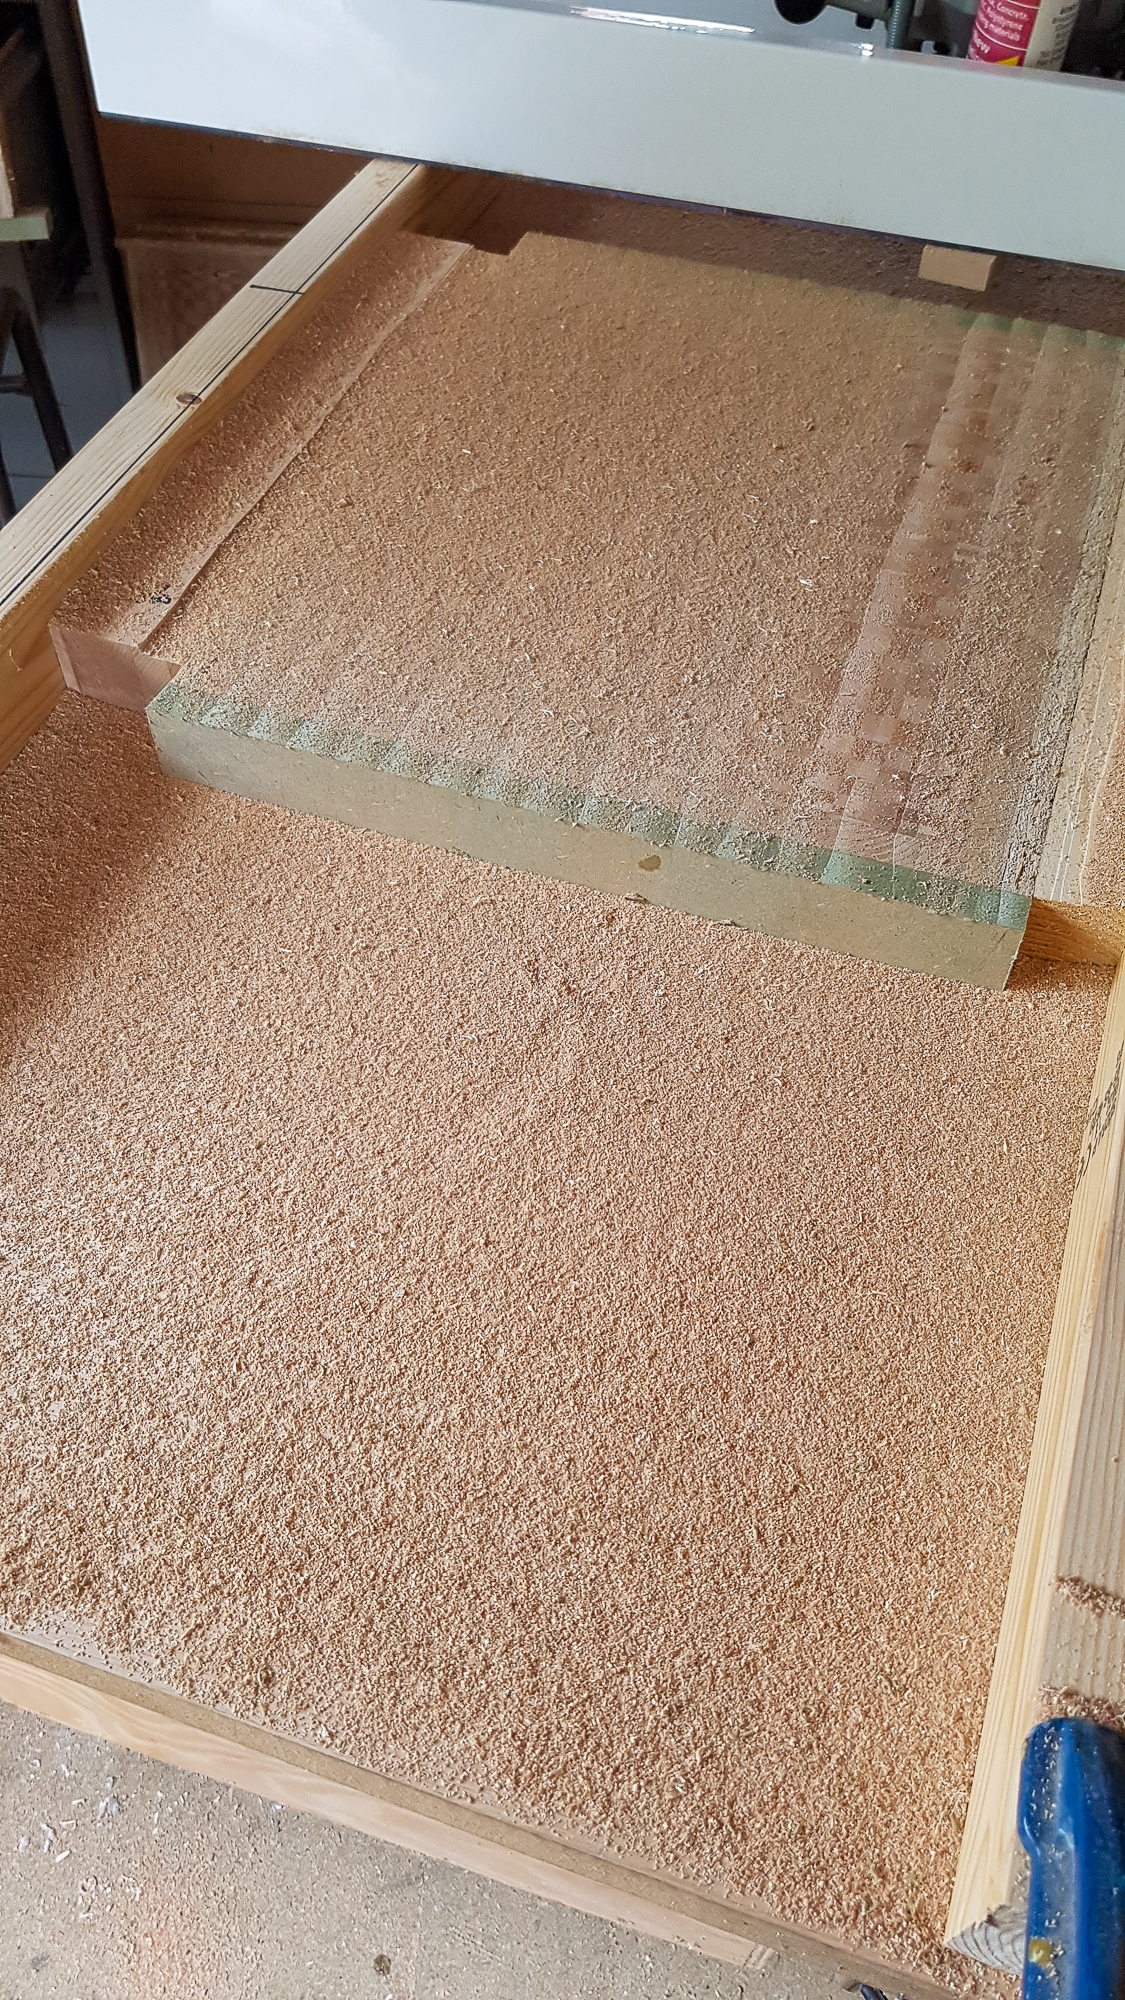
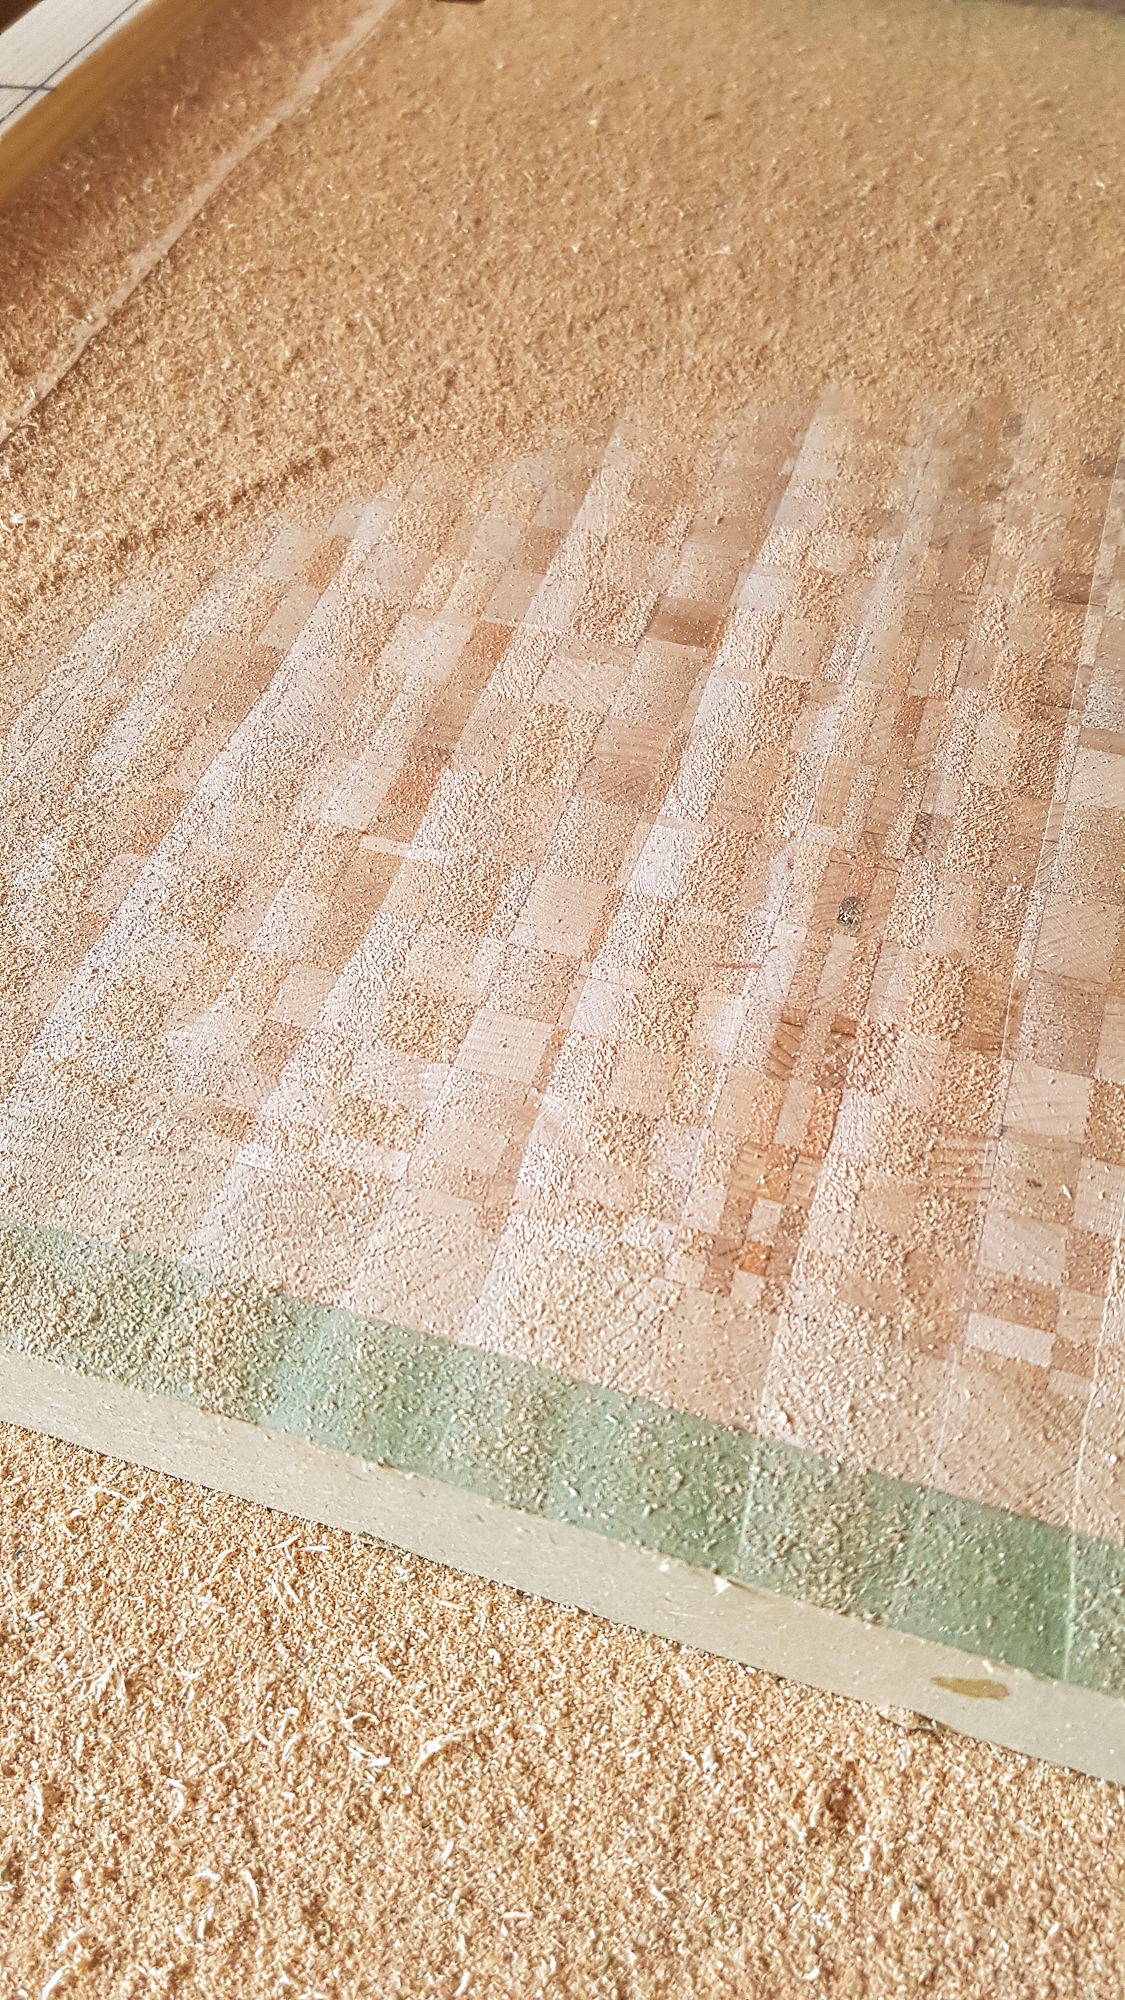
It was a messy job as the extraction didn't pick up that much
3dcb2--122.jpg


There were cutter lines but they were very shallow
3dcb2--123.jpg


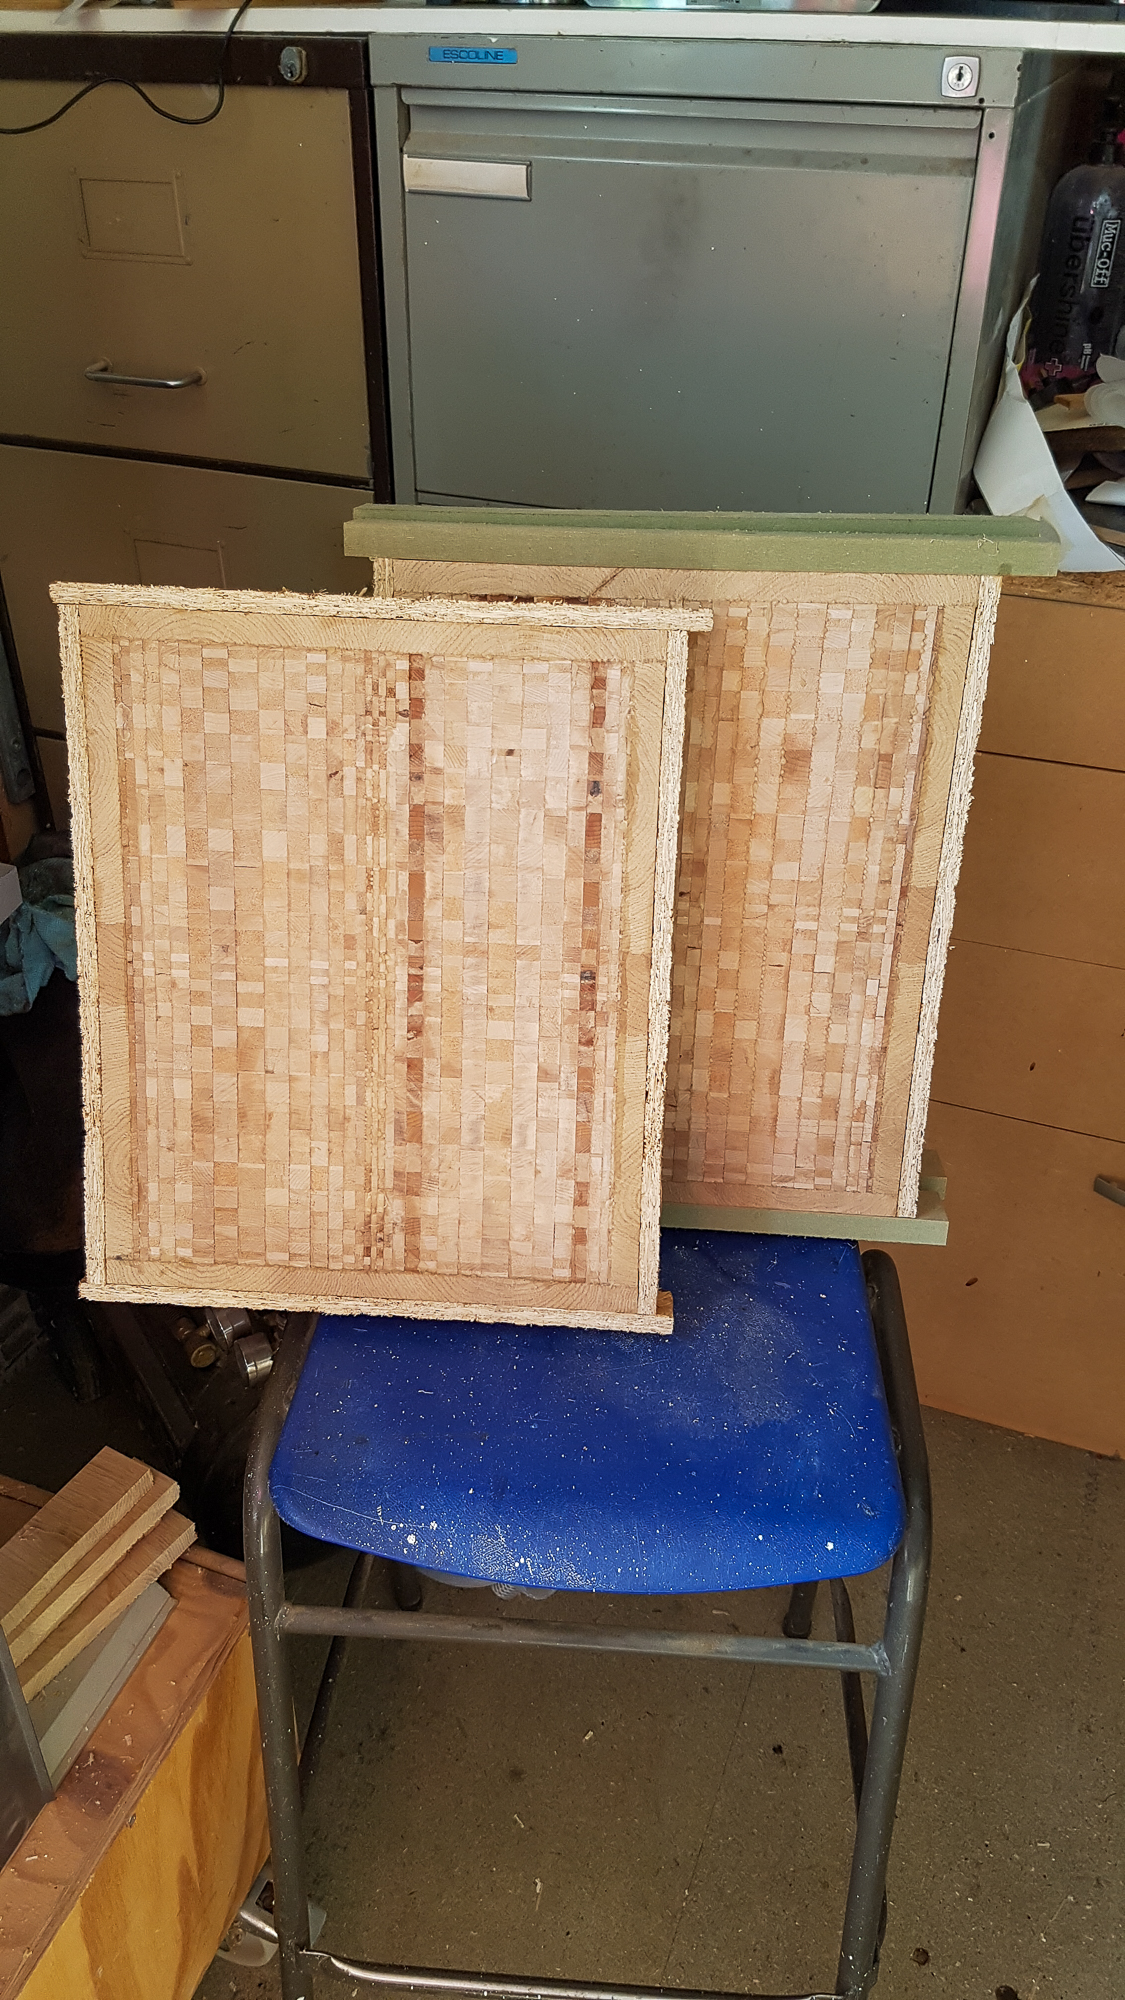
OSB removed
3dcb2--124.jpg


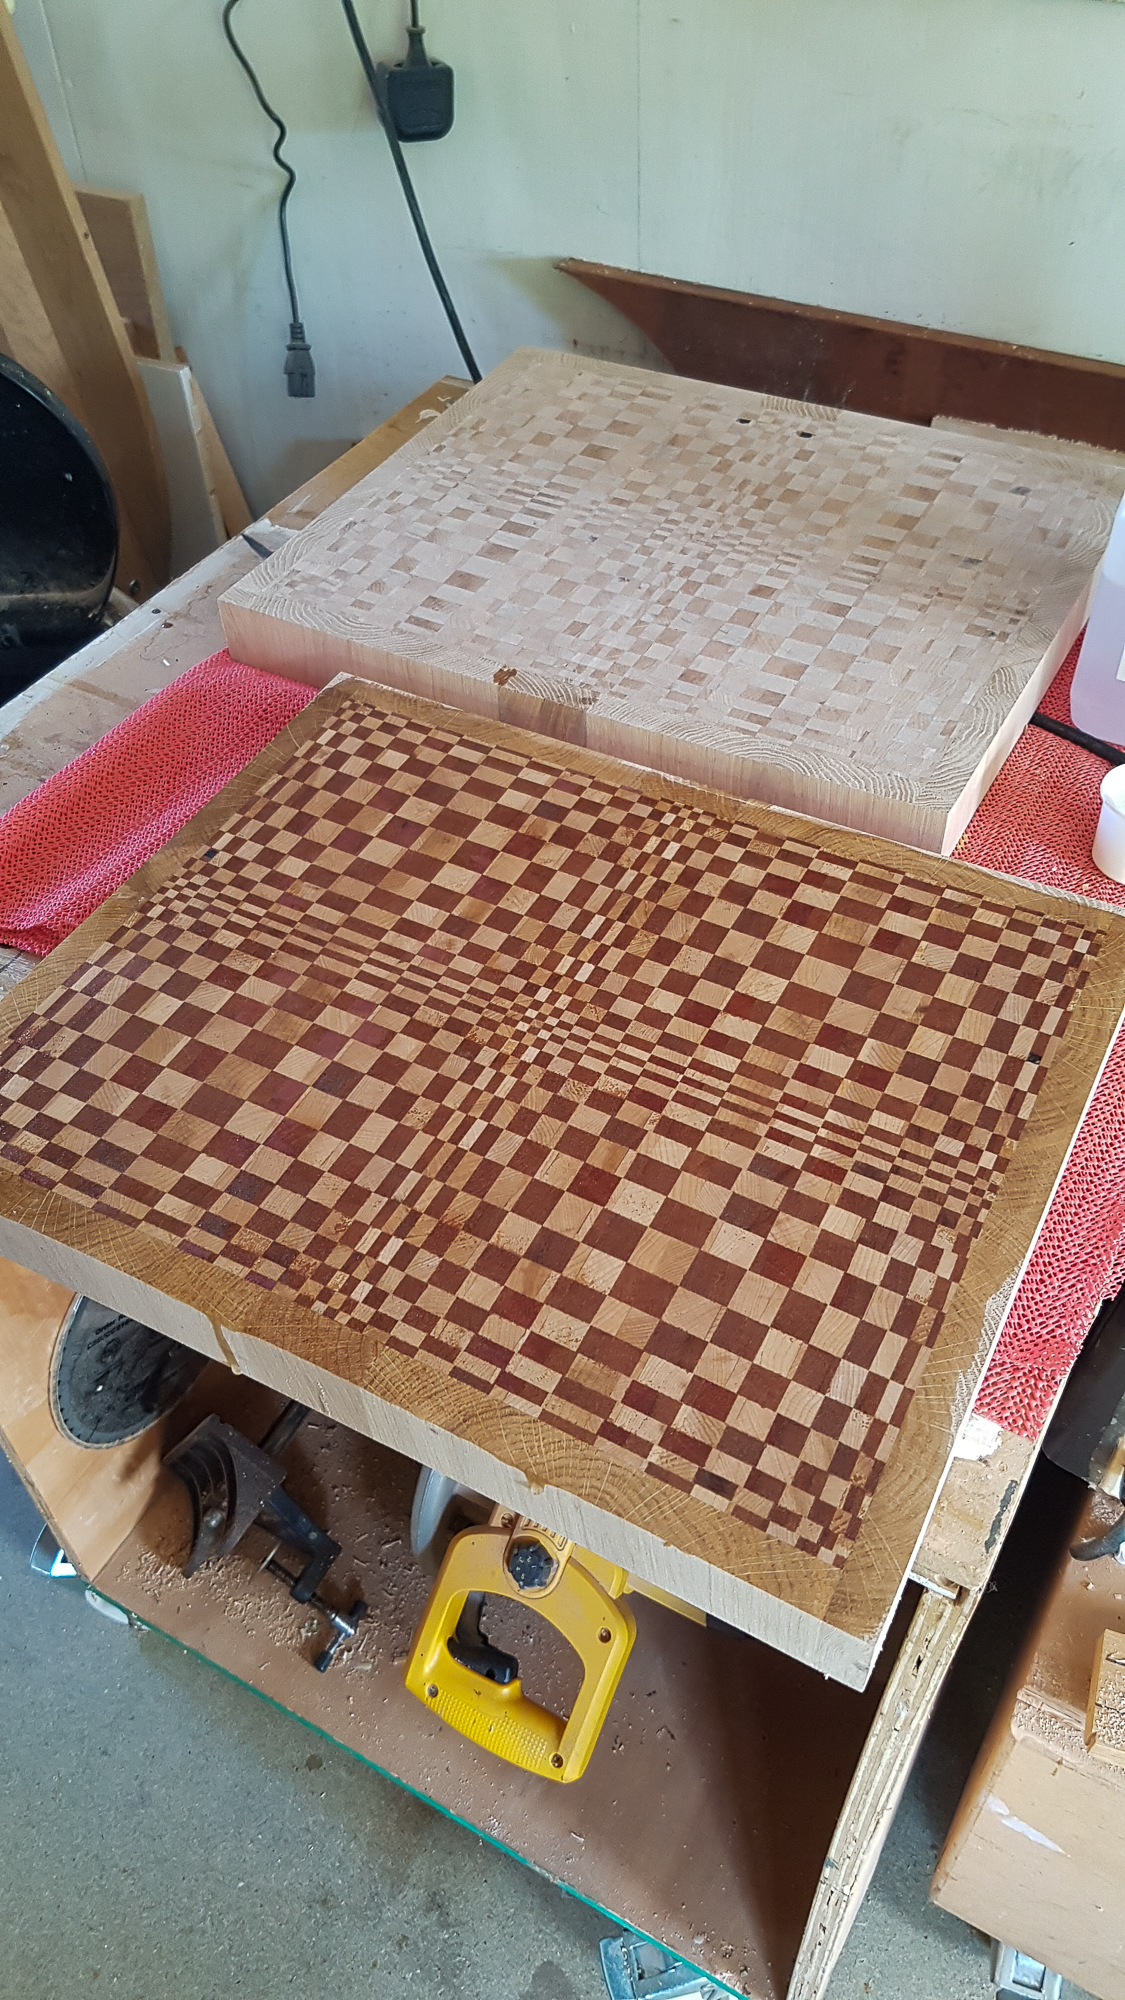
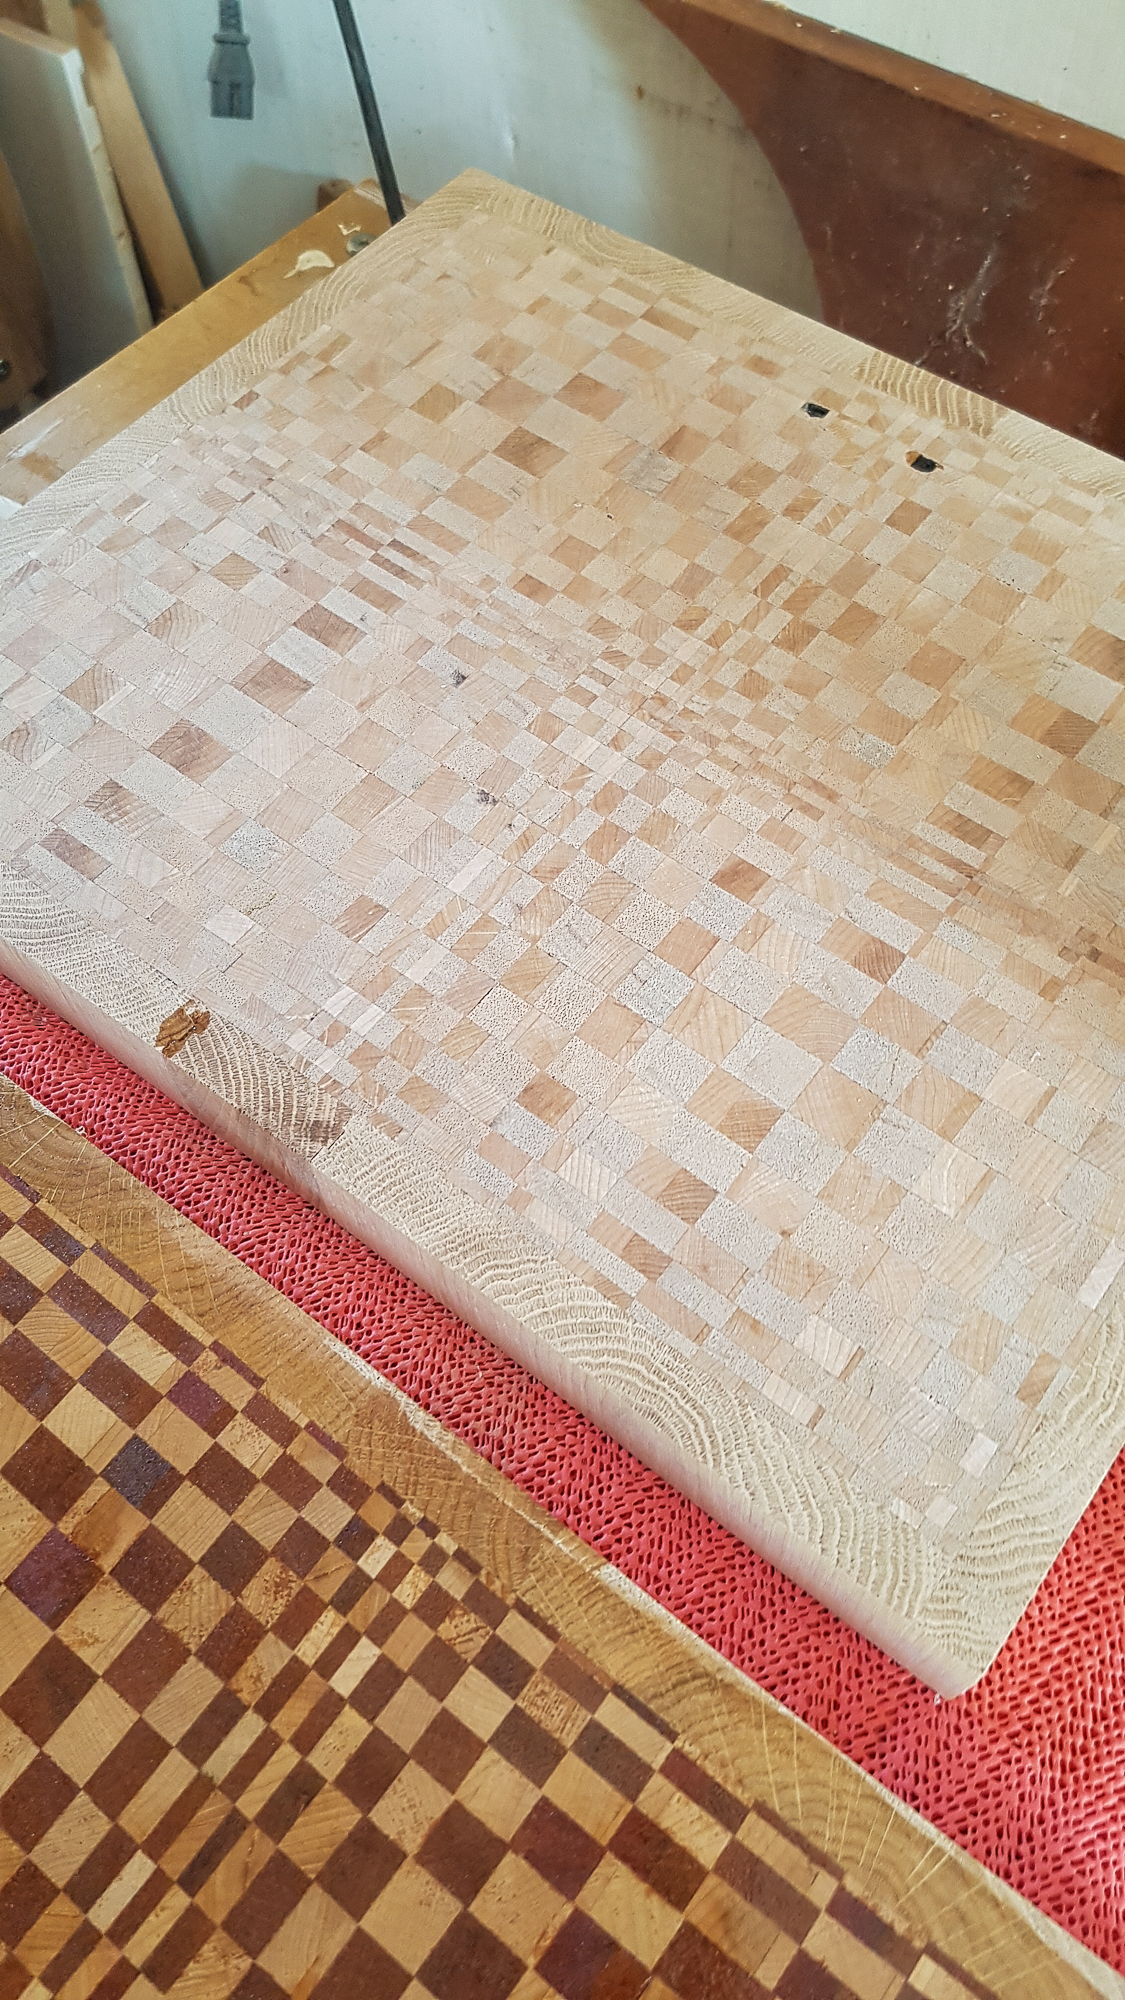
Sanding with the ROS then a thin coat of clear resin to fill the odd hole and to seal the darker wood which is softer than the maple. Also makes it look good :)
3dcb2--125.jpg


Before and after type picture
3dcb2--126.jpg


I've sanded all but what soaked in of that resin off now but that's as far as I've got so they look like the before shots again now but pop when they have a finish applied. I'm making something else now so these are on hold but I'll update when i get them finished.
 
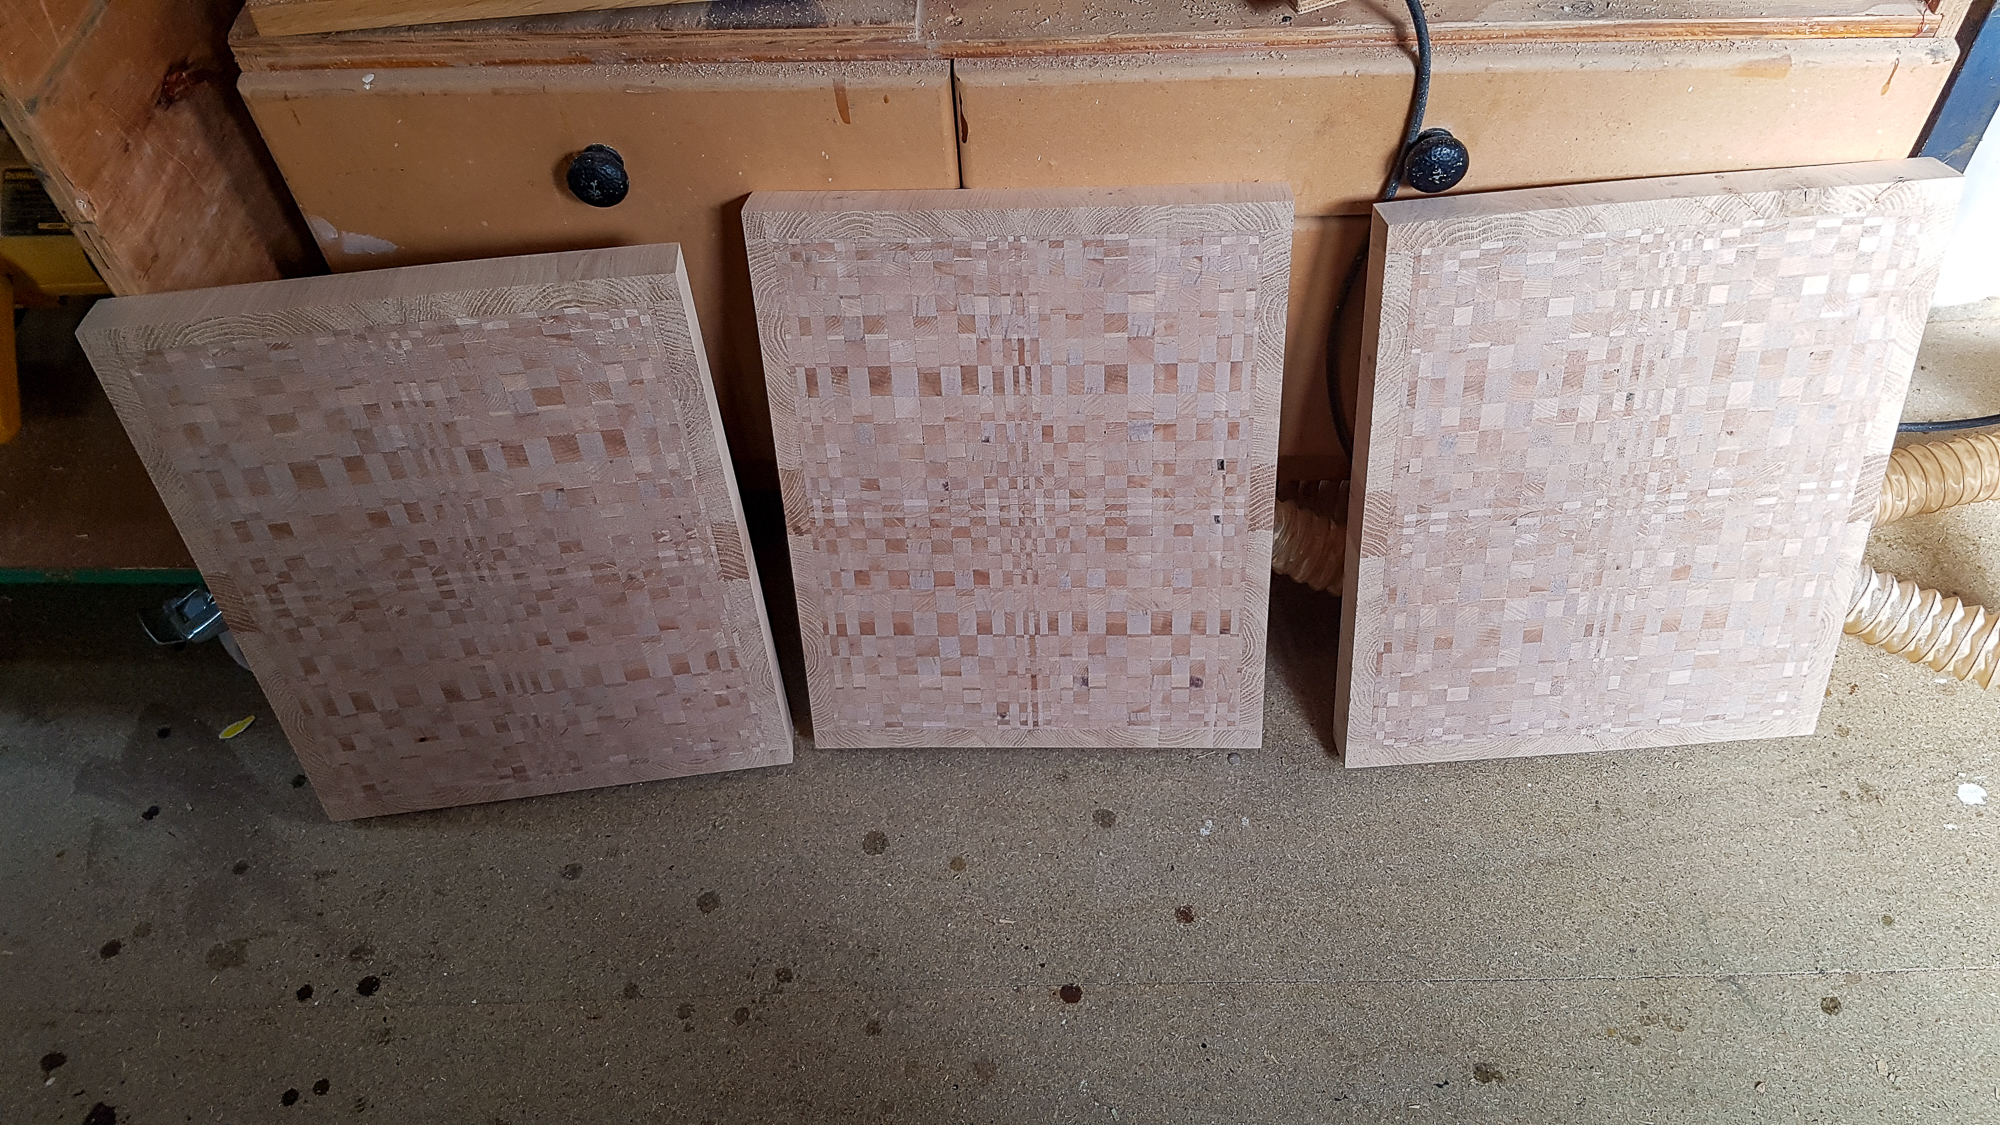
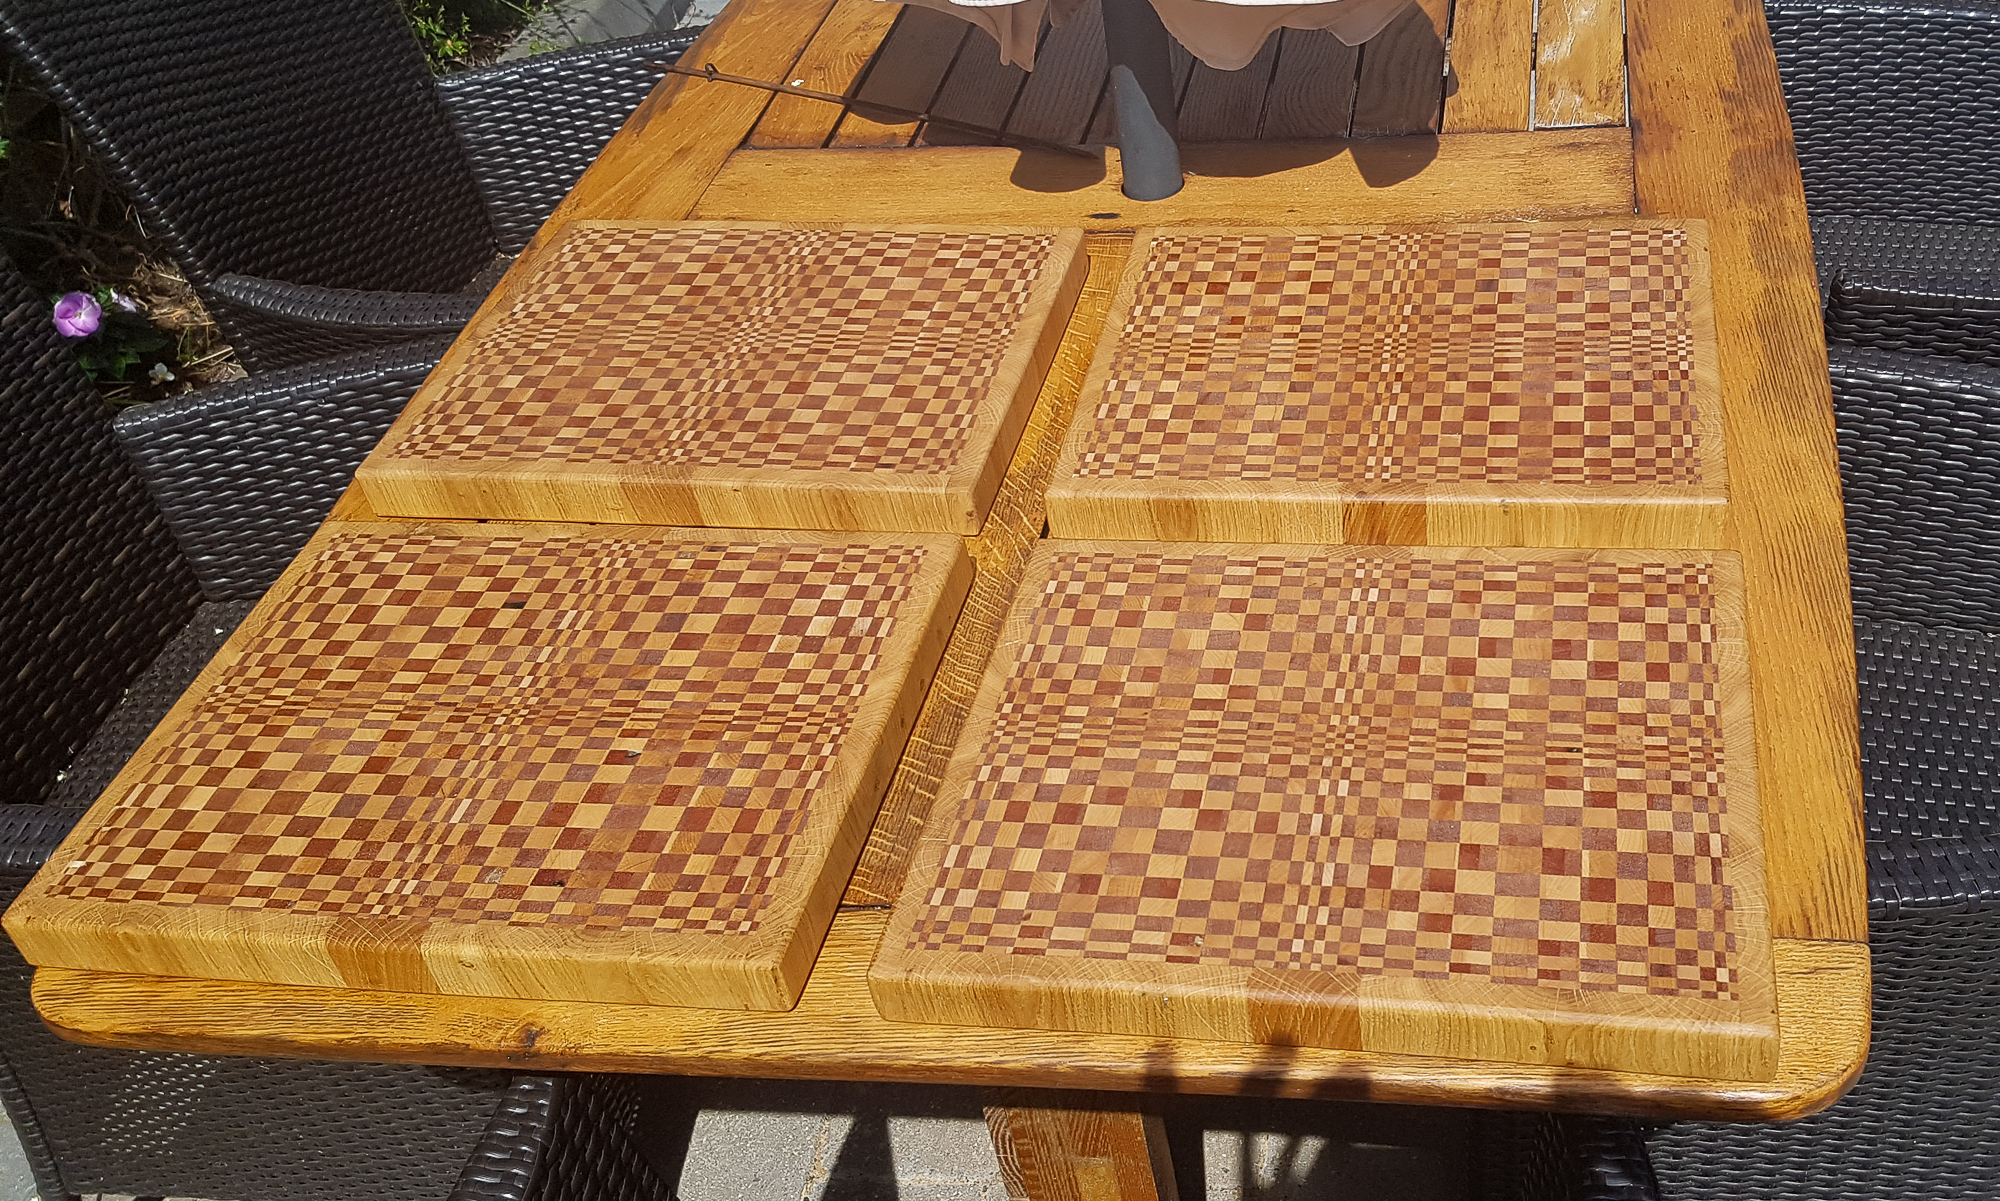
I did finish the 4 boards off in the end and after a cook in the sun a couple of weeks ago I fitted rubber feet and called them done.
3dcb2-128.jpg


Based on the number of family and friends that would receive these I needed one more board. So time to make it. I wanted to do a different design and had seen one that looked straight forward. It was just a matter of cutting boards at 60 degrees and sticking the bits together.

Problem is the one I'd seen used boards that were 40mm thick. My floorboard stock ends up at about 16mm thick once machined clean.

So I'll just make a finer pattern.

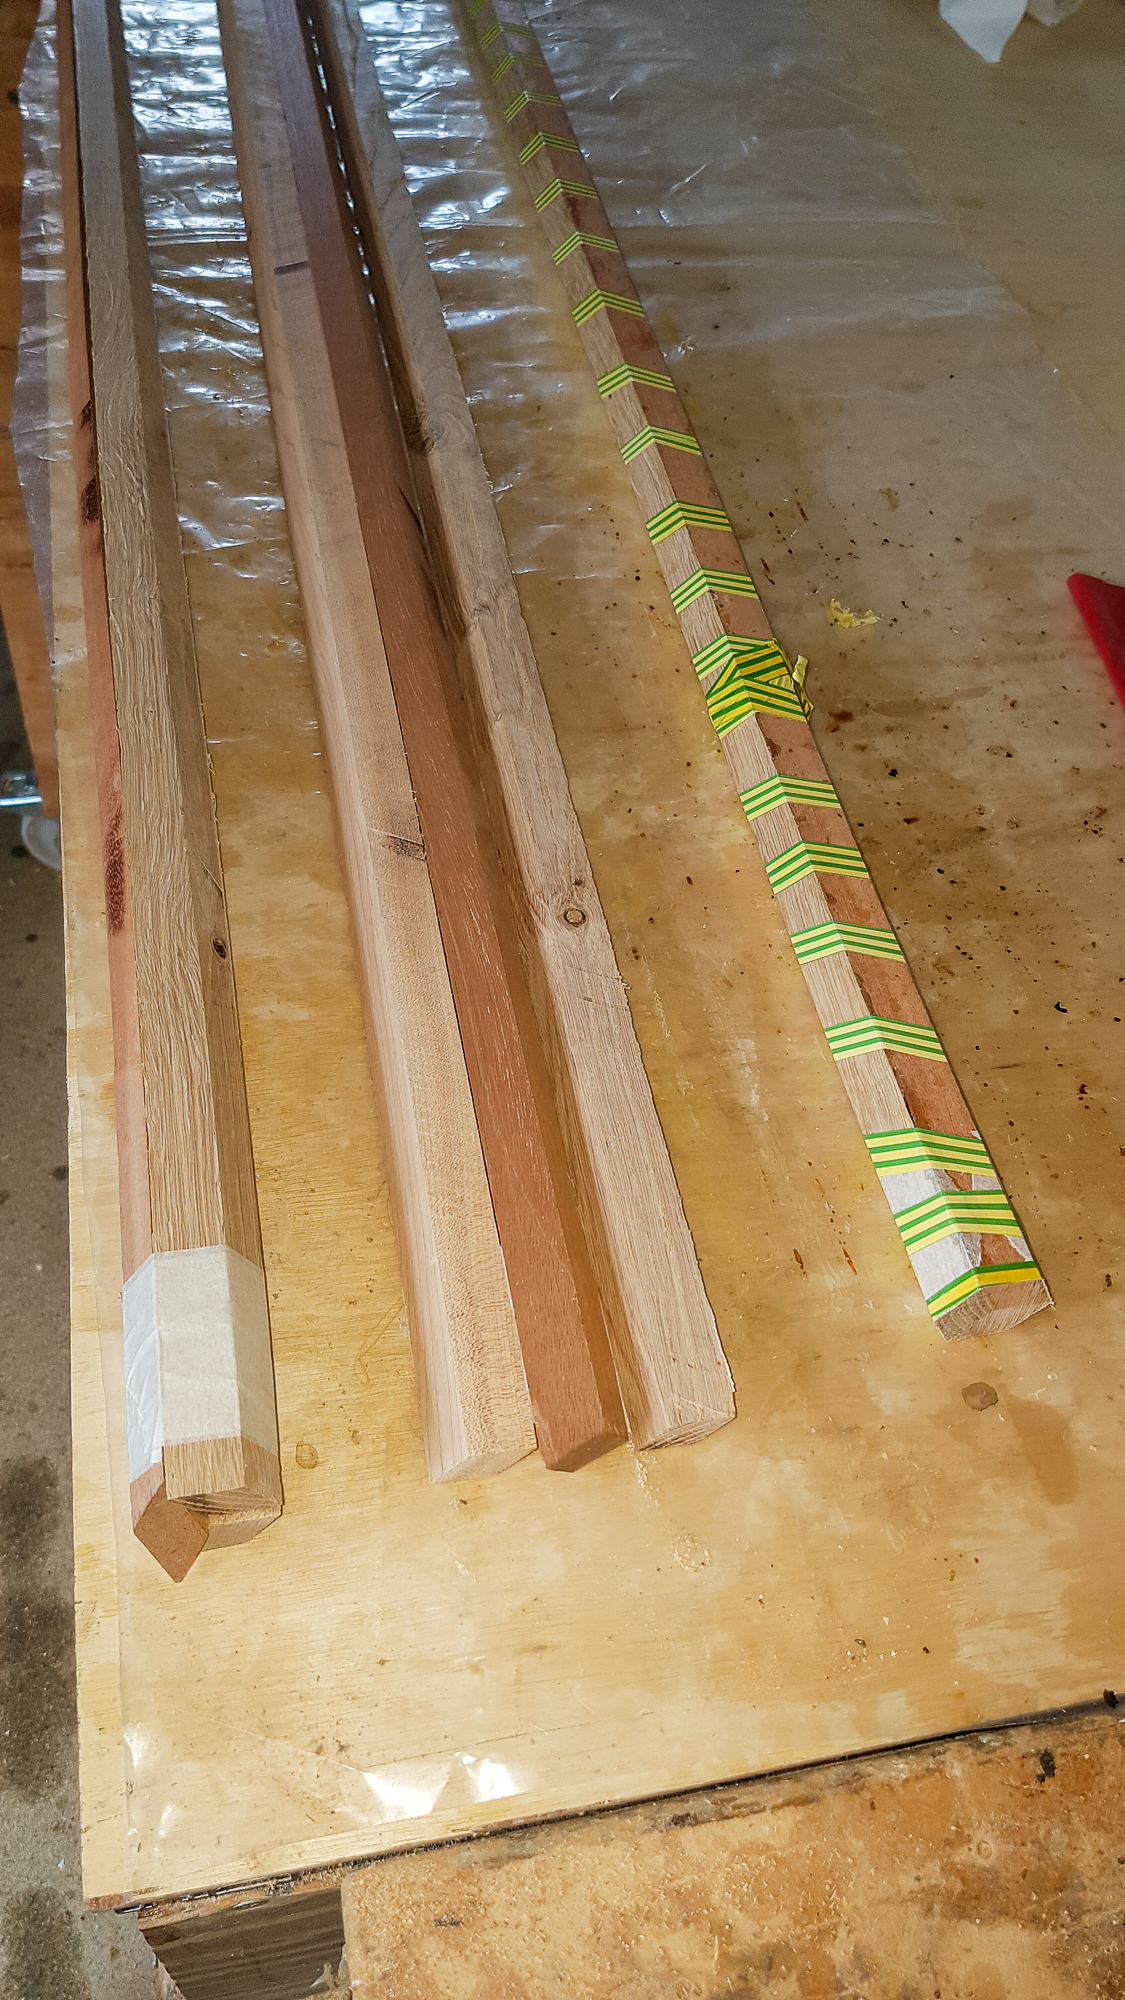
Oak mahogany and maple 60 degree diamonds. probably easy for someone with a good saw. Took a lot of messing about to get consistency and accuracy with the axminster TS 200. Put the 3 together with masking tape...cut the tape so they lay flat....slap some glue on then bind them with some PVC tape I'll never use for electrics.
3dcb3-100.jpg


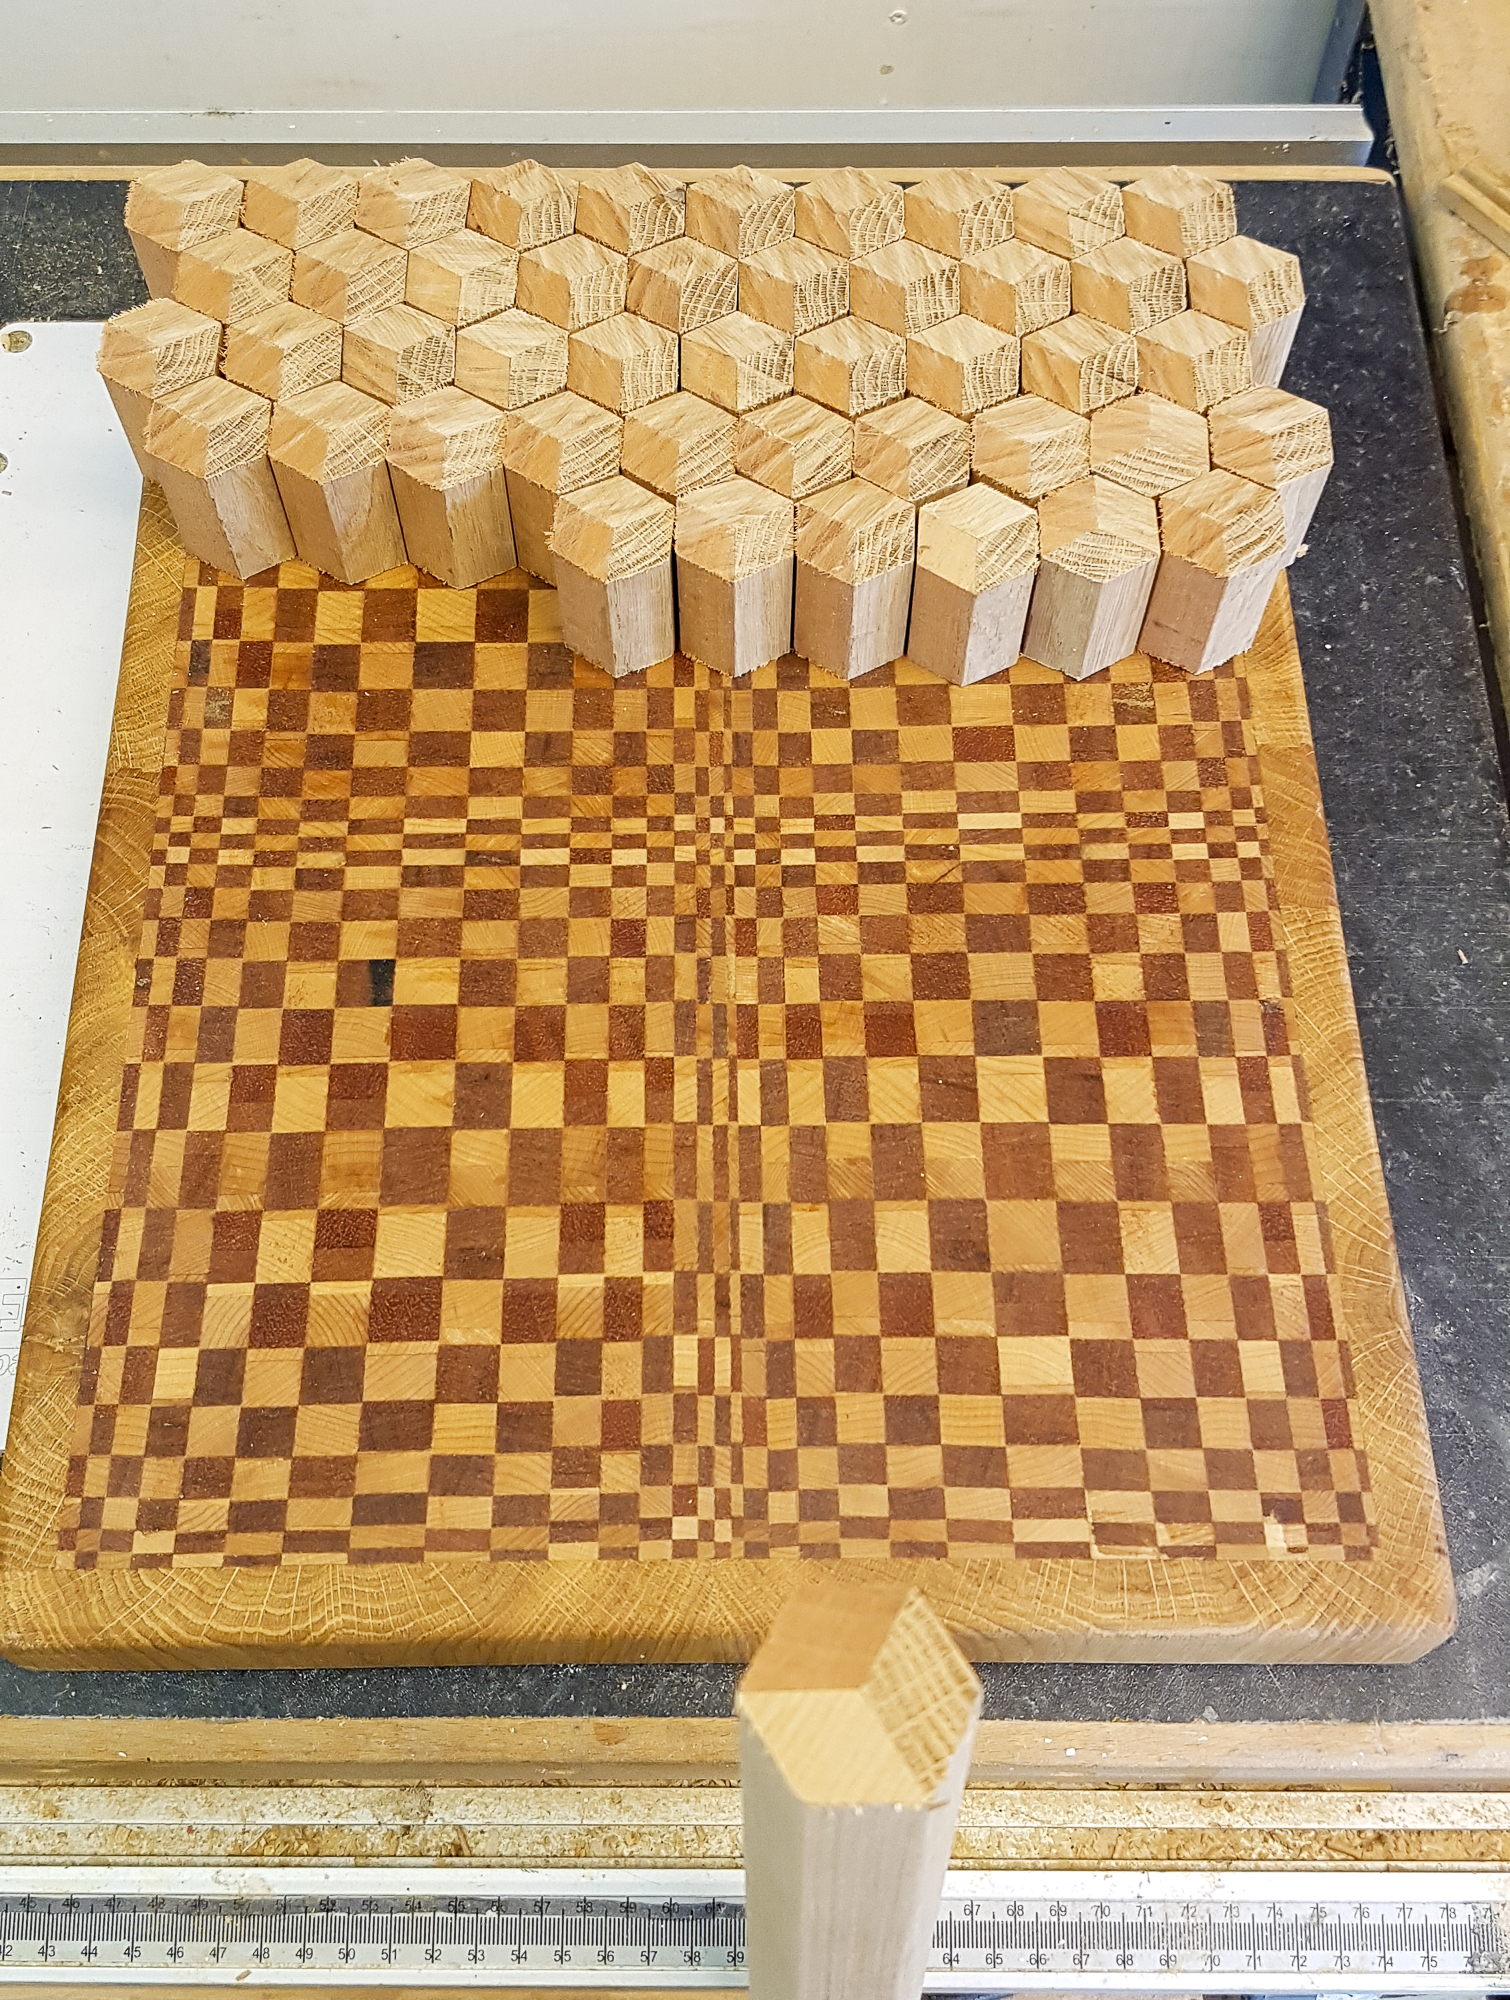
using a board for size I start cross cutting the rods.
3dcb3-101.jpg


Only 140 pieces to deburr and then glue together!
3dcb3-102.jpg


I bought yet another bottle of D4 glue. Glueing this lot is going to take some planning. Think I have to do it all at once.
 
Those first 4 boards look as though they have turned out well. I'm sure their recipients will be well pleased to receive them.

Your approach to the 5th one looks to be exacting. Presumably you've seen this video of an alternative approach?

[youtube]5n0LdU8ZOJU[/youtube]
 
Yes i have seen that.

All MTM's stuff turns out well but they use a awful lot of prime timber. There is so much waste in many of the videos of the cutting too. I don't have any prime timber - this is all recycled stuff and I haven't wasted much in the making. So I'm giving myself more problems but if it works I will have used much less wood.

Oh and their board has joint lines across the light squares which mine doesn't :)
 
Malc2098":y6yedamg said:
Proper job.....even if my eyes do go wobbly! :D
Agreed, and mine go wibbly-wobbly as well. I think I'd need to take a couple of Paracetamol (that's why they're difficult to get hold of sometimes...'cos the parrots 'et 'em all :lol: ) were I to ever cut a couple of slabs of bread on one - Rob
 
Robert"Glueing this lot is going to take some planning. Think I have to do it all at once.[/quote said:
Been thinking about this glue-up. 140 pieces at once is just going to be too stressful!

If you make a jig with two parallel battens spaced by the diagonal dimension of your hexagons you should be able to glue up a diagonal row to form the longest diagonal* of your board. A sash clamp can hold along the length of the row.
Once the glue has go off, unscrew one of the guide battens and use the first row as a guide to add further diagonal rows.

* Note the diagonal is not a true corner to corner line but at 60 degrees to one edge.

good luck

Bob
 
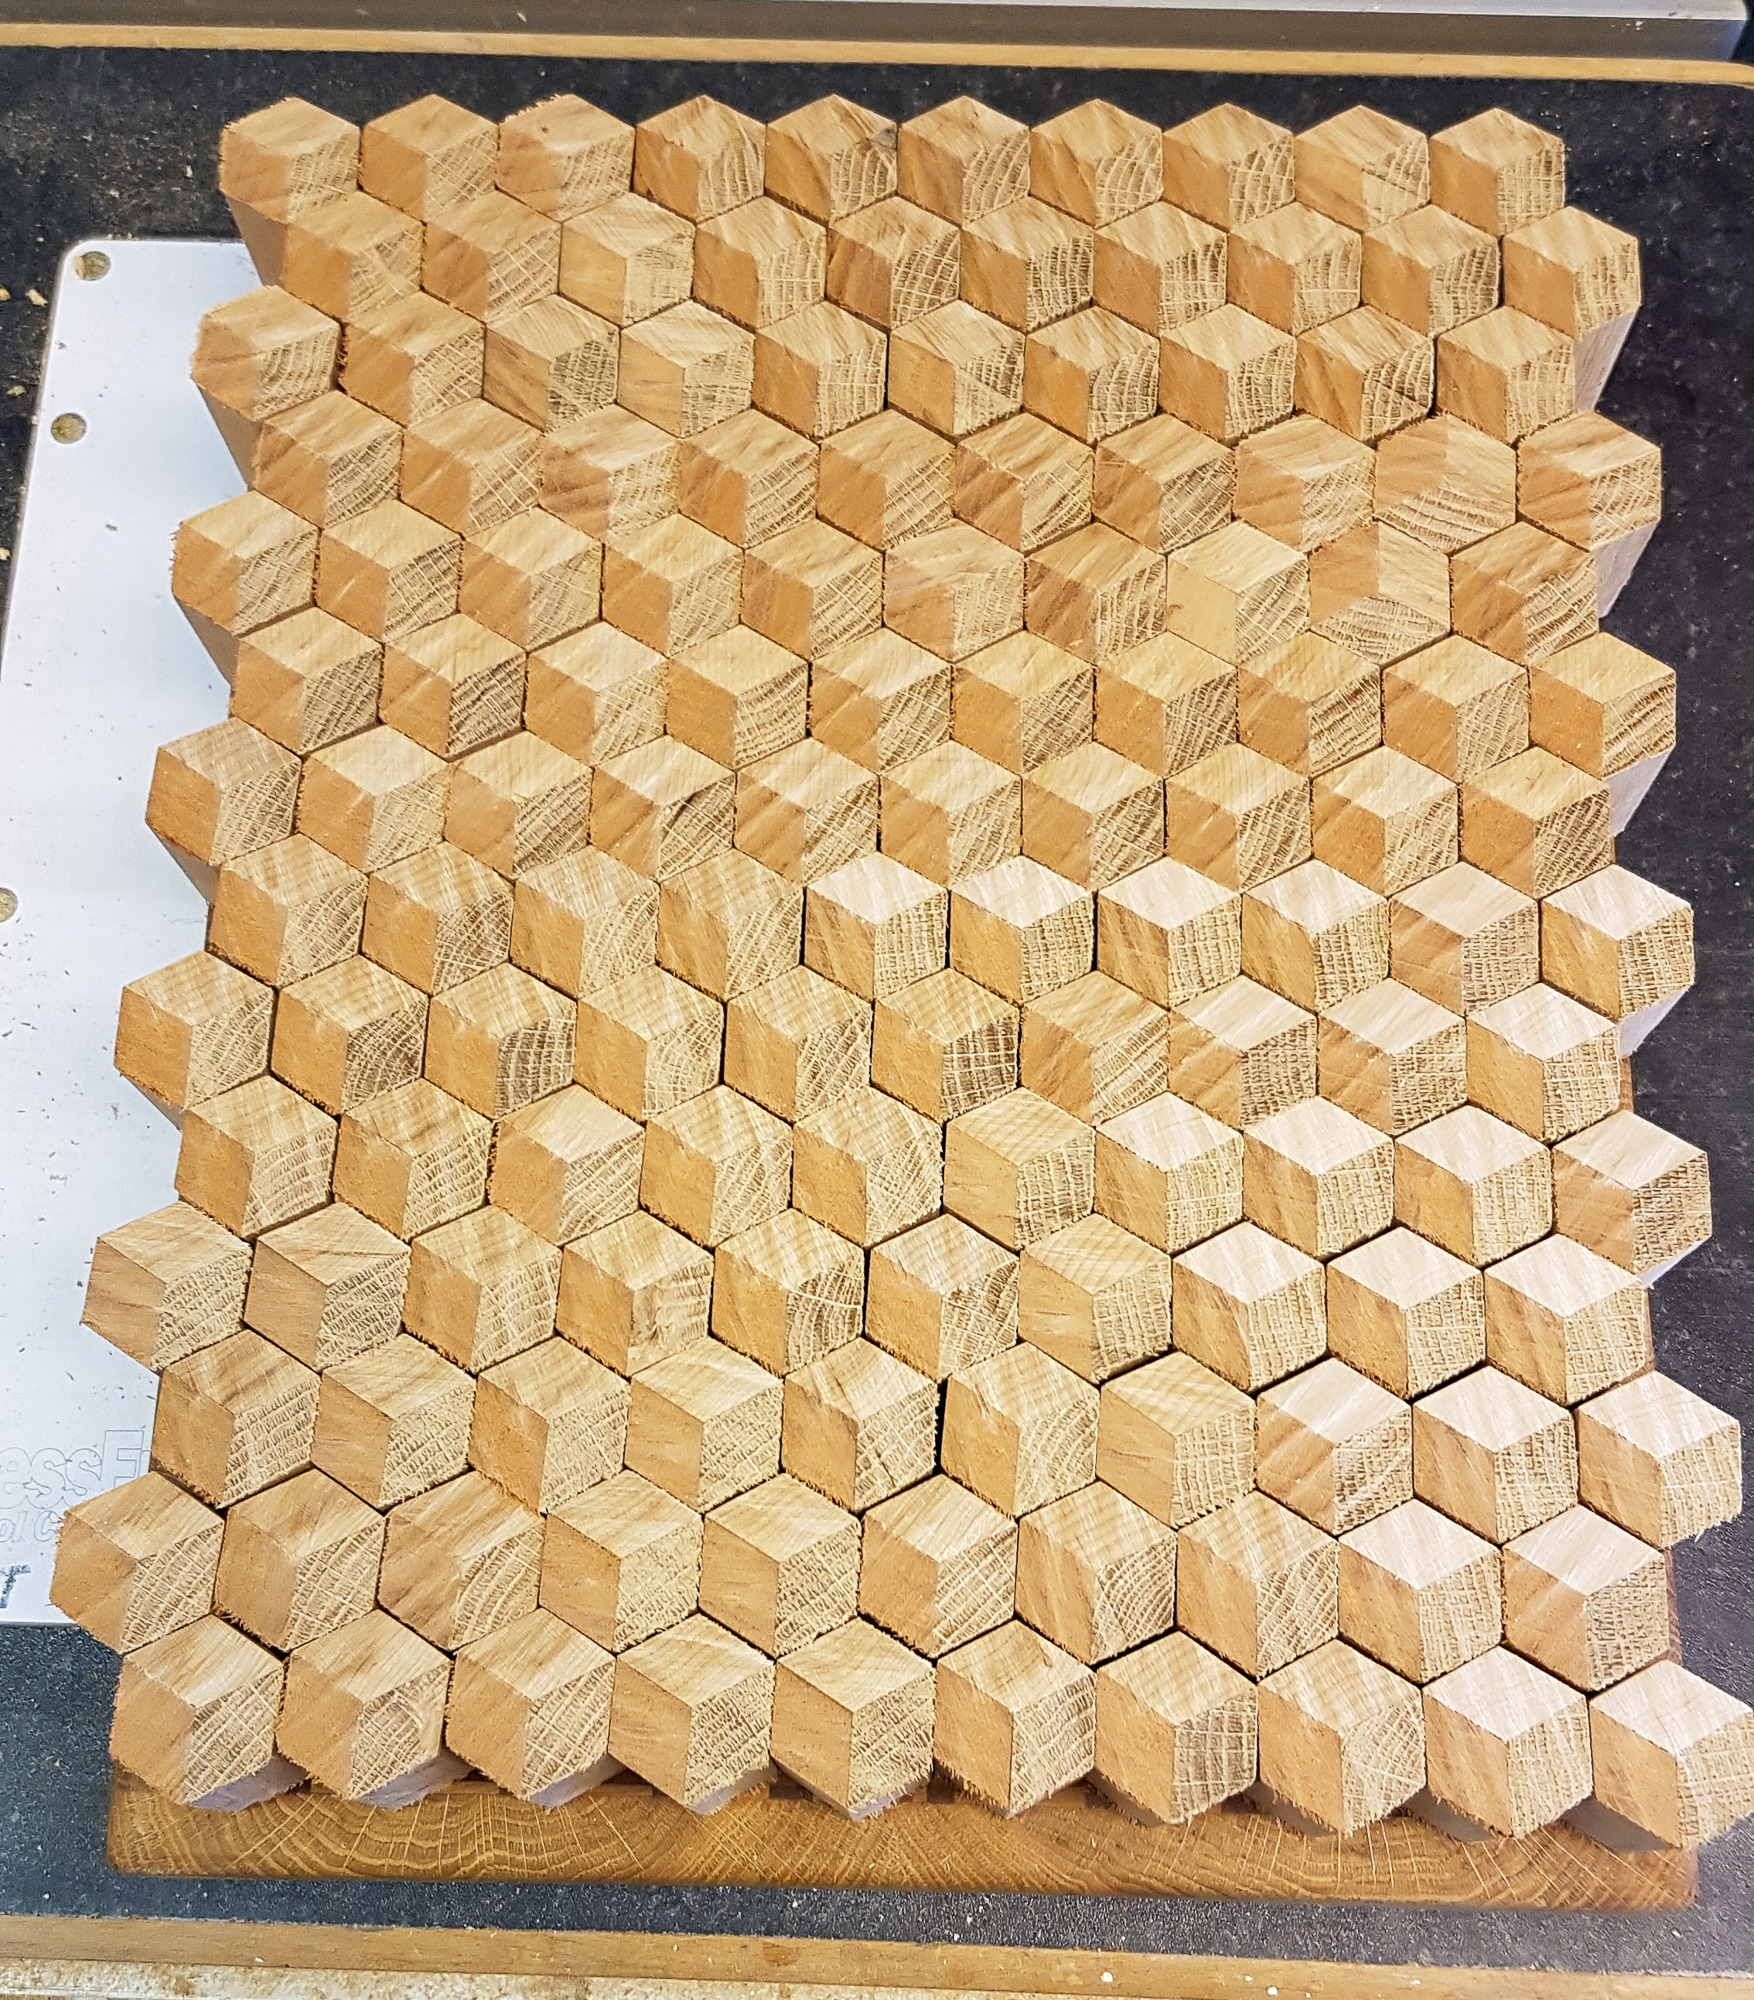
The cross cuts were pretty clean but it still took ages to get the burrs off. Done now and the hexagons fit together surprisingly well.

Glueing a single row sounds like trouble to me. Keeping it straight and nothing twisting and worrying about glue squeeze out fouling up corners is all too difficult.

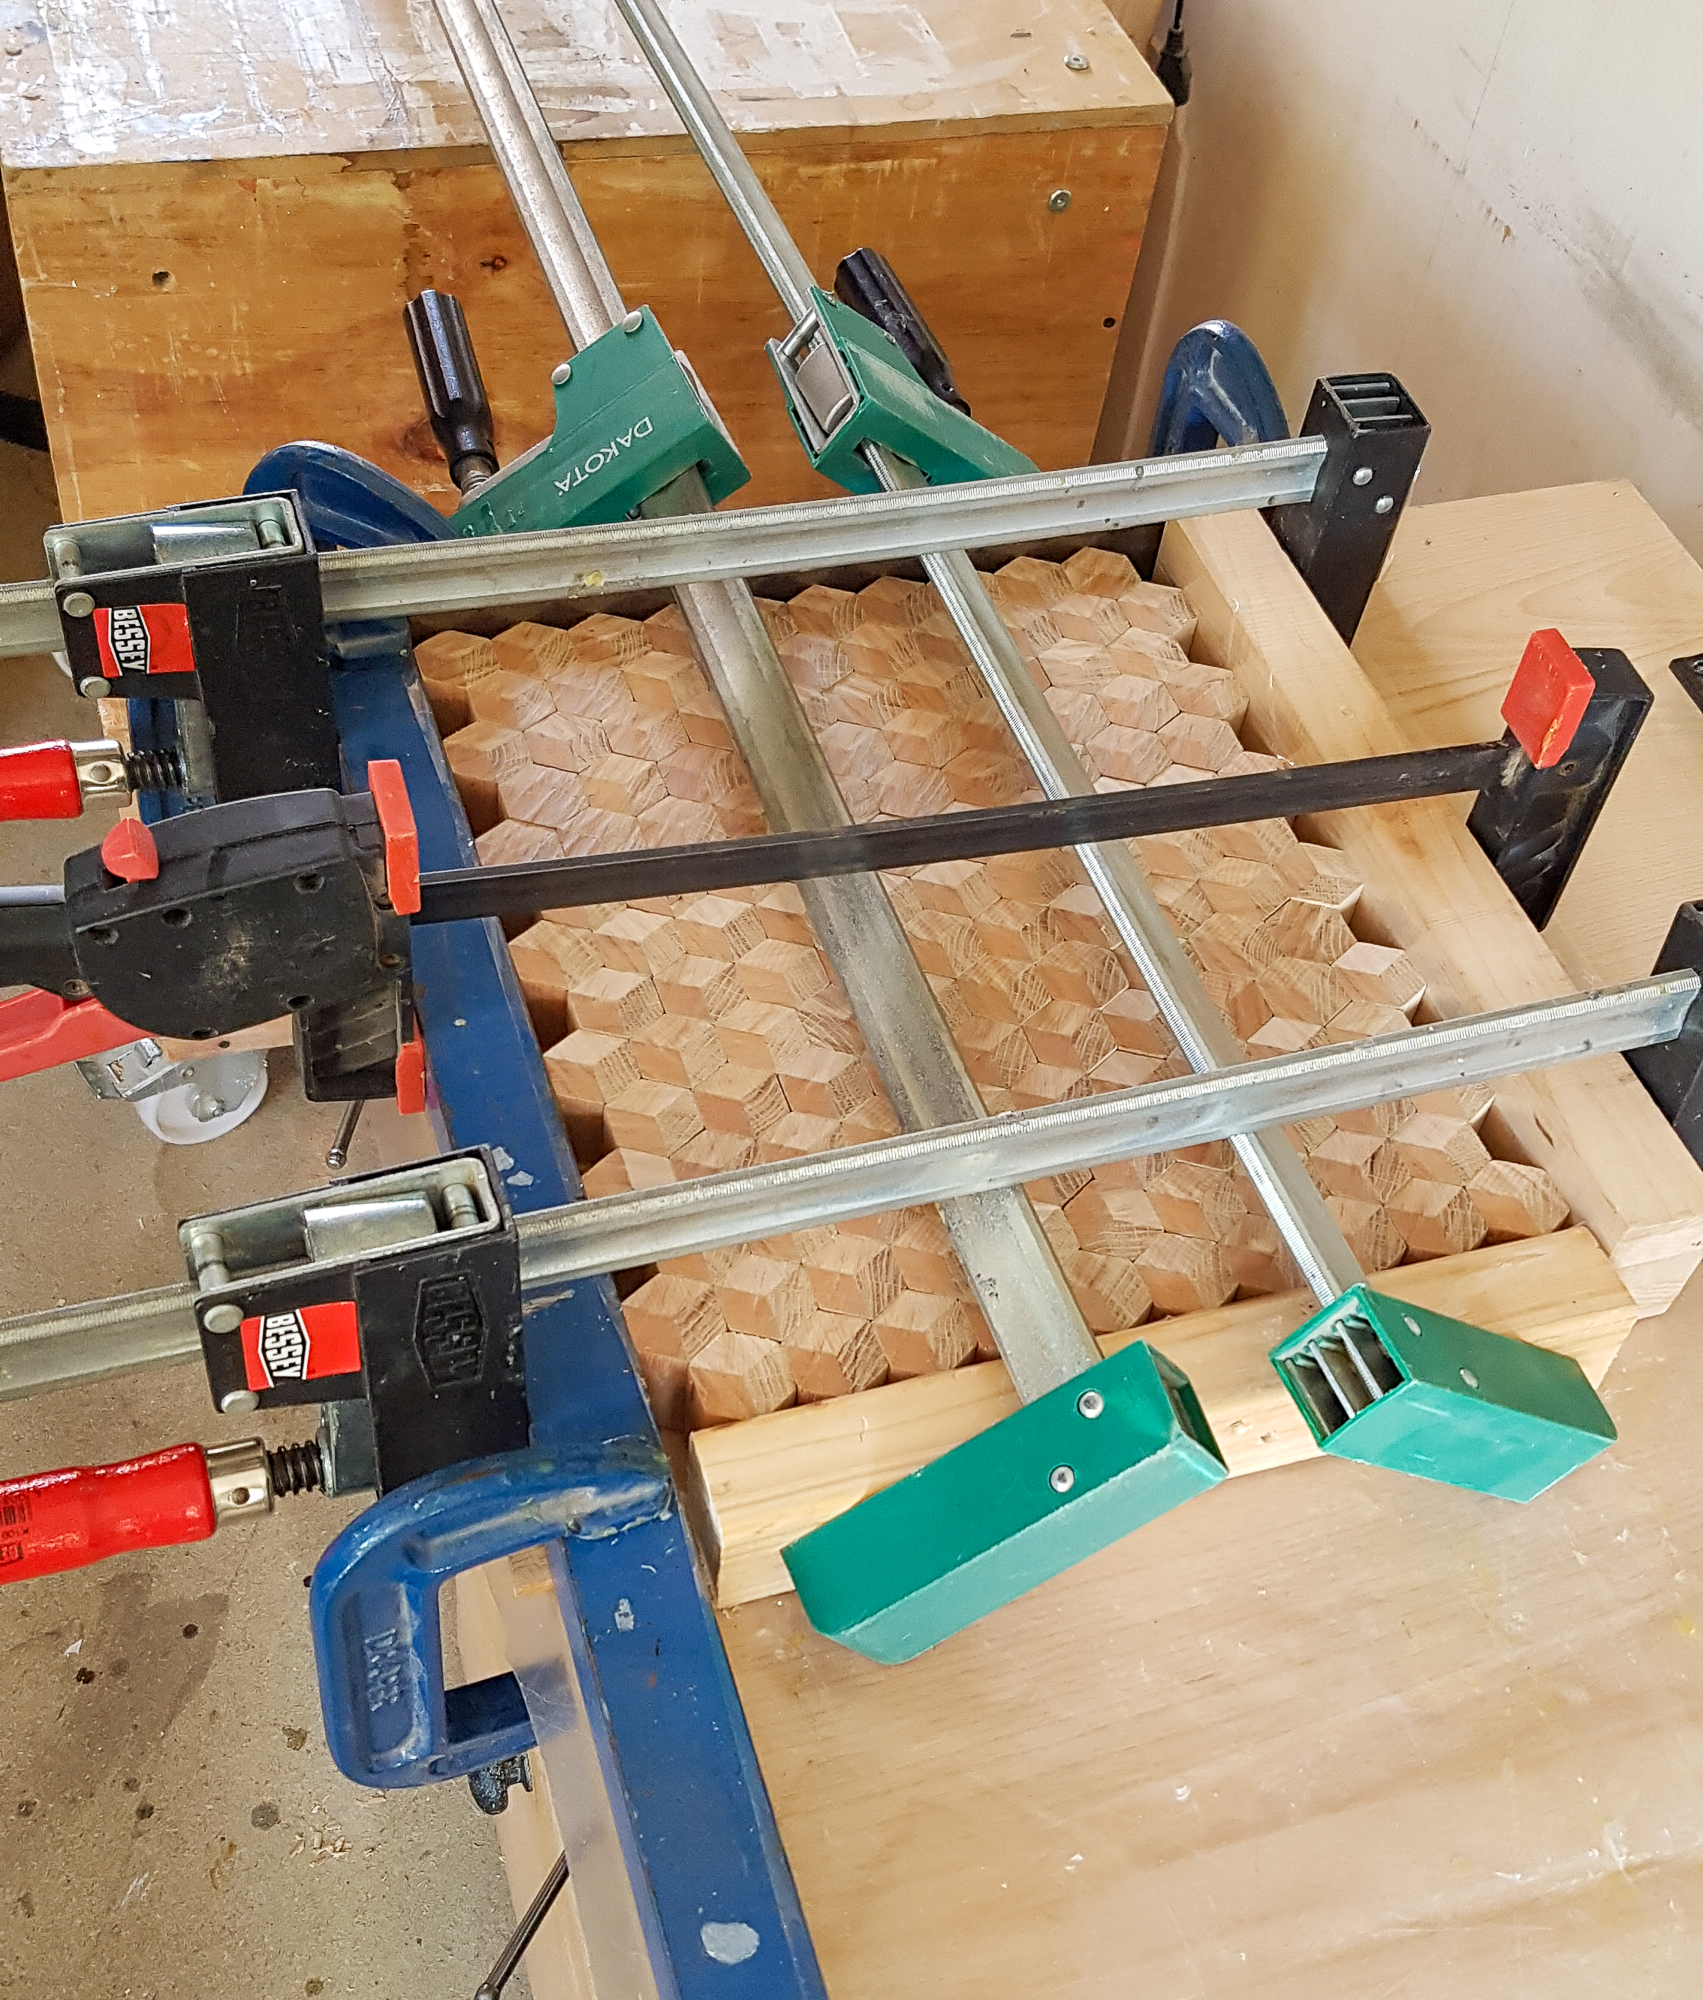
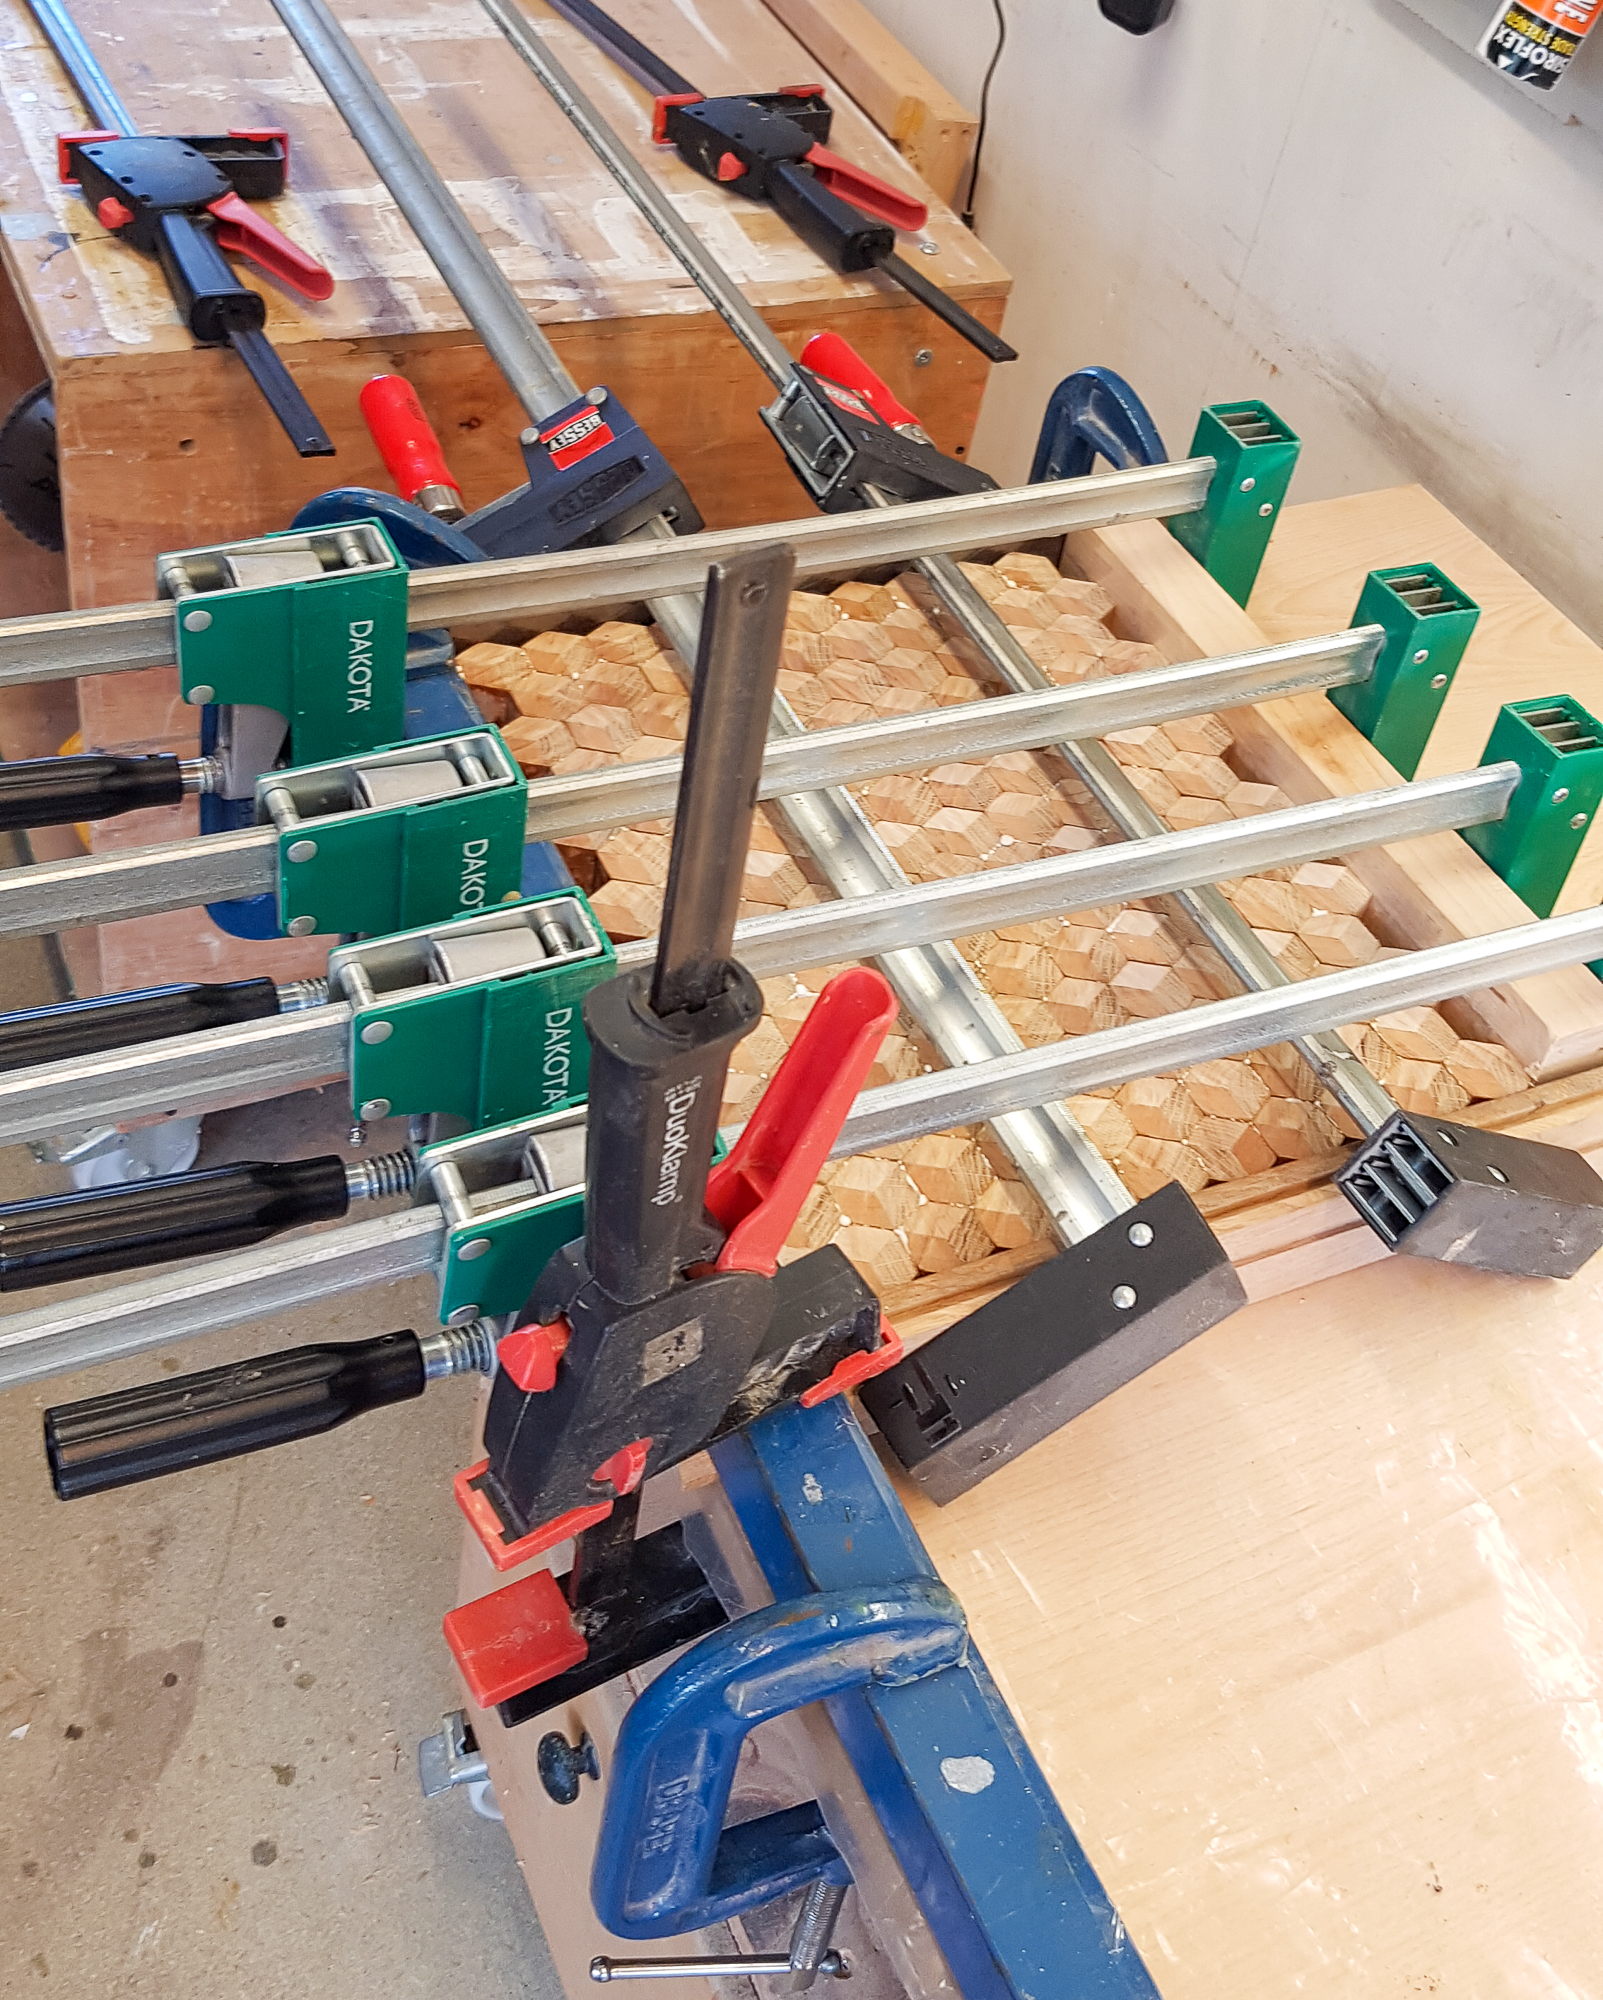
Current plan for glueing is to make a secure right angle upstand on a polythene coated board then just stack the pieces in once coated with glue and clamp the whole thing with battens to the square corner. All at once kind of thing.

Bit of old towel in a tray soaked in glue as an applicator. Roll the hexagon and place it and hope to get through them all before the first ones dry :lol:
 
I tried out the clamping first with no glue
3dcb2-129.jpg


Seemed to work OK but the corner away from my right angle lifted off the board slightly under the clamp pressure. Gaps were mostly from my deburring and as the surface will be milled down it doesn't matter.
3dcb2-130.jpg


My glue pad. A bit of felt taped to the polythene and soaked in glue. Had to top it up every 10 to 15 hexagons but rolling them was pretty quick.
3dcb2-132.jpg


Glued up and clamped. the end pressure board is now long so i can clamp it down to the board and prevent lifting.
3dcb2-131.jpg


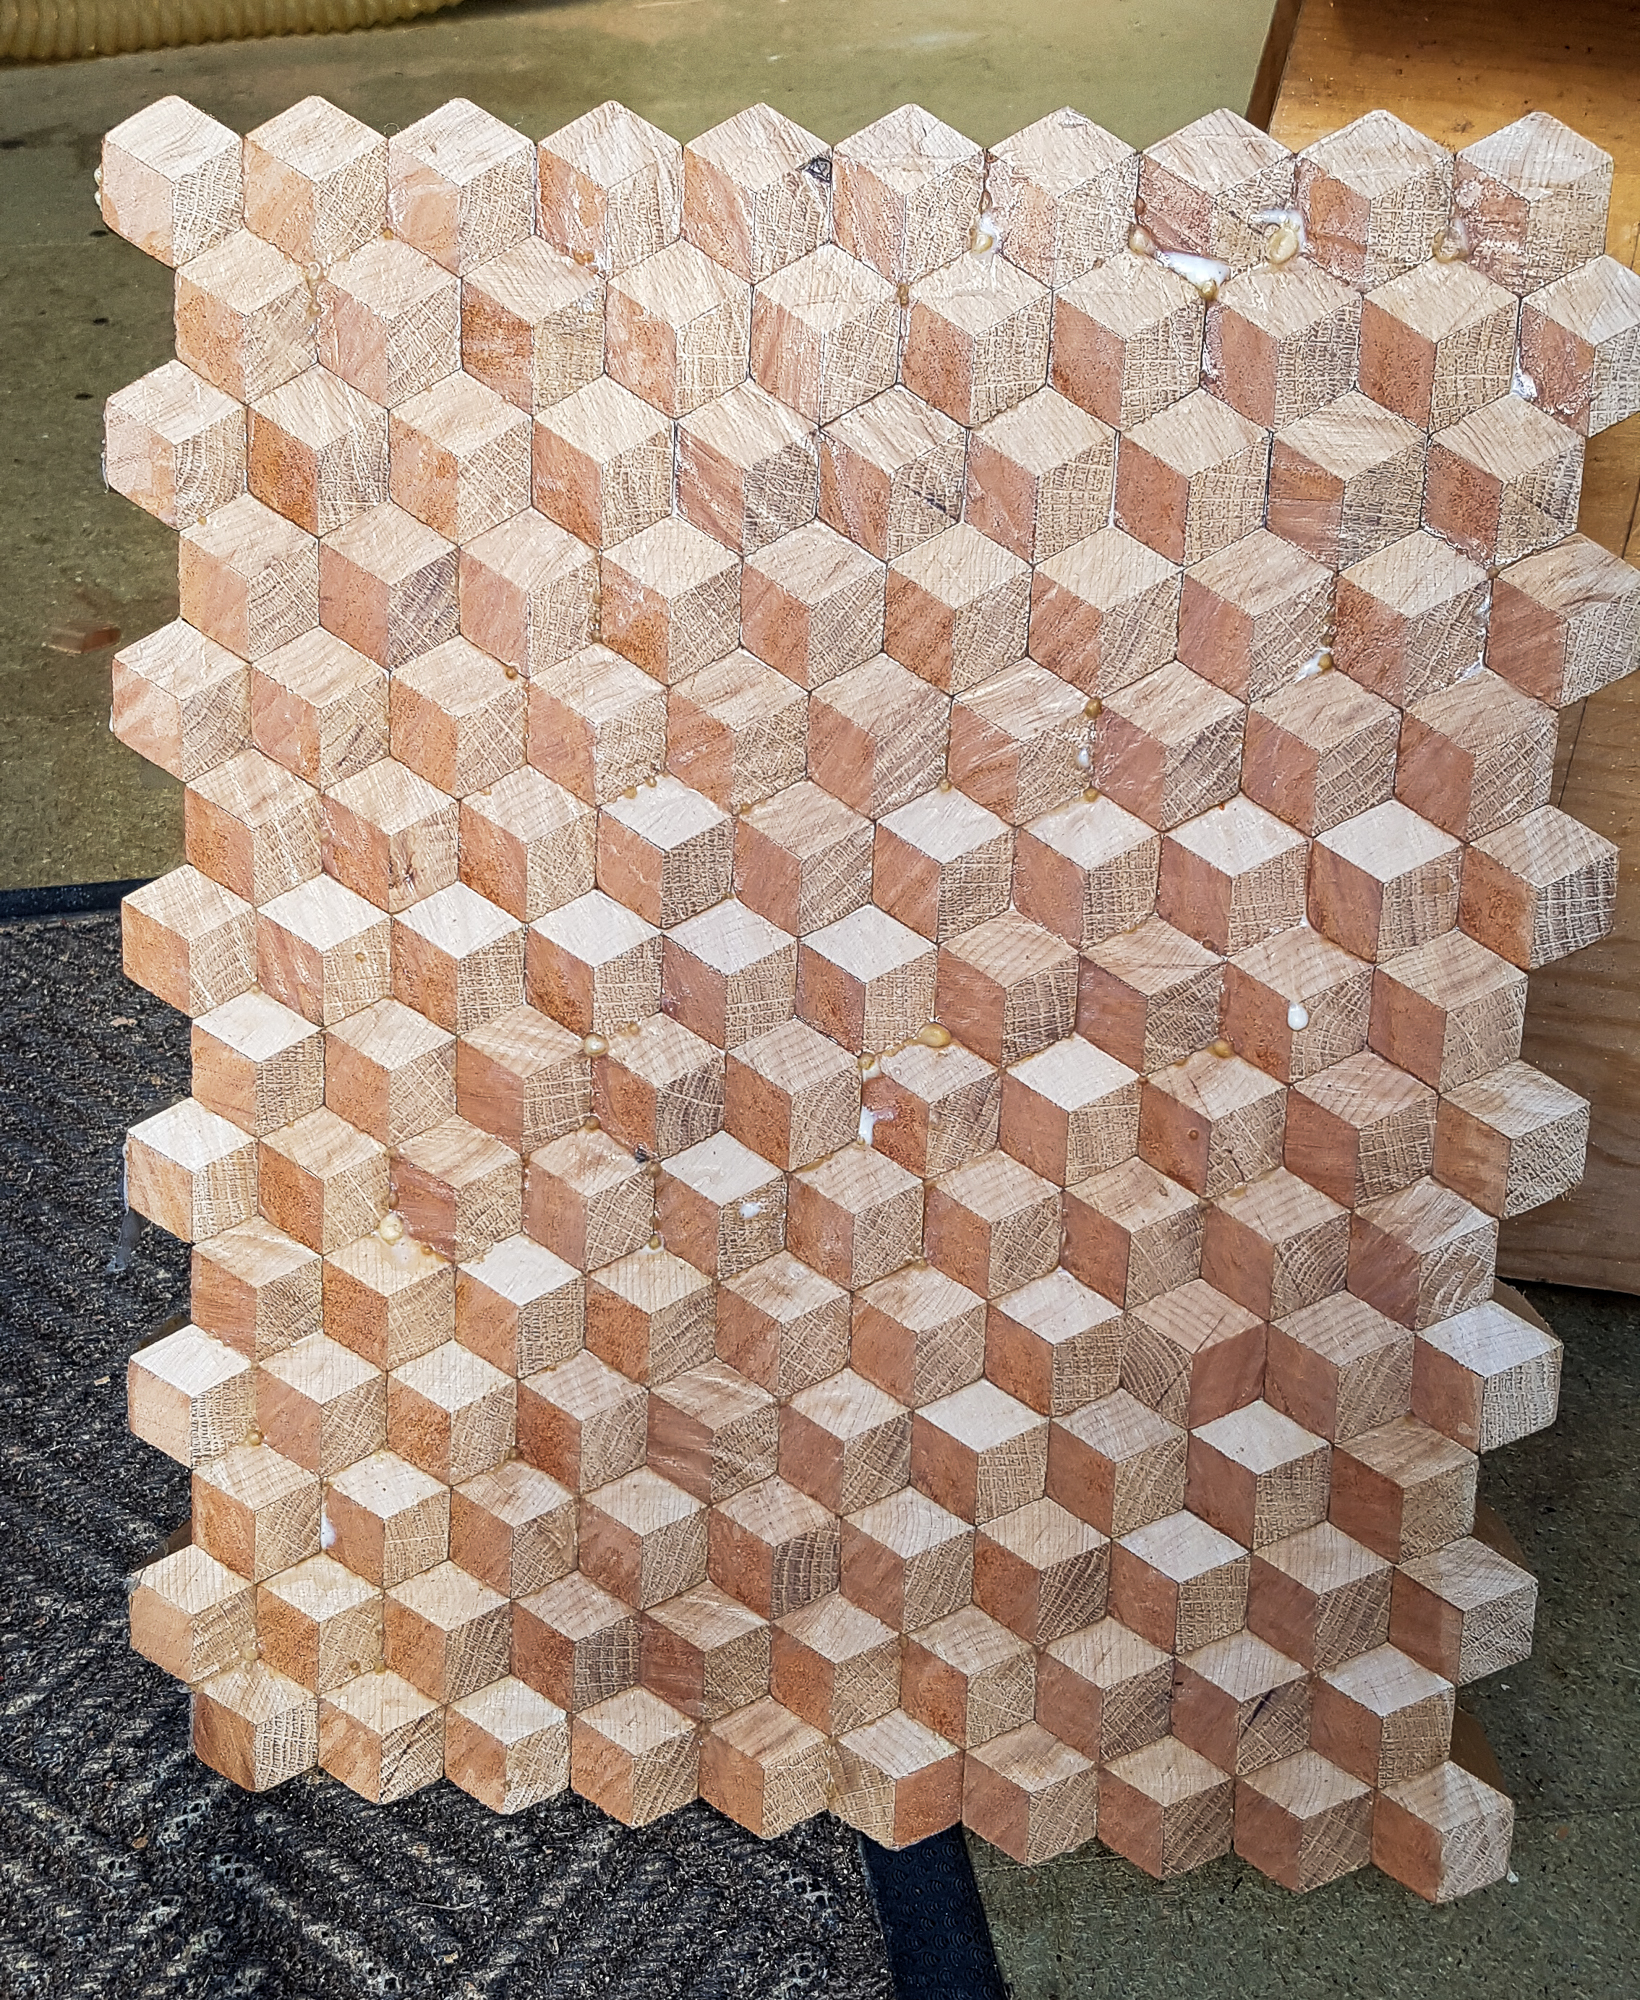
And here it is glued. Distortion is down to the phone camera. It is square not tapered!
3dcb2-133.jpg


Twice during the gluing I had to break the pack and turn a hexagon over as it was the wrong way round.
Looking at the picture I've just seen I should have broken it 3 times as one is upside down. grrr.

If it is more than one I don't want to know.
 
Back
Top