• Hi all and welcome to TheWoodHaven2 brought into the 21st Century, kicking and screaming! We all have Alasdair to thank for the vast bulk of the heavy lifting to get us here, no more so than me because he's taken away a huge burden of responsibility from my shoulders and brought us to this new shiny home, with all your previous content (hopefully) still intact! Please peruse and feed back. There is still plenty to do, like changing the colour scheme, adding the banner graphic, tweaking the odd setting here and there so I have added a new thread in the 'Technical Issues, Bugs and Feature Requests' forum for you to add any issues you find, any missing settings or just anything you'd like to see added/removed from the feature set that Xenforo offers. We will get to everything over the coming weeks so please be patient, but add anything at all to the thread I mention above and we promise to get to them over the next few days/weeks/months. In the meantime, please enjoy!

Basic cupboard doors

Robert

Moderator
Staff member
Joined
Jul 21, 2014
Messages
2,683
Reaction score
63
Location
Woodford Green
Name
I'm not Bob
And way too many pictures :)

I had my phone in my pocket and it was easy to take pictures - so I did. probably too many. Feel free to not look too carefully...

So I spent forever painting the hall stairs and landing and everything is clean and fresh looking - except the old coat cupboard. It has the kind of doors on it you used to be able to buy in diy stores 25+ years ago. They warped soon after they were hung with a serious twist in one of the small top ones so something needed doing even if they were not the wrong colour.
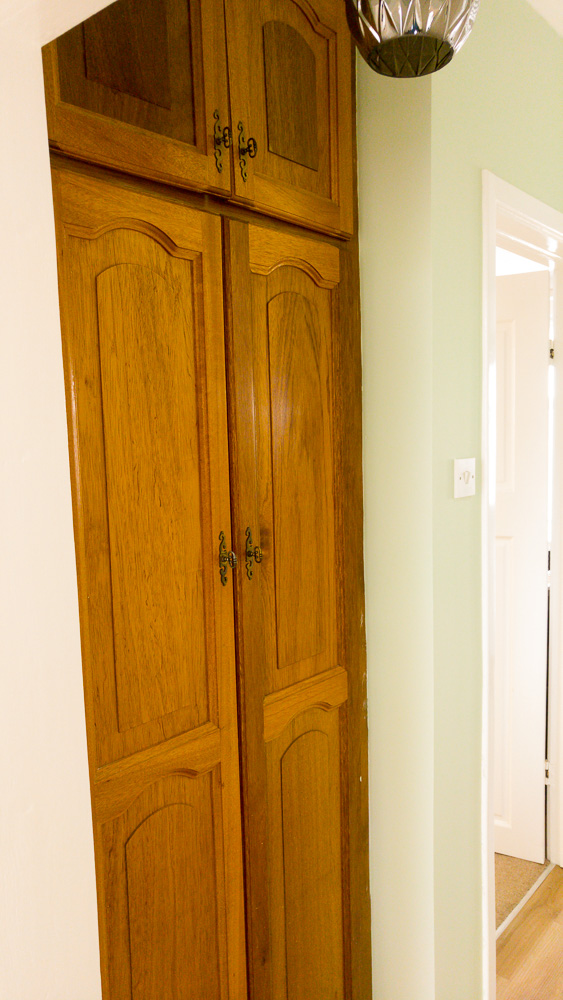
cdoors-100.jpg


The under stair cupboards and panelling are all pretty plain looking so that was the style for the new doors - basic frame and panel.
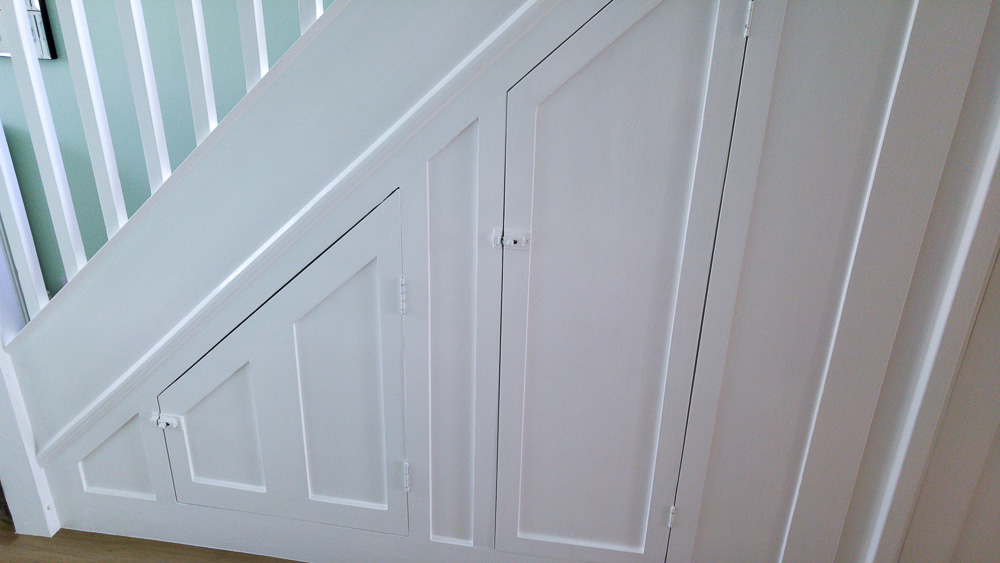
cdoors-101.jpg


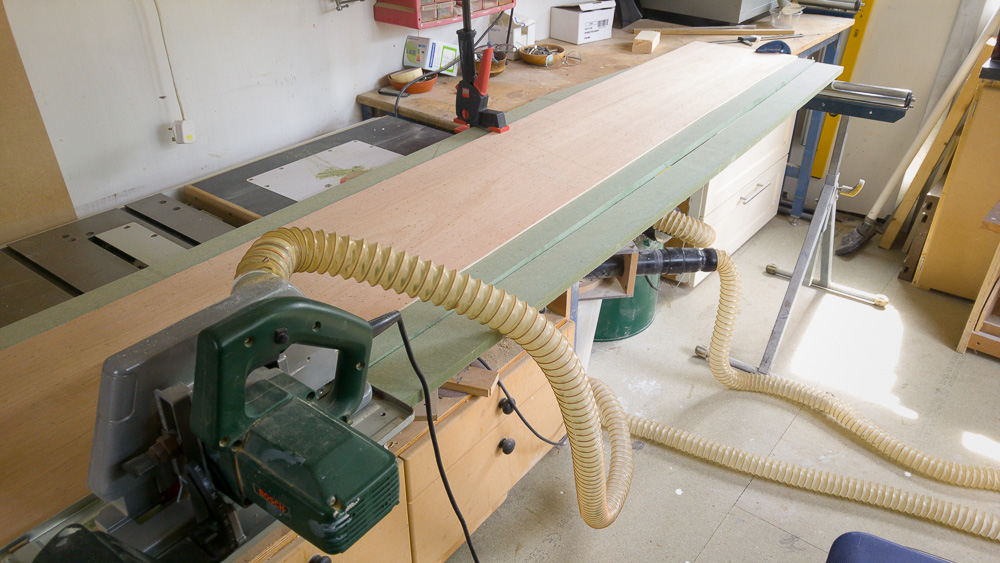
First job cut some strips of 18mm MRMDF
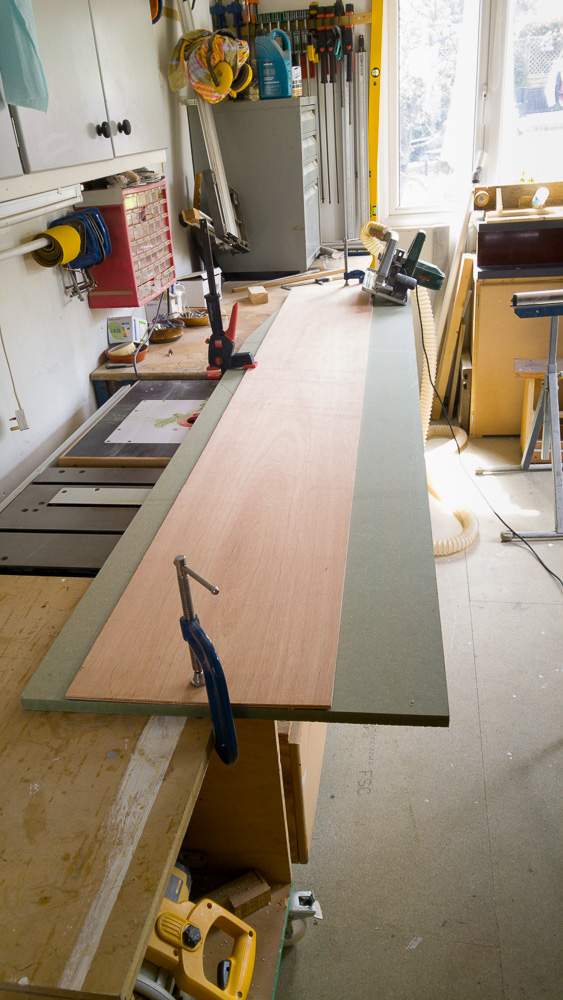
cdoors-102.jpg


cdoors-103.jpg


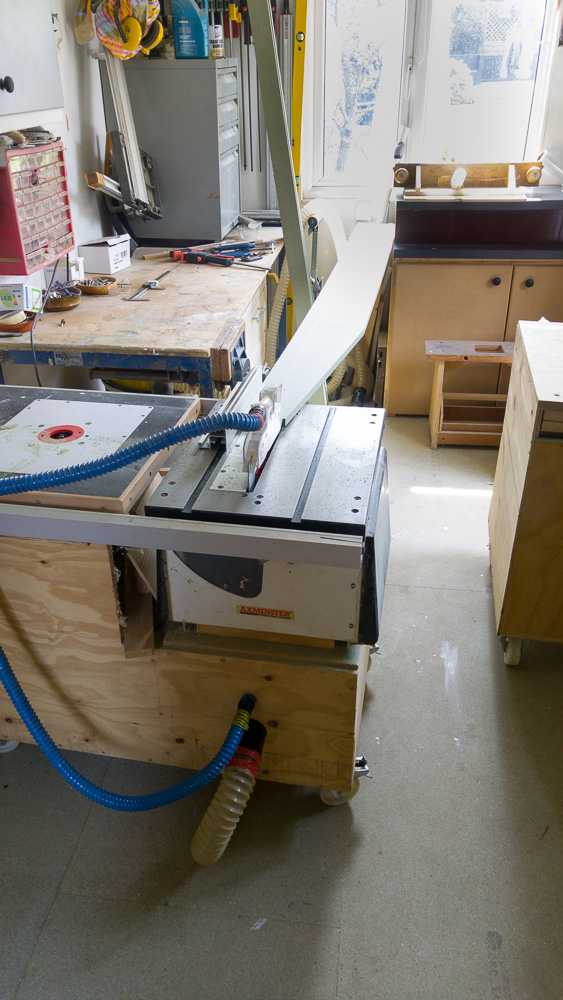
I can cut the last 2 bits in the table saw but no room to handle anything big and heavy on it.
cdoors-104.jpg


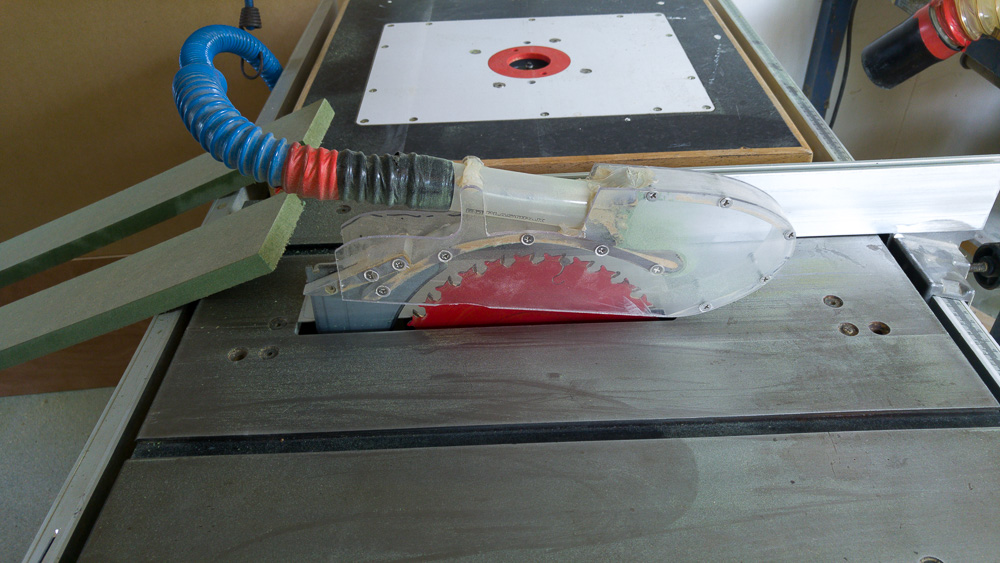
Still pleased with my homemade crown guard
cdoors-105.jpg


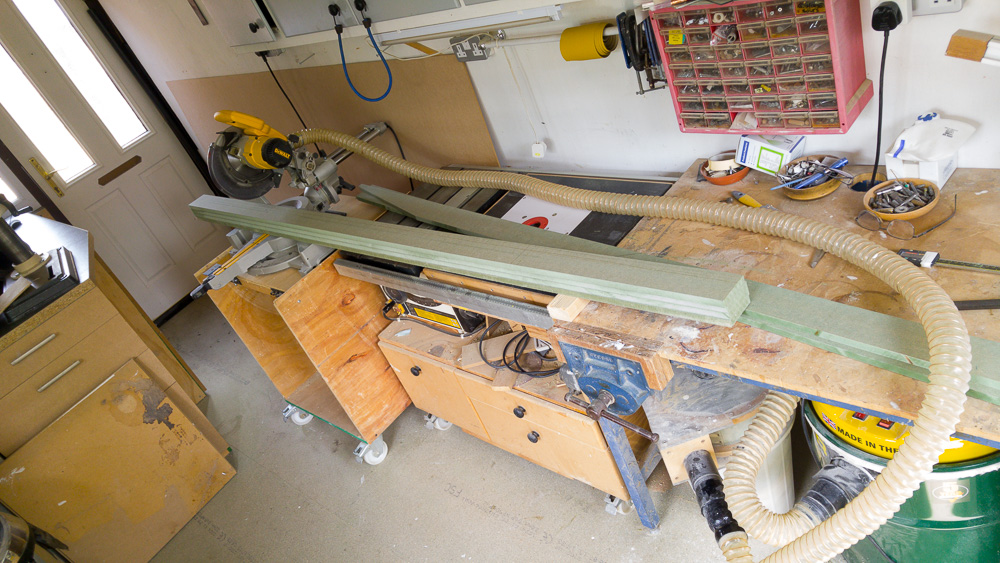
Cut to oversize lengths..
cdoors-106.jpg


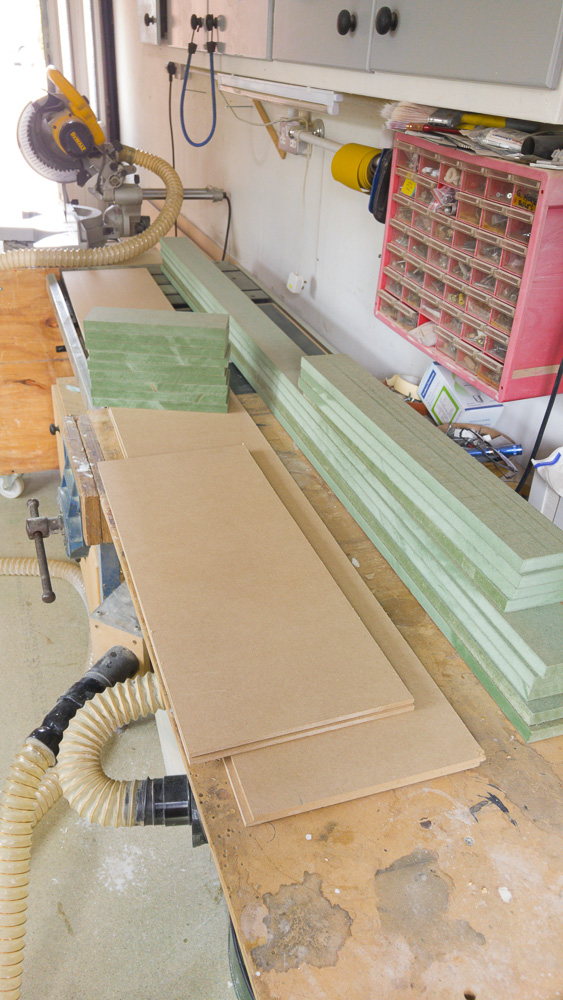
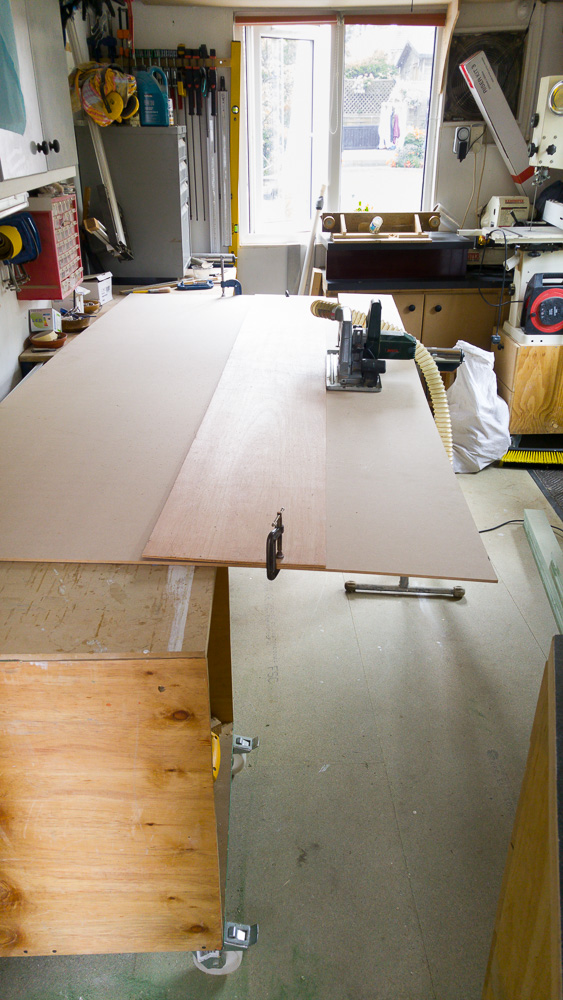
Cut some std mdf 6mm for panels. Should have done it when I did the 18mm if I'd been thinking
cdoors-107.jpg


Oversize blanks
cdoors-108.jpg


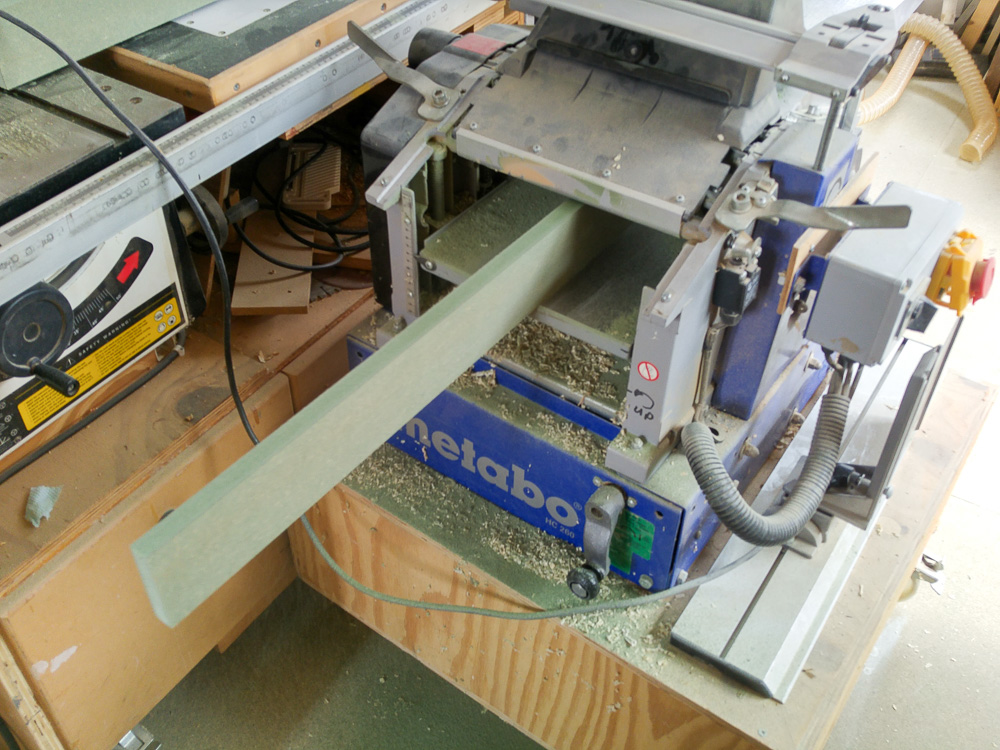
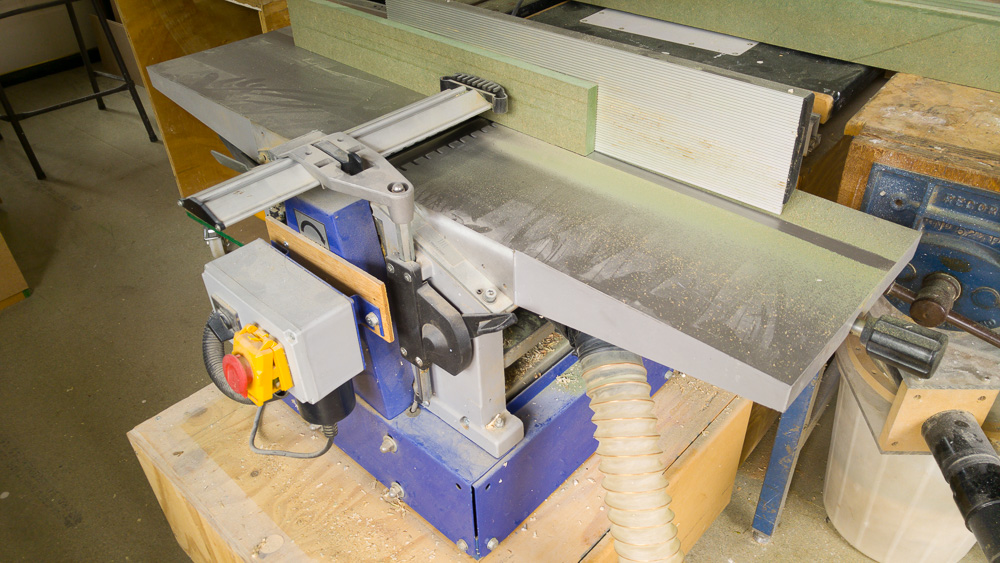
To guarantee flat square edges the MDF went through the P/T. I bought new blades about a year ago but the old ones just won't go blunt so I'm not worried about the blades.
cdoors-109.jpg


cdoors-110.jpg


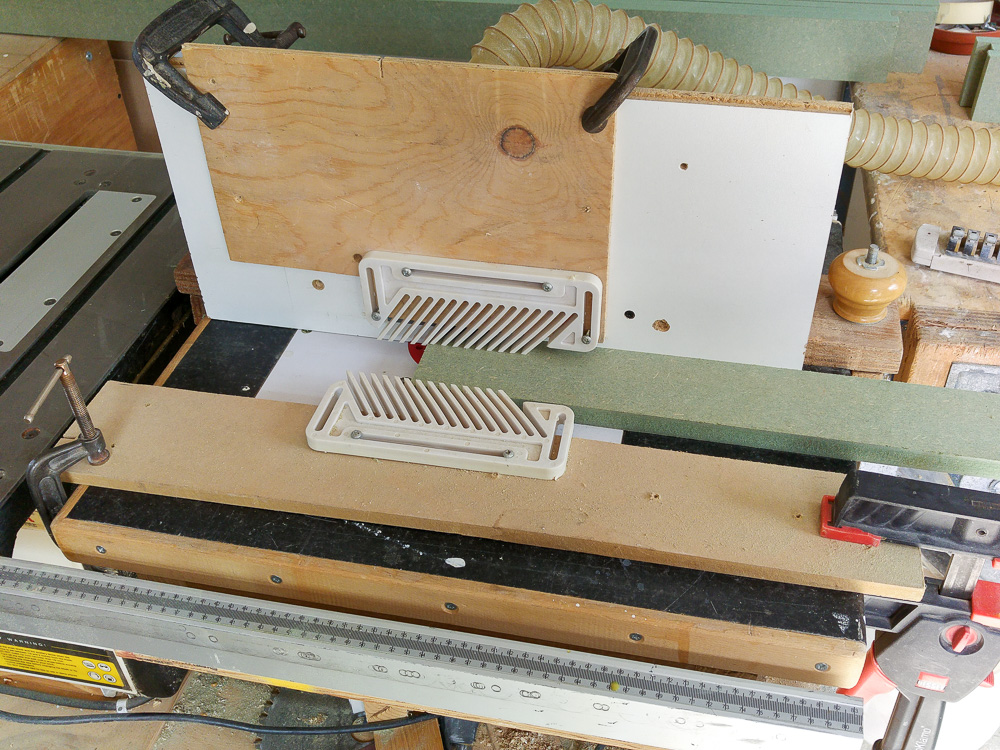
I have a cutter made for biscuit jointing that makes nice grooves, Cut once ,turn it over and cut again for a nice central groove
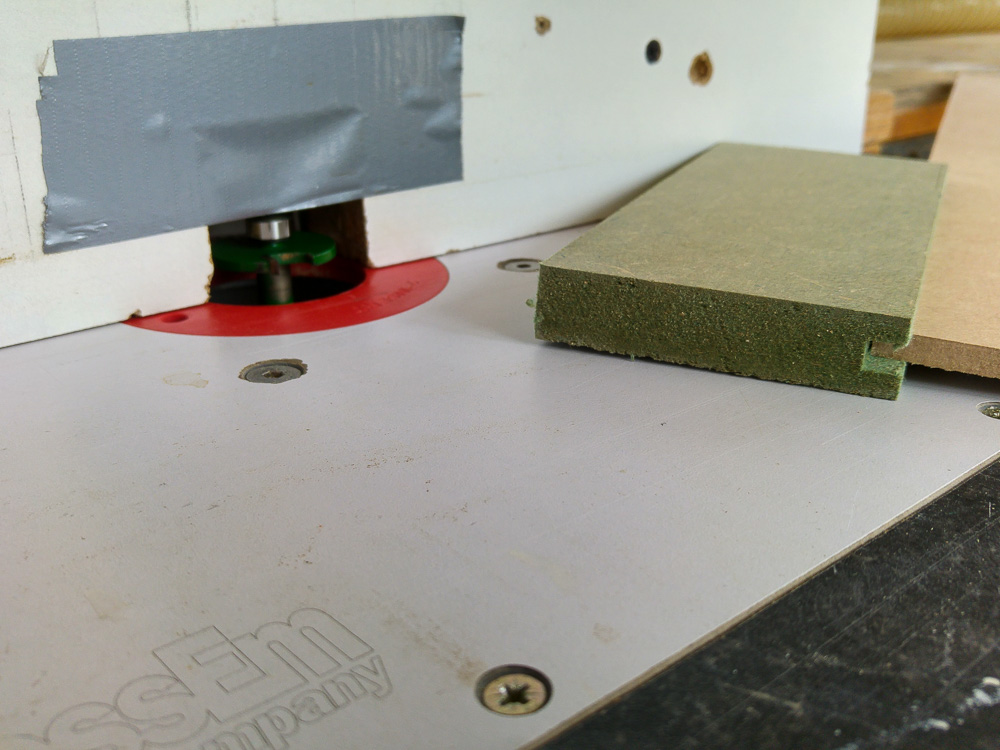
cdoors-111.jpg


fence. 50mm hose fits nicely on old sealant tubes so I use them anywhere that needs extraction. they melt easy with hot air stripper gun too so easy to shape to fit.
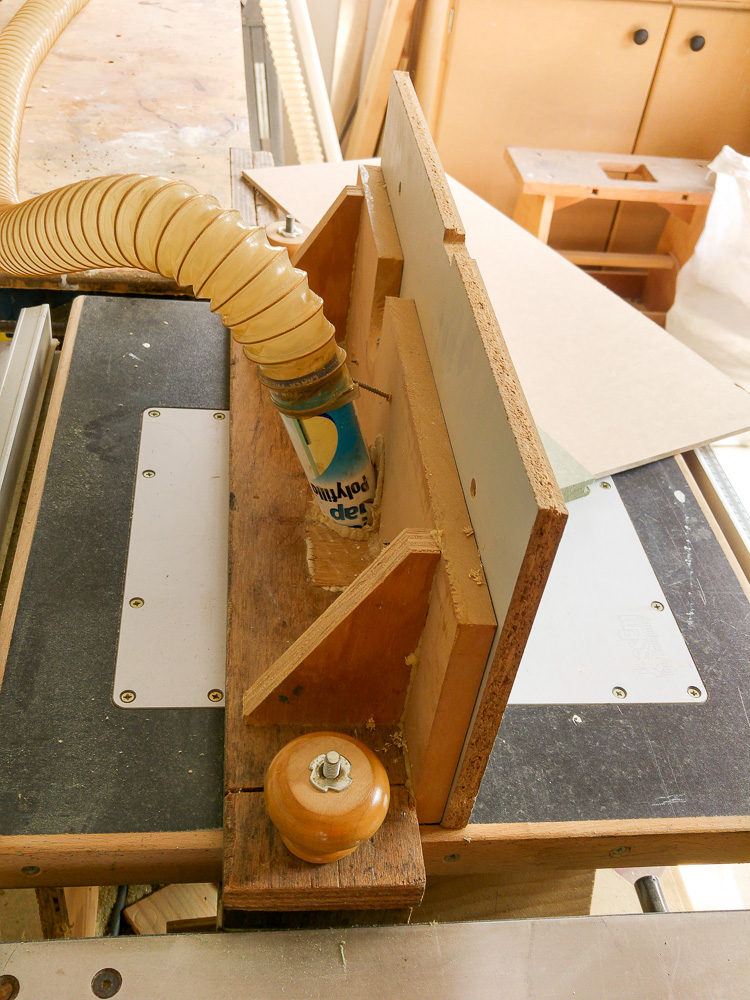
cdoors-112.jpg


Grooving
cdoors-113.jpg


That was all yesterday. today..

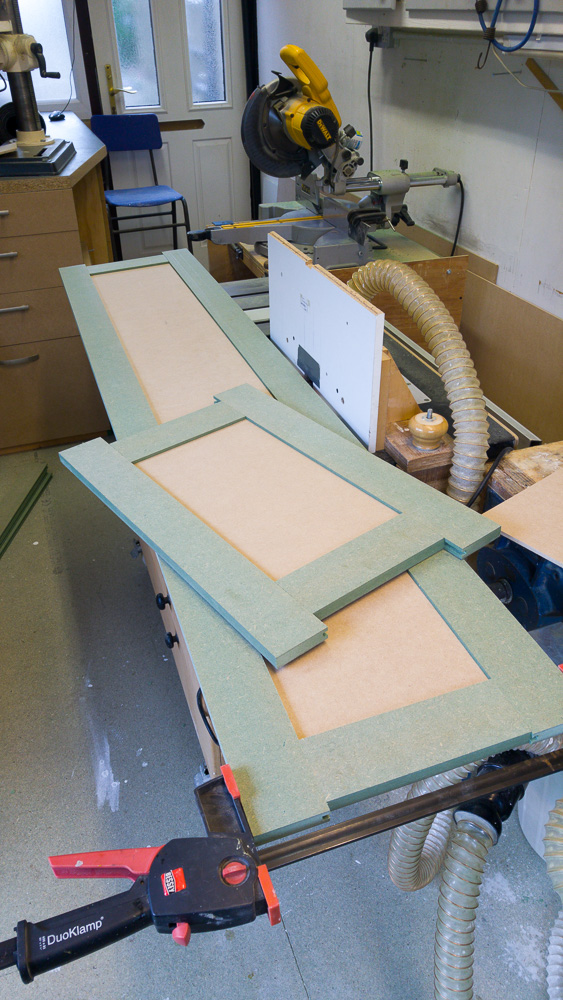
Cut to length. trim one end square, remove spacer then cut to the stop.
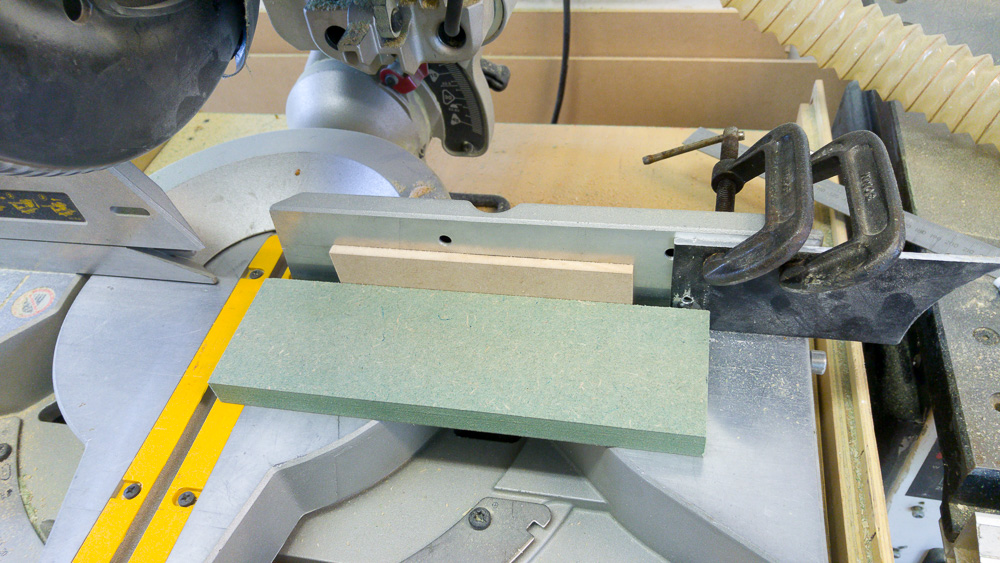
cdoors-114.jpg


change to square cutter. (getting bored yet?)
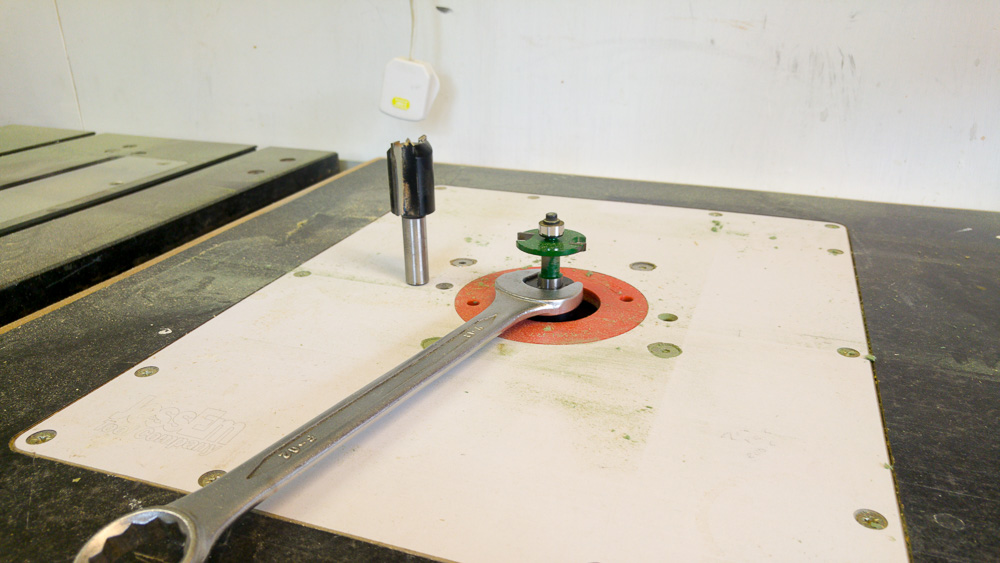
cdoors-115.jpg


Once in a blue moon I lift the table to vacuum underneath so i took a picture..
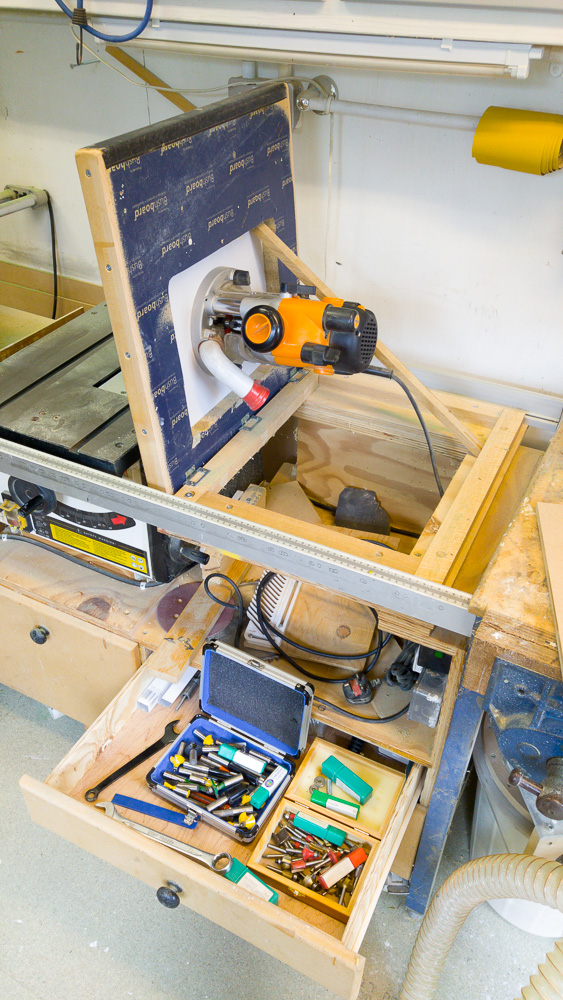
cdoors-116.jpg


Square cornered offcut to help guide the end across the cutter
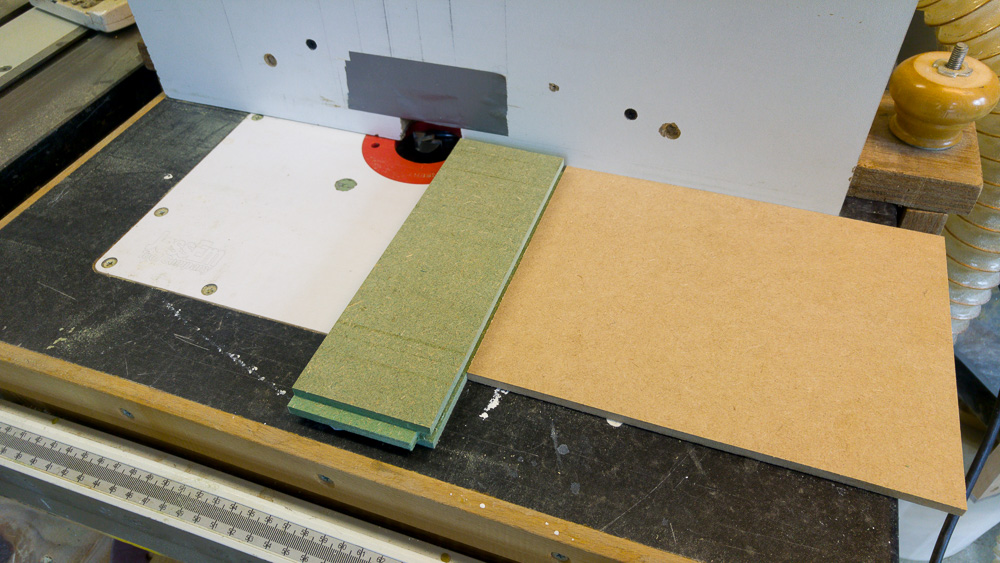
cdoors-117.jpg


Dry fit
cdoors-118.jpg


Glued
cdoors-119.jpg


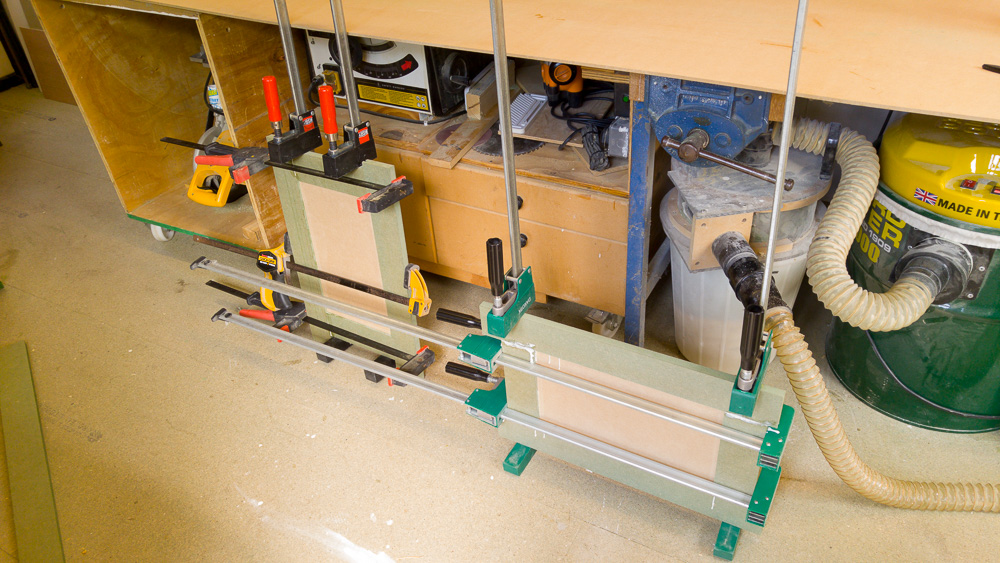
The large doors are too long for my longest clamps so I used the board offcut and set the clamps to expand. Prefer to do it all at once but did ends pieces only first.
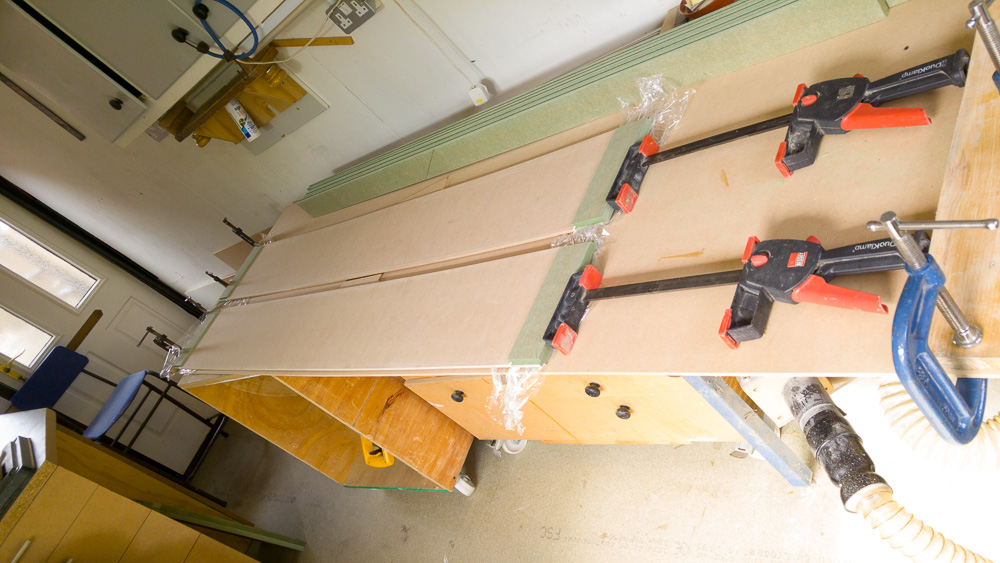
cdoors-120.jpg


And i've run out of pictures but the long rails are glued to the panels now
 
I've never seen a thicknesser used for Jointing that way!
Doesn't that just replicate any errors IE finish up with a parallelogram as you cannot ensure verticality - it's not running against the fence?

Rod
 
Rod":2mivn6he said:
I've never seen a thicknesser used for Jointing that way!
Doesn't that just replicate any errors IE finish up with a parallelogram as you cannot ensure verticality - it's not running against the fence?

Rod

But he did run it against the fence first...picture 1 in the P/T pair.

Robert, I like your use of those plastic tubes...very nifty. Also the use of expanding clamps....
 
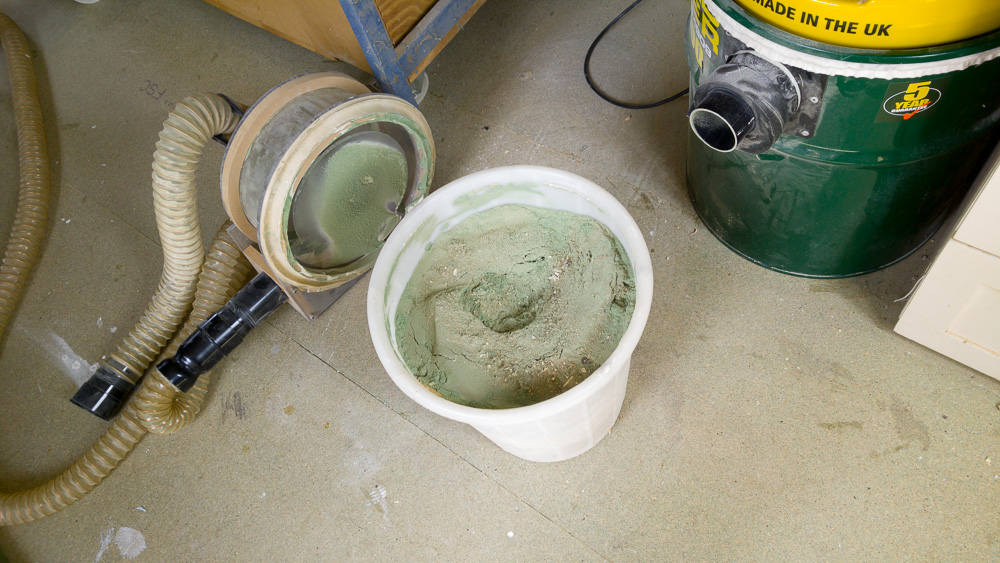
My separator needed emptying..
cdoors-121.jpg


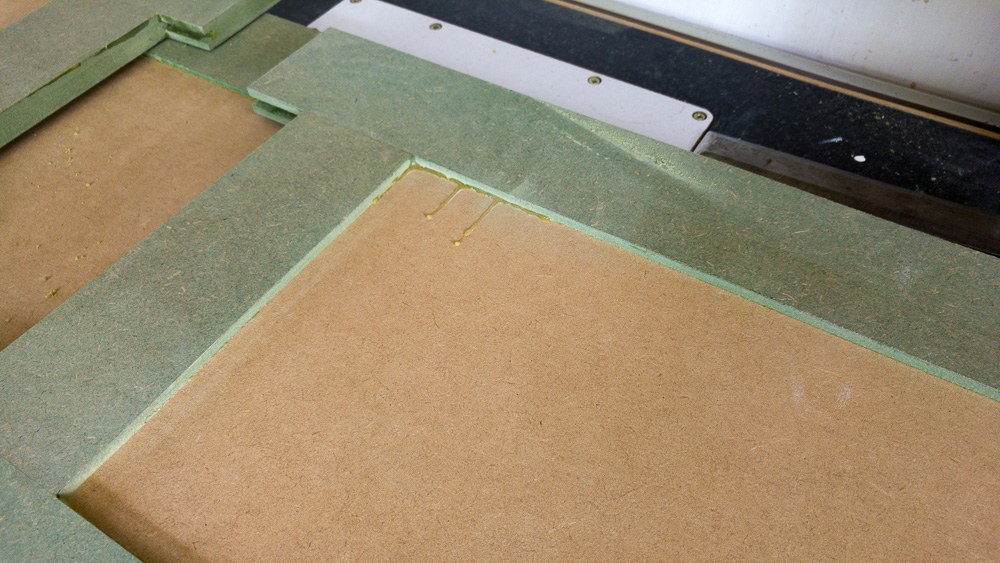
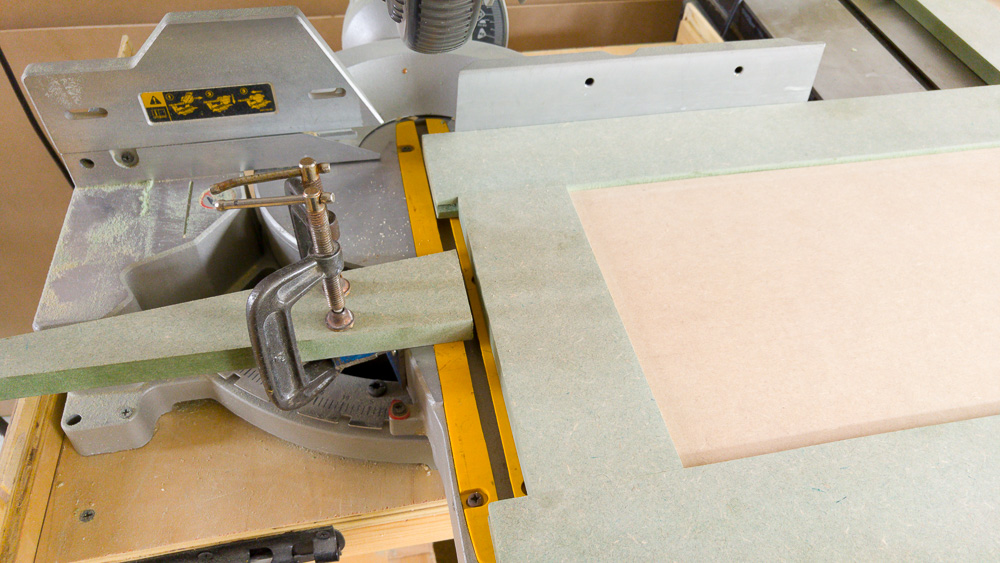
Needed to trim the side rails to length flush with the ends. Removed the excess glue. it only came out in a few places so was an easy clean up.
cdoors-122.jpg


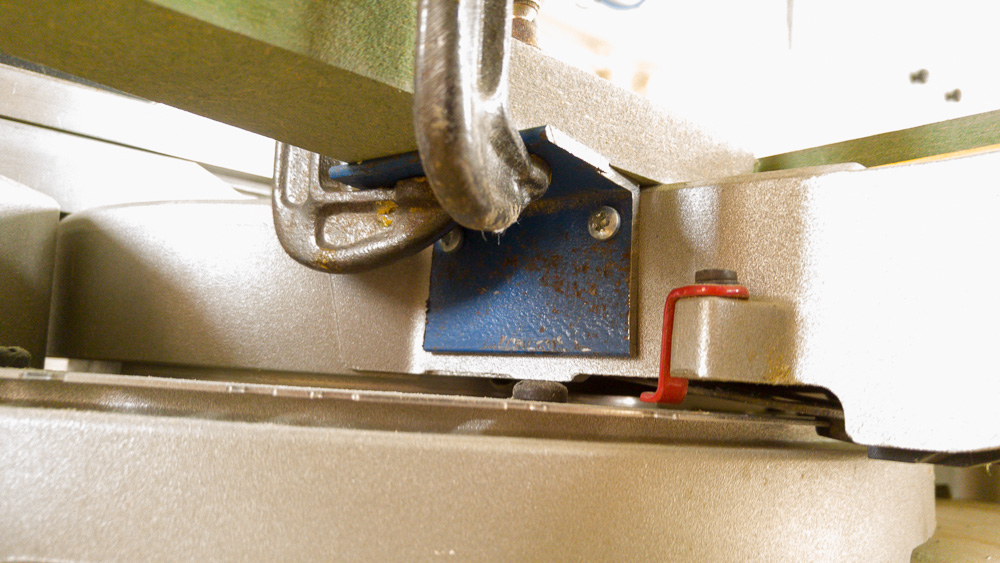
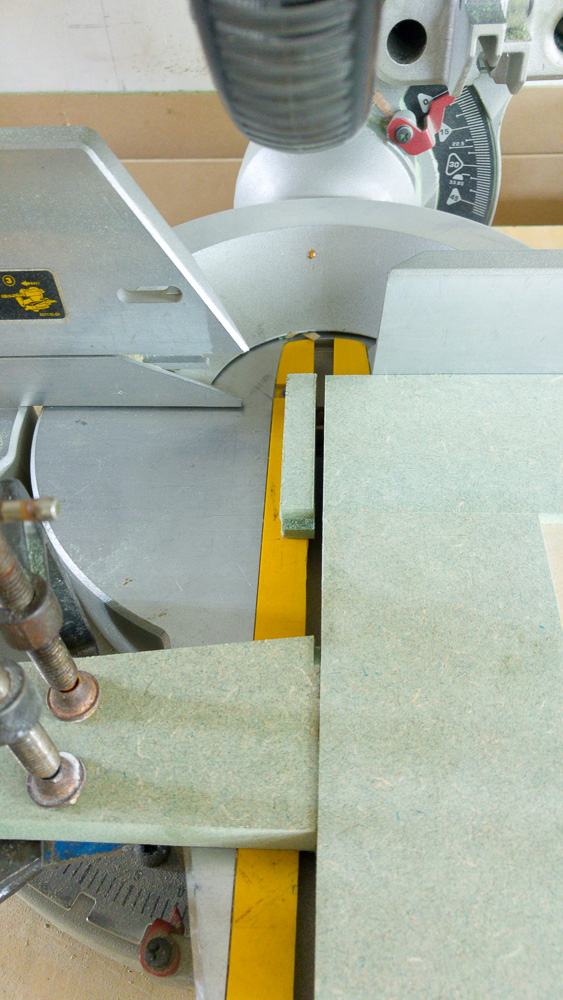
I have a small piece of angle iron that I screw to the saw when i need an extra stop. i can clamp a piece of wood to it and not worry if i accidentally cut the stop.
cdoors-123.jpg


cdoors-124.jpg


In use
cdoors-125.jpg


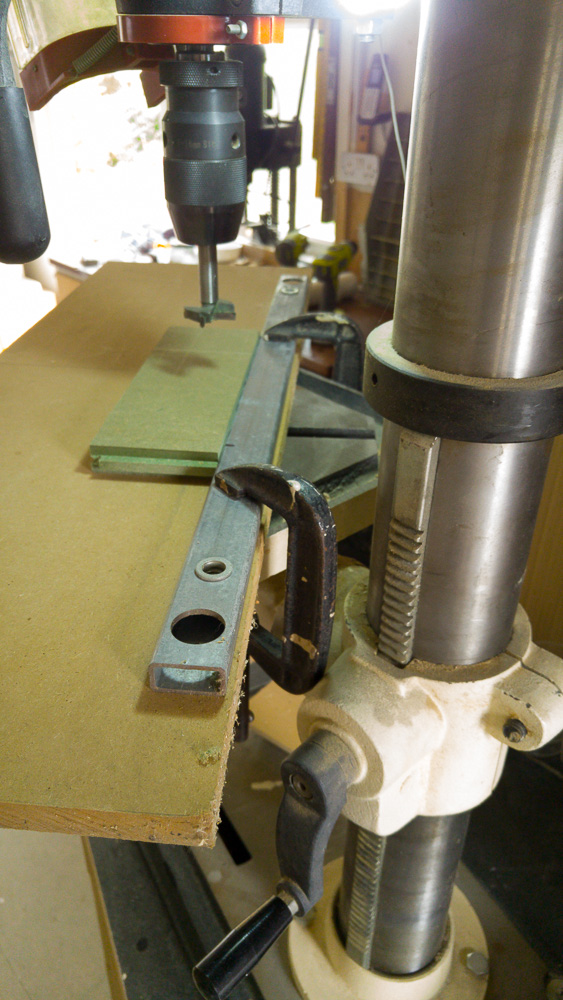
Setting up for hinge drilling
cdoors-126.jpg


Drilled
cdoors-127.jpg


test fitted
cdoors-128.jpg


I stuck masking tape to the dark wood so I could see my marking out
cdoors-129.jpg


Take them off again tomorrow and sand/ fill as reqd. then look at painting.
 
Tusses":3aotej03 said:
Details on the separator please :D

[youtube]8CHtPKeCvD4[/youtube]

excuse the music. seemed like a good idea at the time :)

My old shop vac is in the video. I've kept it to convert into another separator - this time for 100mm hose instead of 68mm. Also being steel it will be able to withstand having 2 motors running. the plastic bucket collapses with that much suction. It is so easy to empty compared to handling the large drum on the extractor that I'll always use a separator.
 
I can't without reworking the video though.

That domain must come available some time soon then in can point to us.

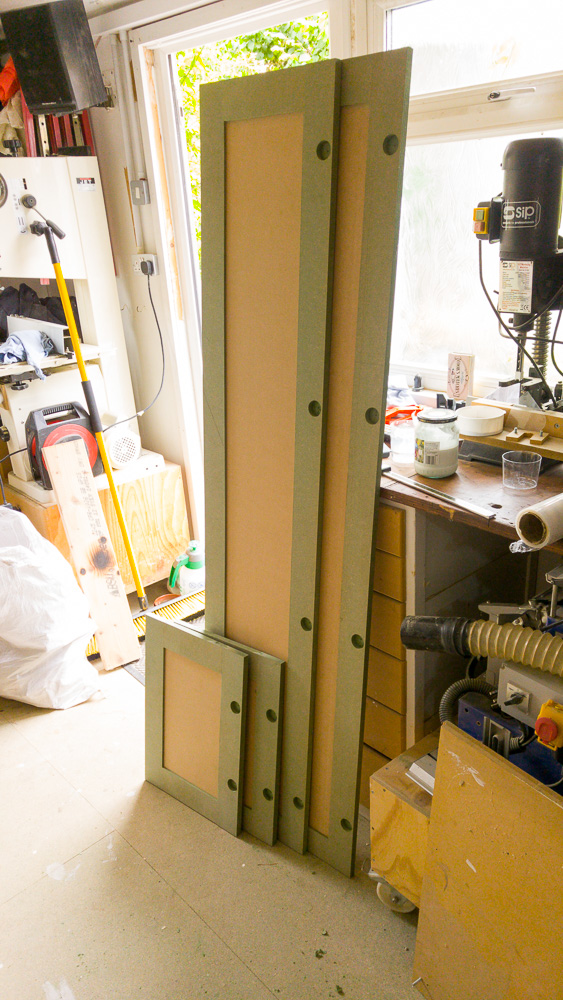
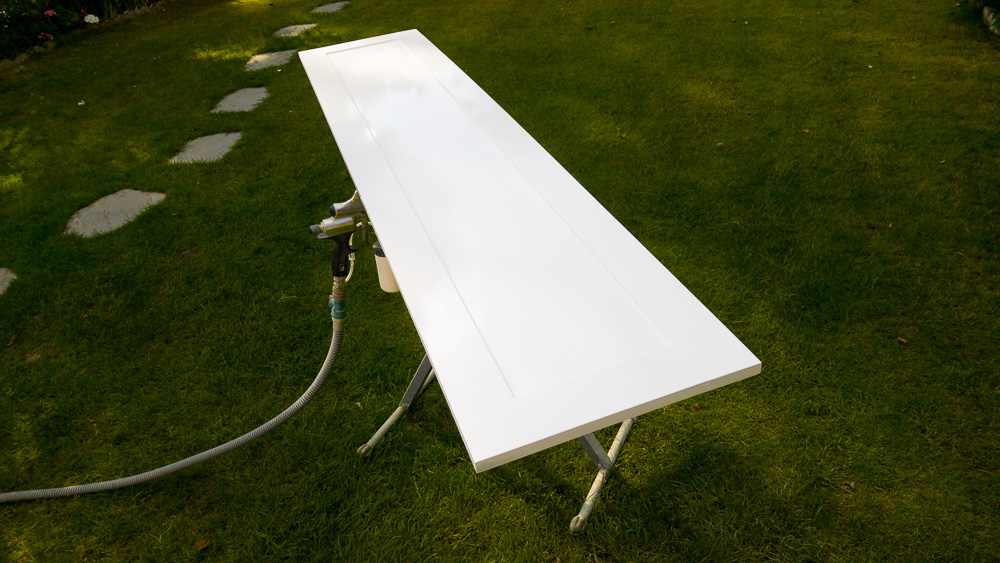
I've just given the doors their second spray coat of white on a stand on the lawn to save setting up indoors. 2 coats may be enough - I'll inspect them when they are dry.

Pictures a bit later today...
 
Robert":5gccvnw3 said:
Tusses":5gccvnw3 said:
Details on the separator please :D

[youtube]8CHtPKeCvD4[/youtube]

excuse the music. seemed like a good idea at the time :)

My old shop vac is in the video. I've kept it to convert into another separator - this time for 100mm hose instead of 68mm. Also being steel it will be able to withstand having 2 motors running. the plastic bucket collapses with that much suction. It is so easy to empty compared to handling the large drum on the extractor that I'll always use a separator.

Thanks :-)
I'll have a good look when I get a chance .

My bag extractor fills up every other week , and I'm after a more convenient way to empty it !
Also , I'm looking for a (more efficient) way to use the dust for heating, in the winter :D
 
Knew there was something i meant to do... post the end of this

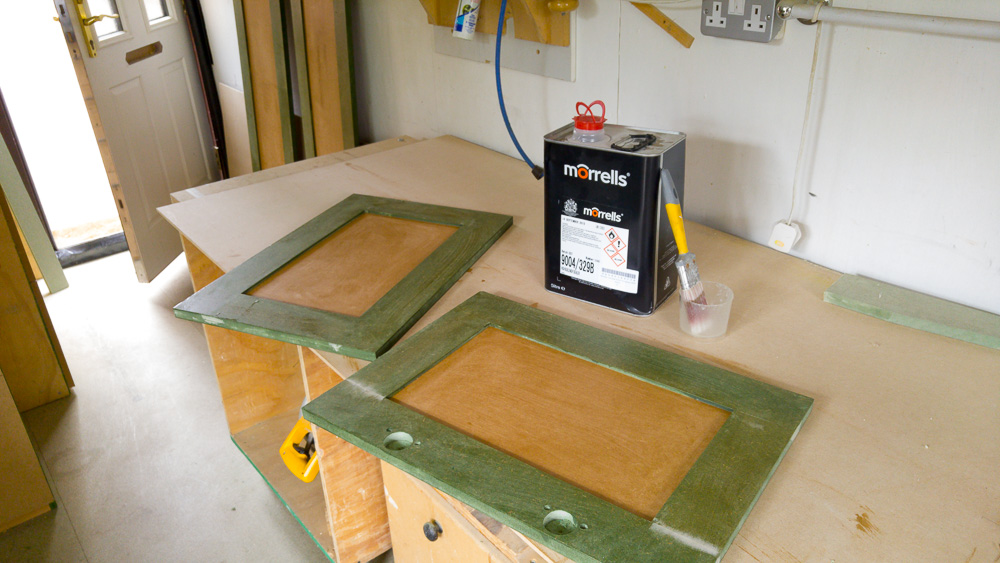
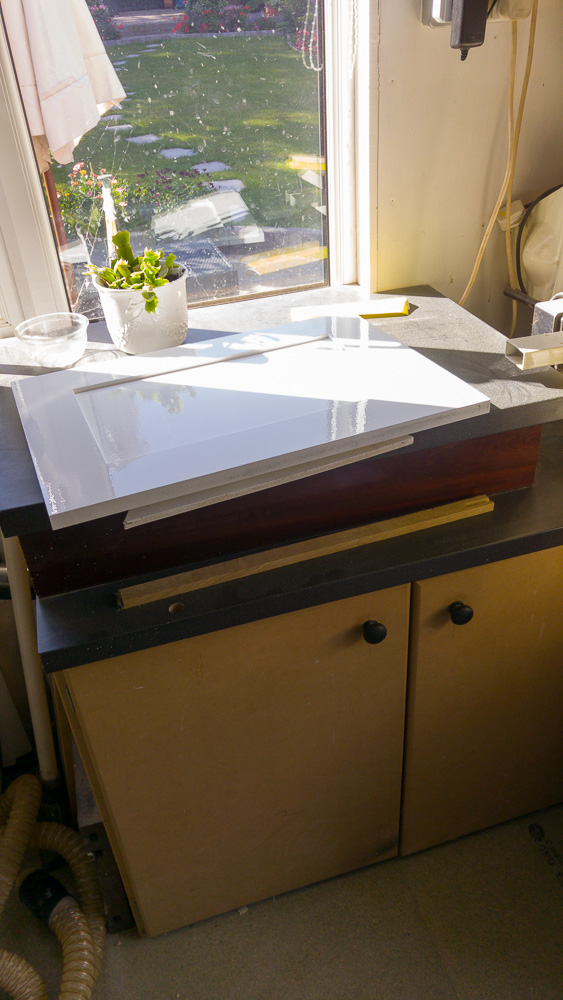
I painted the doors with MDF sealer which is pretty much like cellulose sanding sealer
cdoors-130.jpg


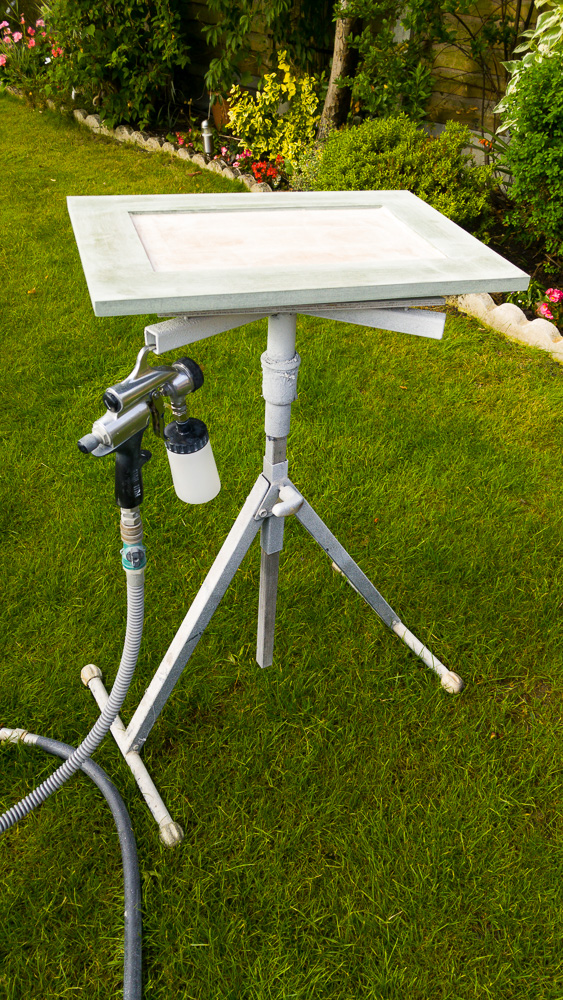
Having sanded them i took them outside to spray. First step is to thoroughly dust them off by blowing air from the gun while wiping with my hand. you can feel when all the dust is gone. The stand has 3 arms and rotates.
cdoors-131.jpg


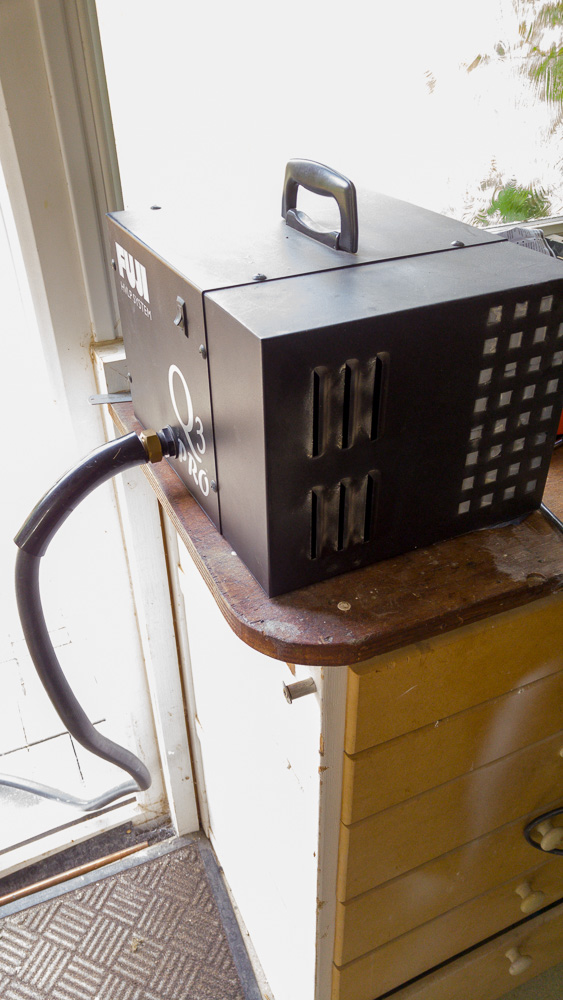
Turbine
cdoors-132.jpg


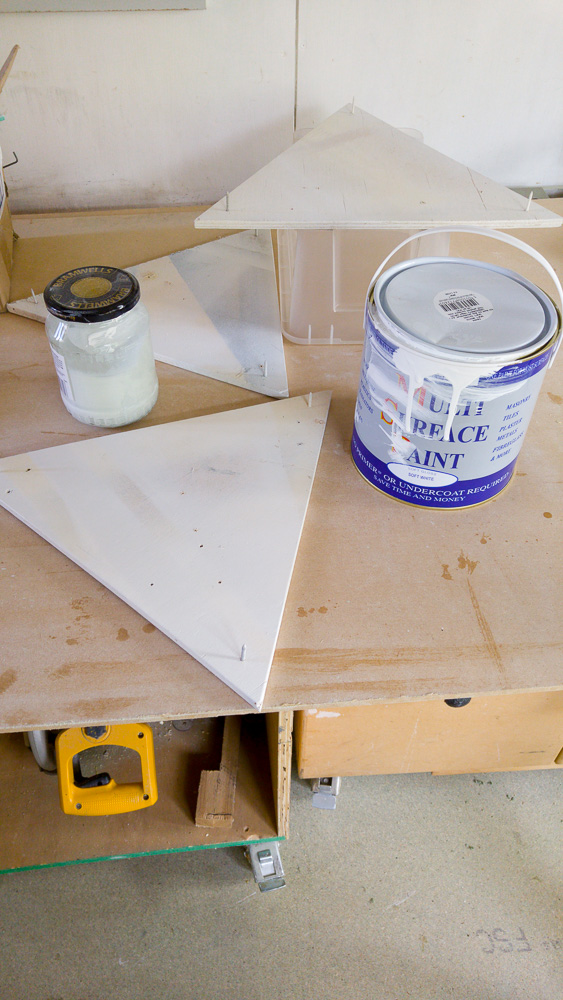
I used the same paint that the hall woodwork is painted with. have to say it sprays a lot better than it brushes on. You can see my triangle stands with a screw in each corner to support the door clear of anything that might touch.
cdoors-133.jpg


First coat on first panel. both sides have been painted in one go. I just pick up the triangle underneath to carry it whilst wet
cdoors-134.jpg


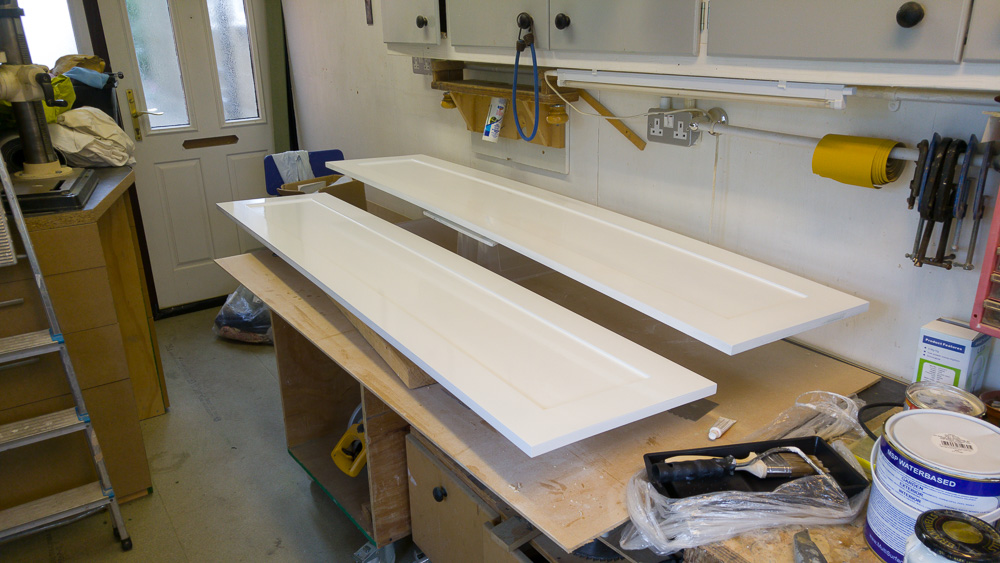
Big door on the same triangle. Light rub down after and second coat did the job.
cdoors-135.jpg


Harder to carry in but it is possible
cdoors-136.jpg


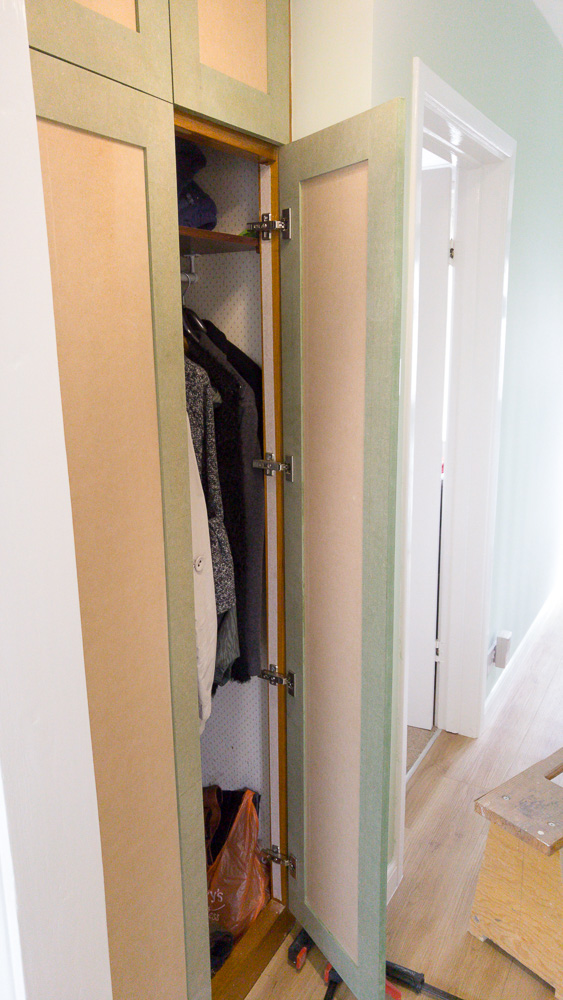
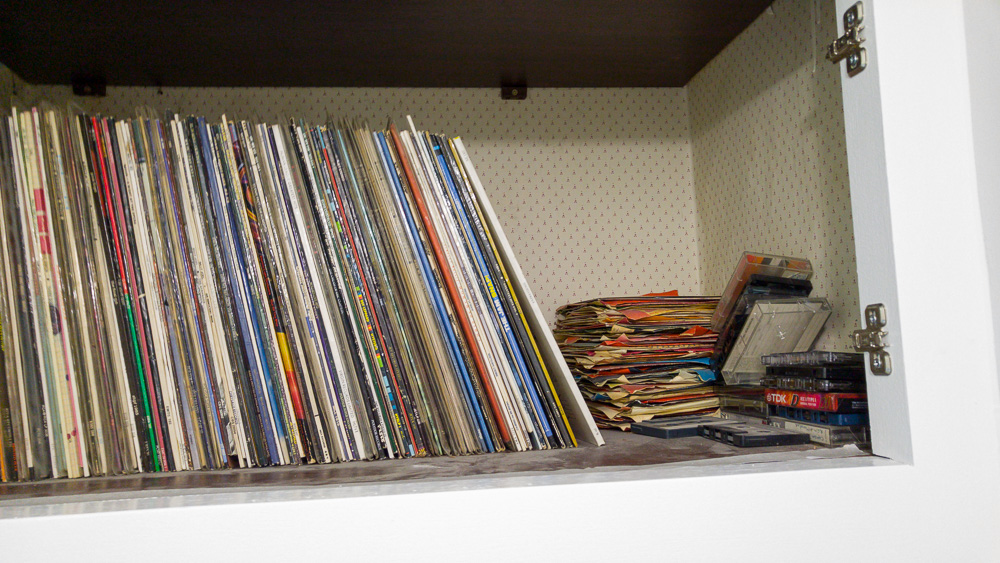
So I was fitting the top doors and had to wonder if i'll ever play one of these vinyl records again. the music all exists on my server but for some reason the records are still here.
cdoors-137.jpg


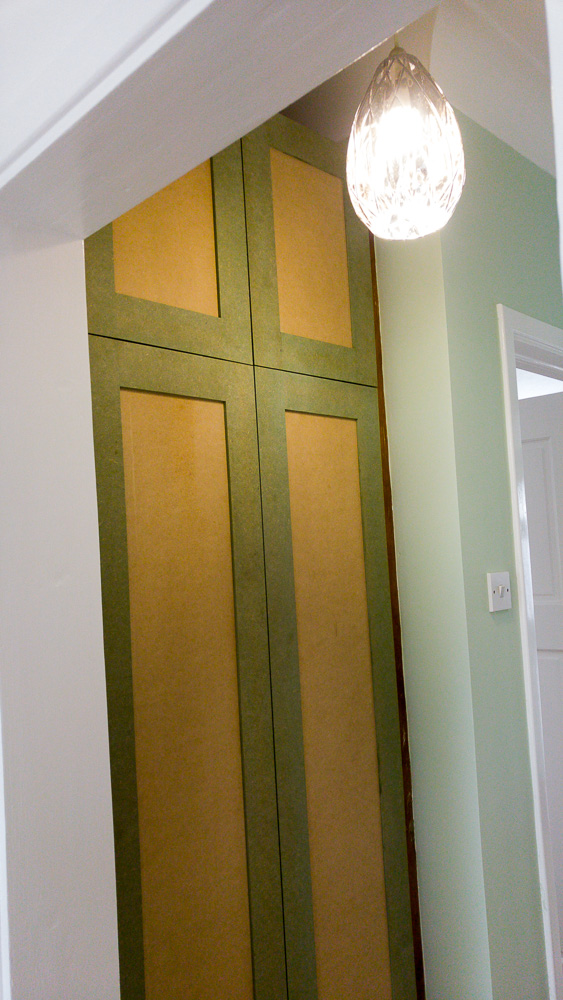
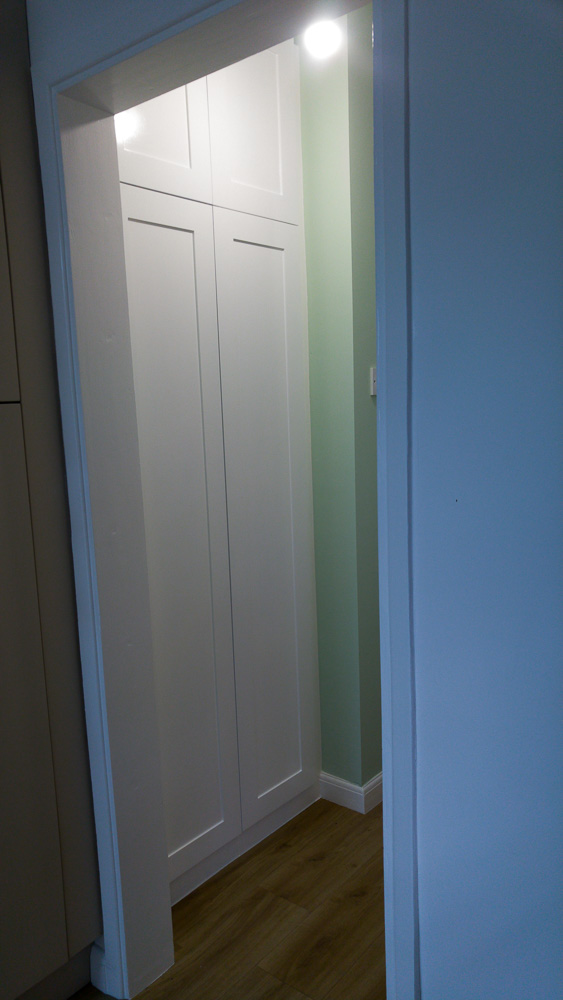
Doors on and soft closers fitted to the hinges. I went to screwfix and got some knobs but no picture.
cdoors-138.jpg
 
Nice work - have you got anything to play those round things on?
You could use them for this:

eaba8d4dbe0f697815a0ce12d99a7e9c.jpg


Sacrilege!! [emoji3]

Rod
 
Rod":3kknxn62 said:
Nice work - have you got anything to play those round things on?

Rod

The turntable lives in the cupboard stood up on edge in front of the records. probably doesn't do it any good but as it may never get used I'll risk the rubber mat not staying flat on the deck.
 
Very nice Robert. I can see ELO's Out of the Blue in the middle of that collection. Jeff Lynn seems to be popping up all over the place recently.
 
I've got about 4K of them but under pressure to get rid of them! [emoji53]
I've still got my main HiFi system but gradually selling off all my extra stuff (Leaks, Quads, Lowther etc) as non of my kids are interested in it.

Rod
 
Nice thread and should help me with an upcoming project. Thank you for posting this Robert.

Mark
 
Back
Top