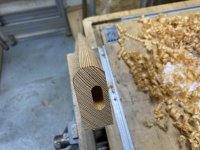
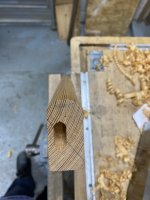
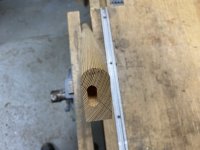
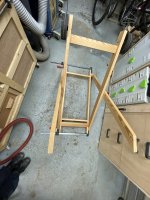
• Hi all and welcome to TheWoodHaven2 brought into the 21st Century, kicking and screaming! We all have Alasdair to thank for the vast bulk of the heavy lifting to get us here, no more so than me because he's taken away a huge burden of responsibility from my shoulders and brought us to this new shiny home, with all your previous content (hopefully) still intact! Please peruse and feed back. There is still plenty to do, like changing the colour scheme, adding the banner graphic, tweaking the odd setting here and there so I have added a new thread in the 'Technical Issues, Bugs and Feature Requests' forum for you to add any issues you find, any missing settings or just anything you'd like to see added/removed from the feature set that Xenforo offers. We will get to everything over the coming weeks so please be patient, but add anything at all to the thread I mention above and we promise to get to them over the next few days/weeks/months. In the meantime, please enjoy!

BBQ trolley

Joined
Apr 3, 2021
Messages
305
Reaction score
75
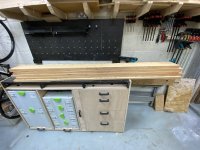
My old gas barbecue has finally bitten the dust. Following a Which recommendation I have taken the radical step of buying an electric barbecue. I have yet to use it so time will tell if it was a wise decision. However I wasn’t after advice on the nature of the cooking device. I need to build something to put it on so it is at a good height to work at. The barbecue is one of these:

IMG_2401.jpeg
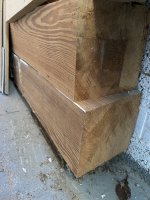
I have some 6” x 6” pine post that I recovered from a support for an outside balcony that I was proposing to use:
IMG_2400.jpeg
I am thinking about making a folding wooden trolley so in the winter I may be able to find space to store it in the garage. The rest of the time it will sit outside under a fabric cover.

I have started designing something on CAD but by no means finalized it. Most outdoor tables tend to have slatted tops. I assume this is to cope with expansion and contraction due to humidity changes. Therefore are there any circumstances where a solid top would work? Do you know of any good designs already for such an item? Pictures of ideas are always welcome.

Hopefully I can share progress as and when it happens.

Thanks

Mark
 
Hi Mark, I thought those Ninja BBQs came with a folding trolley and cover?

Please post how you get on with it. I've only used one once and it worked quite well (bear in mind I am comparing with a big green egg and a large gas BBQ) but was the very devil to clean as the fan unit in the lid was coated in grease after one session. Will be very interested to see how you think it compares in everyday use with gas.
 
Thanks Adrian. I wasn’t sure about the trolley you can buy as it doesn’t look like it has enough room at the end to put a plate or utensils which I find handy.
 
If it were me I would getting a sturdy old table from FB marketplace or ebay. I agree. You need somewhere to put plates, tongs, oil, seasonings and somewhere to keep the stuff you are yet to cook. At a pinch a second hand catering trolley SS with lockable wheels would do the job (with a shelf beneath the BBQ, would withstand the elements and is easy to clean.
 
I know this isn’t really what you need but it might just give you some ideas, the bottom is held apart using webbing btw.
Just in case it’s not obvious it’s a foldable saddle rack.
IanView attachment 29539
Having thought about webbing at the bottom a bit more, I don’t think it would work for a trolley. If the wheels hit a bump the whole thing would be likely to fold.
 
Well I haven’t finalized a design, but I did start making some saw dust.
IMG_2403.jpeg
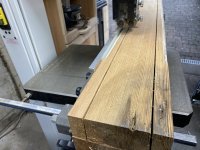
I fished this beam out of my pile of stored wood. It was just under 6” square and about 1.9m long (to mix my units). I am guessing it should be enough wood purely from the fact I would not want a trolley that heavy.
IMG_2404.jpeg
I decided to try stating to plank it with the track saw by cutting a slice just over an inch wide on both sides
IMG_2405.jpeg
I then cut the rest through with the bandsaw.
For the rest I just cut them straight through on the bandsaw going gently as there was no way the track would balance sensibly on a narrower piece of wood. I managed to get a bit of a wobble on one of them, but hopefully I can sort that out on the thicknesser.
IMG_2406.jpeg
I was left with 5 planks that need planing next.
 
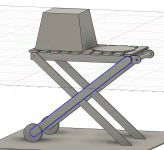
Screenshot 2024-10-29 at 22.21.25.pngSo this is where I have got so far with my limited CAD skills. There are definitely some flaws in the design. However keen to hear any thought about how the design might be changed or improved before I get too far into the build.

The wheels will be plastic from the old BBQ. I was wondering about something non wood on the bottom of the other two legs to keep them off the ground.

I need to put some bracing side to side between the legs and have yet to see if it will fold in CAD.

Thanks in advance for your comments.

Mark
 
I would suggest that the tops of the blue legs need to have an end like the feet on the other legs— angled, they then push up against blocks near the handle. Also obviously to stop the whole thing collapsing you need a bolt through where the crisscross crosses, it would help to have one of the braces you mentioned just there as well, threaded bar?
Having made a whole lot of this type of thing I can say that Carriage bolts, Formica washers and nylon bushes work well together at swivel points.
Ian
 
For a BBQ I would not have a slatted top as it is more of a pain to wipe down and things like tongs will get caught. A couple of hooks for tongs and spatula would be handy. As it is electric I would probably fit a connection box / extension lead to the trolley and plug the Ninja into that, with the lead tidied by cable ties. You don't want trip hazards around a hot BBQ.
 
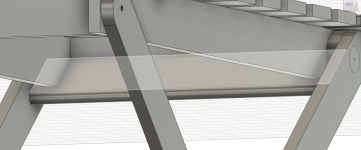
Thanks for the suggestions. It doesn’t show in the drawing but I have drawn a rail the goes between the two legs with wheels. It goes into a couple of slots in the rail supporting the top. I might put a couple of twist latches beneath it to stop it dropping out of the slot. I need to move the cross rail at the handle end so it doesn’t interfere with it.

I like the idea of a solid top. I am just aware that most outdoor wooden furniture has slats. I assume there is a reason for this, but if I can avoid that it would be good. Because of the humidity changes if I were making a solid top would it be worth doing something like breadboard ends to hold it all together?

Hooks are a good plan, but I hadn’t got to that level of detail. I agree that trailing cables are a bad idea. I think where the outdoor socket is I shouldn’t need an extension cable and it won’t be tripped over.

i hadn't come across formica washers, but they sound like a good plan. i could use some threaded bar between the legs, but I guess it would need to be stainless.
 
I hadn't realised it would be left out in the elements. Yes, it will need some drainage then.
 
I was planning to put a cover over it, but it will be outside for most of the time as I don't have space inside to store it easily.Screenshot 2024-10-30 at 14.06.38.png
This picture try to show the locking bar underneath, but the slots in the rail are not very clear.
 
IMG_2411.jpeg
I have had a bit of time in the garage and started by planing the wood.
IMG_2412.jpeg
Then a fair bit of contemplation about how to get all the bits out of the wood.

IMG_2413.jpegIMG_2414.jpeg
I then set about cutting to length and ripping down the wood for the legs and rails.
IMG_2415.jpeg
That left me with a pile of wood for the frame

I had two planks with enough area to make the top, but they were not defect free as it was reclaimed wood. I set about cleaning out the big bits and gluing in some pieces.
IMG_2418.jpeg
IMG_2419.jpeg

IMG_2420.jpeg

IMG_2421.jpeg
IMG_2423.jpeg

IMG_2424.jpeg

IMG_2425.jpeg

I had a bit of a problem as the wood left was very thin and I managed to break it when fitting new bit in. Anyway nothing for it but to clamp it all up with some glue and look what it is like when it is dry.

I still need to decide if I am making the top solid which would be more practical for cooking or slatted which should last better outside.
 
Thanks for the suggestions. It doesn’t show in the drawing but I have drawn a rail the goes between the two legs with wheels. It goes into a couple of slots in the rail supporting the top. I might put a couple of twist latches beneath it to stop it dropping out of the slot. I need to move the cross rail at the handle end so it doesn’t interfere with it.

I like the idea of a solid top. I am just aware that most outdoor wooden furniture has slats. I assume there is a reason for this, but if I can avoid that it would be good. Because of the humidity changes if I were making a solid top would it be worth doing something like breadboard ends to hold it all together?

Hooks are a good plan, but I hadn’t got to that level of detail. I agree that trailing cables are a bad idea. I think where the outdoor socket is I shouldn’t need an extension cable and it won’t be tripped over.

i hadn't come across formica washers, but they sound like a good plan. i could use some threaded bar between the legs, but I guess it would need to be stainless.
Forgot to mention that Formica washers probably aren’t available, we made them on the lathe dozens at a time, but Nylon will work.
 
Thanks Ian. I had looked on eBay for them but hadn’t found any. I don’t have a lathe so nylon sounds like a good alternative.
 
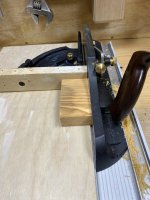
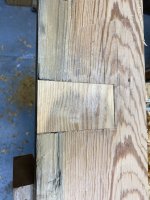
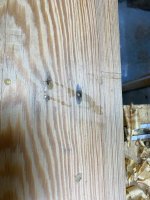
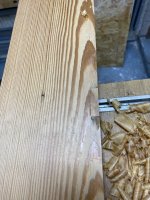
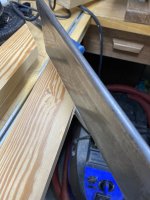
Once the glue was dry I planed down the blocks of wood and this is what they look like. The small one is not too bad, but the big one is not so great.

IMG_2429.jpegIMG_2430.jpegIMG_2432.jpegIMG_2431.jpeg

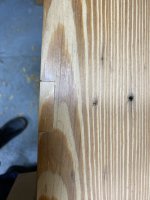
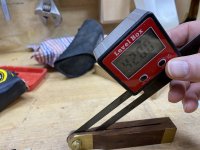
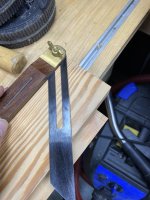
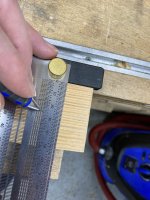
I decided to start making the legs. Having taken the angle for the bottom of the leg without a wheel from the CAD model I found it was 42 degrees. Clearly the answer to life the universe and everything! I used my digital box to set the angle so I could mark it on the wood.
IMG_2434.jpeg

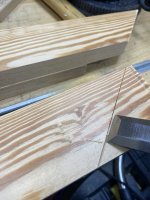
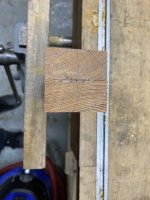
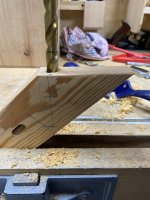
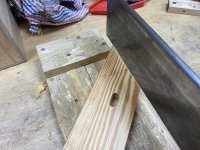
I then tried to pretend I know what I am doing by using what I believe is called a knife wall and cutting it with a tenon saw I had restored.

IMG_2435.jpeg
IMG_2436.jpegIMG_2437.jpeg

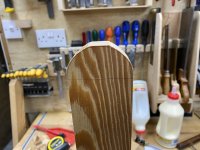
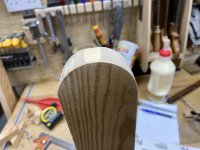
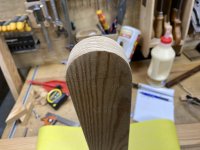
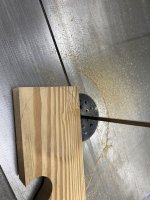
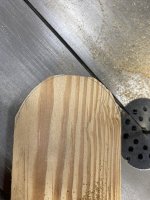
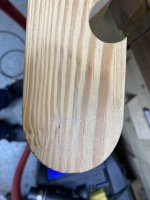
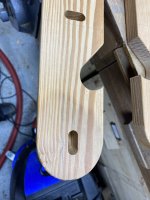
I then set about rounding the other end of the leg, roughly cutting it on the bandsaw and then smoothing it with a long bit of 80 grit sandpaper.
IMG_2438.jpegIMG_2439.jpegIMG_2440.jpeg
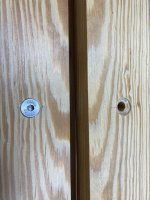
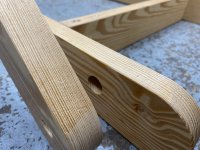
I was then able to drill the fastener holes for some M8 Countersunk stainless bolts. I didn't have a large enough countersink, but found a 16mm drill bit did the job not too badly.
IMG_2441.jpeg
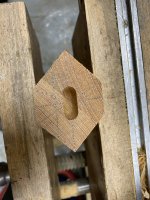
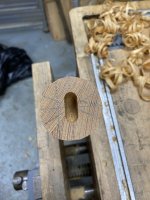
I then set about doing the joinery for the set of legs the wheels would go on. I decided it would be easiest to put the dominos in for the cross braces before I rounded off the ends.
IMG_2445.jpeg
I clamped a small bit of wood to reference off to the cross piece would be in the middle of the leg.
IMG_2444.jpeg
And it all came together fairly well.
IMG_2446.jpeg
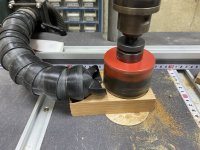
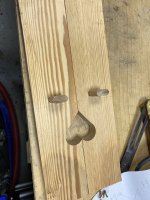
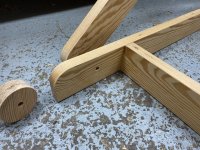
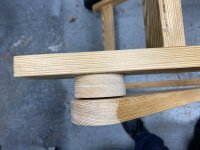
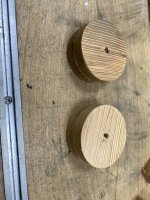
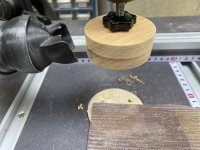
The final job I got to do before running out of time was to cut a couple of circular spacers. It took a bit of doing to coax my Aldi pillar drill to cut the 70mm diameter holes, but I think they came out okay. They
IMG_2447.jpeg
IMG_2448.jpeg
 
I am afraid that other than the odd woodworking class at school many years ago my learning has either been from this forum, the other forum or a bit of YouTube. The pine does smell great. However you are right that as it is reclaimed some of the outside isn’t the best. I am trying to work out how to make the top so it will last and looks okay. That’s probably one of the reasons I started with the legs as it puts those decisions off.
 
That’s an idea Ian. I could get some stainless sheet for the top and attach it to the wooden top, which might be quite practical.
 
I suspect you may very well find it cheaper to buy a second catering table or trolley, than to buy a sheet of stainless steel. Which takes me back to my original point......
 
I've managed to make a little more progress with the trolley but not resolved what to do about the top yet.

I started by putting the disks in the pillar drill to give them a sand.

IMG_2454.jpeg


That enabled me to test fitting the legs without the wheels.

IMG_2455.jpegIMG_2456.jpeg

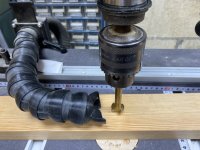
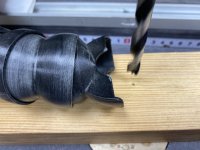
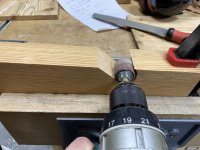
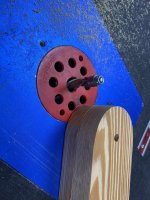
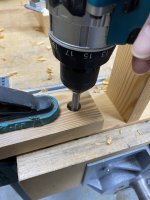
From that I was able to work out where to put the pivot for the wheel legs and started to drill the holes for them. I started off with a forester bit to be able to recess the nut and then used a lip and spur bit to drill most of the way through then flipped it over to drill the very last bit to get a nice clean hole.

IMG_2457.jpegIMG_2459.jpegIMG_2460.jpeg

That enabled me to do a test assemble to work out where to put the locking bar and put the wheels on.

IMG_2463.jpeg
I then laid the bits on the bench and it quite a bit of head scratching to work out where to put the notch for the locking bar so the wheels and feet were level.
IMG_2466.jpeg
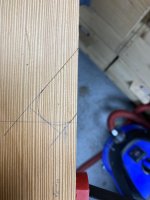
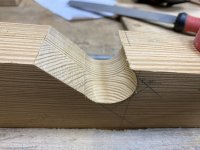
Eventually I was able to mark it out. I have put a curved end on the bar as I didn't want any sharp corners to raise stress in the notch.
IMG_2467.jpeg
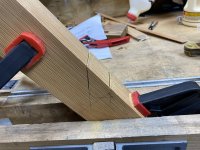
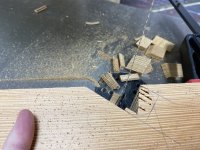
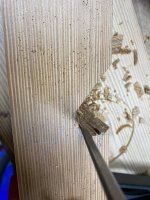
I started cutting the sides carefully across both sides clamped together with a tenon saw. I then cut out some of the centre with the band saw, before chiselling away some more.
IMG_2468.jpegIMG_2469.jpegIMG_2470.jpegIMG_2471.jpeg

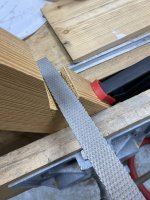
I then resorted to a rasp followed by a sanding drum which by chance was very close to the diameter that I was looking for.

IMG_2472.jpegIMG_2473.jpeg

It didn't turn out too badly, but needed a little bit of sanding with a flat edge to take out a slight ridge
IMG_2474.jpeg

Next up was to round off the cross bar to fit in the notch. Having baked the curve on the ends of the bar I marked parallel lines on the side to plane down to, then repeated to take those corners off ending up with something getting on for semi-circular.
IMG_2475.jpegIMG_2476.jpegIMG_2477.jpegIMG_2478.jpeg

And there I ran out of space so will continue in the next post!
 
After planing I resorted to some long sandpaper to pull back and forth round the curved edge whilst it was in the vice to get to a smooth edge, which I was pleased with and fitted the notch pretty well.
IMG_2479.jpeg

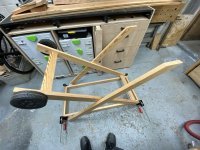
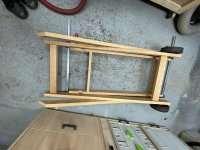
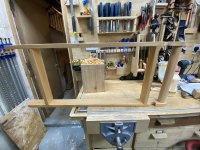
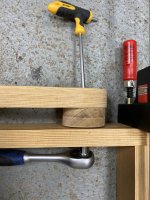
I was then able to put it together to see what it was like both folded and in place before I had to stop for the end of the weekend.IMG_2482.jpeg
IMG_2481.jpeg
 
Yes the stainless steel top is tempting. I haven’t tried pricing it up. I suspect Adrian might be right that it is cheaper to buy a used stainless catering trolley than buy the stainless. I am not sure what thickness I would need so it was reasonably tough but I could bend it without any special tools.
 
Do you DIY stores carry light gauge panels or possible galvanised steel.
Or 60 cm wide flashing, which is easy to bend and edge.
 
Hi Duke, Sorry for not replying sooner. I have not come across light gauge panels in DIY stores in the UK, but maybe I just haven't looked in the right places.
 
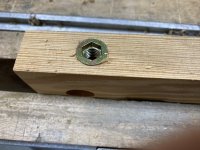
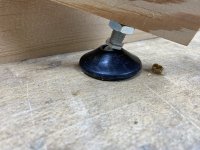
Well Over the last few weeks I have made a little bit of progress ( not the supersonic speed of some forum members!). I have been wondering about keeping the wood out of contact with the floor to reduce the chance of rot. I have some plastic feet on M8 threads, so I tried putting a suitable threaded insert into an offcut to see if it might work.
IMG_2487.jpeg
IMG_2488.jpeg
It seems to be okay, so I will need to shorten the two legs without the wheels on and drill some holes fairly carefully in the ends for the threaded inserts.
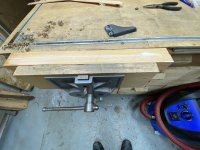
I then decided that for the handle I would need a diameter slightly greater than the thickness of one board, so I planned a couple of boards, glued them up and clamped them in the vice overnight.

IMG_2489.jpeg
IMG_2490.jpeg

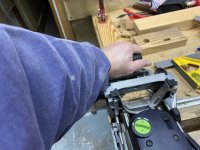
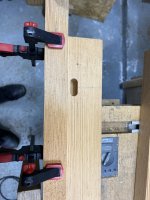
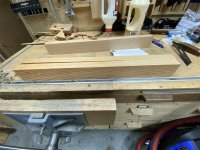
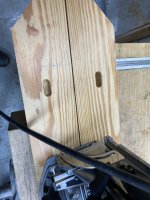
Then it was on to cutting some domino slots in for the cross members. I think the thing that took longest was carefully marking out where I wanted them. I have found that a domino can be much quicker to mess things up with than when doing them by hand!
IMG_2498.jpeg
IMG_2500.jpeg

IMG_2501.jpeg
Having done that I moved on to rounding over the ends. I used the round over ends I had already created as a template. I cut off the bulk on the bandsaw first. I then stuck them together with double sided tape and used a compression flush cut bit finish them off with.
IMG_2502.jpeg
IMG_2503.jpegIMG_2504.jpeg
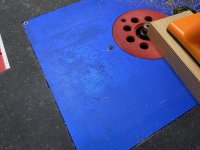
I seem to have missed any photos of then using a small rounder over bit in the router table to take off all the arises.

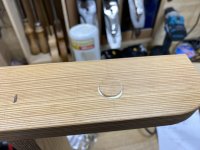
Then it was on to the handle. One of these days I would like to have a go with a lathe (and have space for one!). However I decide I could make something reasonably round with what I have. I planed my glued up stock so it was square. Seeing as I am not that confident about the accuracy of my hand planing I did it on the thicknesses. I was then able to mark a circle on the end. From there I marked lines down the side as guides for planing.
IMG_2523.jpeg
IMG_2524.jpeg
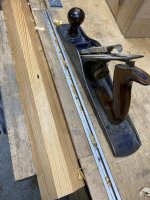
I then used an old Record No 5 to plane down each side until I reached the marks.
IMG_2525.jpeg
IMG_2526.jpeg
I then realised that before I planed it down any more it would be easier to put dominos in whilst I still had flat sides for reference. I started by cutting it to length, having set the flip stop from one of the other cross members. The exact length didn't matter so long as it was the same as the other pieces.
IMG_2527.jpeg
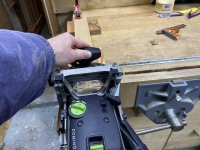
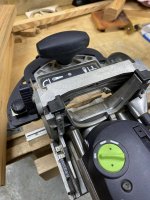
I then marked up the side rails and cut the dominos in those so that they should be central to the radius on the end. The centre of the domino cutter on the DF500 ( I can't remember if the DF700 is the same) is 10mm from the base, so I marked a line with a centre 10mm from where I wanted the domino centred.

IMG_2528.jpeg
IMG_2529.jpeg

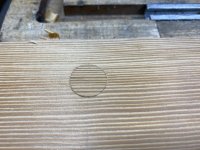
Next it was on to dominion the ends of the handle. I spent a while working out how to do it, but it seemed to work okay.
IMG_2530.jpeg
IMG_2531.jpeg

Then I could get on with making the handle round. I continued planing the corners off and rotating till it became daily close to a circle.

IMG_2532.jpeg
To be continued with more pictures in the next post...
 
Hi Duke, Sorry for not replying sooner. I have not come across light gauge panels in DIY stores in the UK, but maybe I just haven't looked in the right places.
What about Marketplace, or drive the streets on trash day. Over here there is always curbside stuff for free, maybe you might fine something.
 
So after some more planing you can see the handle getting more round.

IMG_2533.jpeg
IMG_2534.jpeg

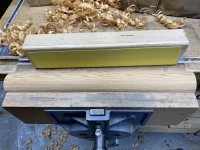
From there I resorted to a bit of sanding in a couple of different ways. Firstly using a bit of paper glued to a length of wood. Then holding it upright in the vice and unsing a long length of paper to pull backwards and forwards.

IMG_2535.jpeg

I then did a dry fit which seemed to be okay

IMG_2536.jpeg

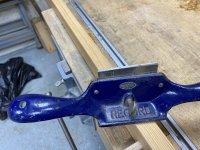
To smooth it off before gluing up I used a Record scraper, which I think I am slowly getting a little more proficient with.

IMG_2537.jpeg
Then I glued it all up

IMG_2538.jpeg
 
What about Marketplace, or drive the streets on trash day. Over here there is always curbside stuff for free, maybe you might fine something.
All good ideas. I need to think a bit more about the top, but have been focusing on the base at the moment.
 
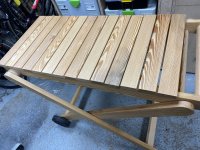
Well its been a while since I updated the thread, but spoiler alert, its finished!

Before we get there I ought to complete the journey. At last count I was gluing up the frame.

IMG_2538.jpeg
I then went on to glue the legs that will have the wheels on them.
IMG_2543.jpeg
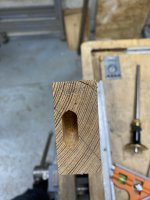
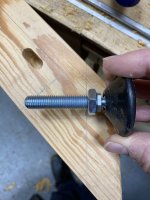
For the fixed legs I decided it would be good not to have the wood in contact with the ground permanently to reduce the likelihood of rotting. I had some adjustable plastic feet, so went about fitting those. After quite a bit of contemplation and drawing on the side of a leg, I drilled a hole to put a threaded insert in. IMG_2545.jpeg

I then worked out how much shorter the leg needed to be so I didn't change the overall geometry and cut a bit off the end.
IMG_2546.jpegIMG_2548.jpeg
I am glad I did it that way round rather than cut and then drill. As the whole for the insert was quite large I didn't have a lip and spur bit big enough so just used an ordinary drill bit that wasn't nearly so clean where it entered the wood, but having cut that bit off it looked fine.

IMG_2550.jpeg
And the foot fitted just fine.
IMG_2551.jpeg
I then needed to drill some recesses of the bolts.

IMG_2552.jpeg
And the recesses came out beautifully, but the cockup fairy had visited and they were on the wrong side!
IMG_2553.jpeg

So it was time to make some plugs for the recesses and then re-drill them.
IMG_2556.jpeg
IMG_2557.jpegIMG_2561.jpeg
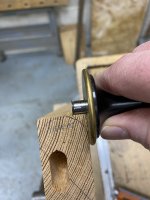
When re-drilling with a forester bit from the other side there was nothing to hold the center point, so I clamped on a piece of wood with the right sized whole in it to keep it in the right place.
IMG_2563.jpeg
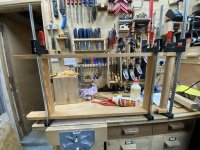
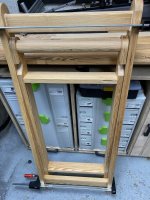
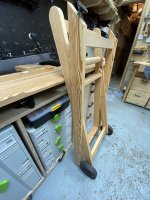
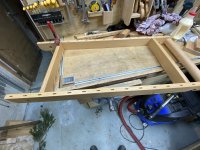
The outcome of that was I had a complete folding frame but no top yet.
IMG_2565.jpeg
IMG_2566.jpeg

Next instalment is making the top.
 
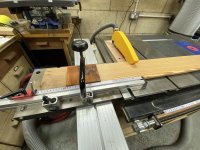
Again after a bit of head scratching I decided I had enough wood for slats across the top with a bit of overhang and no need to use the really dodgy looking bits.

First I cut the long planks to length.
IMG_2589.jpeg
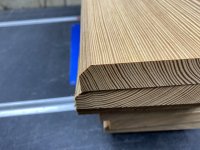
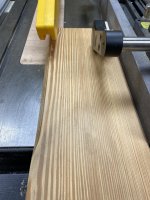
Then as you can see the sides had some chamfers that needed ripping off. After that I ripped the pieces in two as that looked like a good width for the slats (nothing more scientific than that!)
IMG_2590.jpeg
IMG_2591.jpeg
That enabled me to loosely lay the bits on top of the frame to check they looked about right.
IMG_2592.jpeg
To avoid compound errors when positioning them I worked out the distance to the center piece of each slat from one end, so that I could then mark them out.
IMG_2593.jpeg
IMG_2594.jpeg
I then went along the rail with the domino cutting mortices.
IMG_2595.jpeg
IMG_2596.jpeg
It was then the case of setting up the domino to cut the mortices in the end of each of the rails
IMG_2597.jpegIMG_2598.jpeg
And that was pretty much all of the construction done apart from rounding over all the edges on the router table
IMG_2599.jpeg
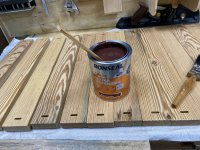
Then it was on to the bit I never really like, the finishing. I decided to stain the wood with some Ronseal Deep Mahogany stain which will hopefully help it last a while till I need to do anything to it.
IMG_2600.jpeg
This is what it looked like after the first coat
IMG_2601.jpeg
And this after the third coat as I was in the process of attaching the slats

IMG_2602.jpeg
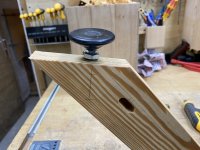
Just when I thought I was finished, I remembered that I had not made any latches to stop it trying to fold itself up when I lifted the handle. So I knocked up a couple of latches which I think the pictures explain.
IMG_2603.jpegIMG_2604.jpegIMG_2605.jpegIMG_2606.jpeg
To be continued...
 
Back
Top