Dr.Al
Old Oak
I still haven't decided what I'm going to do regarding the number of drawers, but I don't need to decide yet. Regardless of my final decision, I know the bedside table will need to have four legs and they'll start off about 40 mm square and a bit under 700 mm long.
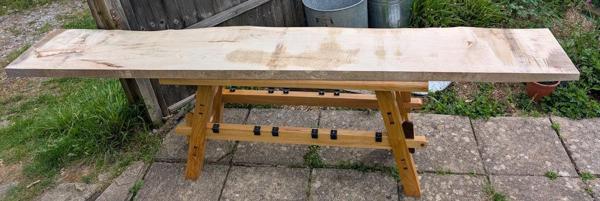
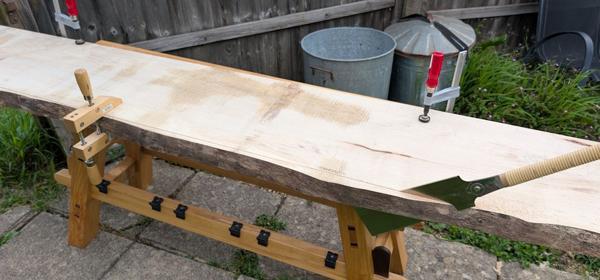
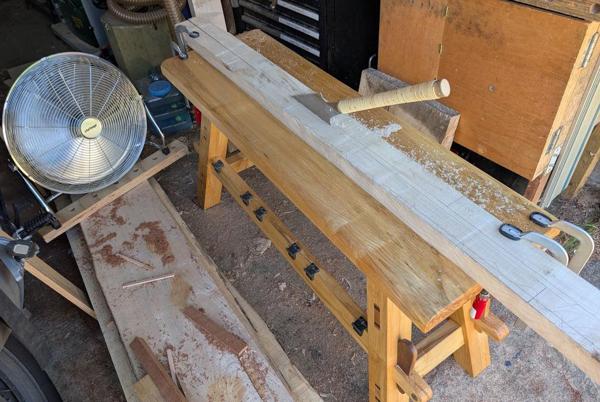
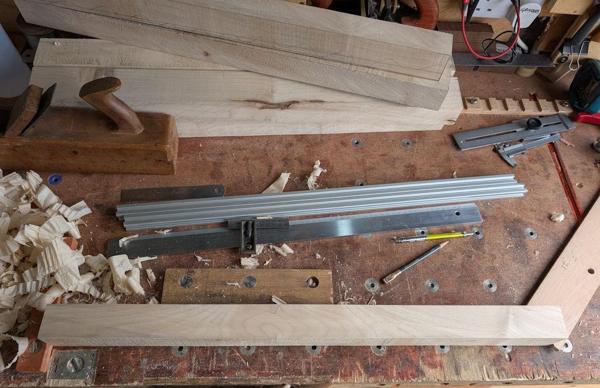
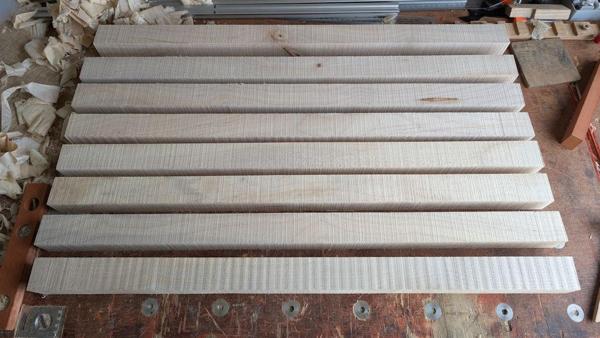
This morning I took advantage of the slightly cooler weather and pulled out my thickest bit of Sycamore from the bottom of the stack:
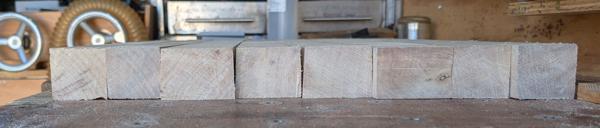
This is what the end grain looks like:
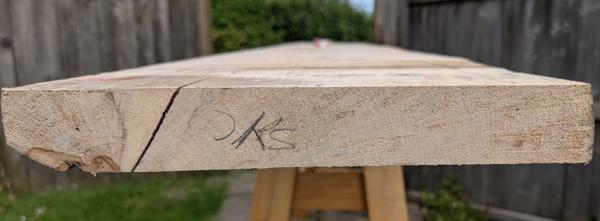
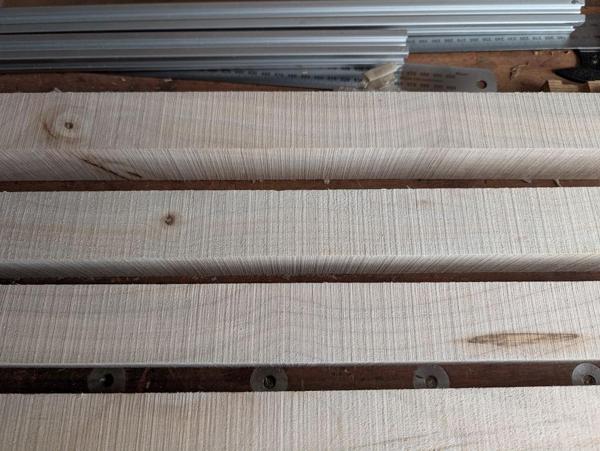
It's hard to tell what's going on there, so I grabbed a block plane and cleaned it up a little:
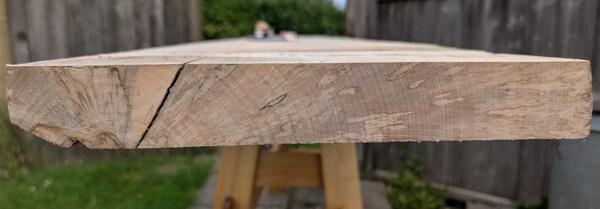
The bit on the left is clearly from close to the centre of the tree, the lines get straighter and more vertical as you go more to the right.
If my vague memory of what I've read before is right, I think it's quite common for legs to be rift sawn: with the grain going diagonally across the piece, resulting in a similar grain pattern on all four faces. Most of this wood is closer to quarter sawn grain (with the grain running perpendicular), but there's a bit with the more diagonal grain on the left.
This is the only thick plank I've got and I'd like to use it for this project so I'm going to chop it up and see what things look like. The choice of the wood might end up being dictated more by the waviness of the grain than the angle it runs at. At the end of the day I'll just try to find pieces that I think look good.
If I'd got the track saw out I could have chopped this board in no time, but I thought it would be a more pleasant experience to stick some music on and just plod away with a Ryoba. The rip teeth on my bigger Ryoba are a bit blunt (it was used for a lot of resawing before I bought my bandsaw) so I went for the little one, clamping the board down to the Mini Moravian bench and working my way along the line:
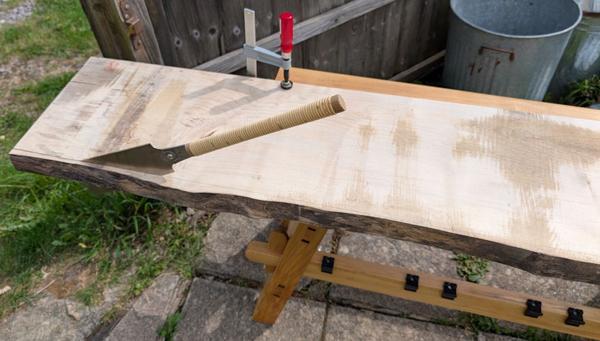
When I was nearly through, I placed a hand screw clamp about half-way along to make it easier to control the off-cut:
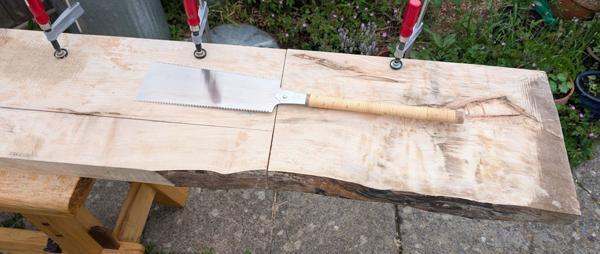
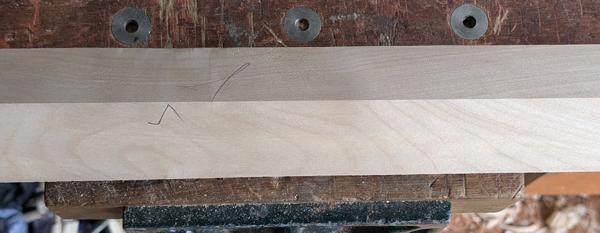
Another cut followed, this time a little way into the plank:

I did that cut about 110 mm in from the first sawn edge. That's far wider than a leg will be; I was aiming for more than the width of two legs and it'll get cut in half again later. Having a piece like this will give me a good opportunity to look at the grain before making any final decisions about how it'll be chopped up.
The big Ryoba came out to cross-cut the end (those teeth haven't been used anywhere near as much), with bit of plywood getting clamped on at the end to stop the end piece falling off:
I decided to rip another bit off the remaining plank. The big Ryoba has induction hardened teeth that are not intended to be sharpened. I've ordered a new blade (they're not especially expensive and last for ages with the hard teeth), but I thought it would be interesting to see if I could give it a little more life by having a go at sharpening using a triangular oil stone (a file would just skate over the hardened teeth):
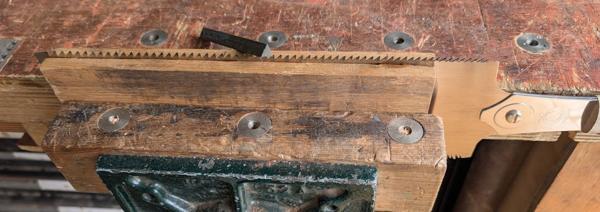
The oilstone has 60° corners and the saw teeth are much steeper, so I just did the best I could.
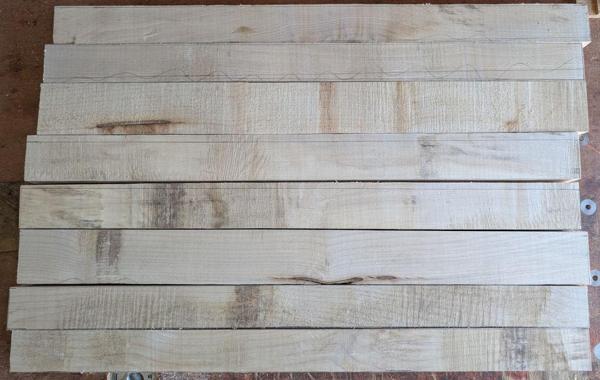
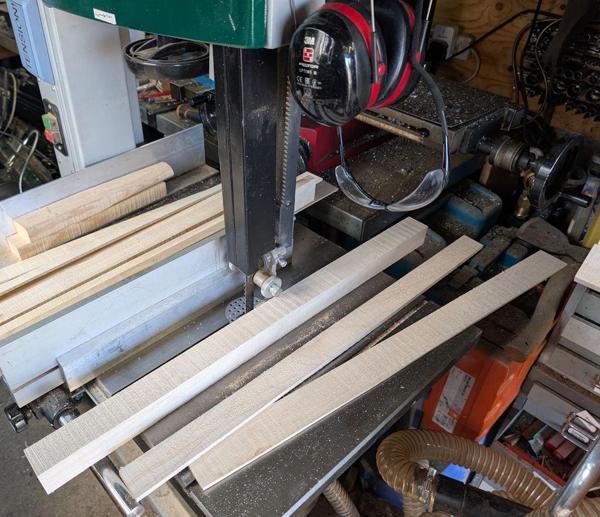
After doing that, the big rip saw was cutting at about the same speed as the little one, which was definitely an improvement, but it used to cut much faster so I definitely didn't get it all the way back to factory sharpness. I used it to rip the last bit in two:
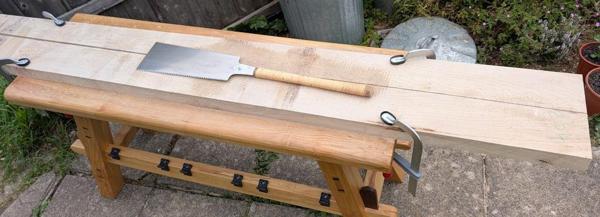
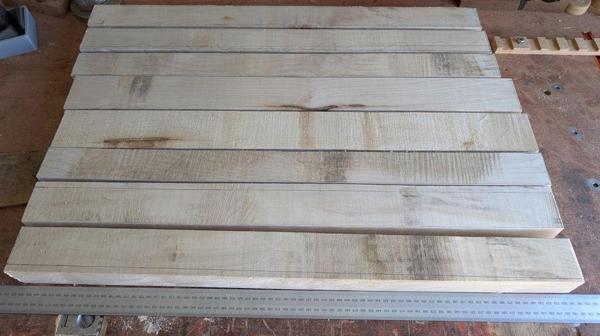
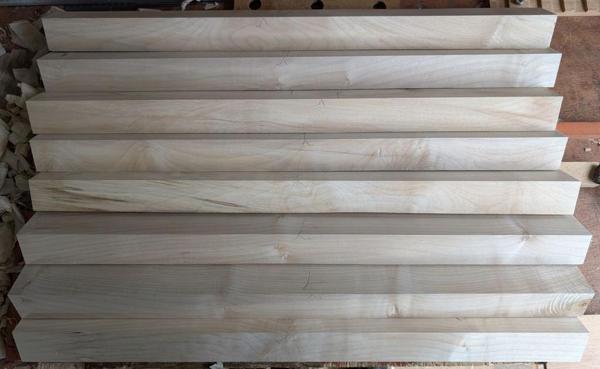
I've now got one piece (with no planned use) from the middle of the tree (the narrowest bit) and two pieces about 110 mm wide that could be used for legs (plus the end off-cut that'll probably get resawn and used for box making). The two 110 mm planks are long enough that I should be able to get two legs lengthwise, so four legs per plank. I'm considering making a matching pair of these bedside tables (I've got plenty of Sycamore) and for that I would need the extra lengths of leg stock.
This morning I took advantage of the slightly cooler weather and pulled out my thickest bit of Sycamore from the bottom of the stack:
This is what the end grain looks like:
It's hard to tell what's going on there, so I grabbed a block plane and cleaned it up a little:
The bit on the left is clearly from close to the centre of the tree, the lines get straighter and more vertical as you go more to the right.
If my vague memory of what I've read before is right, I think it's quite common for legs to be rift sawn: with the grain going diagonally across the piece, resulting in a similar grain pattern on all four faces. Most of this wood is closer to quarter sawn grain (with the grain running perpendicular), but there's a bit with the more diagonal grain on the left.
This is the only thick plank I've got and I'd like to use it for this project so I'm going to chop it up and see what things look like. The choice of the wood might end up being dictated more by the waviness of the grain than the angle it runs at. At the end of the day I'll just try to find pieces that I think look good.
If I'd got the track saw out I could have chopped this board in no time, but I thought it would be a more pleasant experience to stick some music on and just plod away with a Ryoba. The rip teeth on my bigger Ryoba are a bit blunt (it was used for a lot of resawing before I bought my bandsaw) so I went for the little one, clamping the board down to the Mini Moravian bench and working my way along the line:
When I was nearly through, I placed a hand screw clamp about half-way along to make it easier to control the off-cut:
Another cut followed, this time a little way into the plank:
I did that cut about 110 mm in from the first sawn edge. That's far wider than a leg will be; I was aiming for more than the width of two legs and it'll get cut in half again later. Having a piece like this will give me a good opportunity to look at the grain before making any final decisions about how it'll be chopped up.
The big Ryoba came out to cross-cut the end (those teeth haven't been used anywhere near as much), with bit of plywood getting clamped on at the end to stop the end piece falling off:
I decided to rip another bit off the remaining plank. The big Ryoba has induction hardened teeth that are not intended to be sharpened. I've ordered a new blade (they're not especially expensive and last for ages with the hard teeth), but I thought it would be interesting to see if I could give it a little more life by having a go at sharpening using a triangular oil stone (a file would just skate over the hardened teeth):
The oilstone has 60° corners and the saw teeth are much steeper, so I just did the best I could.
After doing that, the big rip saw was cutting at about the same speed as the little one, which was definitely an improvement, but it used to cut much faster so I definitely didn't get it all the way back to factory sharpness. I used it to rip the last bit in two:
I've now got one piece (with no planned use) from the middle of the tree (the narrowest bit) and two pieces about 110 mm wide that could be used for legs (plus the end off-cut that'll probably get resawn and used for box making). The two 110 mm planks are long enough that I should be able to get two legs lengthwise, so four legs per plank. I'm considering making a matching pair of these bedside tables (I've got plenty of Sycamore) and for that I would need the extra lengths of leg stock.
")


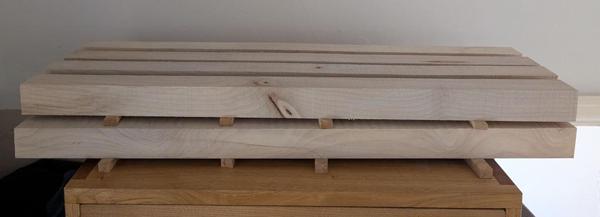
 .I'd be expecting the top pieces to curve up from the ends as they dry. I've had such happen in the past... Slow drying and regular monitoring
