• Hi all and welcome to TheWoodHaven2 brought into the 21st Century, kicking and screaming! We all have Alasdair to thank for the vast bulk of the heavy lifting to get us here, no more so than me because he's taken away a huge burden of responsibility from my shoulders and brought us to this new shiny home, with all your previous content (hopefully) still intact! Please peruse and feed back. There is still plenty to do, like changing the colour scheme, adding the banner graphic, tweaking the odd setting here and there so I have added a new thread in the 'Technical Issues, Bugs and Feature Requests' forum for you to add any issues you find, any missing settings or just anything you'd like to see added/removed from the feature set that Xenforo offers. We will get to everything over the coming weeks so please be patient, but add anything at all to the thread I mention above and we promise to get to them over the next few days/weeks/months. In the meantime, please enjoy!

Computer Desk WIP

Robert

Moderator
Staff member
Joined
Jul 21, 2014
Messages
2,683
Reaction score
63
Location
Woodford Green
Name
I'm not Bob
For some time now I've been thinking about making myself a new desk for the computer and all the stuff that goes with it.

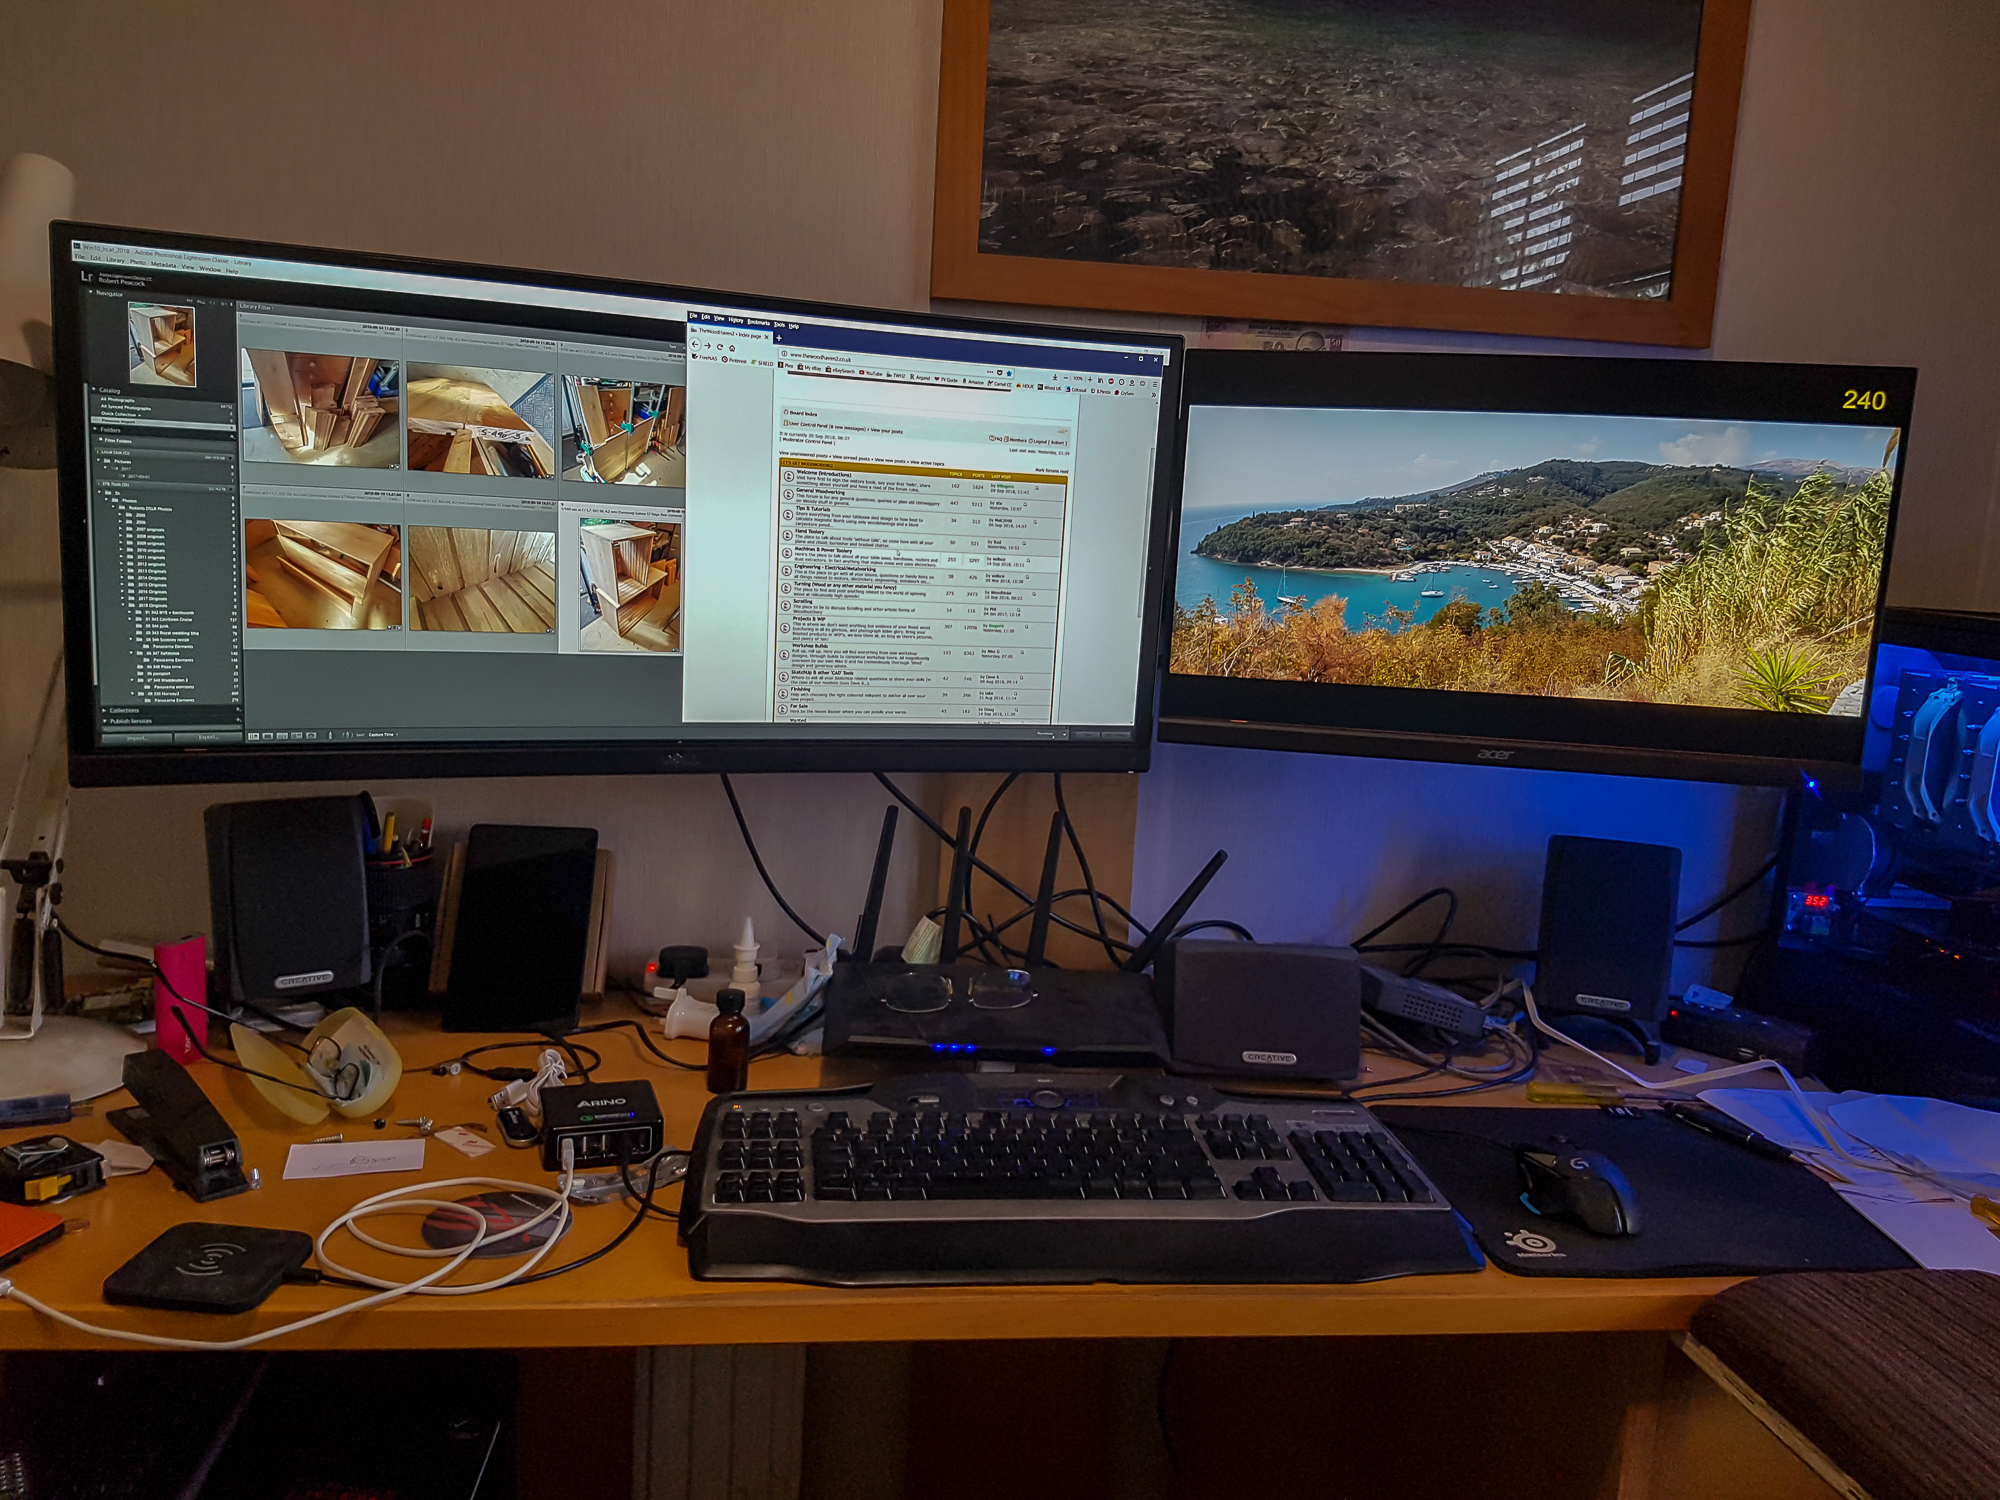
Currently I have a cut down office desk saved from back when I had a business. The room I'm typing this in is a small box room bedroom so the desk is cut to 2 foot front to back. The cutting made it a bit less stable than it was but it is OK. I have 2 monitors on arms from a lump of wood screwed to the back of the desktop and extending down to the floor - I didn't want to drill the wall.
desk-100.jpg


What it can't cope with is all the wires.

I also kept 2 pedestal units and a side table. The pedestals are solid but have 2 drawers that are too shallow for my camera kit etc and one deep file hanging drawer that is too deep.
The most annoying thing about them is the stupid drawer slides that only open half way.
desk-101.jpg


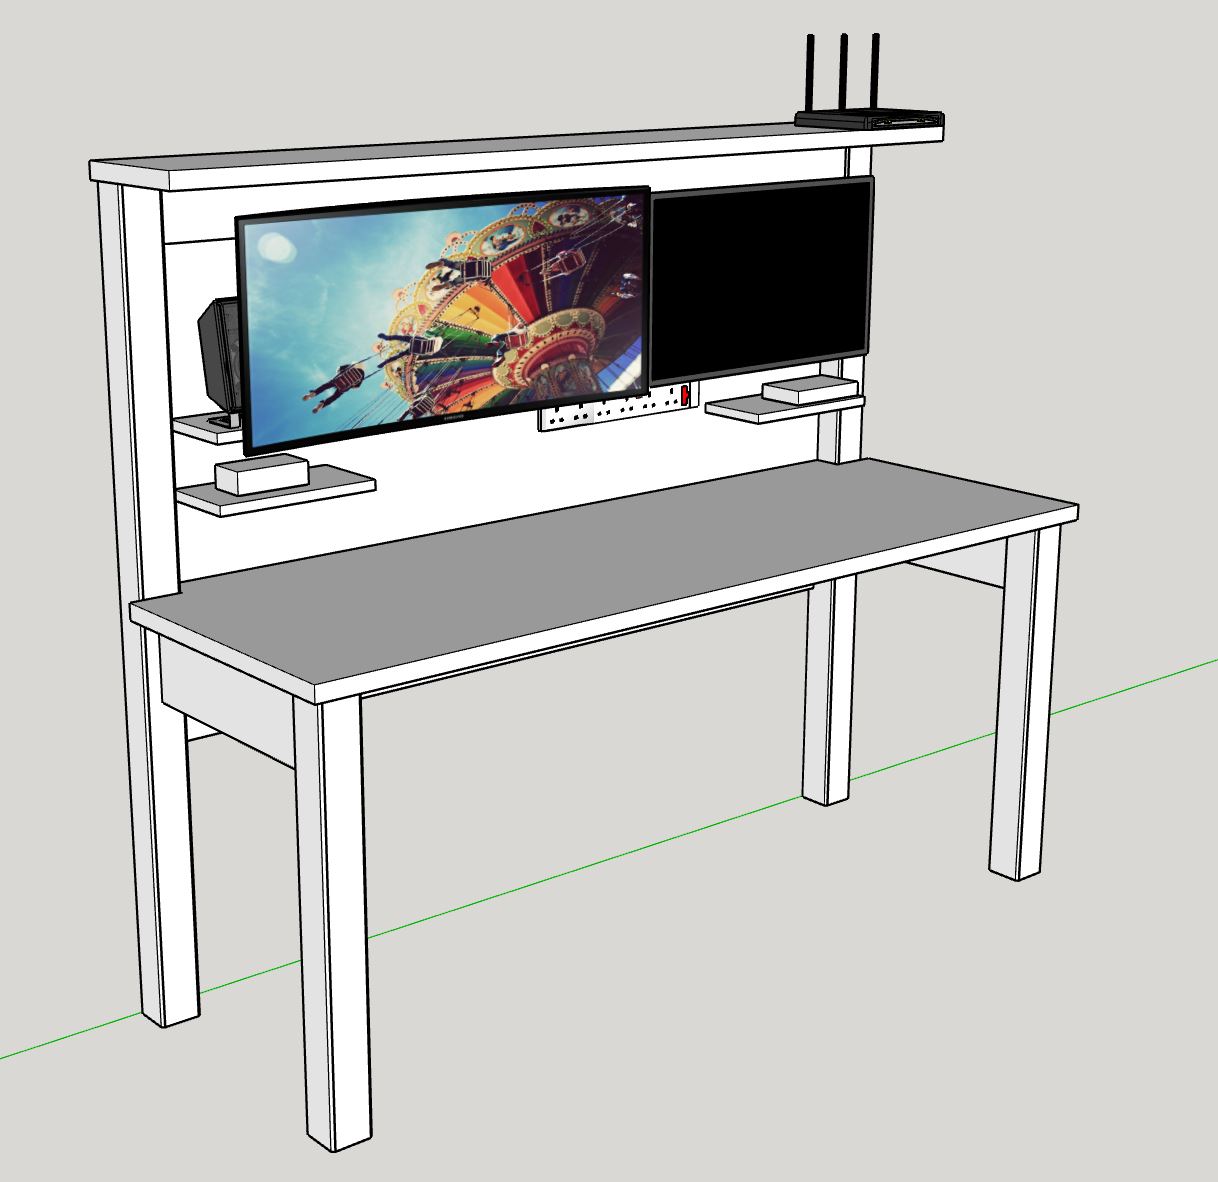
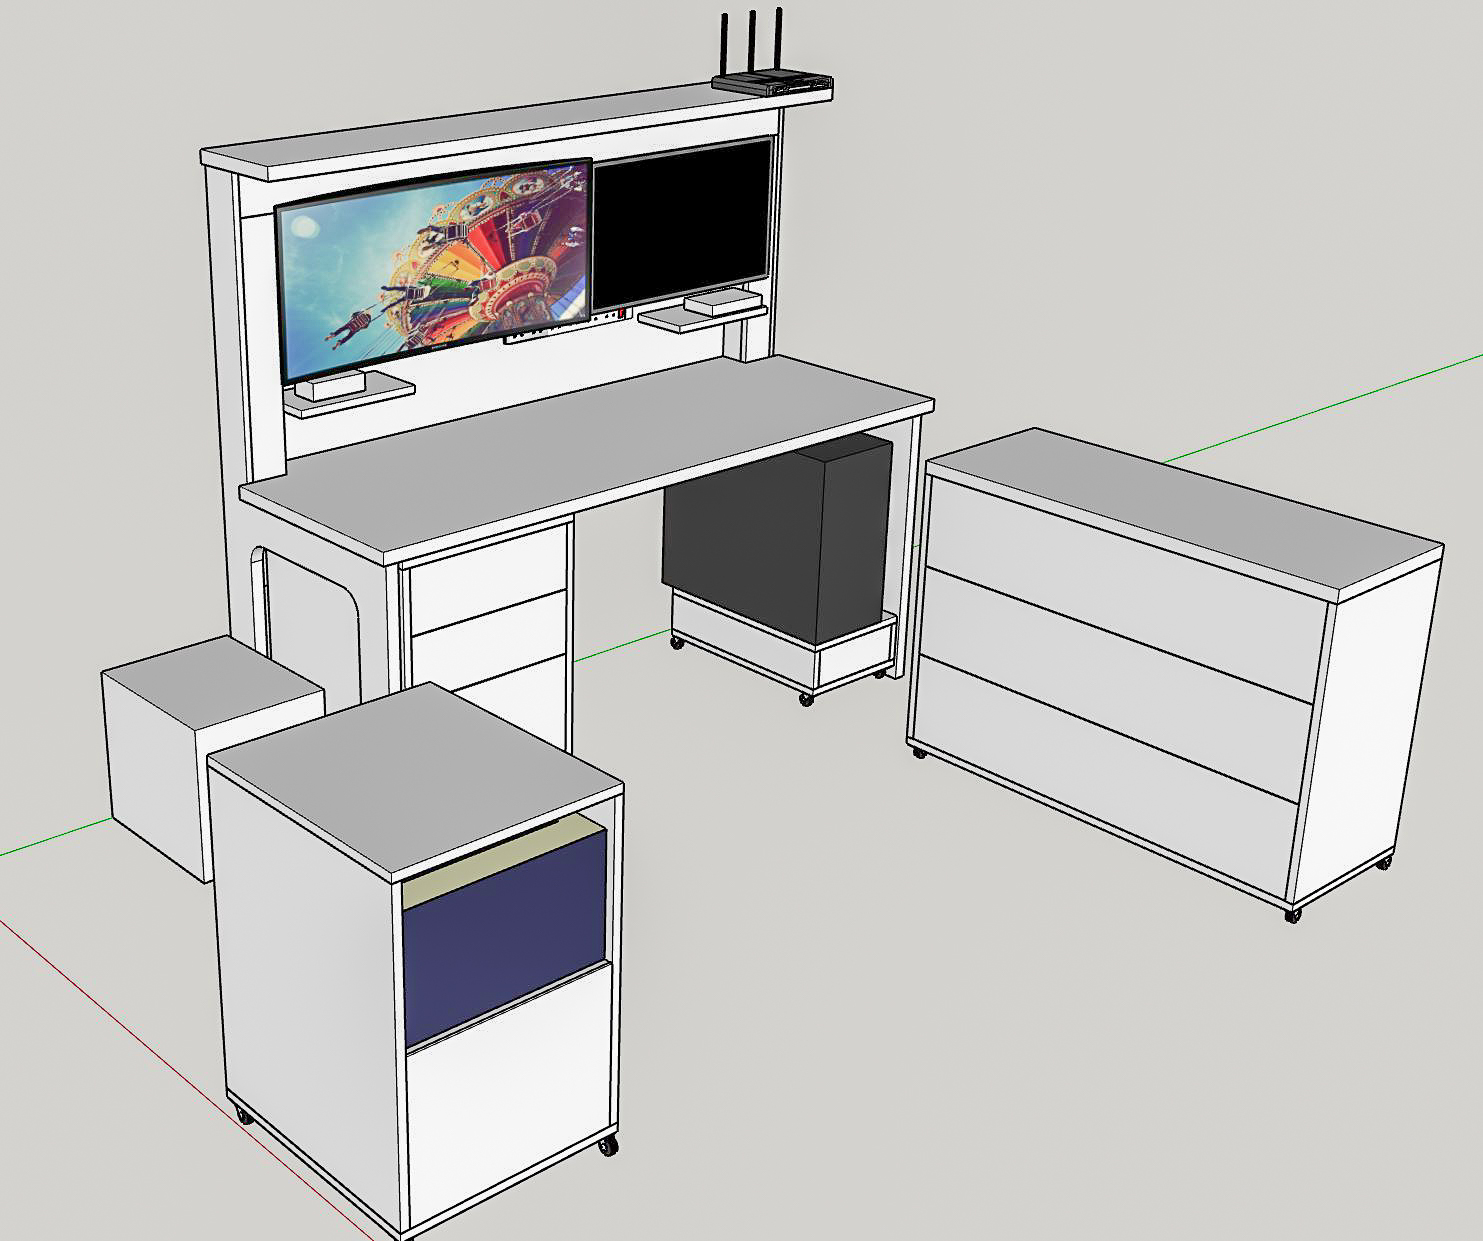
Heres my sketchup of the revised furniture. I've since decided not to enclose the printer and have 2 identical pedestals as before. The side table becomes a wide pedestal also with castors.
desk-102.jpg


Top of the desk with various bits hidden to show the cable route at the top and sides
desk-103.jpg


The desktop will lift off for access to another cross route for cables
desk-104.jpg


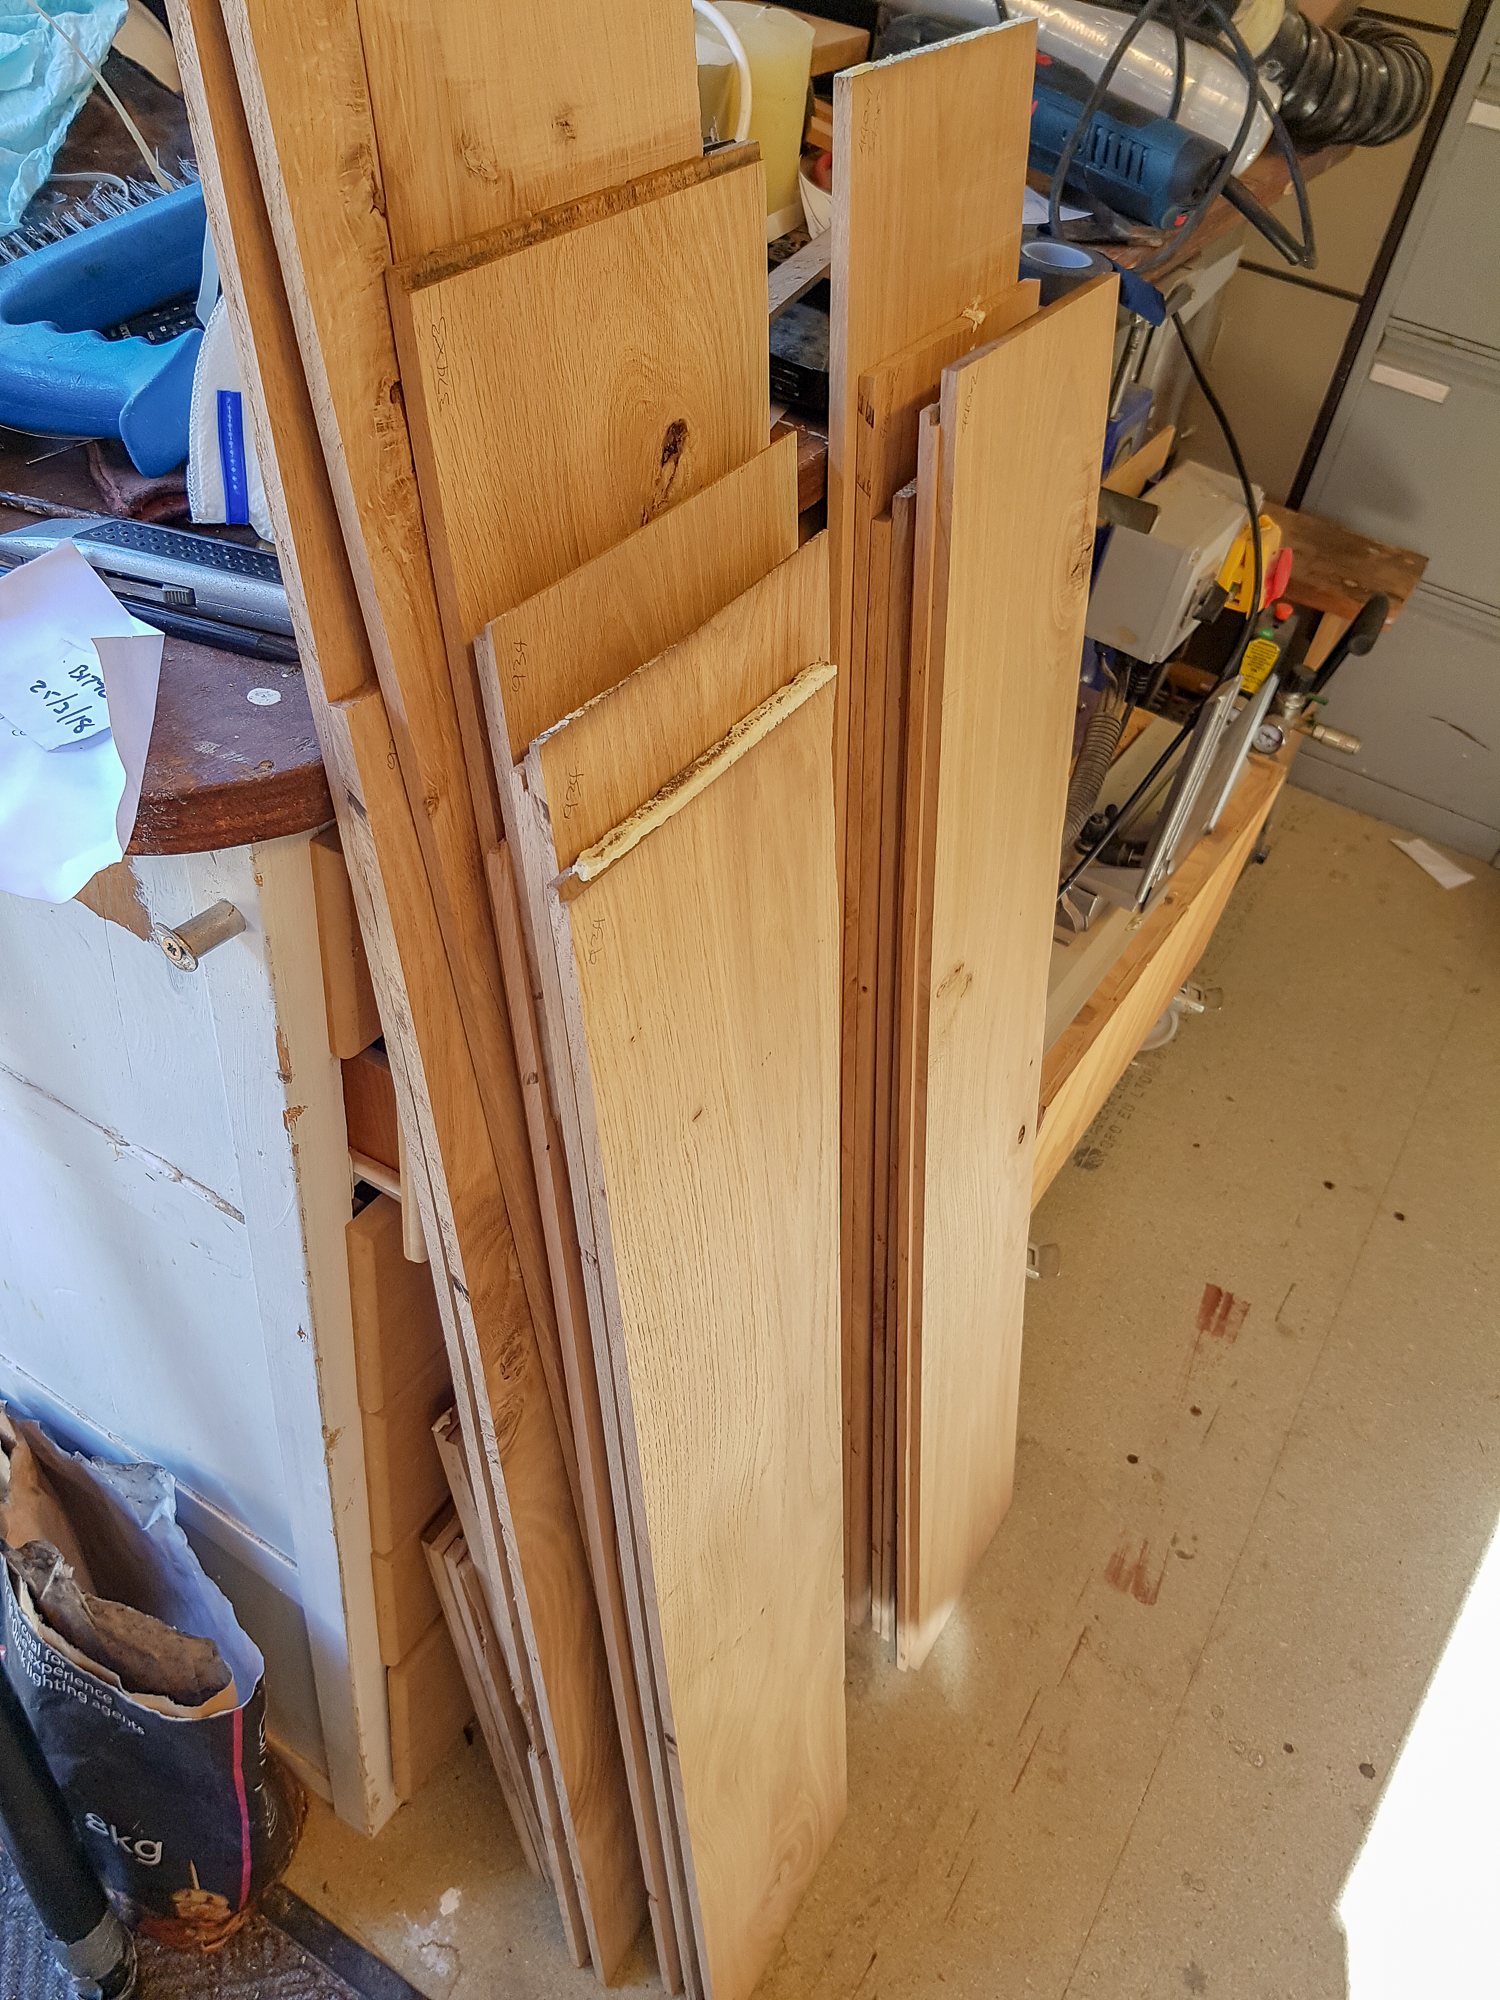
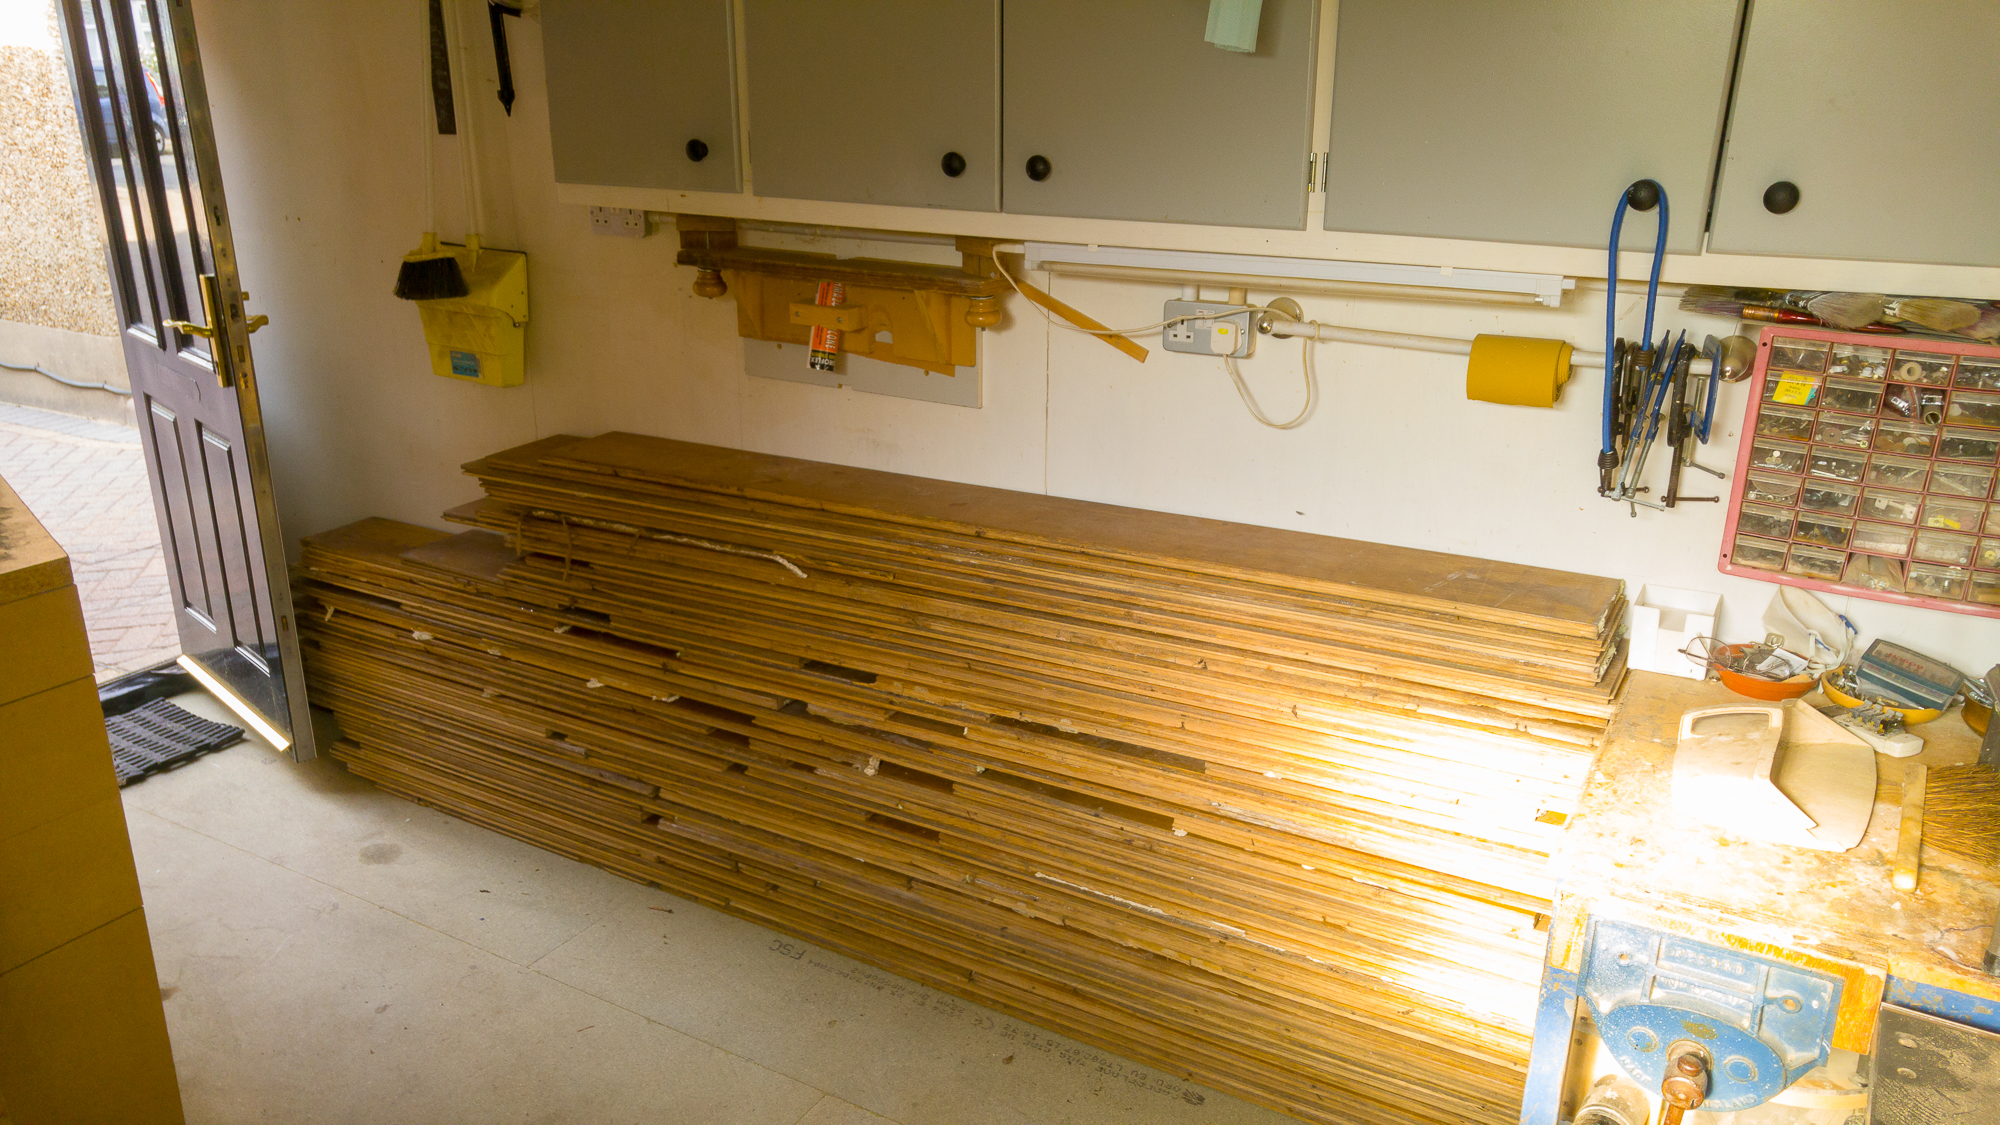
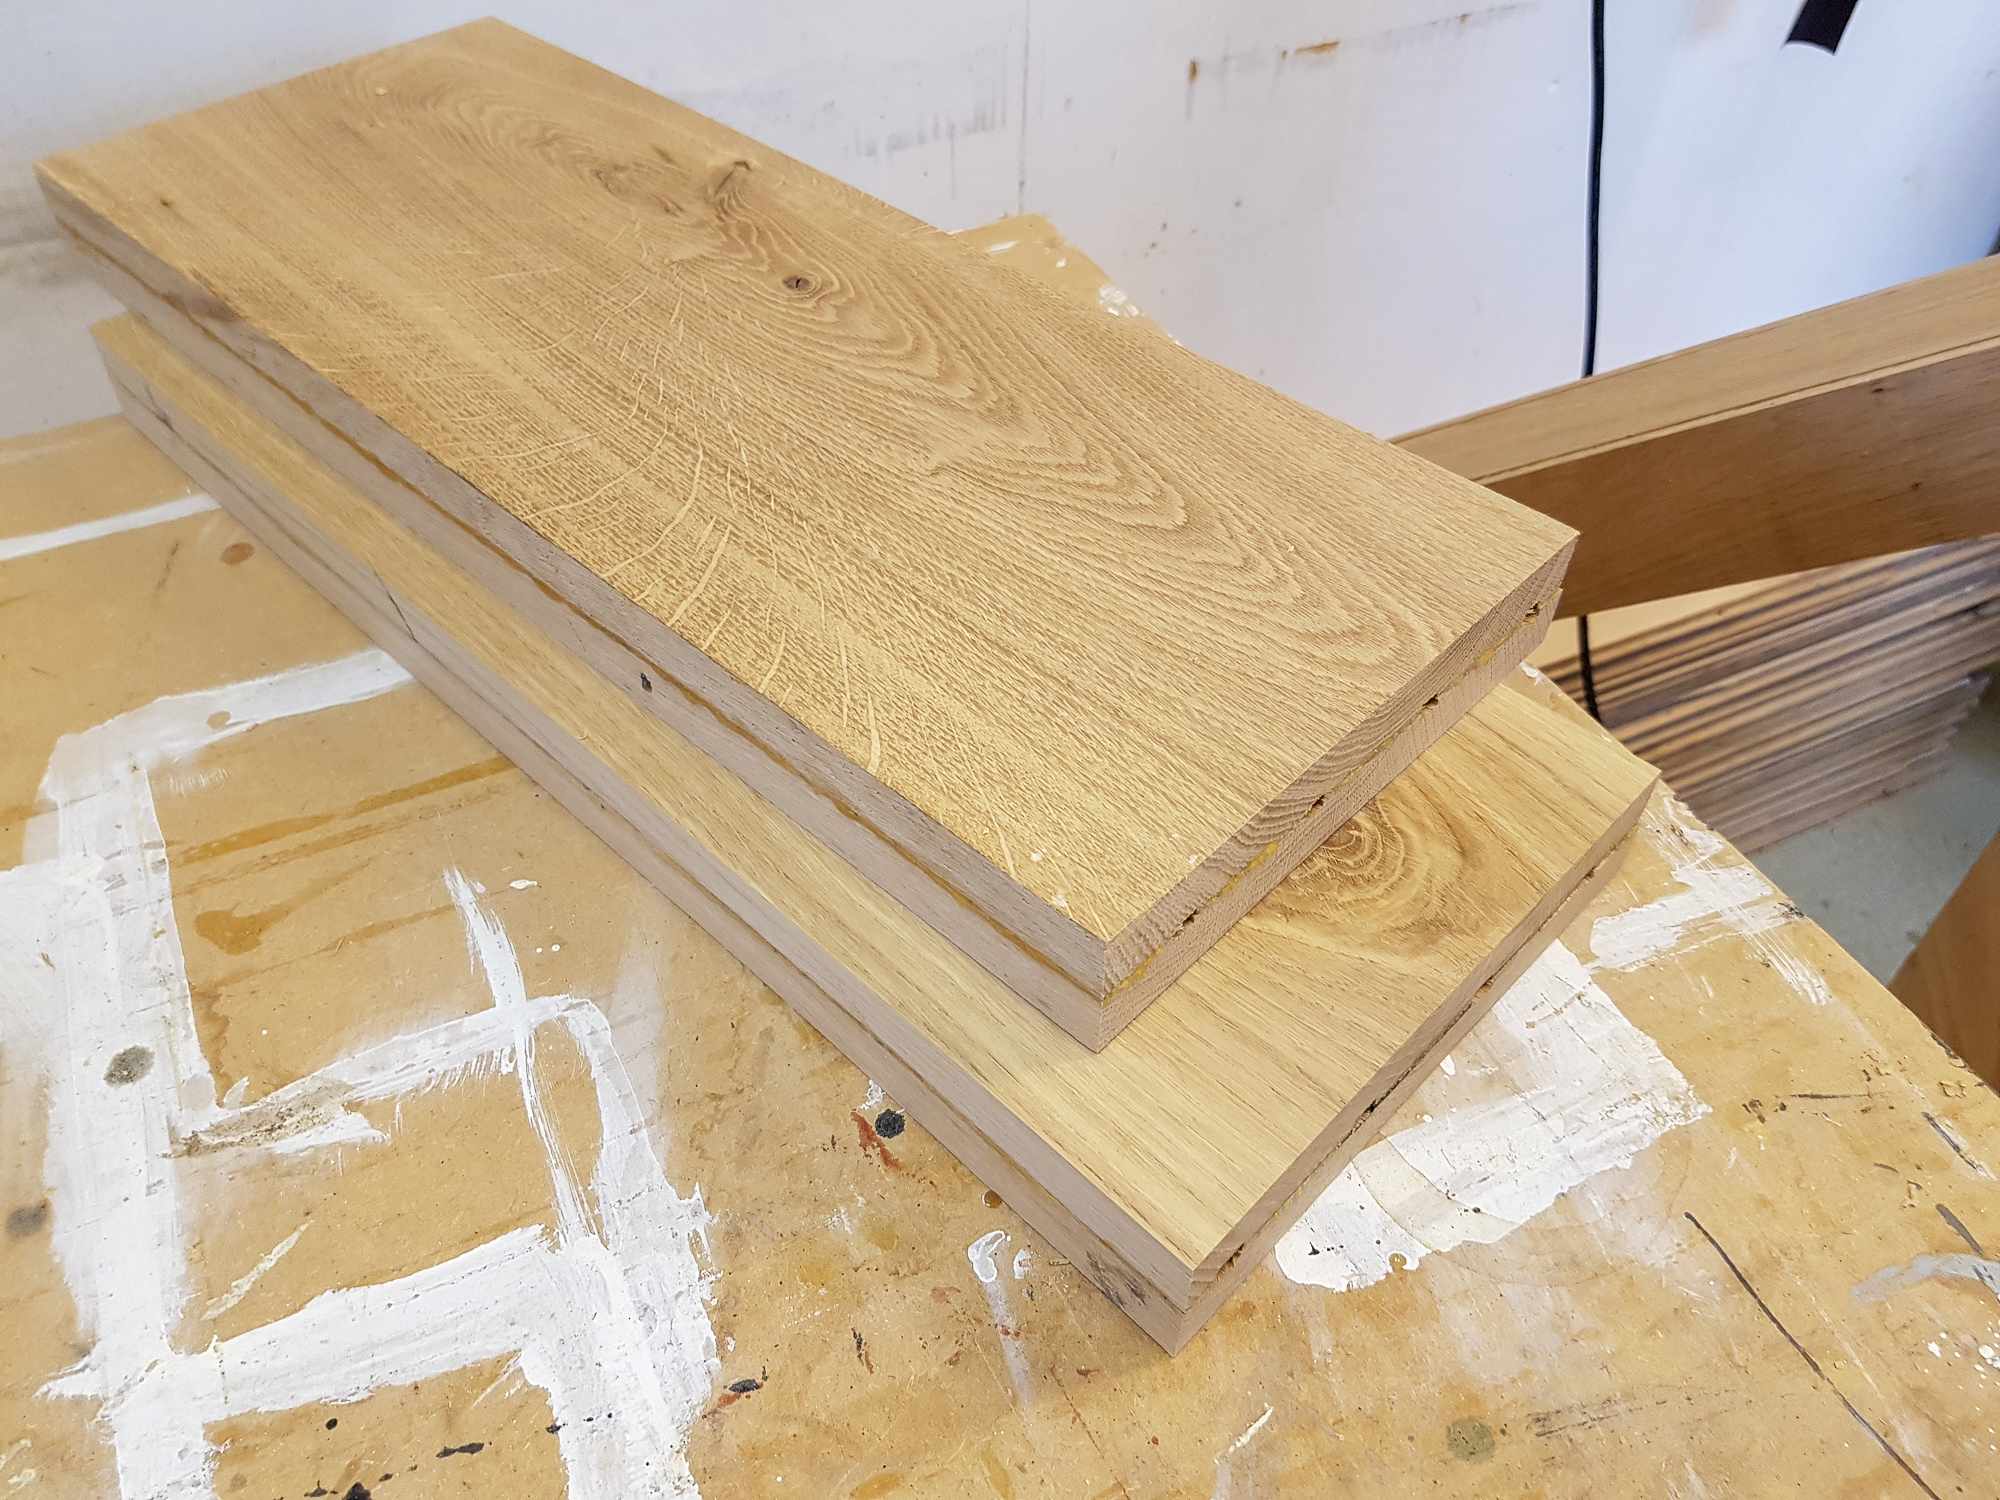
So this was the oak flooring I bought.
oakf-100.jpg


I wasn't sure what it would be like to work with so i thought I'd start with the simpler stuff.

I want it all to look good when it is finished but it is about practical more than fine woodworking so I'm not going to be making things you can't see pretty.

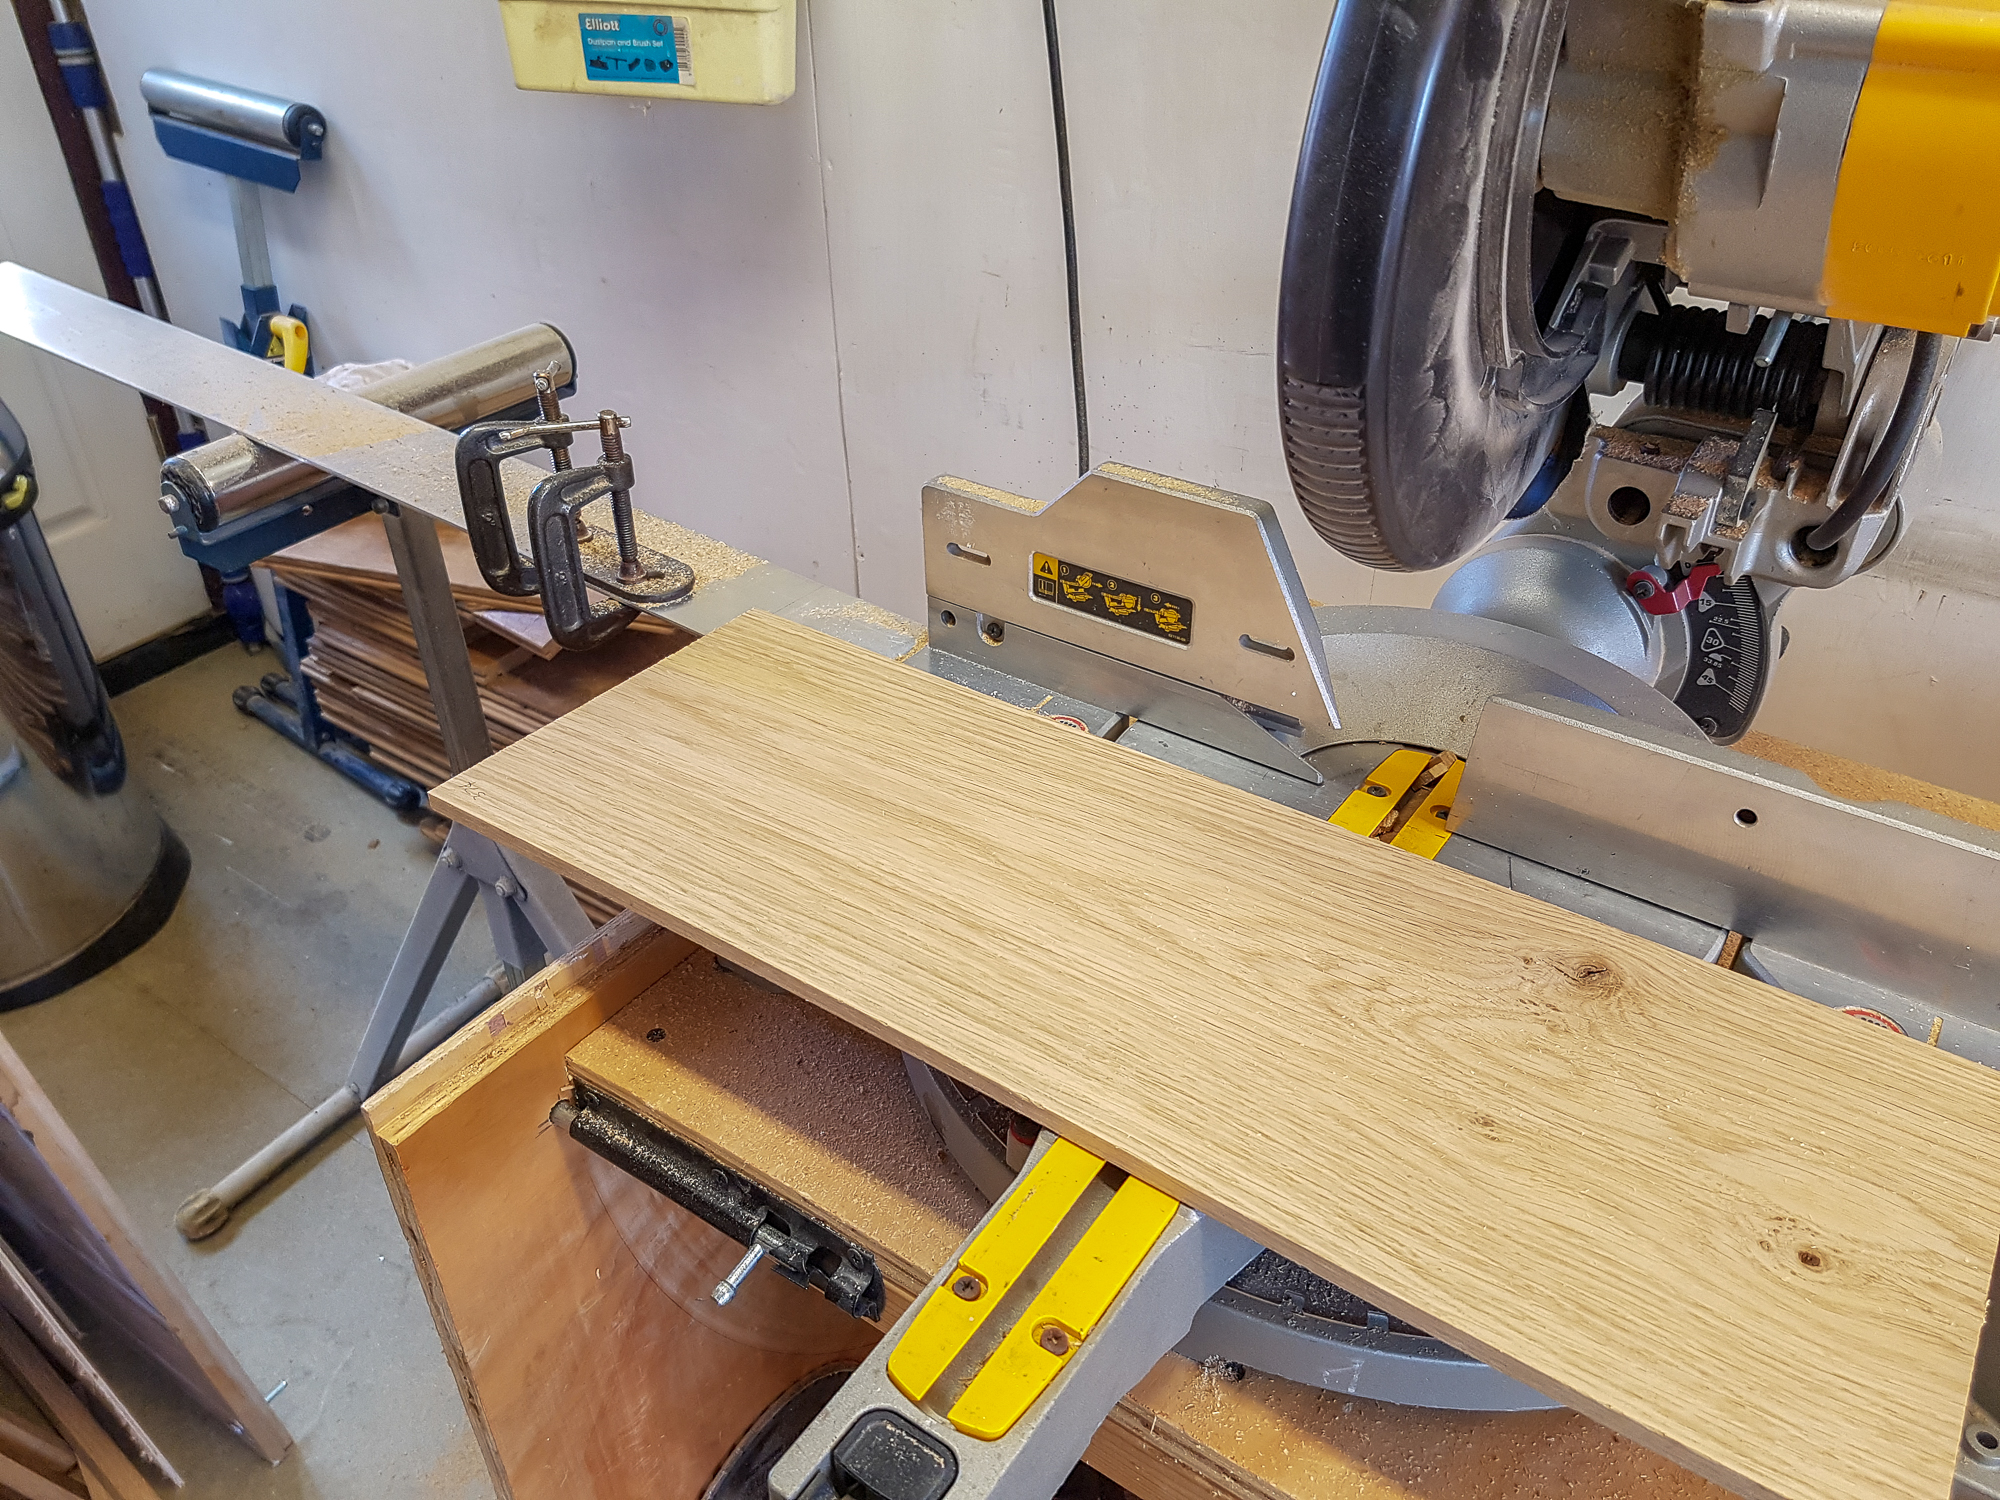
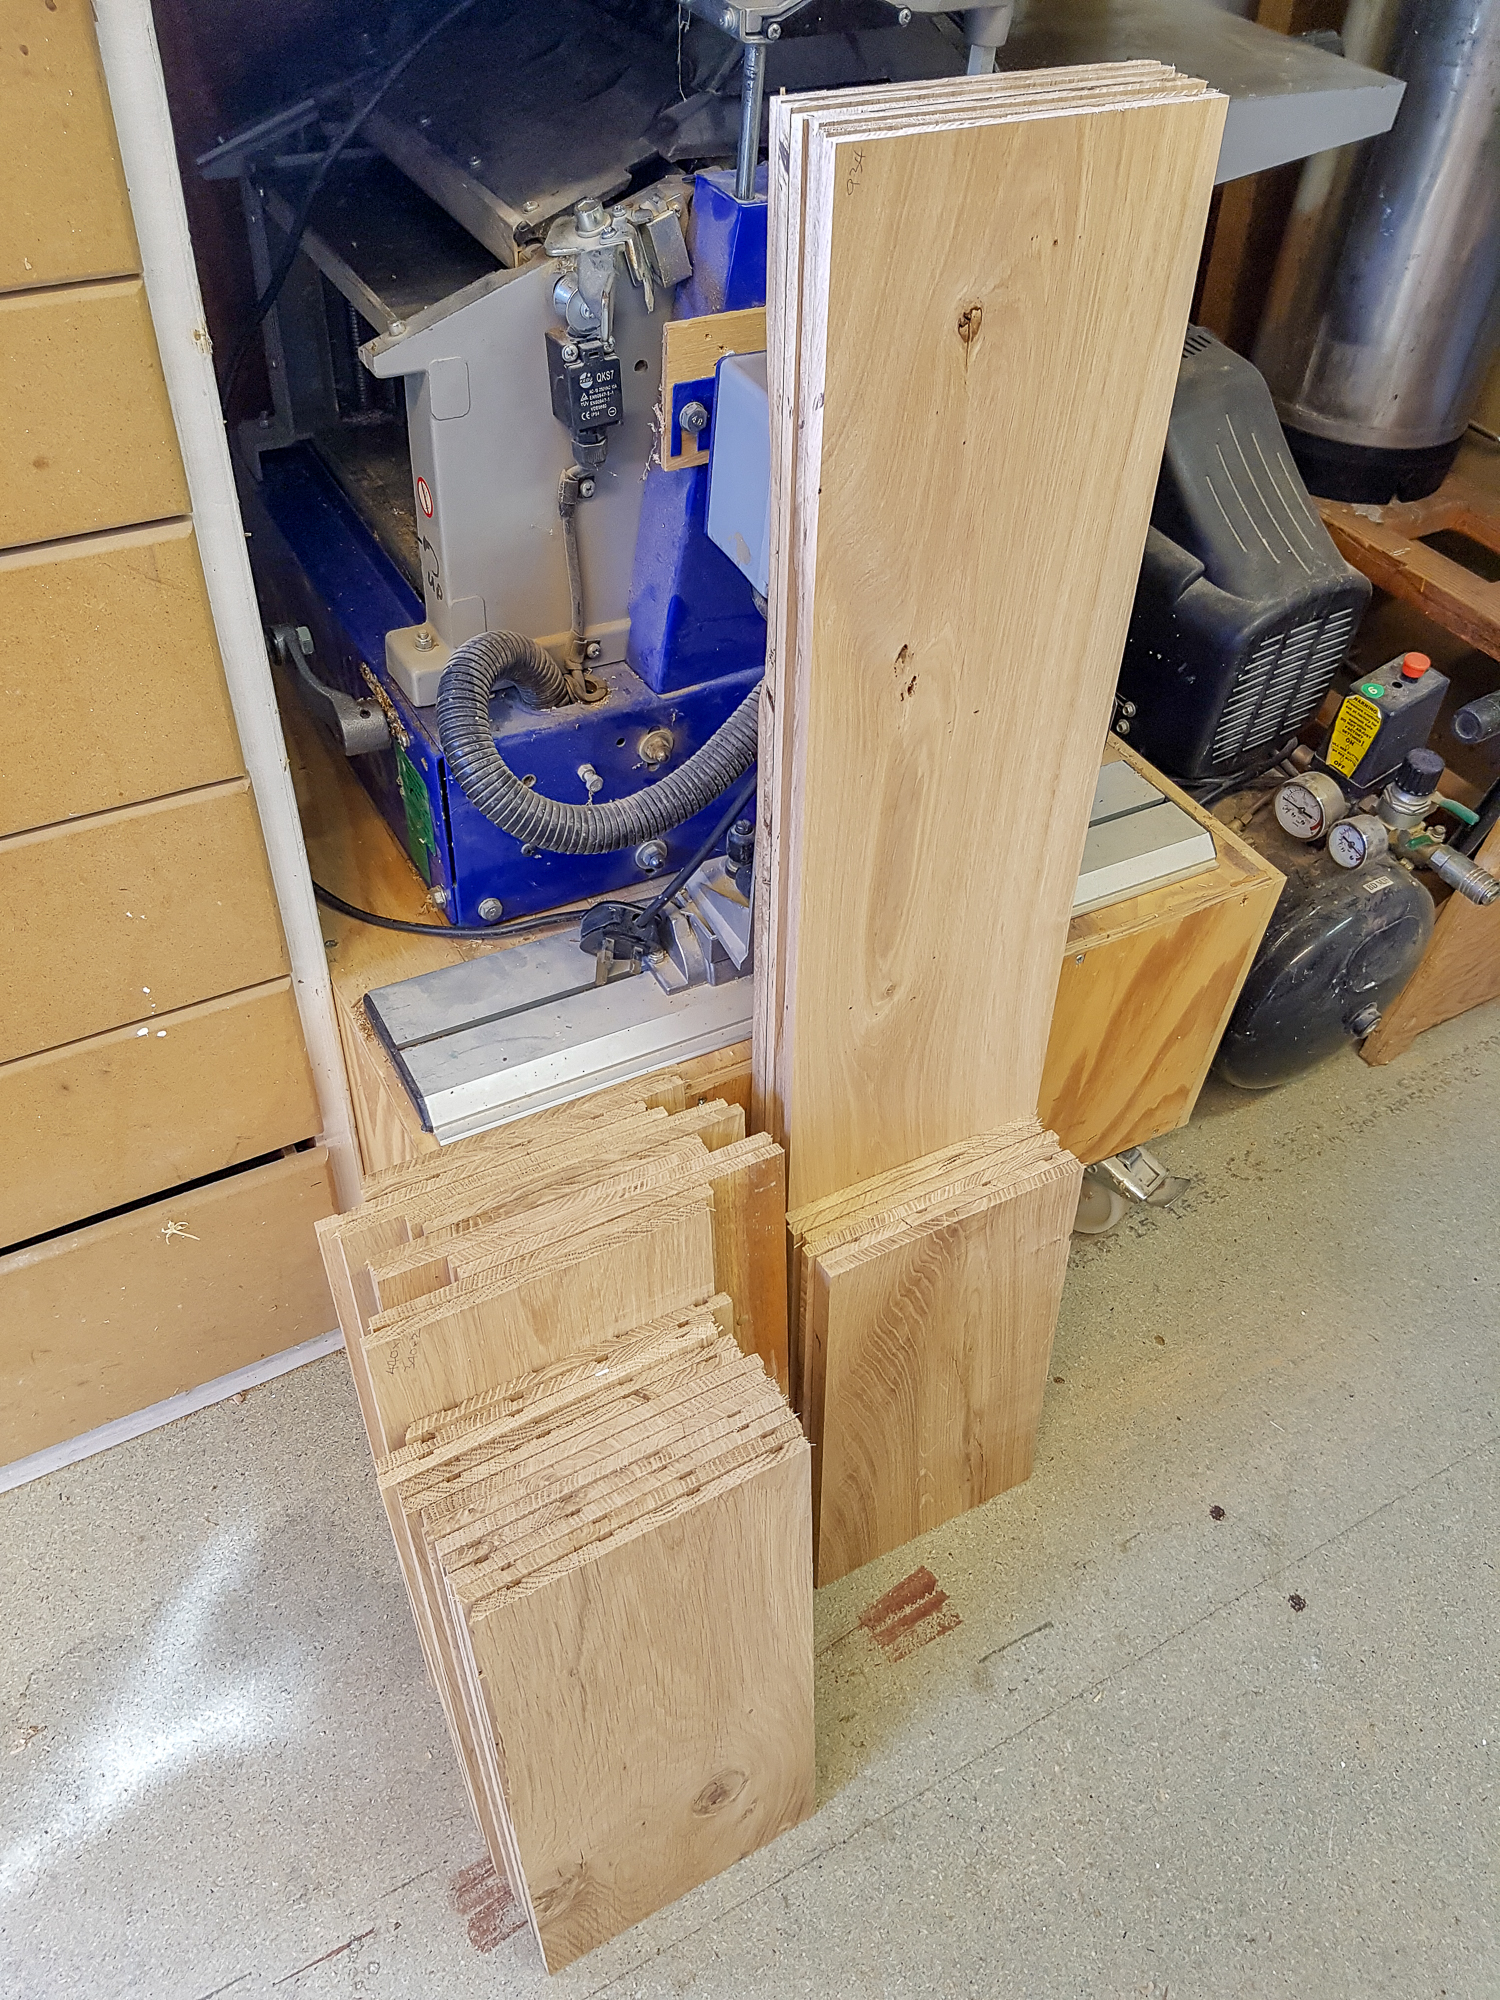
Damn my planer is noisy. Doors shut to keep the noise in, ear defenders on. Afterwards Mrs still complaining I'm making too much noise. The planer didn't seem to like doing 200mm wide oak too much either. lots of vibration and adjusters revolving on their own instead of staying set. Anyway ended up with a set of parts for the pedestal carcases.
desk-105.jpg


I cut off the tongues and got rid of any remaining edge bevel then grooved the edges larger than the existing groove and cut loose tongues.
desk-106.jpg


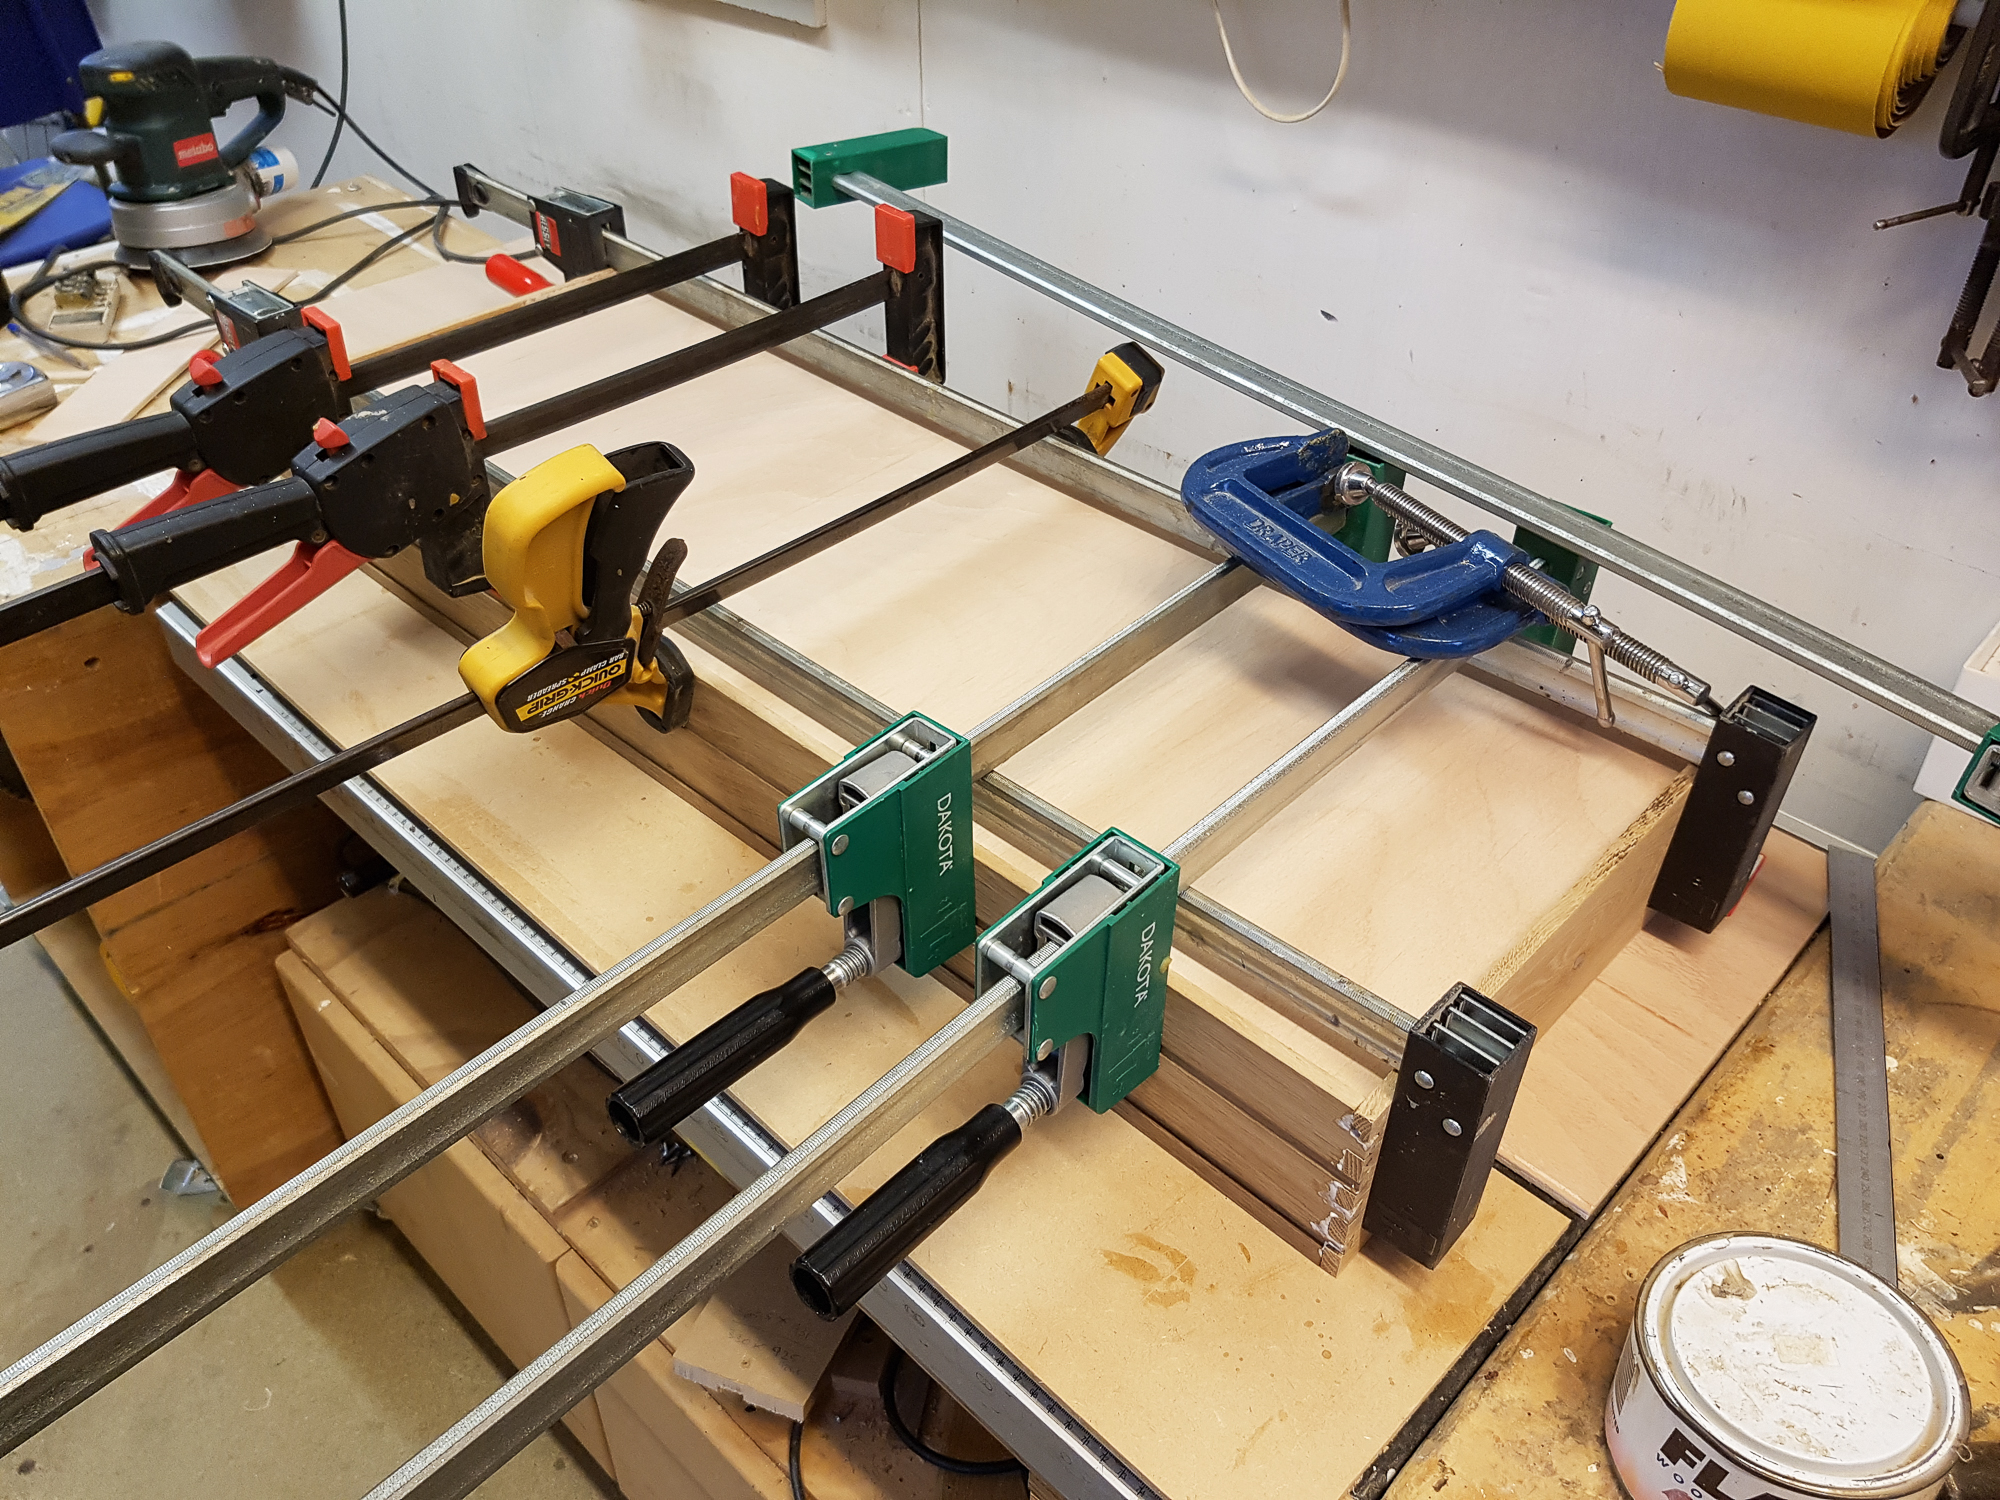
Clamp up
desk-107.jpg


Quick run over with the sander
desk-108.jpg


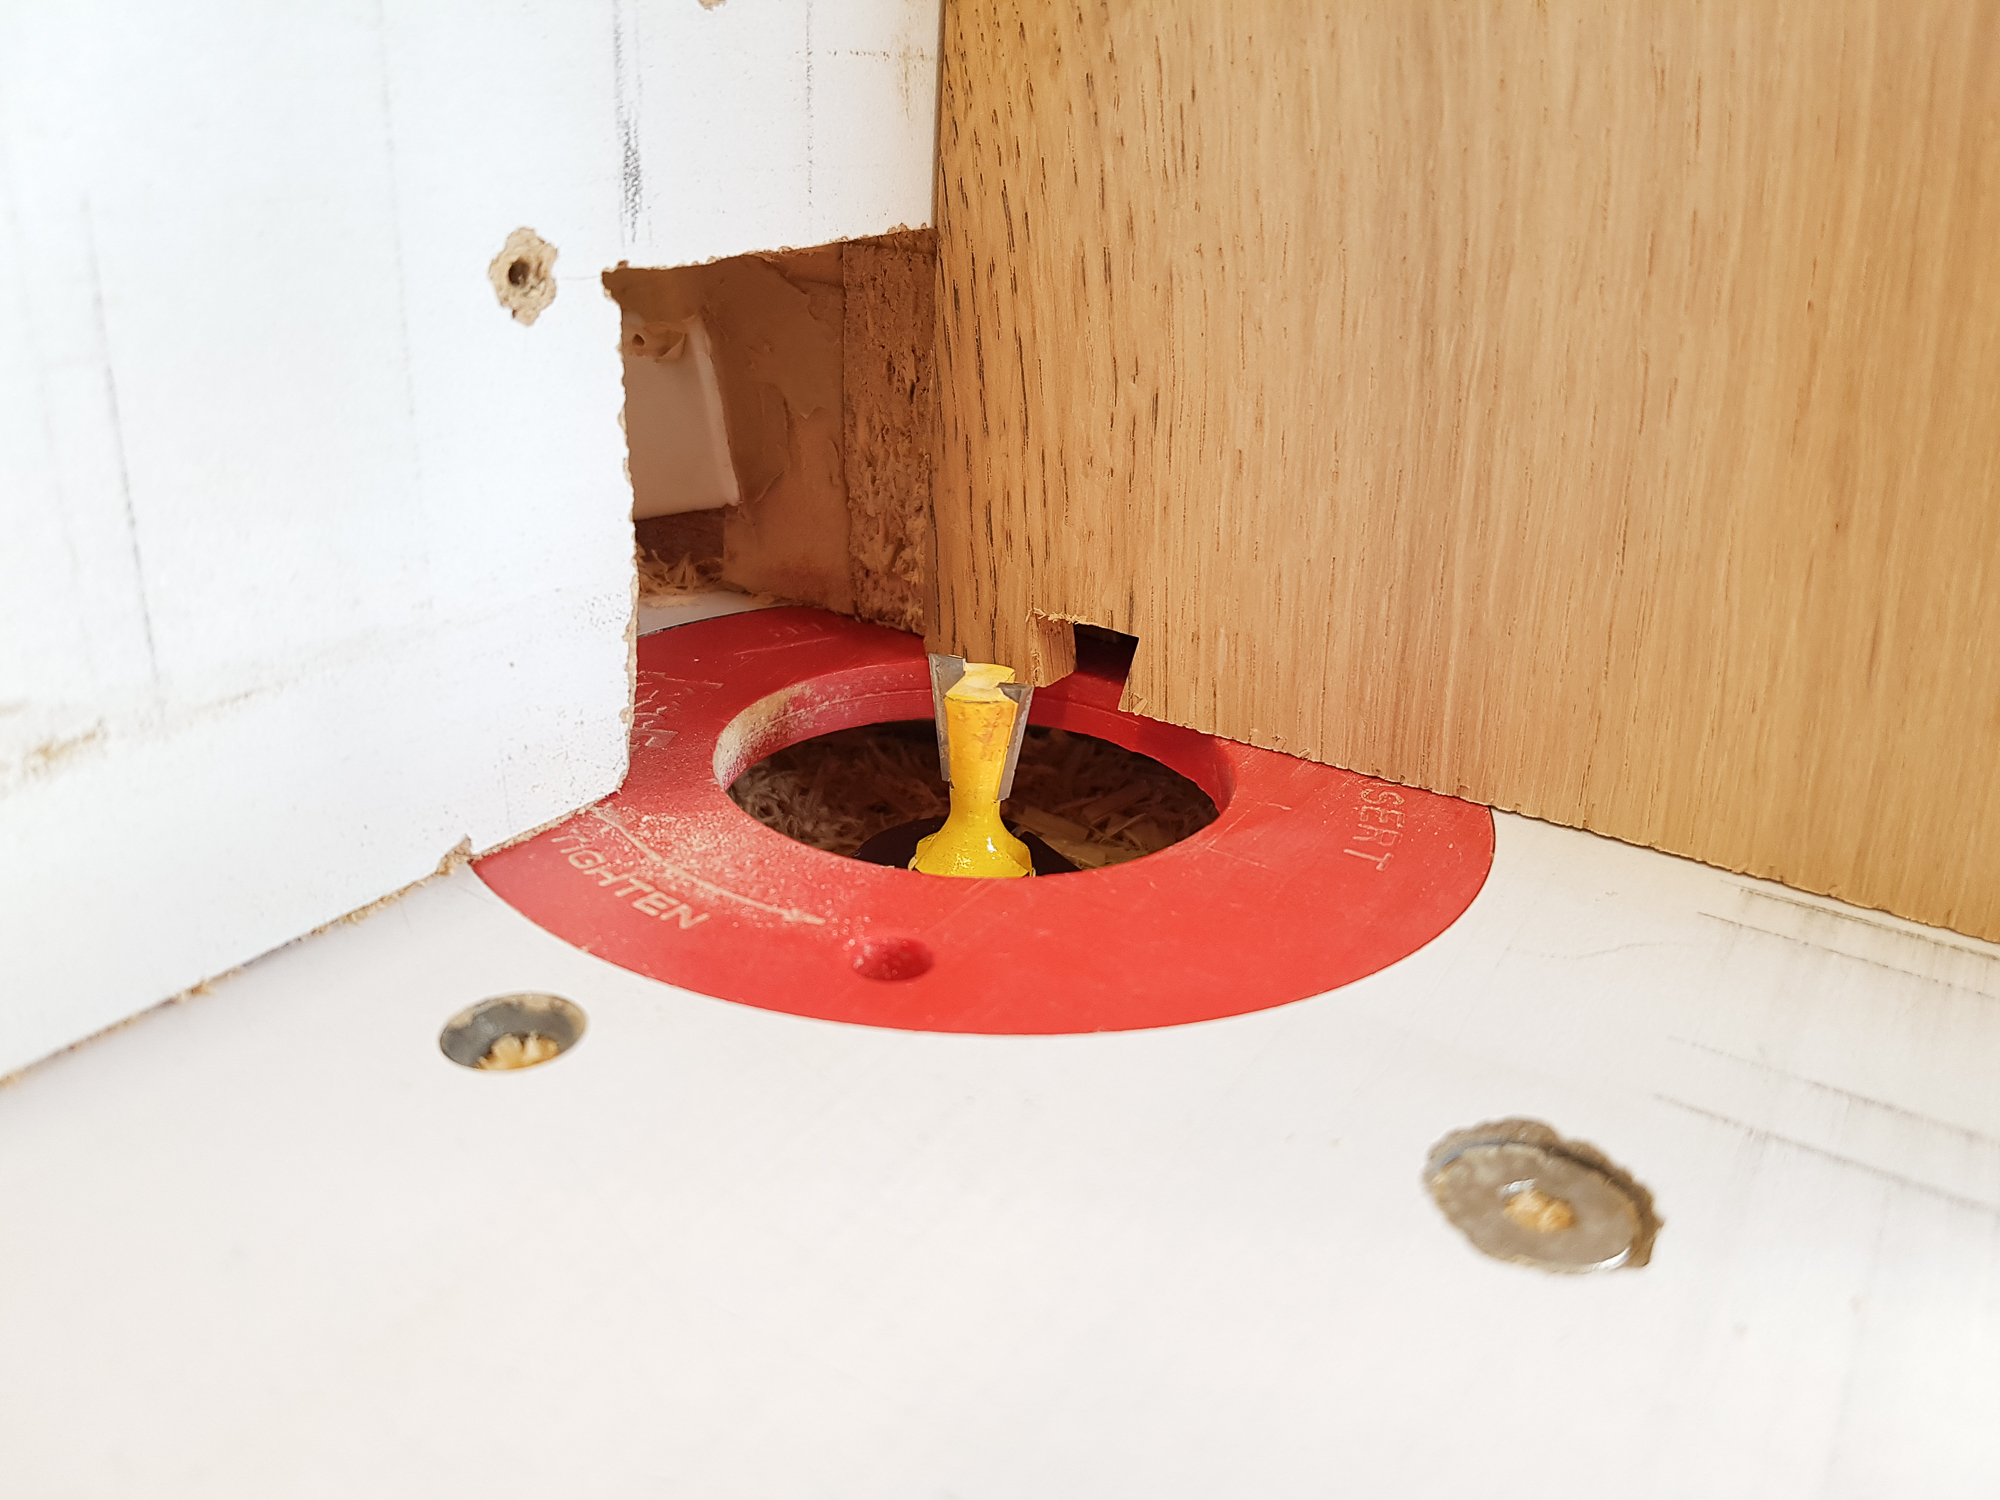
There are anti curl grooves on the back which would spoil things going together so they had to come off. Thinking in terms of resawing I screwed a metal strip to the router fence then ran the panels through to get a constant thickness with no grooves left.
desk-109.jpg


Not perfect on the corner but close enough to easily fix
desk-110.jpg


Tryout
desk-111.jpg


held together with pocket holes and drywall screws. i'll not pay out for special kreg screws!
desk-112.jpg


One of the standard pedestals put together as well
desk-113.jpg


That's as far as I've got. Need to get some ply for the backs and drawer bases.

Still thinking about how to go about the desk. May change the end panels too. Be some time until I get to the desk itself.
 
This flooring oak has quite a few defects - mostly knots but some splits too. I usually buy a small glass fibre kit and just use the resin to fill the holes. This time I bought a 1kg resin kit from ebay for only a few pounds more that the tiny kit from toolstation. Came next day via courier which was surprising for 'free' delivery. Resin,hardener,2 mixing pots,stirrers,5cc syringe,2 brushes and a few gloves.
desk-114.jpg


You have to get the ratio right when mixing as they warn it may not set if wrong. I'm only making 10cc at a time so I got a small syringe for the hardener and can dispense 0.2cc with it and 2 squirts of the 5cc one with resin for a 1:50 mix.
I just drip it on with the mixing stick.
desk-115.jpg


After a quick sanding and a wipe with sealer
desk-116.jpg


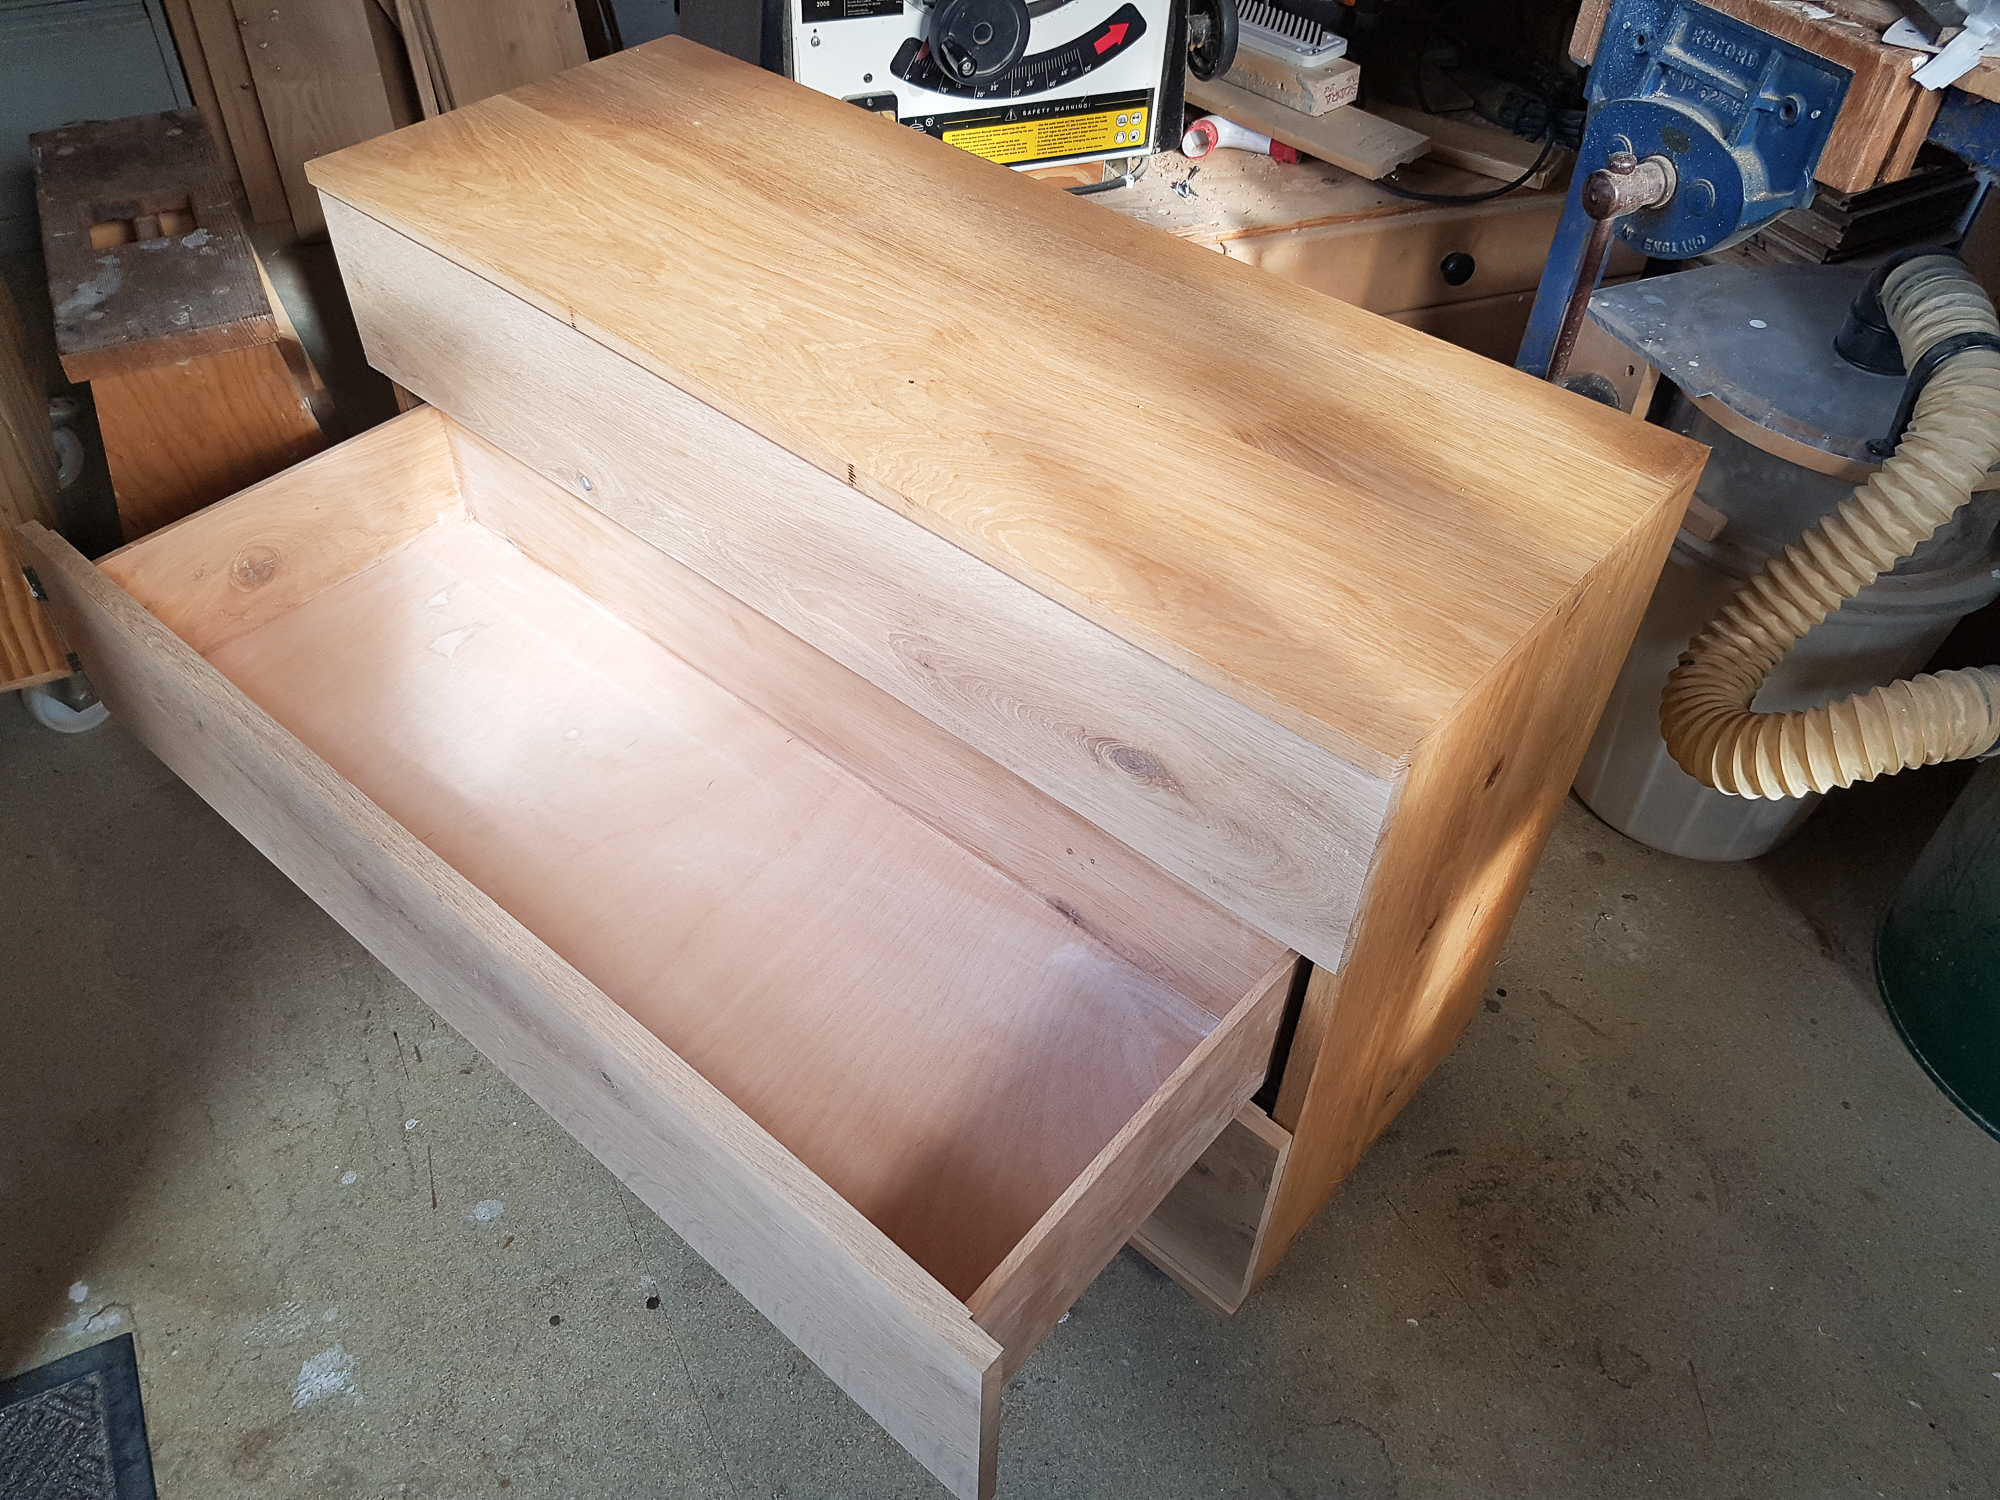
I glued up all the carcases, filled as required and sanded then used 50% diluted varnish as a sanding sealer - applied with a rag pad.
desk-117.jpg


I need some room to work making drawers so temporarily put the castors on and sneaked them into the house.
desk-118.jpg


The backs are 'hardwood' ply. looks a bit like beech to me. The backs will not be seen but I intend to stain them a closer colour to the oak.

Now I need to make drawer boxes...9 of them.
 
Thanks for the detailed WIP, Robert.

I'm not too clear on what's going on with this one though.

http://www.argand.co.uk/pixs/TWH2/desk-109.jpg

I'm also a great fan of epoxy to fill cracks. Currently struggling with some oak floorboards that have been 'bulk' filled and look naff.
 
RogerS":3mysxivu said:
Thanks for the detailed WIP, Robert.
I'm not too clear on what's going on with this one though.
desk-109.jpg

That was my router table set up to make the rebate shown in the picture that follows that one.

The glued 'boards' were flat enough that they would pull flat for glueing but were not perfectly flat. I wanted a constant thickness remaining not a constant shoulder step so the panel was slid along the fence left to right and the cutter 'thicknessed' off the rebate. As the panel was not dead flat I screwed a metal strip to the fence so the thickness would be constant at the cutter even if the panel had a bow in it.
 
Mmmm...I'm just not getting it. Did that metal vertical piece act as a stop to keep the board vertical ? And then the whole assembly ..board, false fence, metal vertical etc ..slid from left to right past the cutter ? Why did you climb cut rather than going from right to left ?

If the metal strip stays in position and the board slid then I can't see what difference the metal strip makes to the 'constant thickness' ..sorry, Robert, I'm just missing something here and I'm sure it will be a :eusa-doh: moment when it all comes clear.
 
If you run a bowed board along a flat fence it will either touch at the ends and gap at the middle or vice versa if bowed the other way. The metal strip was proud enough from the fence to always touch as it was thicker than the amount of bow.

Same principle as resawing on a bandsaw. In this case the main fence just helped manage the panel - the strip was the guide.

It wasn't a climb cut as the work was behind the cutter, between cutter and fence. so left to right was a normal cut. Only the workpiece moved :)

This is good btw. Makes me see where I'm not explaining things well. I did it so it is obvious to me. Should have taken the picture with the workpiece being cut.
 
I'm afraid that I still can't see it. I pointed the thread to another well-known and very experienced woodie and he's stumped as well !
 
By pushing it past the metal strip, which I think gives a gap the same thickness of the wood, the rebate depth would be consistent.
I think??

Rod
 
Rod":uymjekl9 said:
By pushing it past the metal strip, which I think gives a gap the same thickness of the wood, the rebate depth would be consistent.
I think??

Rod

But I think the wood is held vertically so that metal strip is going to act as a 'stop'. :eusa-think:
 
It does but once persuaded over the strip it then gauges the thickness.

This is fun :)

I had taken the setup down but just put things in place for pictures.

Board riding past metal strip
desk-119.jpg


cut in progress but without the finger board pressing it against the strip
desk-120.jpg
 
Rod":25832as1 said:
By pushing it past the metal strip, which I think gives a gap the same thickness of the wood, the rebate depth would be consistent.
I think??

Rod

The rebate cut depth will vary a little but the visible edge will be constant thickness.
 
Thanks for taking the time to do this, Robert.

I still can't see what benefit the steel strip provides. Surely you could just achieve the same by moving your fence forward by the same thickness ? That would also avoid the timber rocking over the metal strip as you slid it along.
 
Are you using the strip something like a point fence on a bandsaw.....the depth of the rebate is governed only by the separation at the fence and not the poor fit of the panel against the long flat fence?
 
Stargazer":irjy9nb8 said:
Are you using the strip something like a point fence on a bandsaw.....the depth of the rebate is governed only by the separation at the fence and not the poor fit of the panel against the long flat fence?


By Jove, I think he's got it :eusa-clap:
 
Thought I'd said that a few times but you must have said it better :)

Yes

Yes

yes
 
StevieB":1hdix24k said:
Why climb cut though? Or does it not become so critical with a tight fingerboard?

He isn't...that was my mistake to suggest it.
 
StevieB":2720b4v4 said:
:eusa-doh: My fault too - should have realised the board was going behind the cutter and not in front of it!

Easy done. I remember the first time I tried a router table I had it setup exactly as Robert. Only I was feeding in from the right. Taking very light cuts but couldn't work out why the timber was being tugged. Carried on and then, getting to keen, adjusted the fence to make a heavier cut and BANG...the timber was whipped out of my hands and fired into the plasterboard. :oops:
 
RogerS":sadnefha said:
I'm also a great fan of epoxy to fill cracks.

Suppose you wanted to use coloured epoxy for visual, decorative effect? What could you use as an additive to give say, a bright blue colour? - Rob
 
Never tried it but you can find pigments for resin on ebay as well as clear casting resin. The stuff I used is transparent but not crystal clear.

probably find stuff on youtube about resin casting.
 
Good to see some reclaimed oak making a new project. I bet there's some weight there. 8-)
 
Better late than never...

I finished the cabinets a couple of weeks ago and having not posted any updates I slacked a bit with picture taking towards the end too.

Having got the carcases together I resawed some floor planks for the drawer boxes.
desk-121.jpg


The planks were only 21mm thick to start with so I ended up with 8mm thick boards after thicknessing them clean and equal. Then set a stop for length cutting.
desk-122.jpg


Ready for joining.
desk-123.jpg


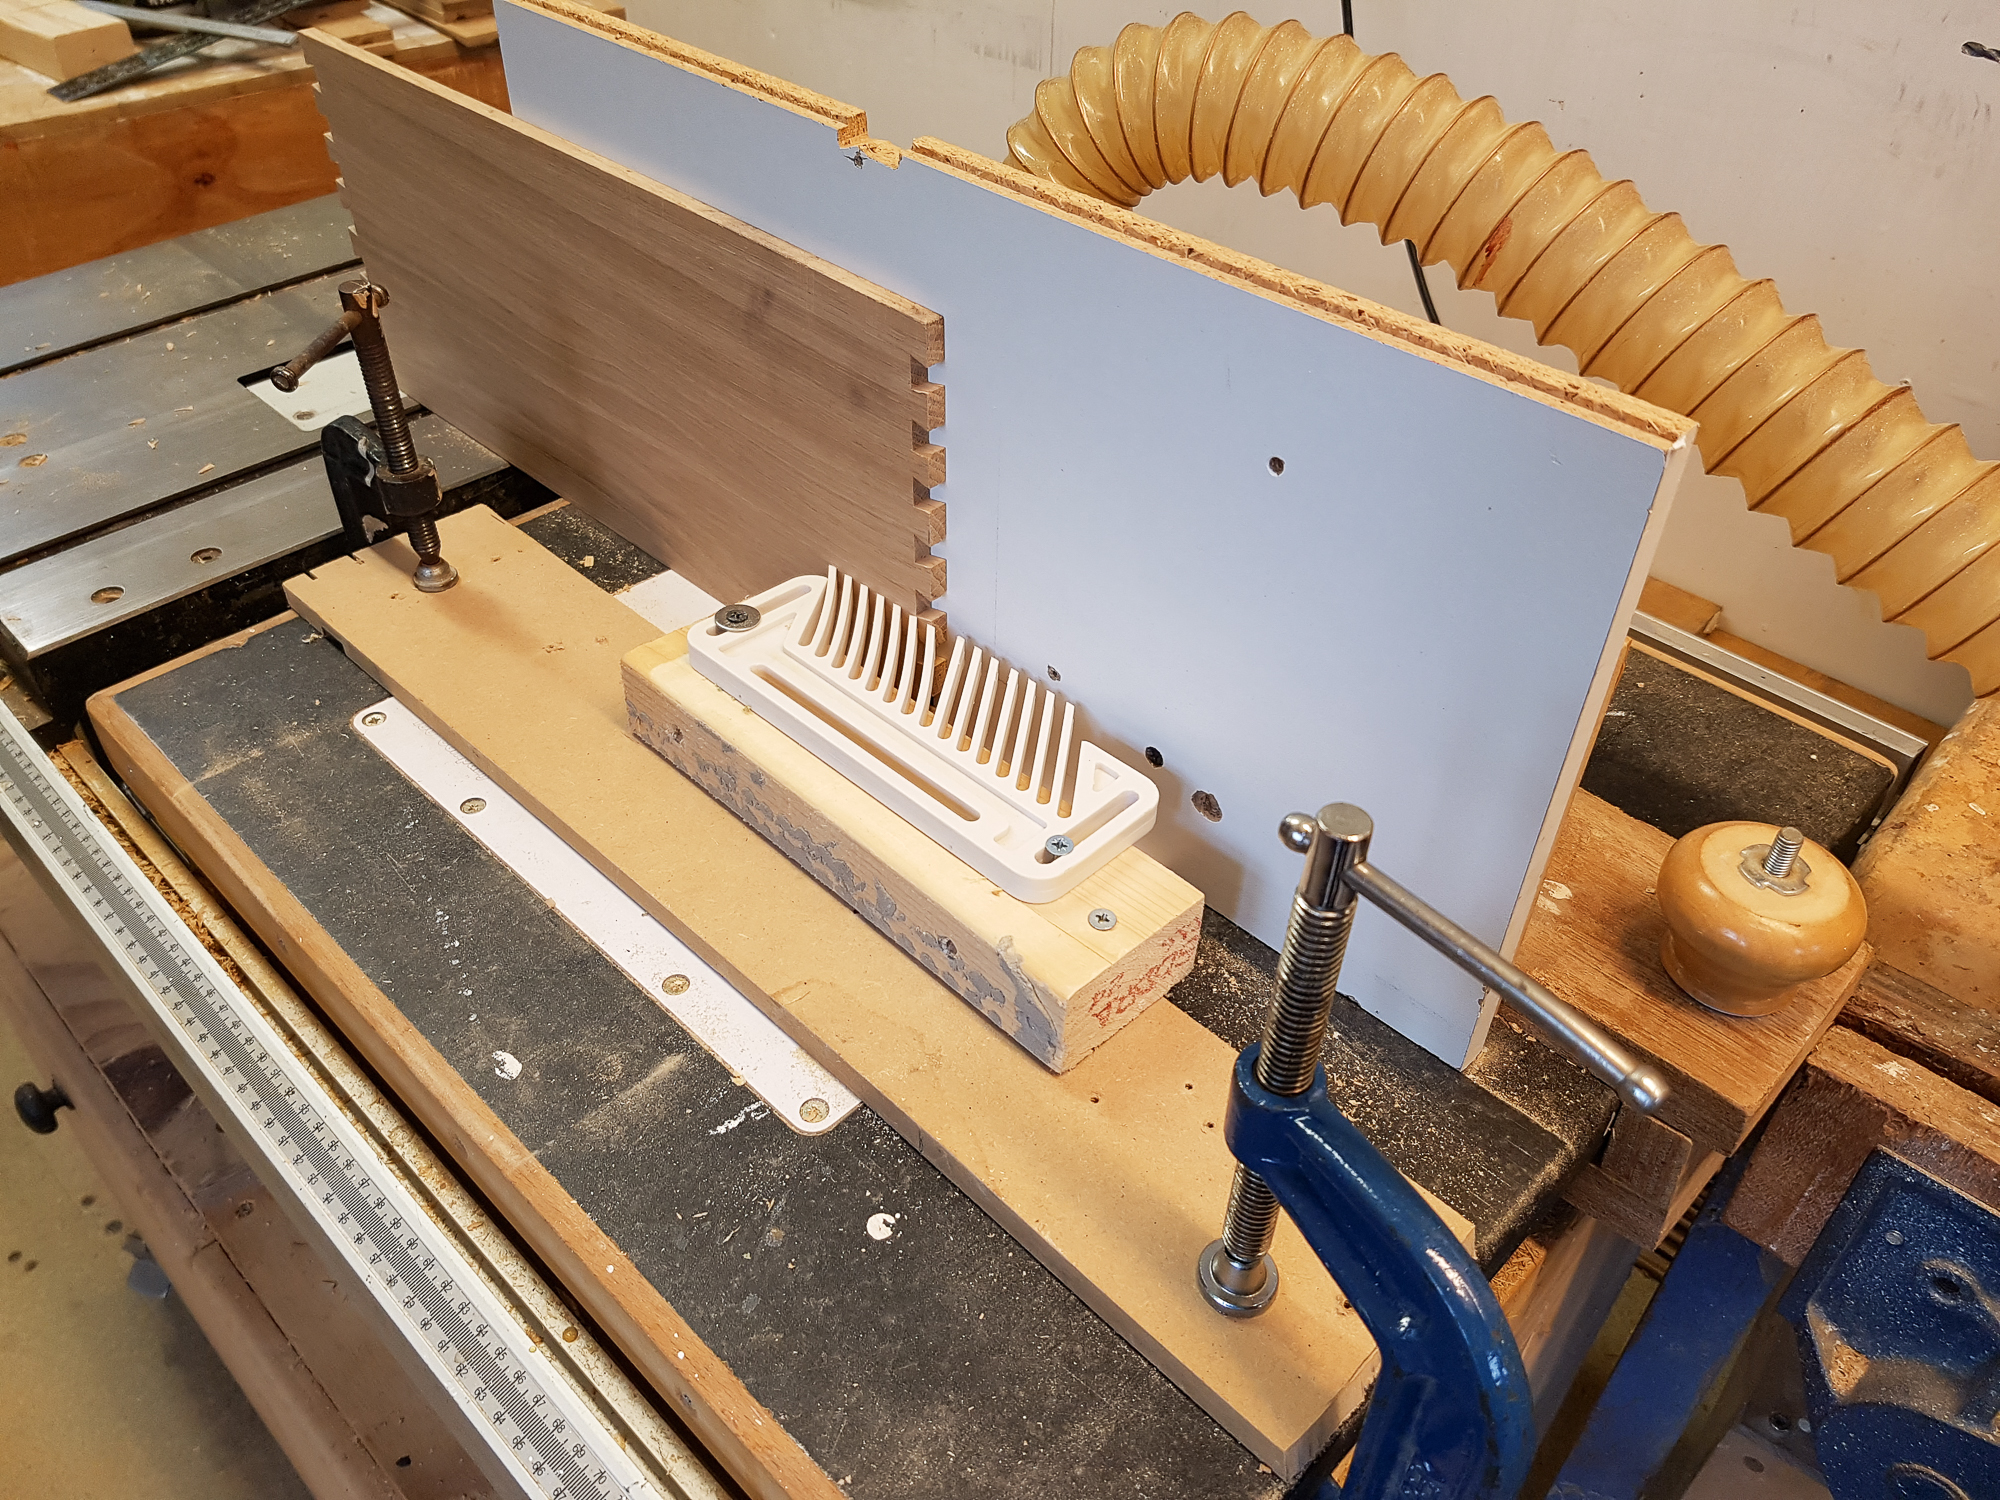
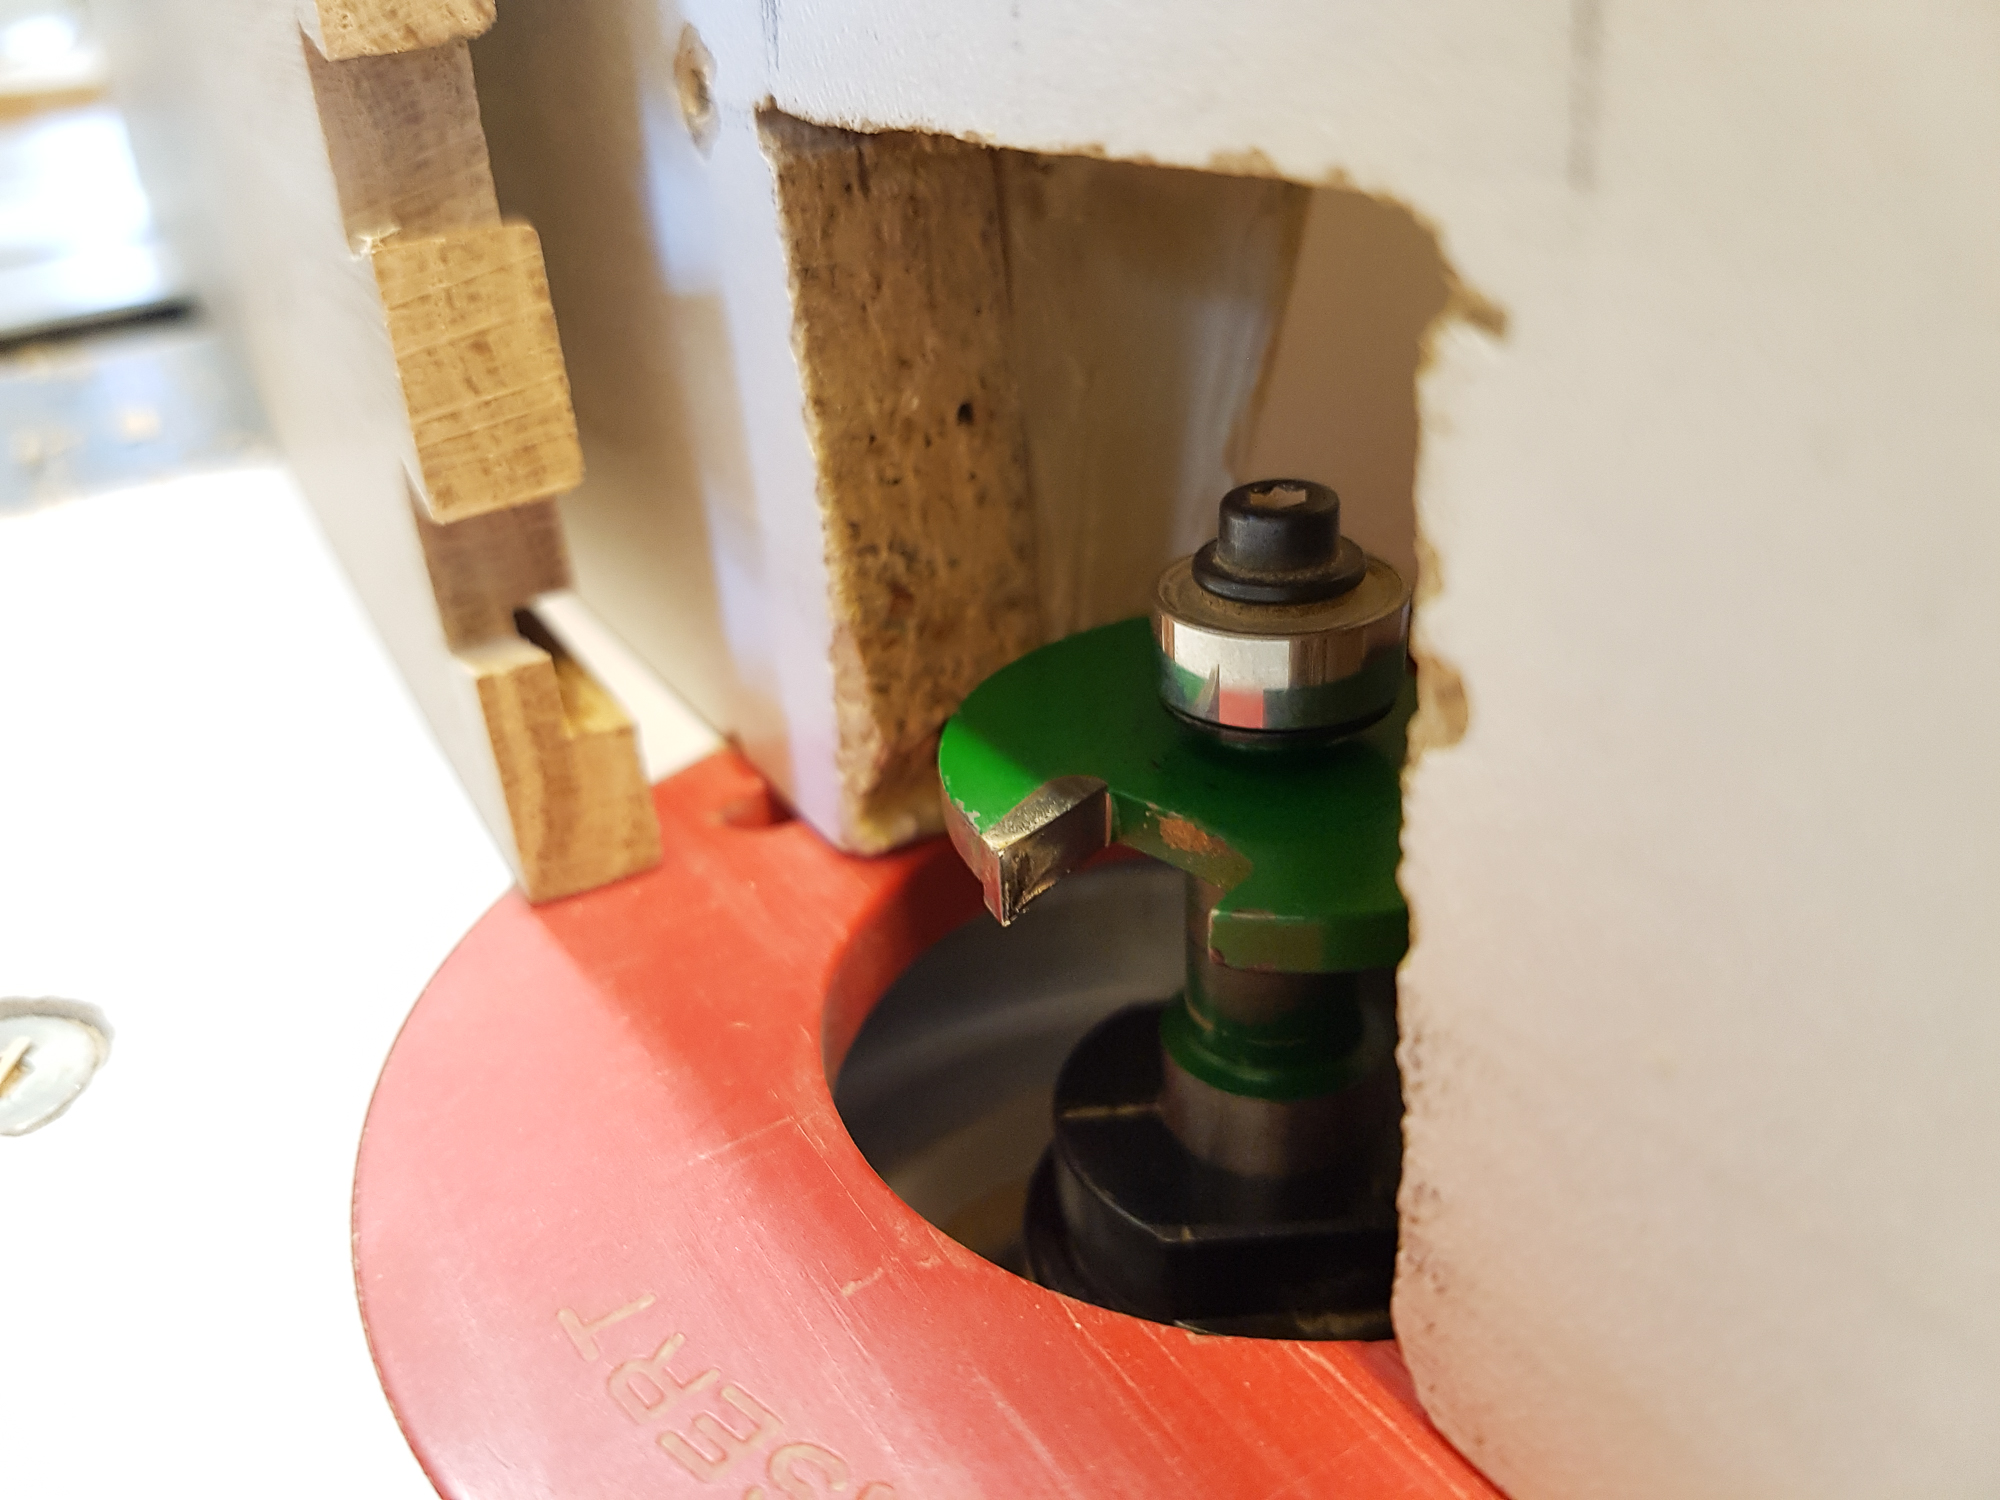
Simple setup on the router table to do the dovetail cuts. The board is backed up by a MDF construction that keeps it square as it passes the cutter.
desk-124.jpg


They all got the cuts at the same distance from either edge. Then it was repeated until the width was covered. The 3 drawers on each chest are each different heights.
desk-125.jpg


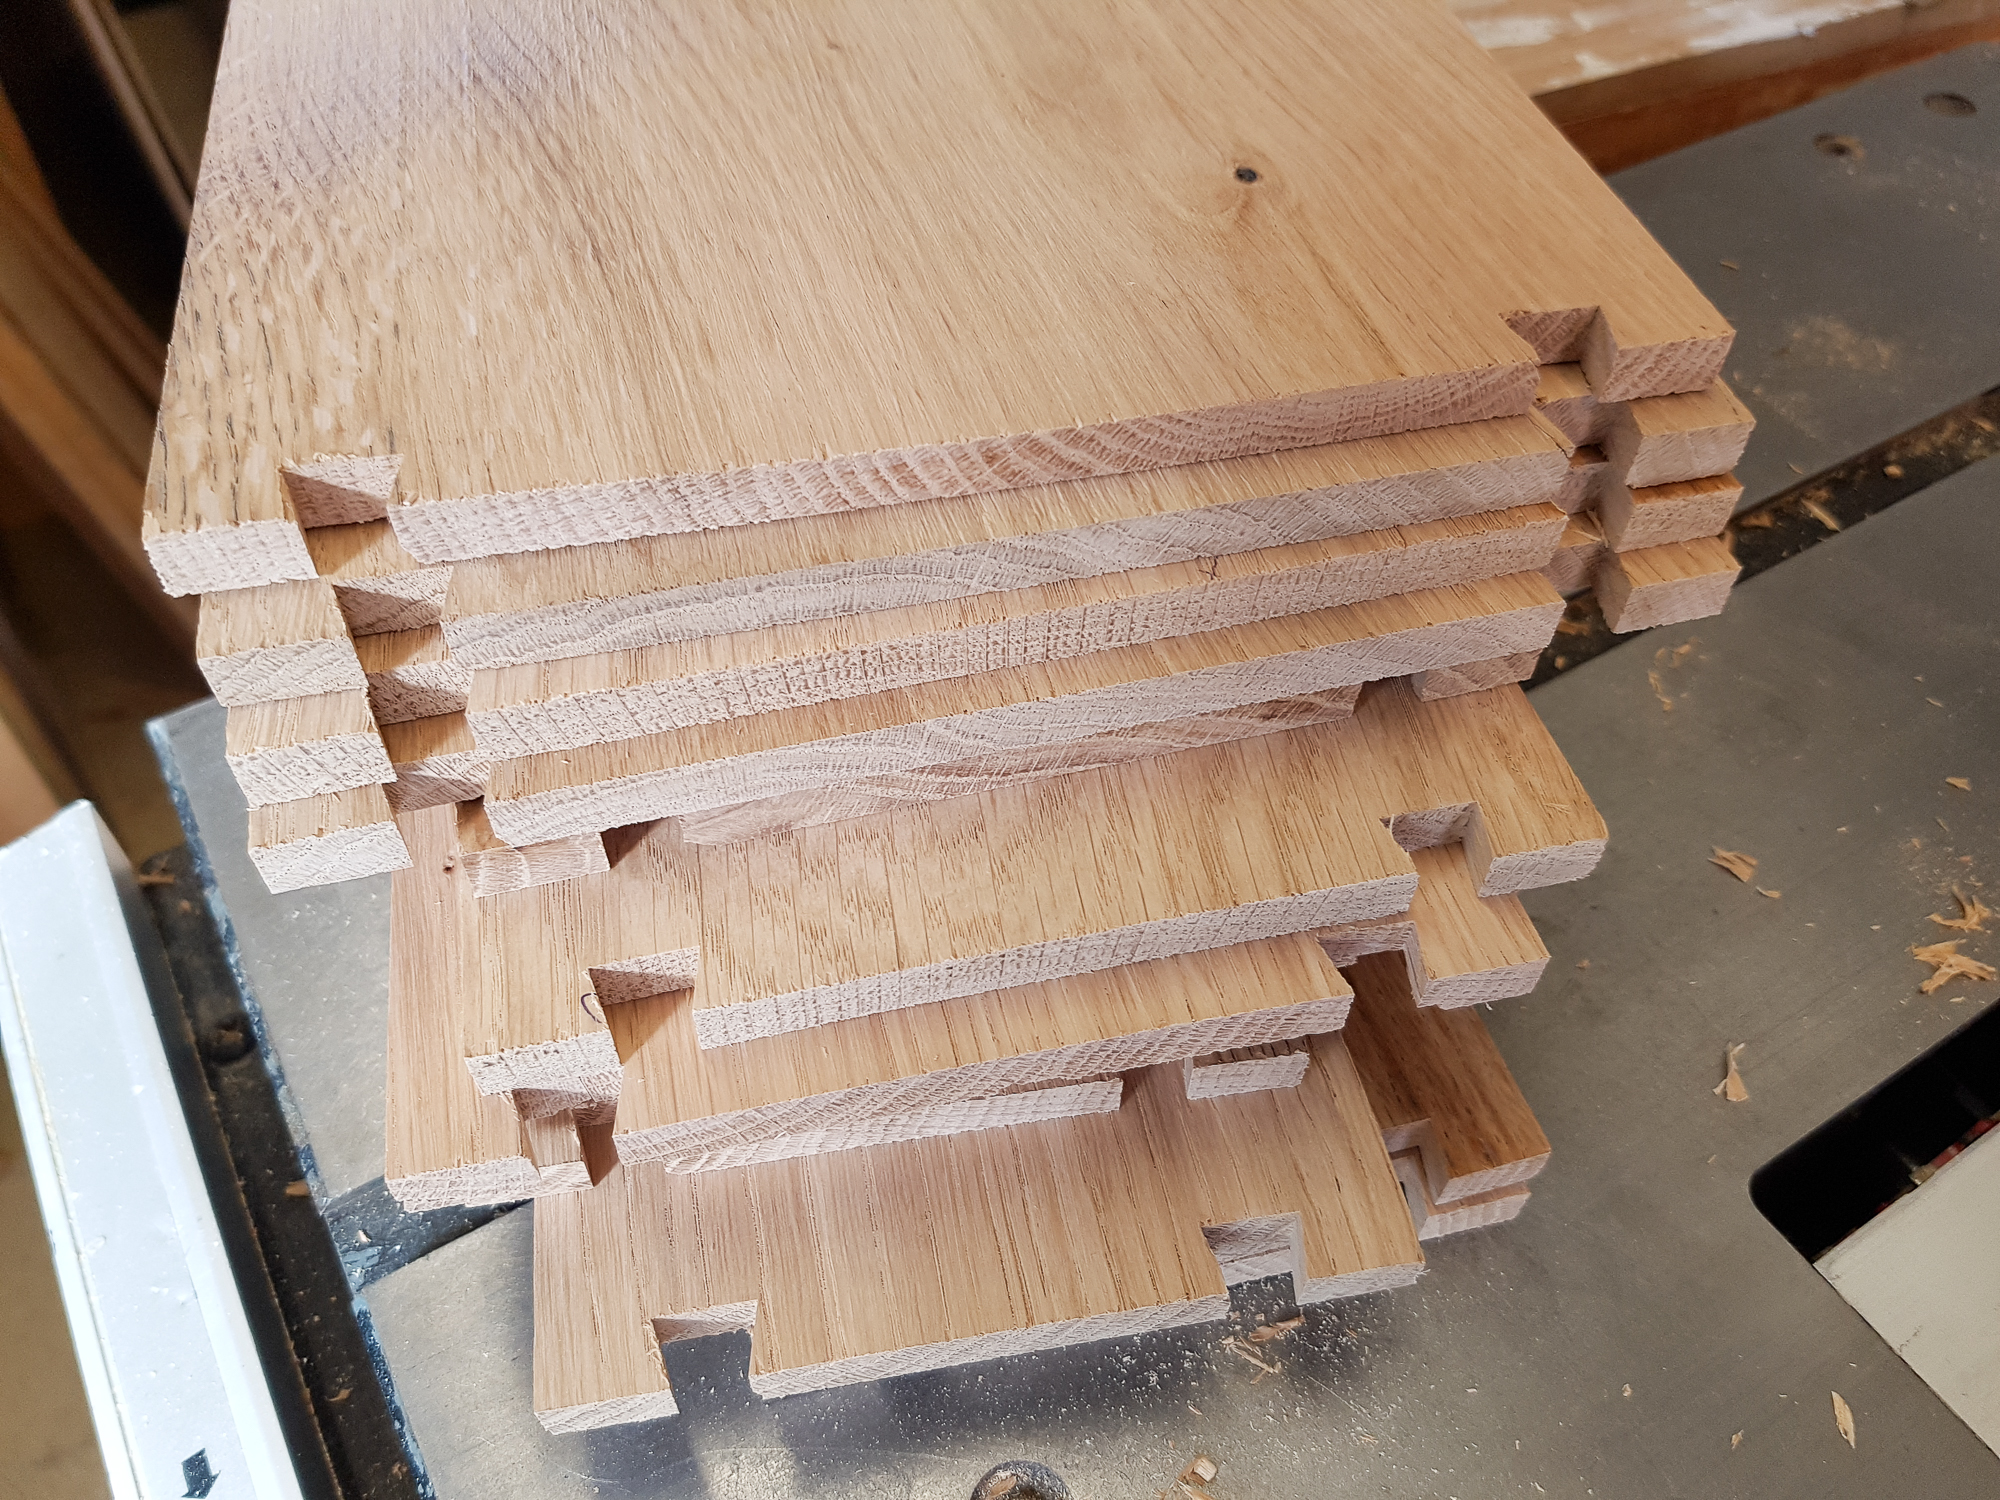
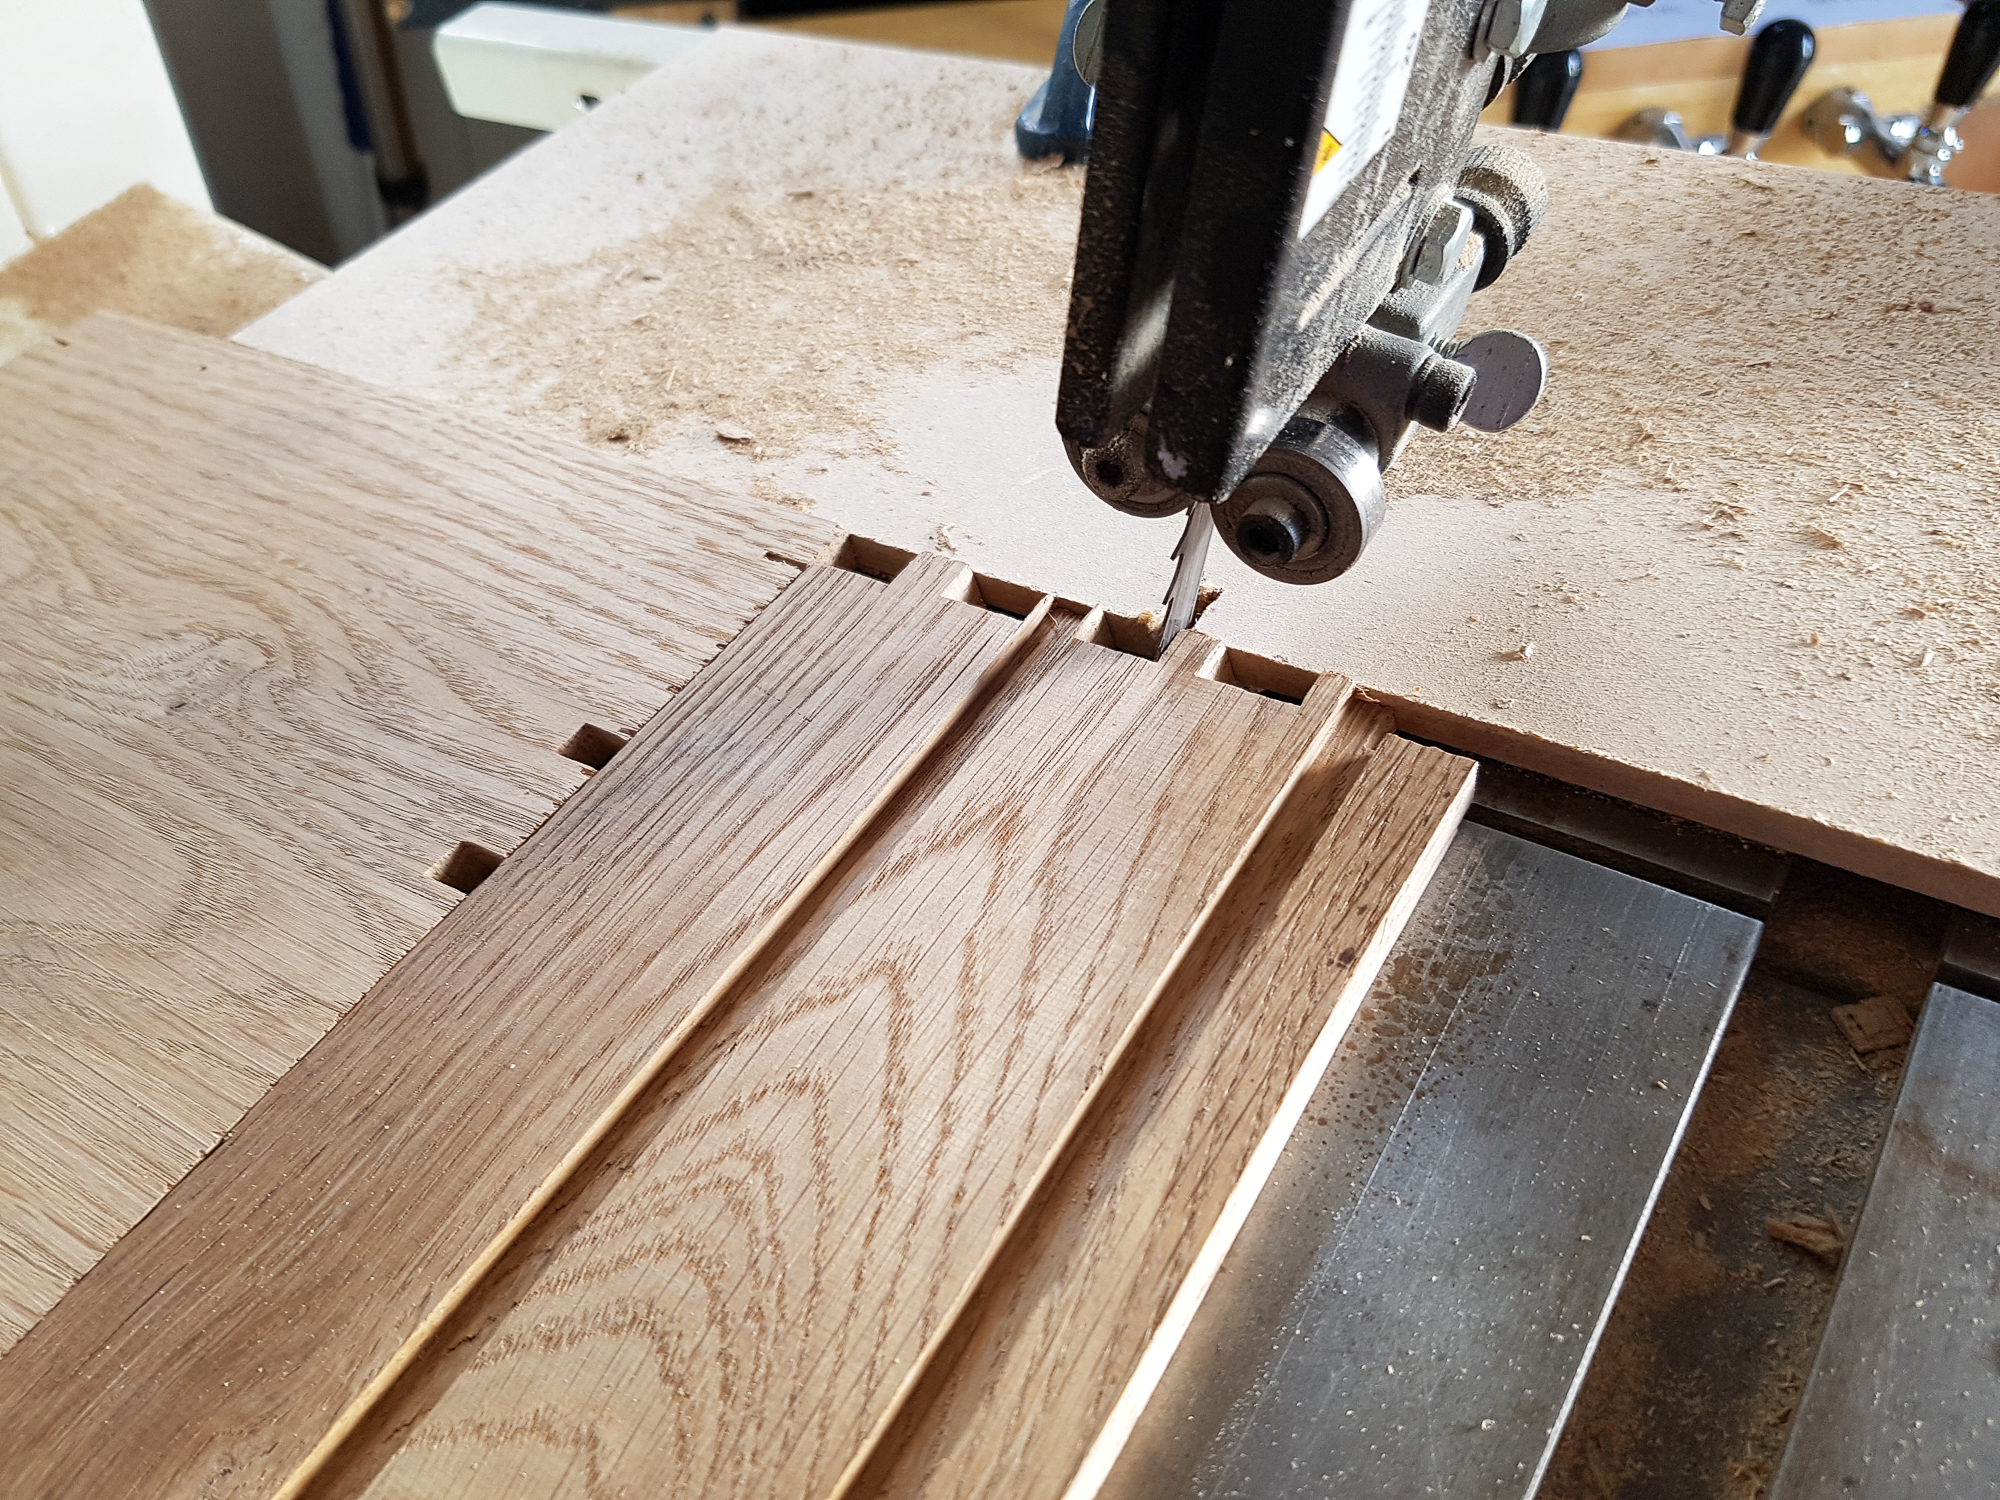
Usually I'd just mark the diagonal cuts and use a combination of hacksaw and fret saw to take out the scrap. As these were constant from the edge and quite a lot of them I used the bandsaw as a kind of power rasp and did the cuts as well as scrap removal.
desk-126.jpg


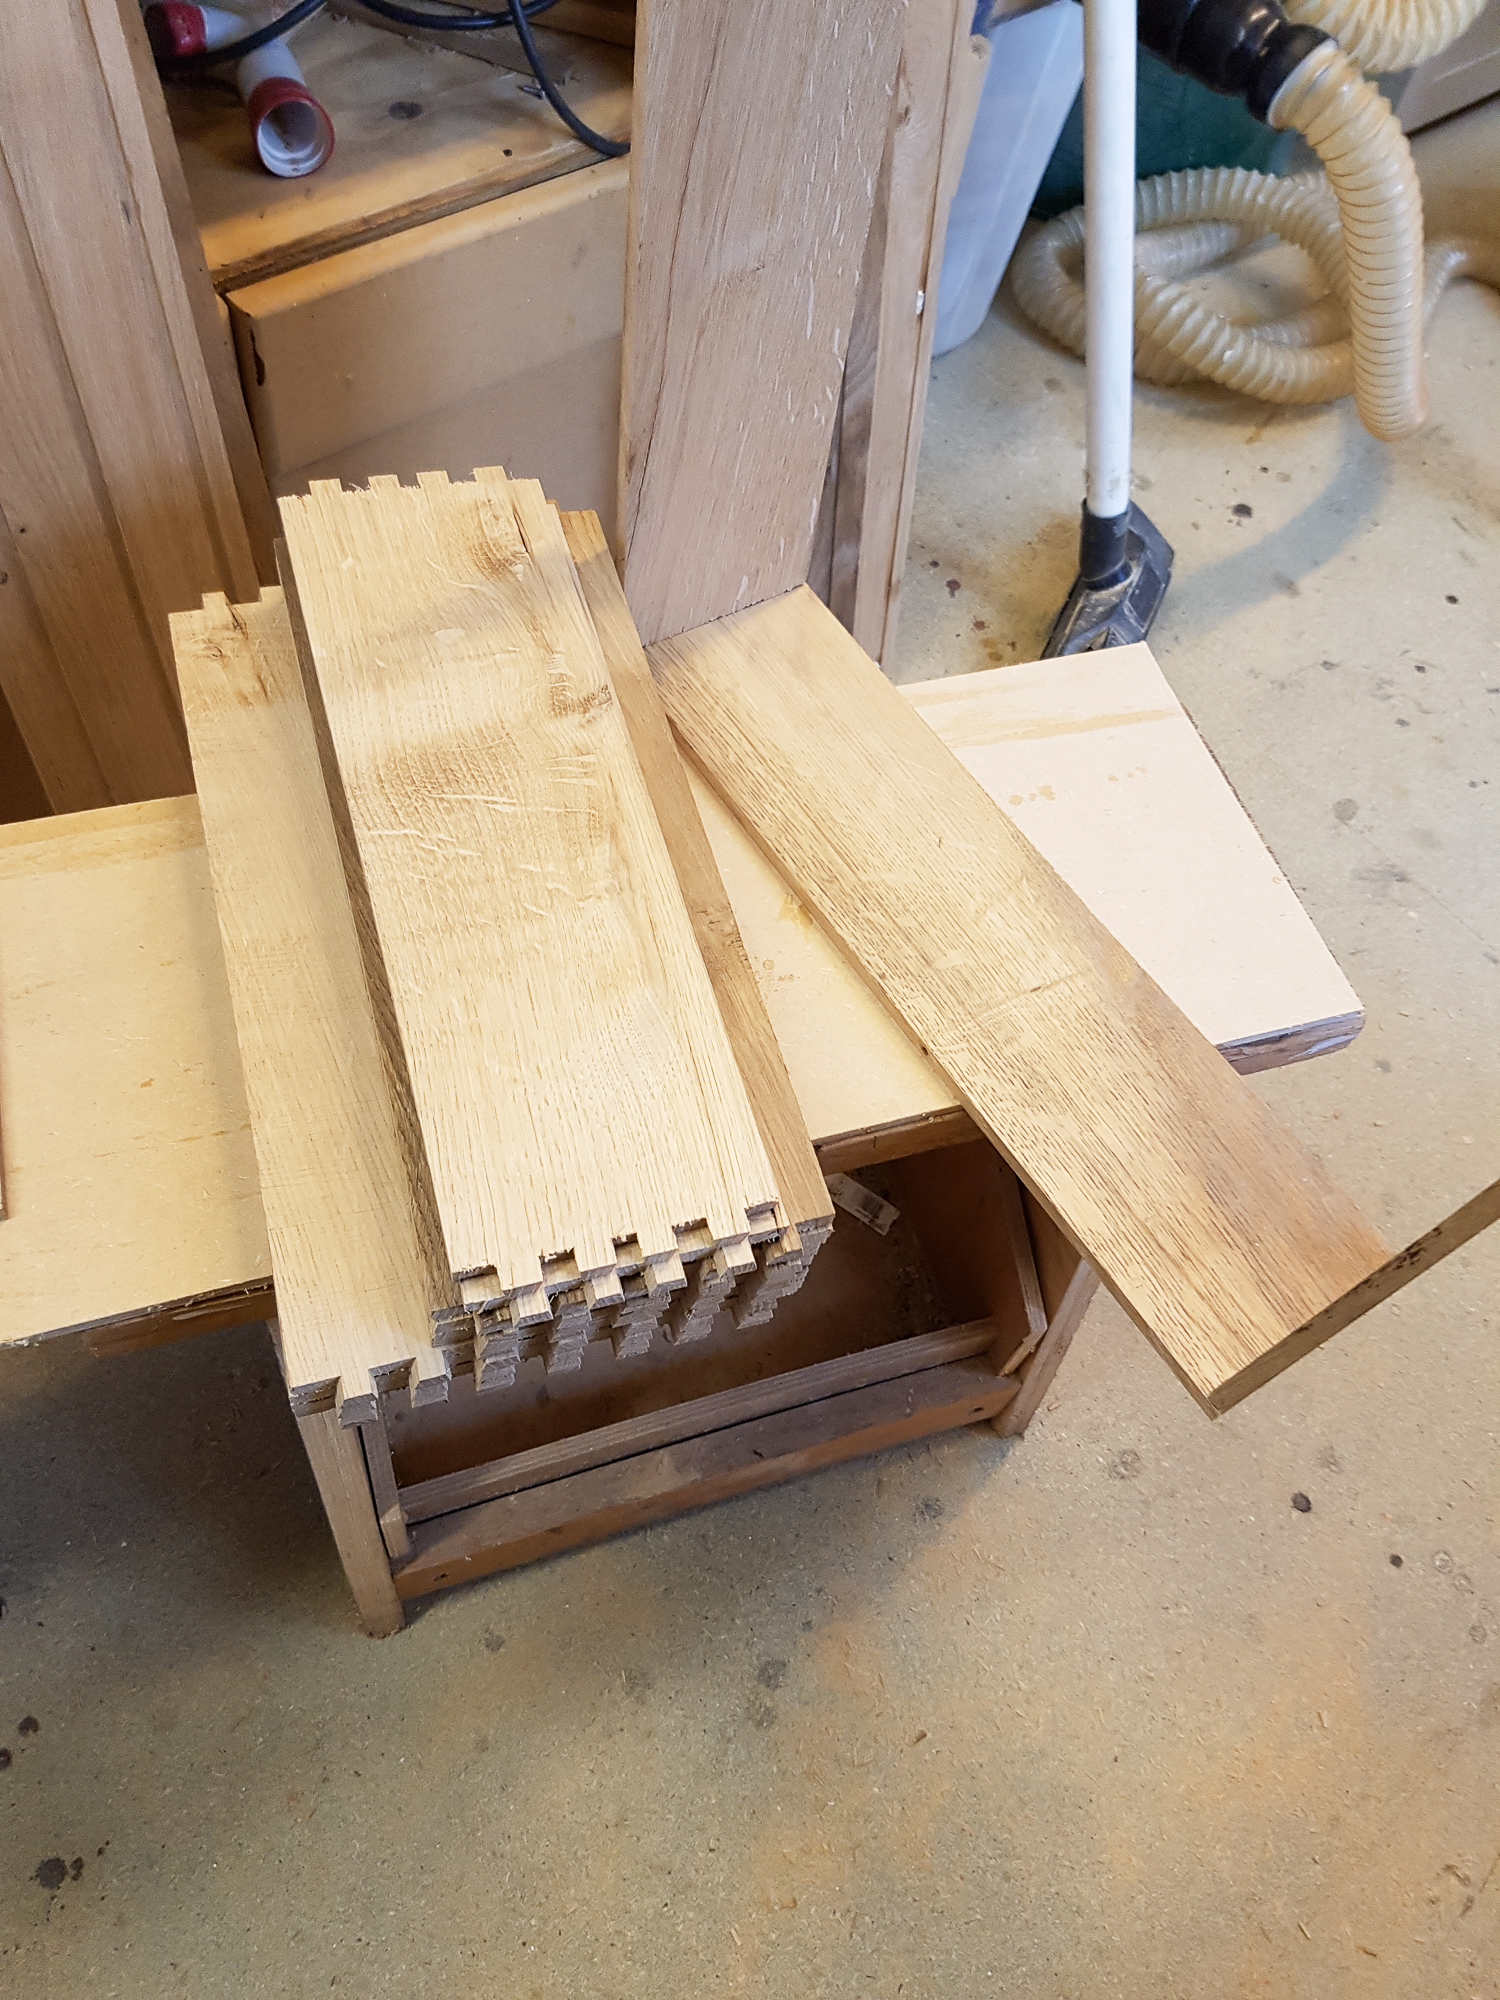
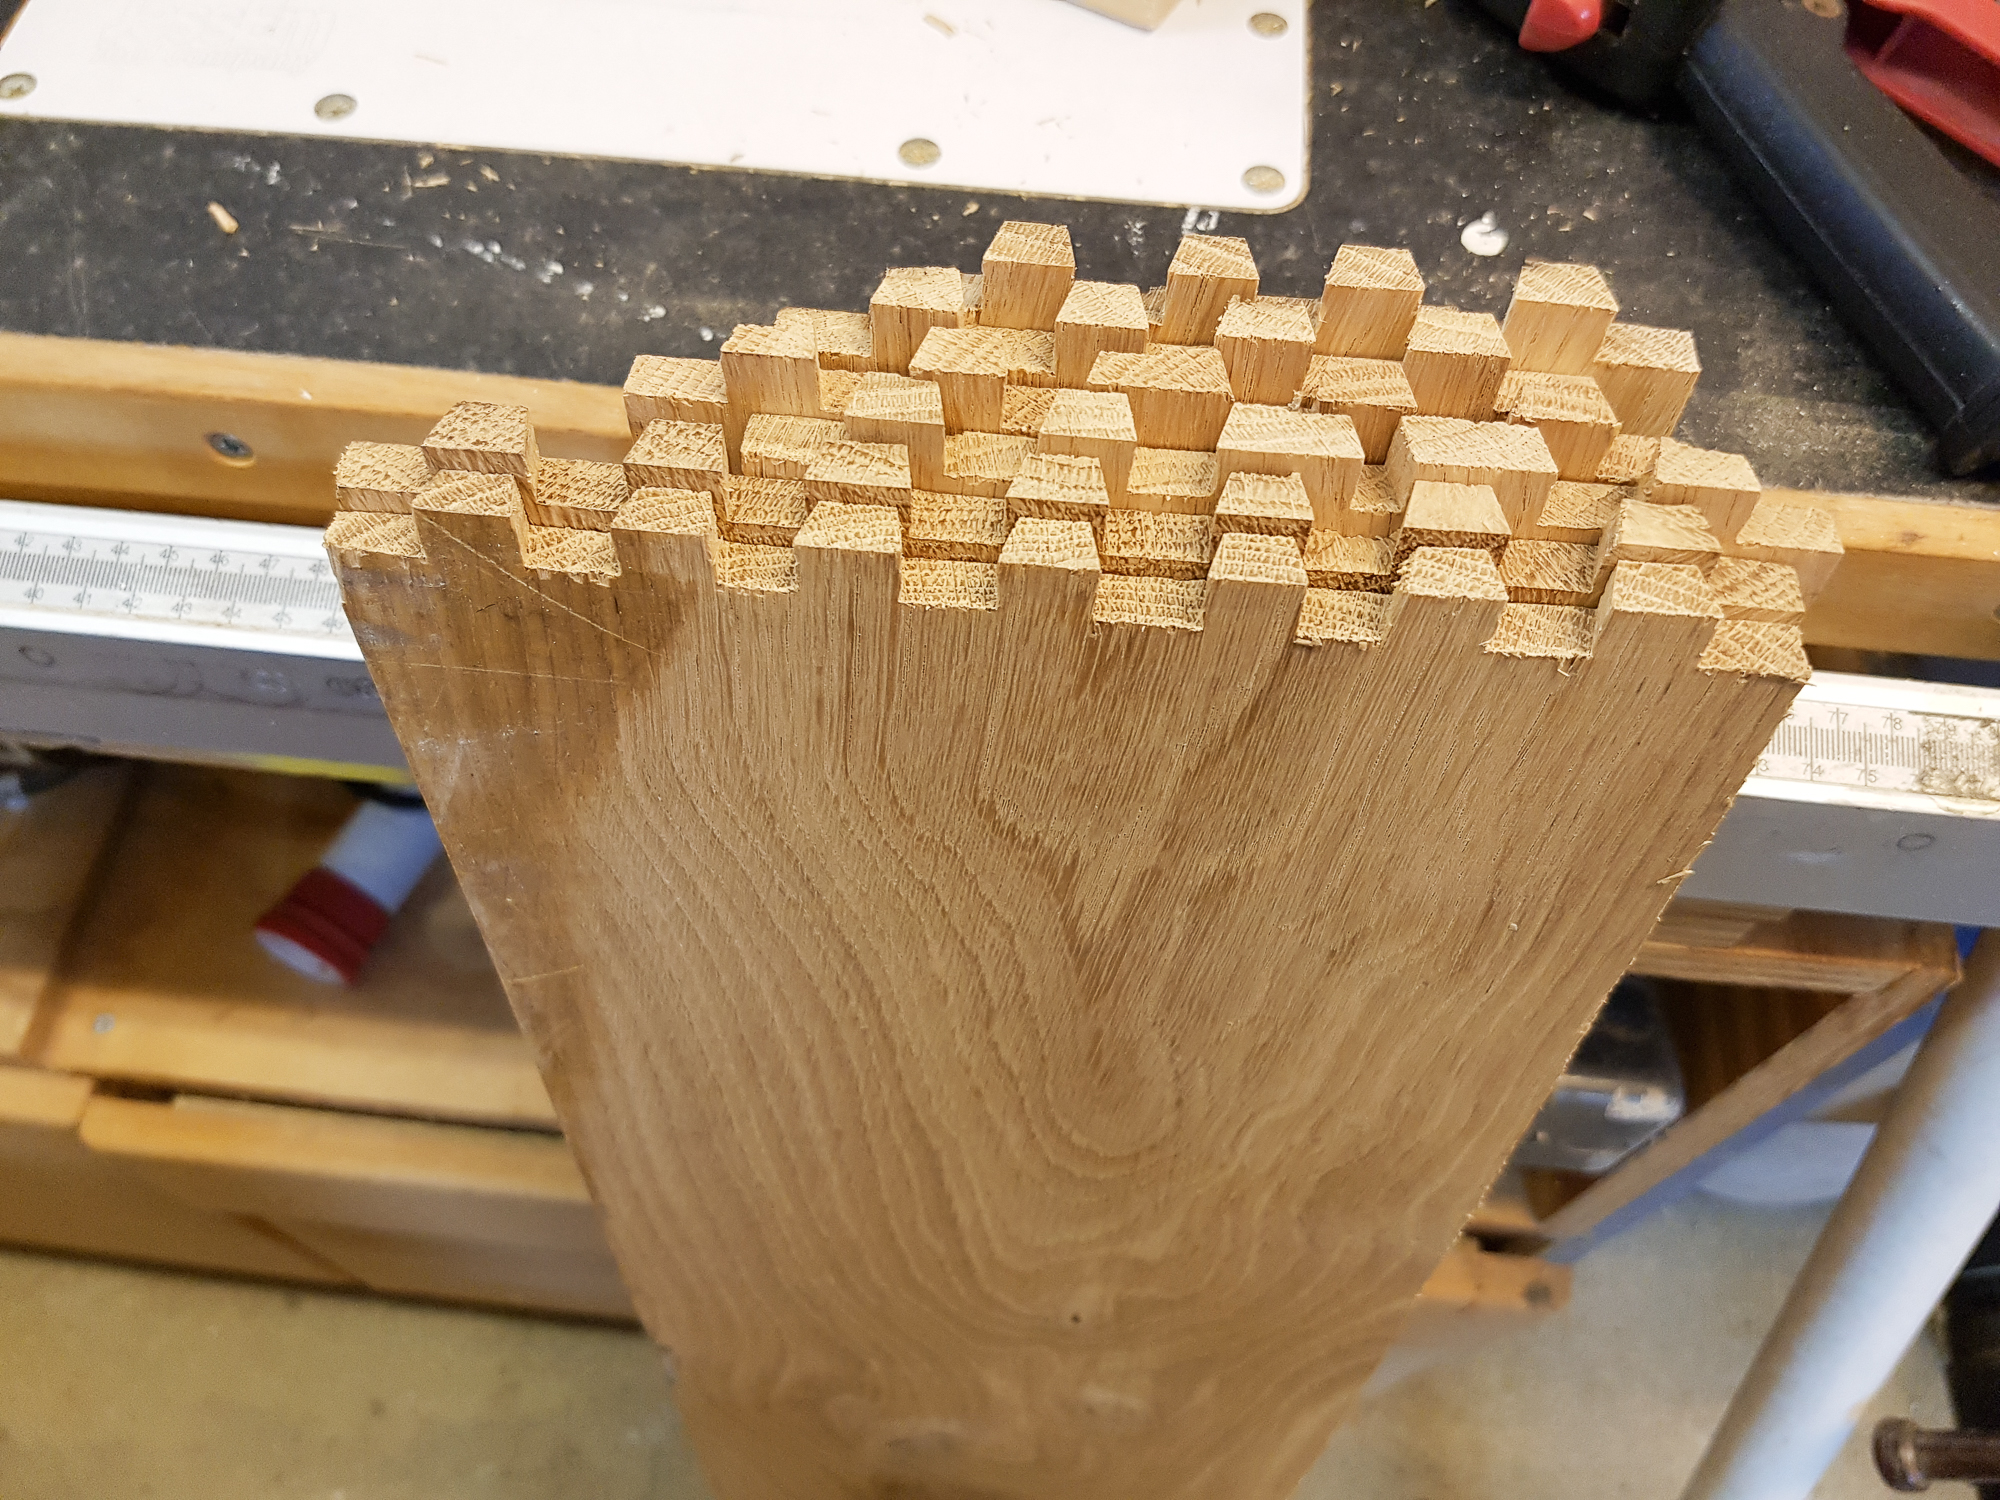
Took a while and quite a few setups but I got there
desk-127.jpg


Apart from the one I missed
desk-128.jpg


Cutting the base panel groove
desk-129.jpg


It was 2 passes with a 4mm biscuit cutter.
desk-130.jpg


Test fit. Some needed a rub with a metal file but most just went together.
desk-131.jpg


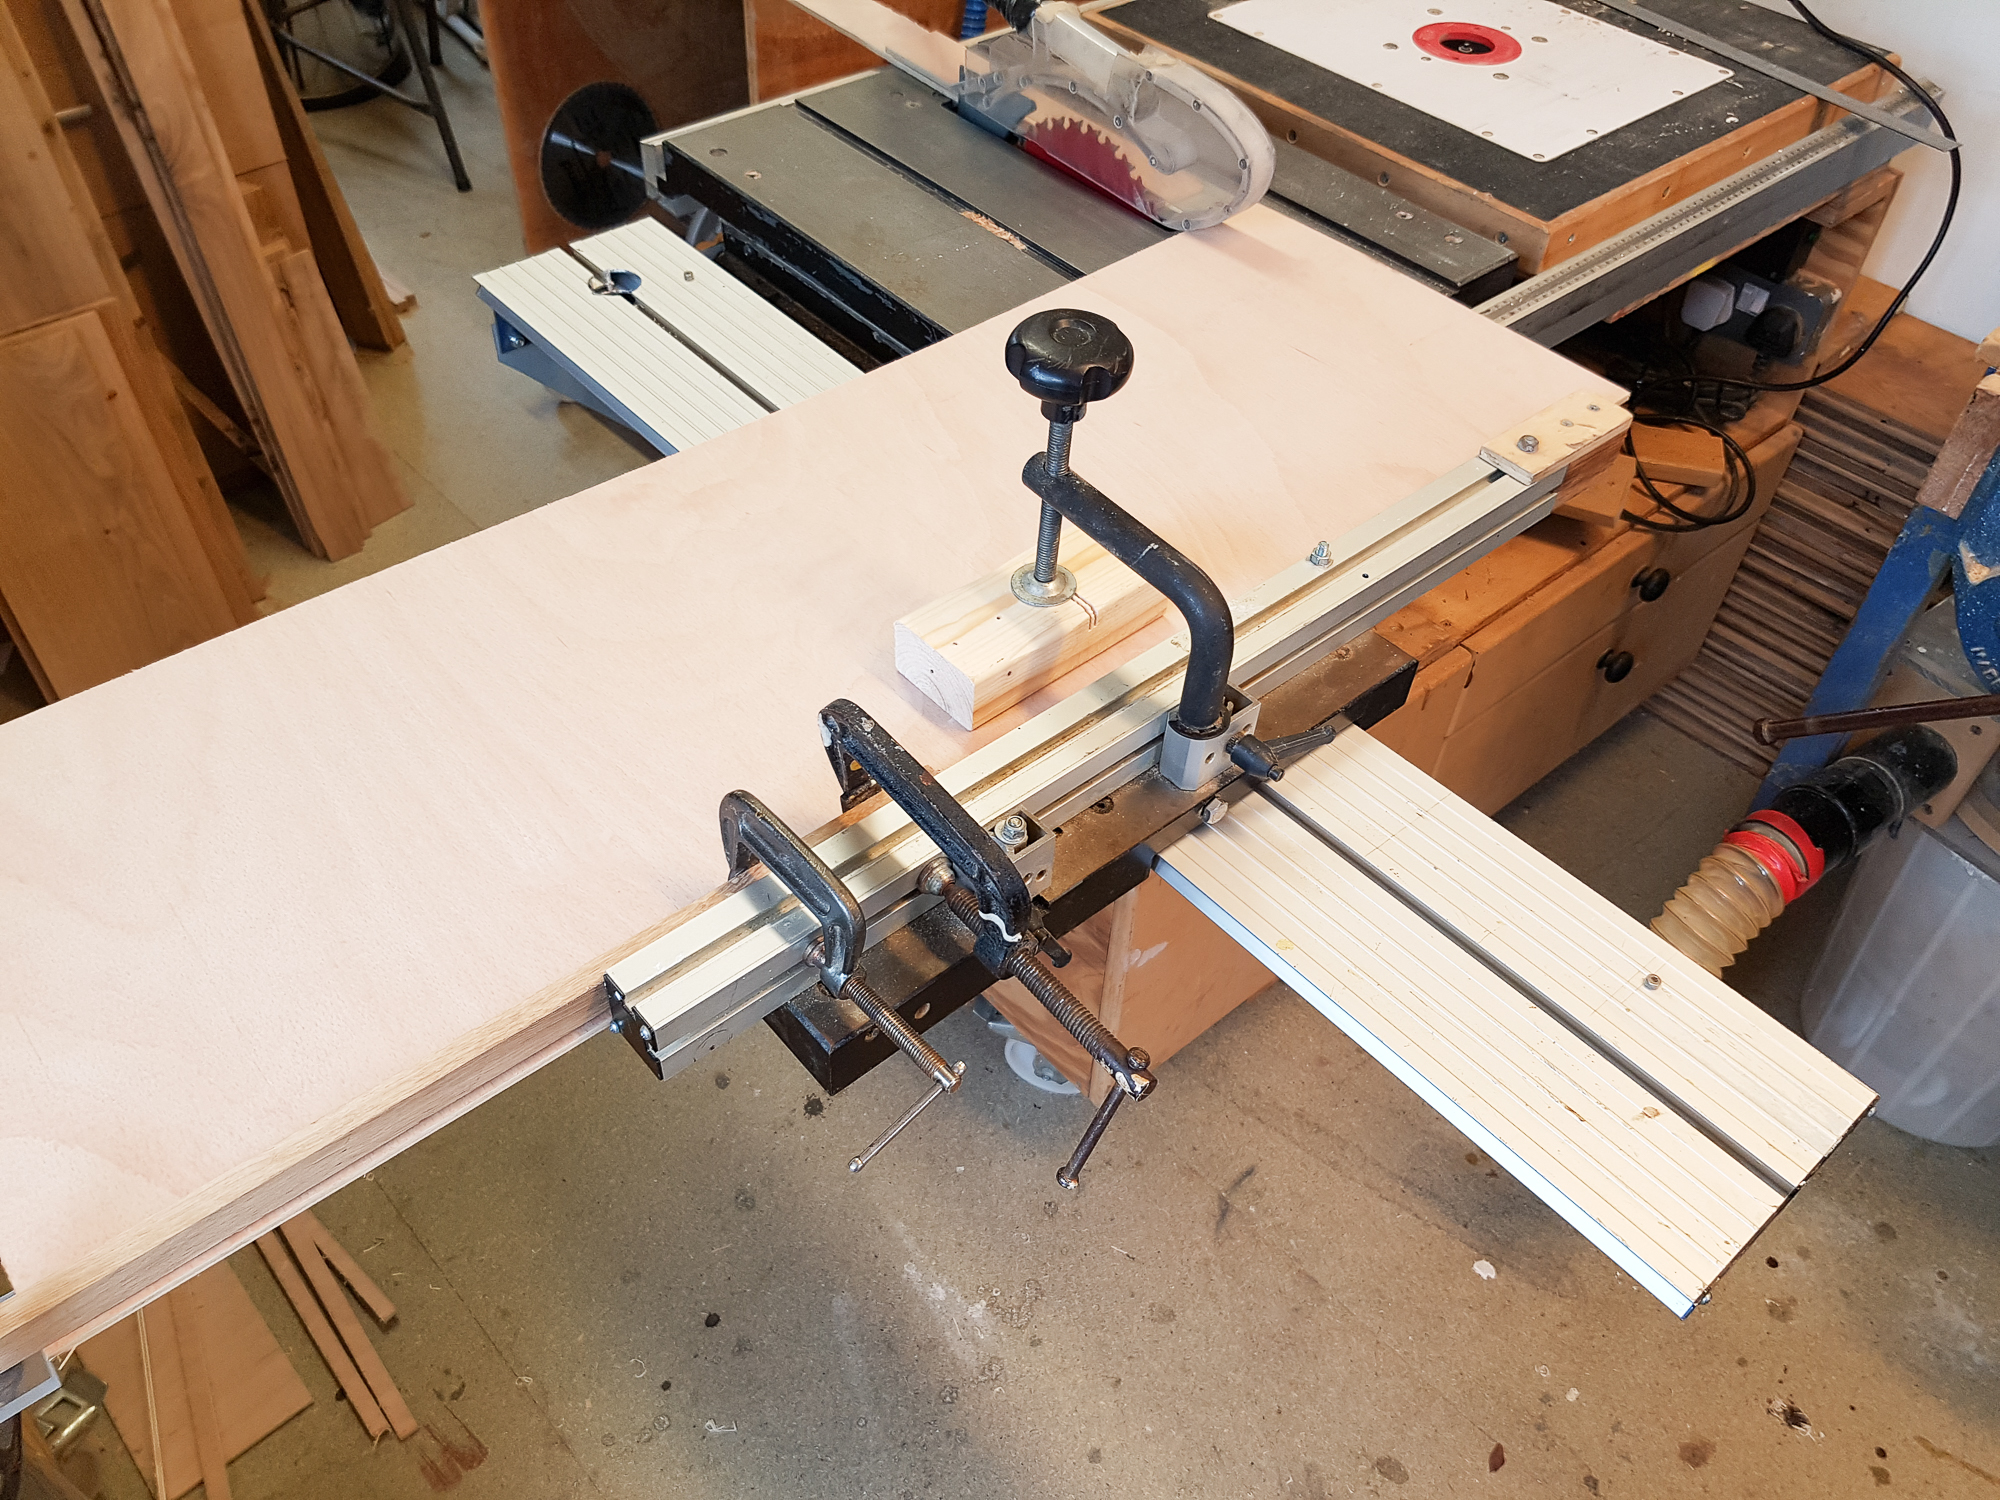
The sliding table for my little TS200 saw is a bit of a joke but it does do the job for making a square cut.
desk-132.jpg


Glue up
desk-133.jpg


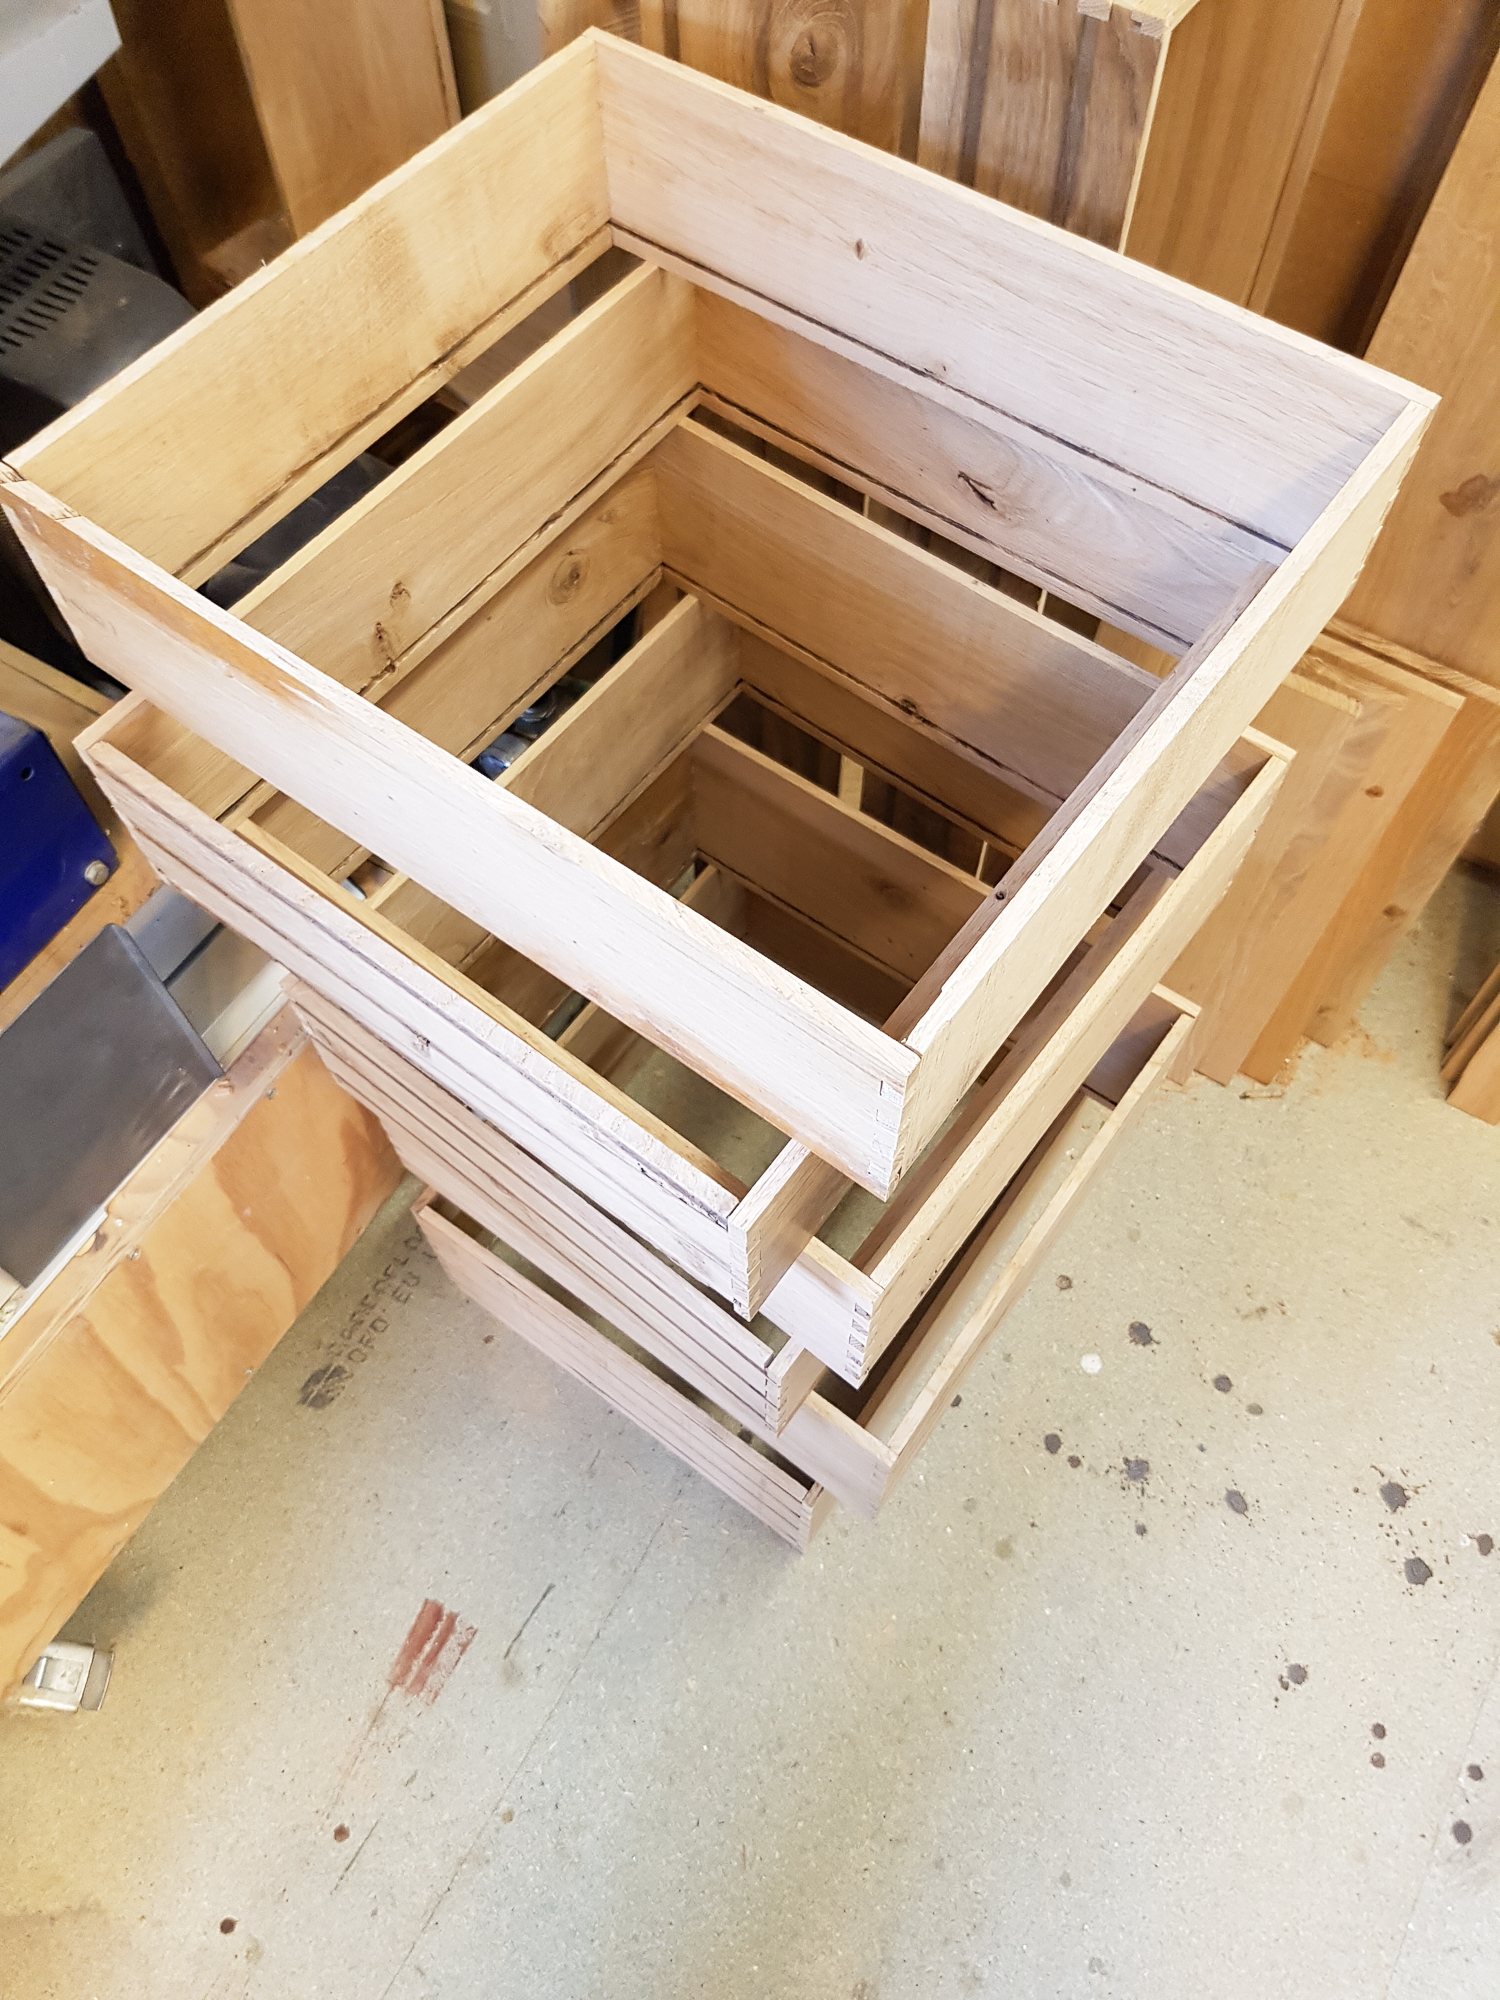
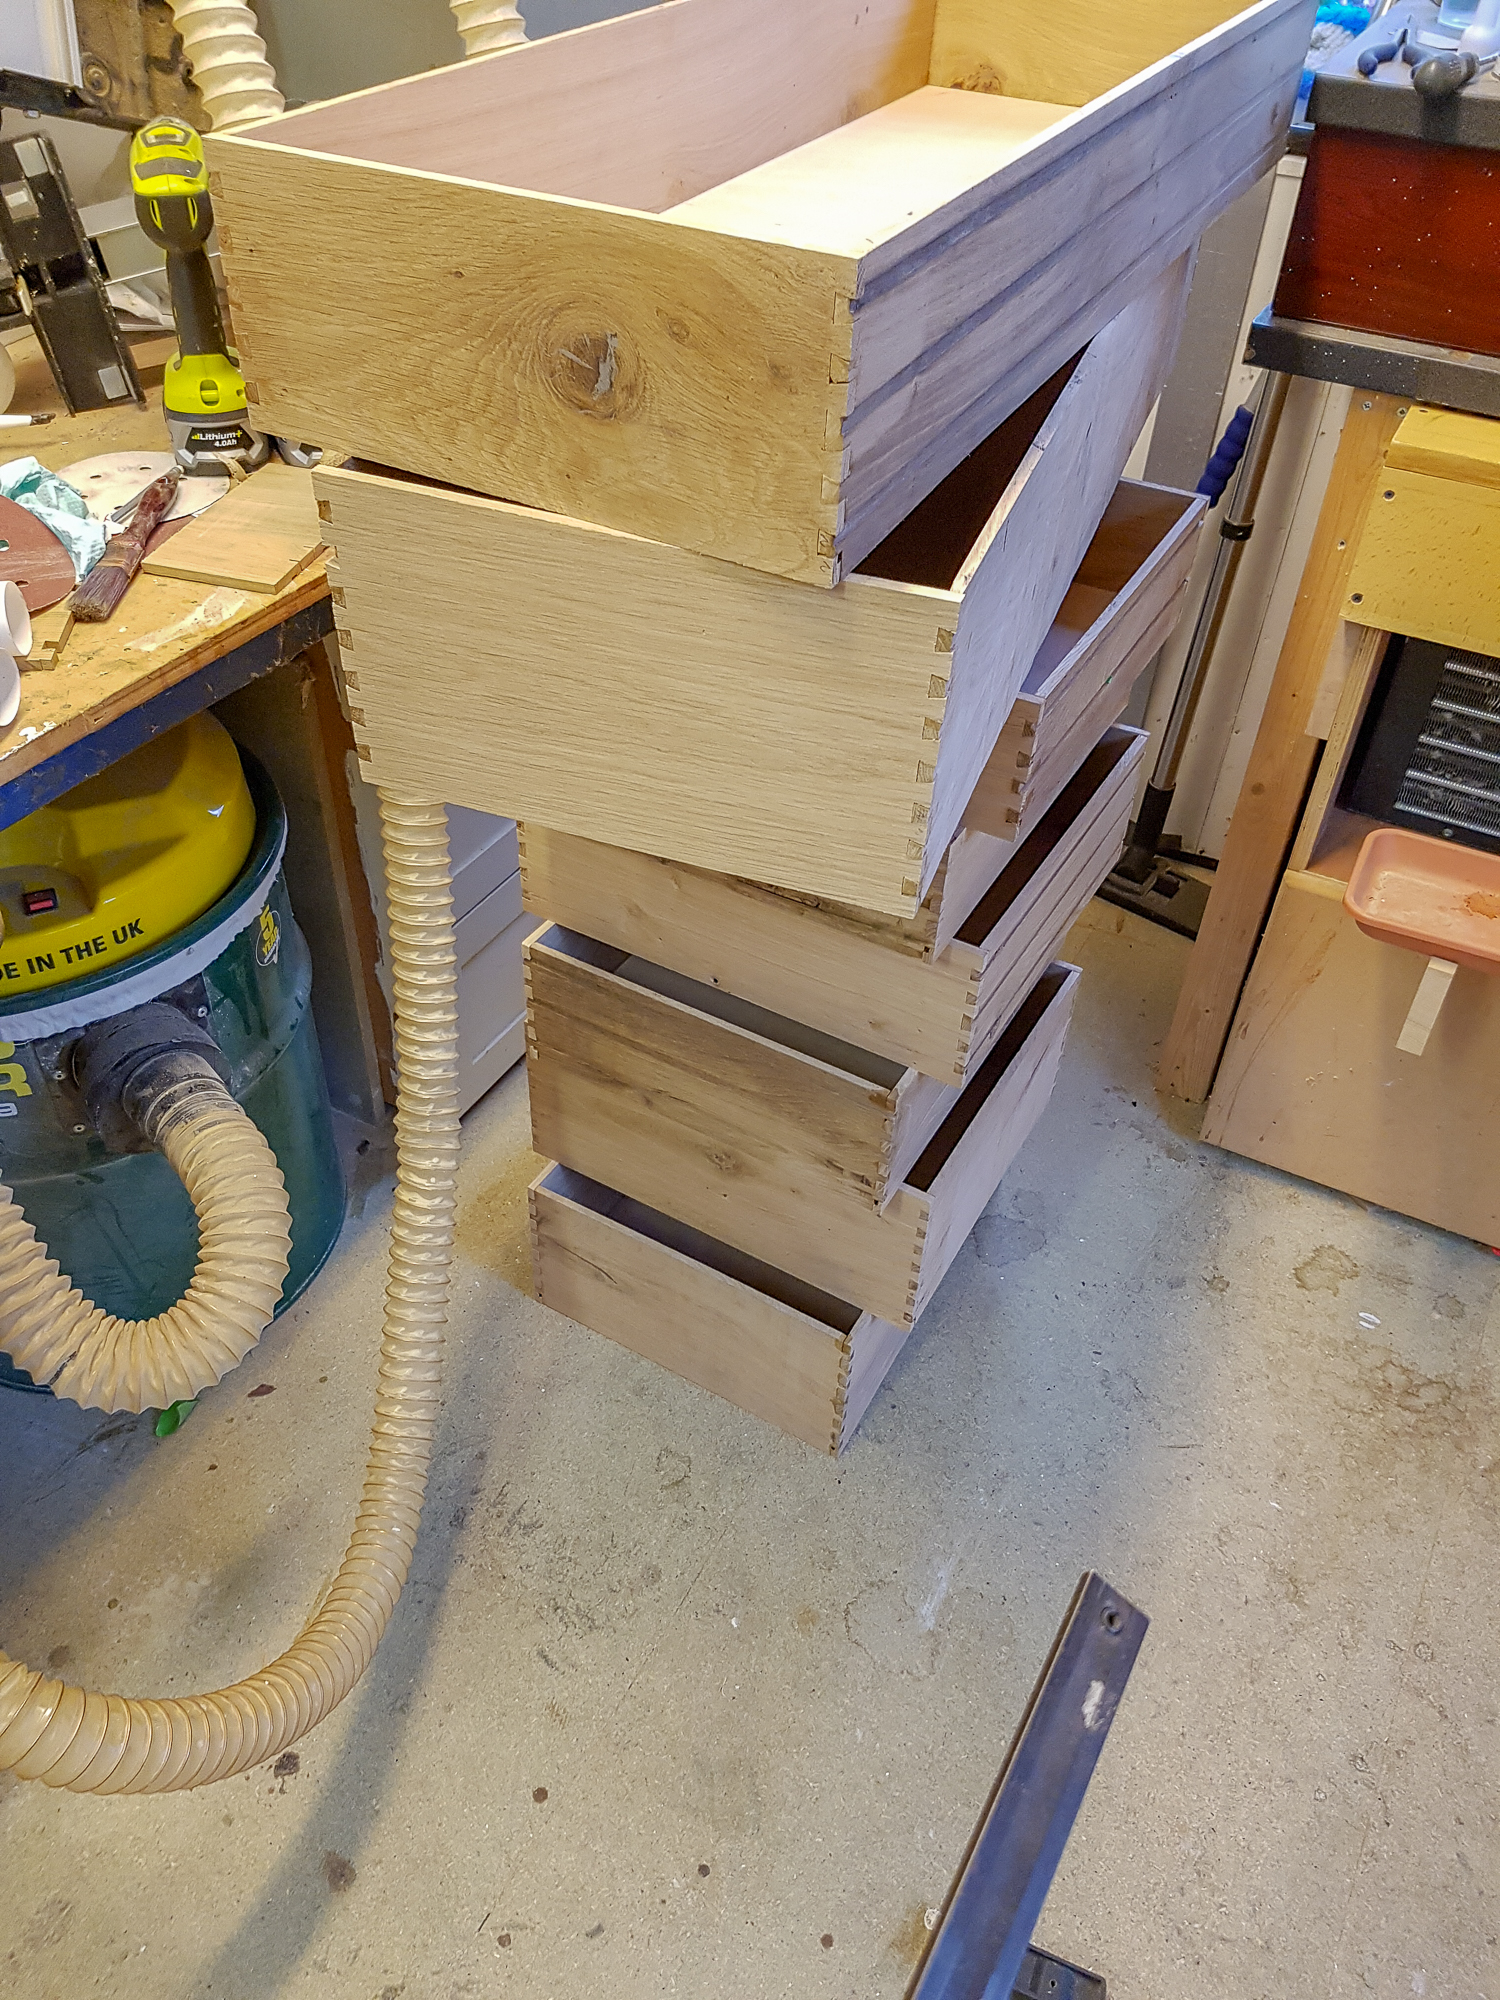
Getting there. The anti warp grooves that were already in the planks I arranged so they would be outside on front or back of the boxes. Sides and whats visible when you open a drawer are plain wood.
desk-134.jpg


Drawer fronts screwed to drawer box.
desk-135.jpg


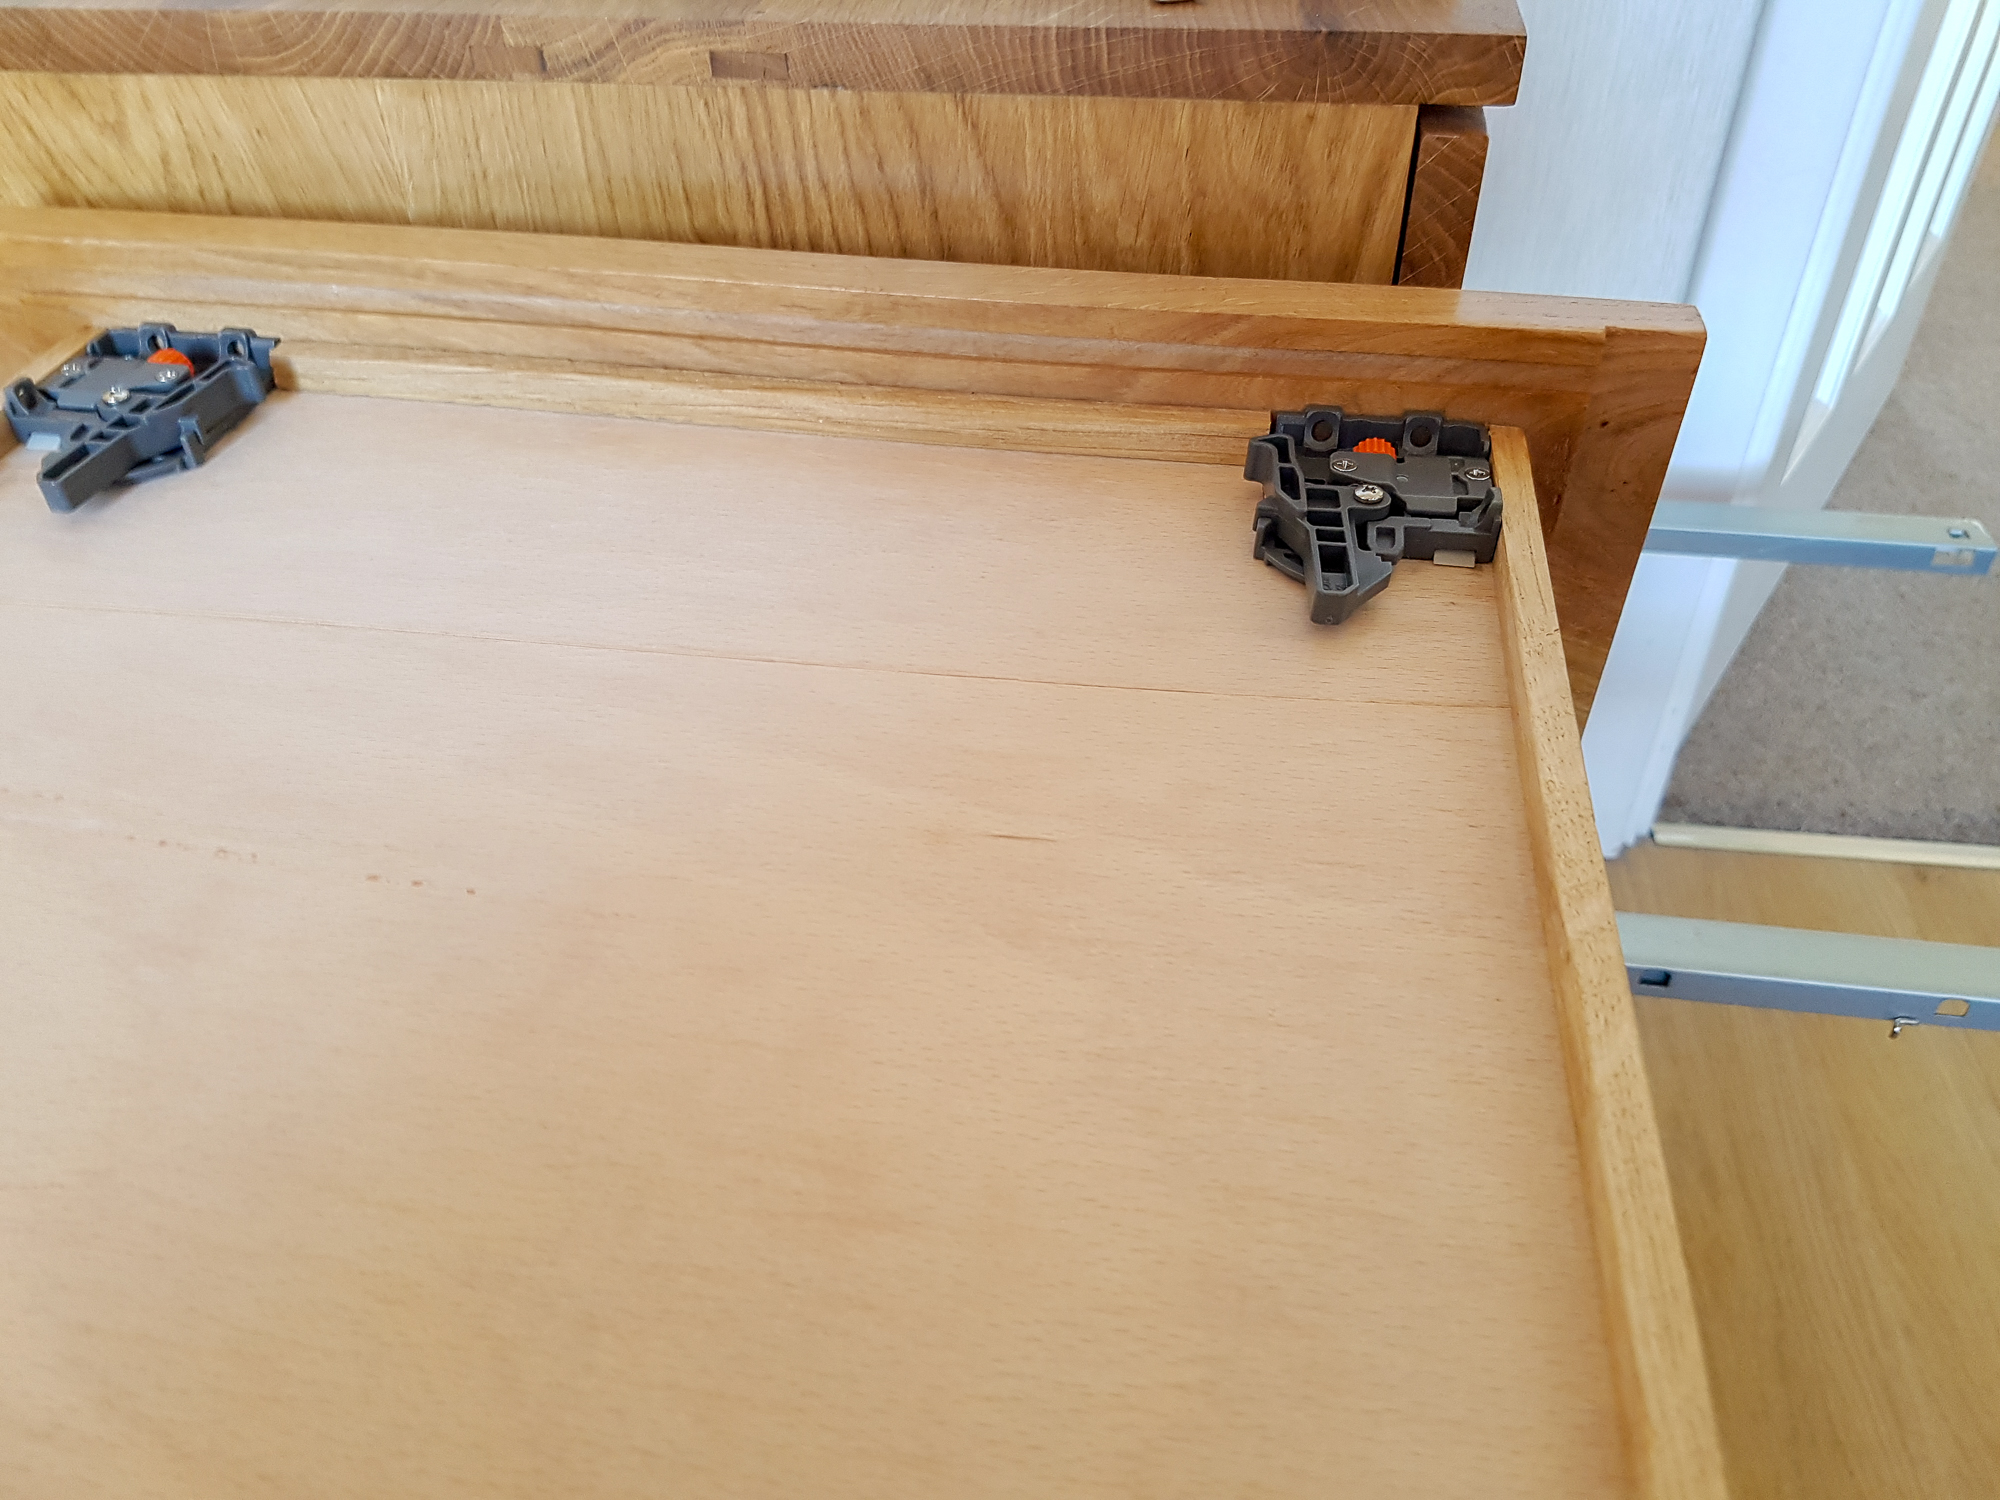
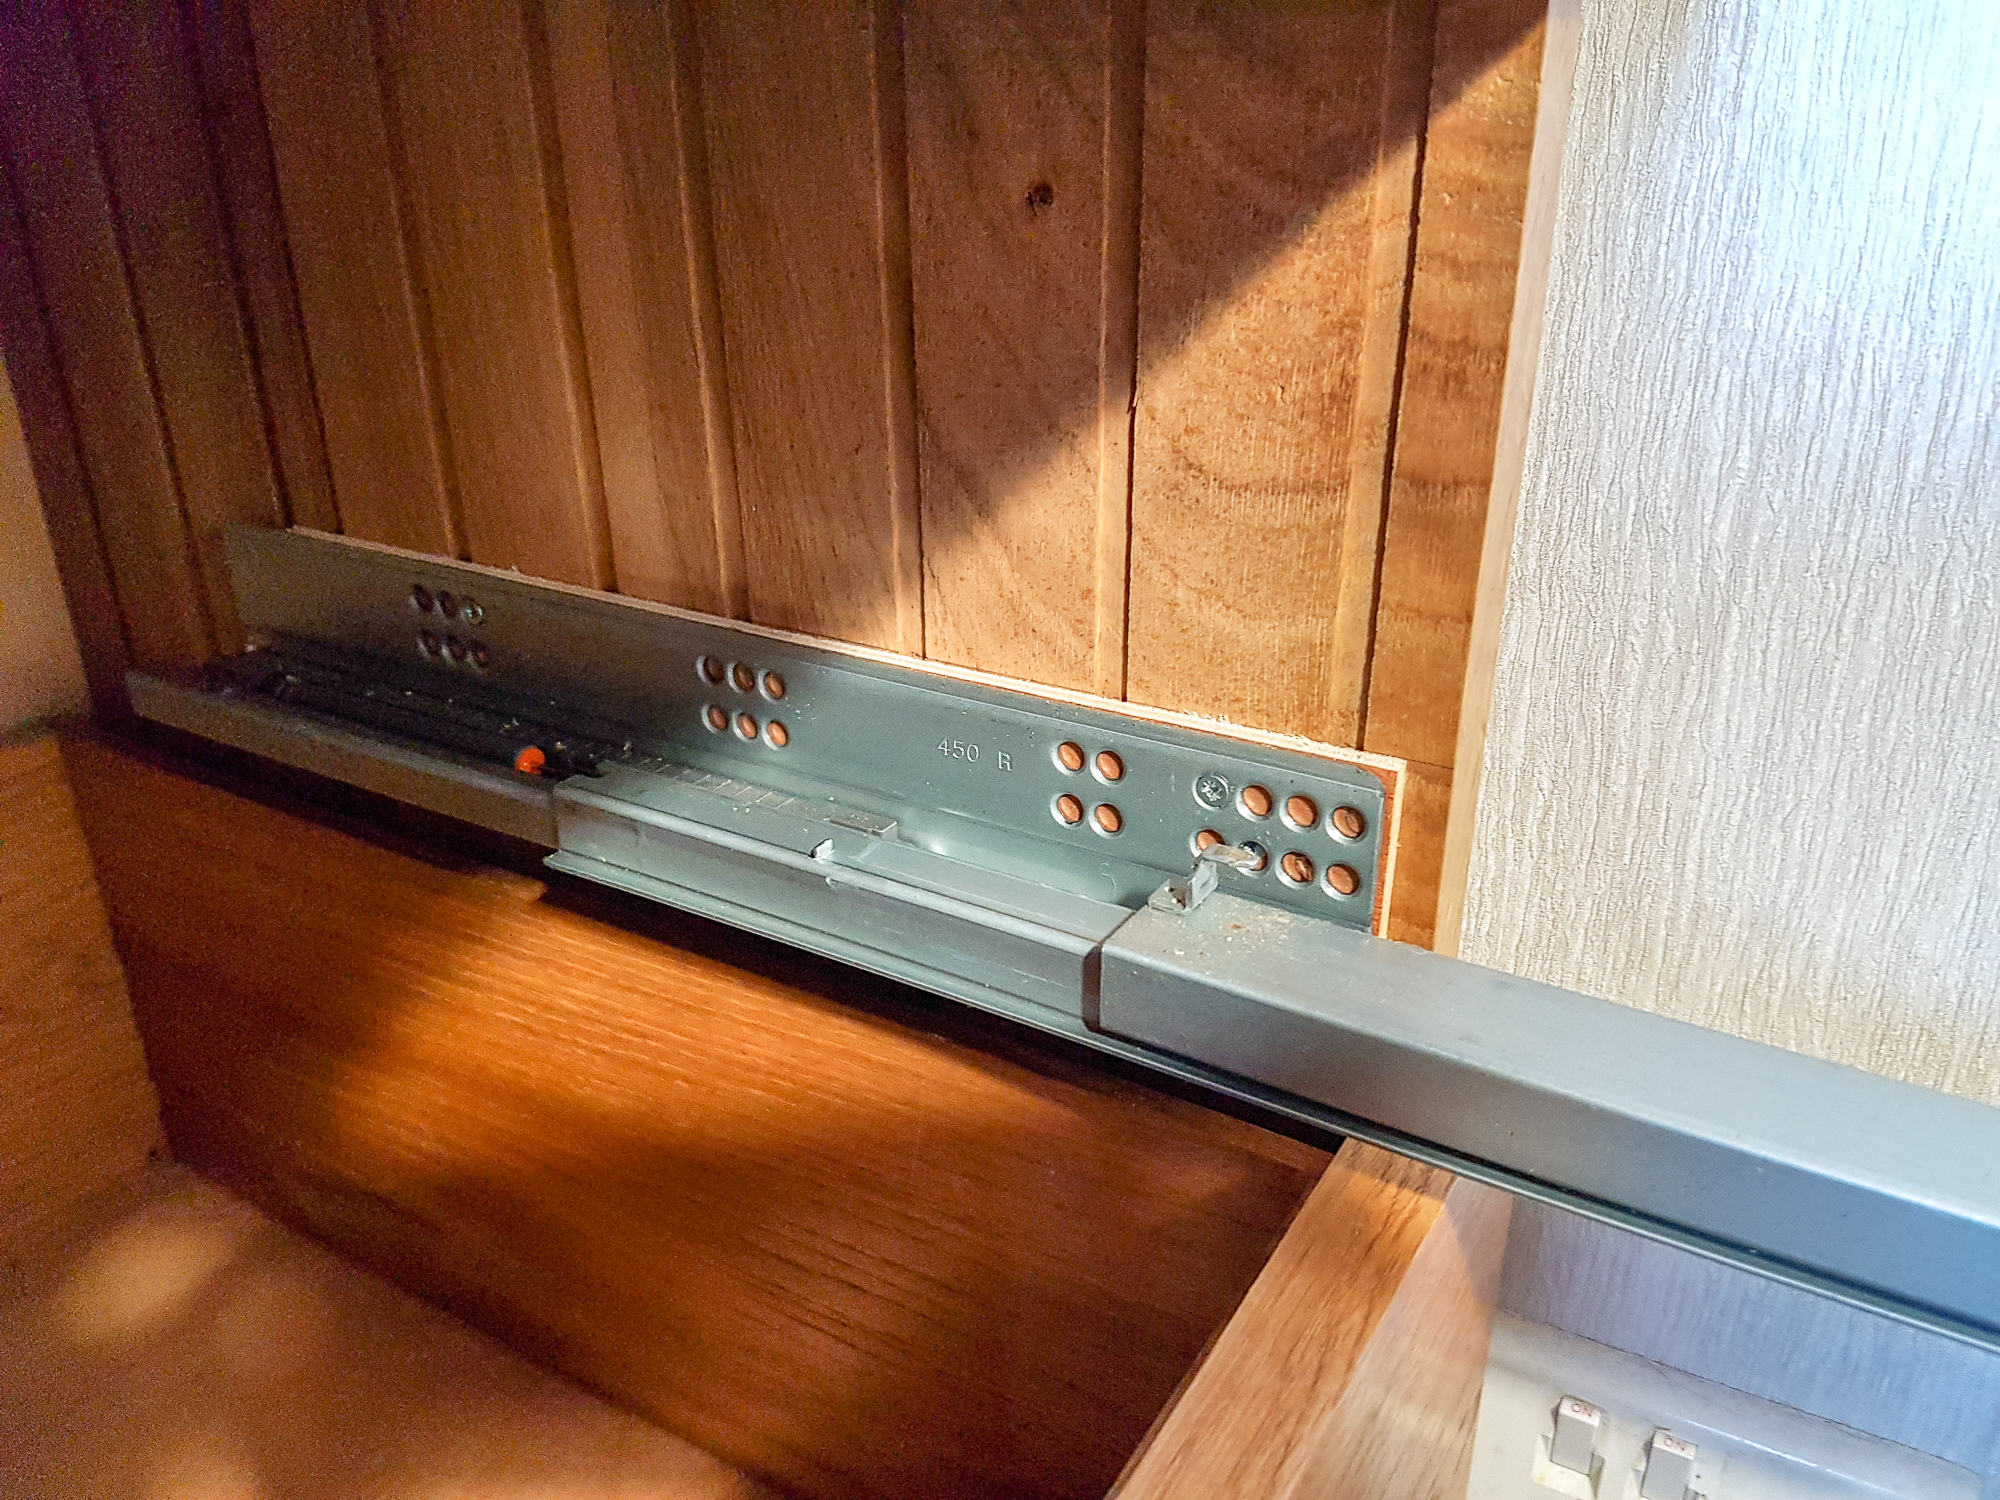
The soft close full travel runners need the plastic latches fitted and clearance for the runner rail.
desk-136.jpg


Then I stopped taking pictures so nothing of the varnish spraying or runner fitting.
Part of the reason is because of the cock up i made.
You know the thing about measure twice cut once? I did that ok but I should have calculated twice as well. All 6 of the smaller pedestal drawers were 10mm too narrow!
Couldn't make them wider so had to think of some other way.

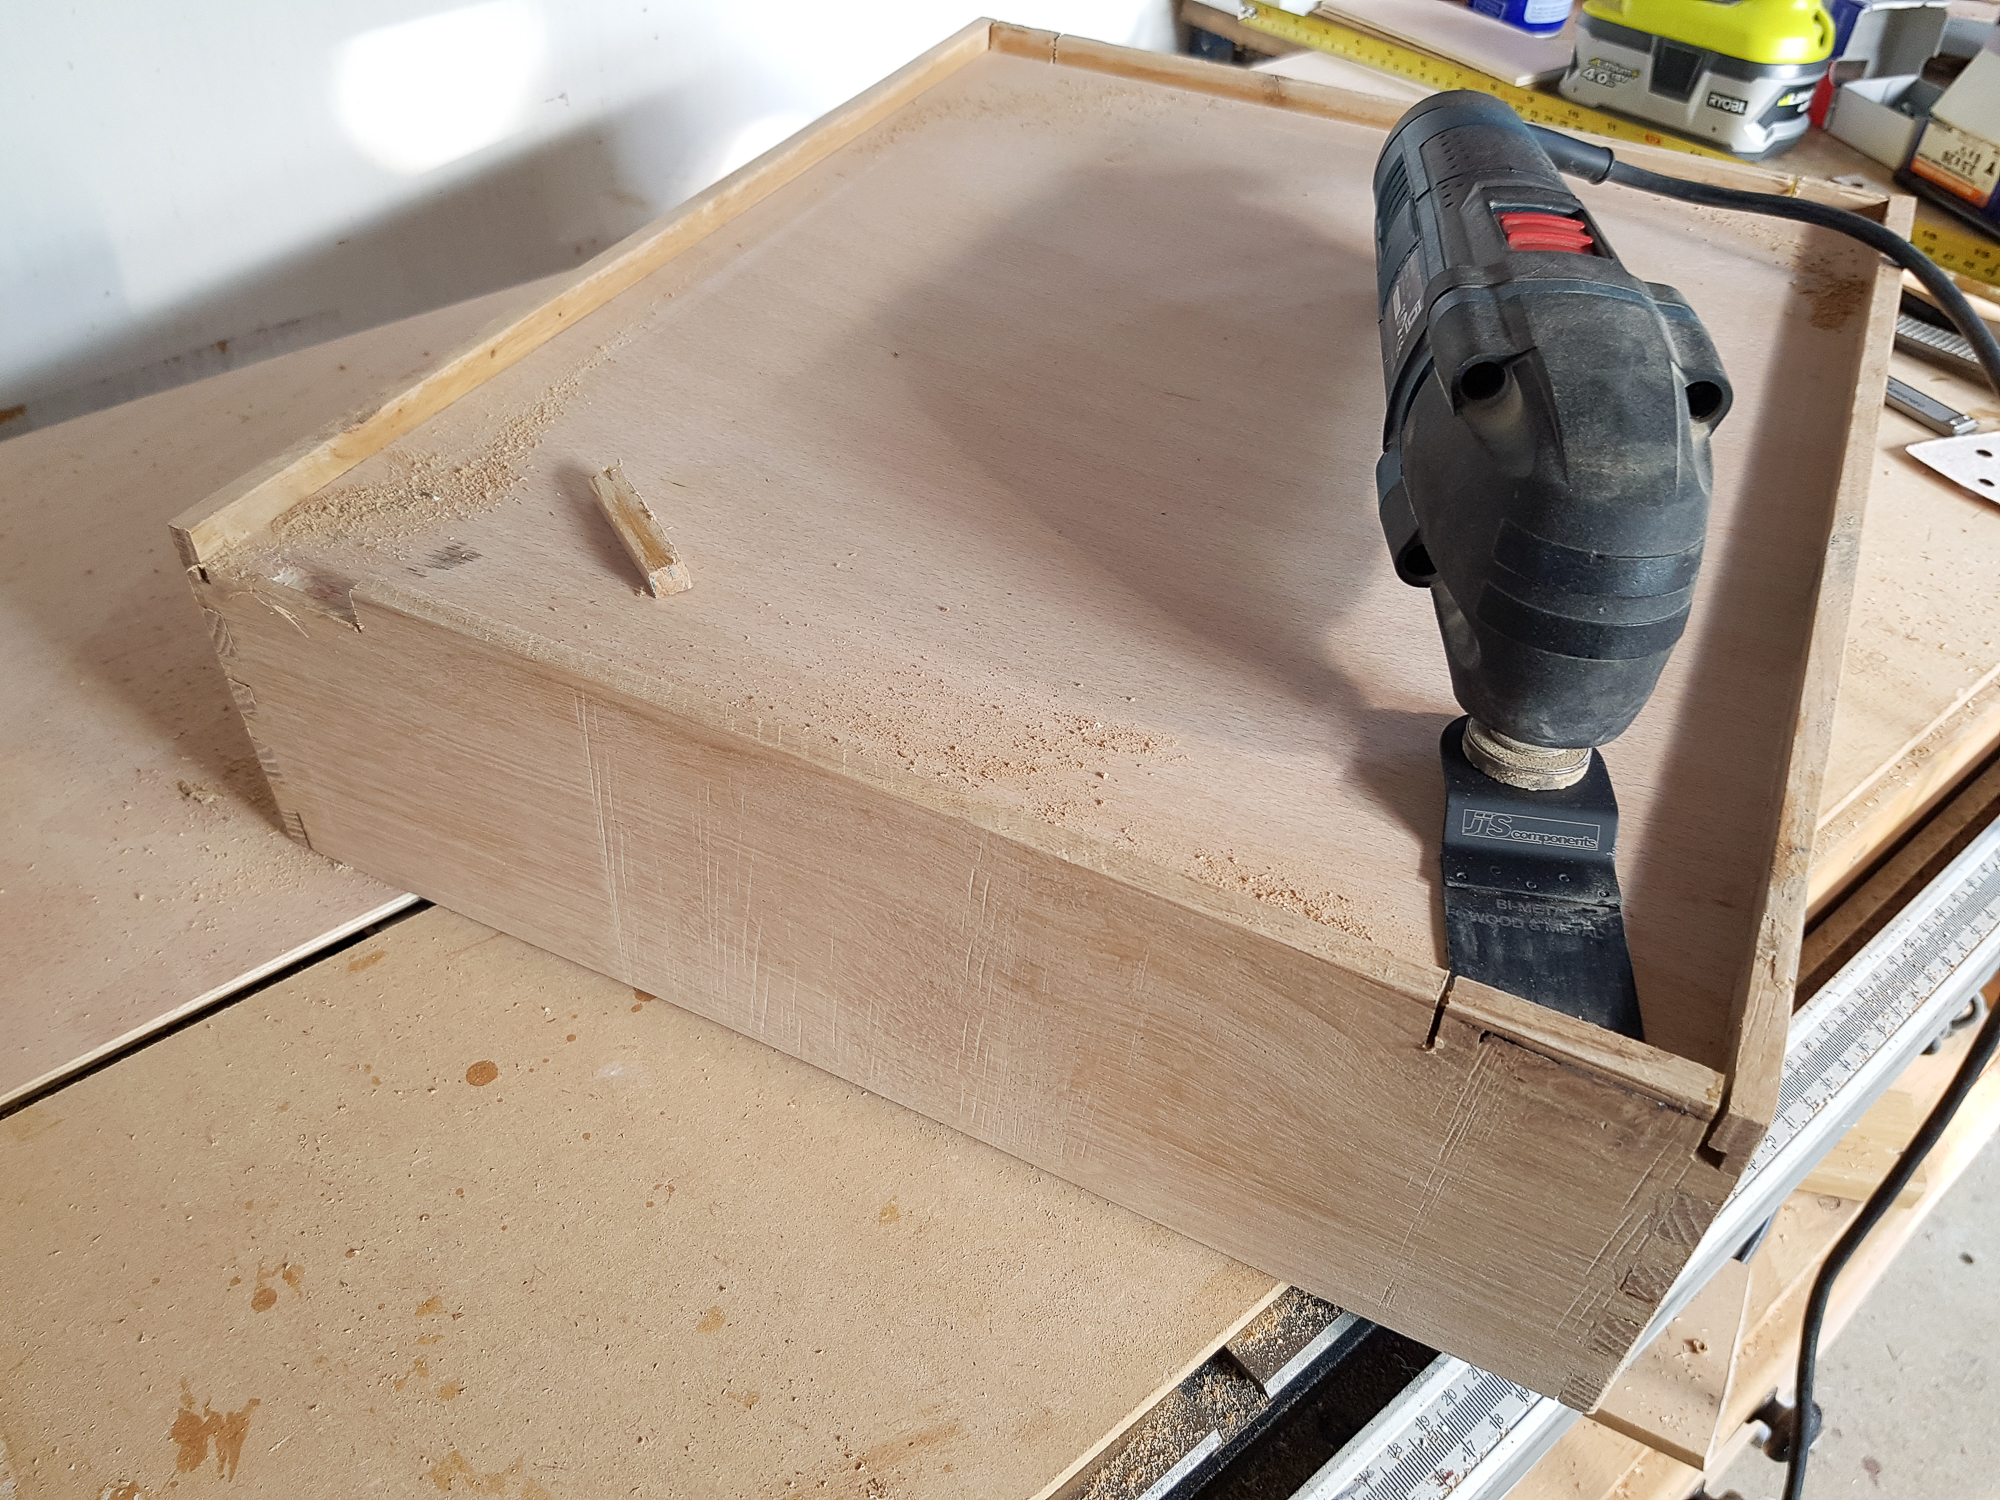
Picture taken just now to show the plastic latches on a drawer. I do like how easy the drawer come off and back on these runners.
desk-137.jpg


And the solution to the problem - 5mm ply pads under all the slide brackets
desk-138.jpg


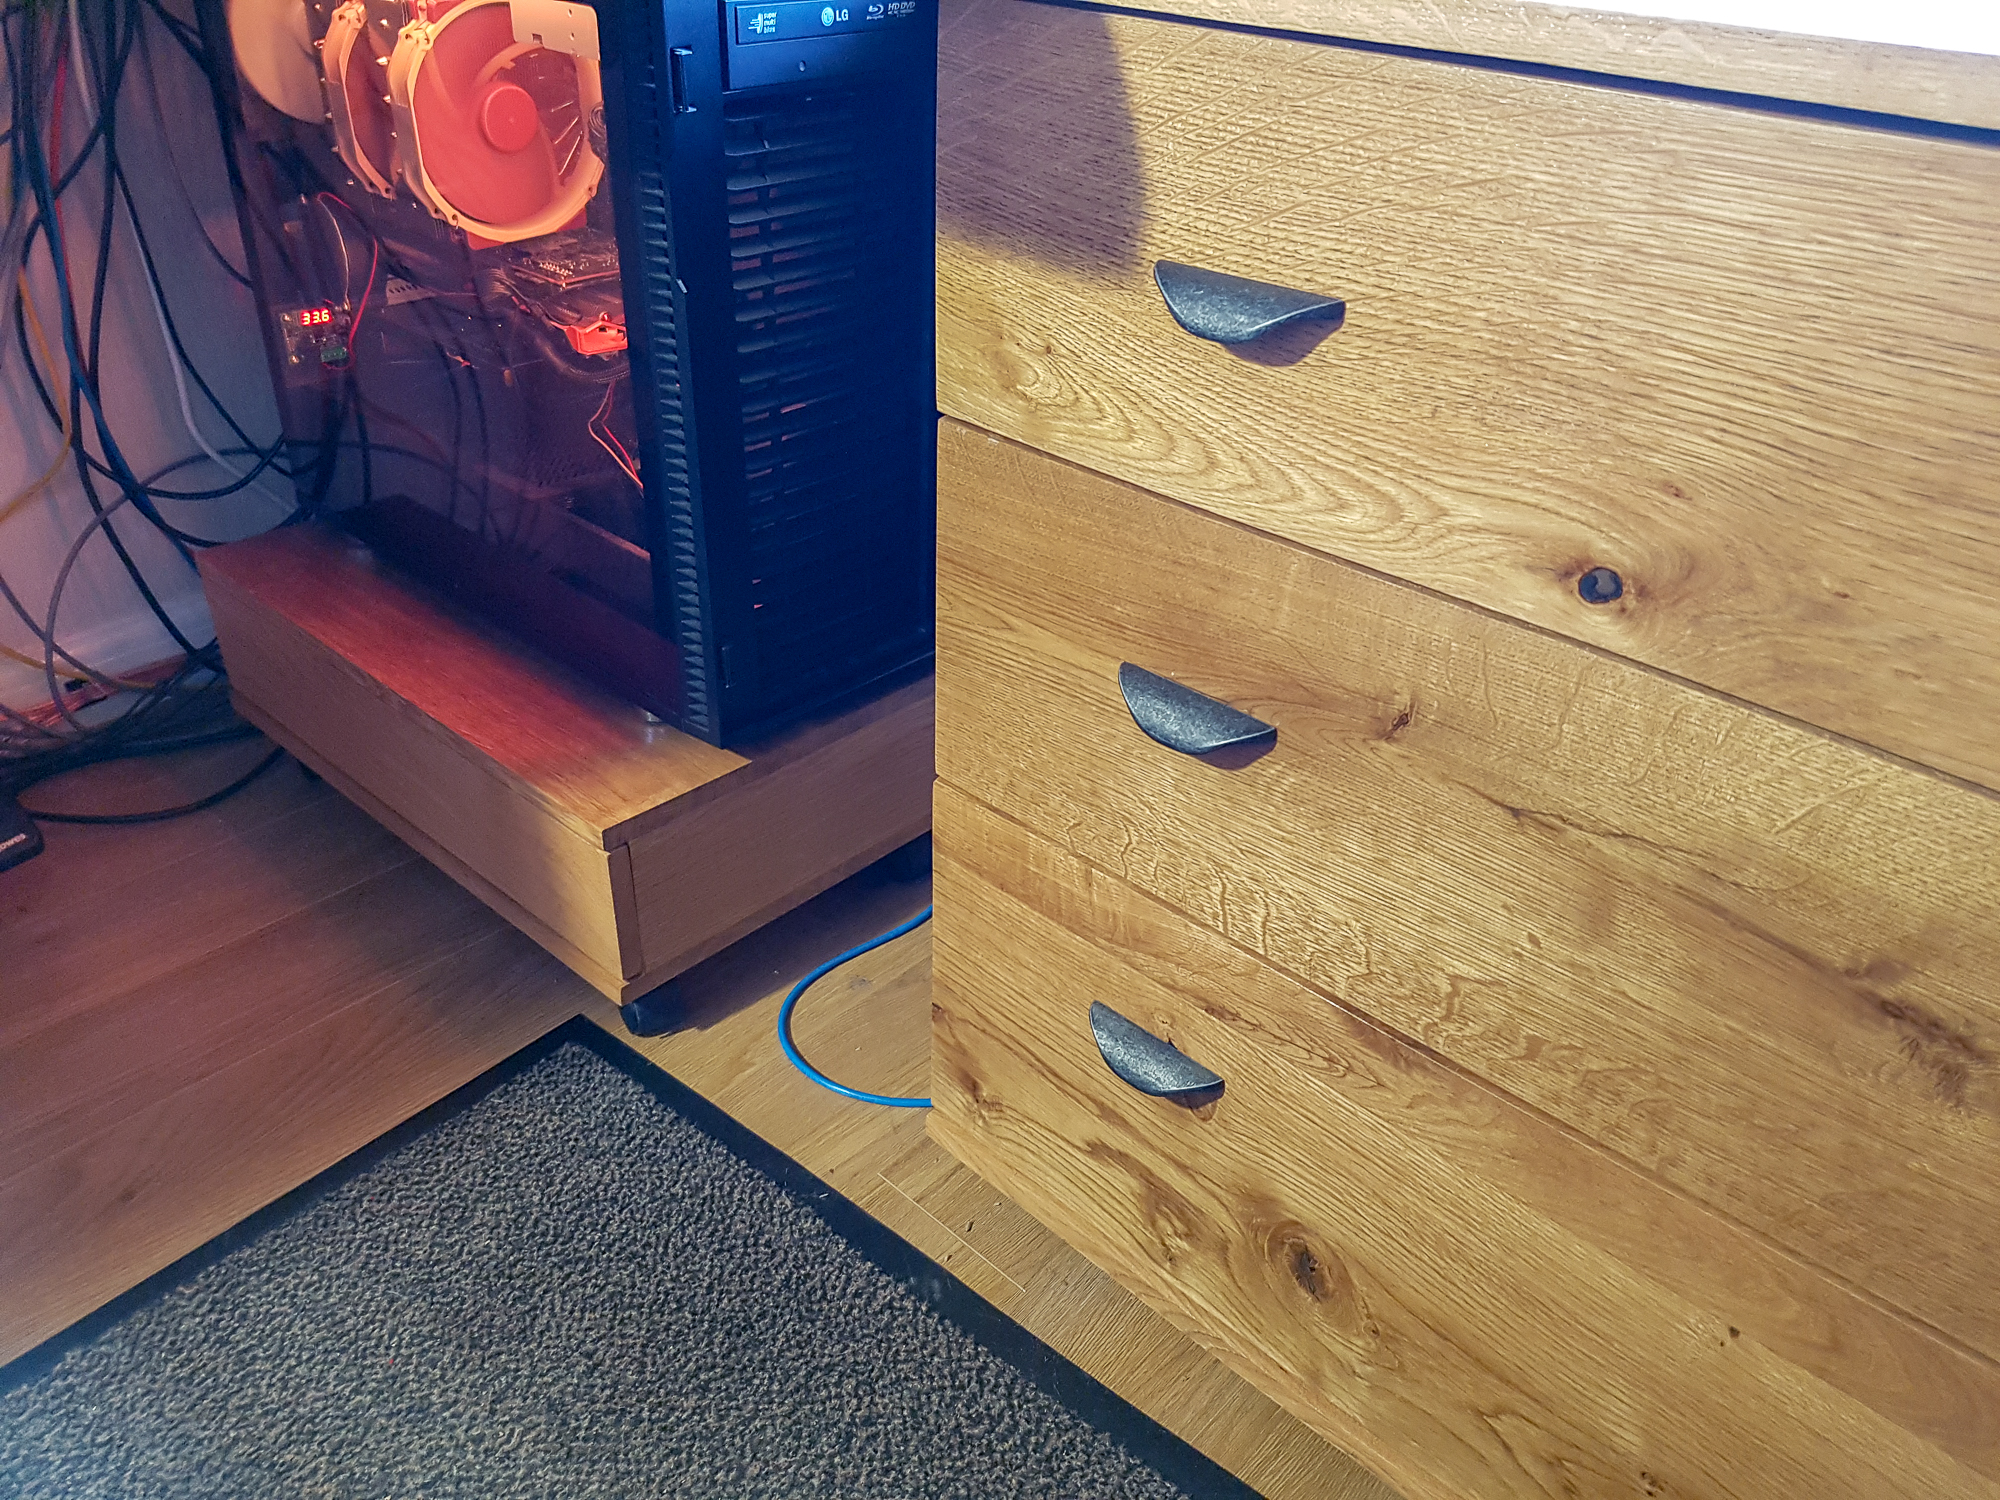
Oh and I made a wheeled base for the computer too - which contains another cock up! It has a drawer built in for wire and other small bits storage. I got that one the right size. It was only when I sprayed the carcase I realised I had the grain on the ends going crossways creating a breadboard with no give in it. It's only a foot wide so maybe I'll get away with it. Worry about it if it breaks.
desk-139.jpg


So now I'm sitting here still with the old desk and new storage. Had to screw brackets to the desk when trying to move it just so it didn't collapse on me.

To be continued...
 
It's been a while..

I've finished the desk now. No WIP posts along the way but I did take some pictures in case I ever got round to it so here goes.

This was the original sketchup from the start of this thread
desk-102.jpg


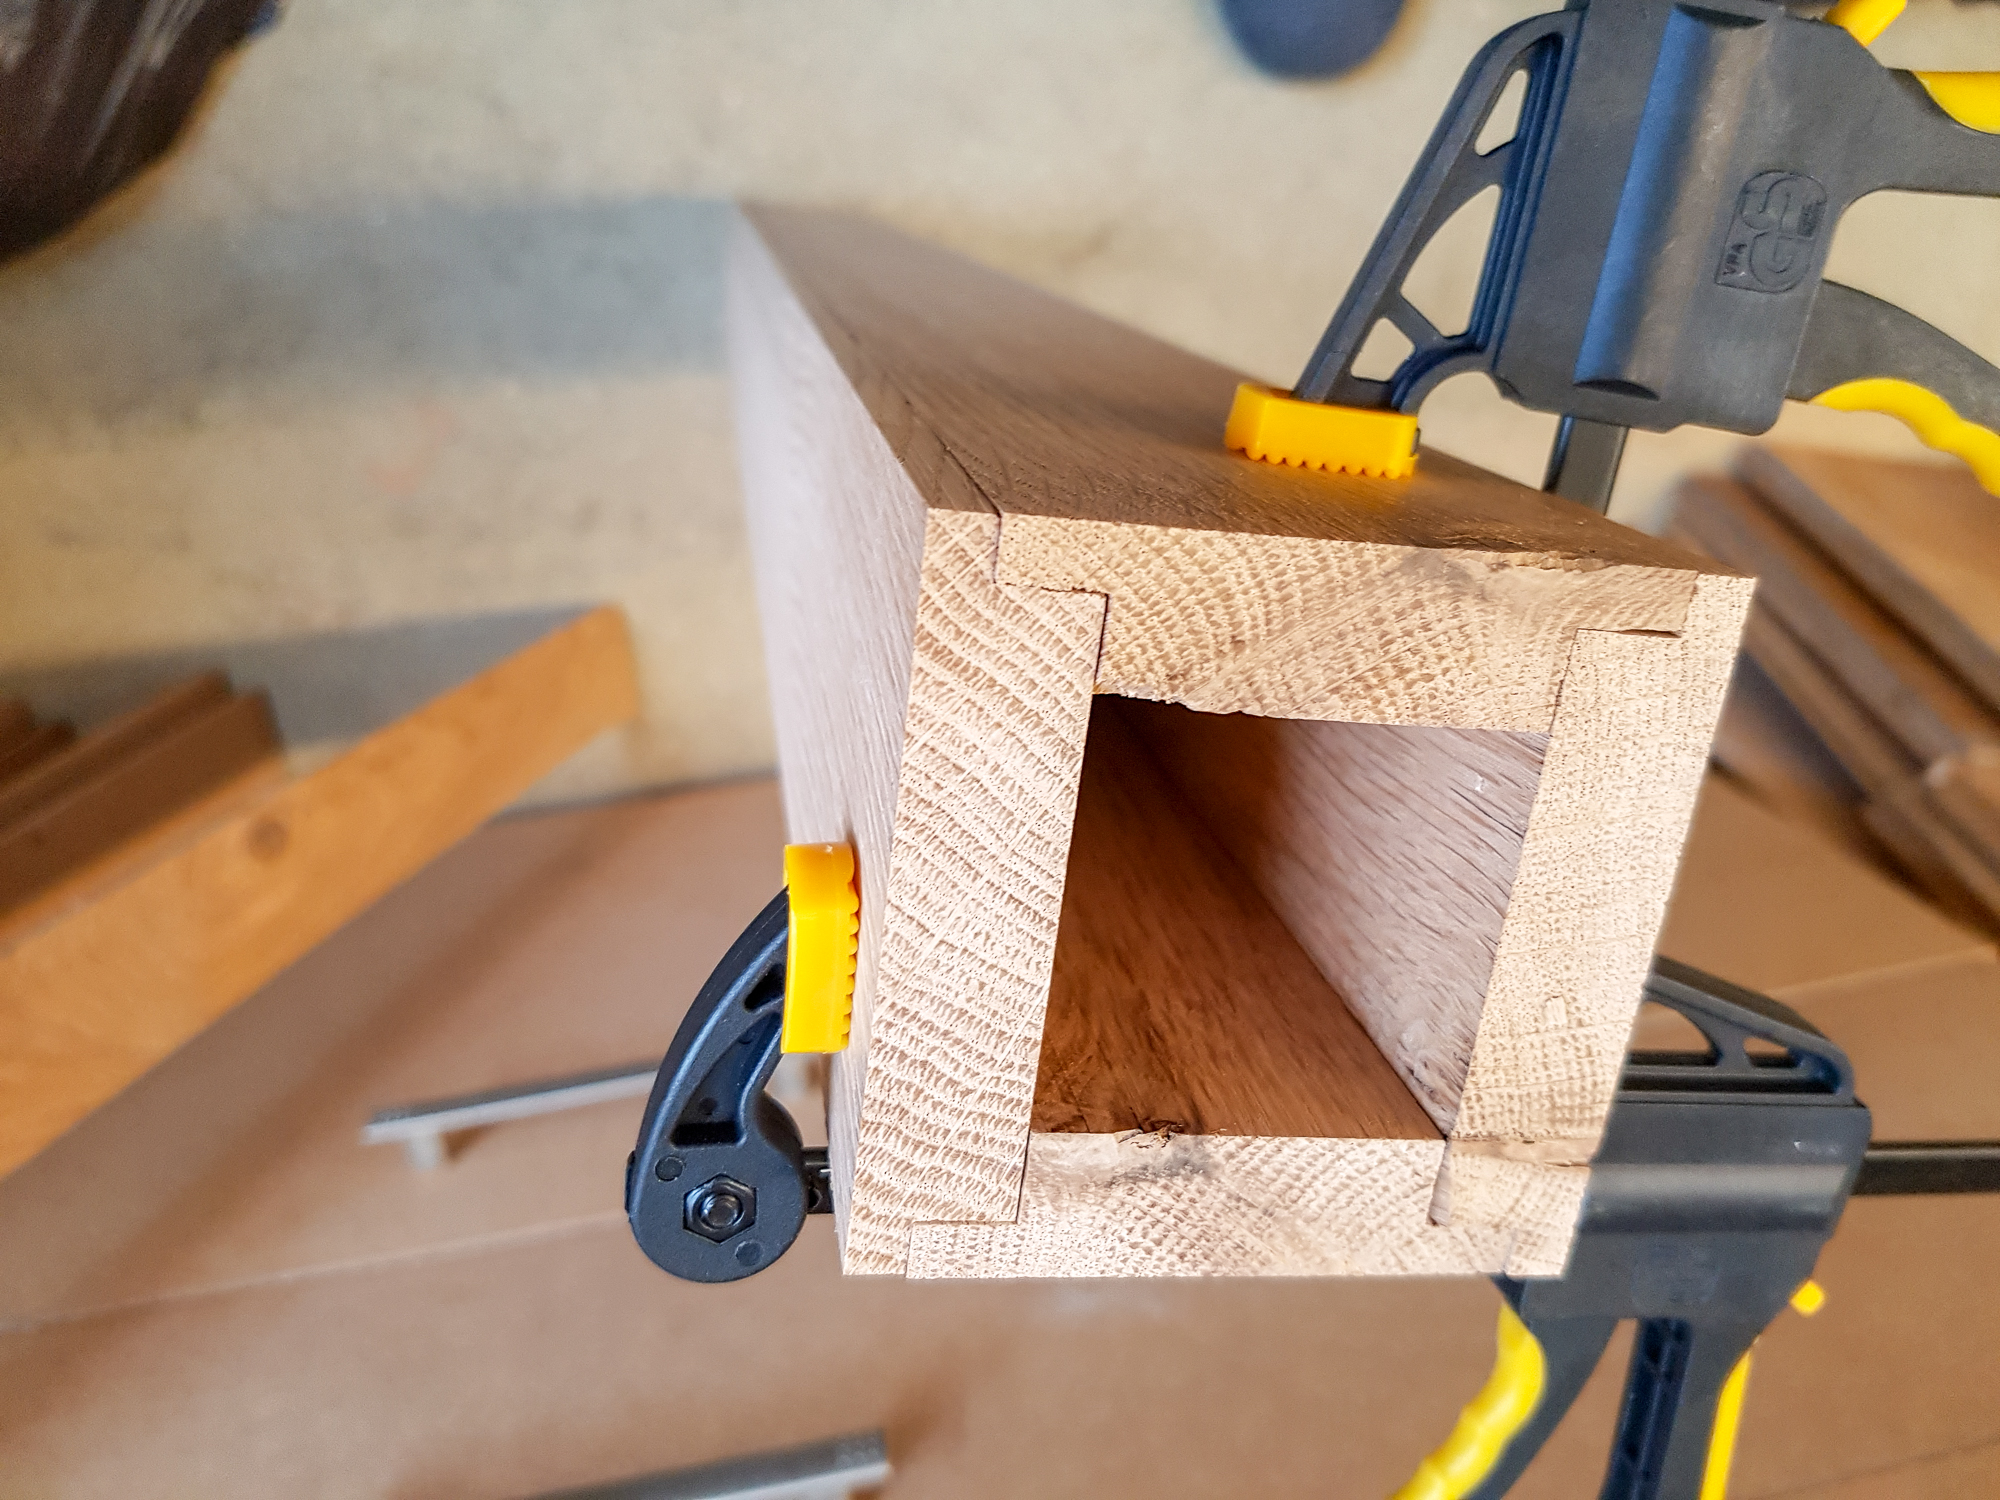
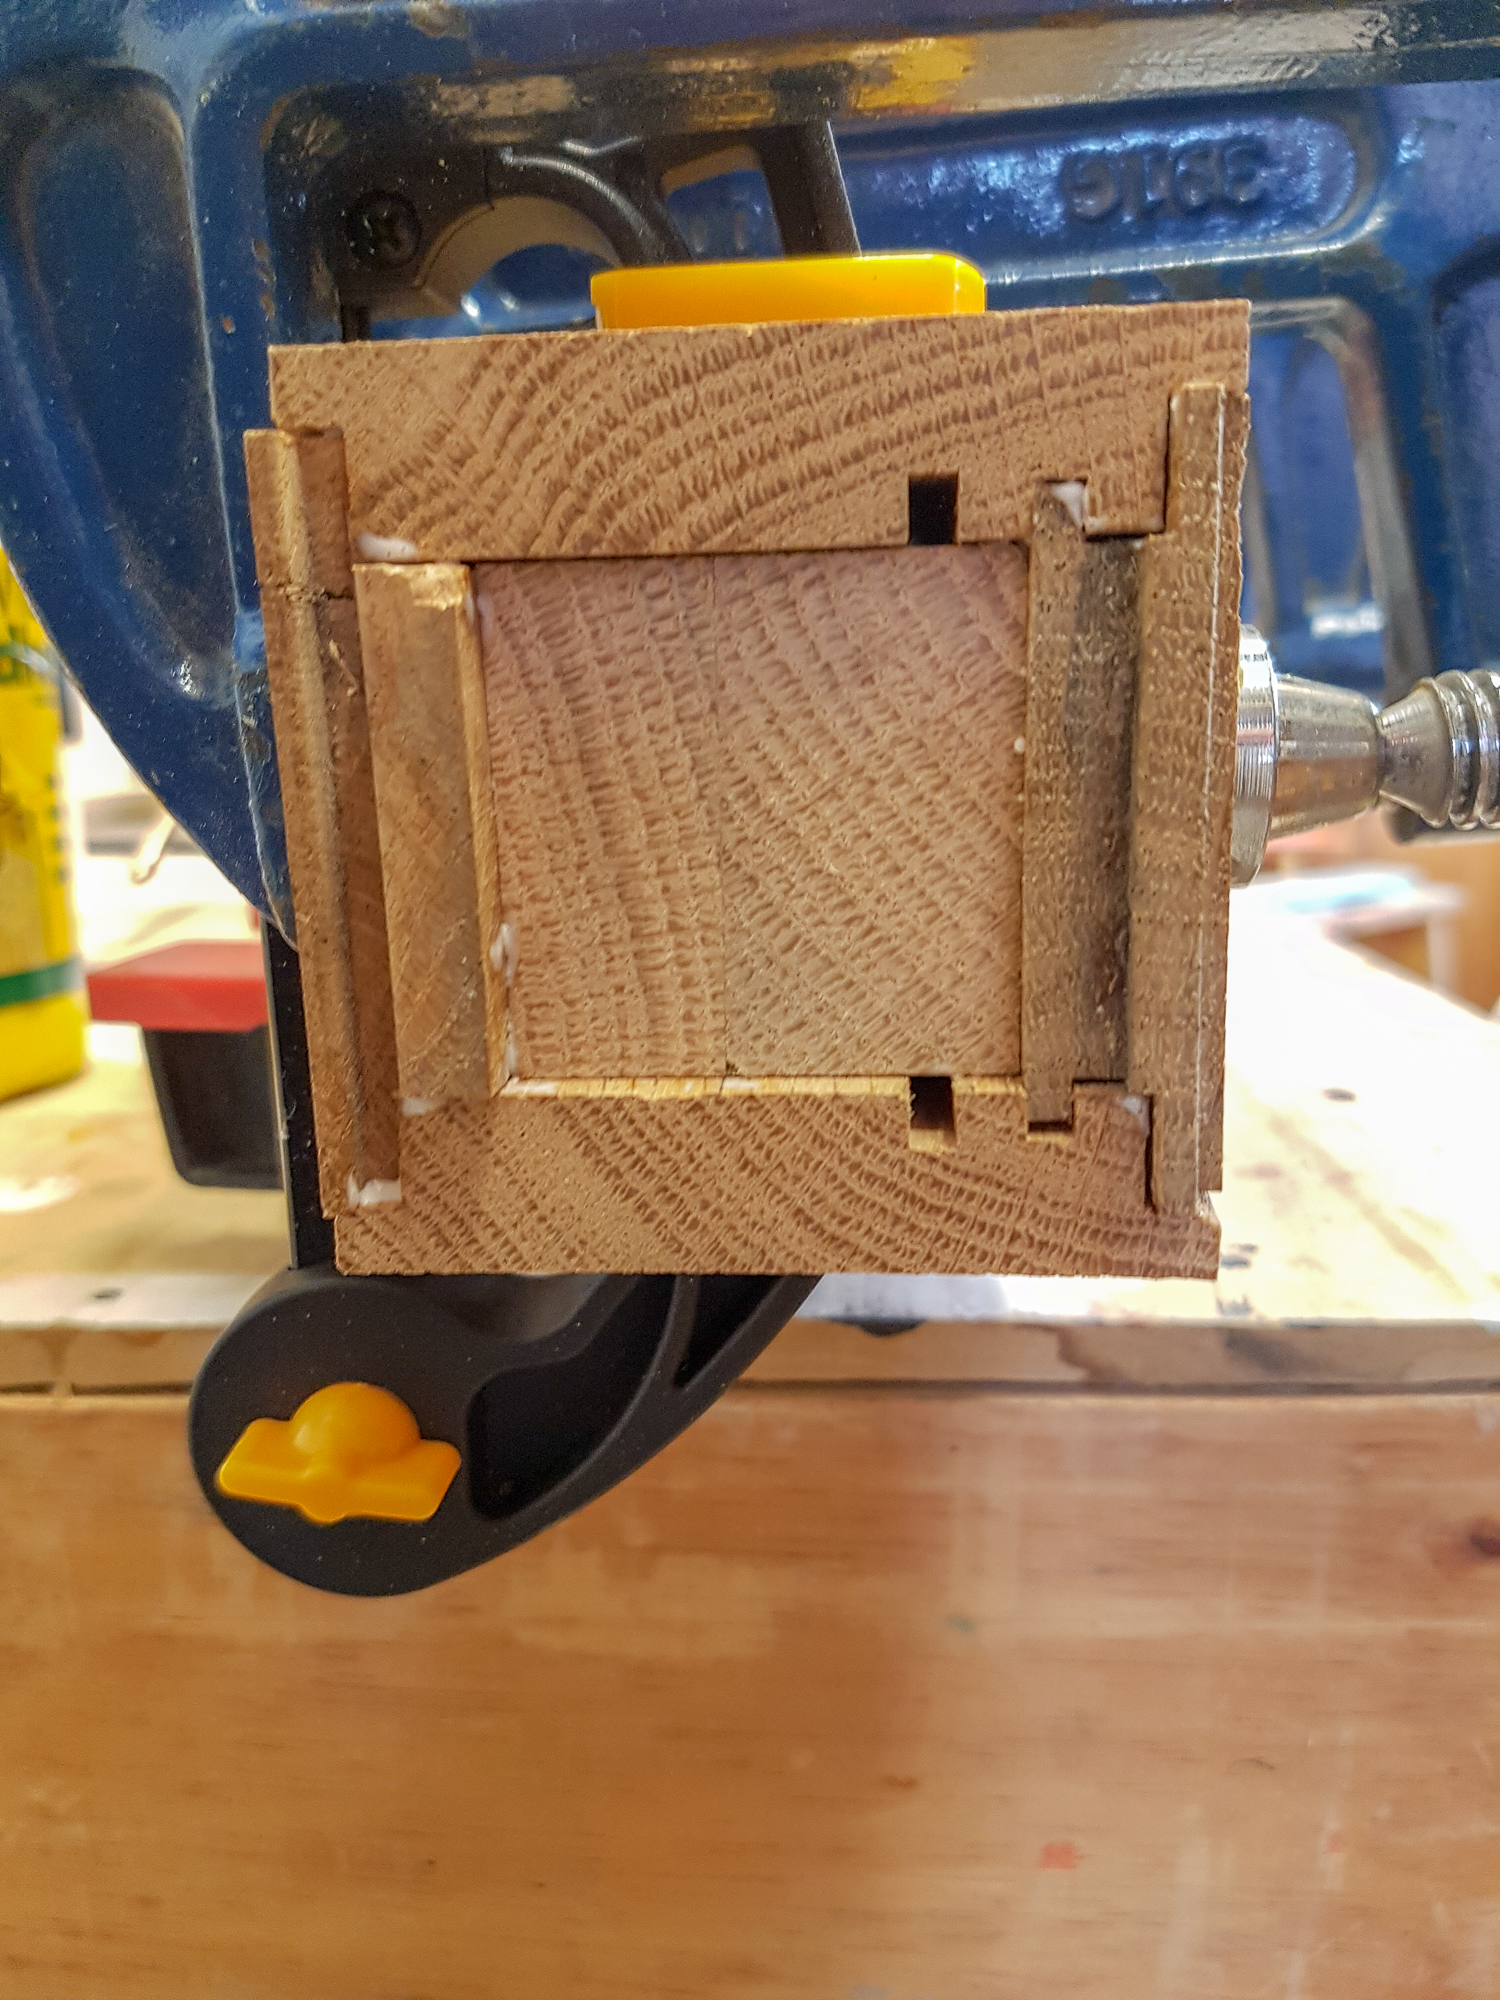
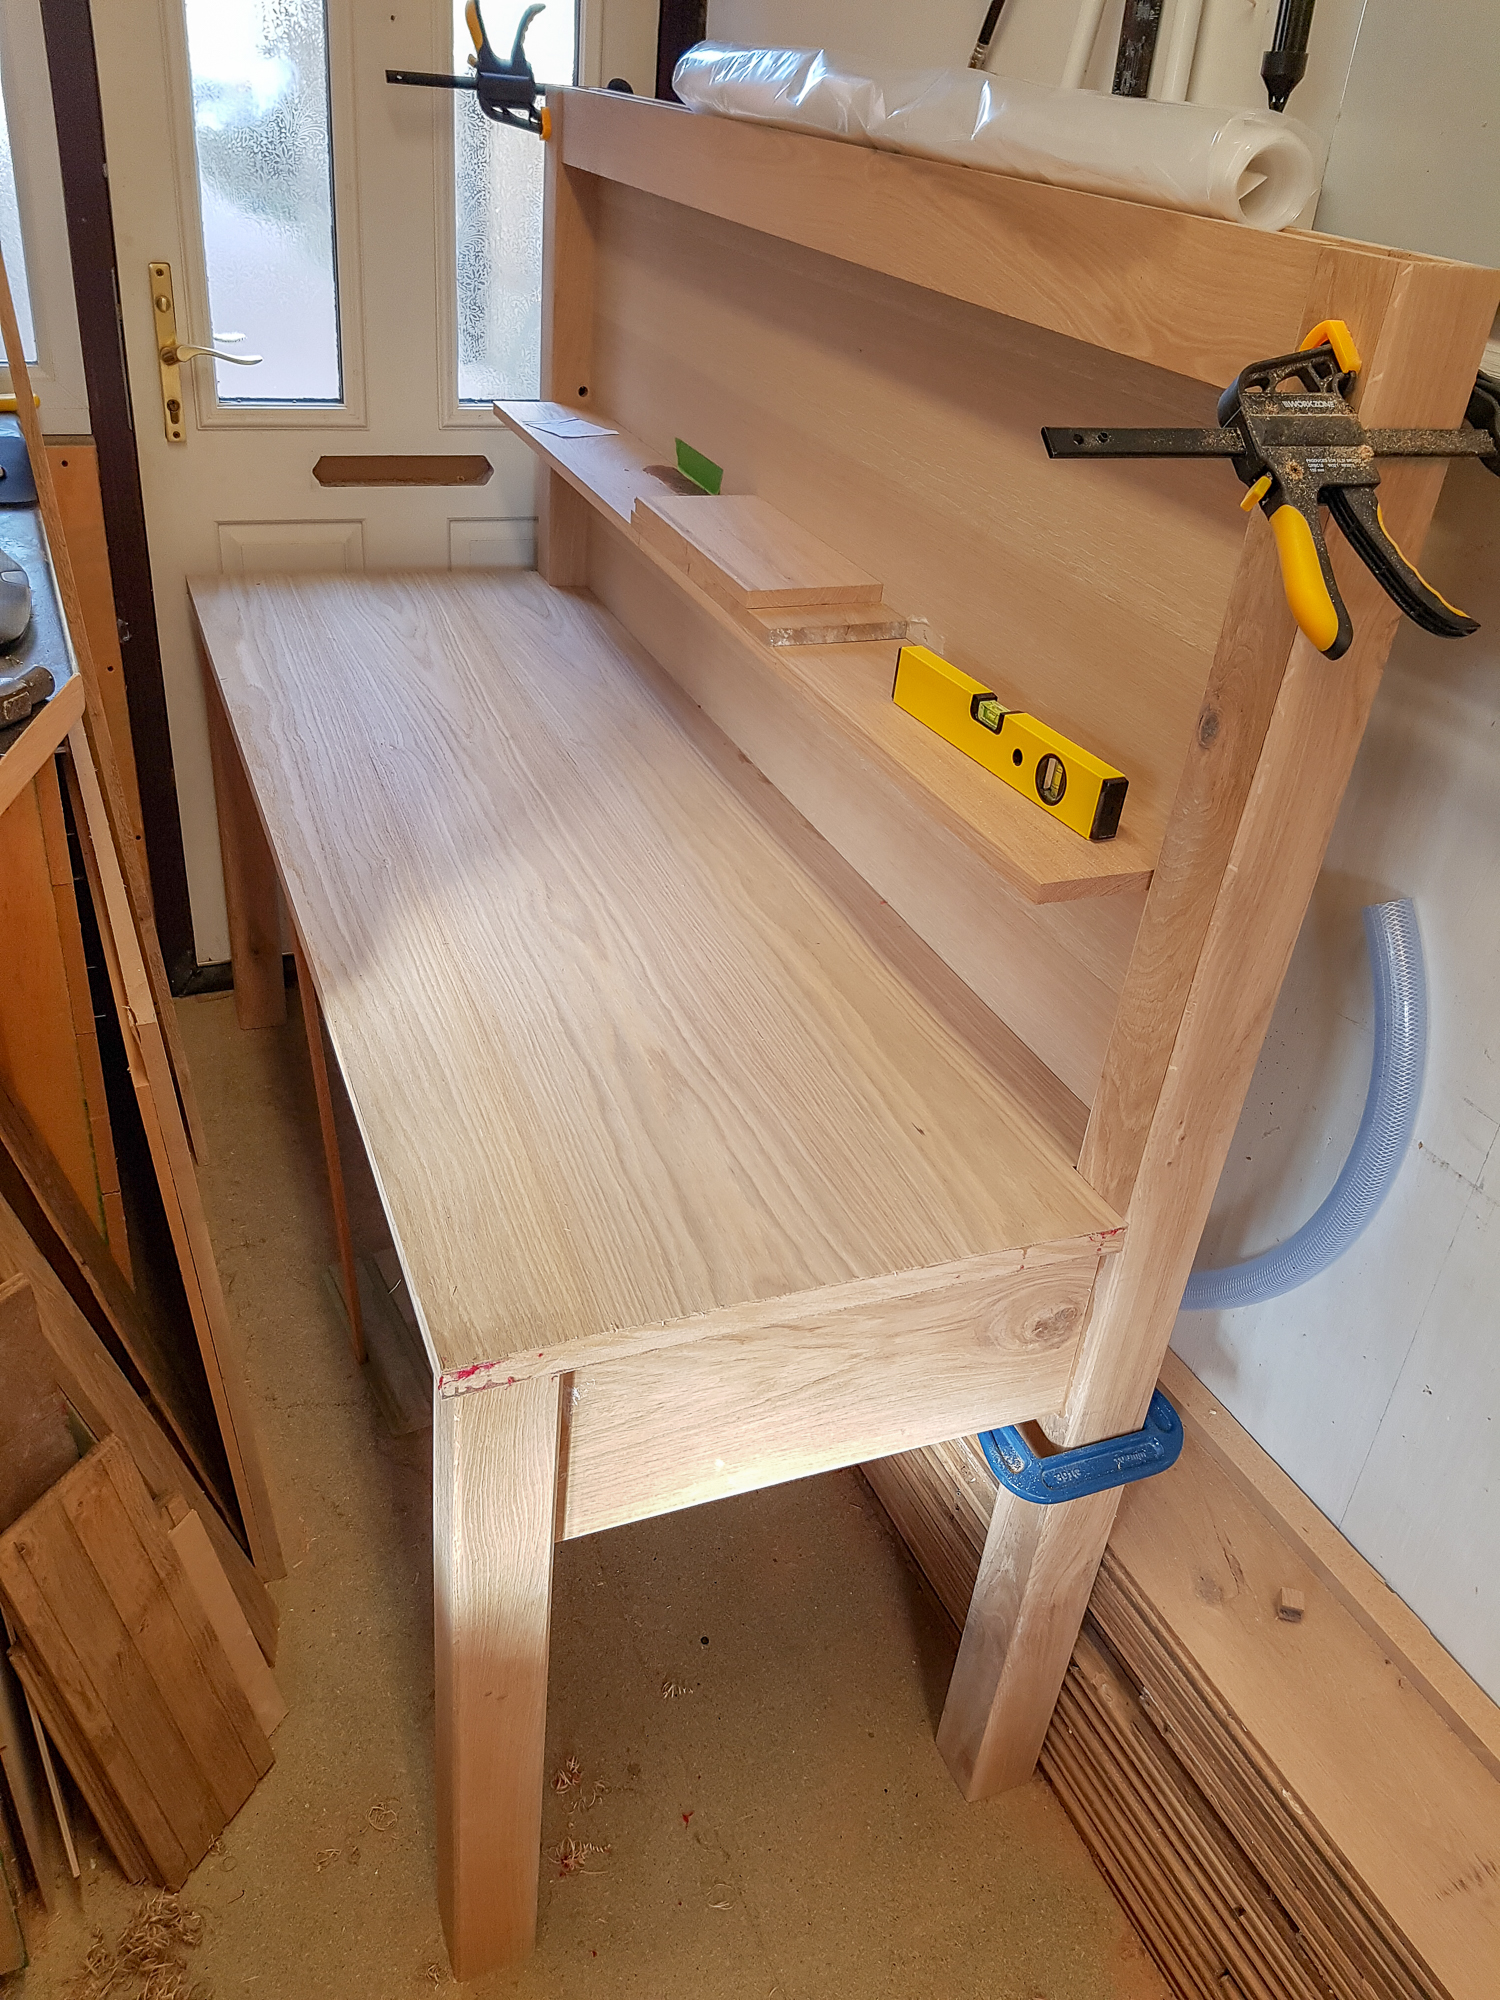
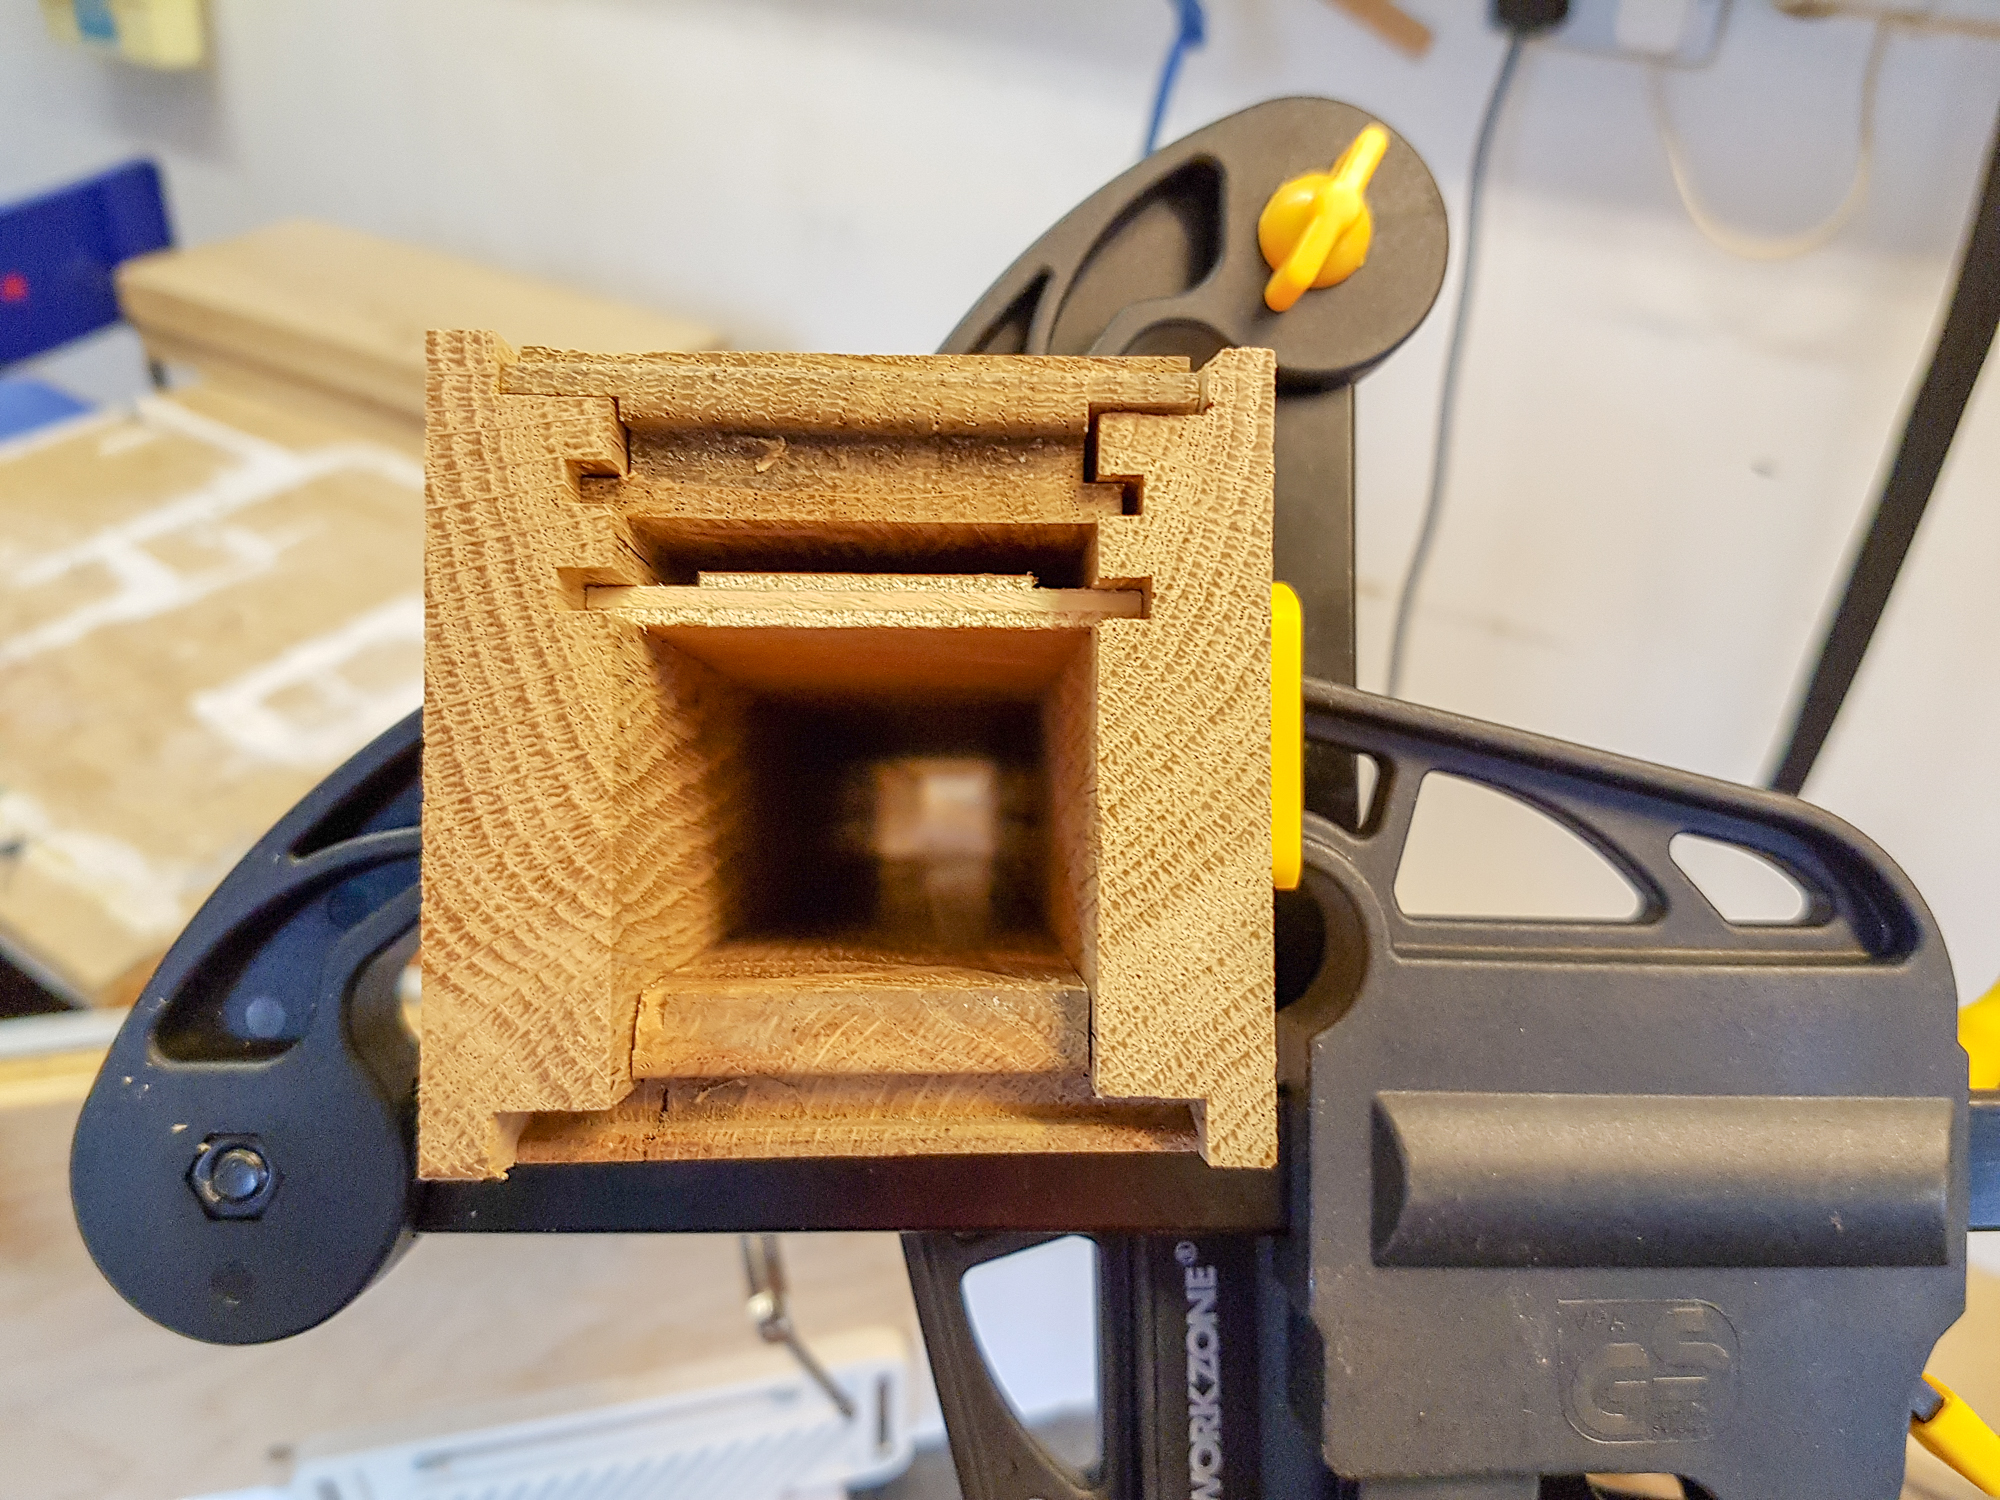
I didn't like the end panels and left the final version on the back burner while i made the other units. After more thought I changed it to versions of the chunky hollow legs I've made for other furniture in the past.

desk%20-%20178.JPG


Front legs
desk-140.jpg


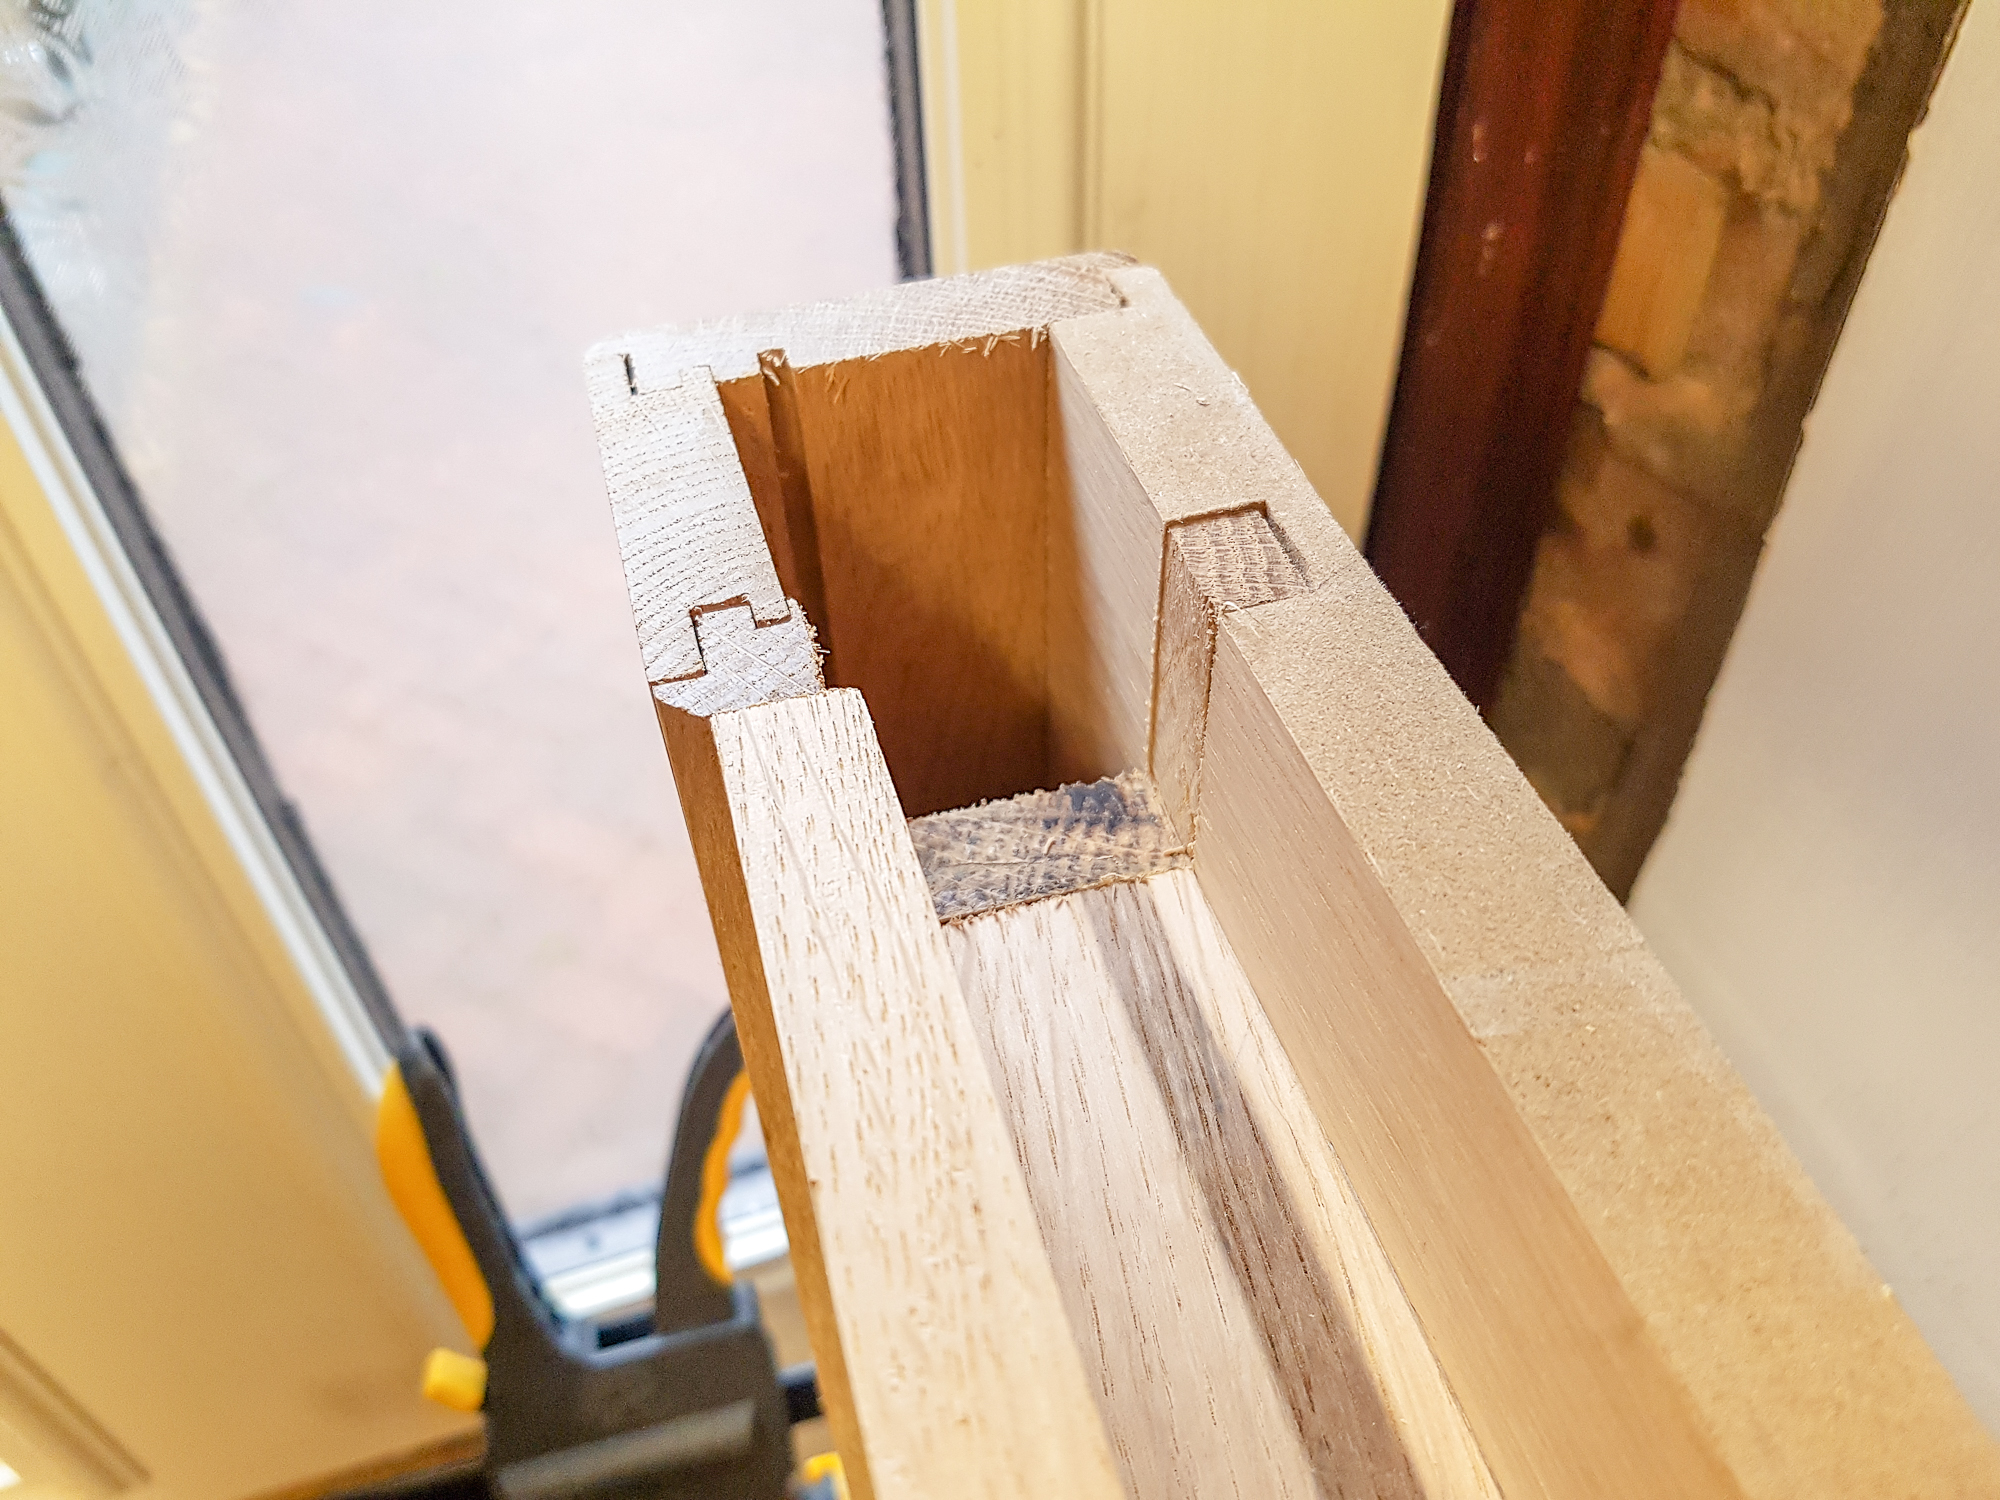
Back leg. The ply pieces are glued in and the face piece slides in as a loose part. it can be lifted out for access to hidden wiring. The ply was in there just for a test - this is looking at the lower part of the leg and the front piece will be glued in here.
desk-141.jpg


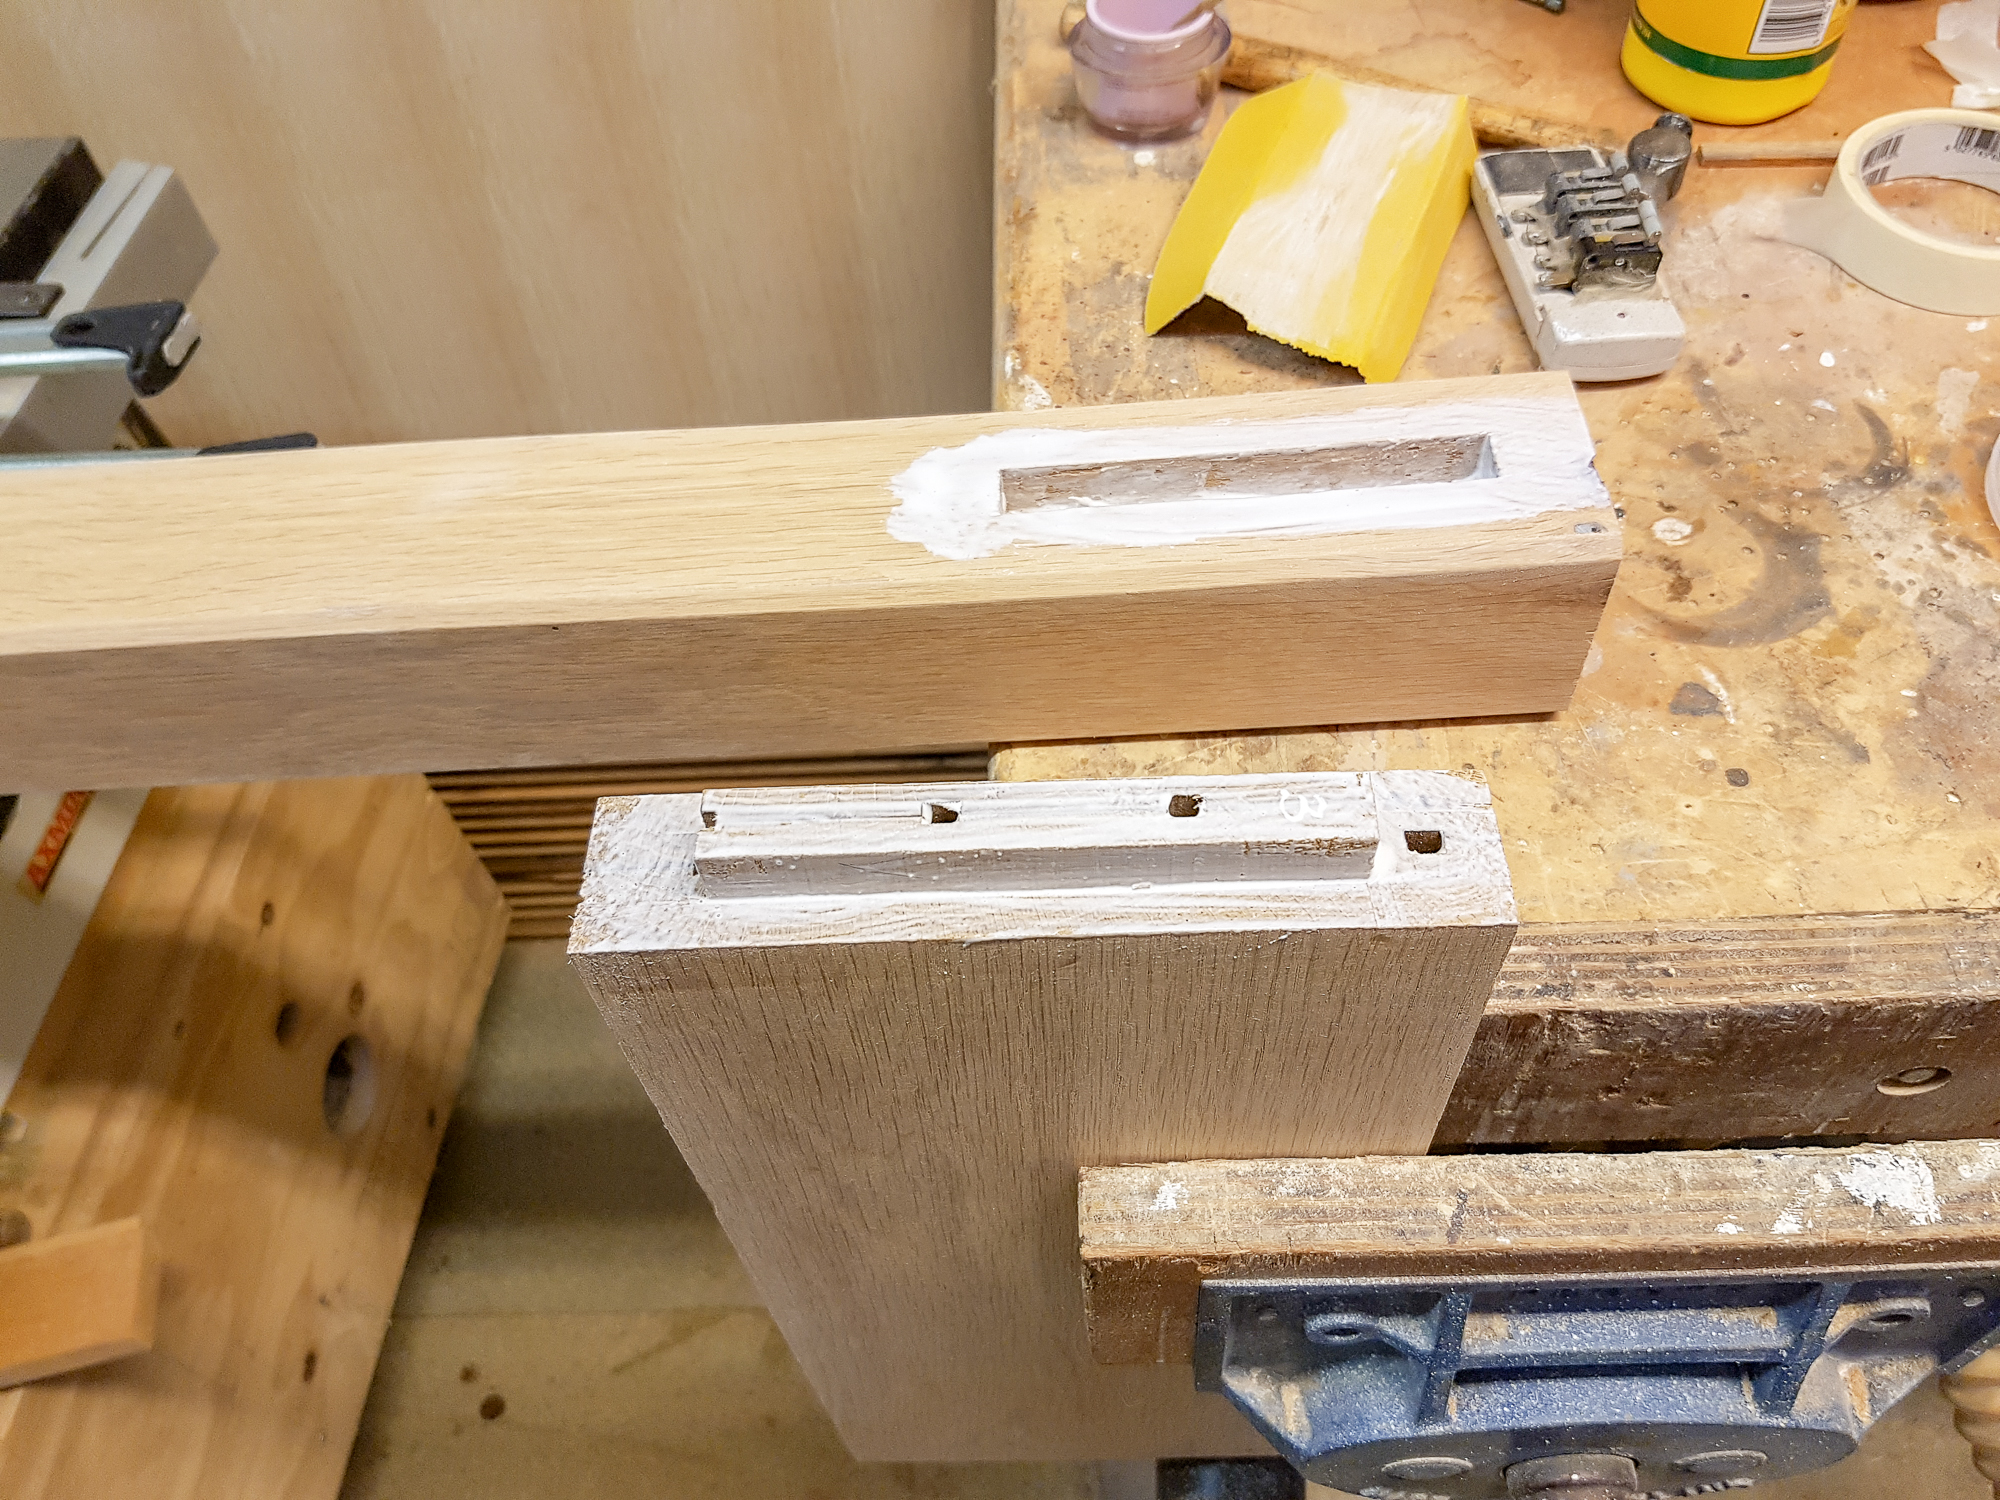
I glued two pieces of flooring plank together for the rail between the legs
desk-142.jpg


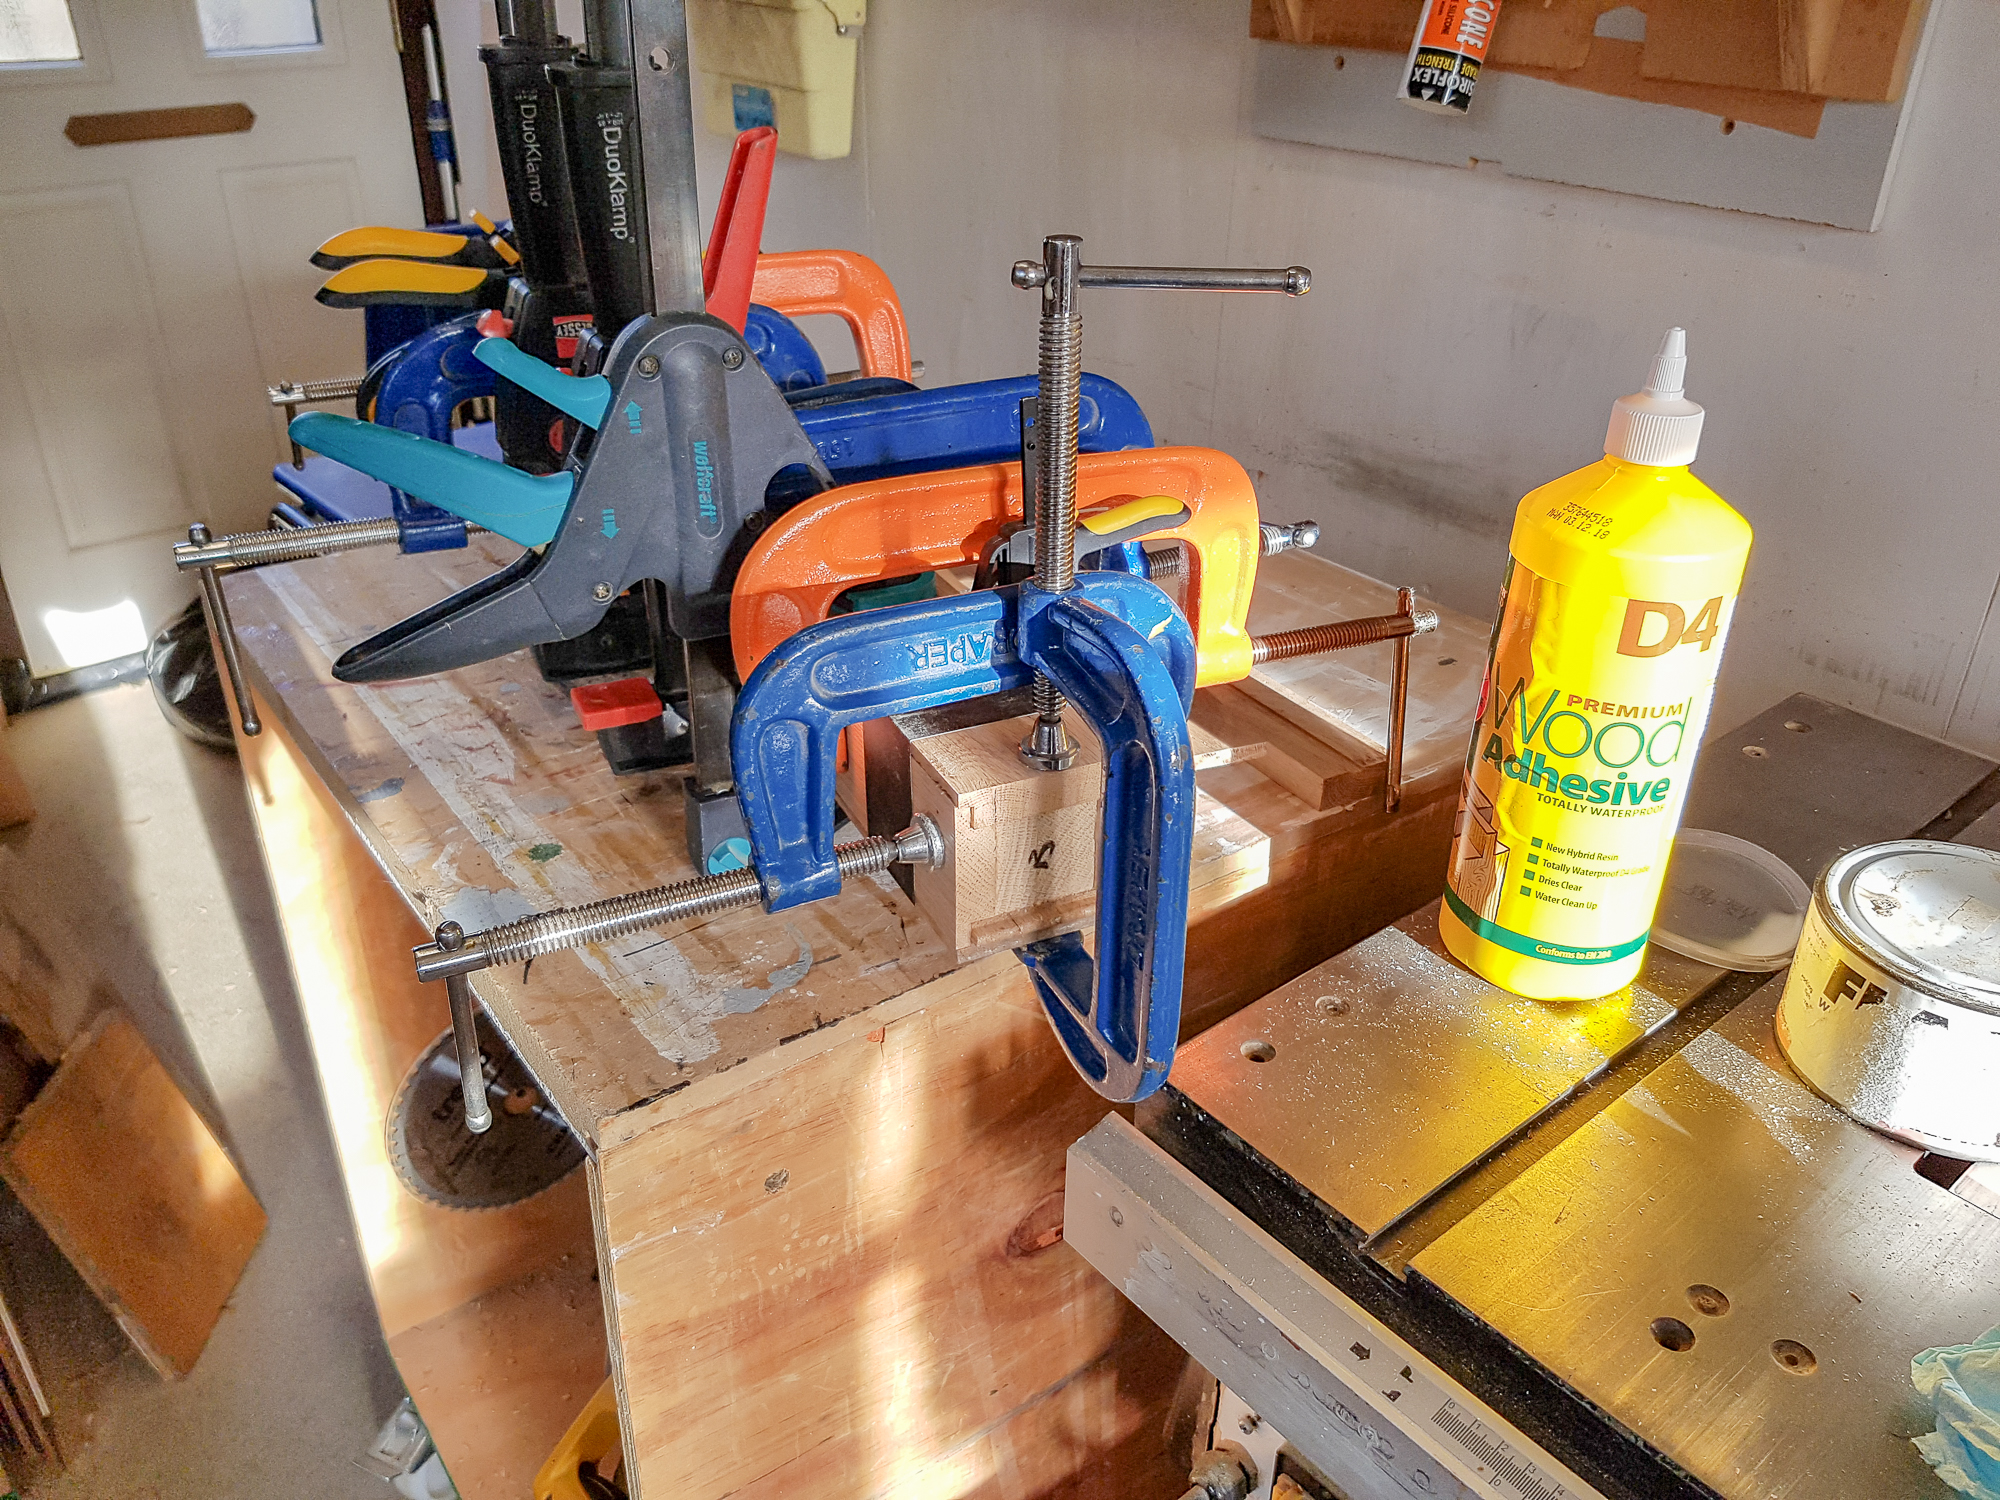
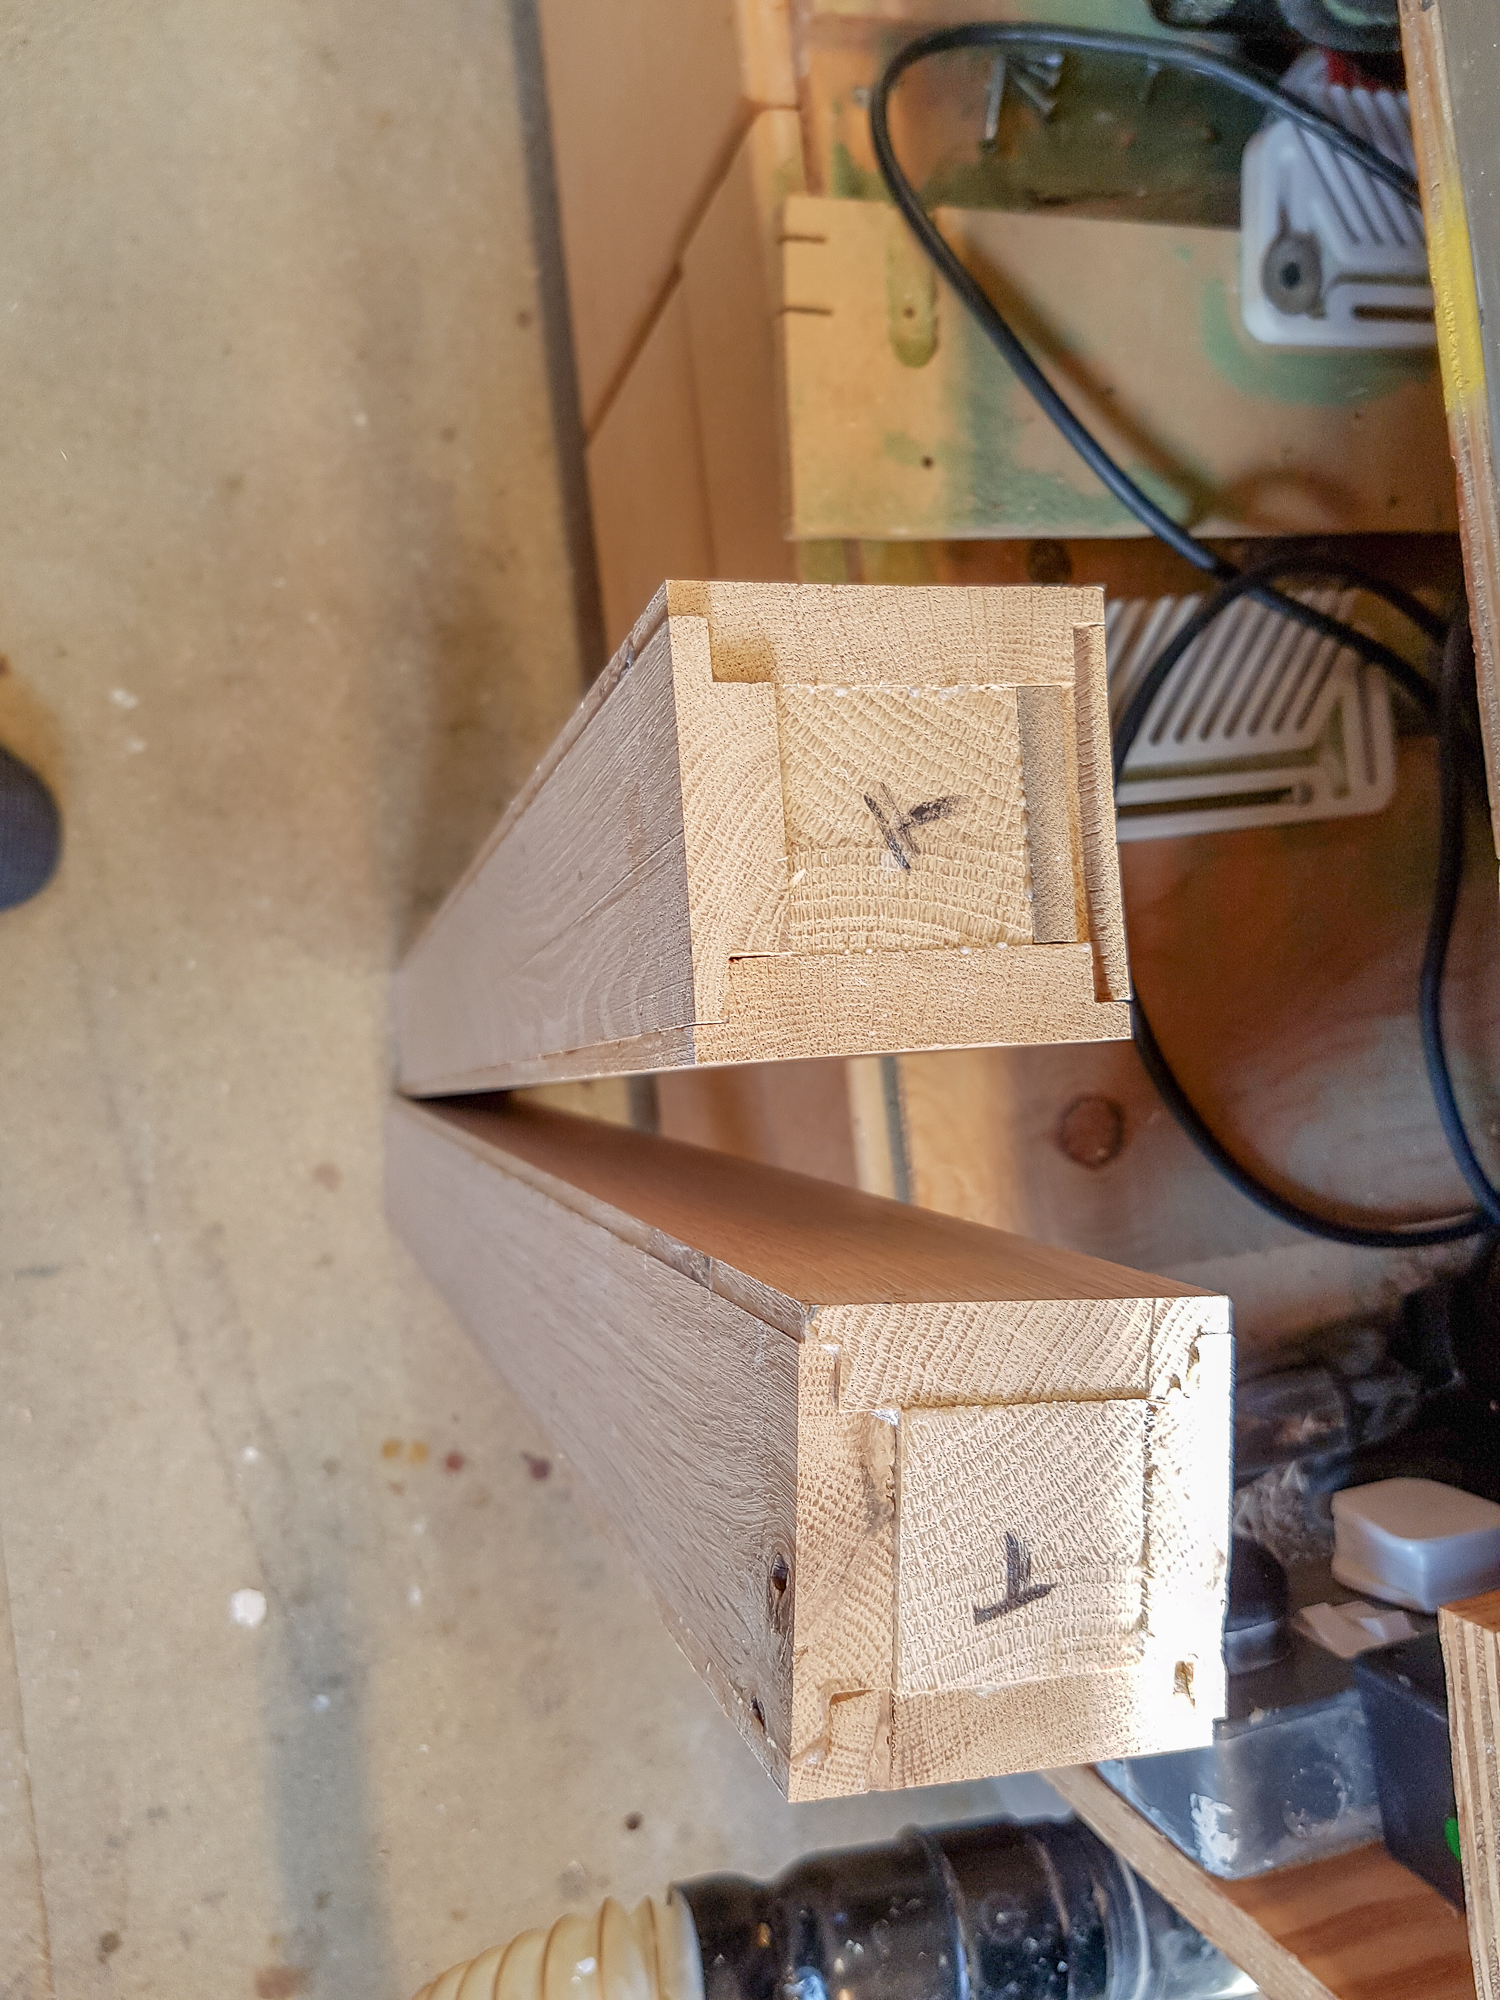
Front leg glue up. The middle is in-filled with a long block at the top and a short one at the bottom.
desk-143.jpg


Front legs. The top end is heavier but I marked the Top anyway.
desk-144.jpg


The lower part of the back legs was glued up first.
desk-145.jpg


desk-146.jpg


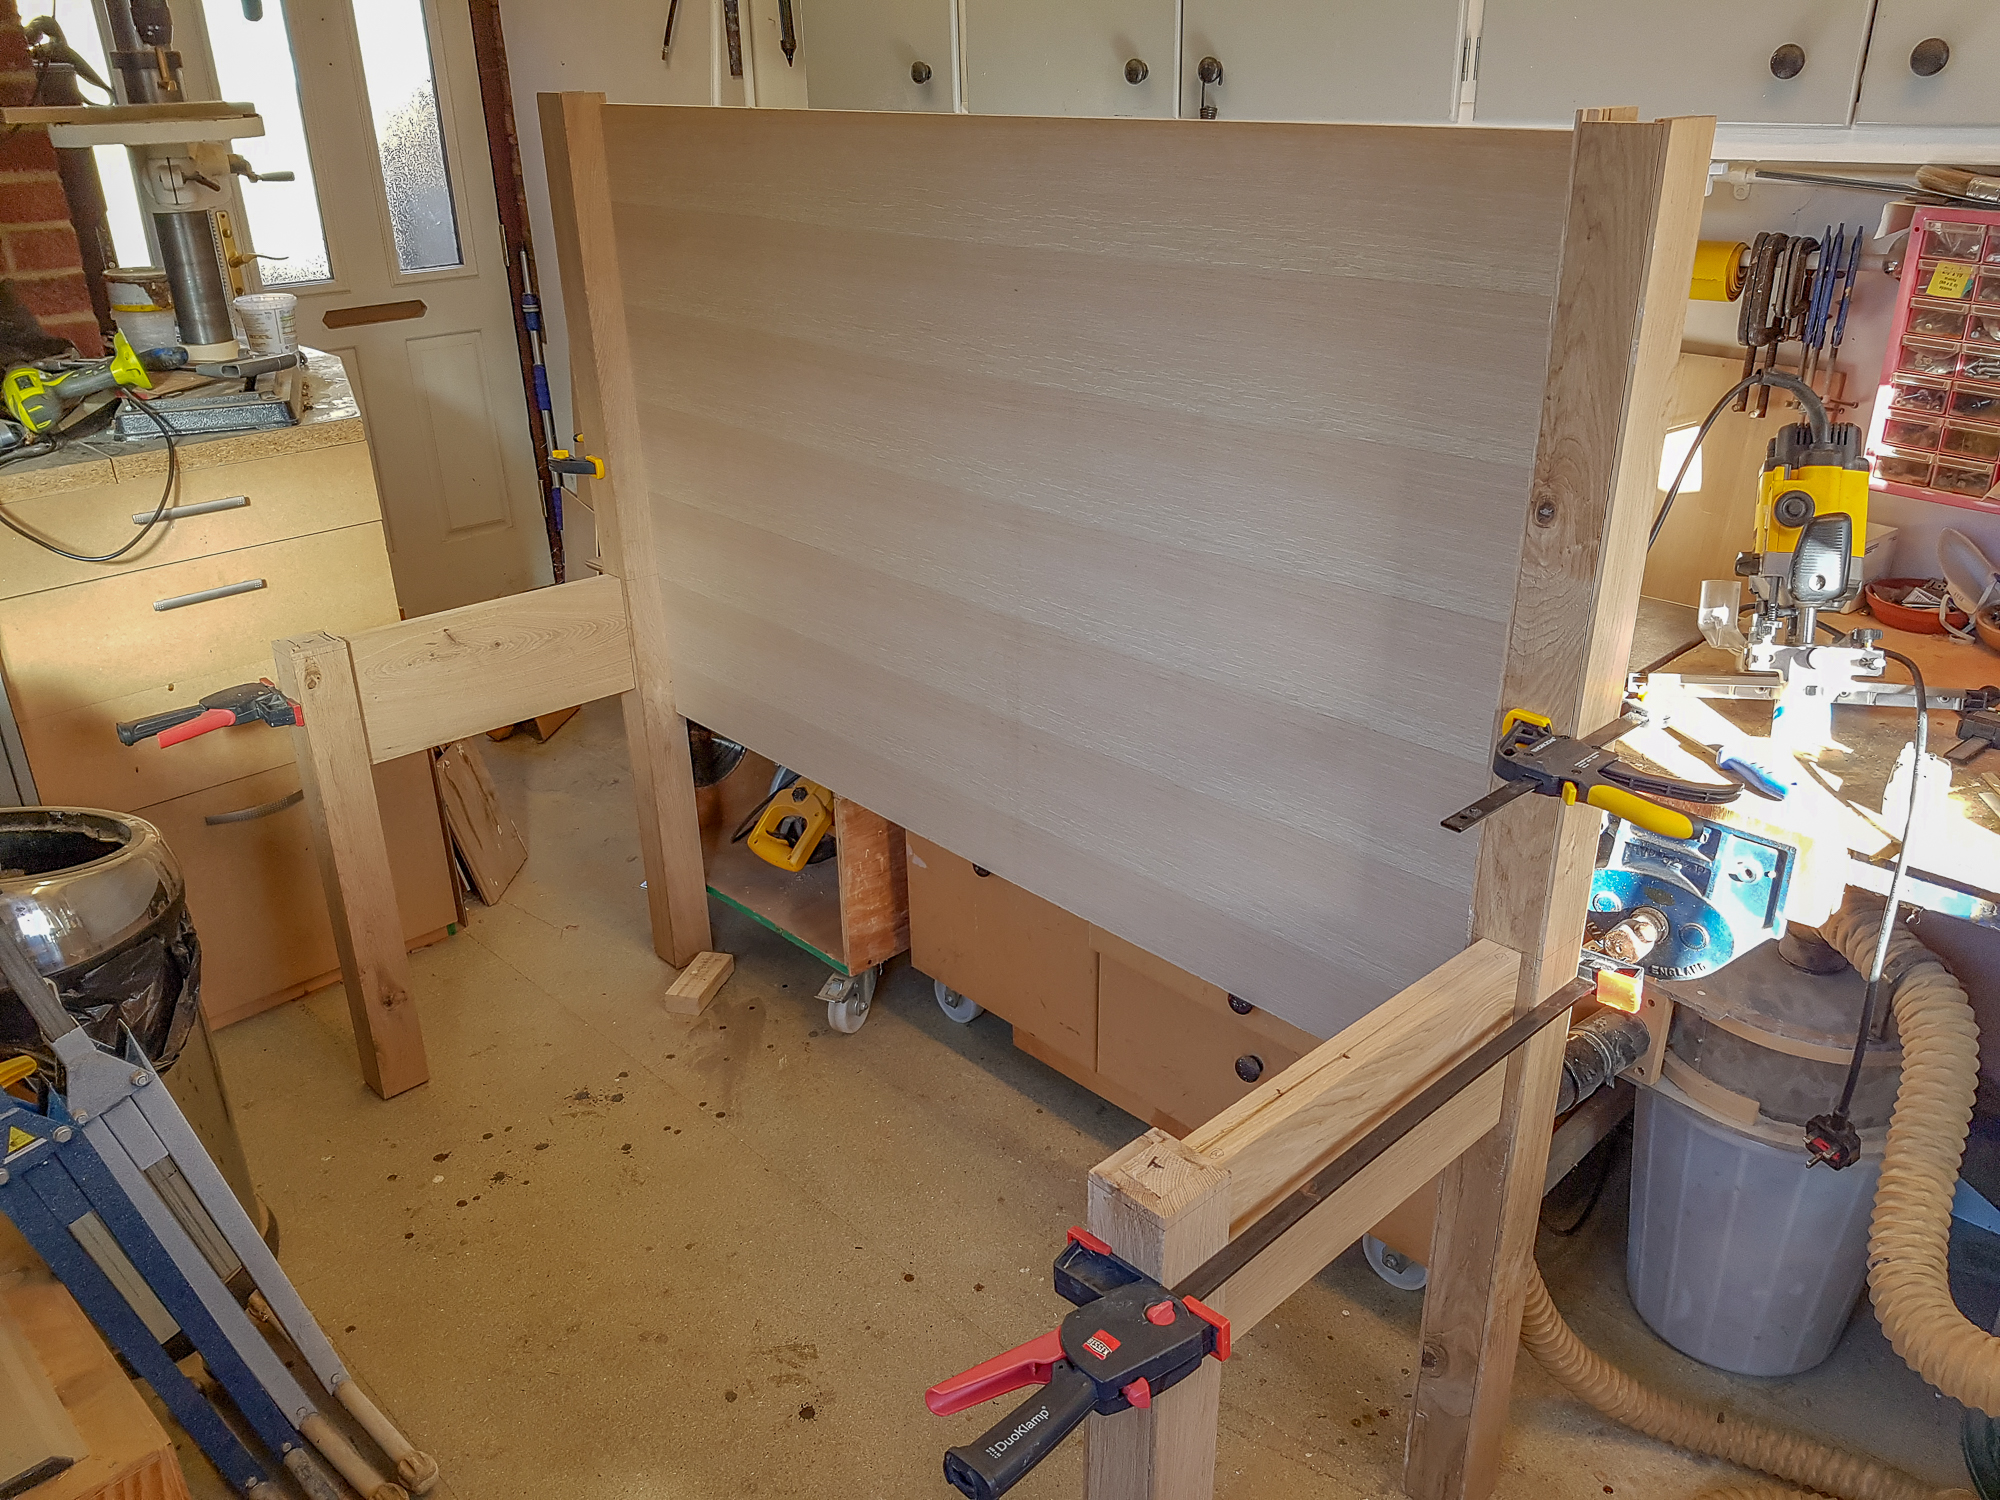
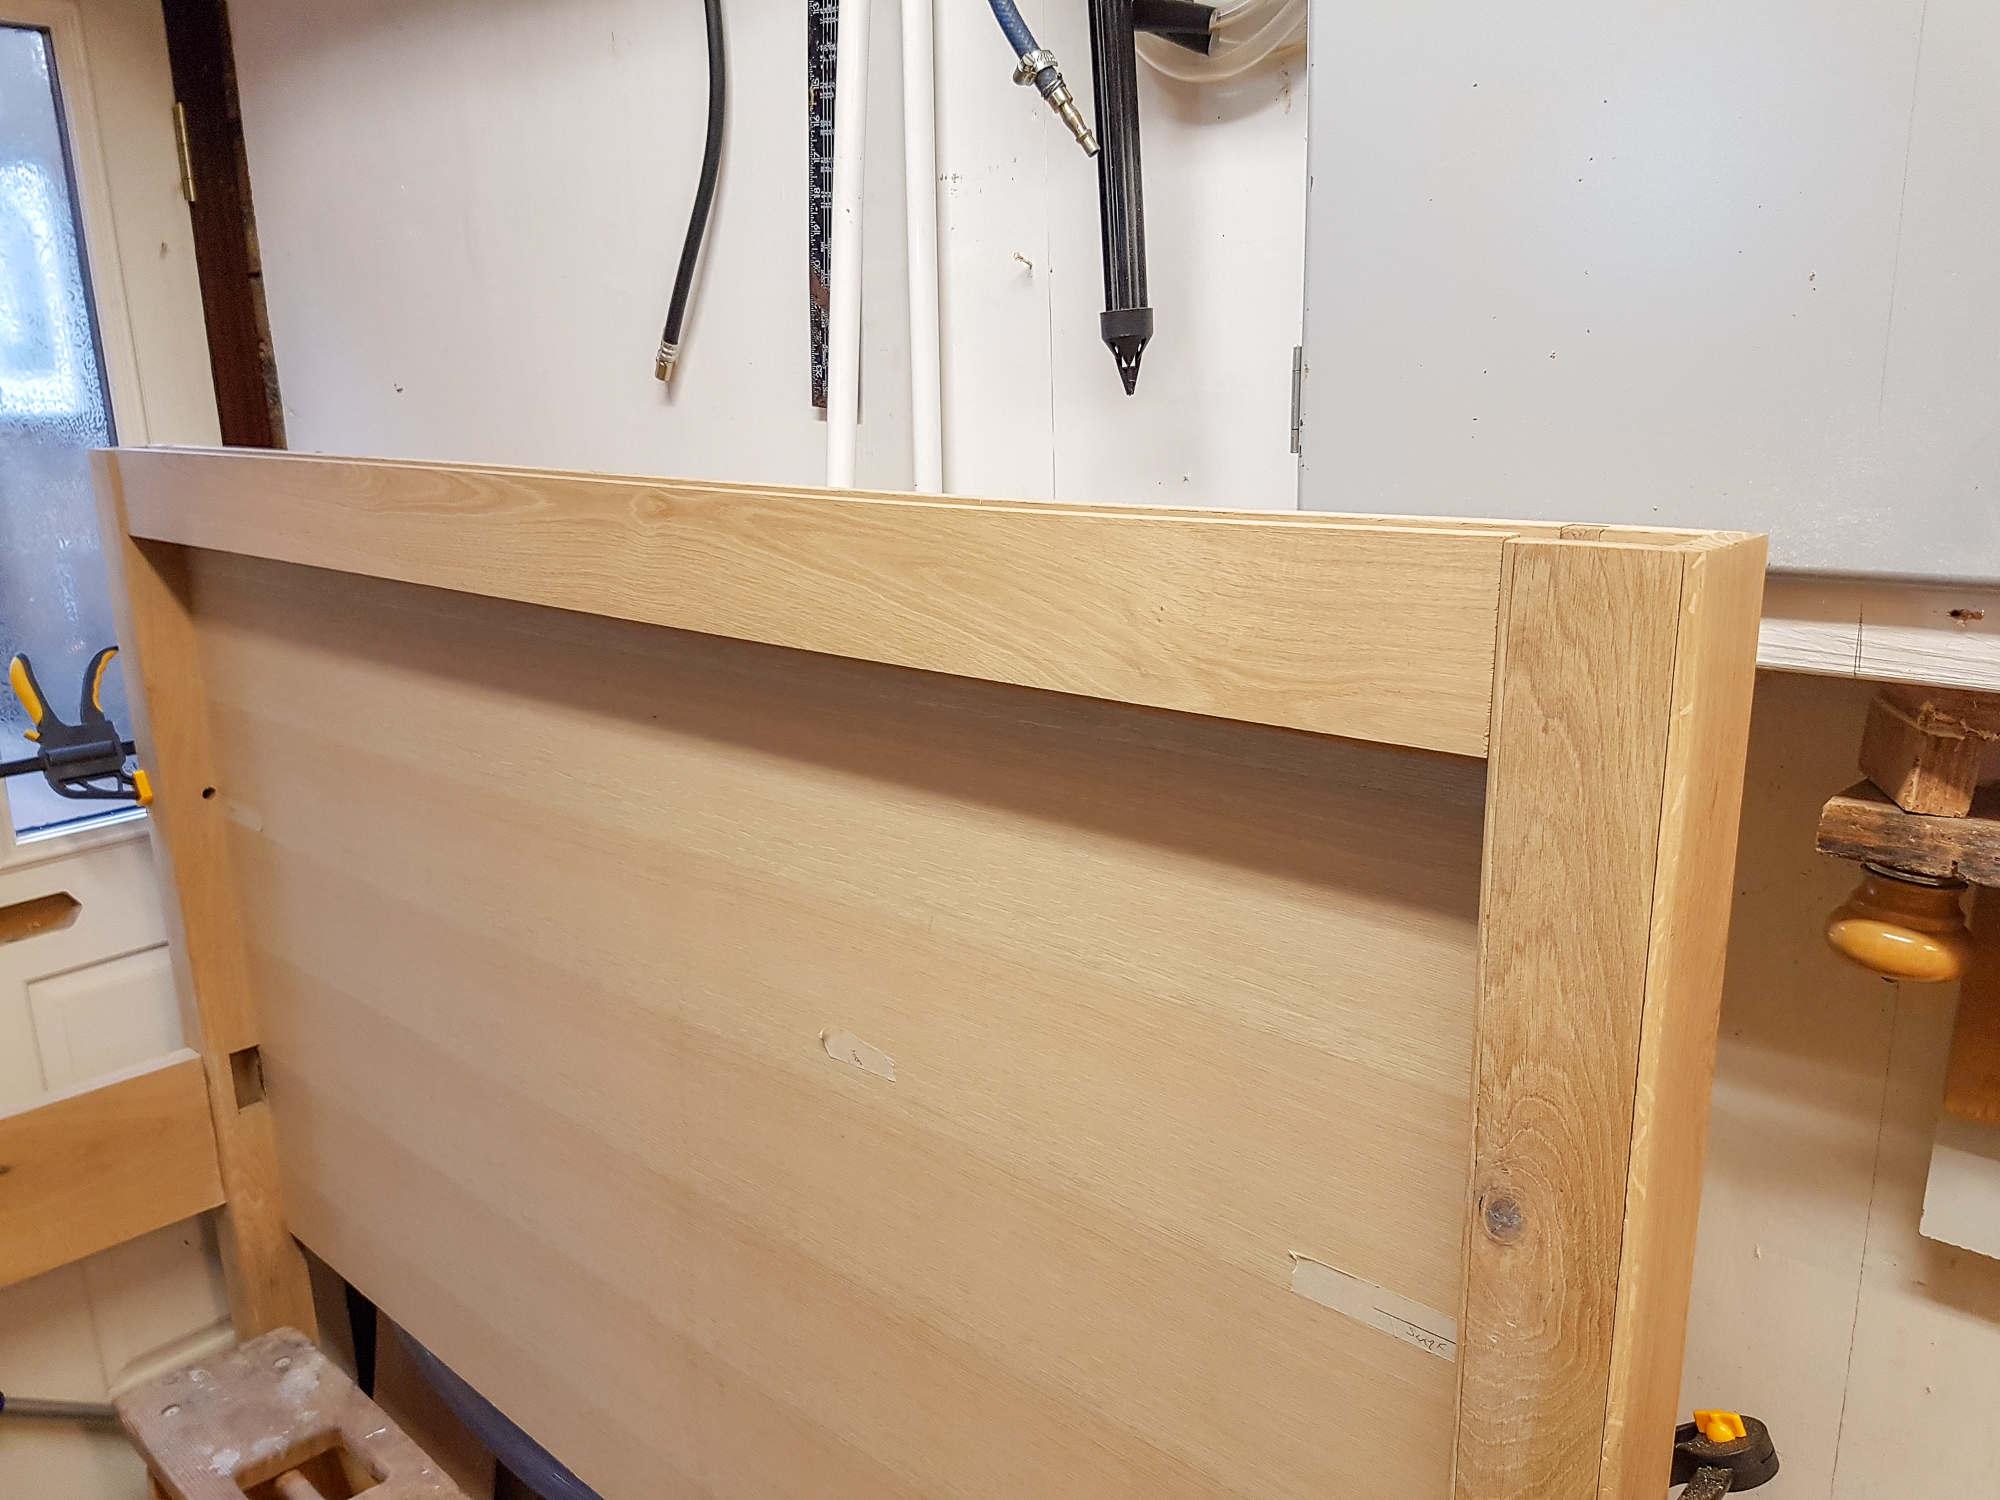
Dry fit to the back panel. the panel was from a sheet of 18mm pre veneered MDF. Not much of it is visible and it was easy!
desk-147.jpg


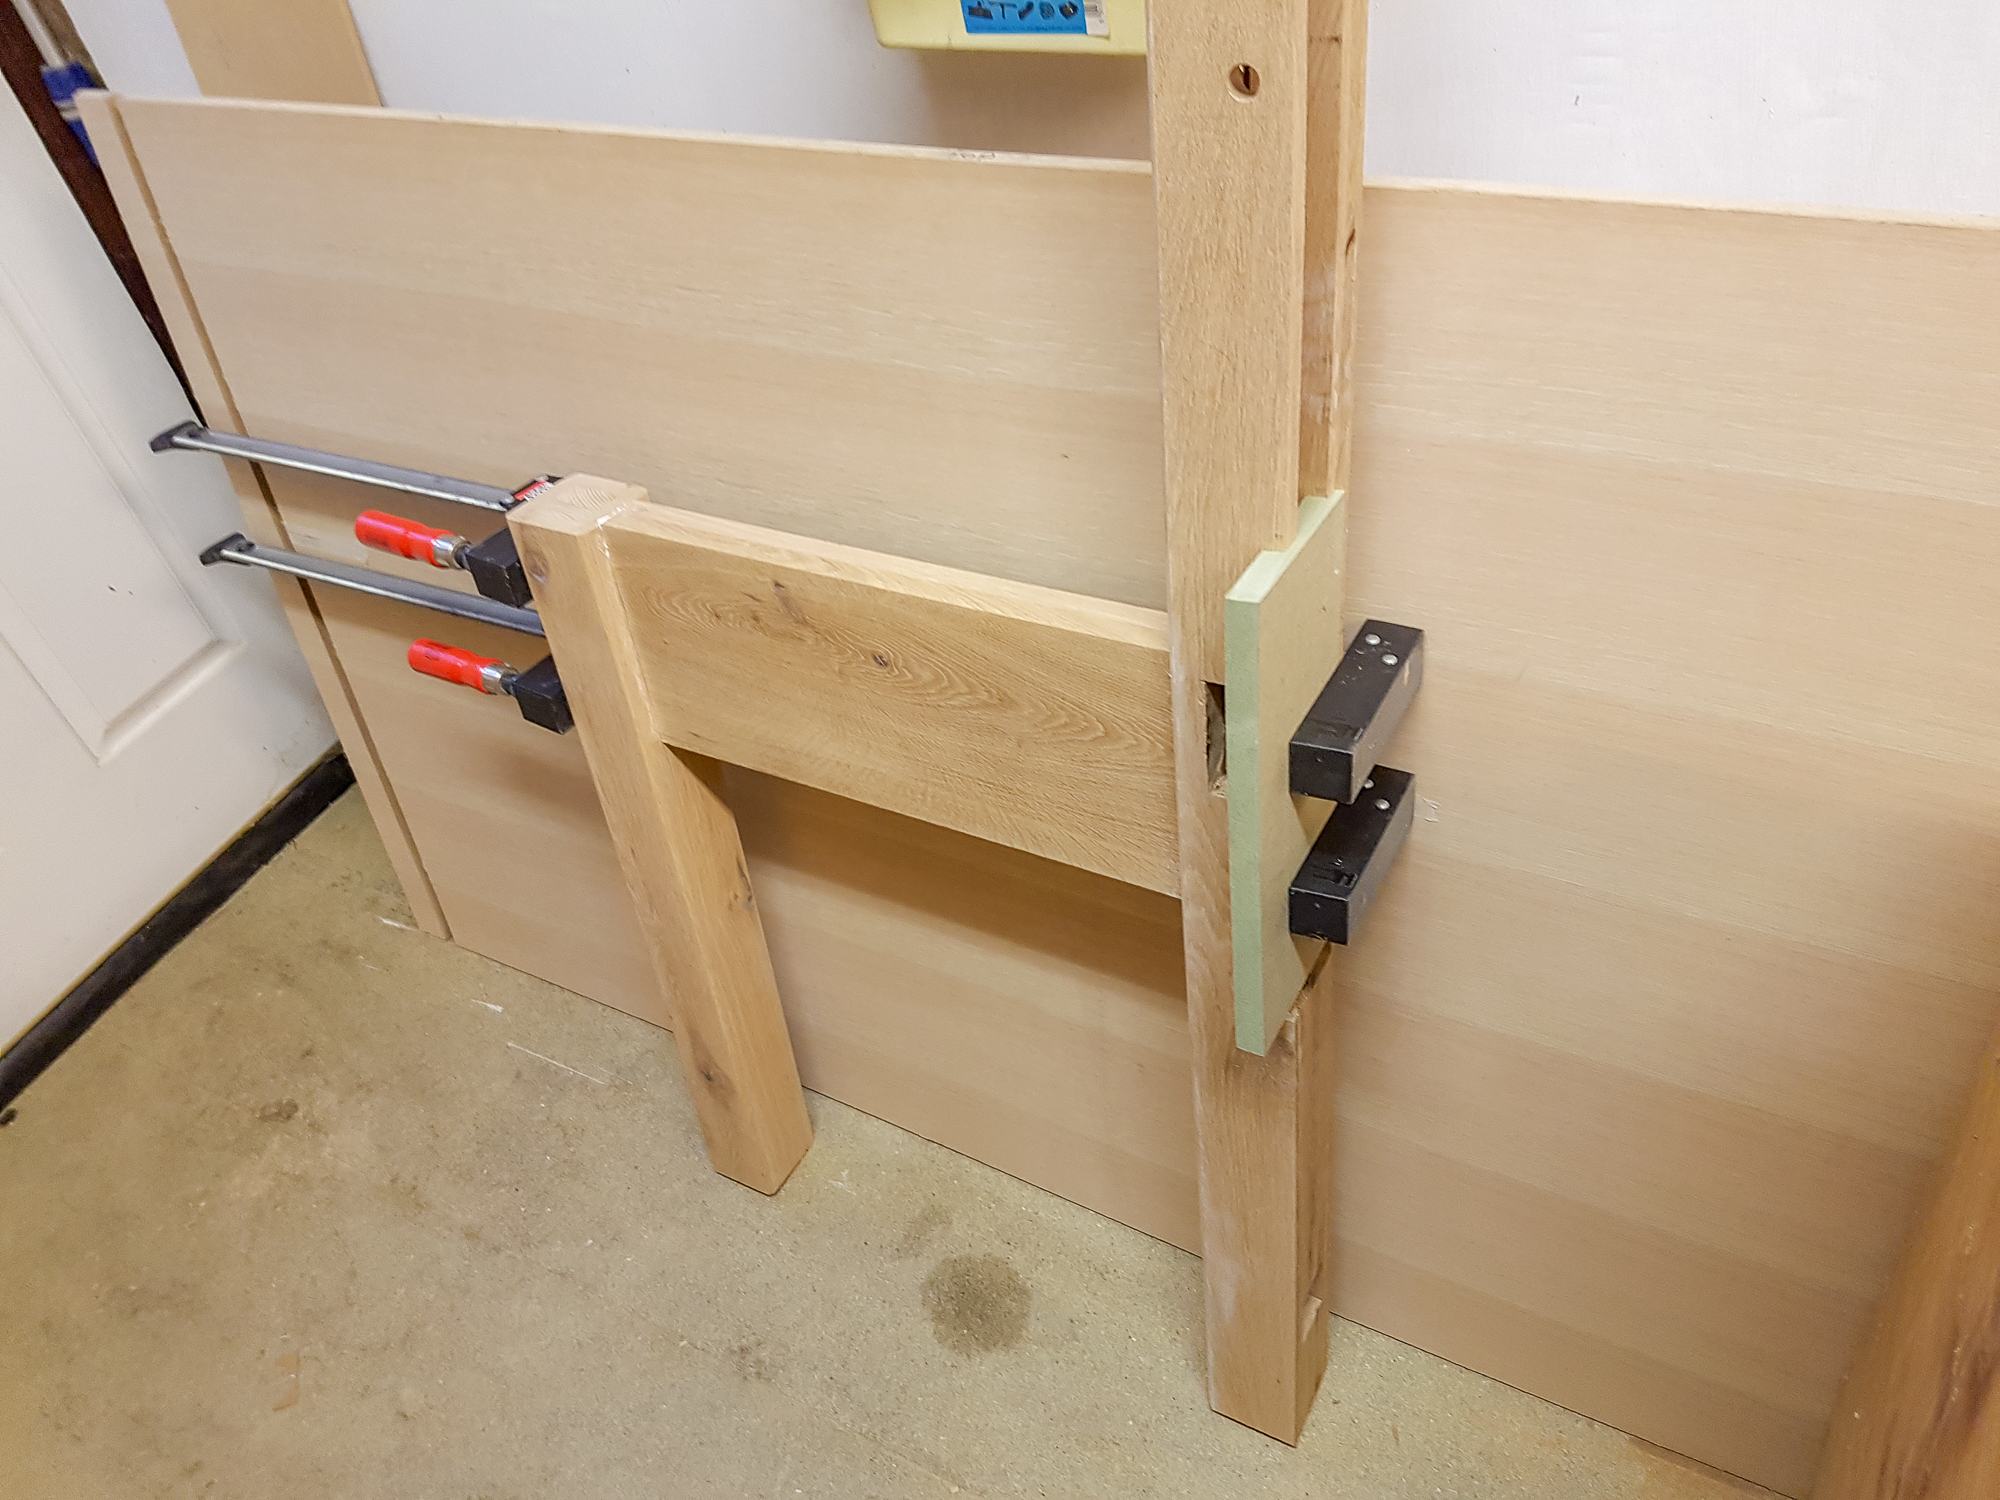
Legs glue up. The scrap used for clamping was my test piece for the groove and rebate in the MDF
desk-148.jpg


desk-149.jpg


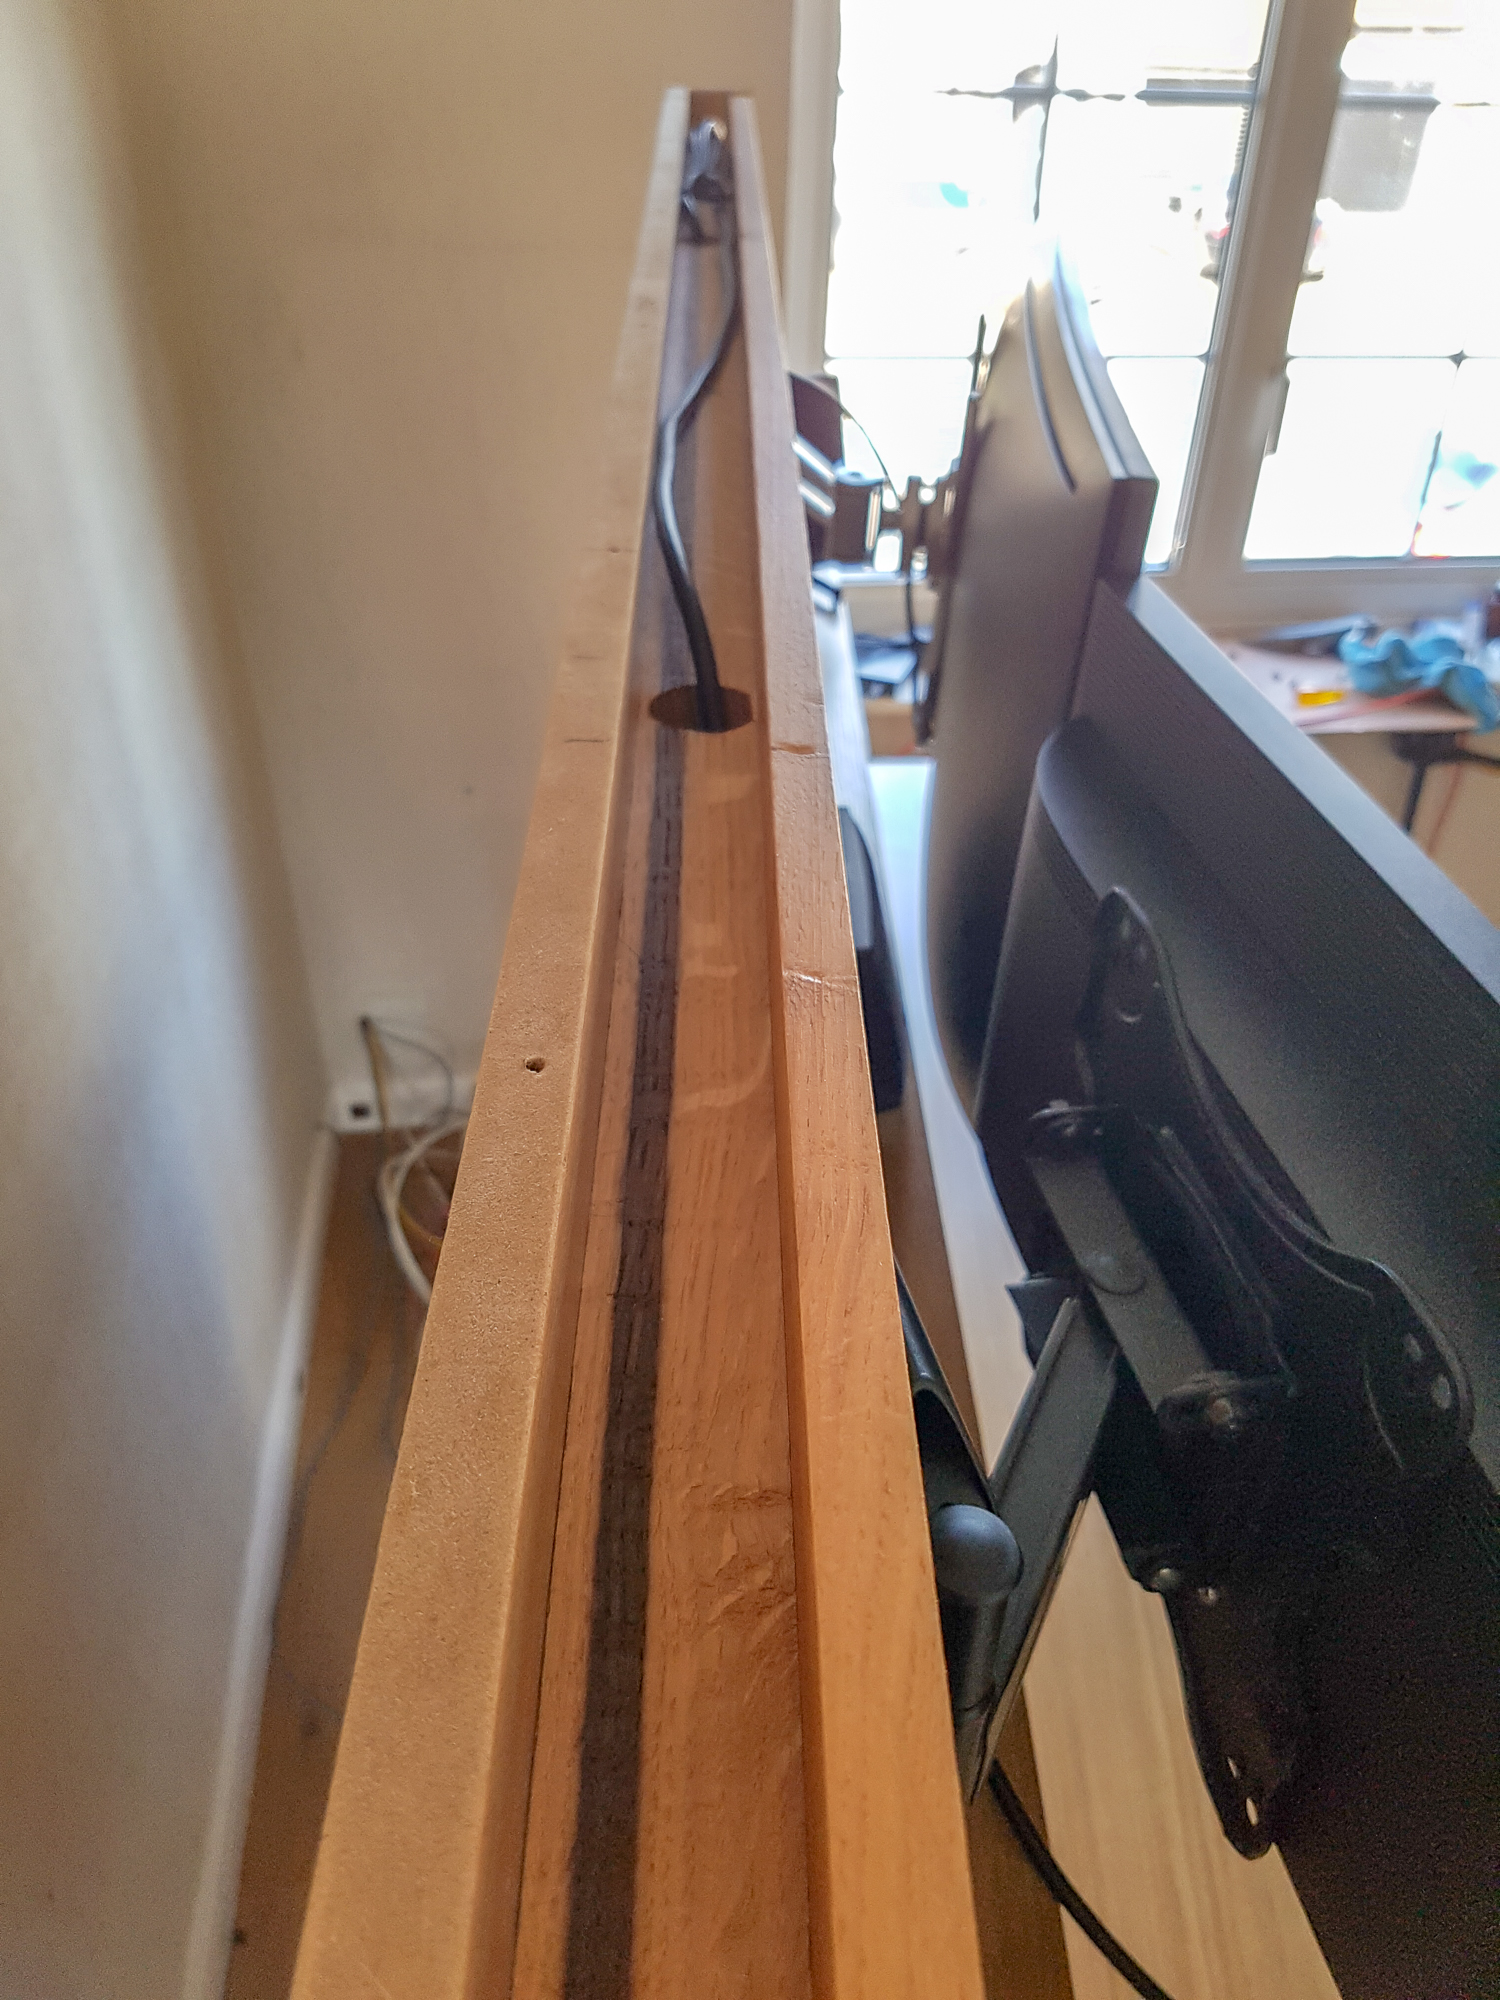
Top cableway/ facia board
desk-150.jpg


desk-151.jpg


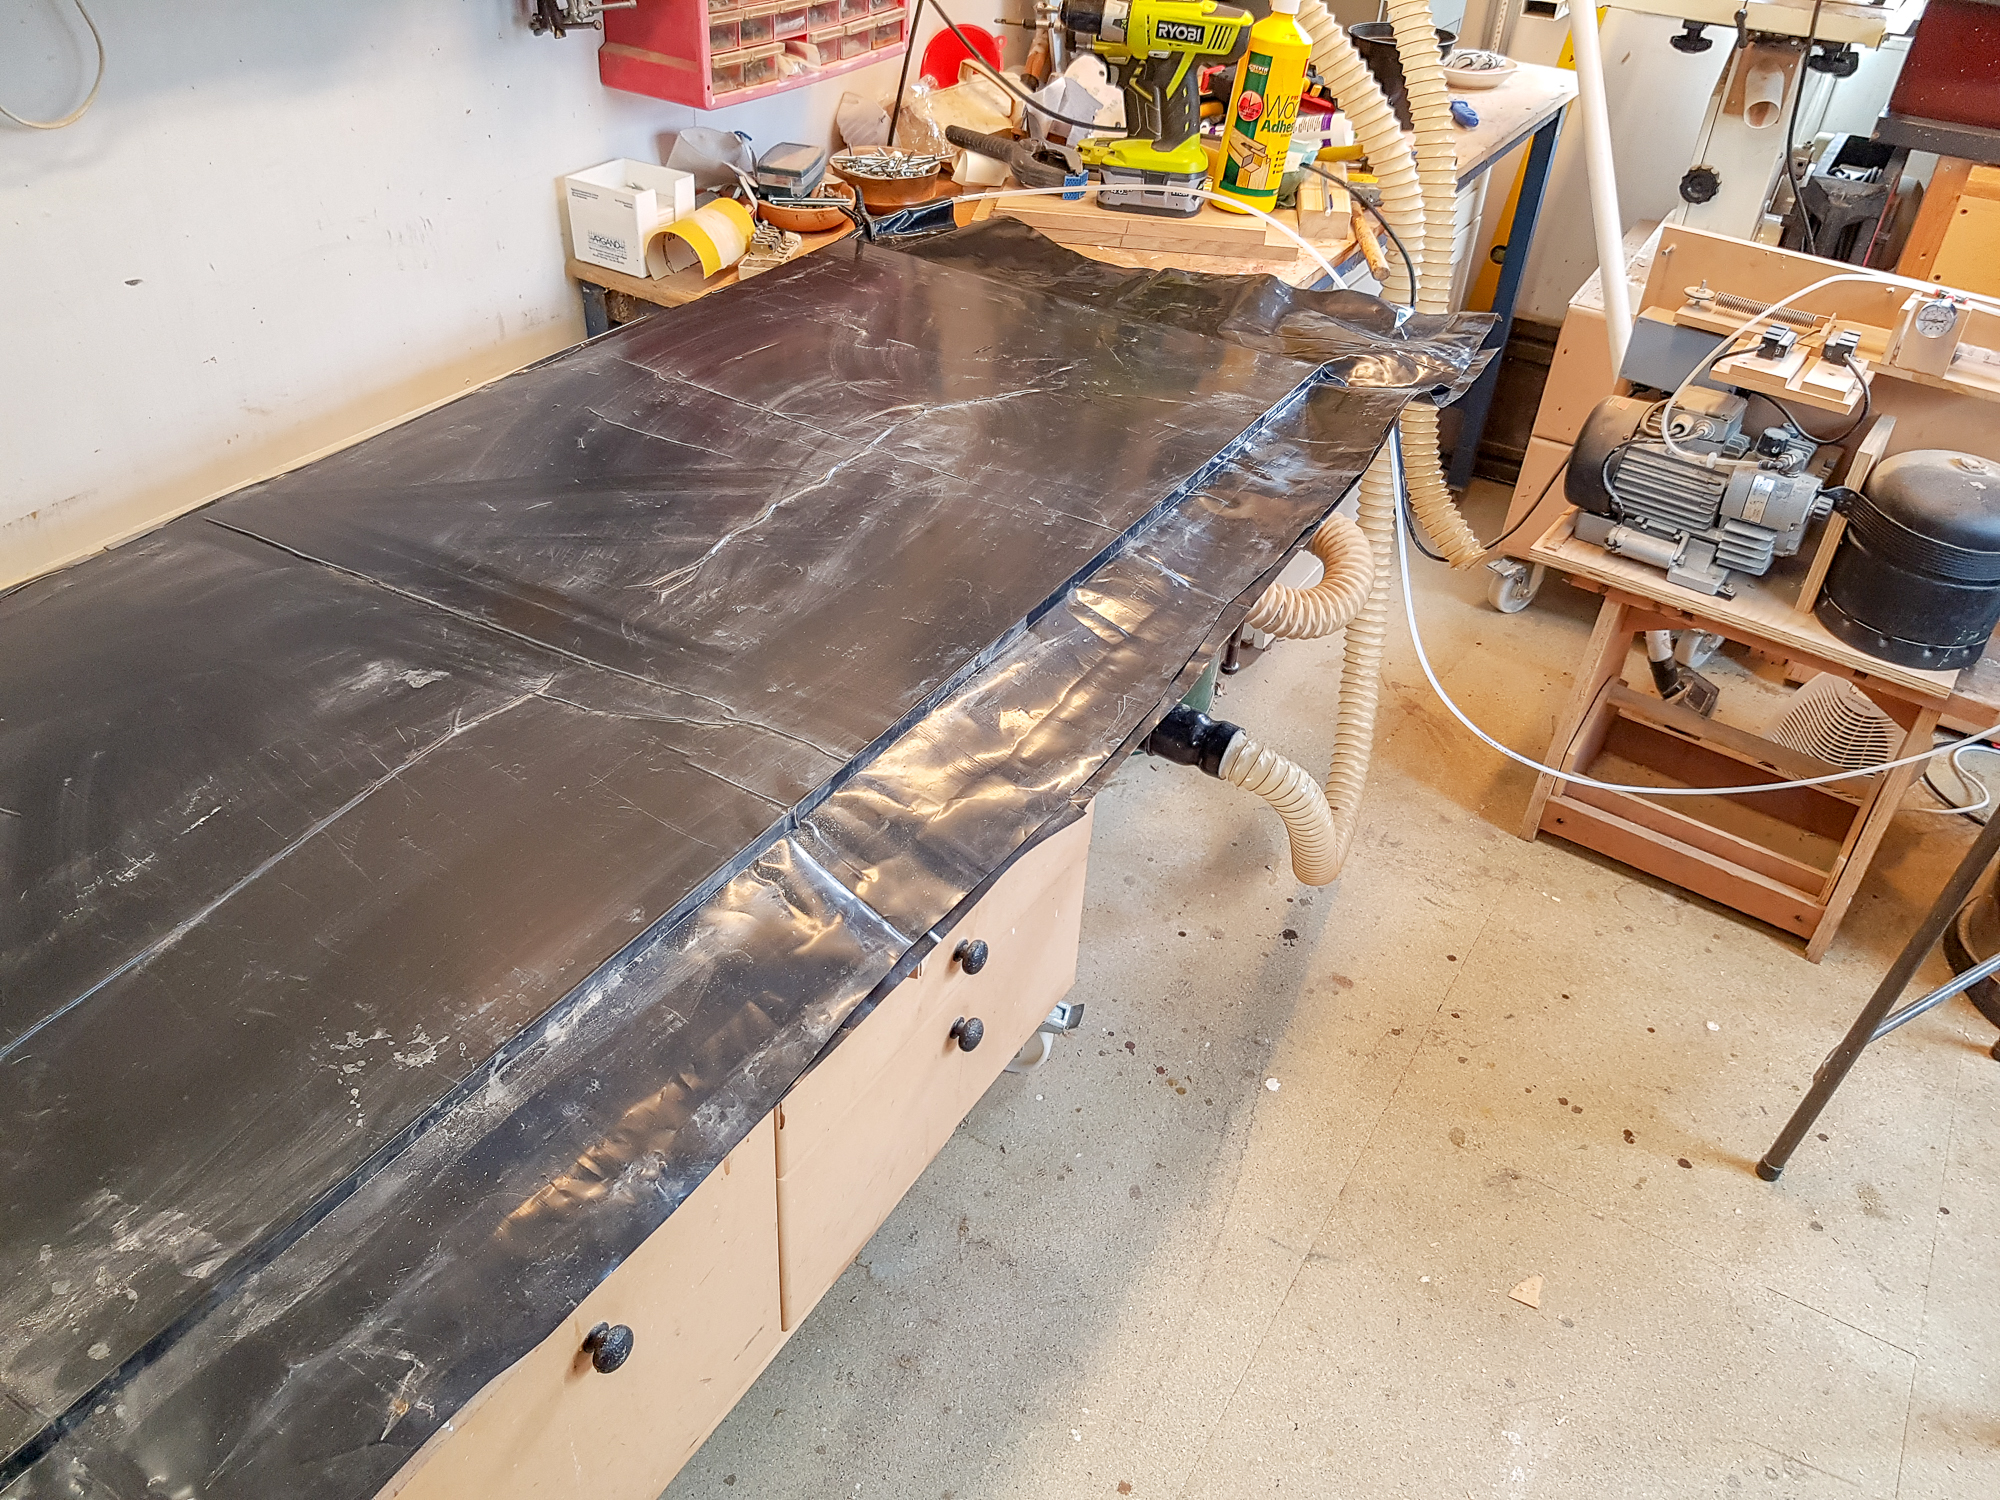
I wanted 25mm MDF for the desktop but didn't want to buy a full sheet that I had no other use for and would be stupid heavy to handle... so I vacuumed 2 pieces of 12mm together using black DPM sheet and silicone as i have done before. Bit inadequate on the picture front but maybe you get the idea.
desk-152.jpg


Trial fit
desk-154.jpg


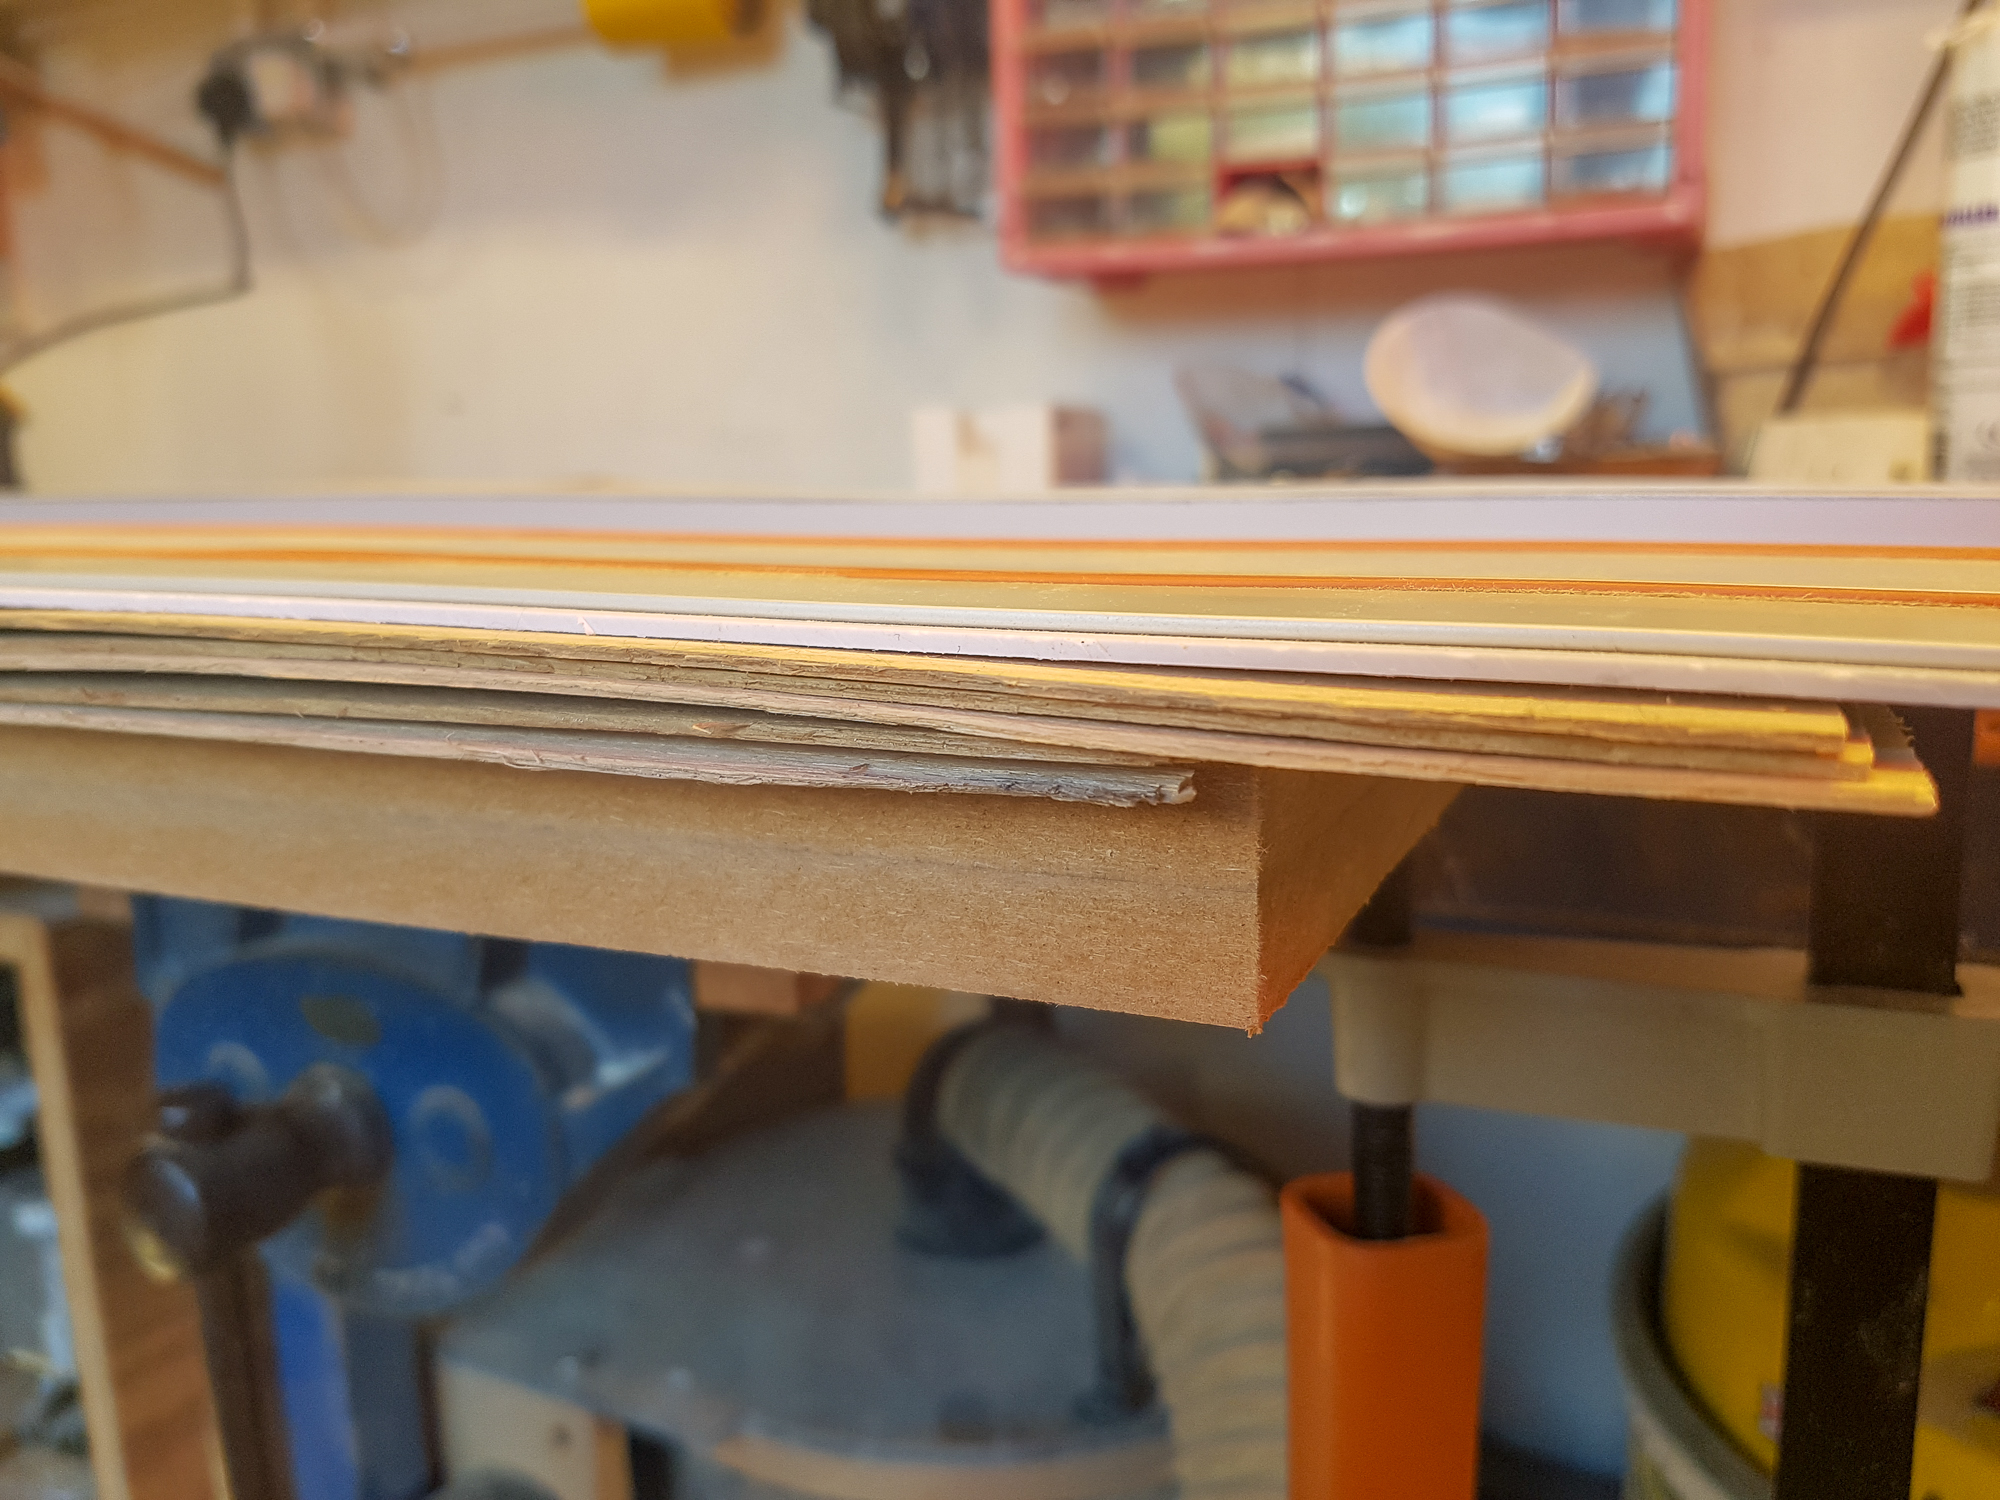
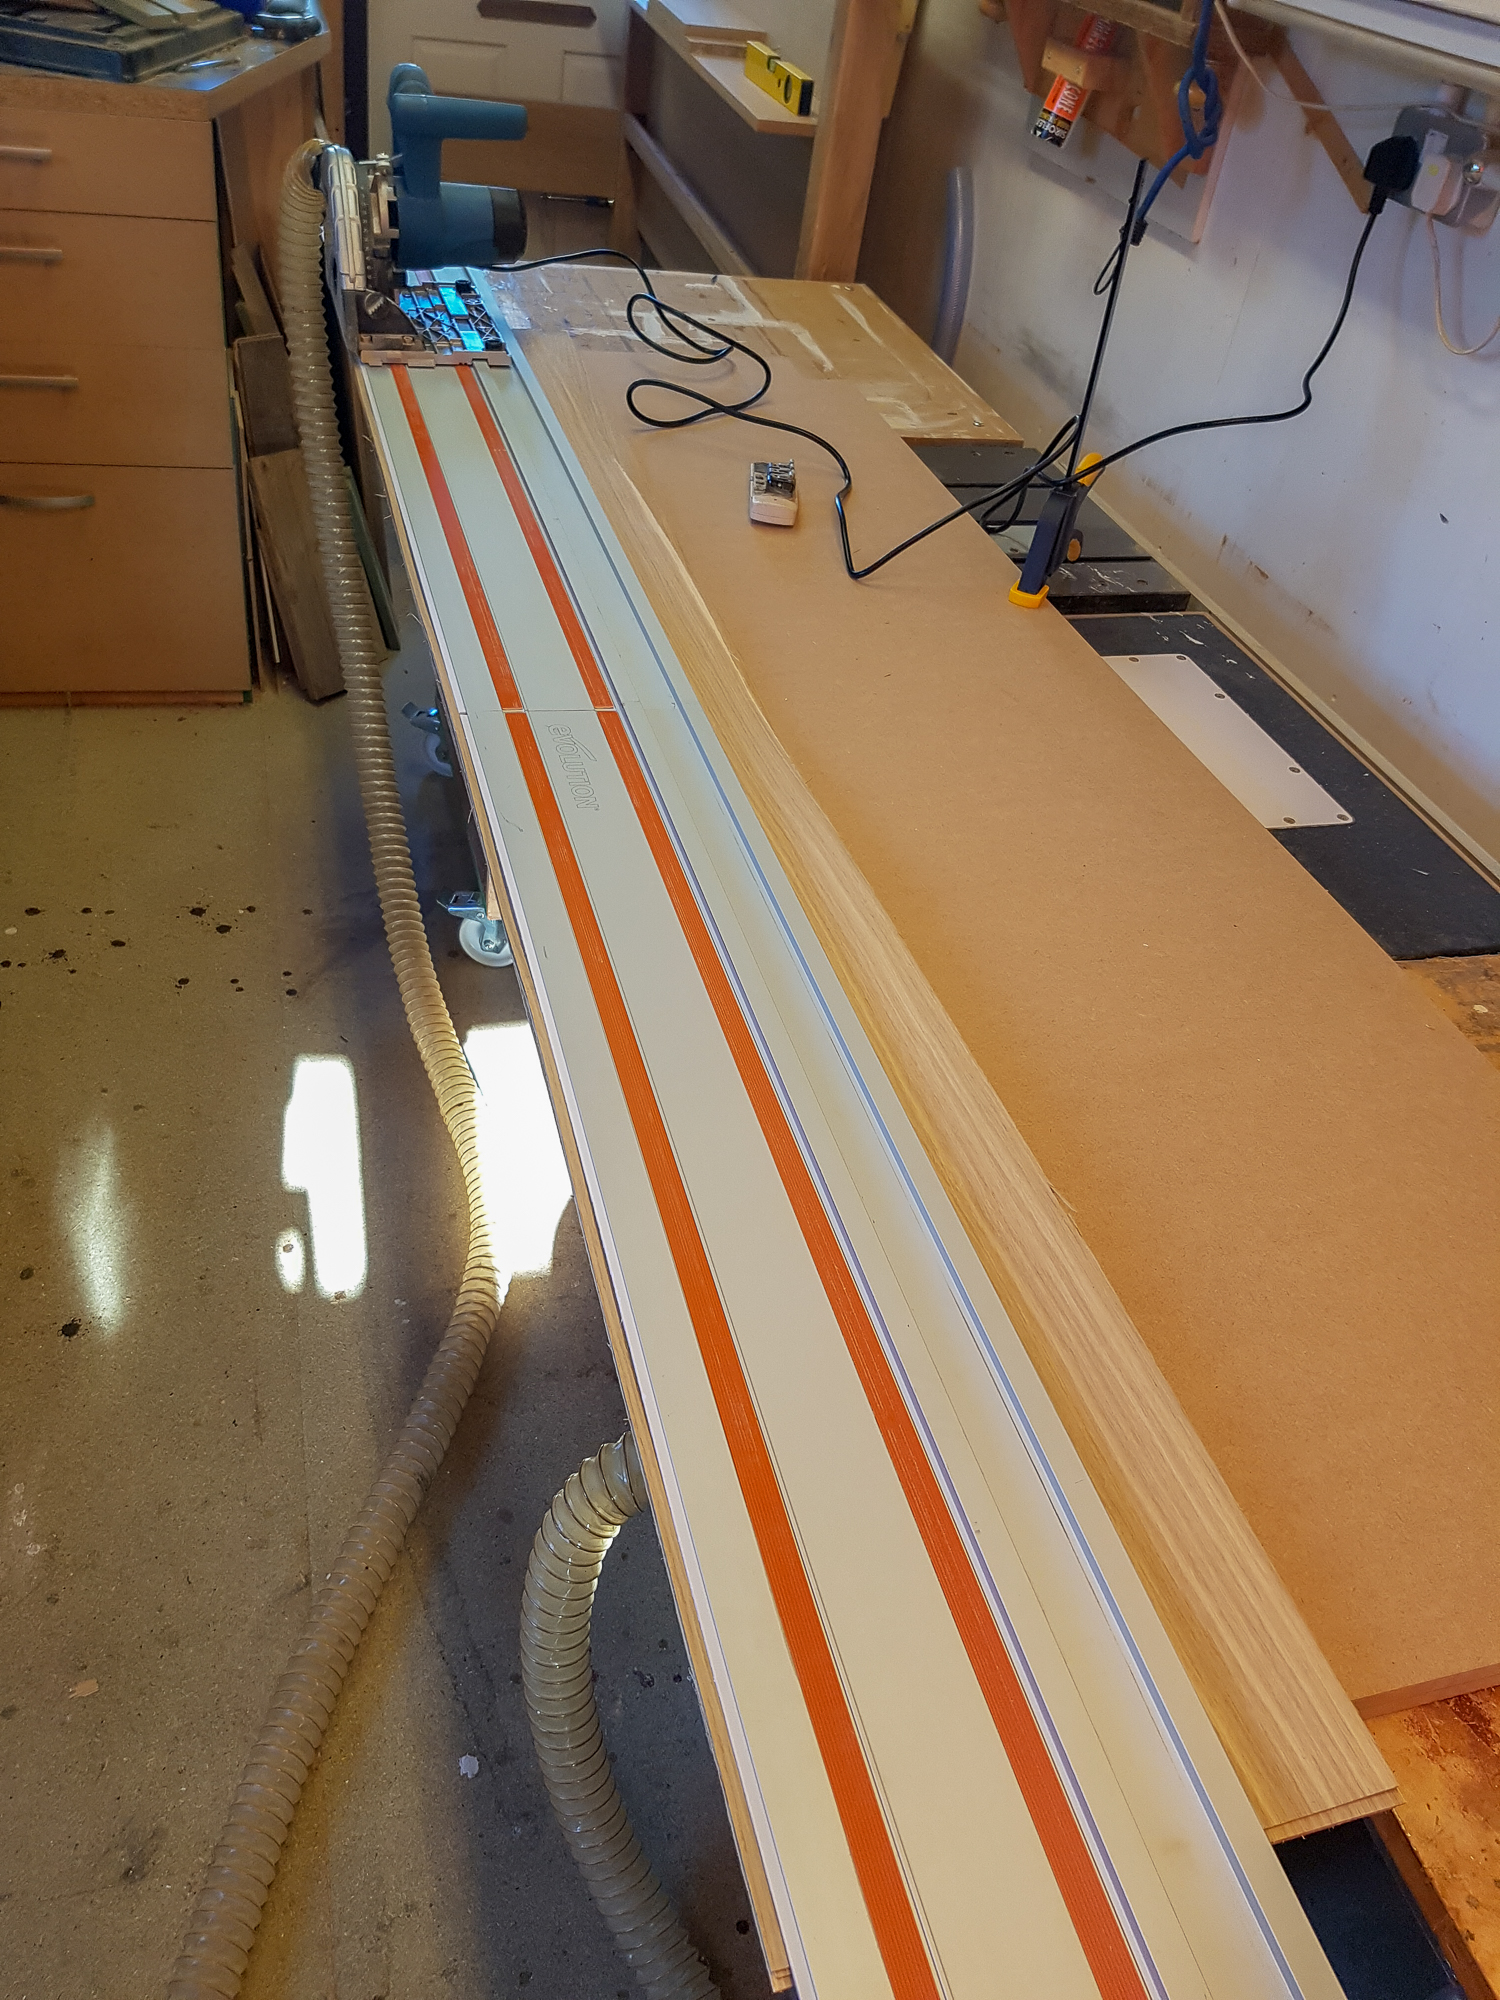
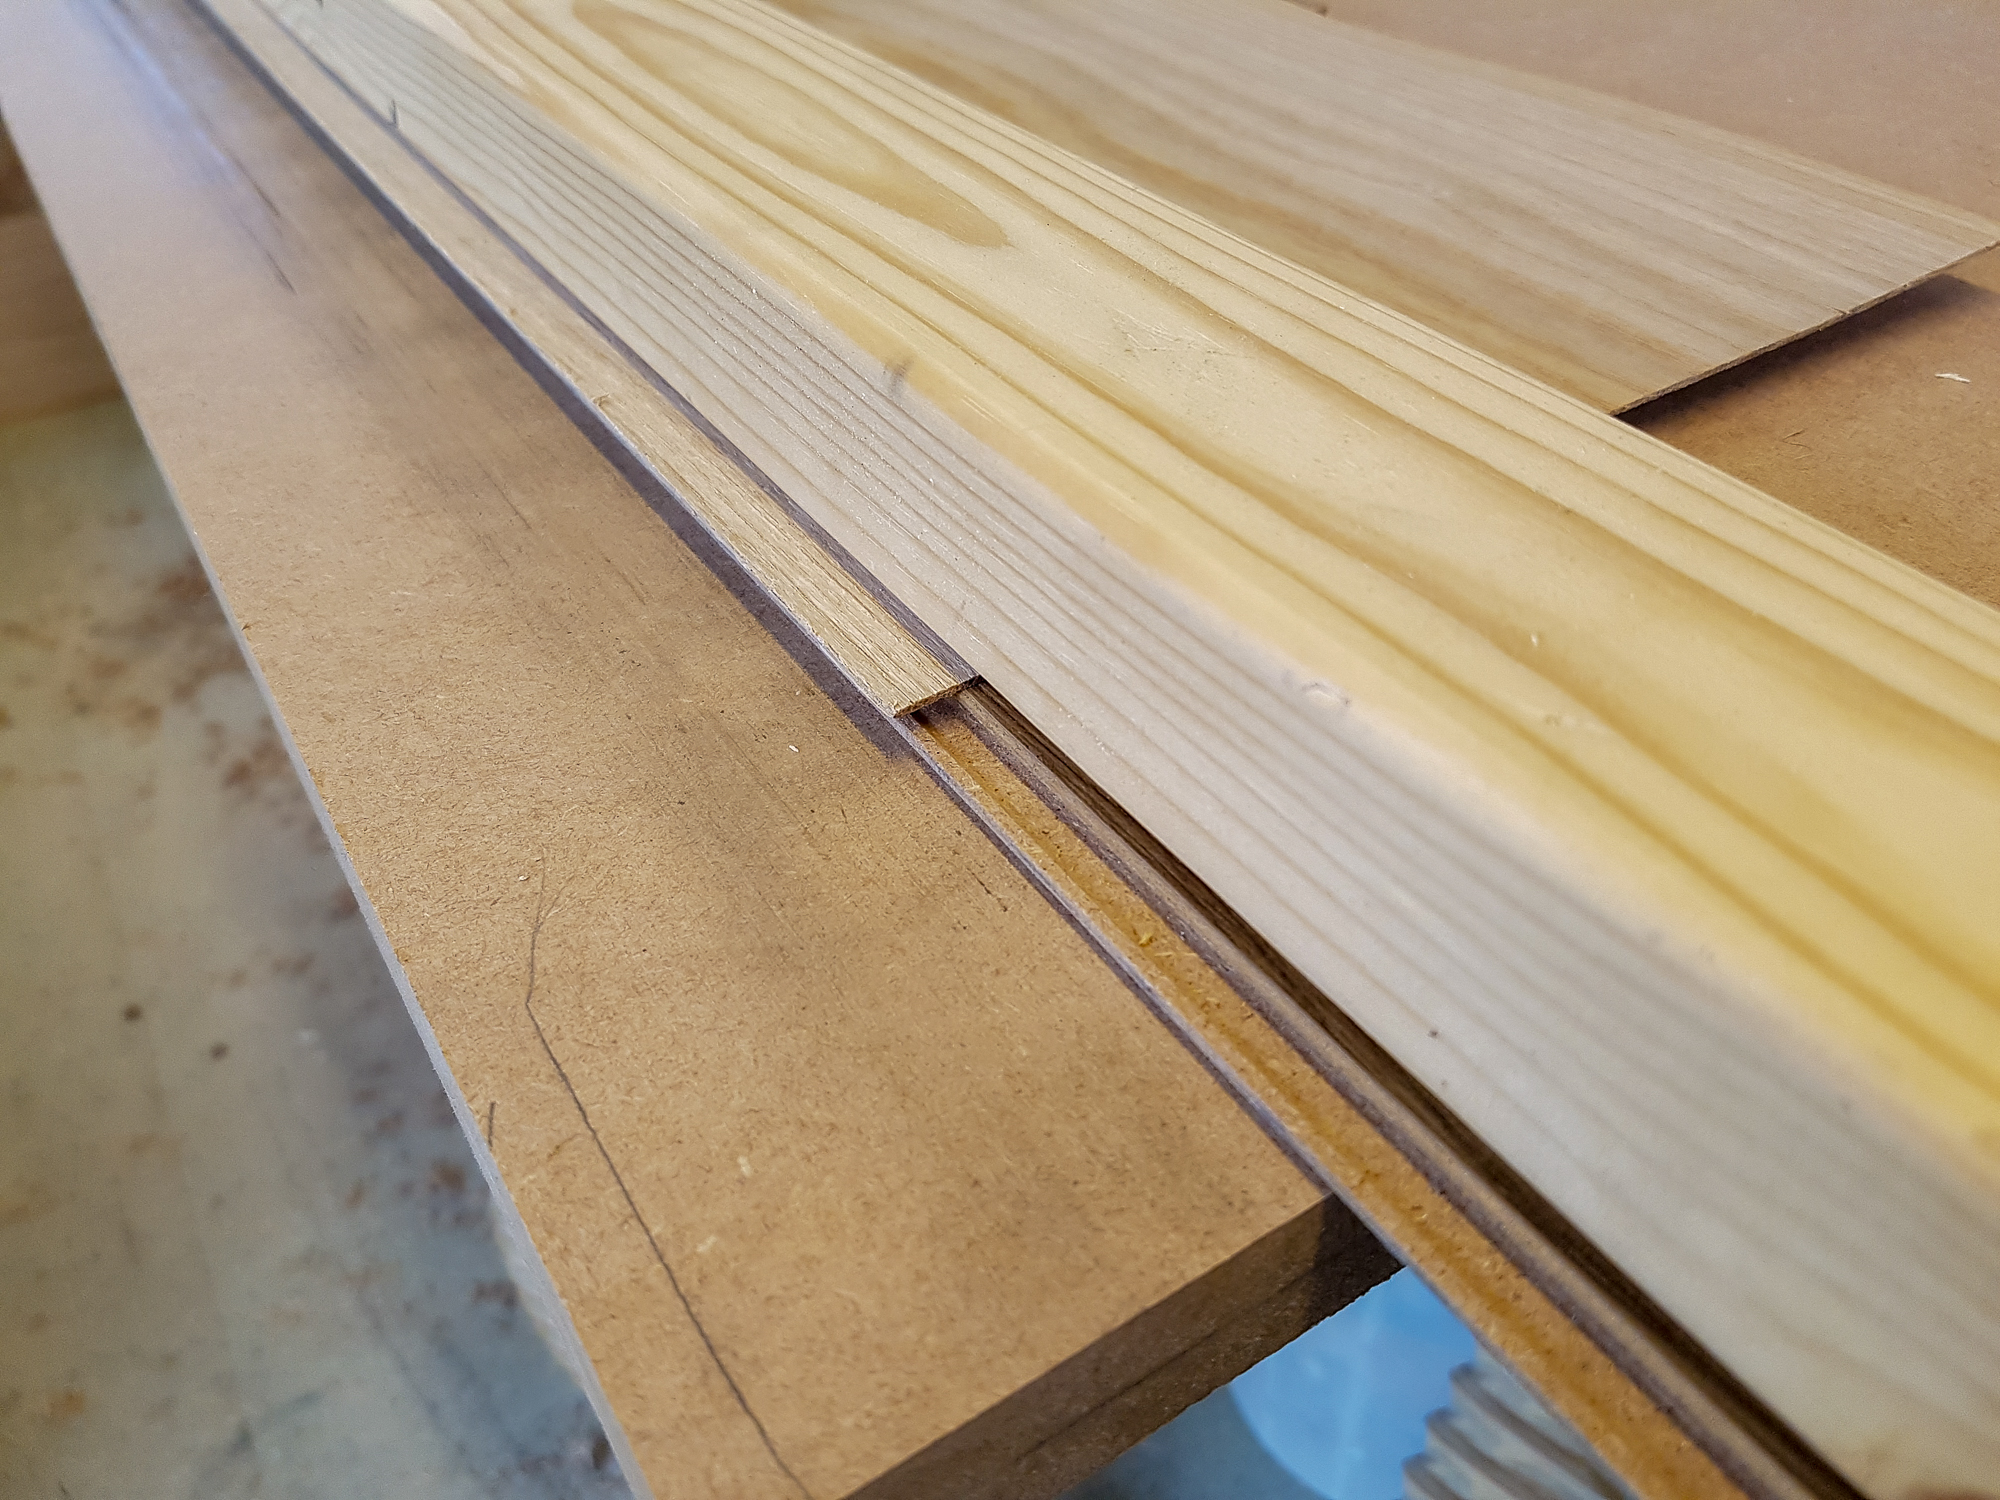
If you remember my Crispins visit thread i bought some 2mm thick veneers for the surface and now need to true the edges. So I thought hmm try the track saw.

desk-155.jpg


desk-156.jpg


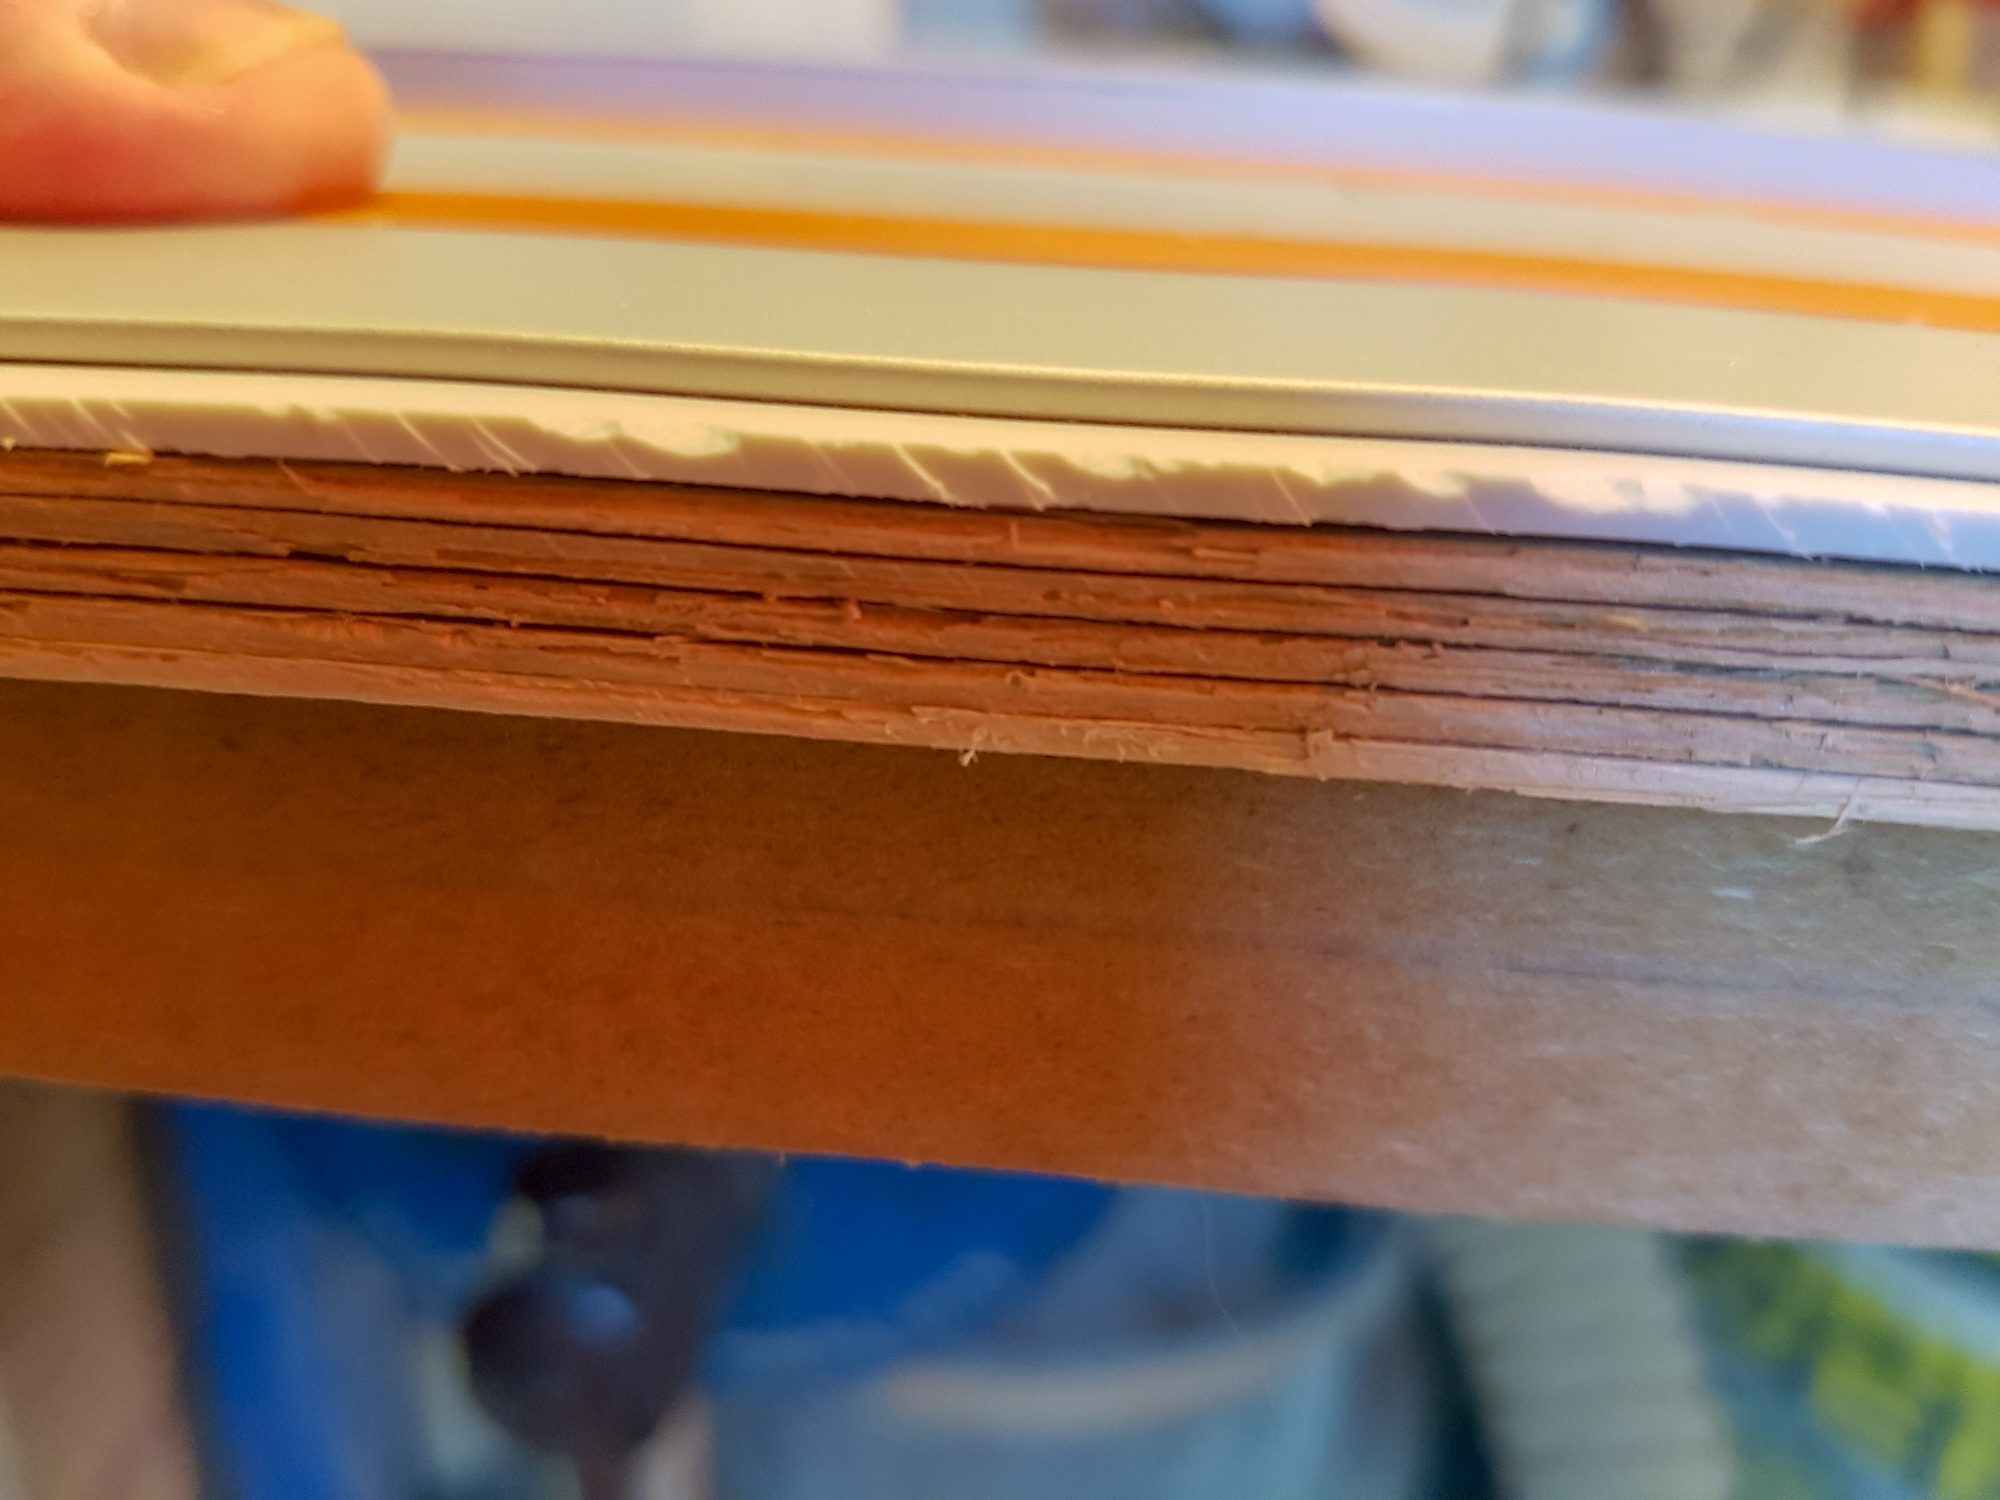
Didn't work out so good close up. Maybe with a better blade.
desk-157.jpg


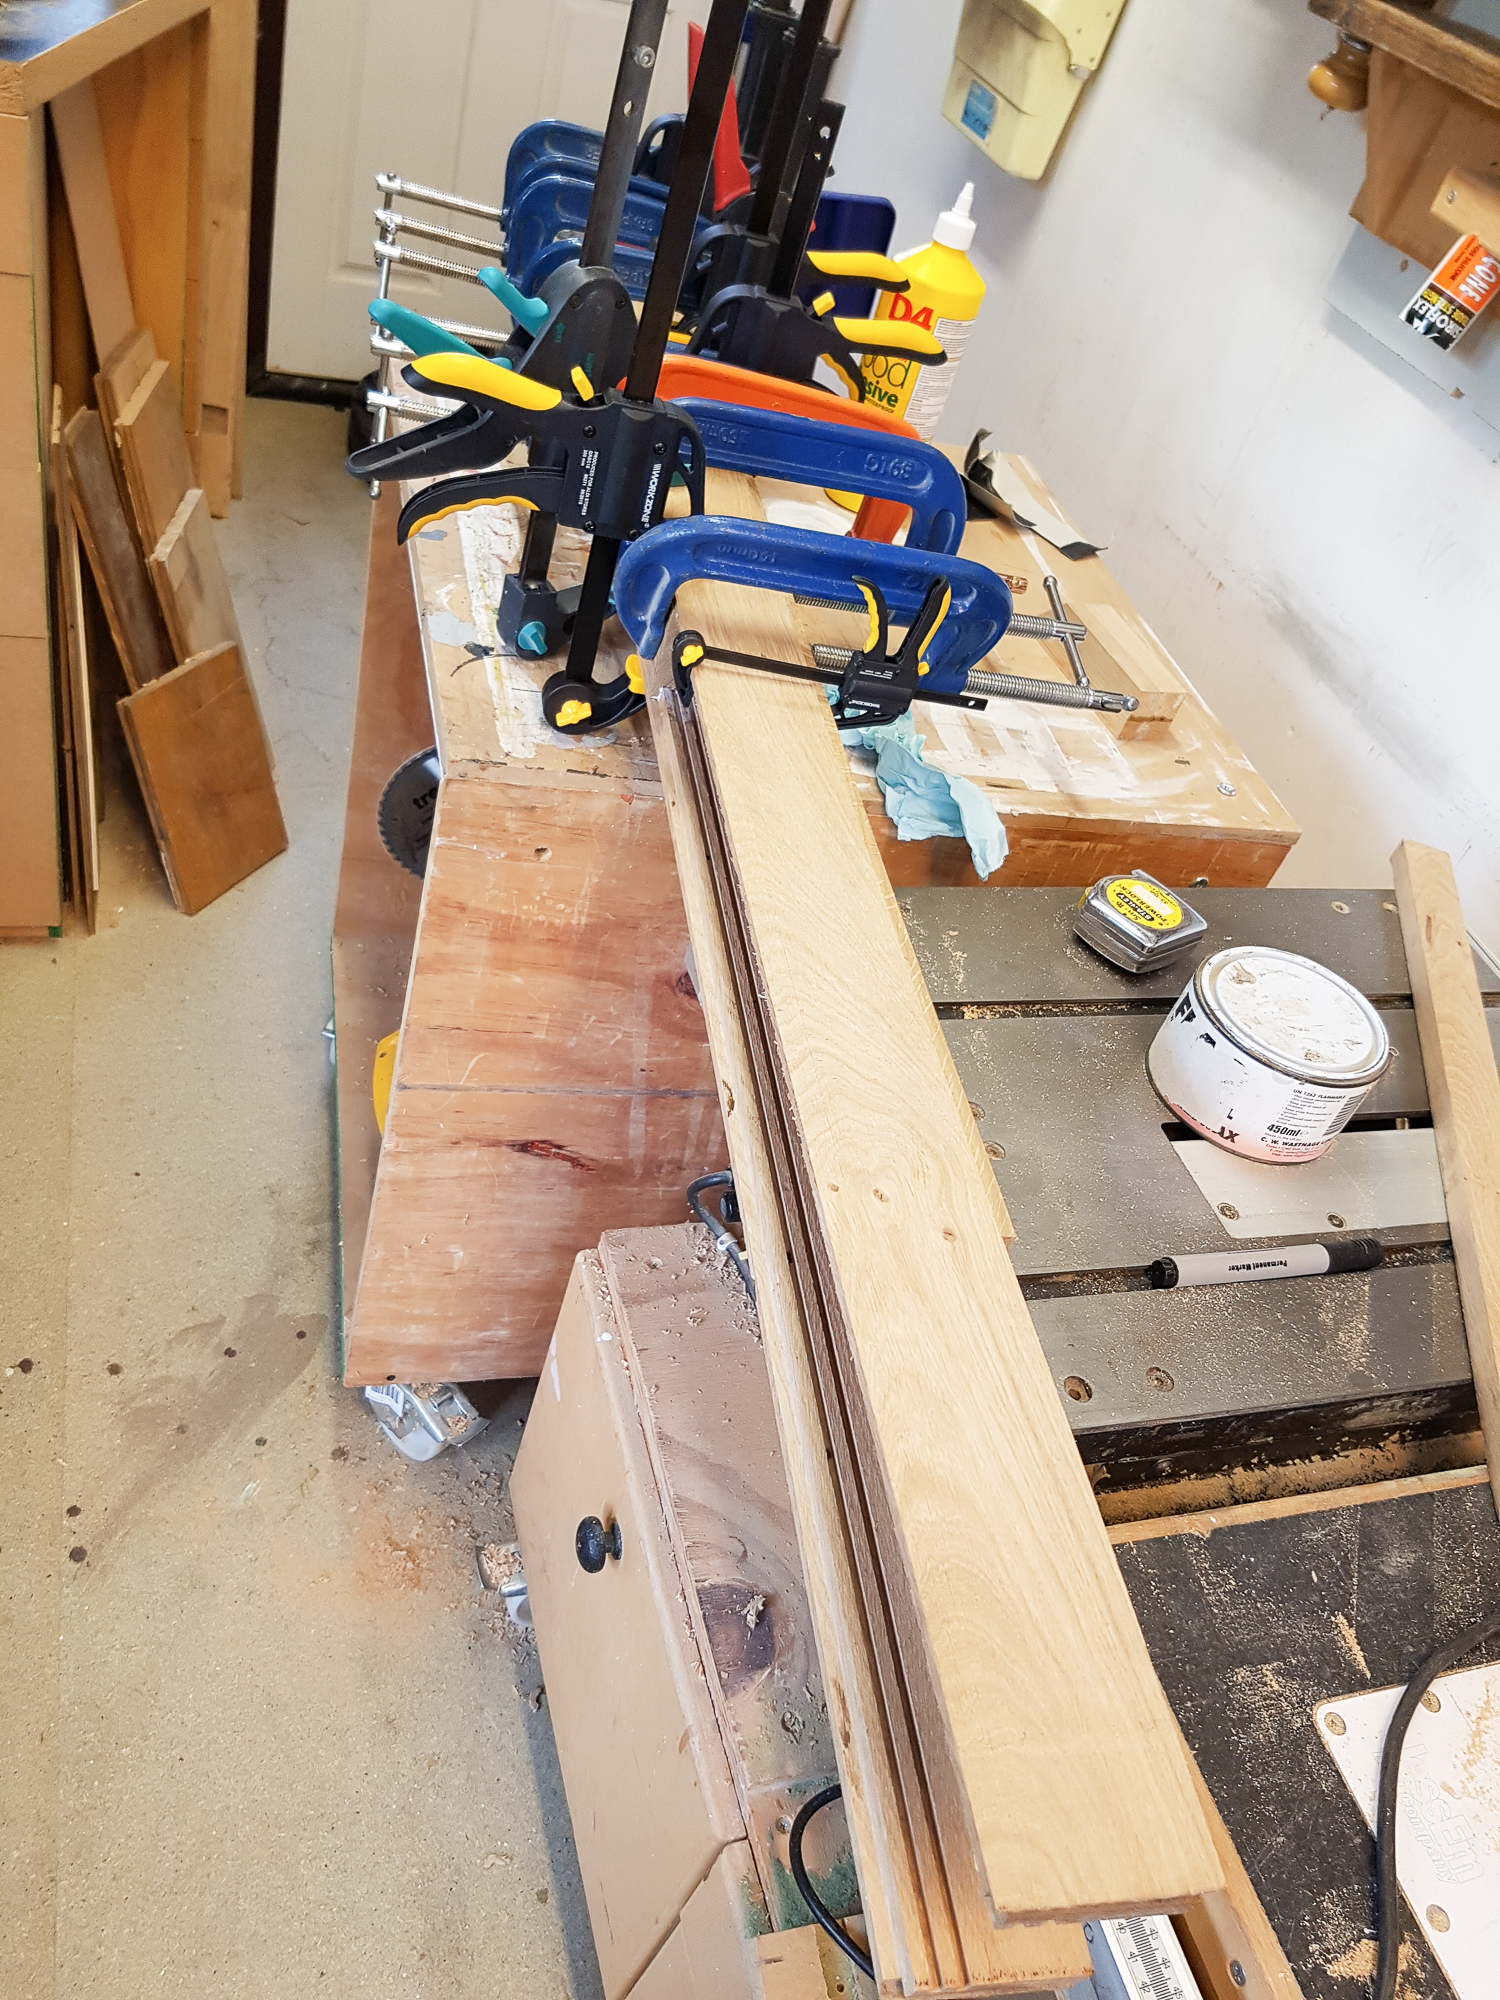
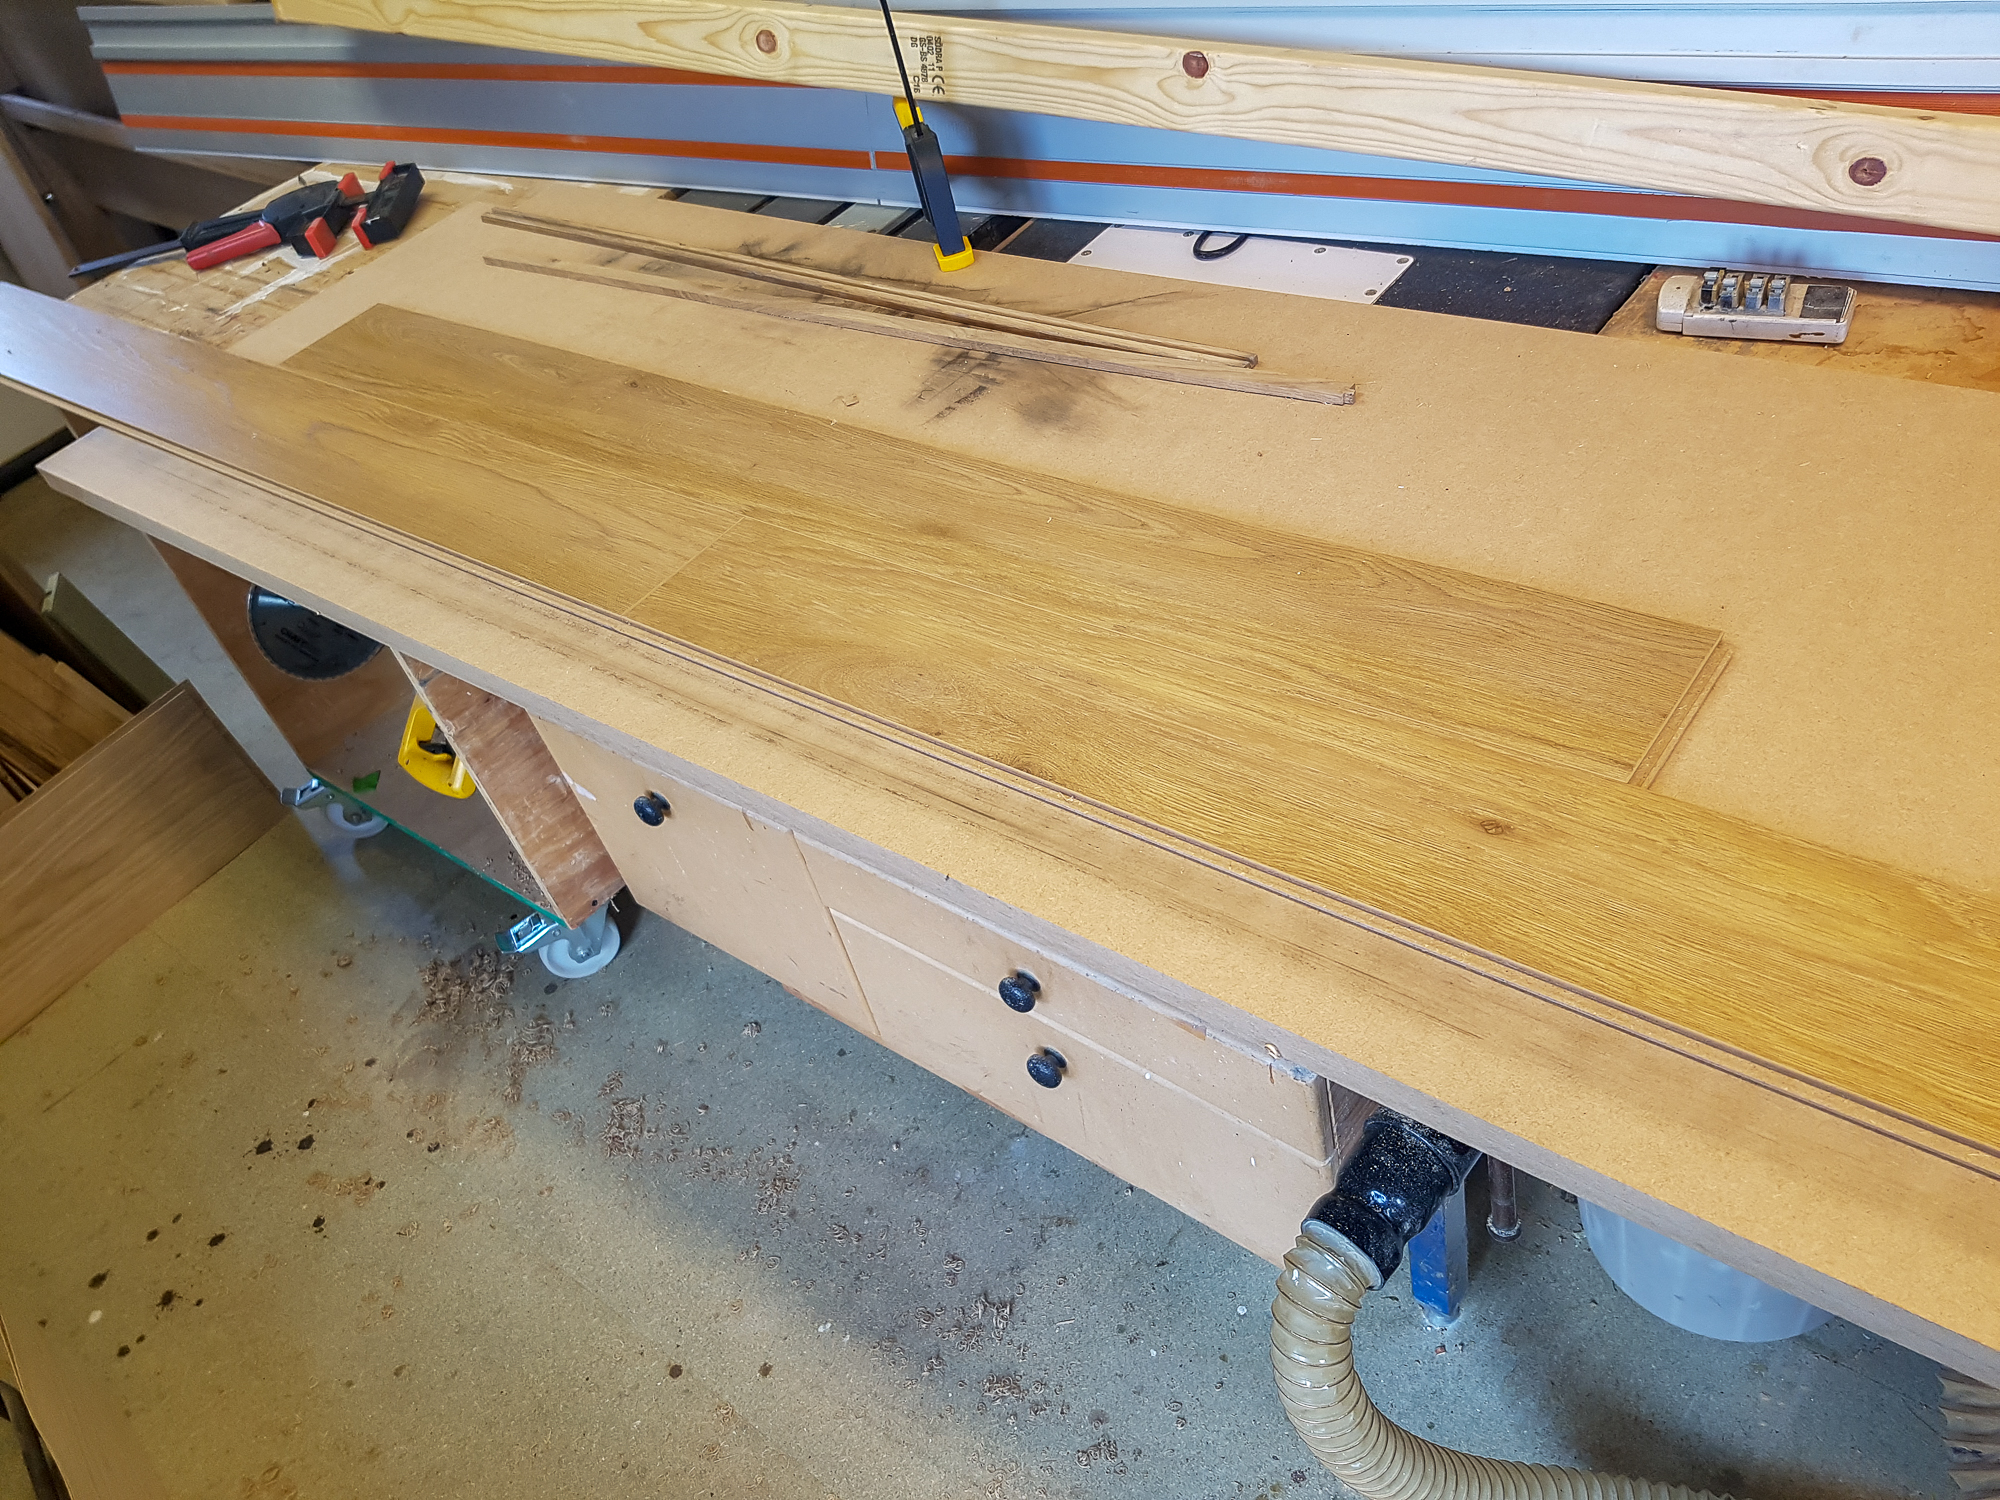
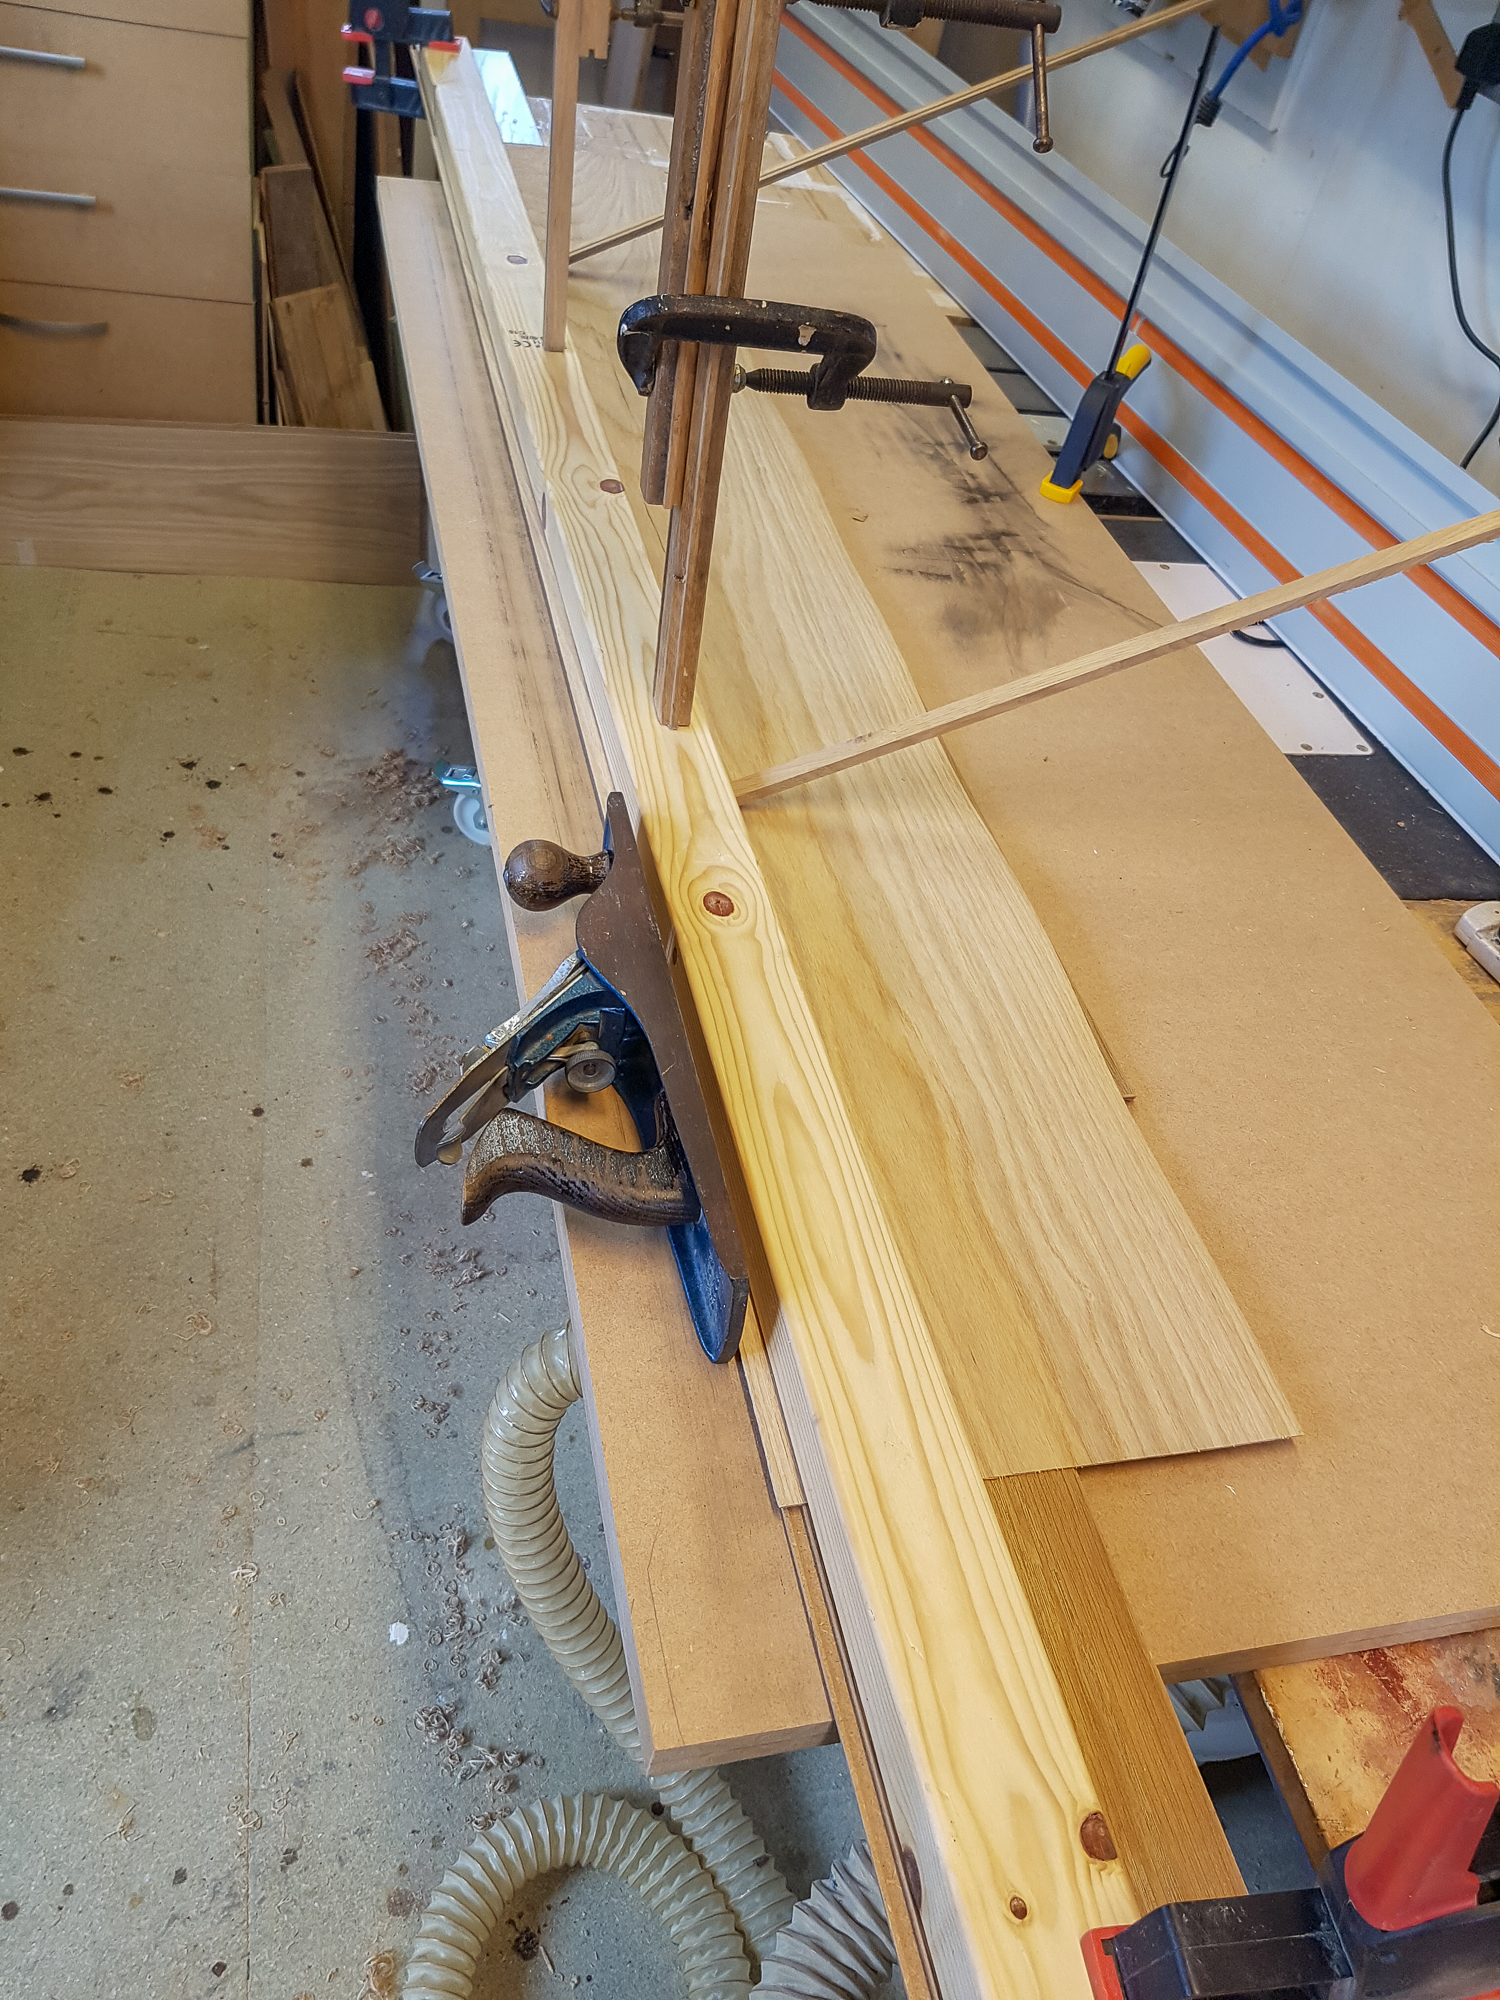
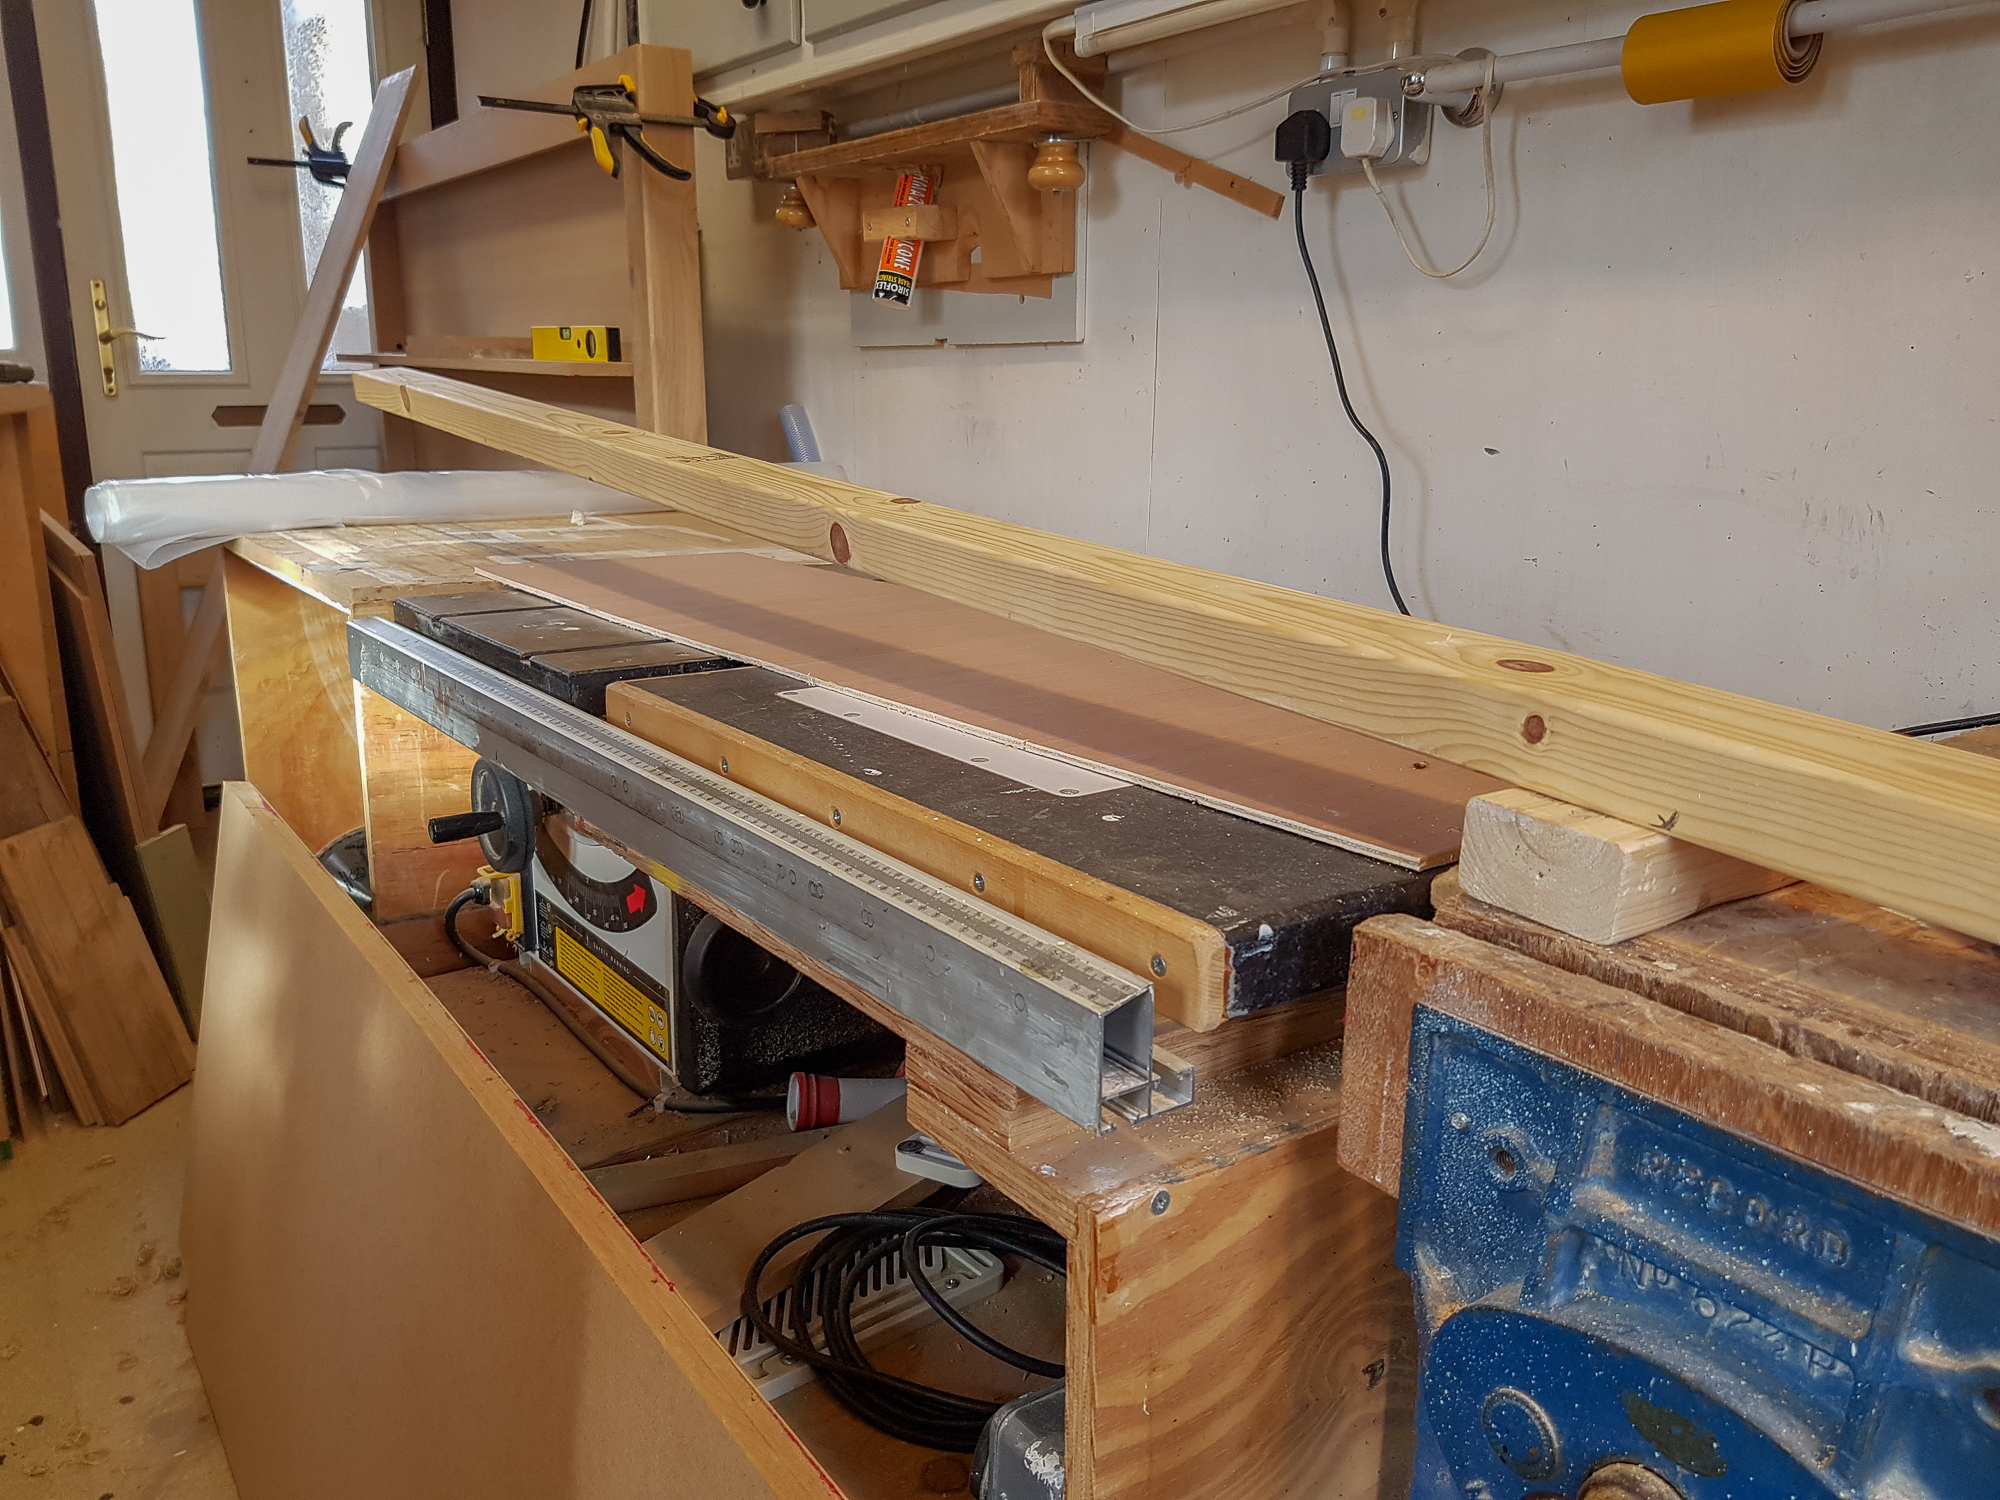
So back to the way I've done it before using laminate flooring planks... which are reliably straight
desk-158.jpg


Veneer clamped down with a piece of CLS
desk-159.jpg


Push down sticks from the ceiling and push back sticks from the wall. The plane blade misses the narrow edge on the flooring strips so it just cuts the veneer.
desk-160.jpg


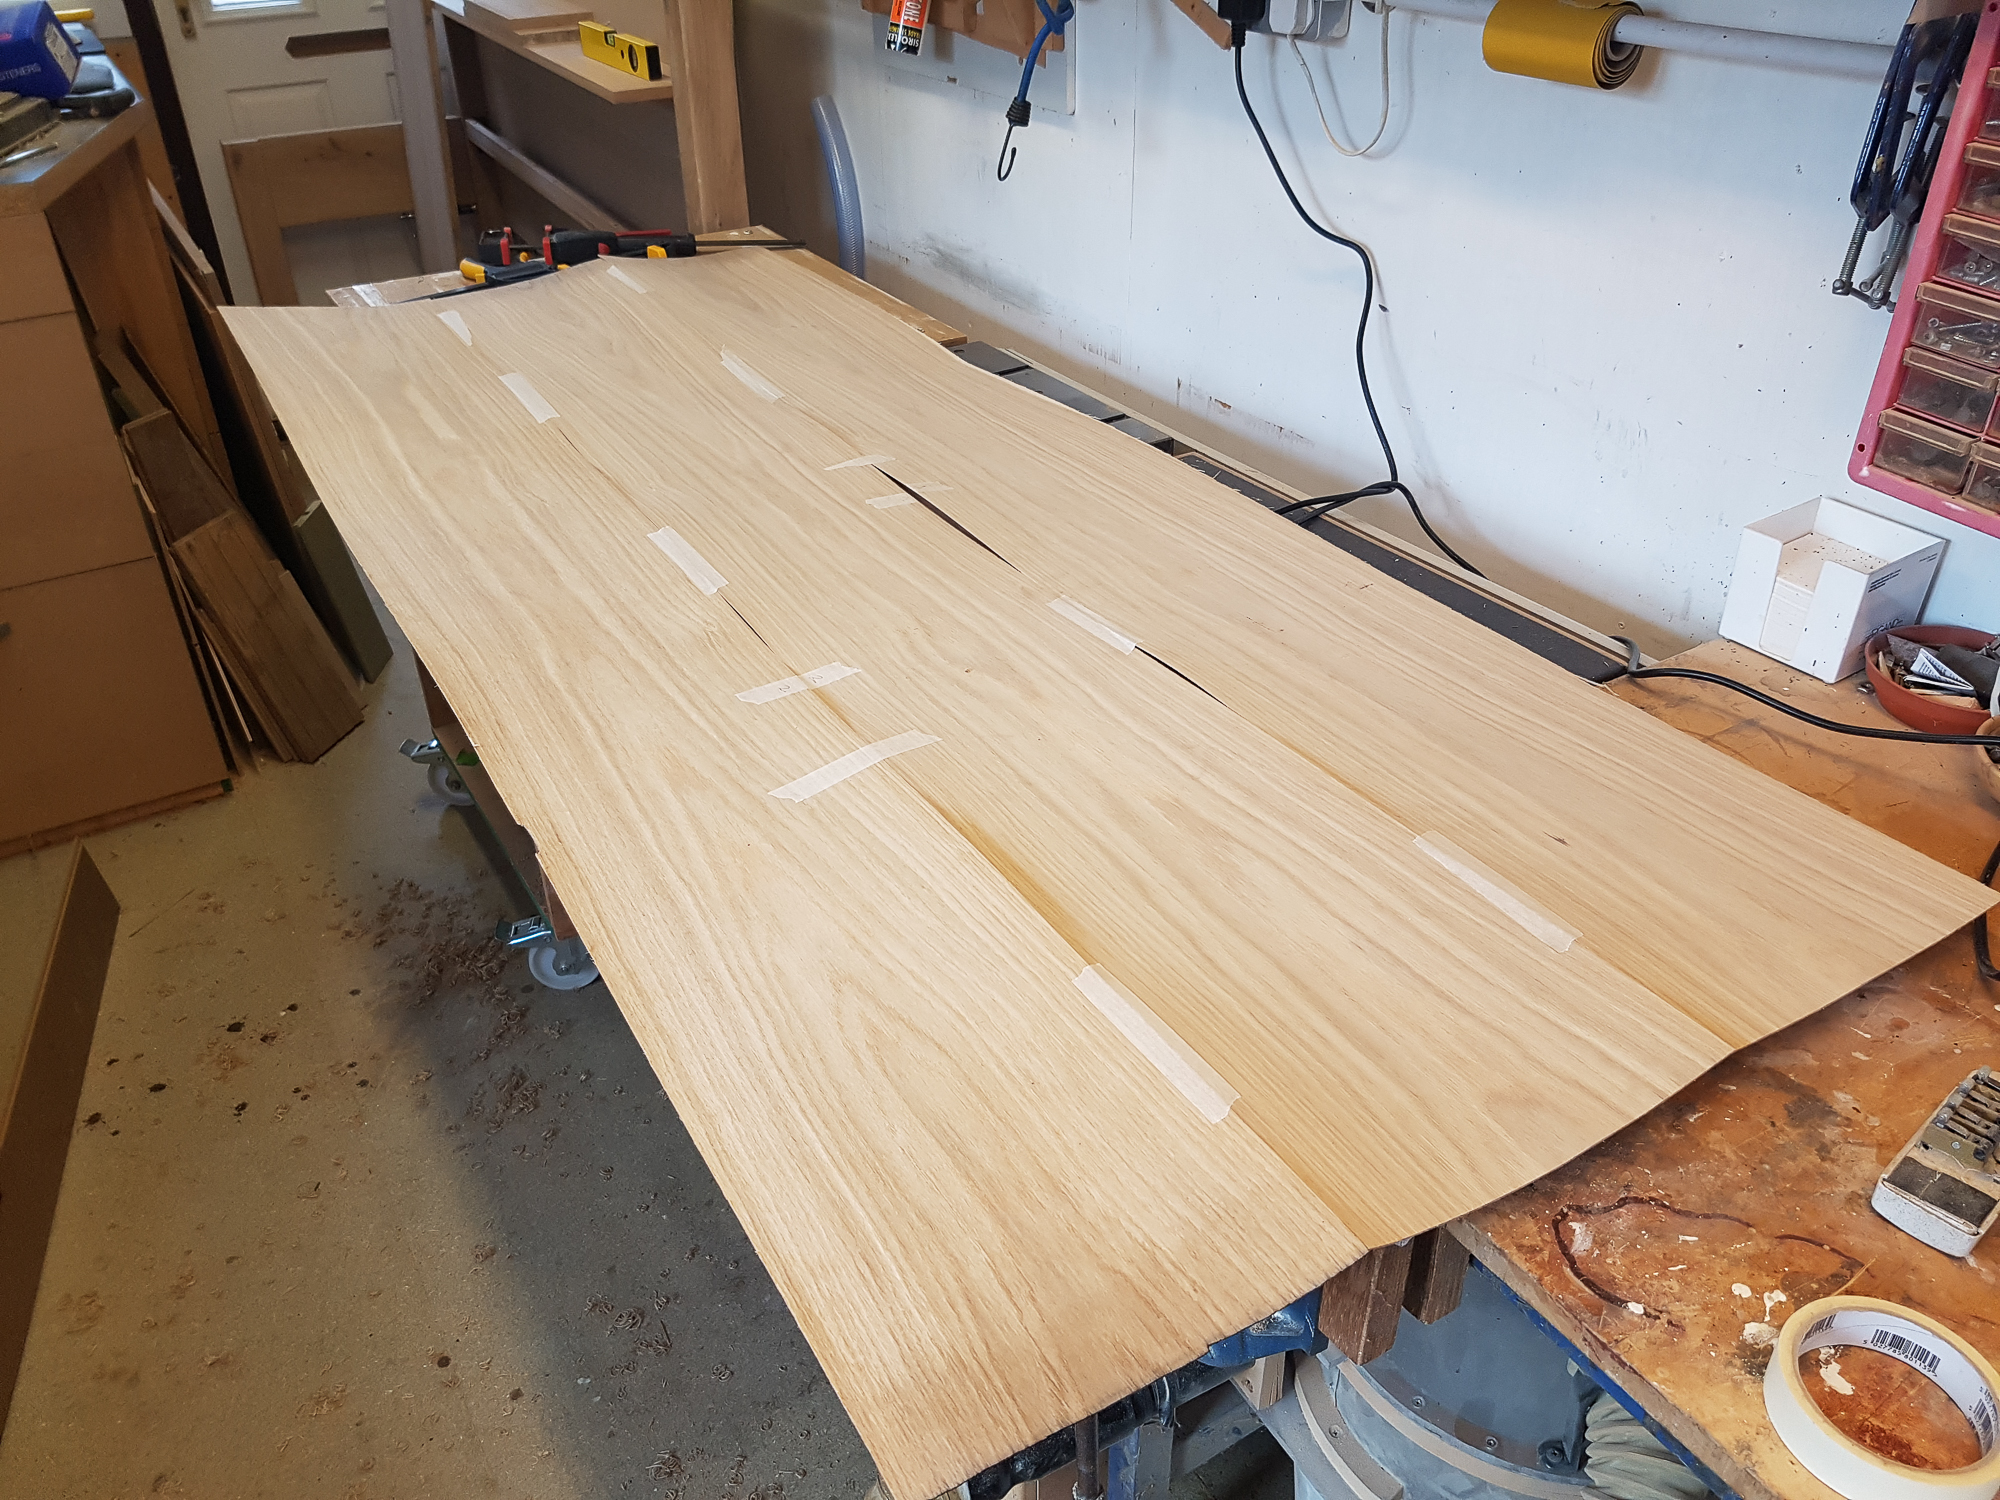
Masking tape trial join. the thick veneers are not flat.
desk-161.jpg


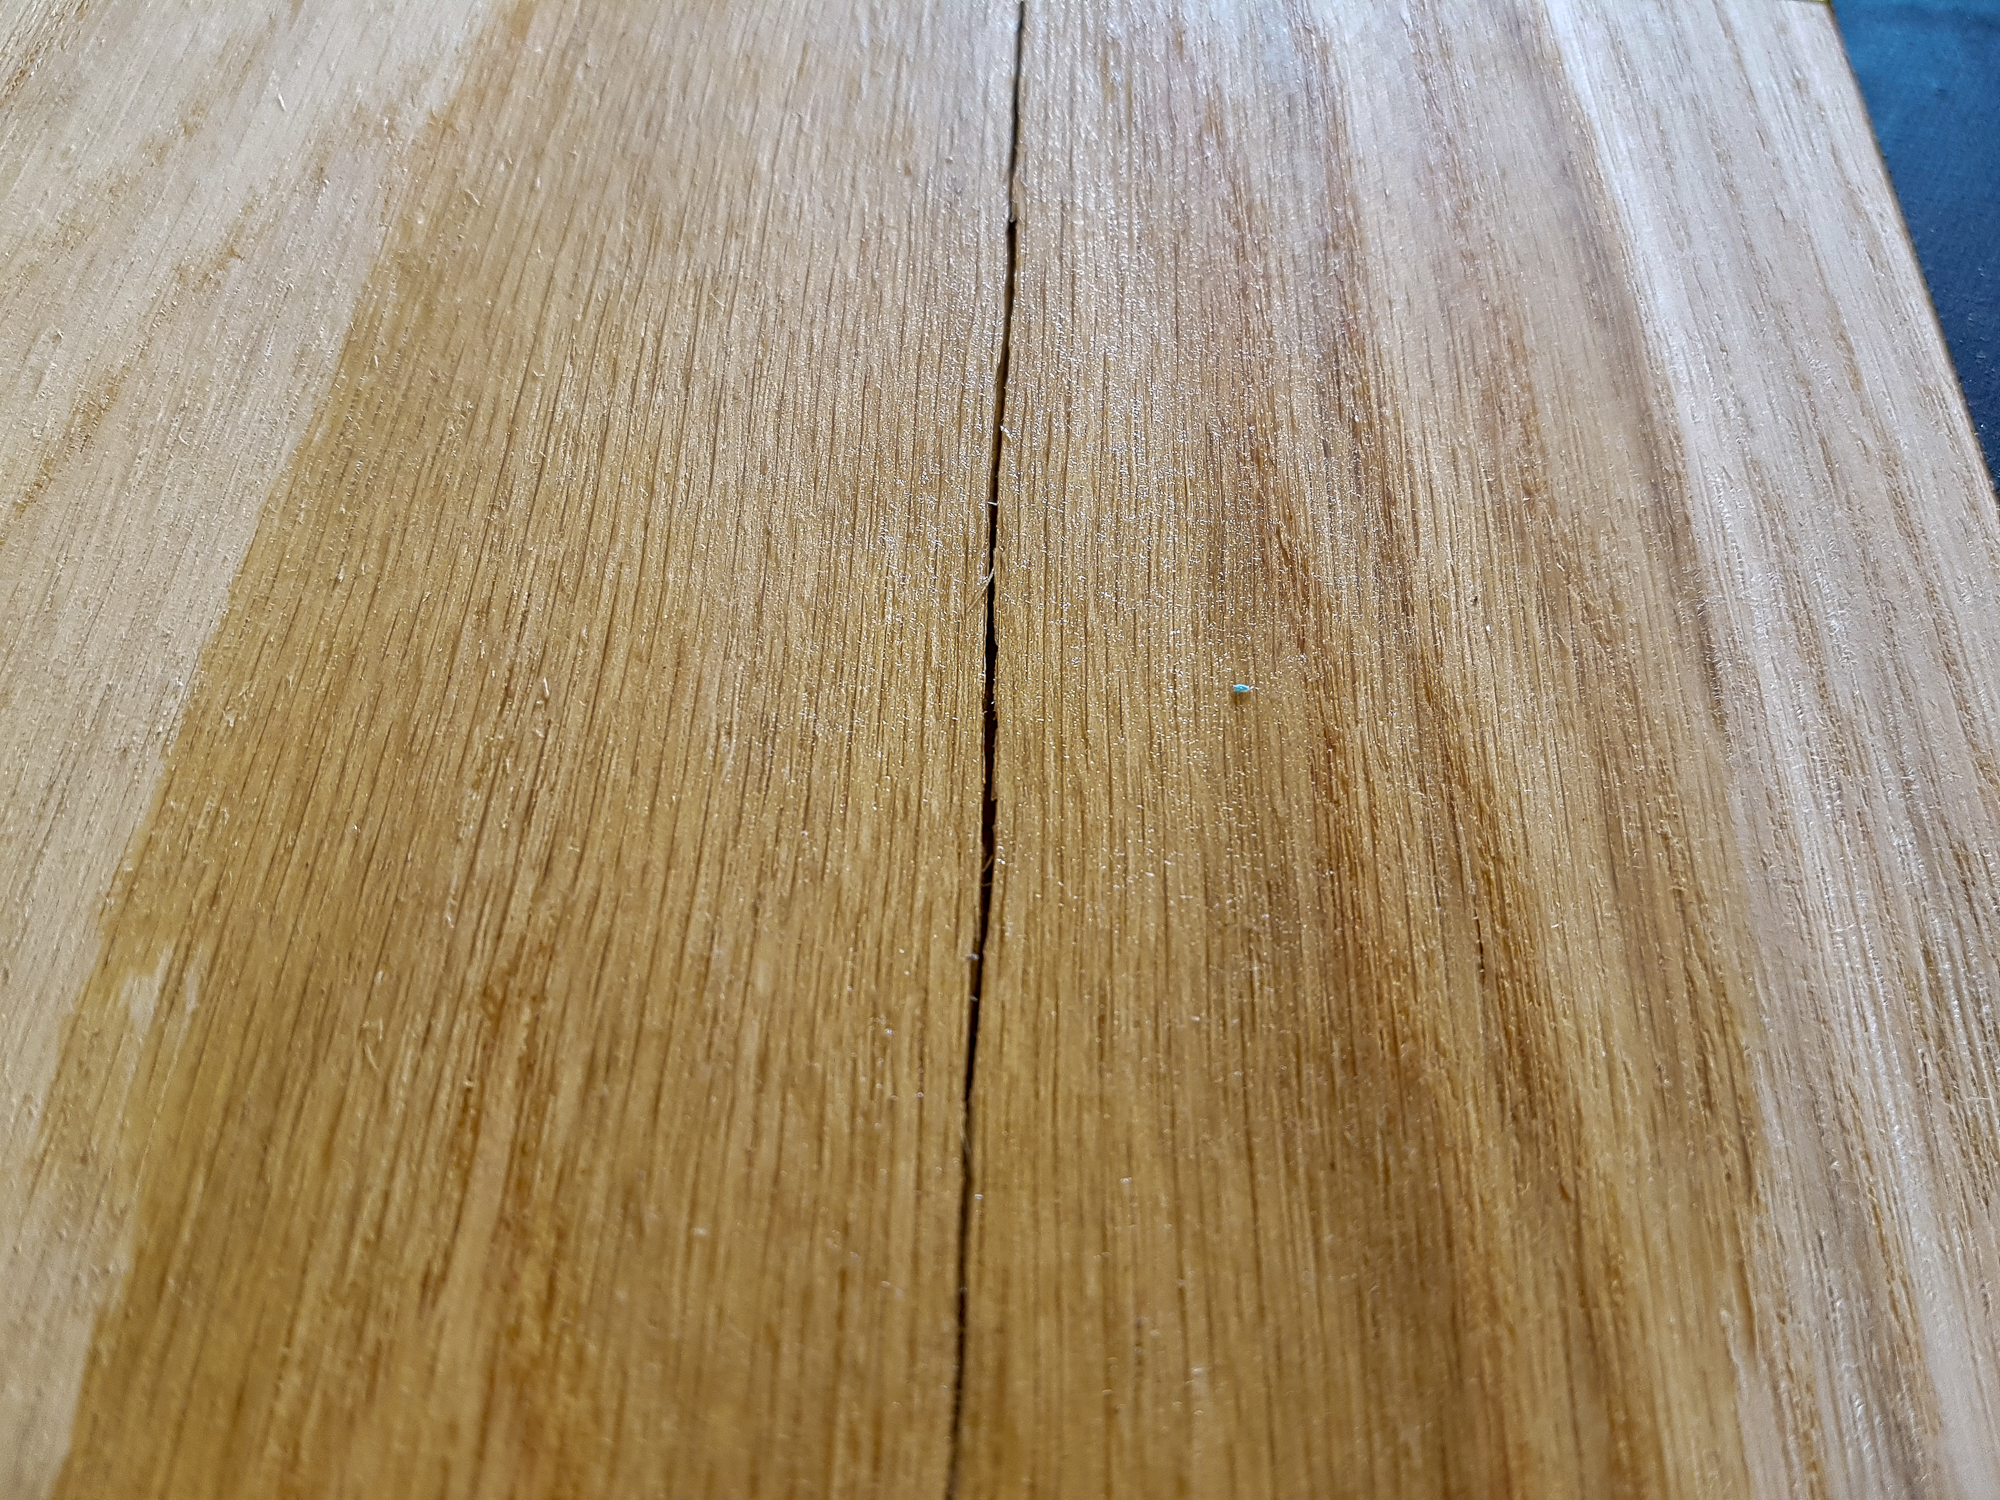
There were splits near one end where the boldest crown cut grain patterns were. I got enough material not to need to use those areas but though I'd try and salvage the nice patterned grain. If it didn't work it would end up as the underside. I made the area around the split wet so it would swell and close the split.
desk-162.jpg


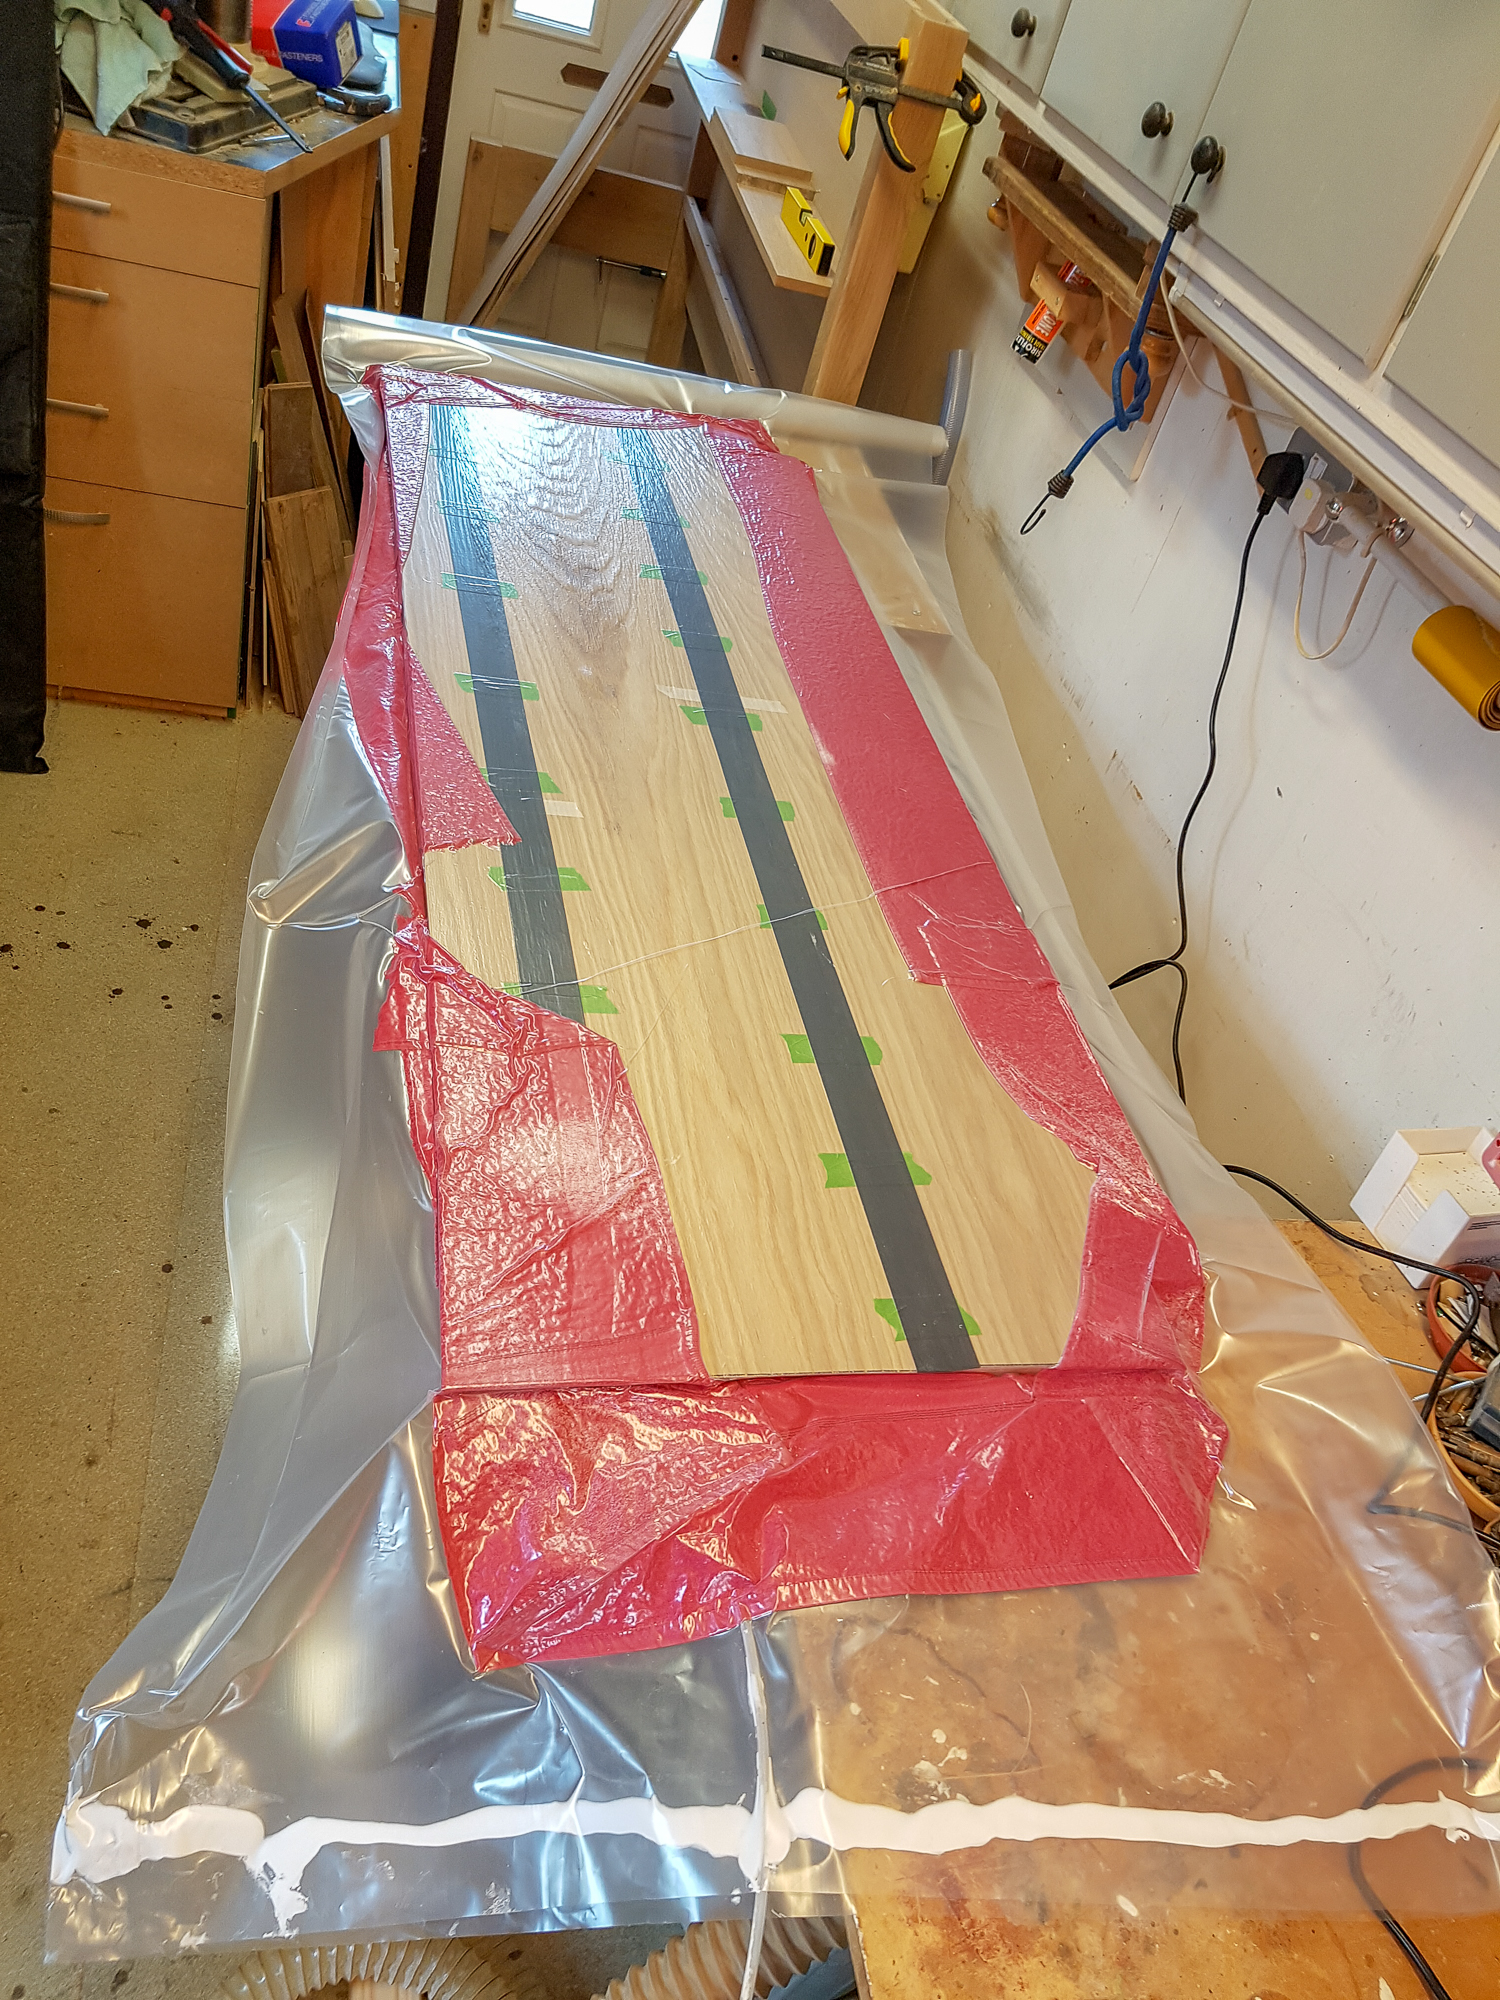
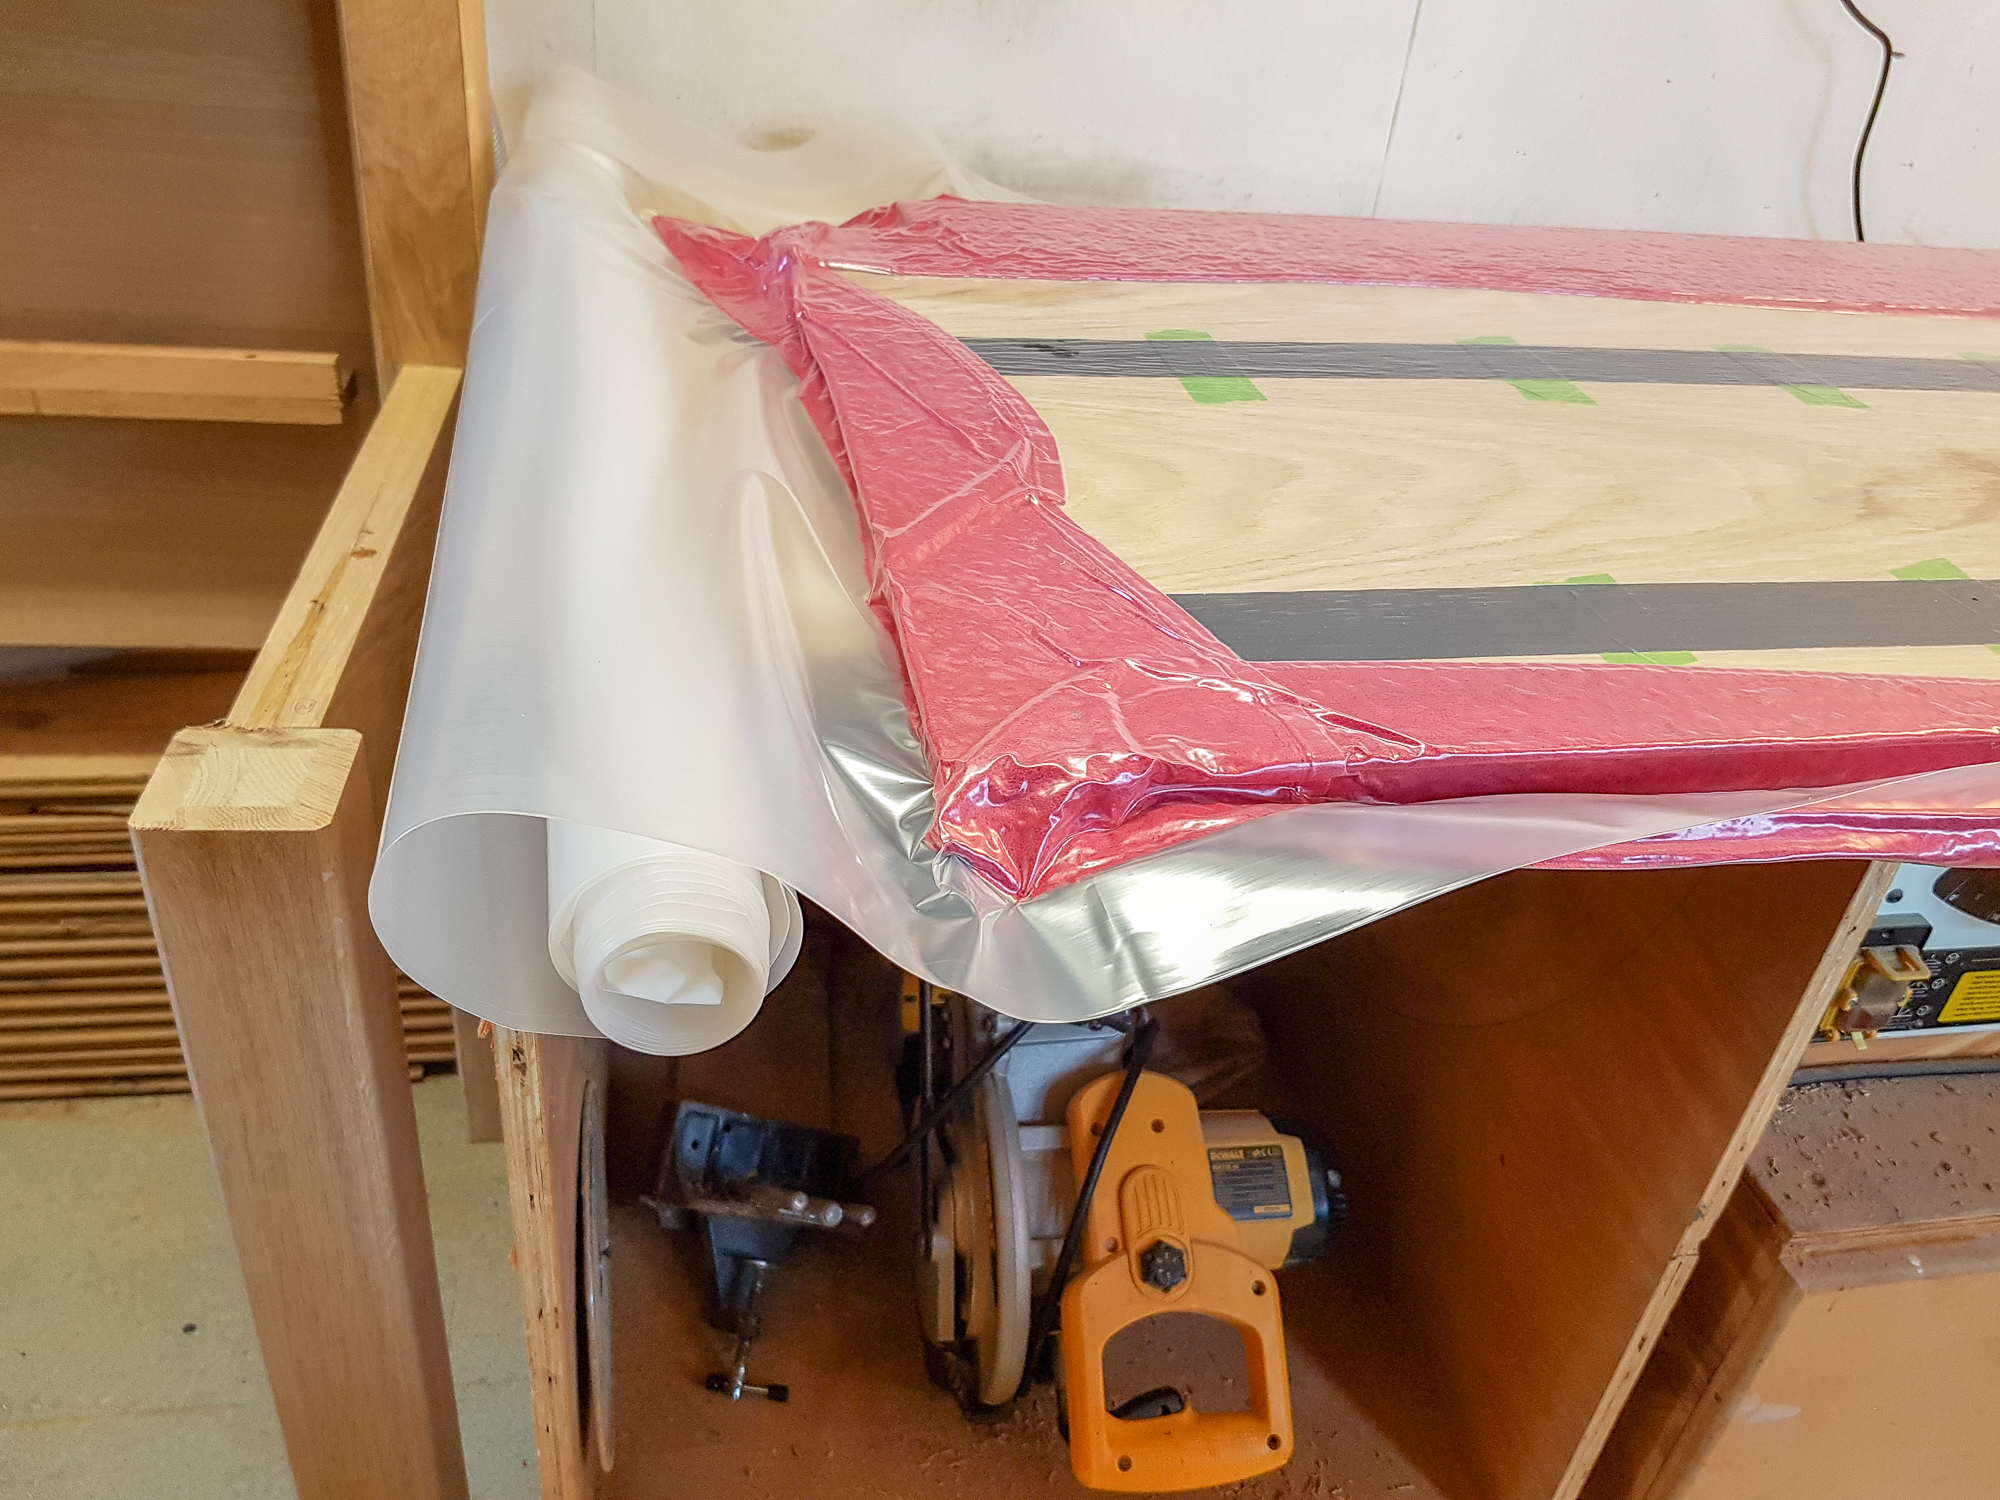
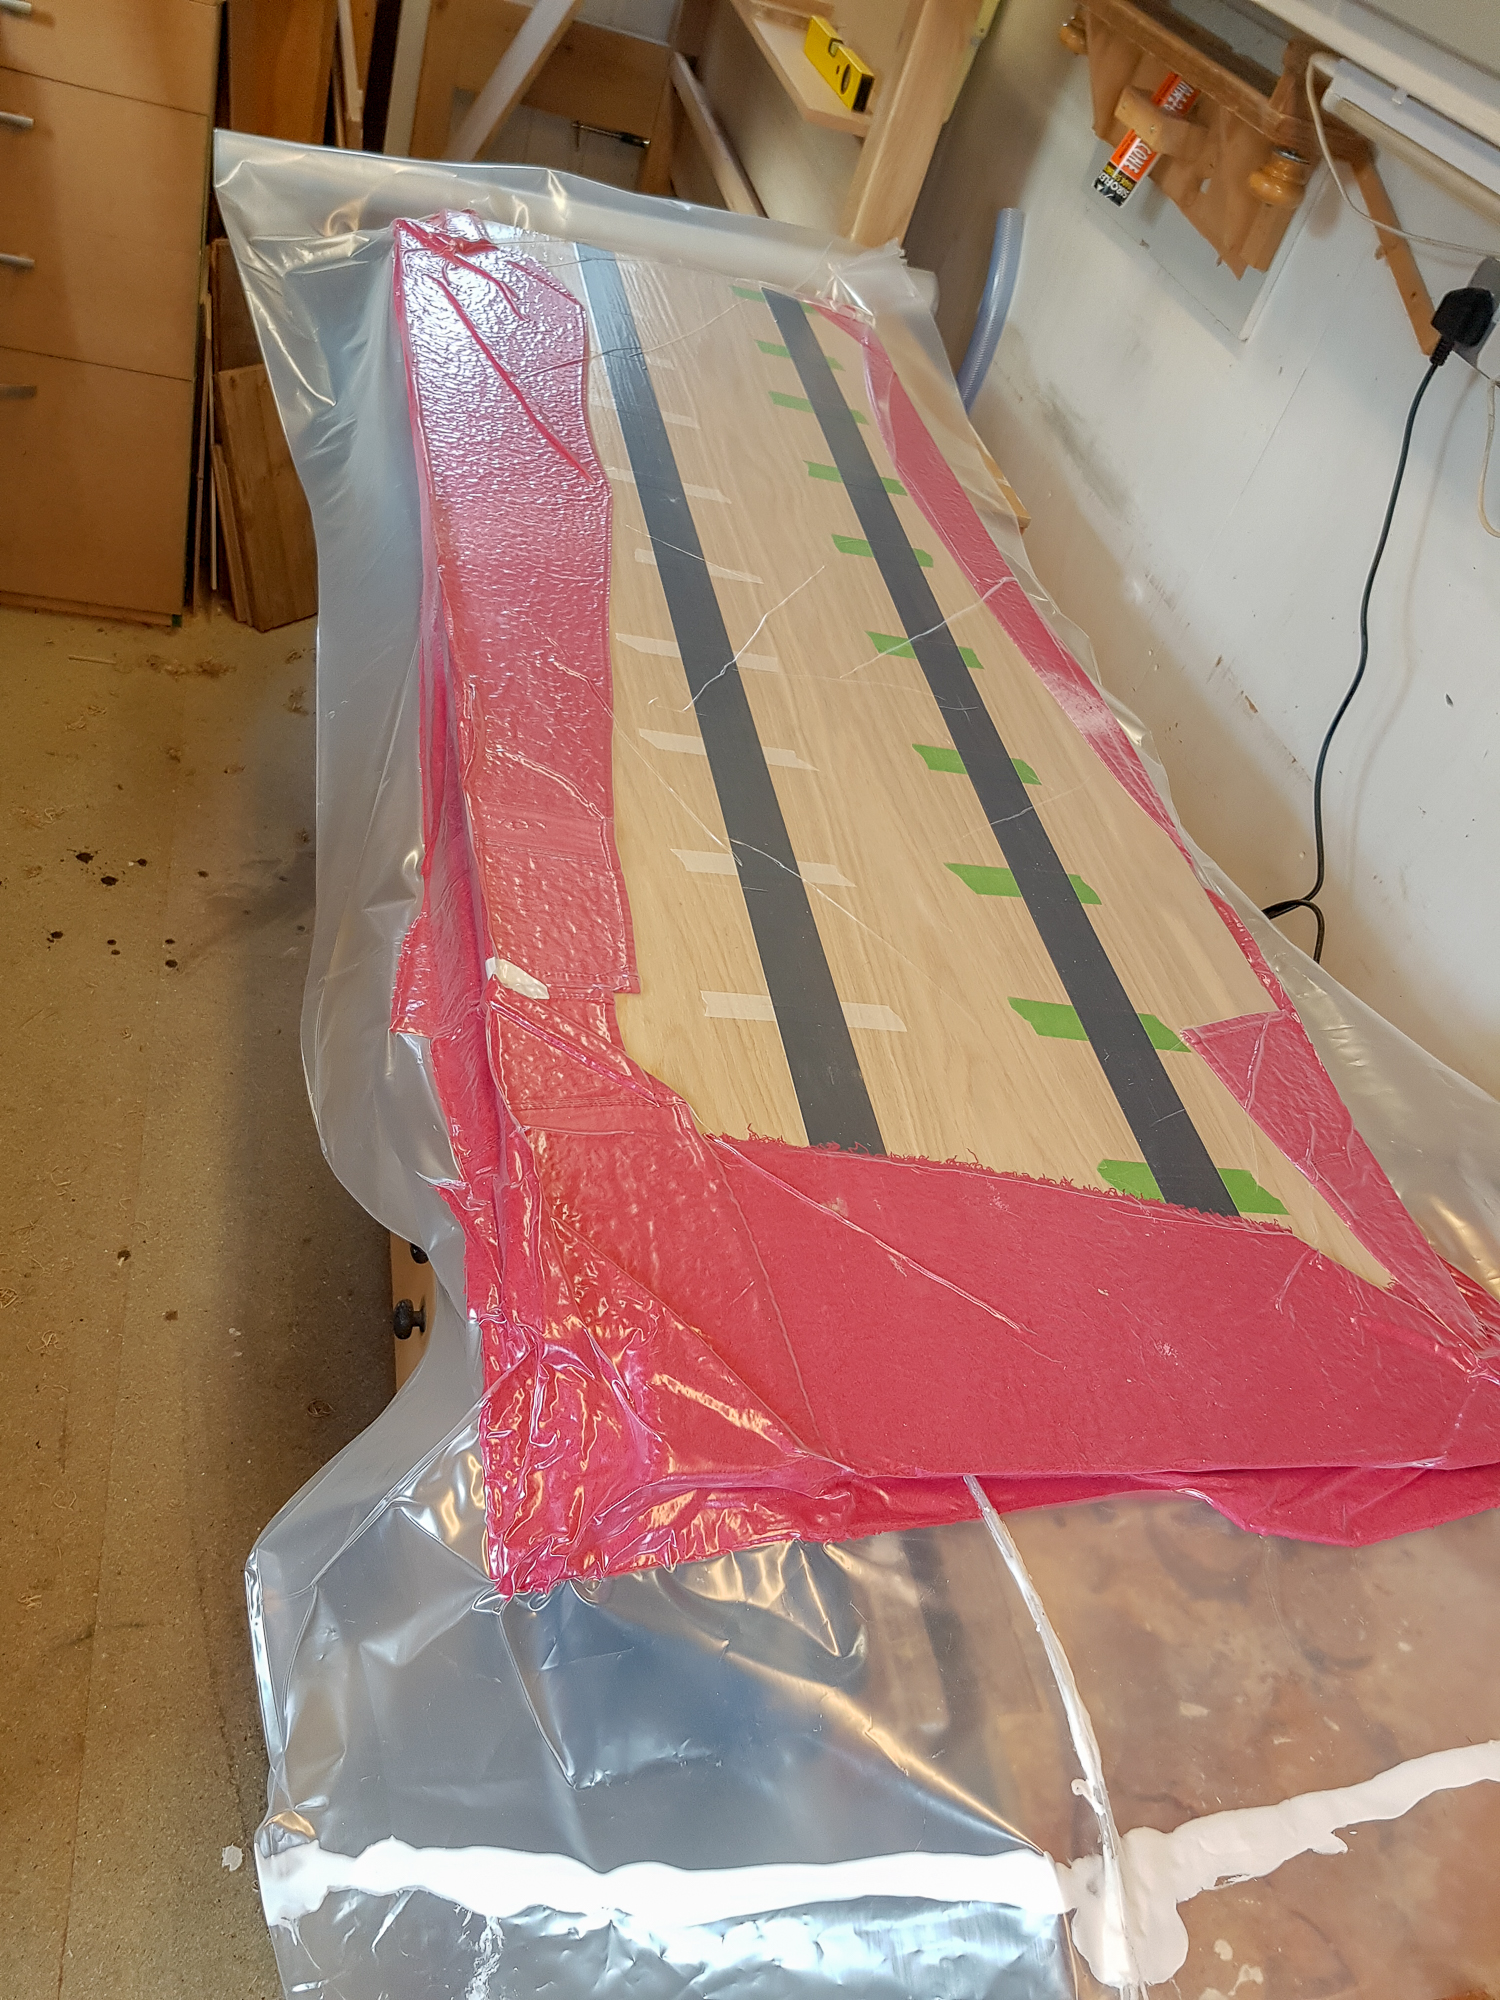
For vacuum veneering the desktop I bought some 30" poly sleeving as the DPM plastic had been a pain to get sealed last time. I needed to get the sleeving over the panel and veneer so I made a support to balance the panel on off of the bench.
desk-166.jpg


First side. I ended up using duct tape to make the thick veneer stay aligned and had the bright idea of using an old towel to protect the poly from the veneer edges.
desk-163.jpg


desk-164.jpg


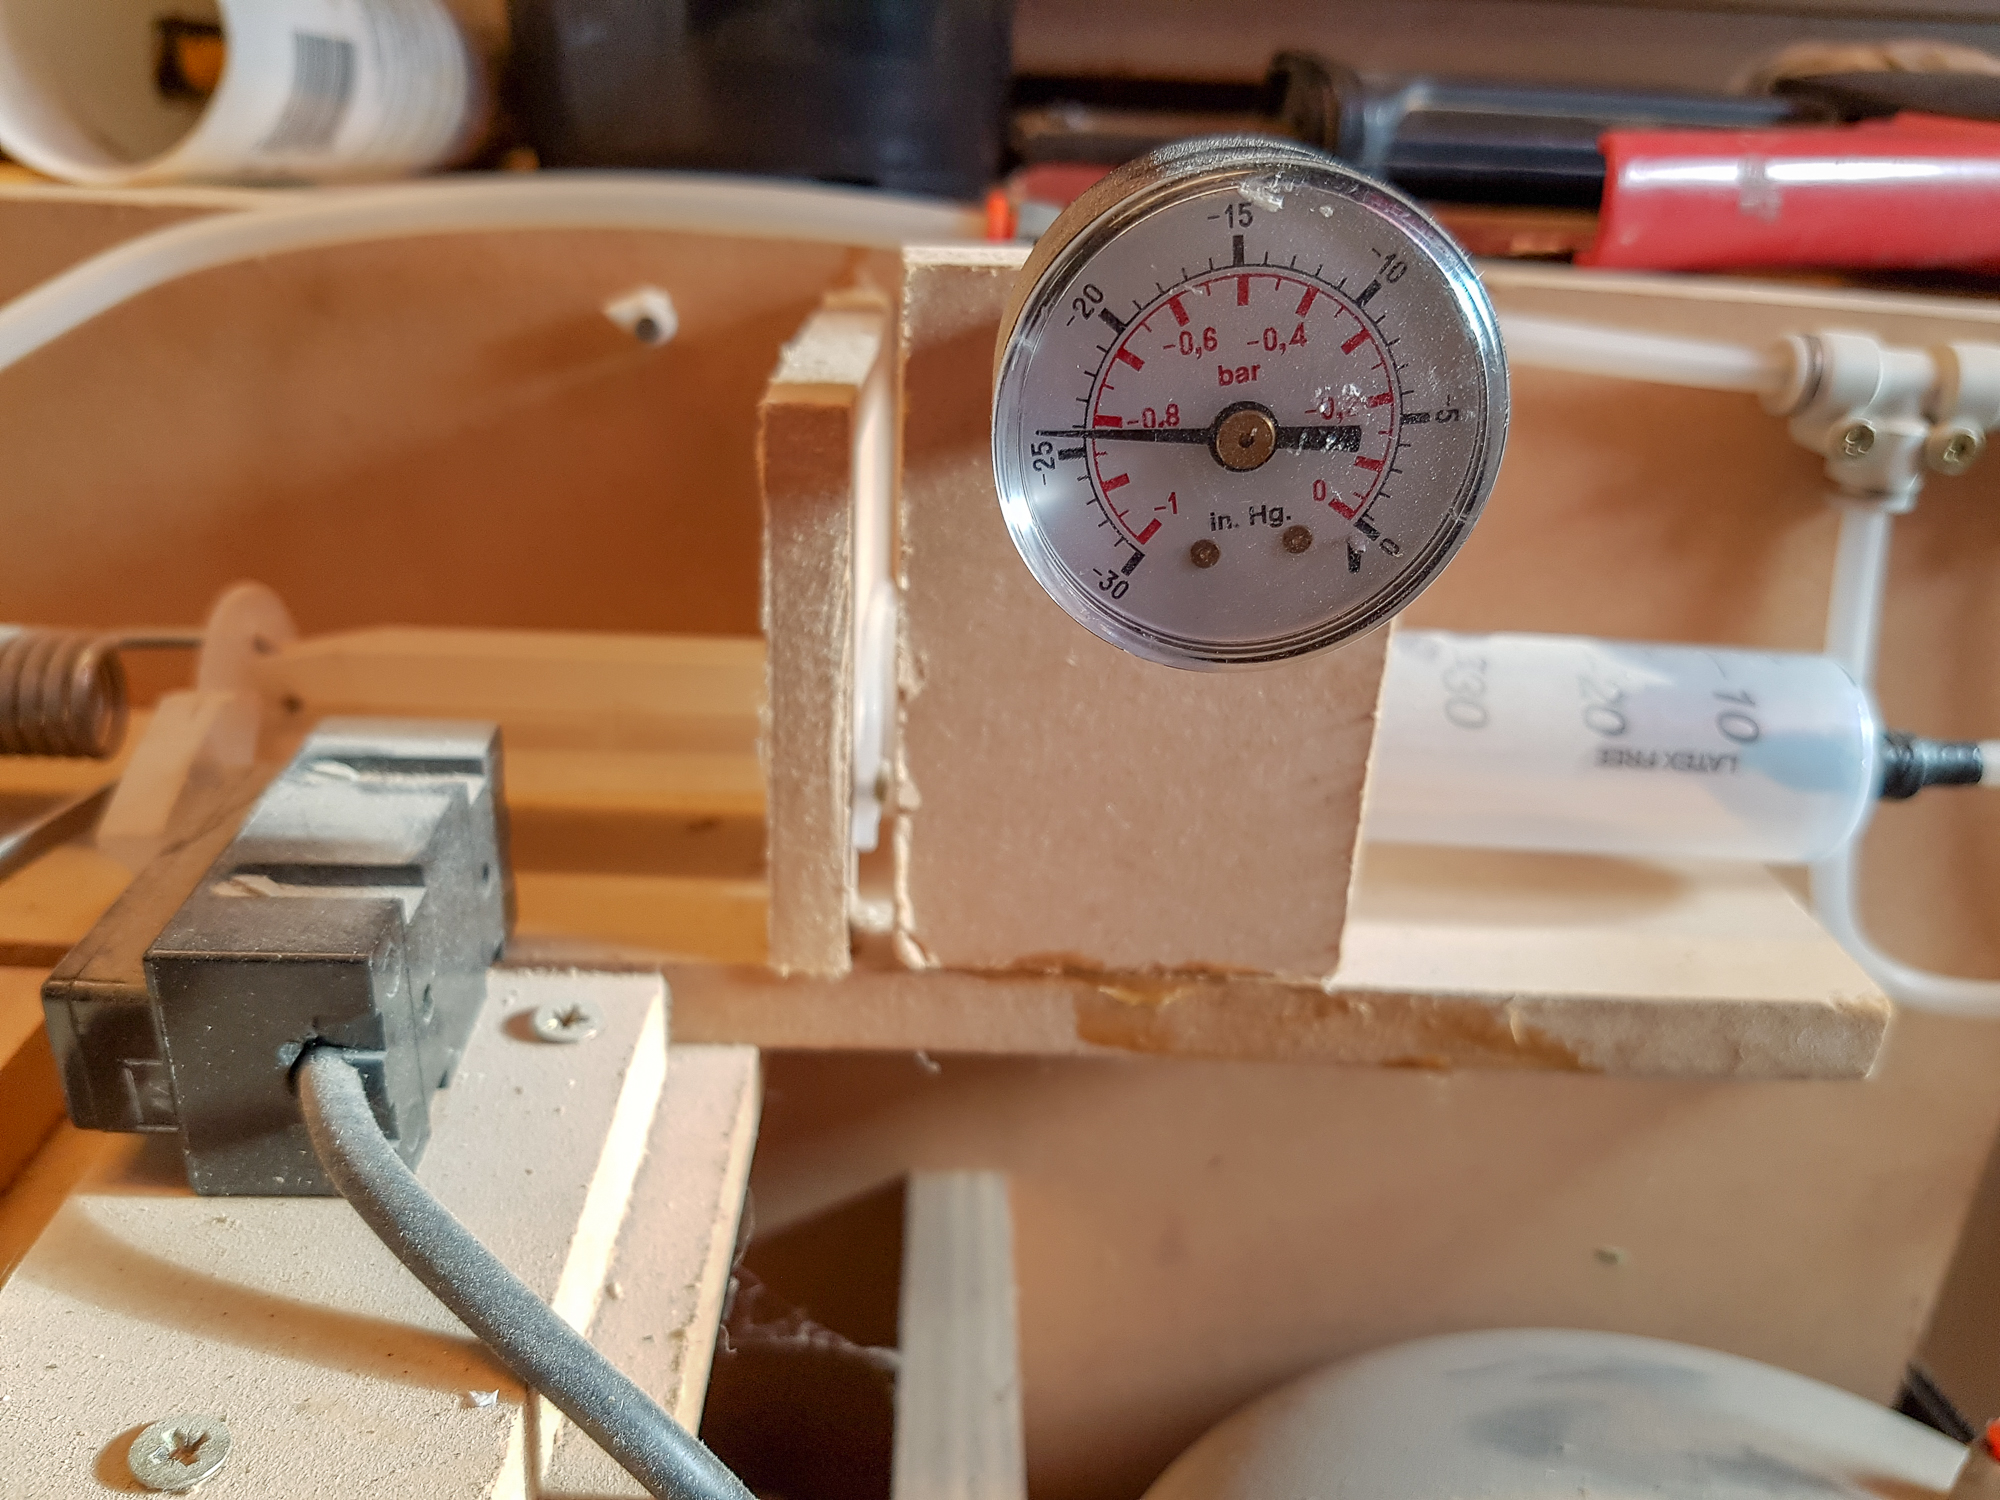
The pump never came back on once. no leaks.
desk-165.jpg


Other side
desk-167.jpg


Placed in position. The towel idea wasn't so clever as I ended up with red towel glued on the edges. nor was the duct tape as it was a bugger to get off after being pressed on by the vacuum.
desk-168.jpg


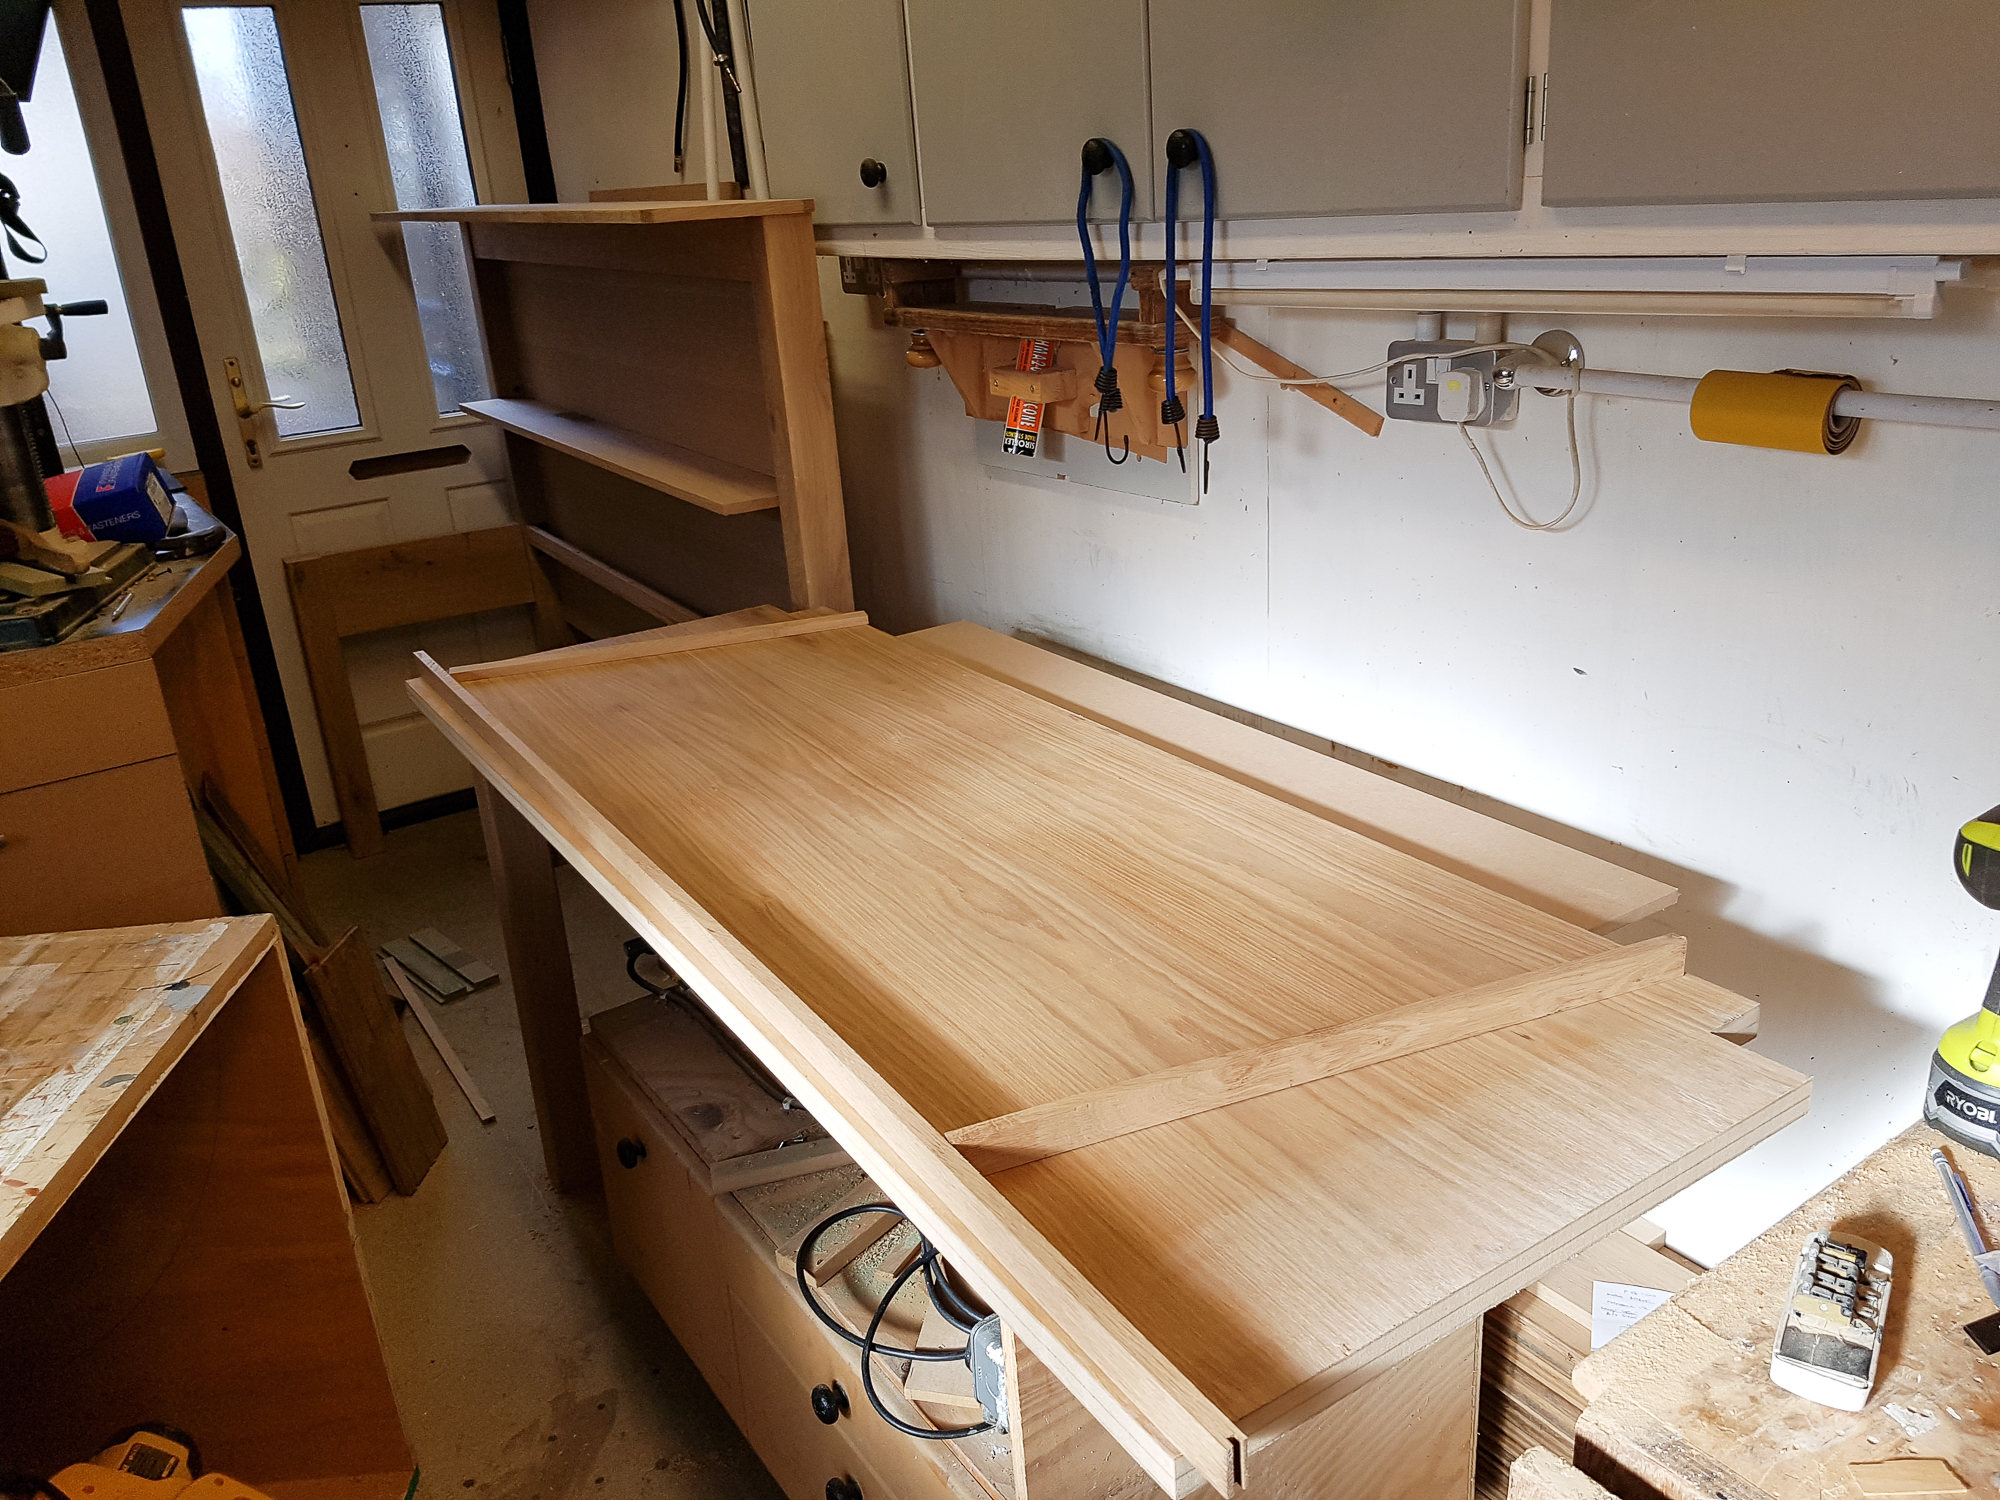
Made some edging
desk-169.jpg


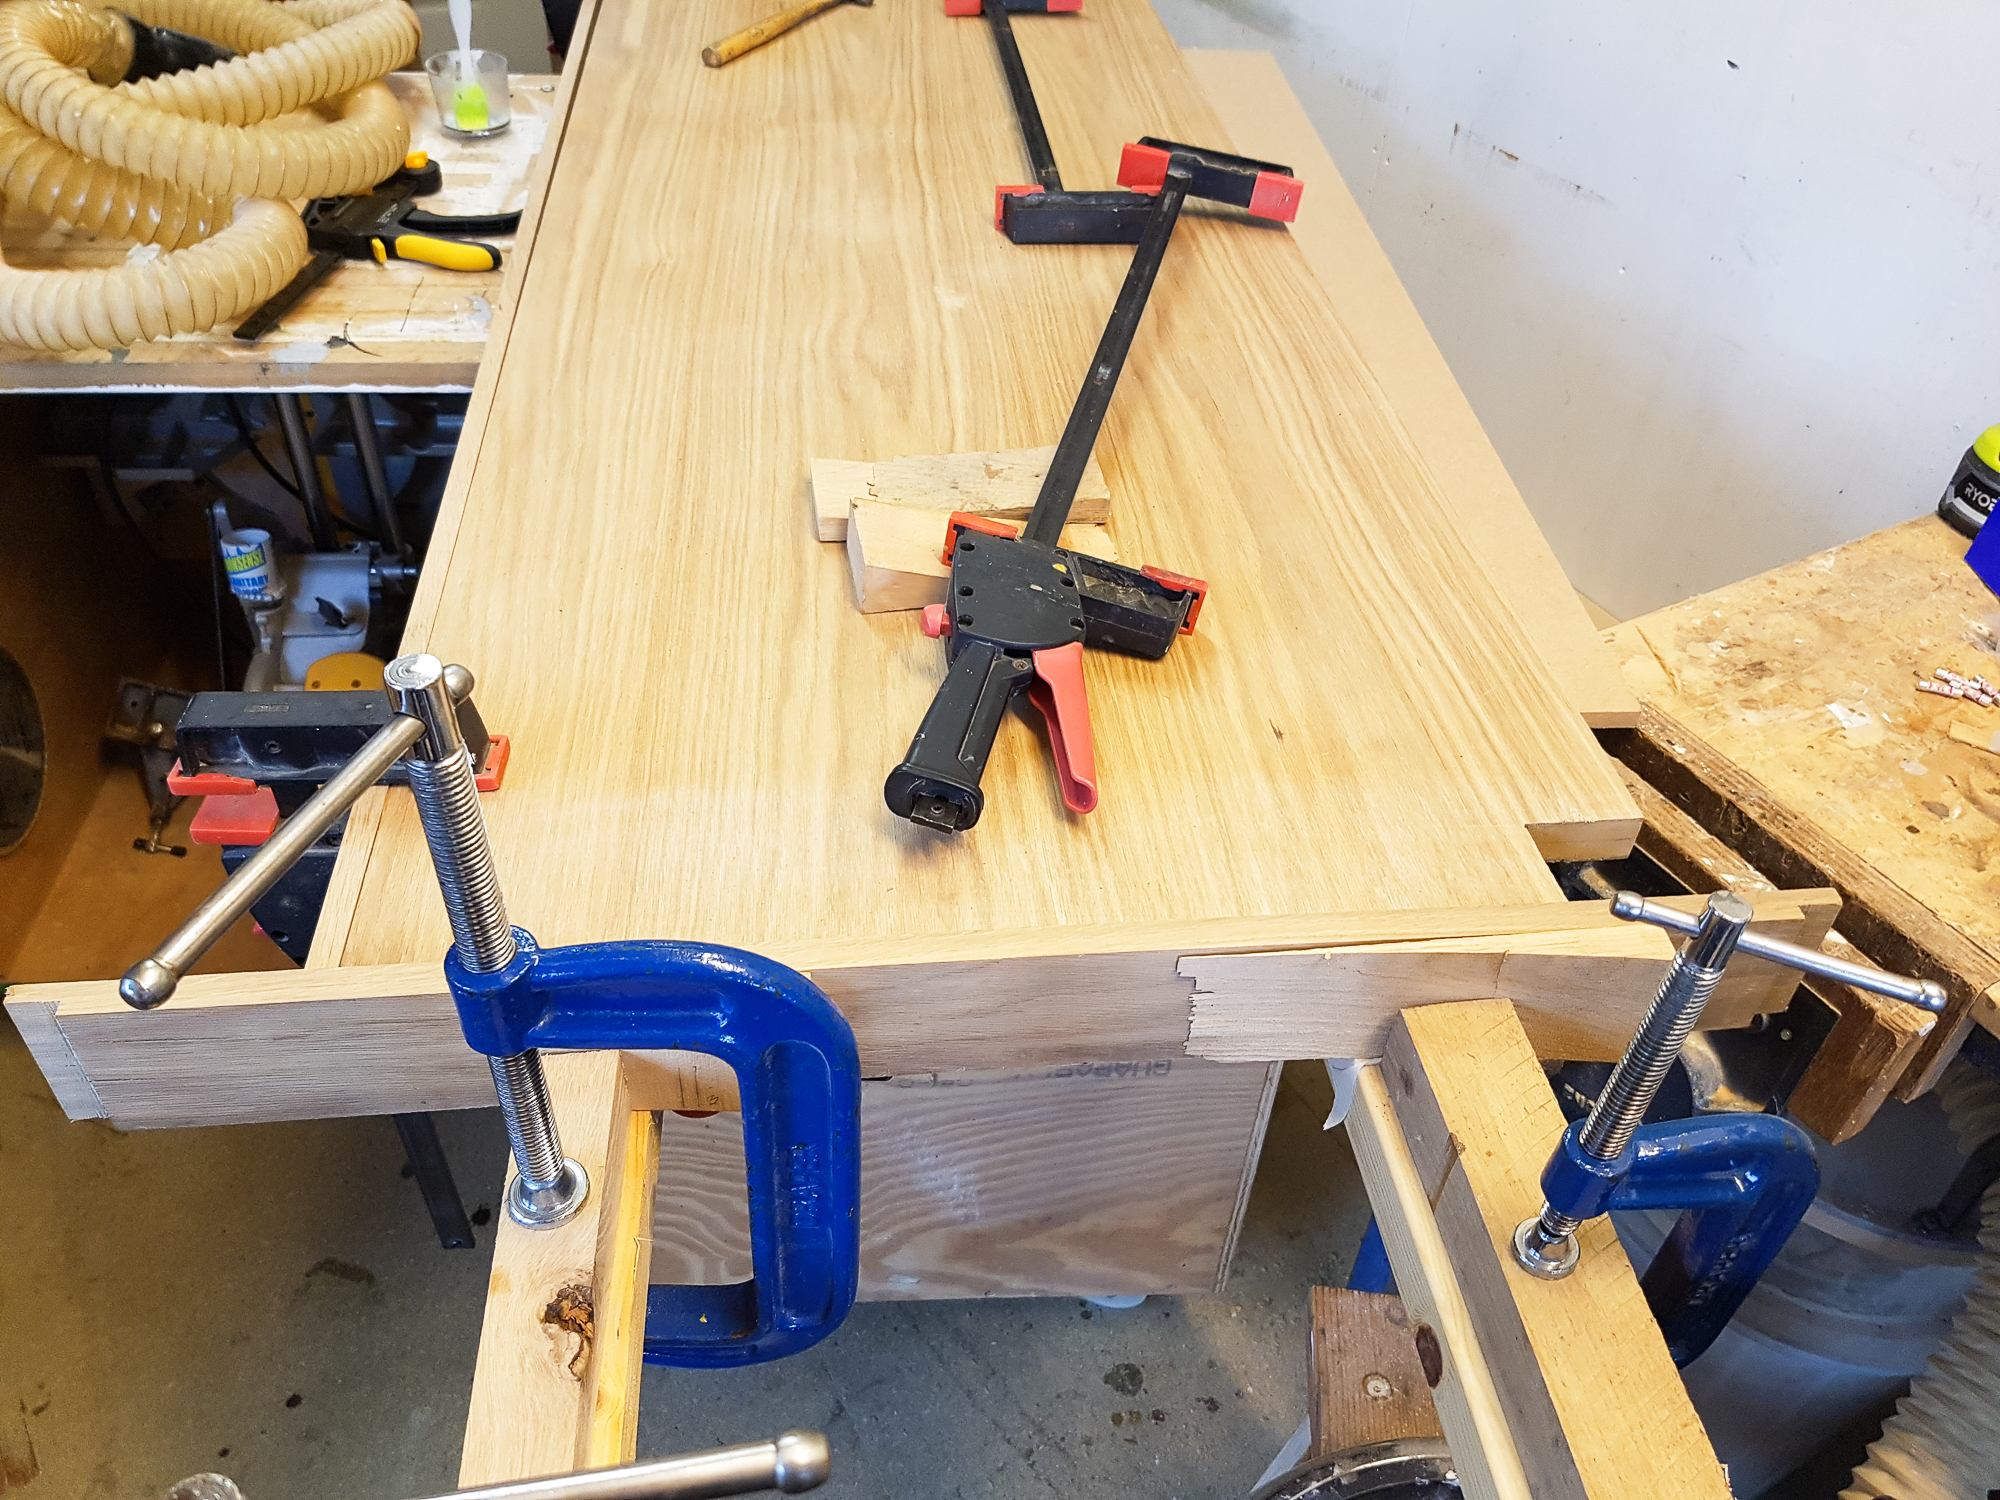
No clamps long enough to glue the end trims on. CLS and wedges to the rescue. The front trim was clamped briefly in place to align the ends.
desk-170.jpg


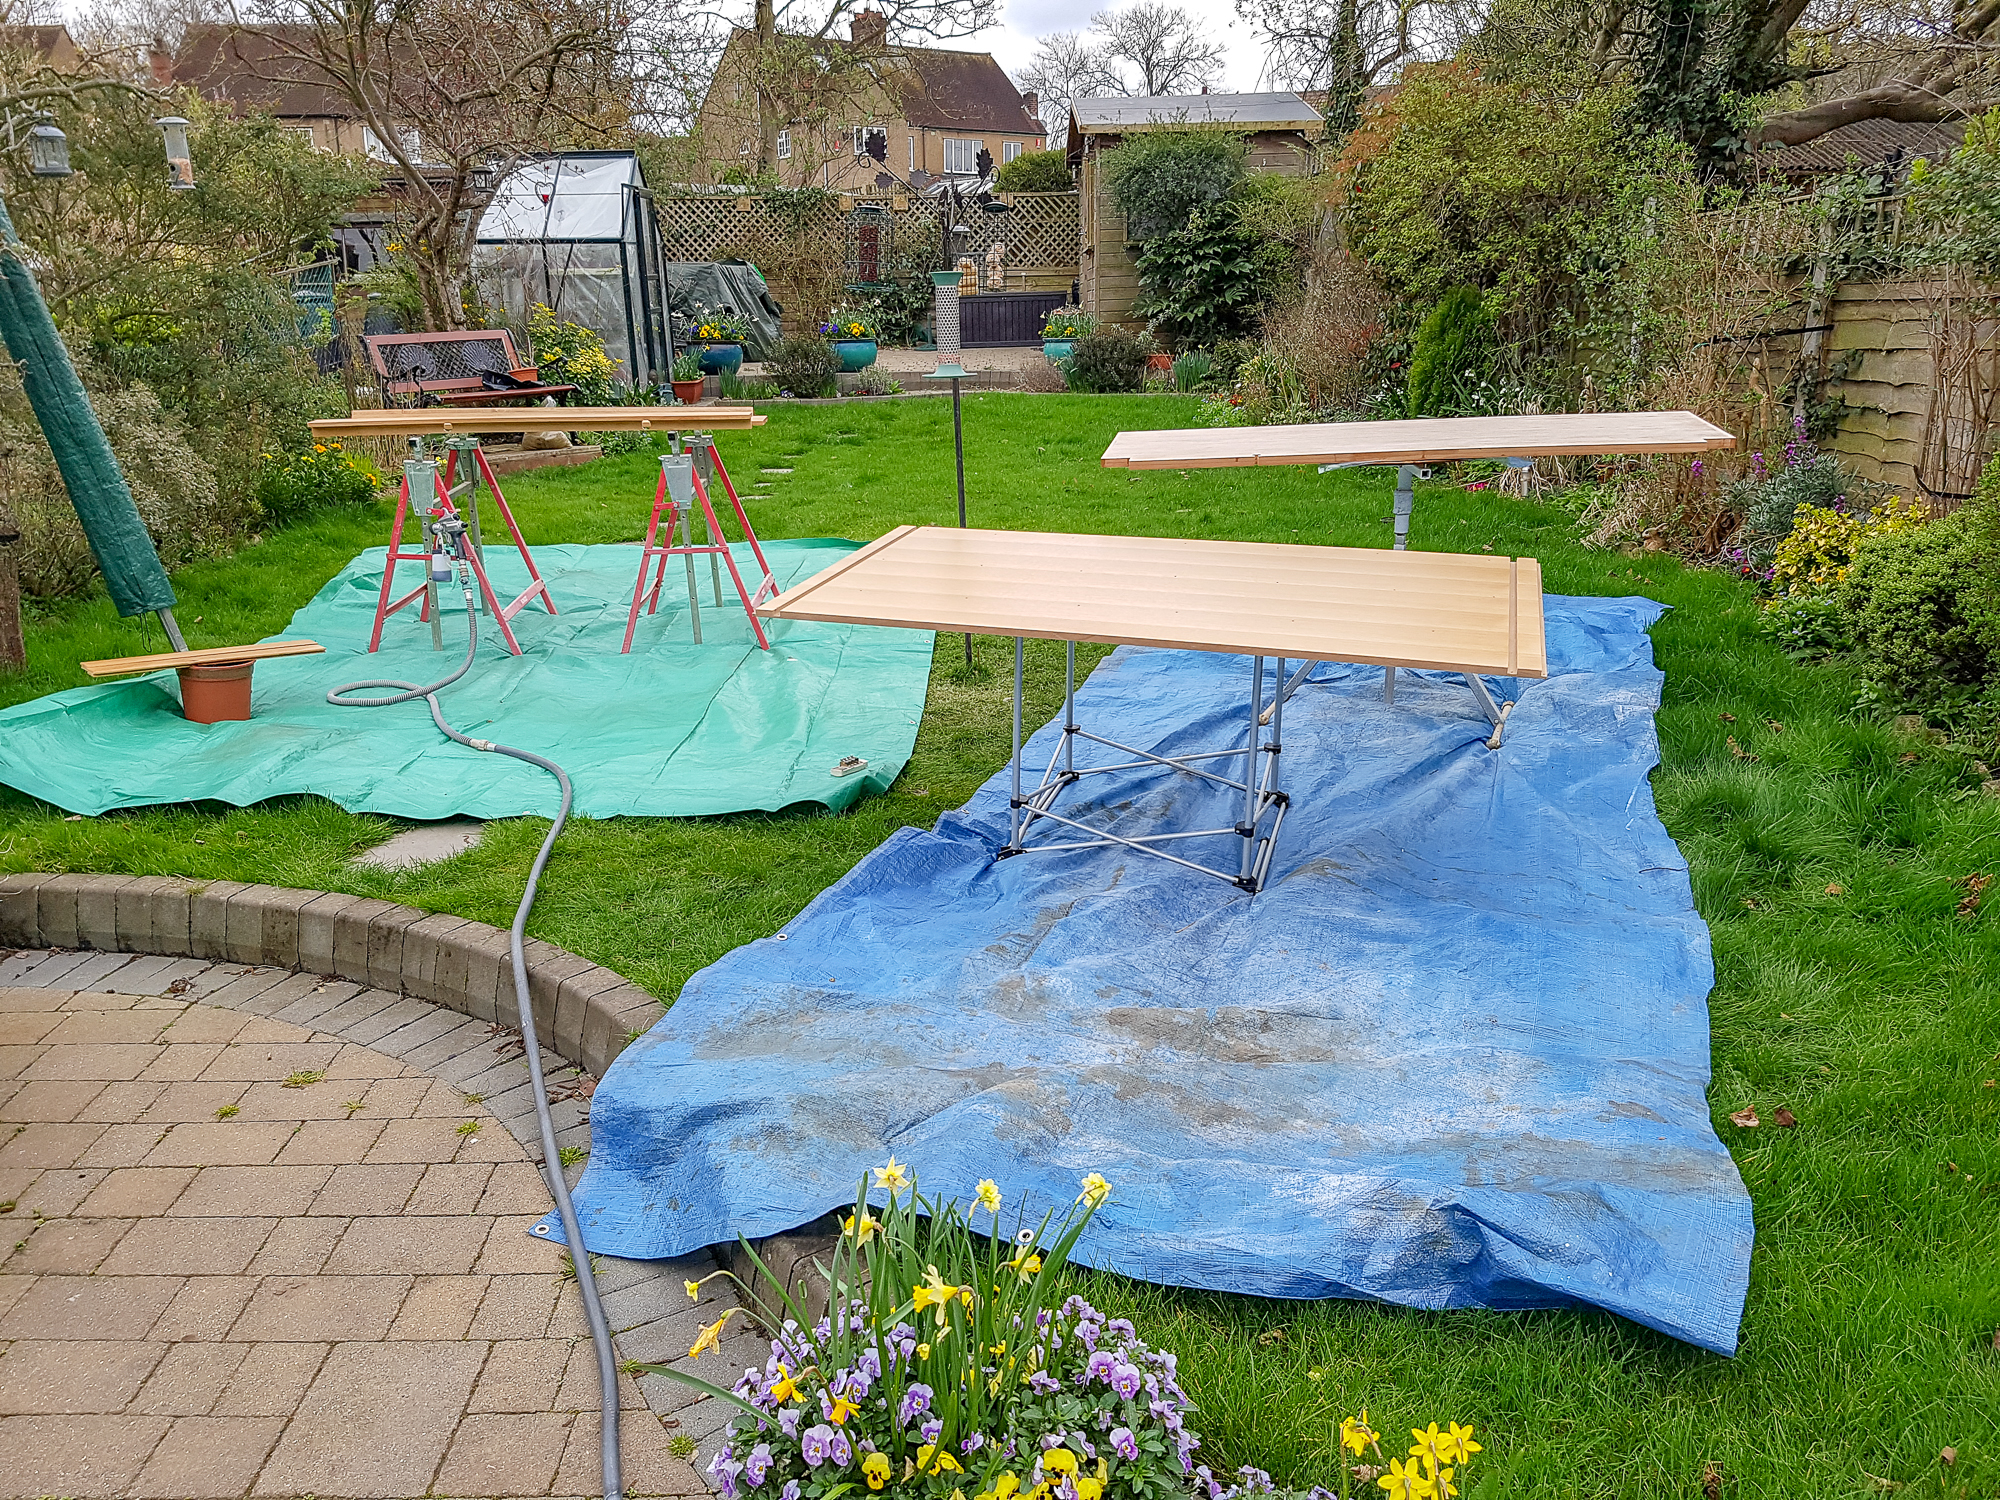
Spraying weather! 2 coats of flag brand satin poly varnish. It has dome well on other things I have made so sticking with it.
desk-171.jpg


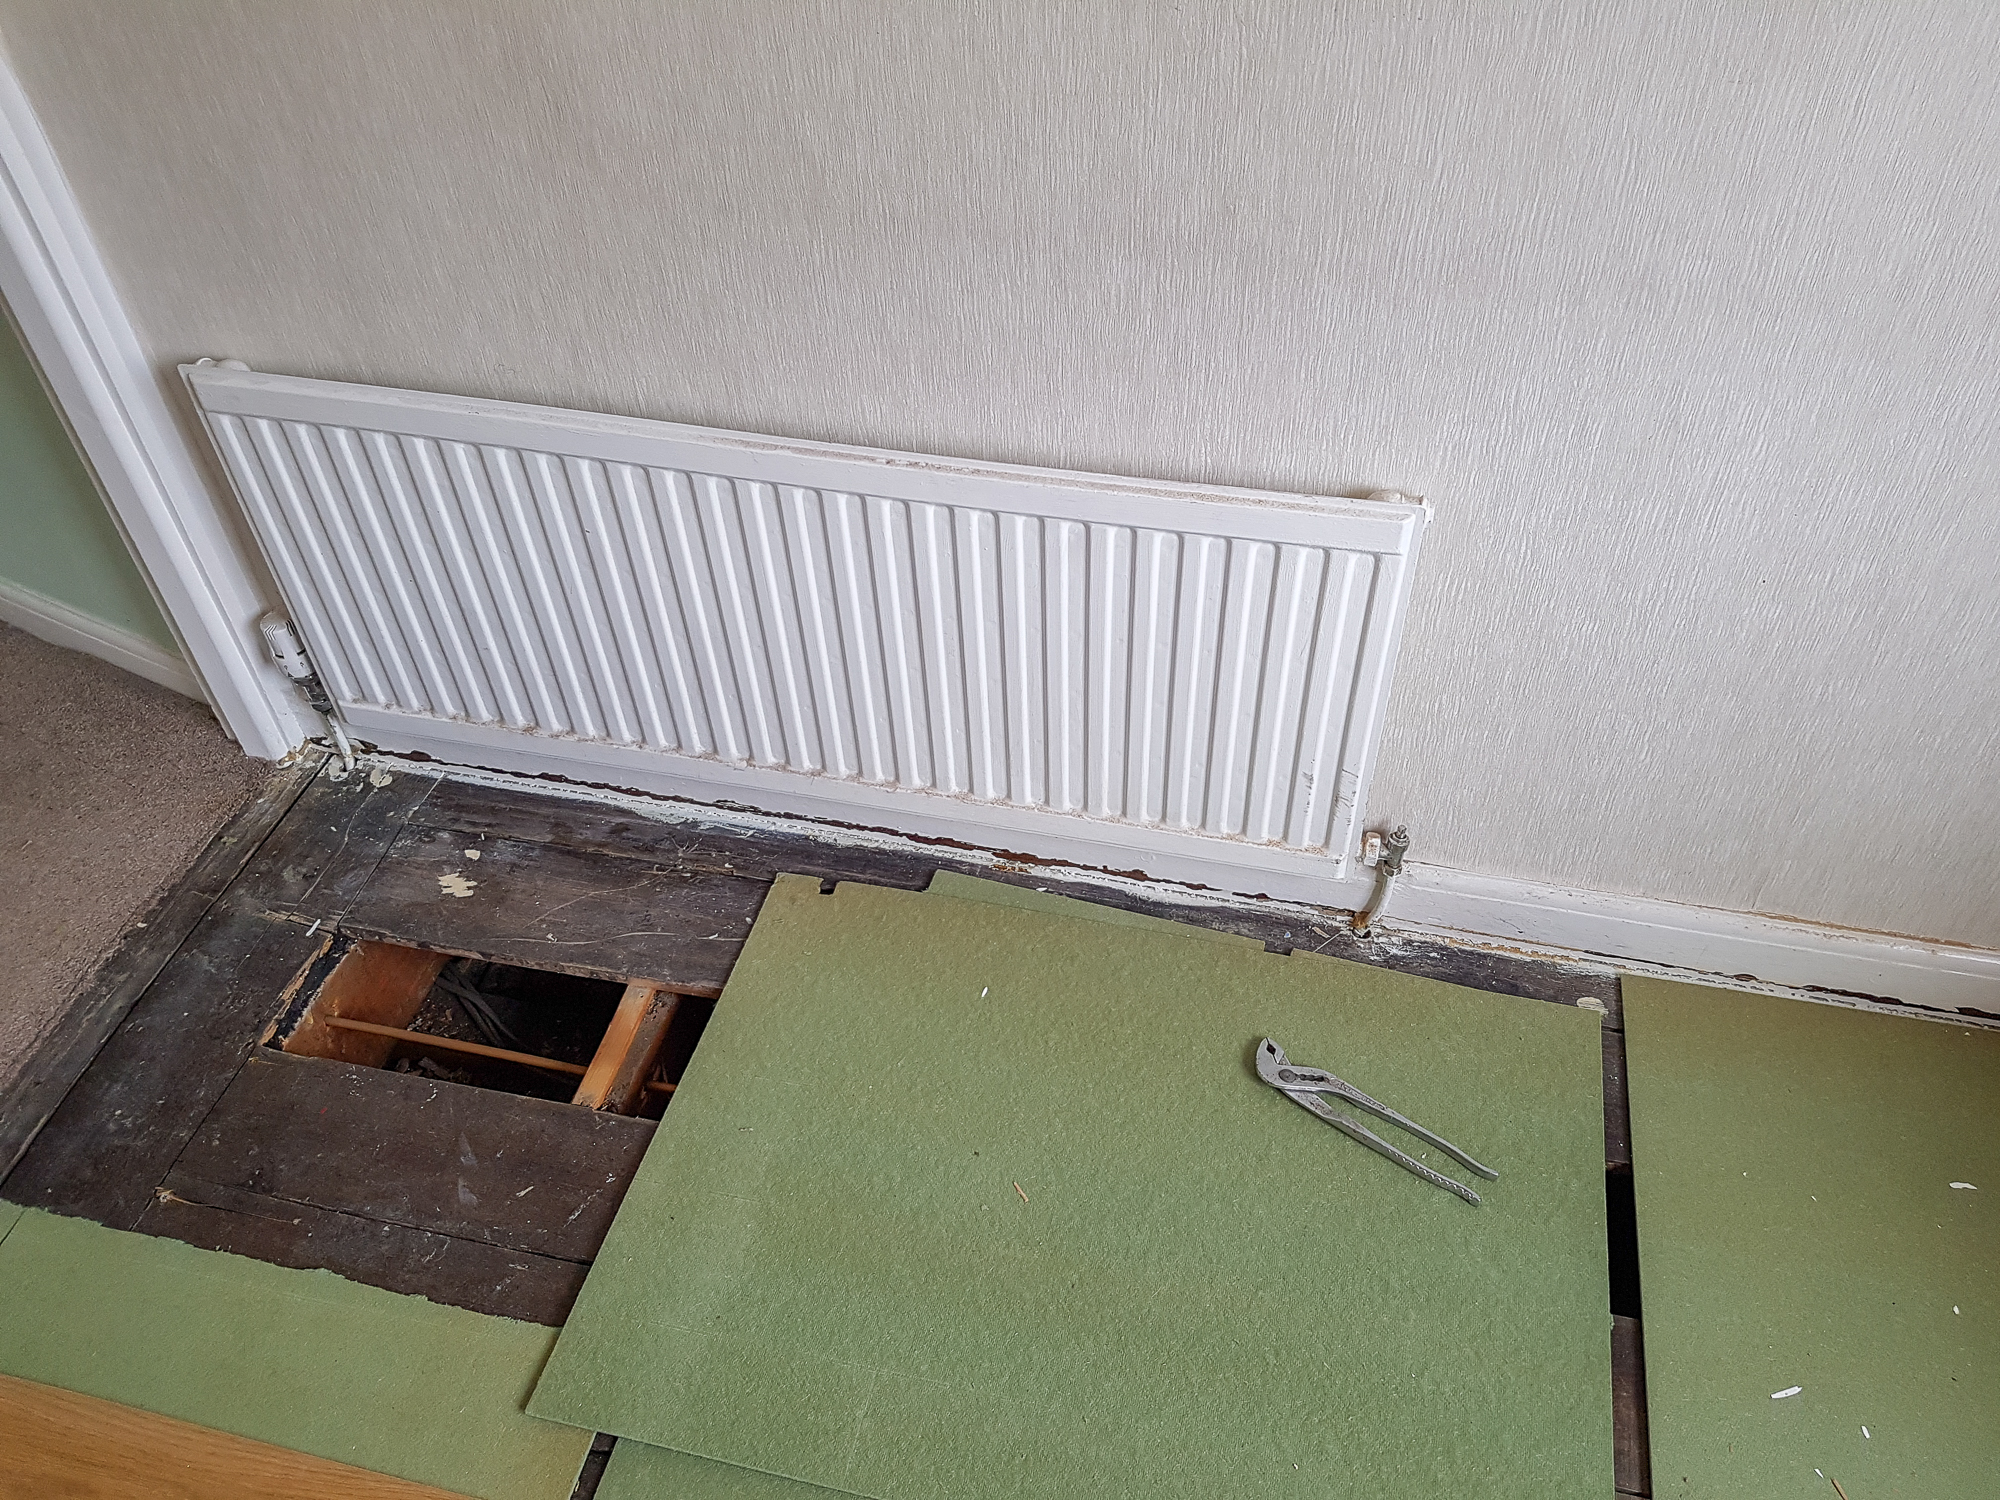
The old desk was notched to clear the radiator. Not doing that this time so it had to go.
desk-172.jpg


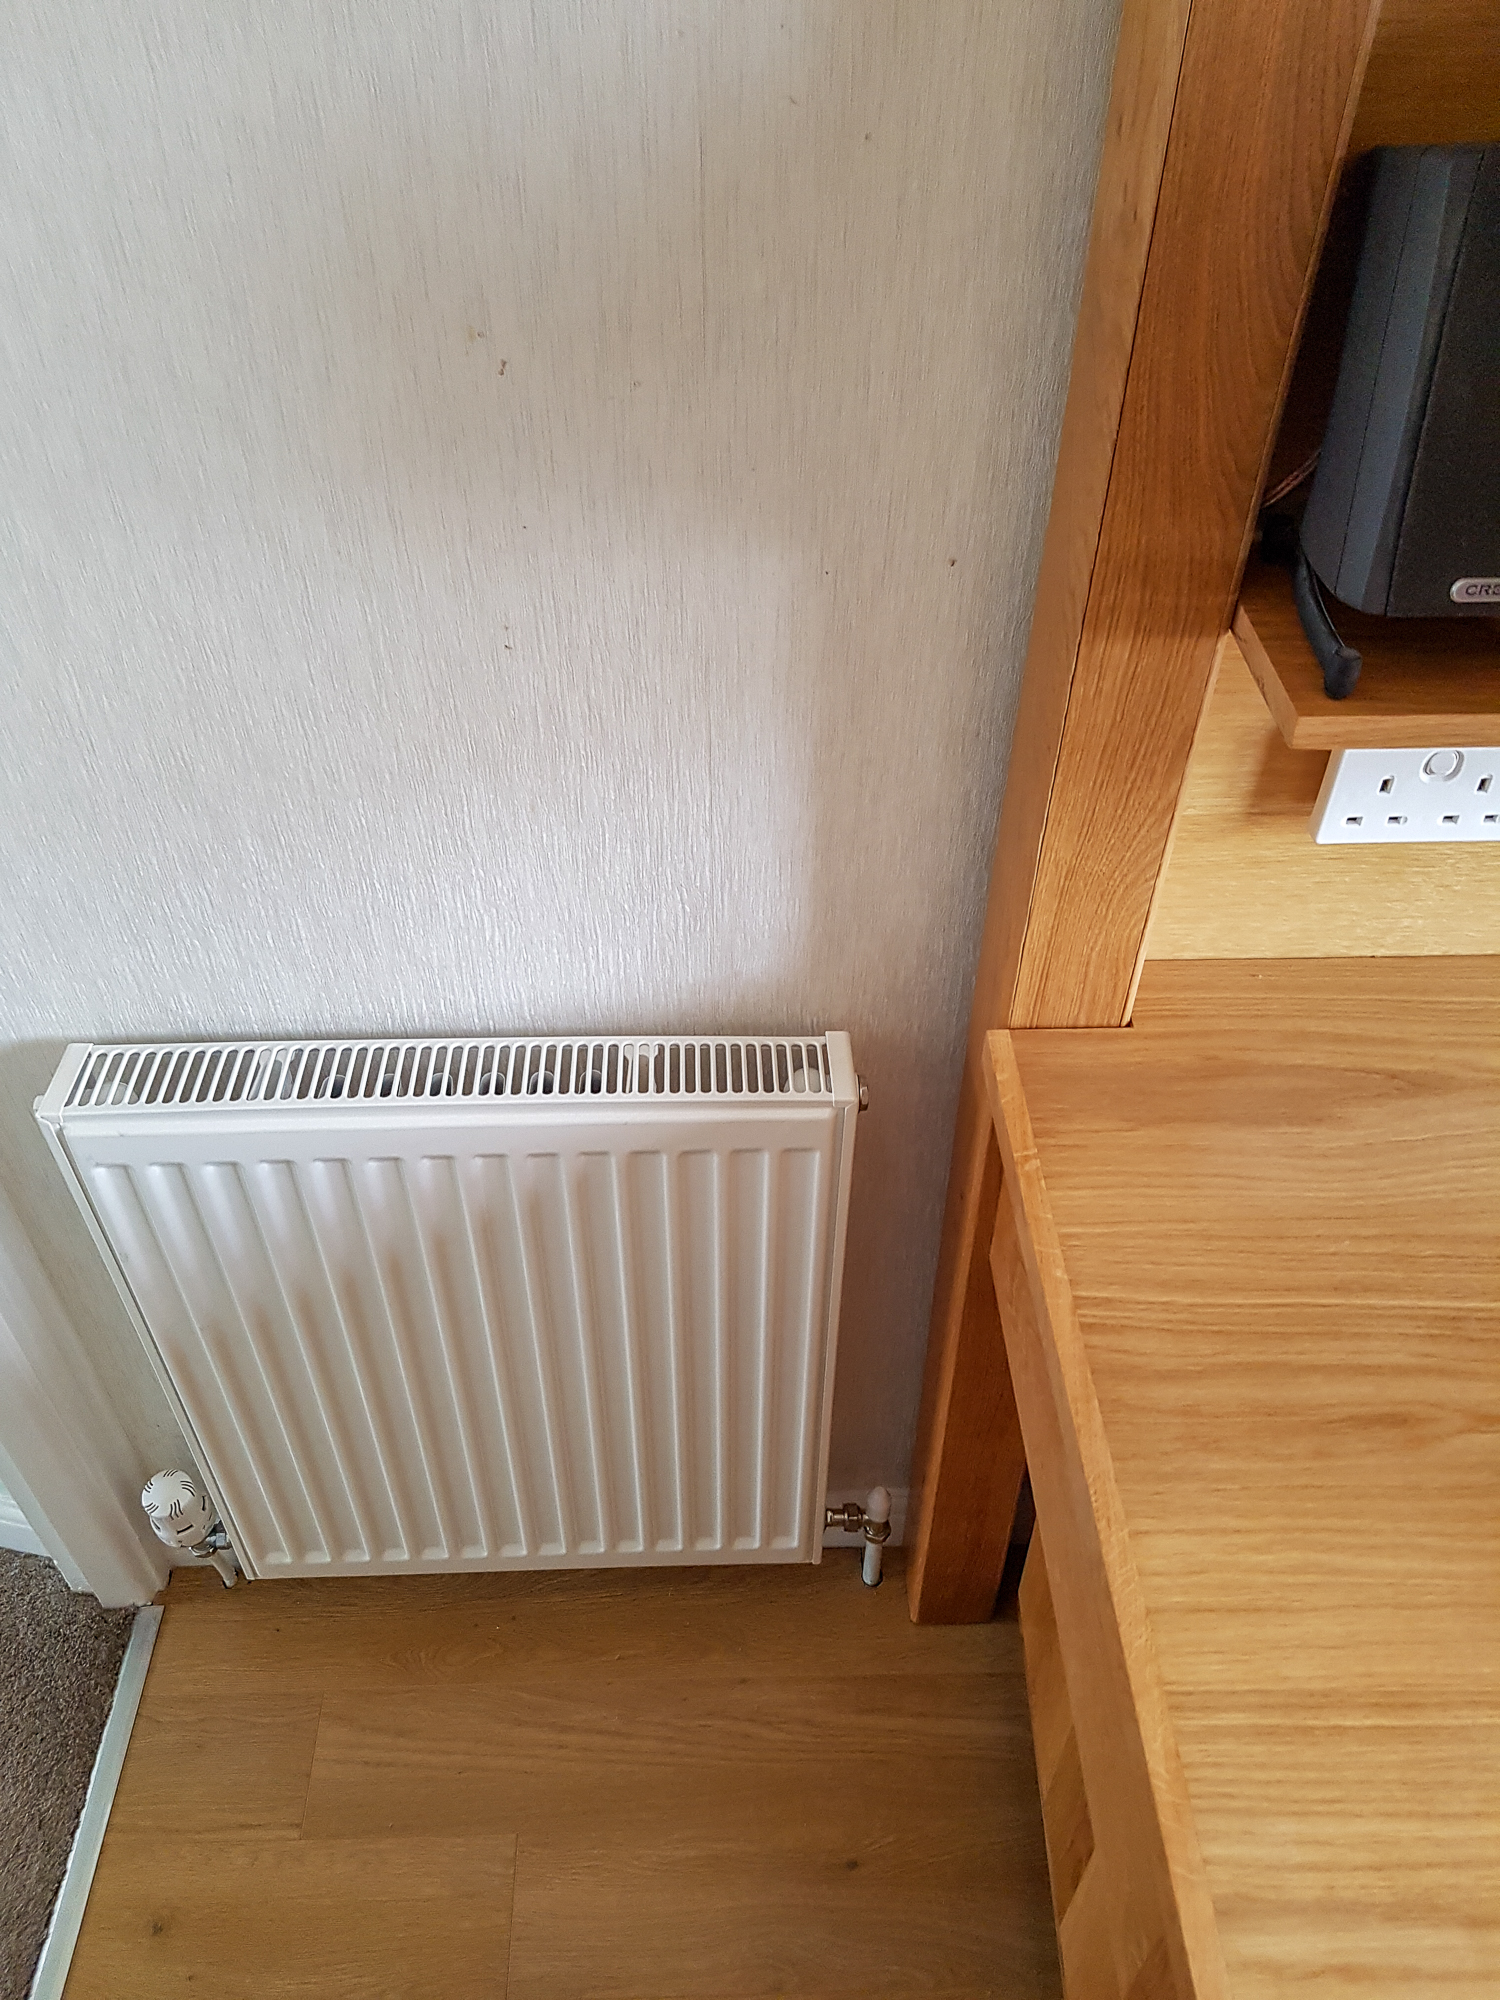
Sneak preview as i didn't take a picture of the new rad going in.
desk-177.jpg


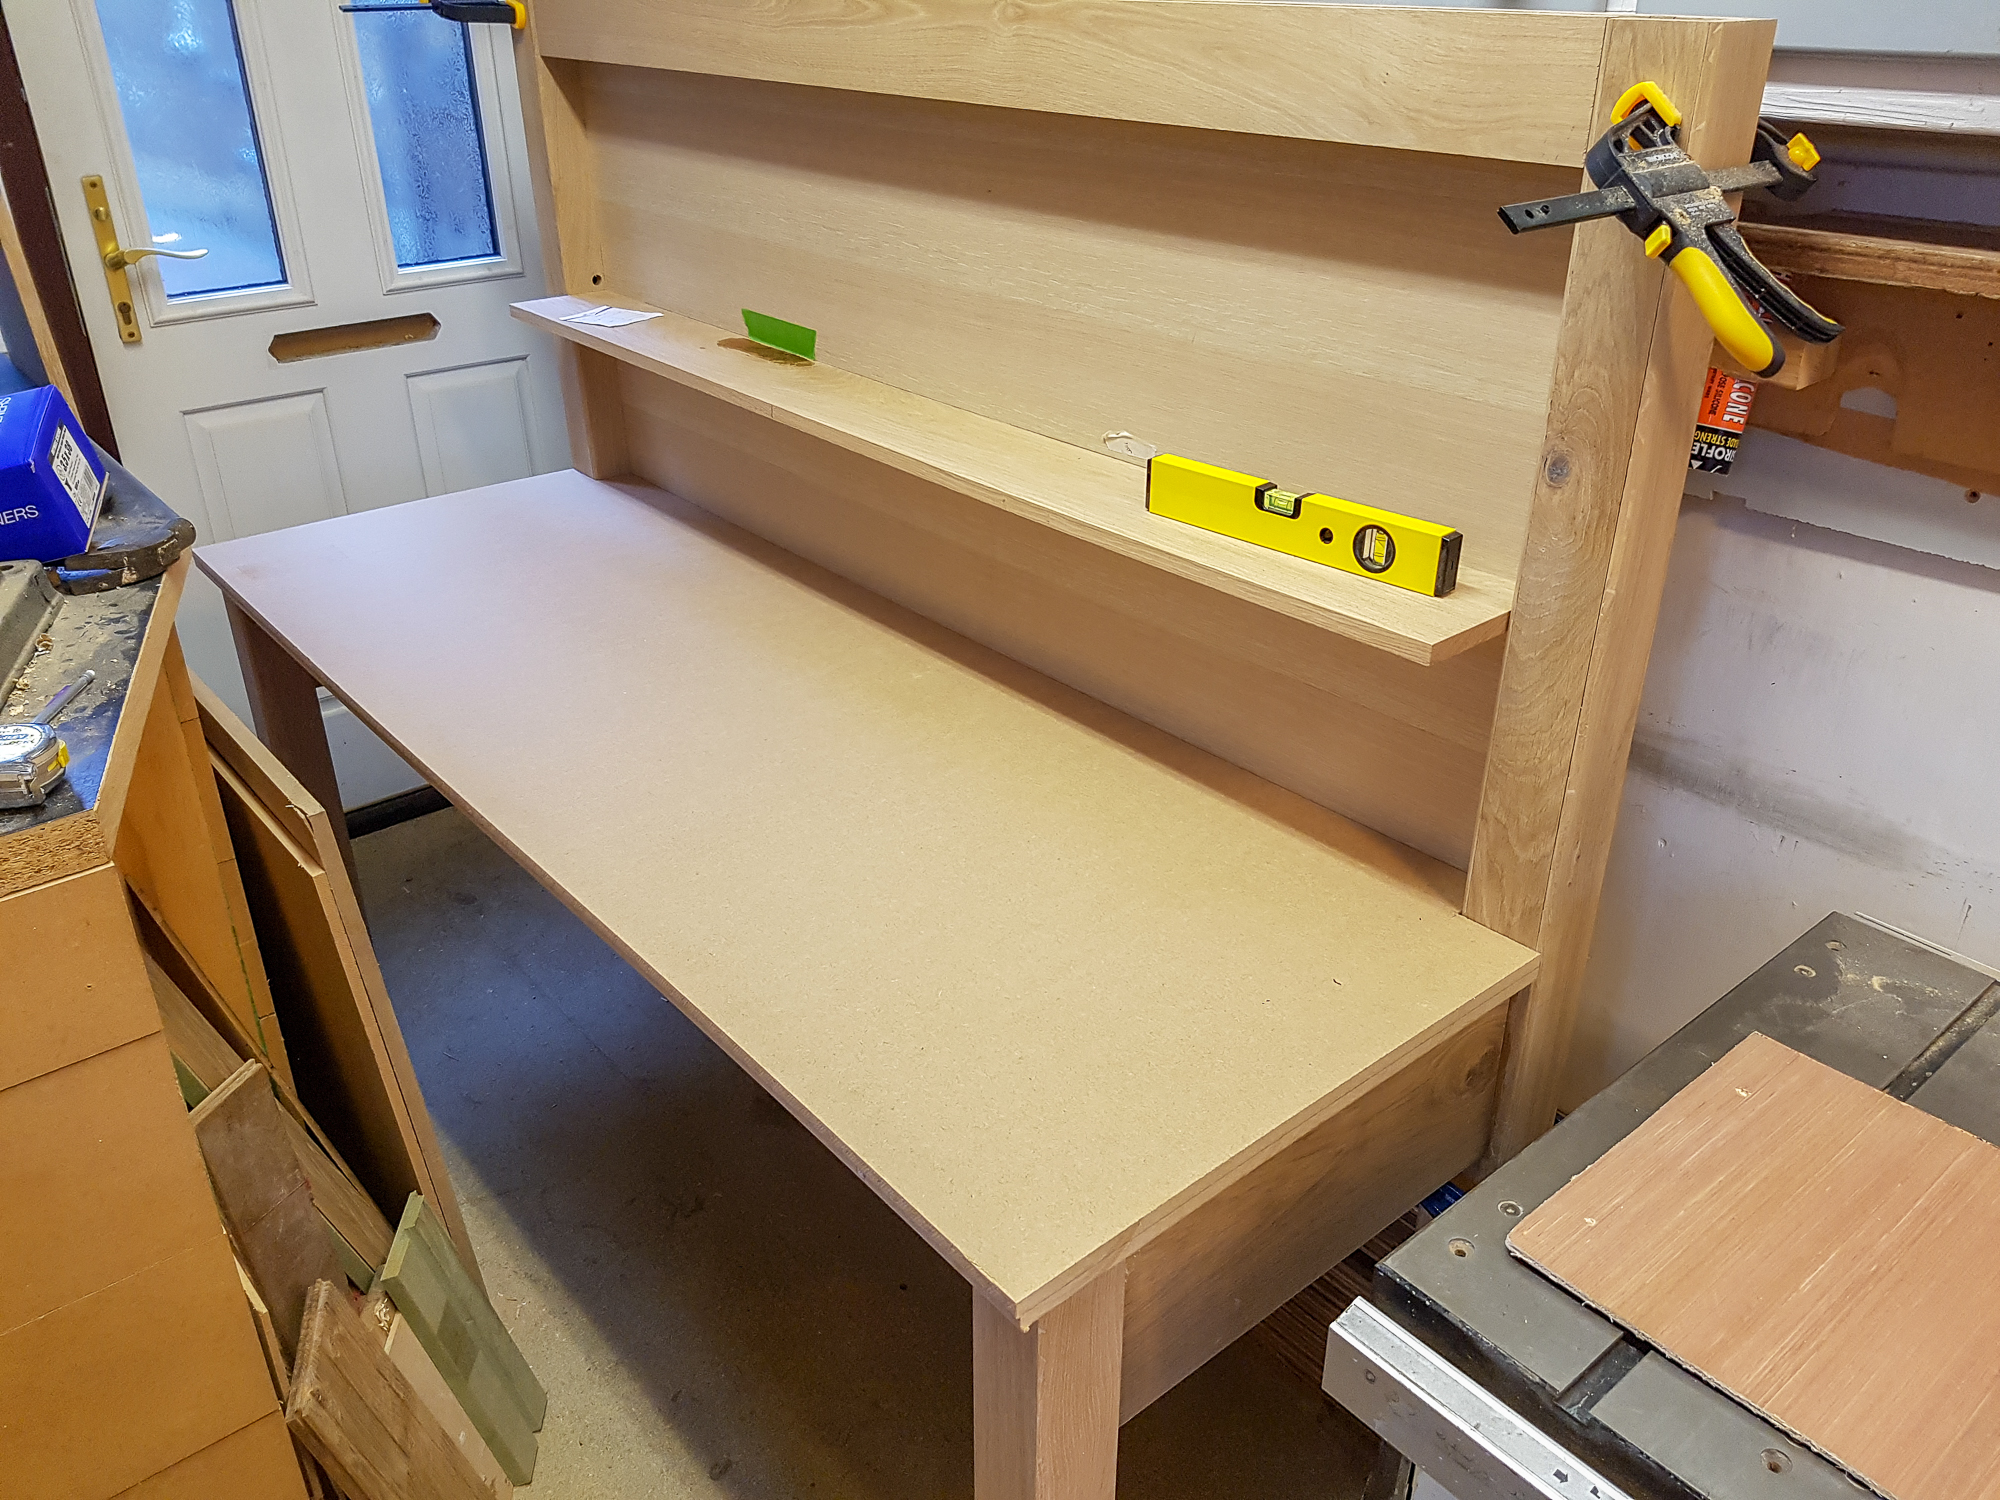
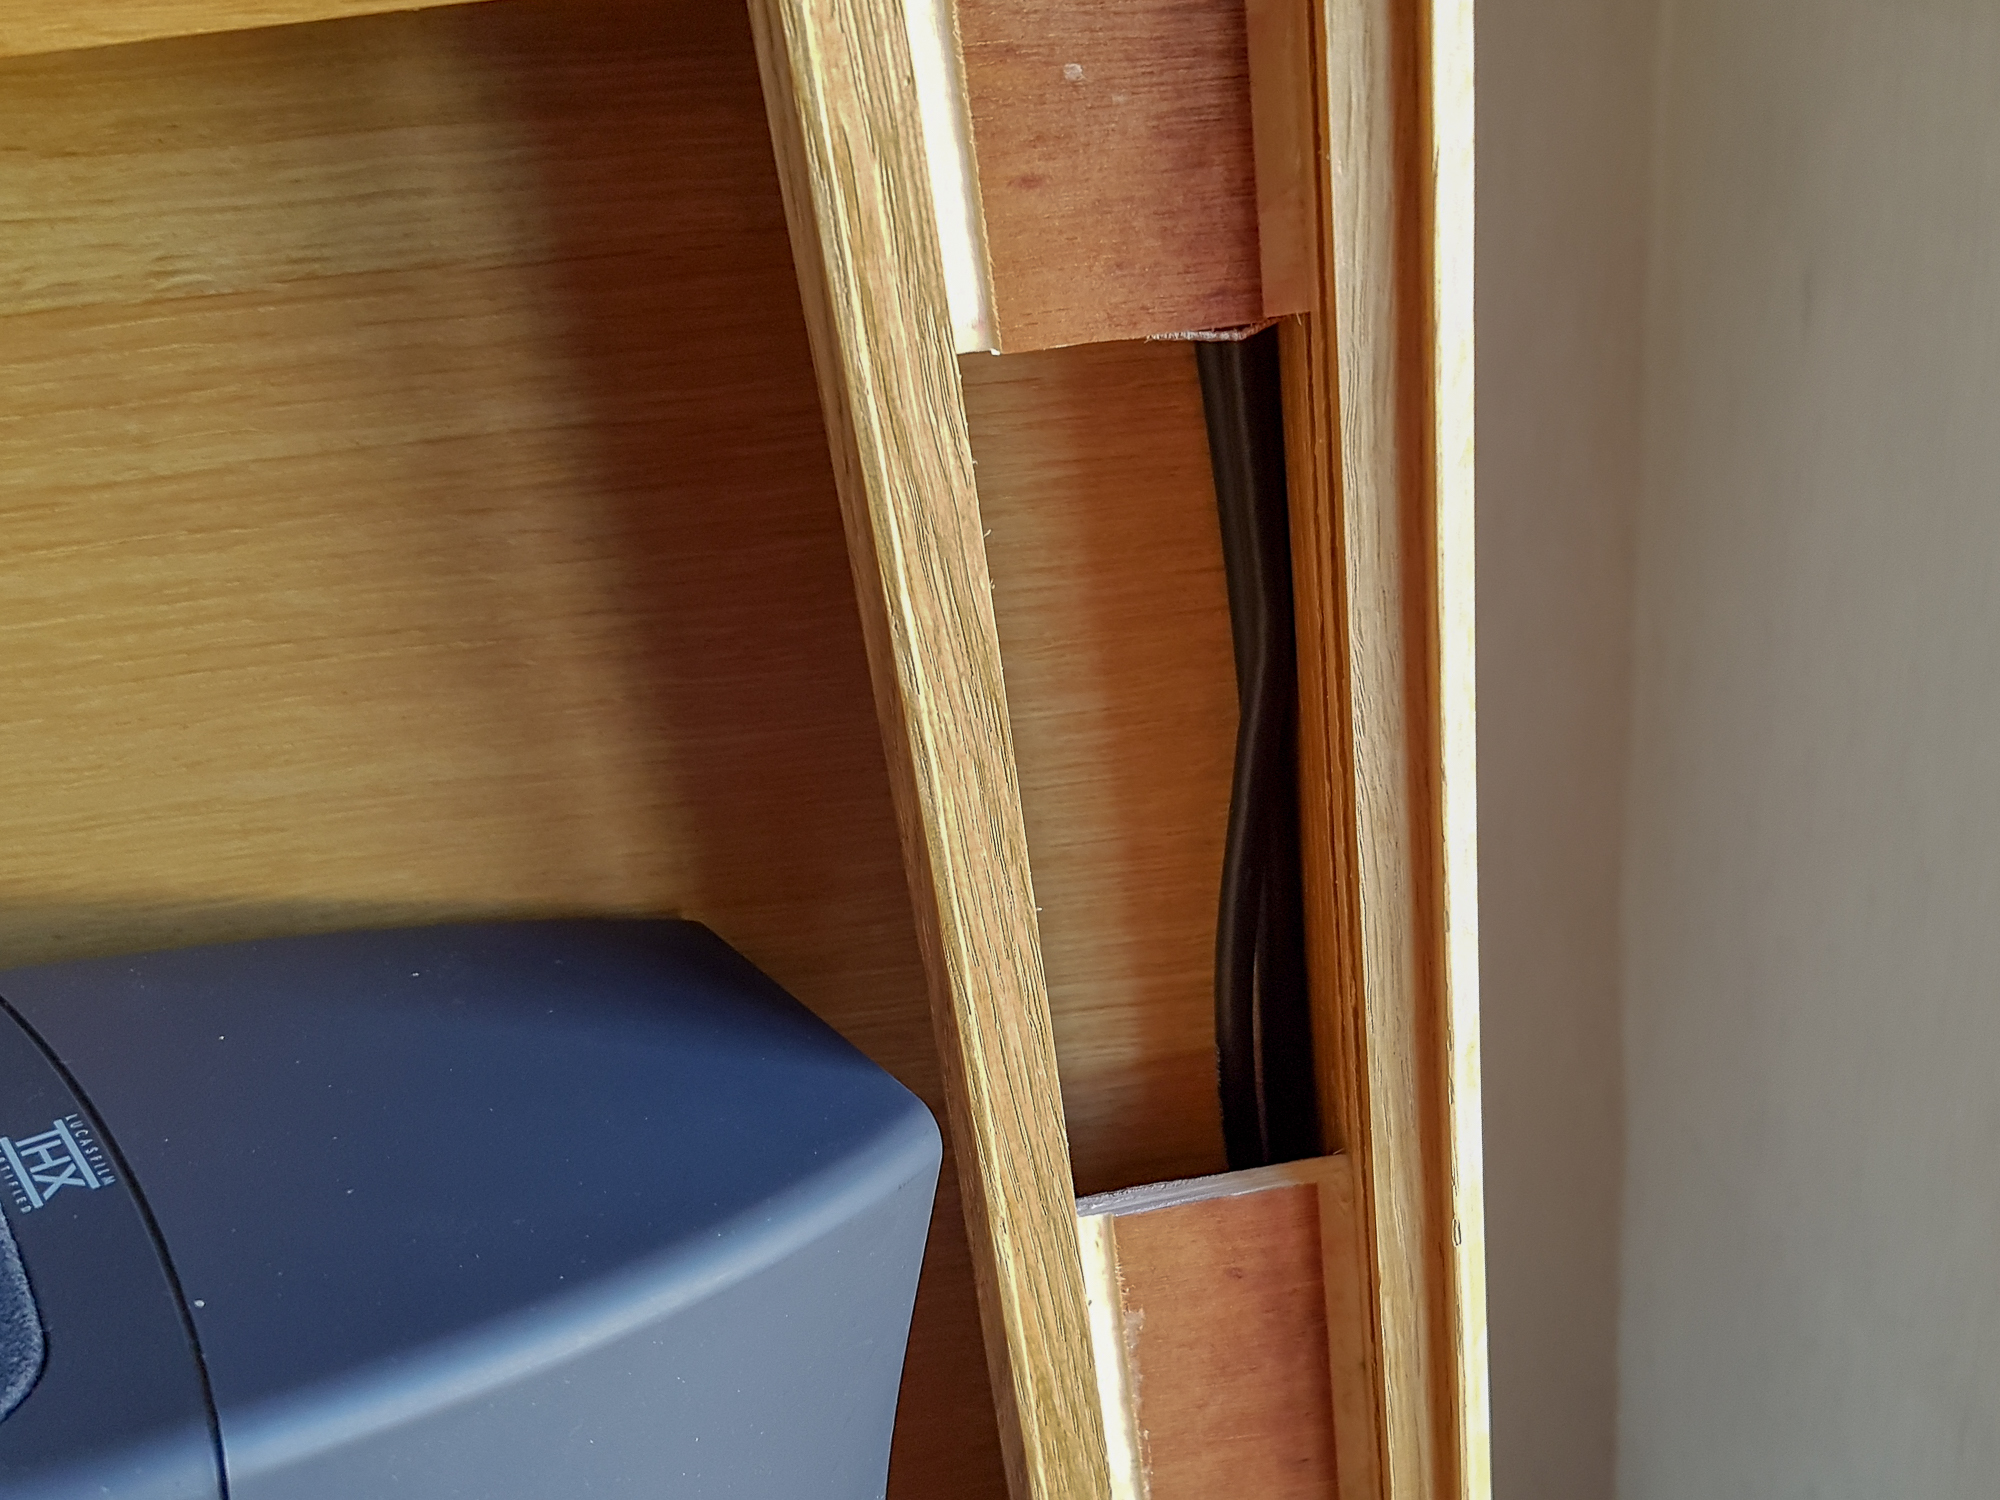
Installing. It was made in handleable lumps that screw together. The back panel screws to the leg uprights and the shelf and cable ways screw to the back panel.
Upright with slide in front removed for wiring
desk-173.jpg


Cable holes to the monitors
desk-174.jpg


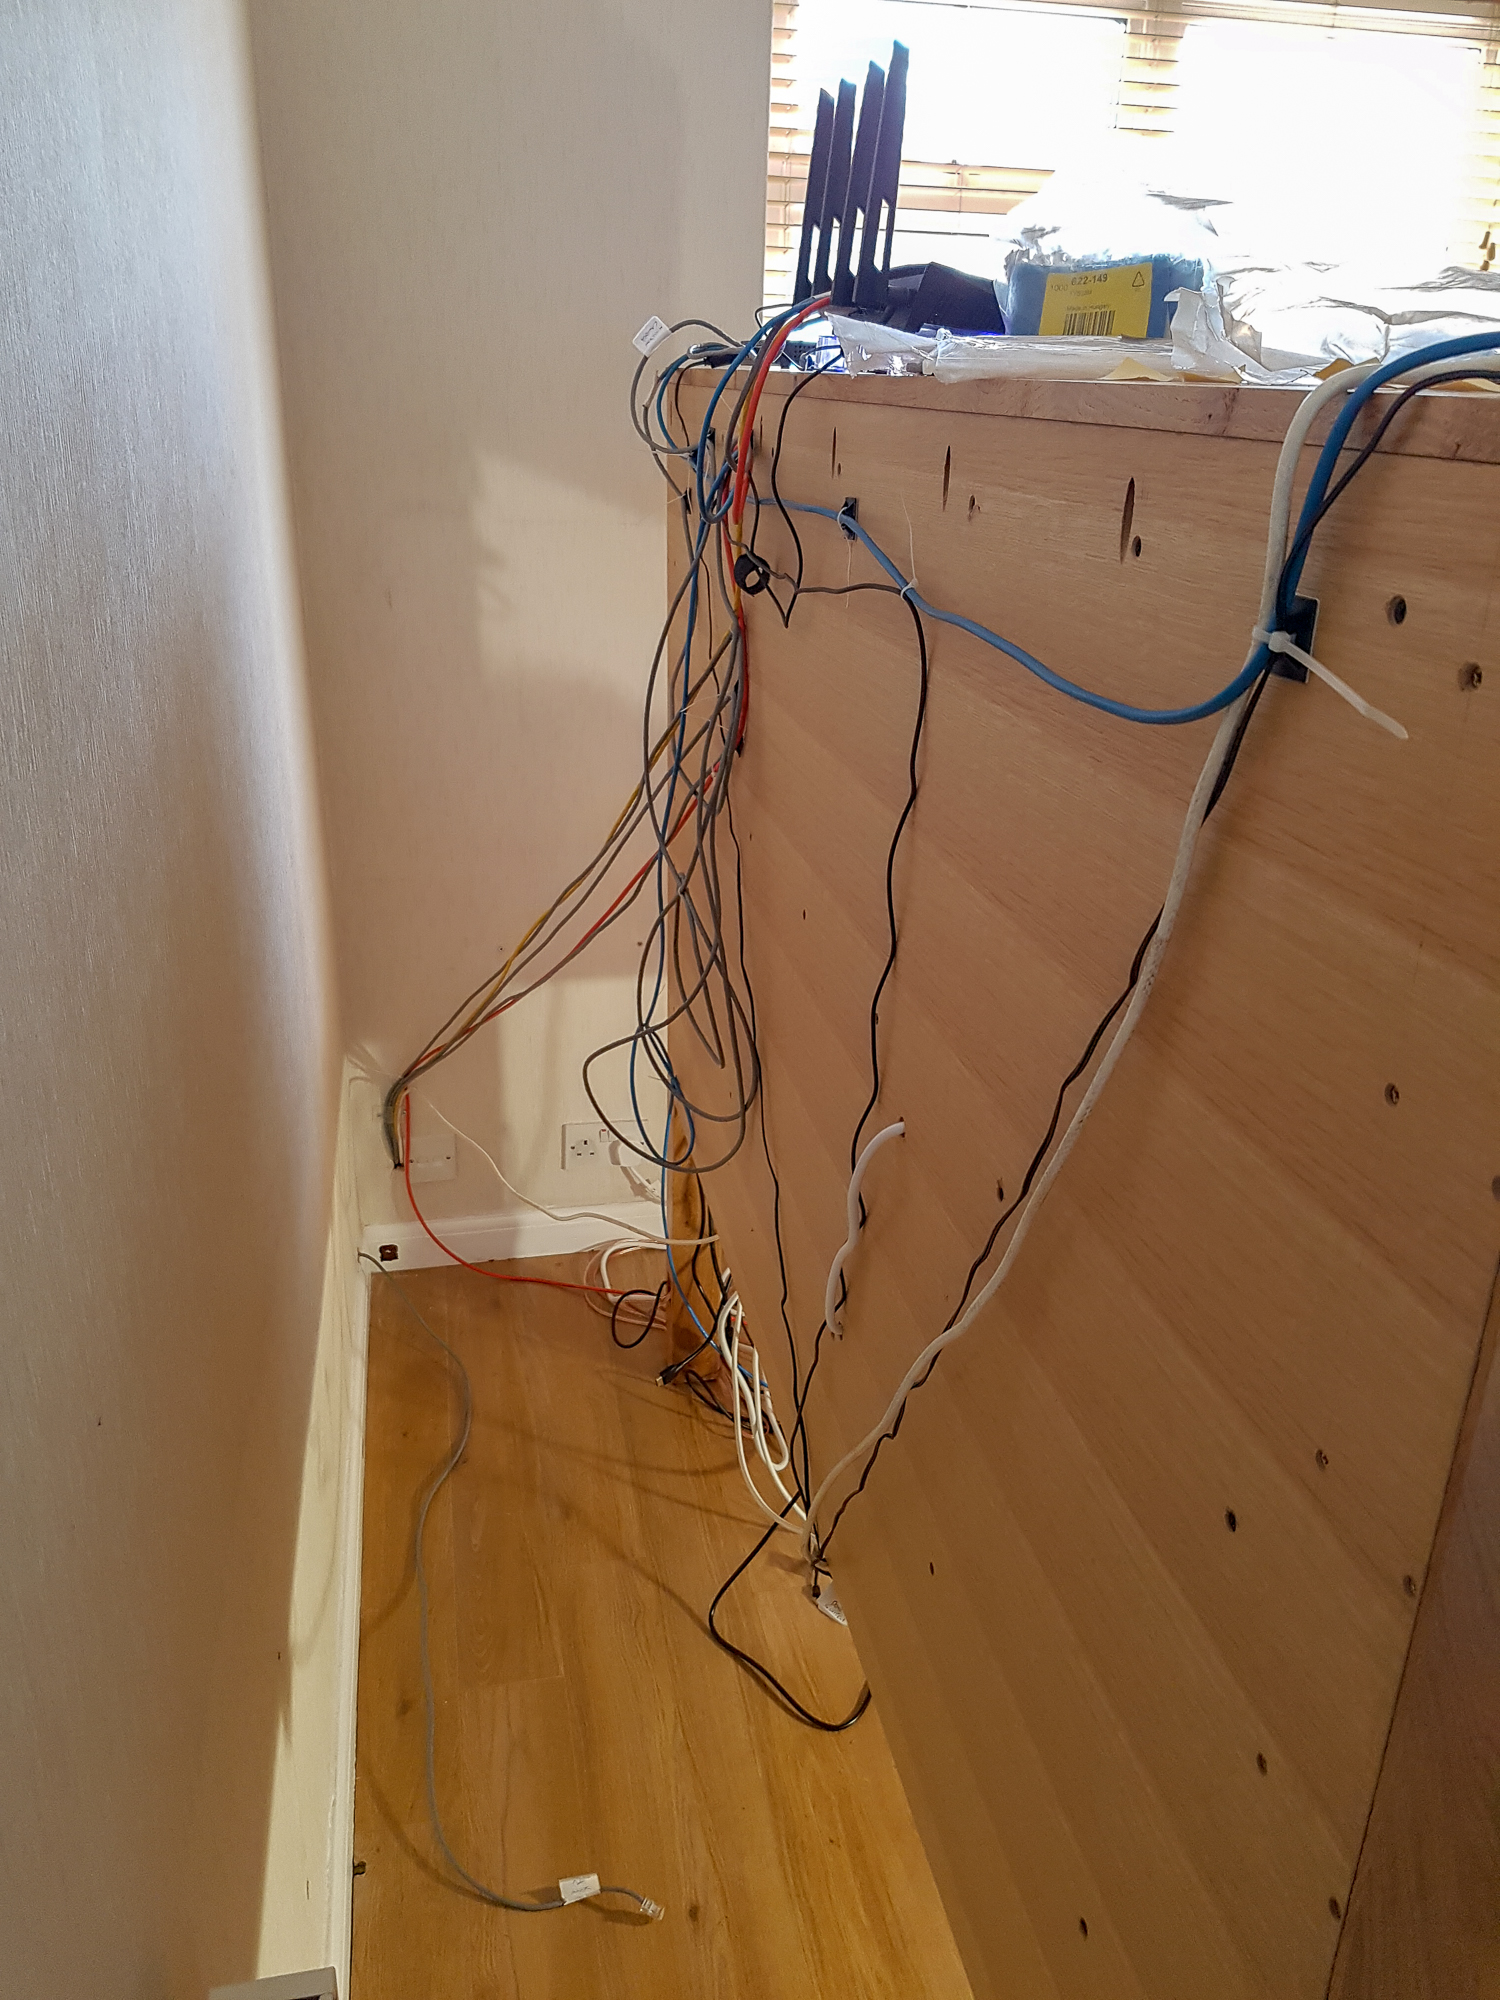
The skirting board spaces the desk off the wall by 1/2" so that is where all the network cable go. Bit of a mess but a never seen one.
desk-175.jpg


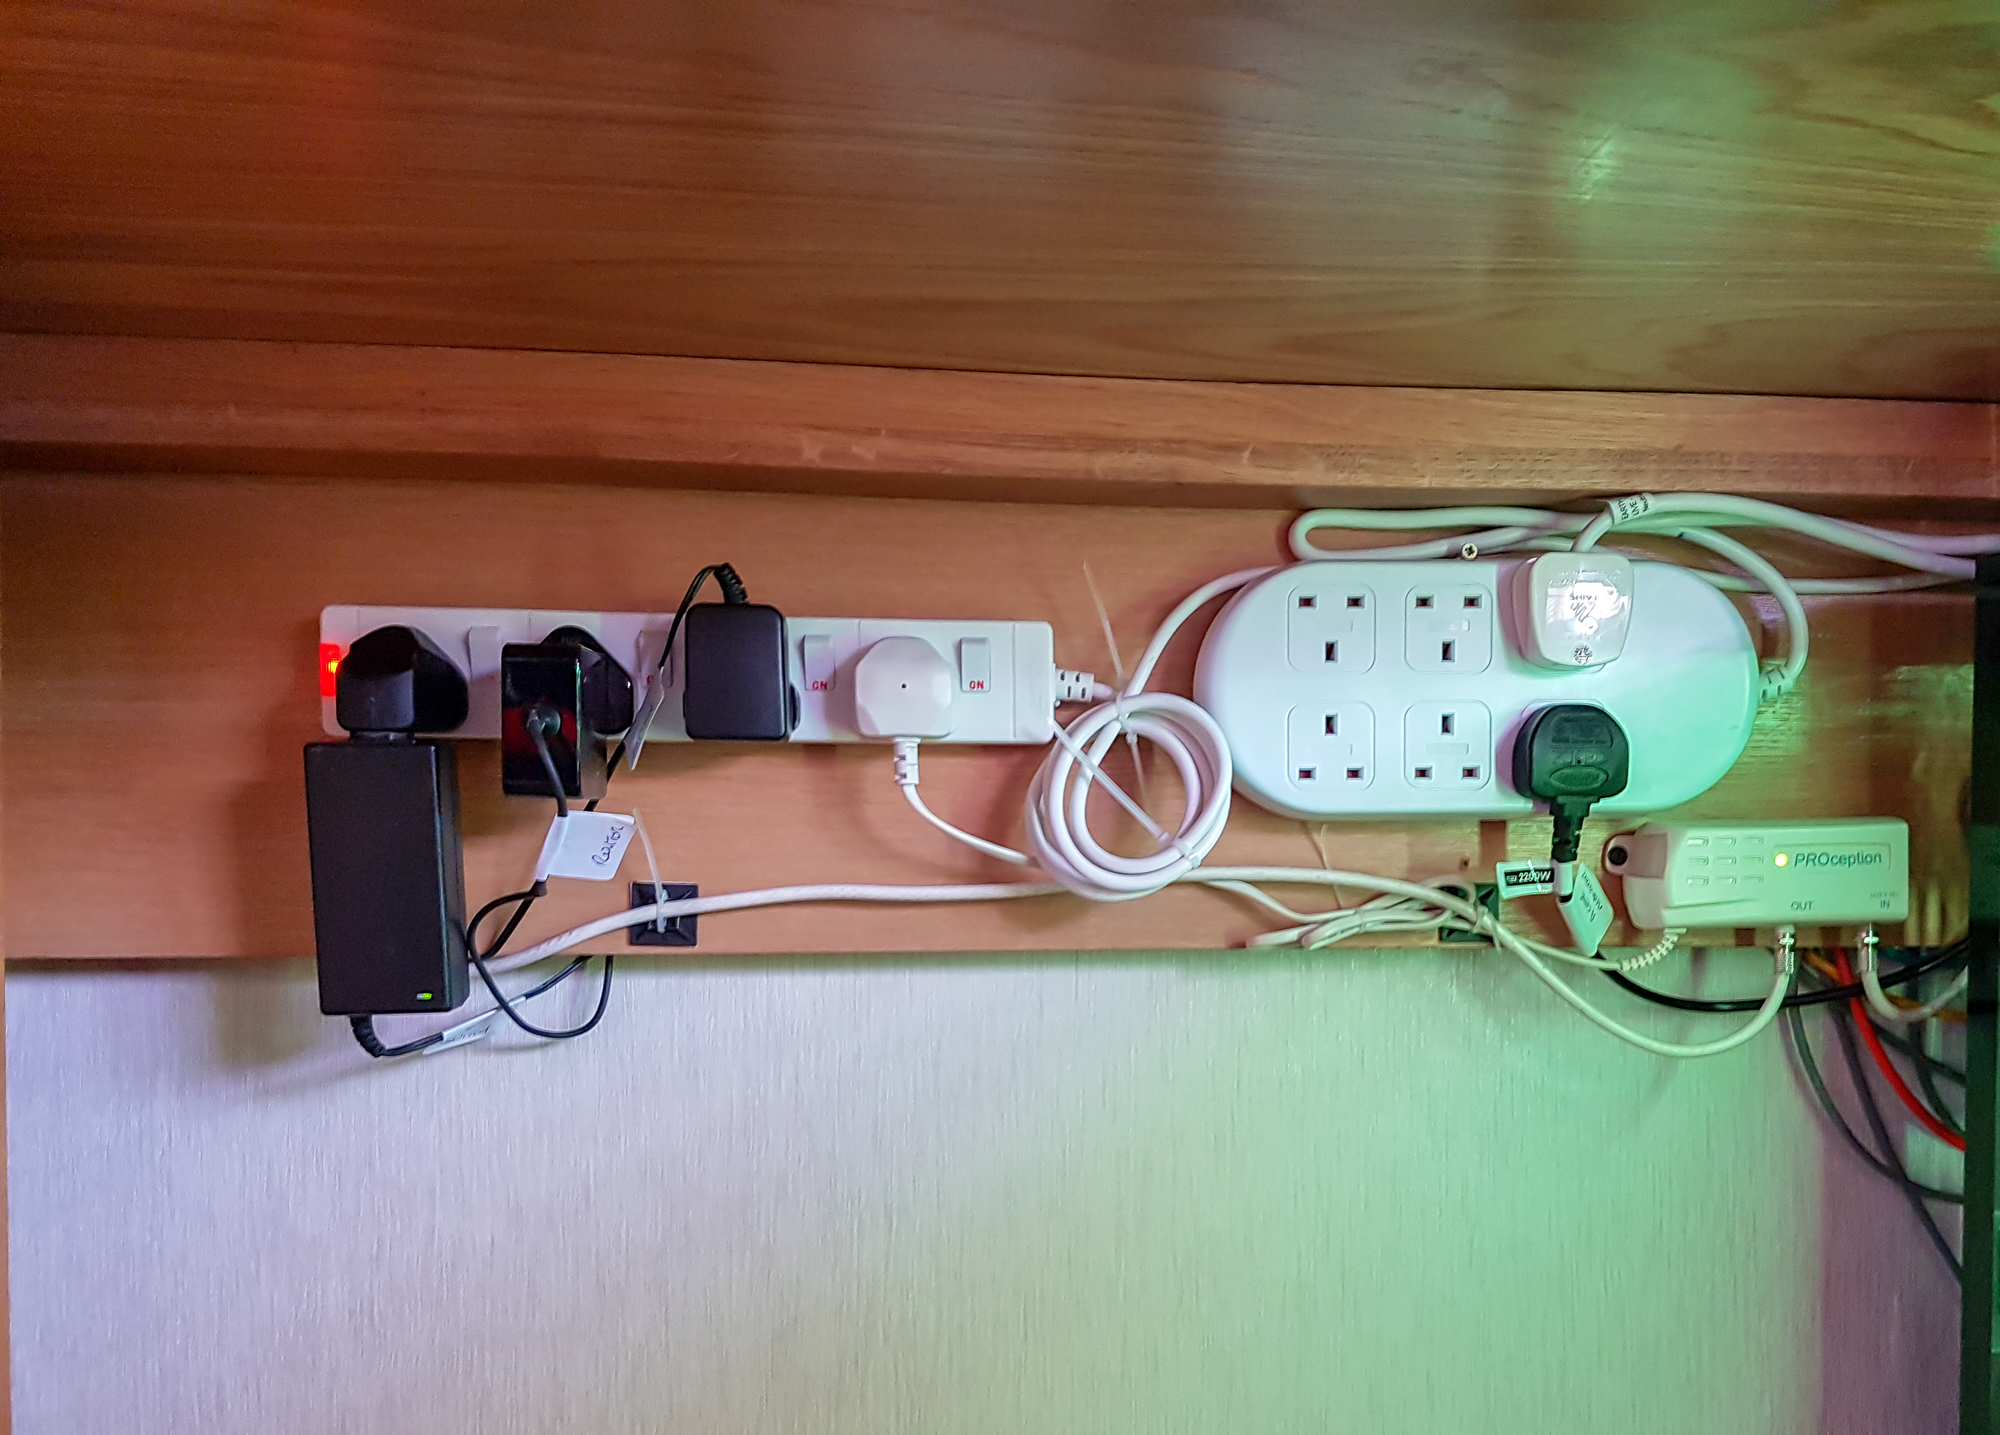
The other bit you don't see under the desk. There is a full width cable way at the back that helps support the desktop and a lot of wiring. The obround extension socket is a master/slave unit that turns on the sound system anytime the monitor is awake. Works well and quite cheap from homebase. Overrun after the master is switched off is about 2 mins so too long for shop vac switching.
desk-178.jpg


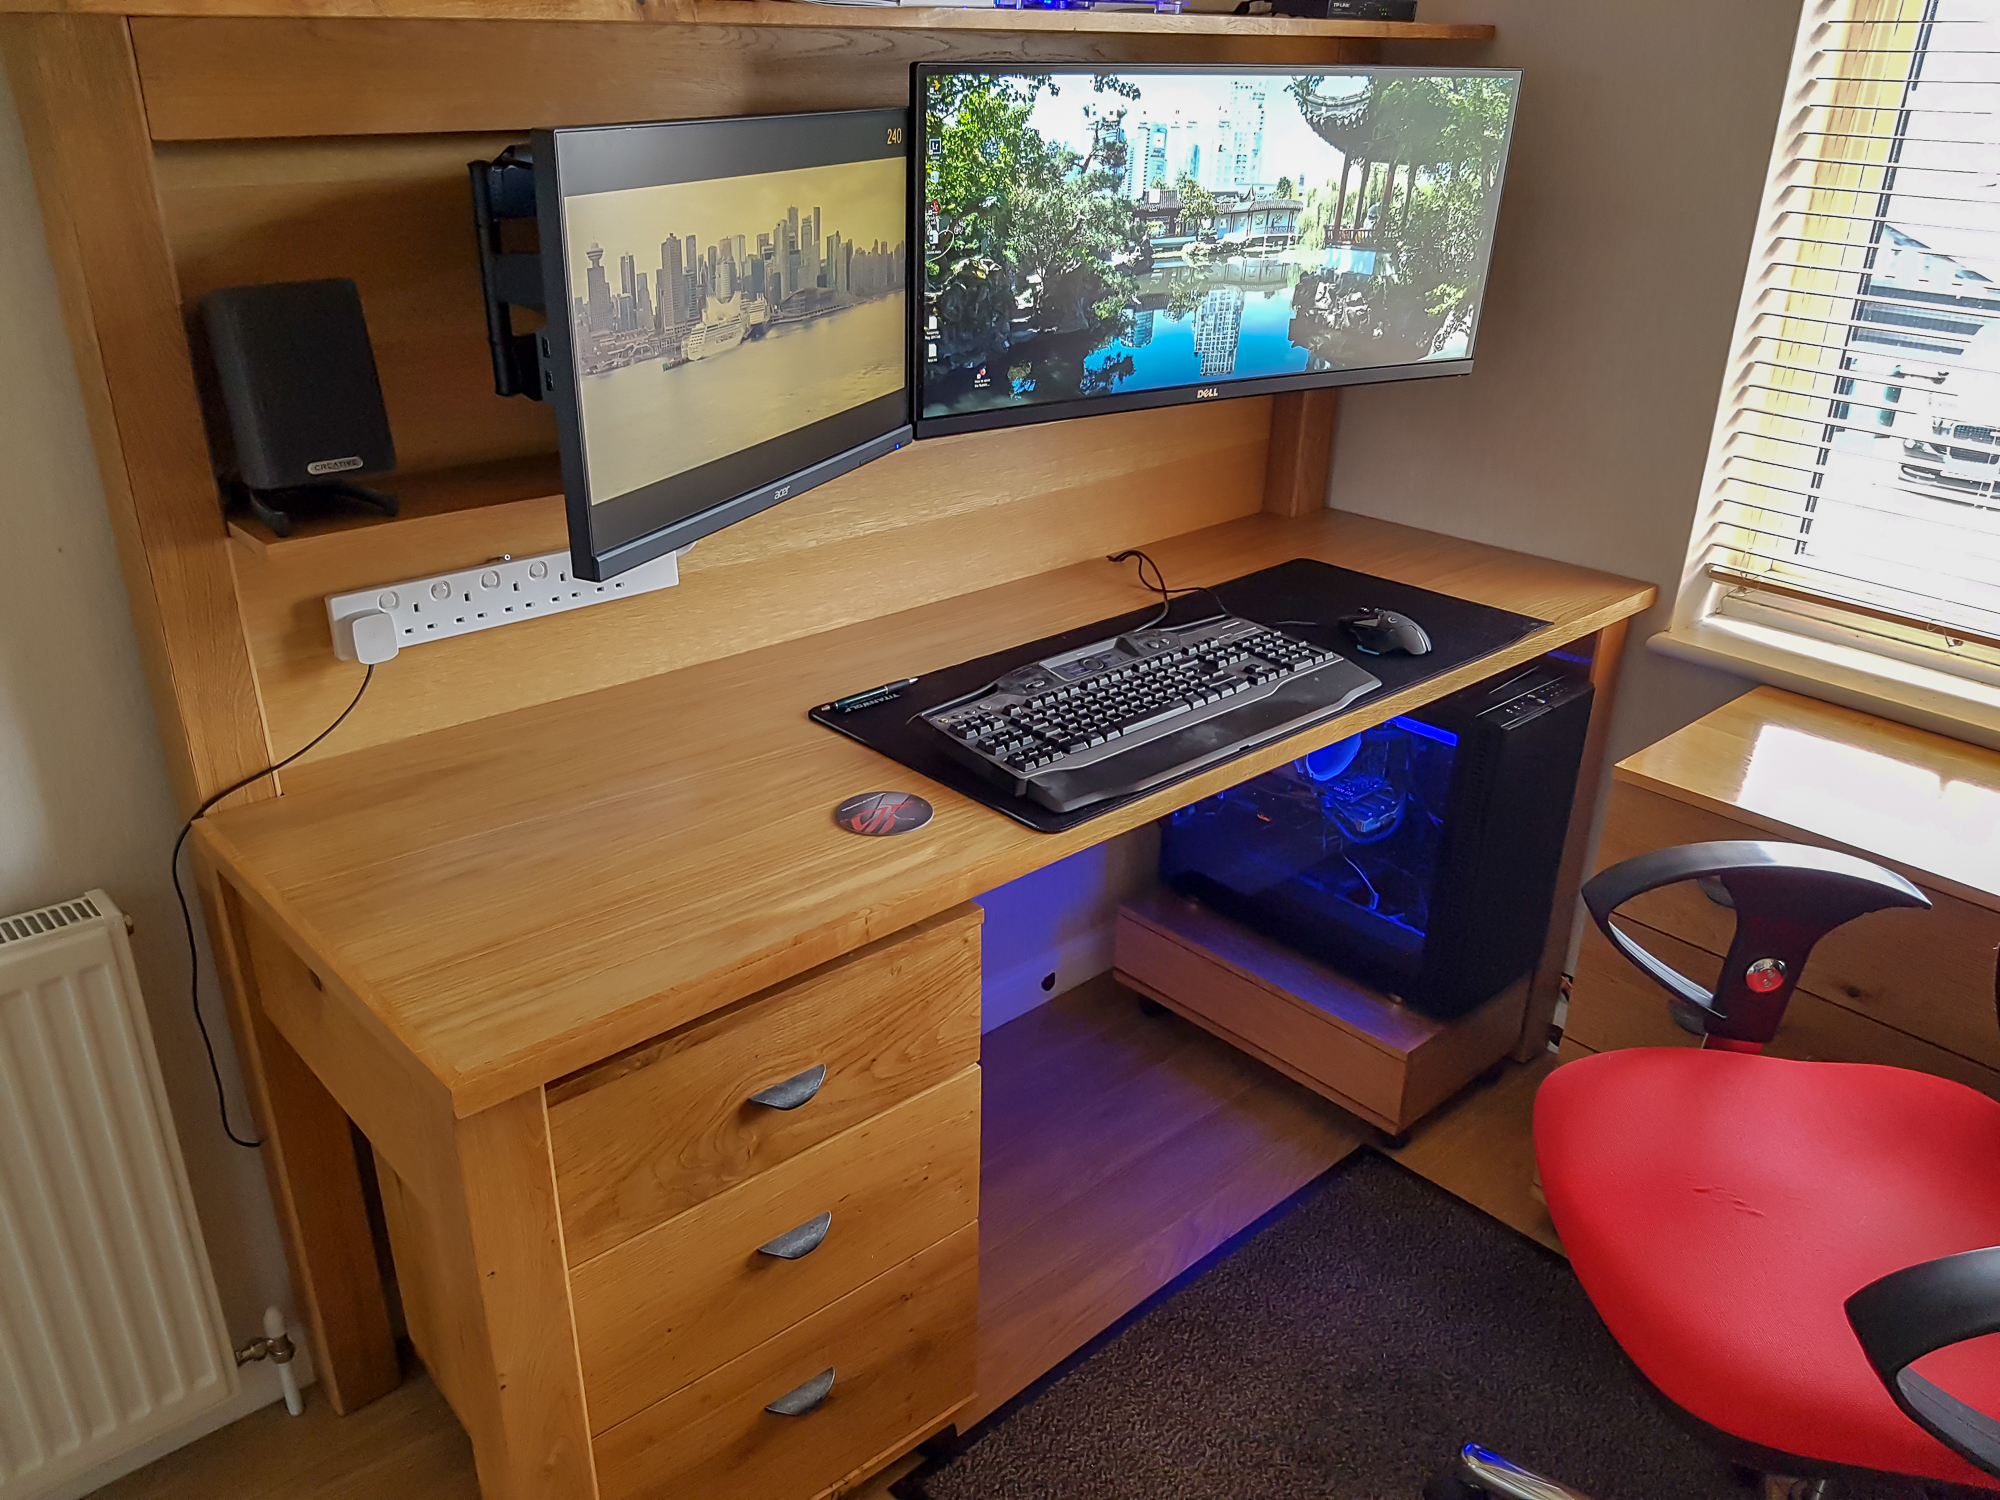
Done

From
desk-100.jpg


To
desk-176.jpg


Oh and the wetting the splits down almost worked but small gaps were still there so that is the underside now.
 
DaveL":x1s7w8ma said:
Yes very nice. Just how big is that monitor?

34" 3440 x 1440. It is relatively slow refresh though. hence the second smaller fast one for gaming :)
 
Andyp":1ovbgh82 said:
Wow that does look good.
I am not sure I would want to be so close to a monitor that big.

I used to have the monitors on their stands sitting on the desk. I moved on to brackets after deciding they were too low and gave me neck ache.
I don't think they are actually any closer than they used to be on stands. Out of curiosity I just extended a tape measure from my forehead as I sit here. Both monitors are 700mm away which suits me for reading text etc. if you use a laptop or a monitor it might be interesting to compare viewing distances.
 
One thing I forgot to mention that I'm quite pleased with is the desktop finish.

These thick veneers have a coarse texture to them. When I've used them before I've spent ages sanding, spraying,sanding,spraying.... to try and fill the grain and end up with a smooth surface.

This time the first thing I did after an initial sanding was to apply glass fibre resin to the whole surface. I mixed up about a quarter of a normal cup of resin and spread it about with an old plastic credit card type card. Then I left it to set.

It was a bit of a bugger to sand as it clogged the discs and I got through 6 discs per side but the result was brilliant. Glassy smooth surface for spraying but the resin was only in the grain 'holes' and I was spraying almost entirely onto wood.

So glass fibre resin is a good grain filler as well as hole filler.
 
Really neat, Robert. I like the cable-ways. I'm also interested in your finish, because I have a long-term project in mind which will require precisely such an approach. It scares the heck out of me!!
 
Back
Top