
derekcohen
New Shoots
The background is the decision to build a larger dining table, one to seat 8 as opposed to the 6 as with the current table ...
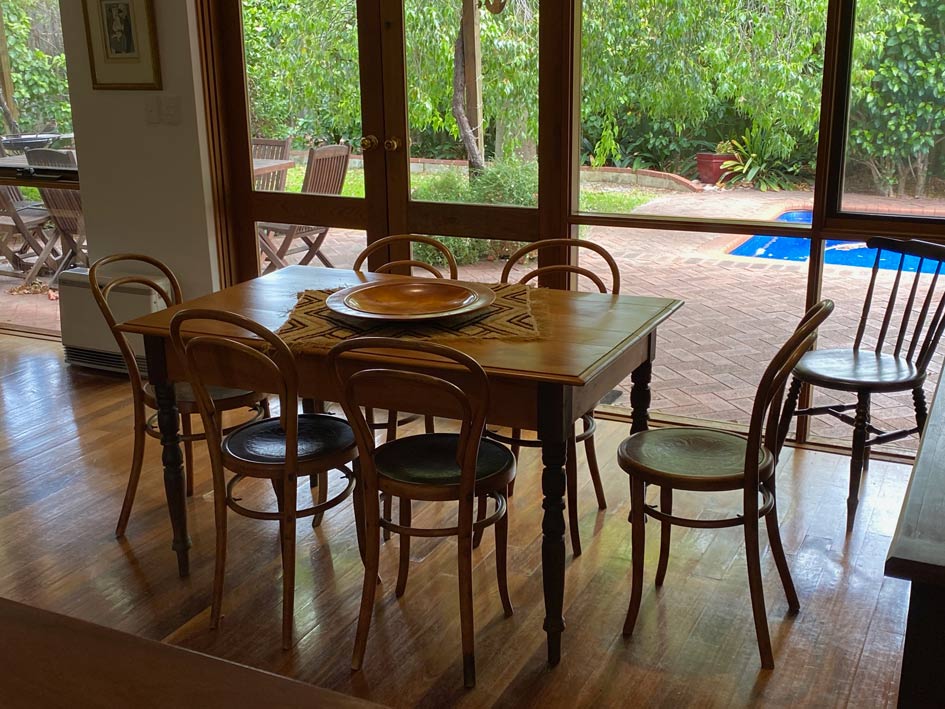
Since the new table will have a contemporary, modern design, the carver chairs would fit with this, and the existing vintage bentwood chairs would blend in. My wife and I liked the size of this table (not the design), and were taken with the chairs ...
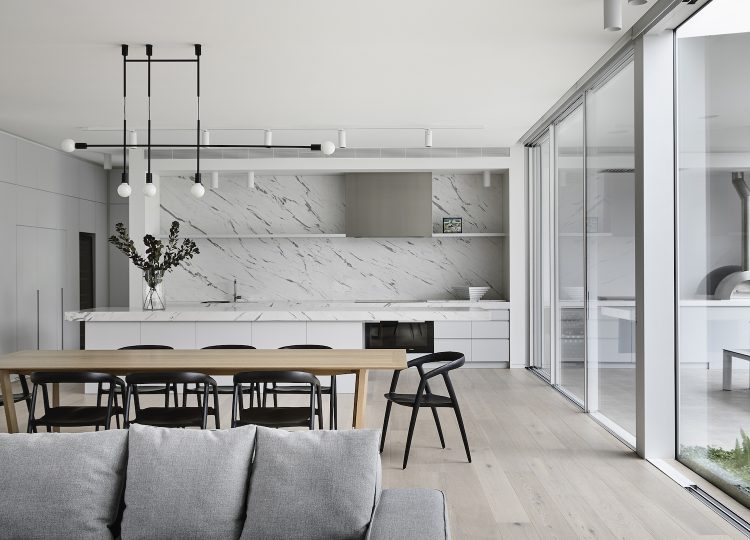
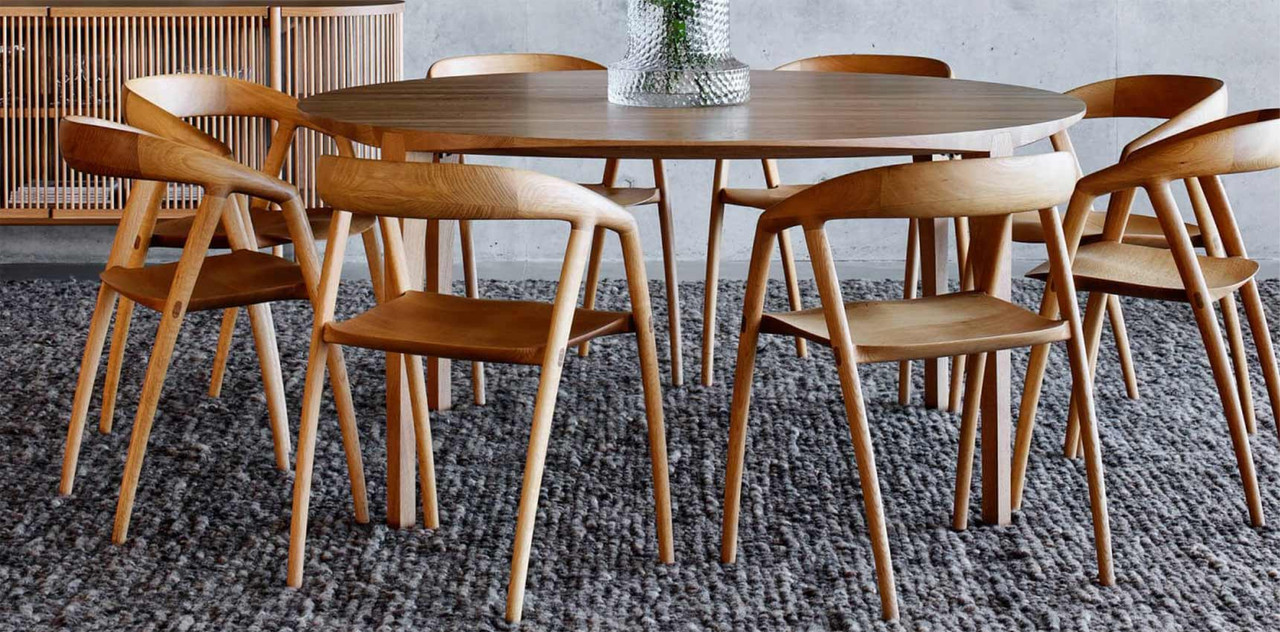
Here they are from all angles ...
And this is the one I used as a model ...
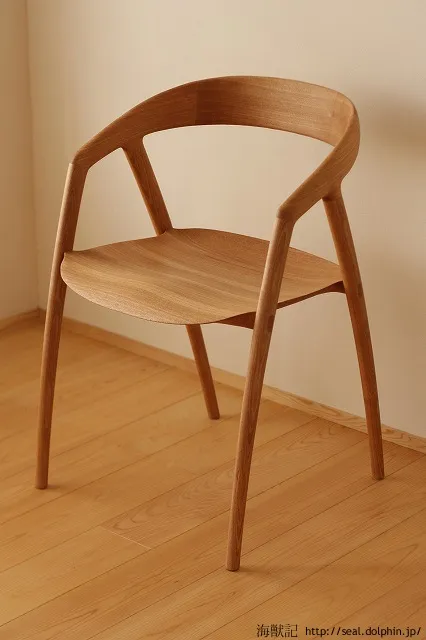
Now the challenge was to build two chairs as close as possible without any given plans and having to create these and the dimensions from photos on the Internet. All-in-all, I spent some 5 months (of weekends) building these two chairs, in USA Rock Maple (which will be used for the top of the new dining table). I am definitely certifiable.
The build is elsewhere but I shall add a few photos here of the finishing tasks.
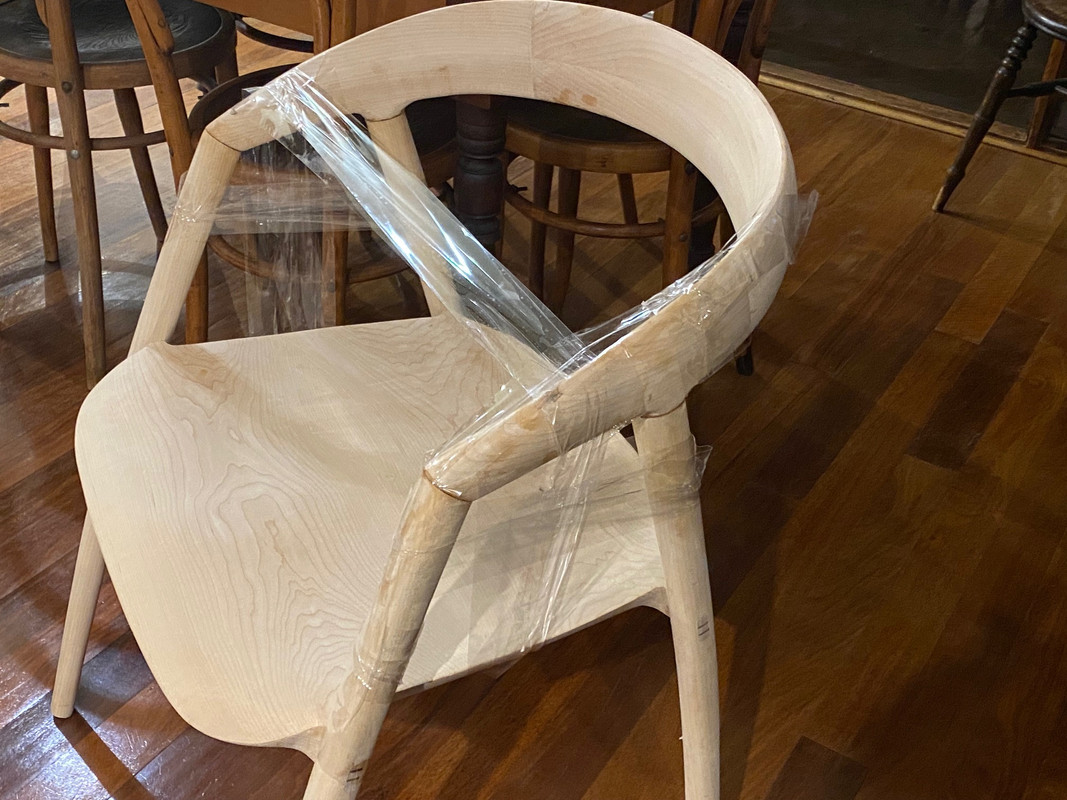
The first was that of glueing the arms to the legs. With all the angles, it was not possible to use clamps. My solution was to use packing tape - it has a little flex to pull tighter, and will hold at any angle ...
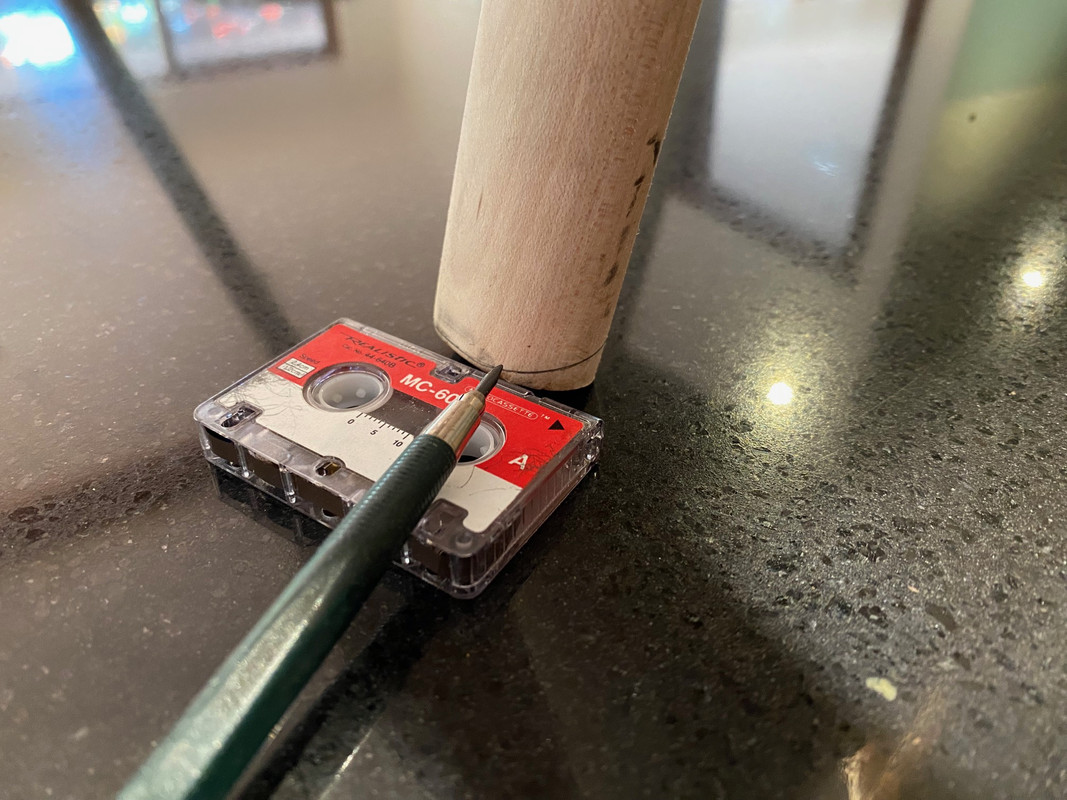
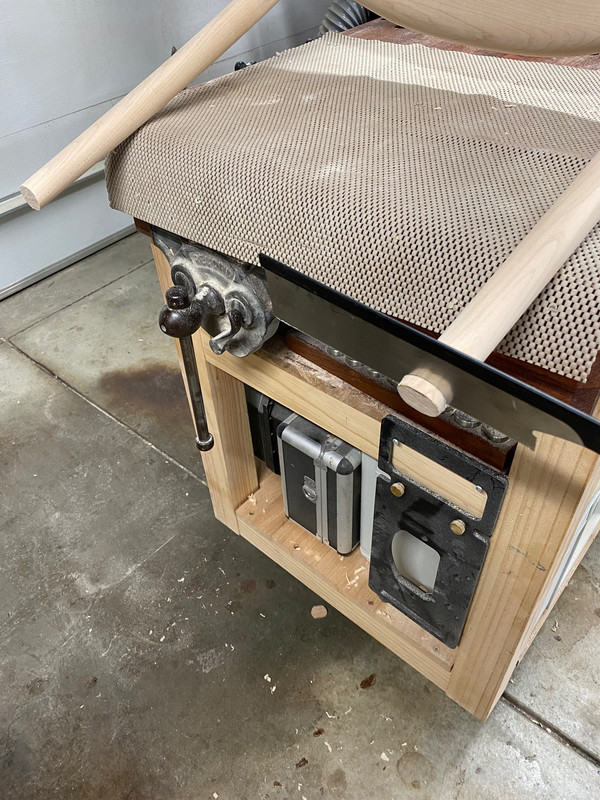
The second task was to cut the end of the legs square with the floor. The kitchen bench top was a more reliable choice than the workshop floor ...
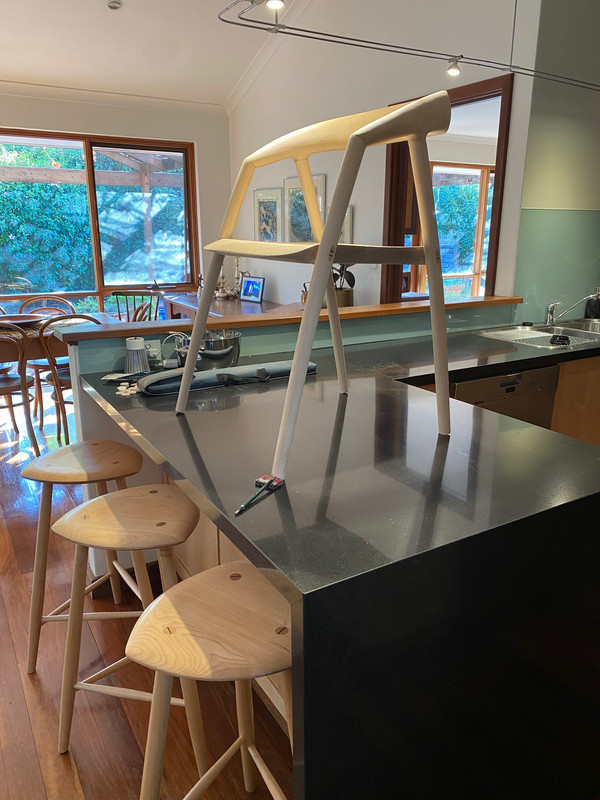
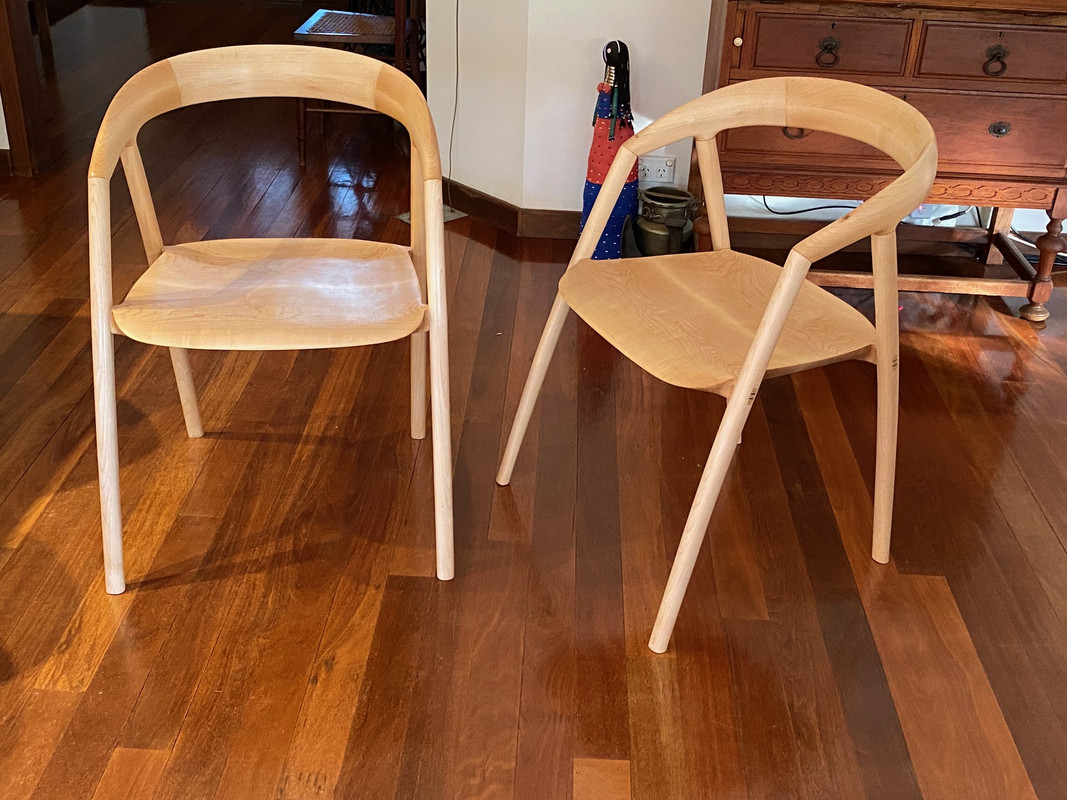
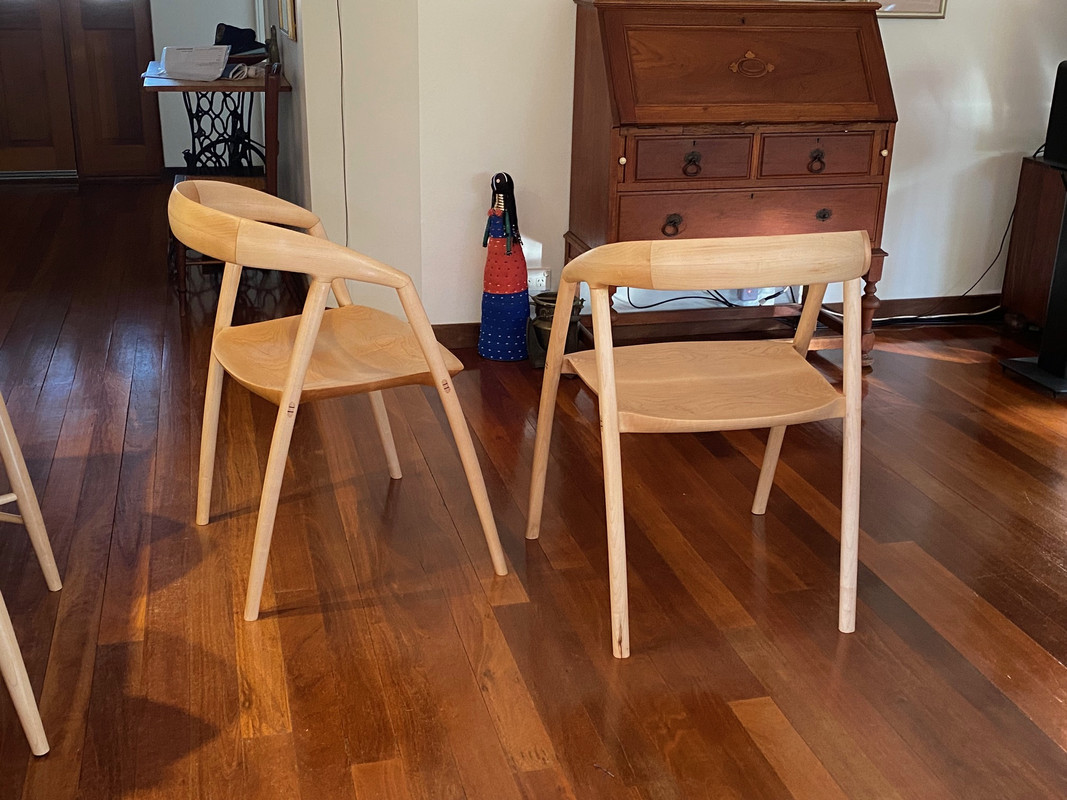
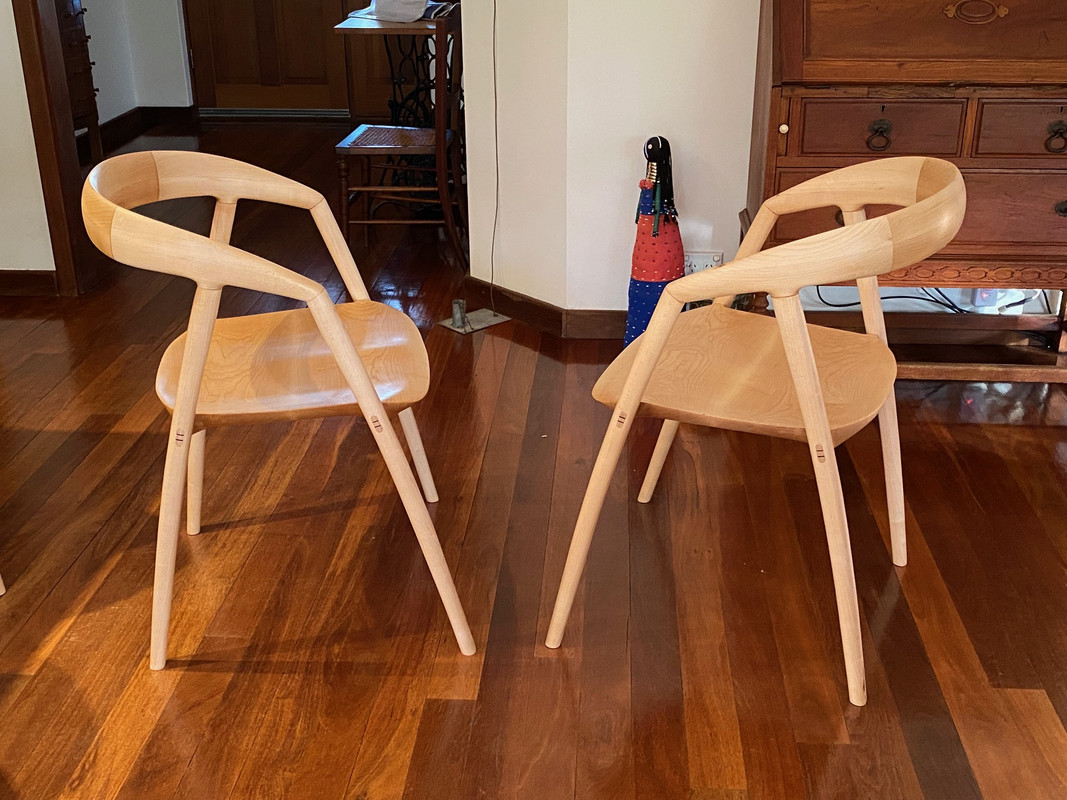
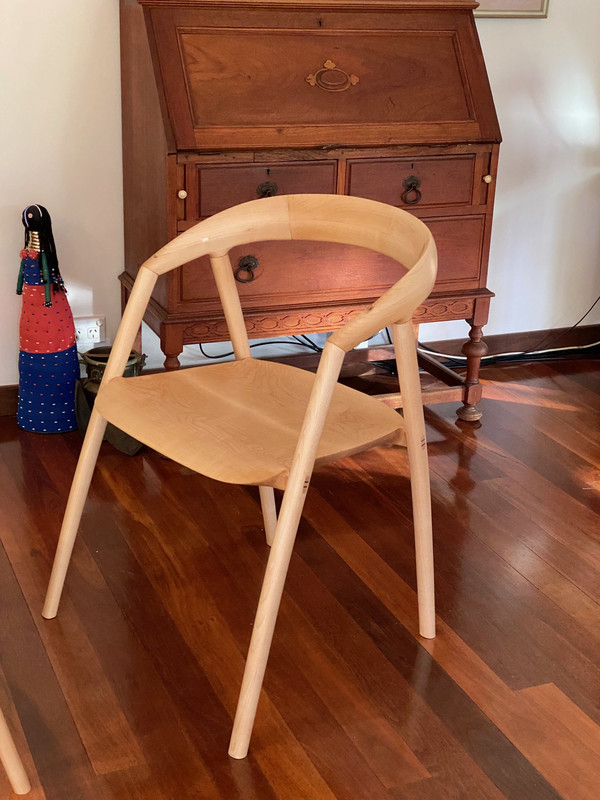
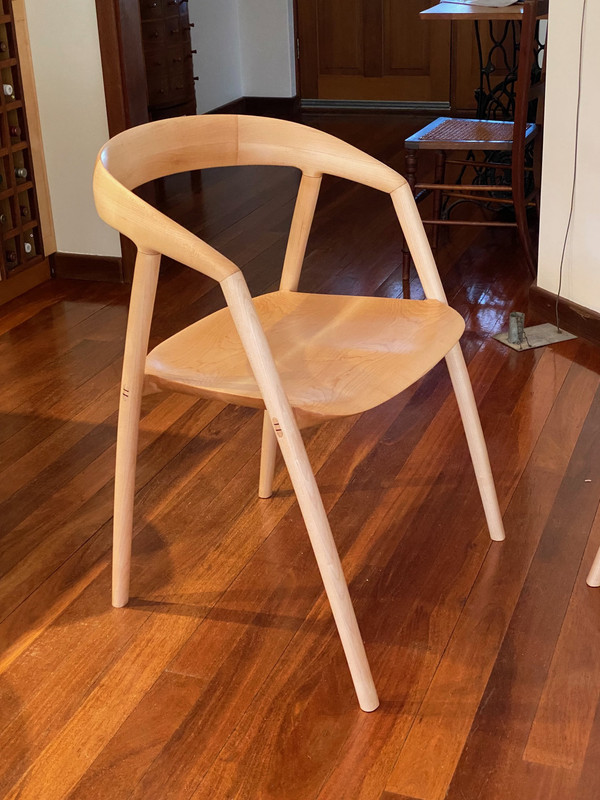
The chairs were sanded to 240 grit and received a coat of hard wax oil. Tomorrow I will denib this and add a second coat. Here are photos from various angles. How close did I get ...
Thanks for the support along the way.
Regards from Perth
Derek
Since the new table will have a contemporary, modern design, the carver chairs would fit with this, and the existing vintage bentwood chairs would blend in. My wife and I liked the size of this table (not the design), and were taken with the chairs ...
Here they are from all angles ...
And this is the one I used as a model ...
Now the challenge was to build two chairs as close as possible without any given plans and having to create these and the dimensions from photos on the Internet. All-in-all, I spent some 5 months (of weekends) building these two chairs, in USA Rock Maple (which will be used for the top of the new dining table). I am definitely certifiable.
The build is elsewhere but I shall add a few photos here of the finishing tasks.
The first was that of glueing the arms to the legs. With all the angles, it was not possible to use clamps. My solution was to use packing tape - it has a little flex to pull tighter, and will hold at any angle ...
The second task was to cut the end of the legs square with the floor. The kitchen bench top was a more reliable choice than the workshop floor ...
The chairs were sanded to 240 grit and received a coat of hard wax oil. Tomorrow I will denib this and add a second coat. Here are photos from various angles. How close did I get ...
Thanks for the support along the way.
Regards from Perth
Derek


