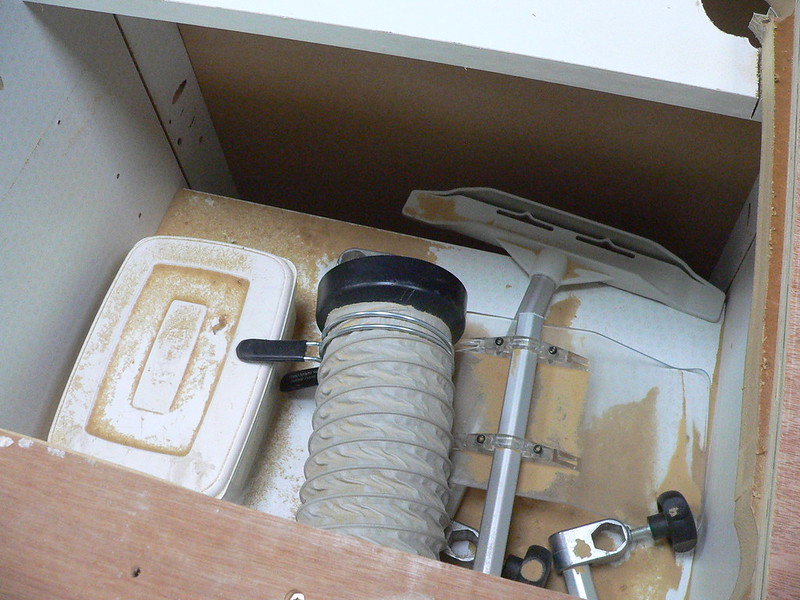
So, what's going on 'ere then ?
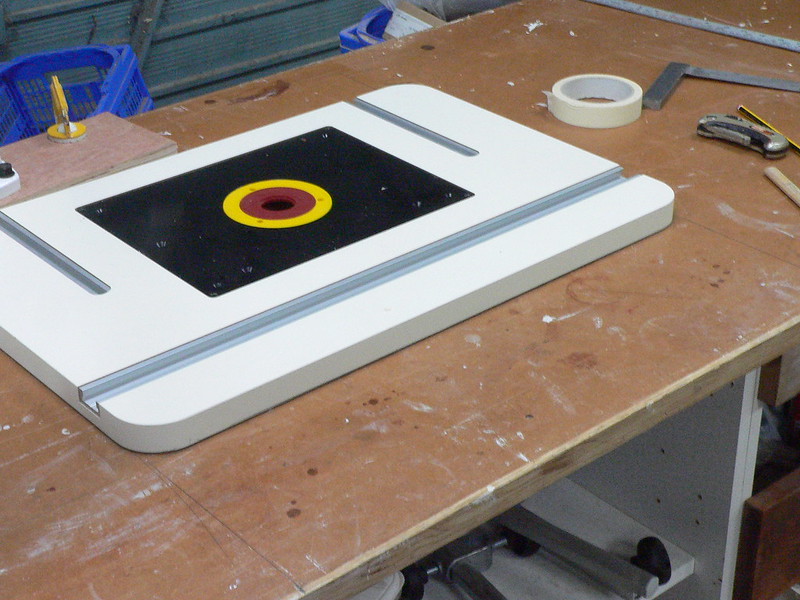
I thought that I was going to get away without having a router table again but now realise that that was being optimistic. For starters, I need to make some raised panels for the orangerie windows and doors. While I could do it on the spindle moulder, (a) I'd have to buy a cutter and they're not cheap (b) the pieces of stock are going to be relatively small and so much easier and safer to do on a router table.
I hummed and hah'd about making my own but I don't have the time. I looked into buying just, say, the top but then realised I'd still have to make the fence or buy one in and the costs soon escalated.
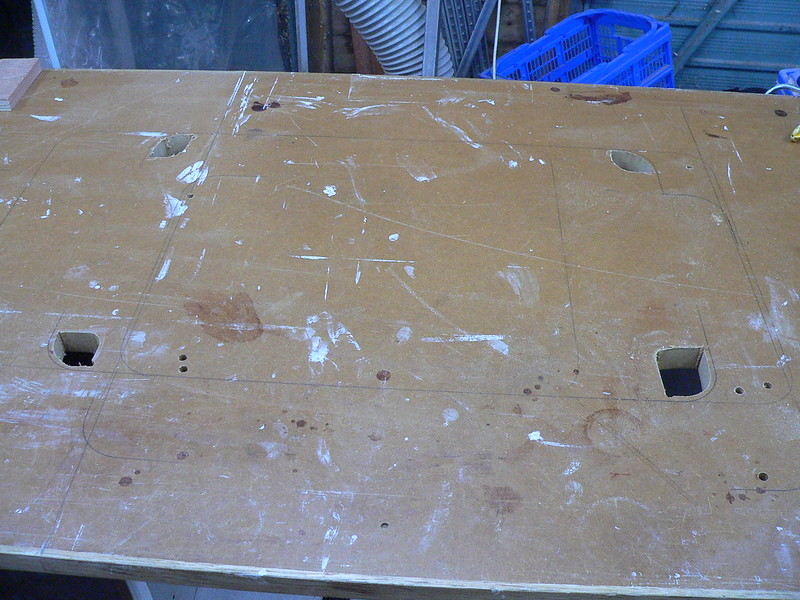
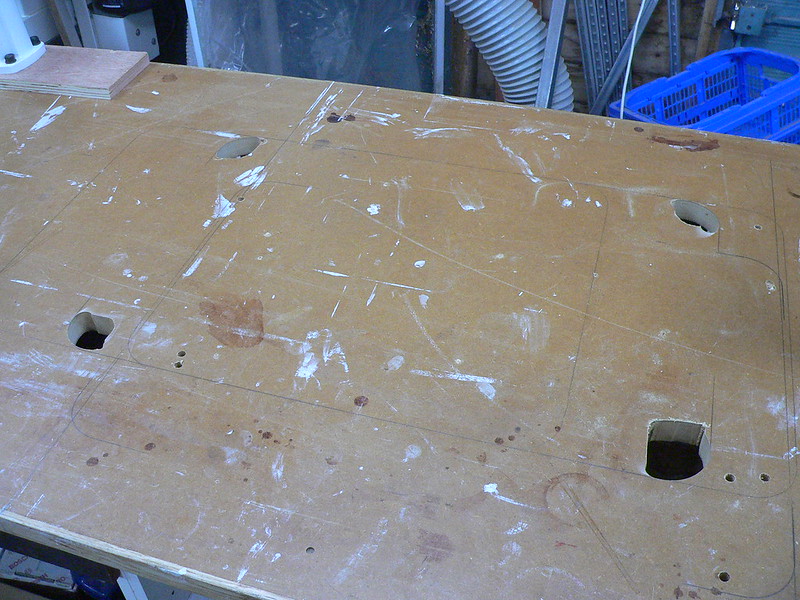
I vaguely thought about dropping just the router insert into the long mitre saw bench above the rotary converter - bottom LH corner of this photo
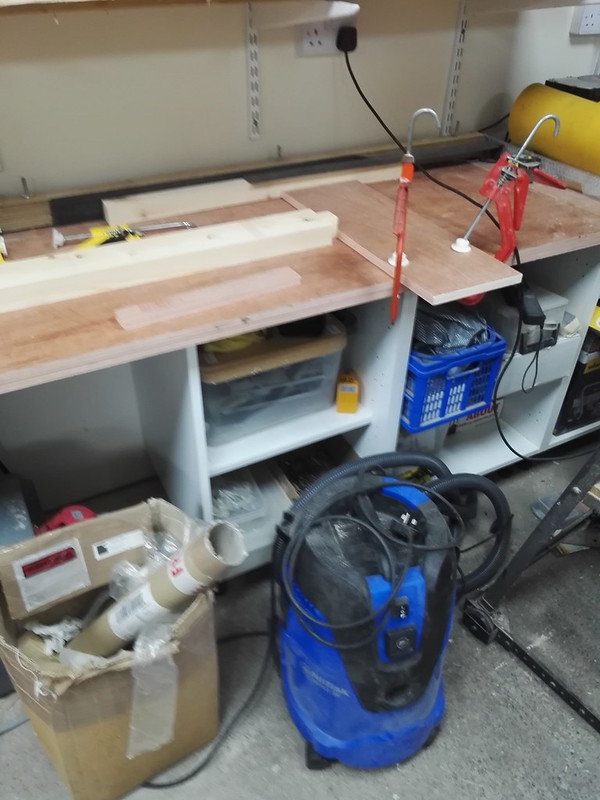
But realised that this was NOT a good idea as all the dust etc would end up being sucked into the rotary converter. Plus I'd still need a fence of some sort, cut groves in the bench top etc...all in all a lot of hassle.
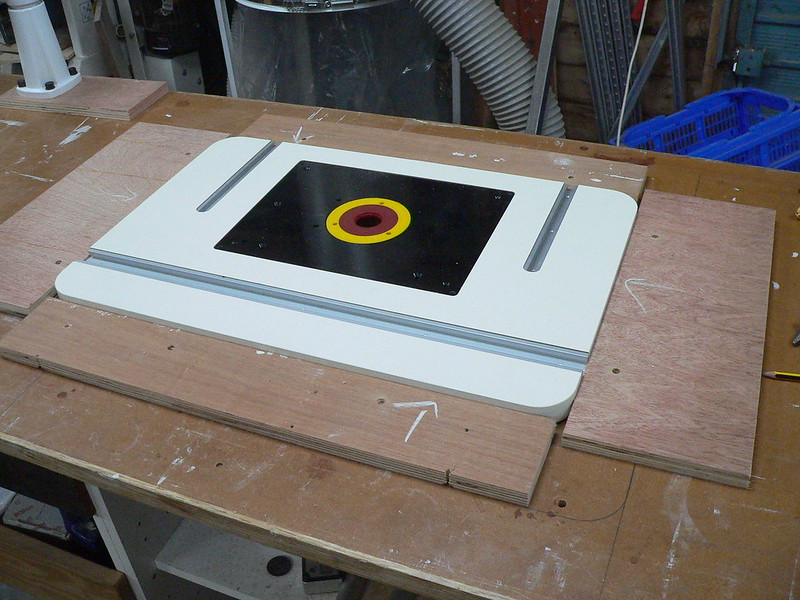
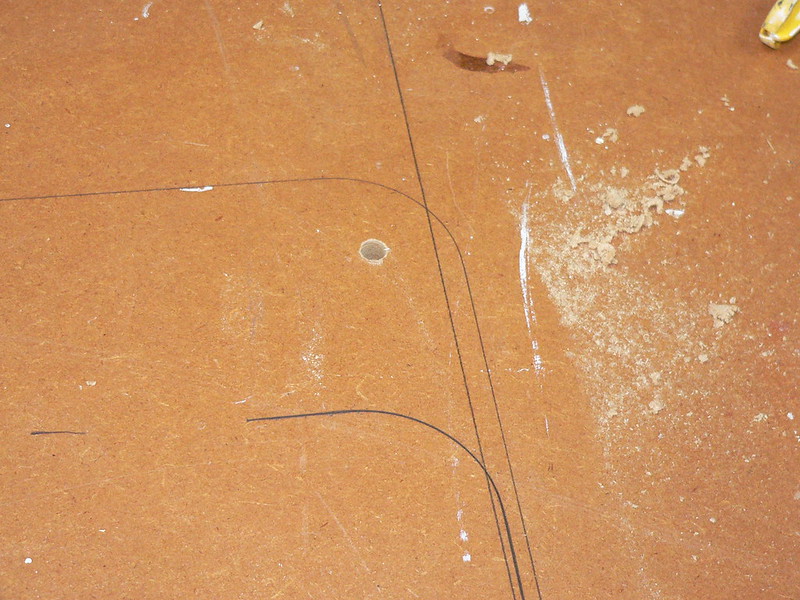
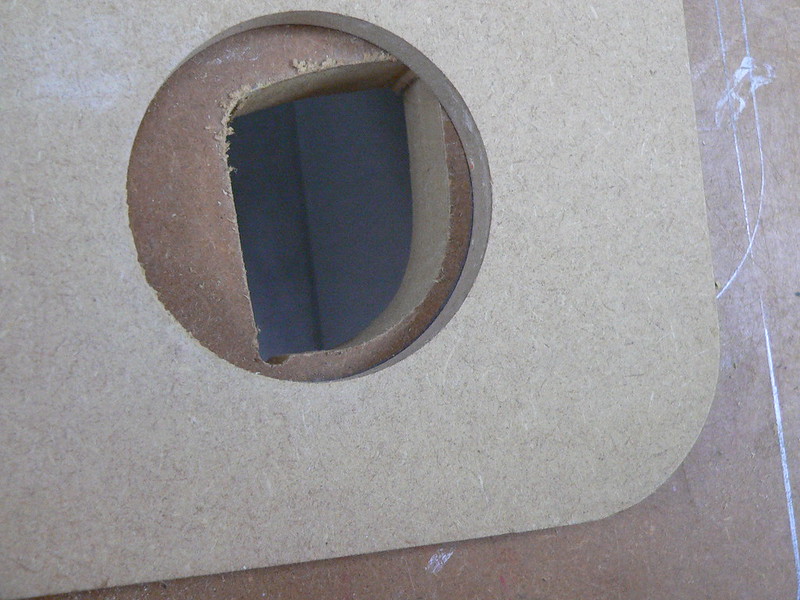
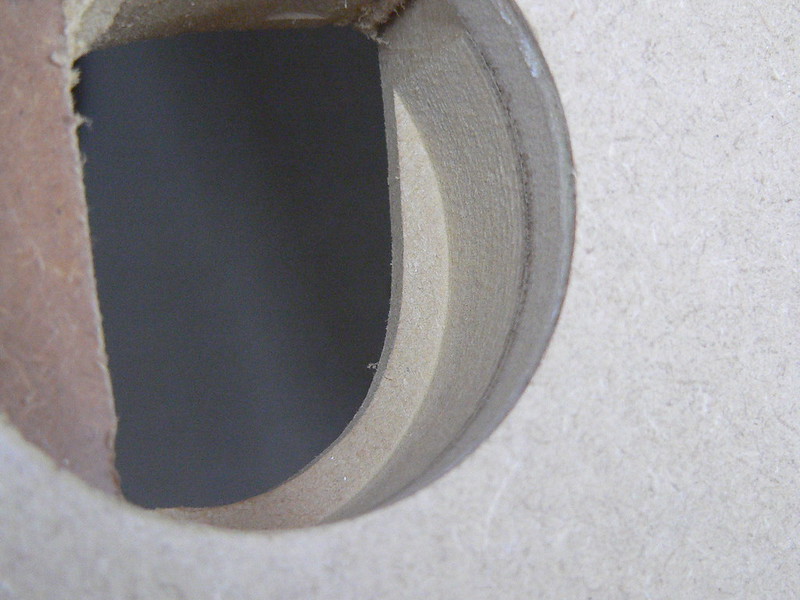
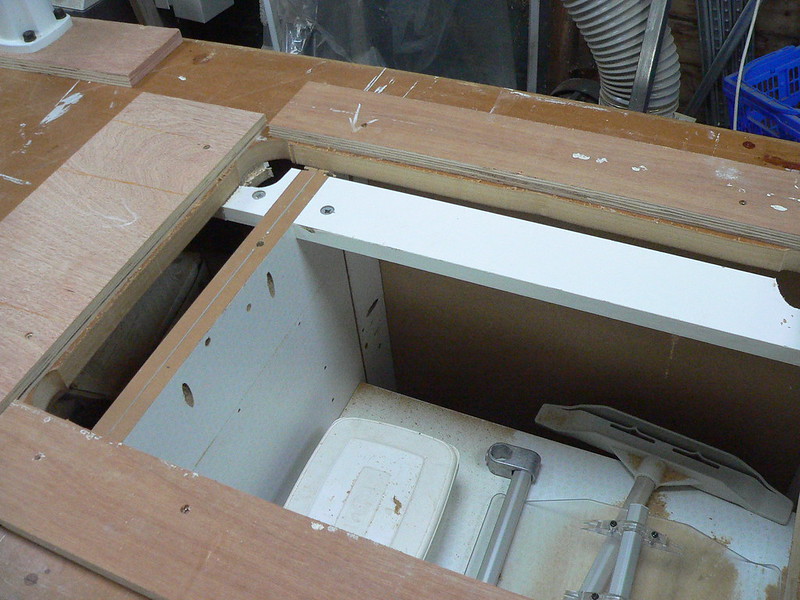
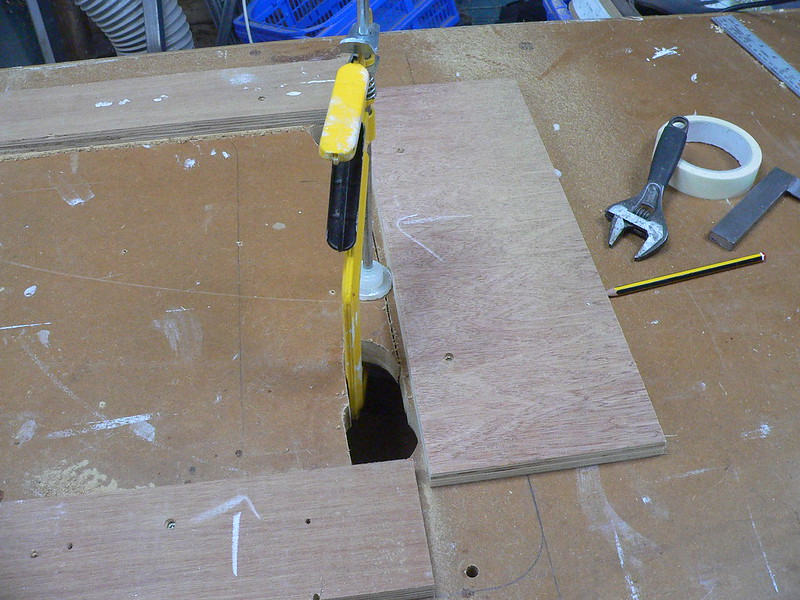
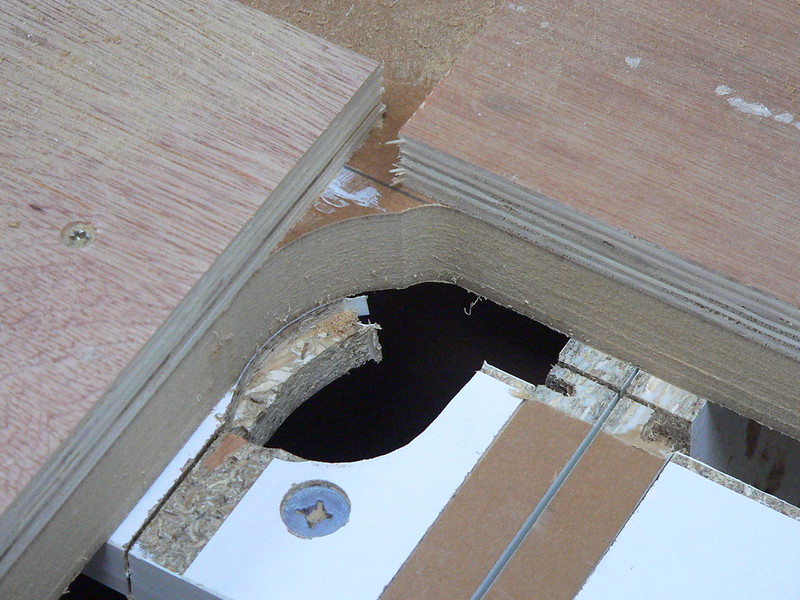
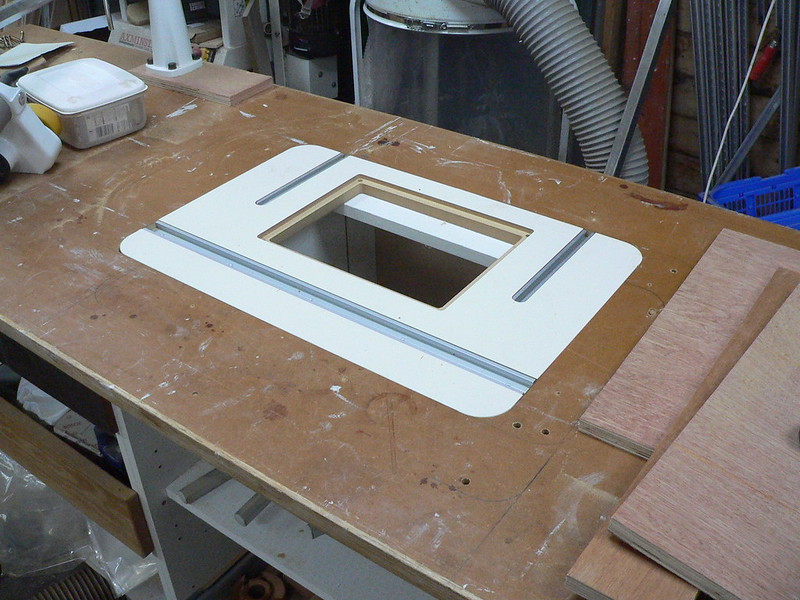
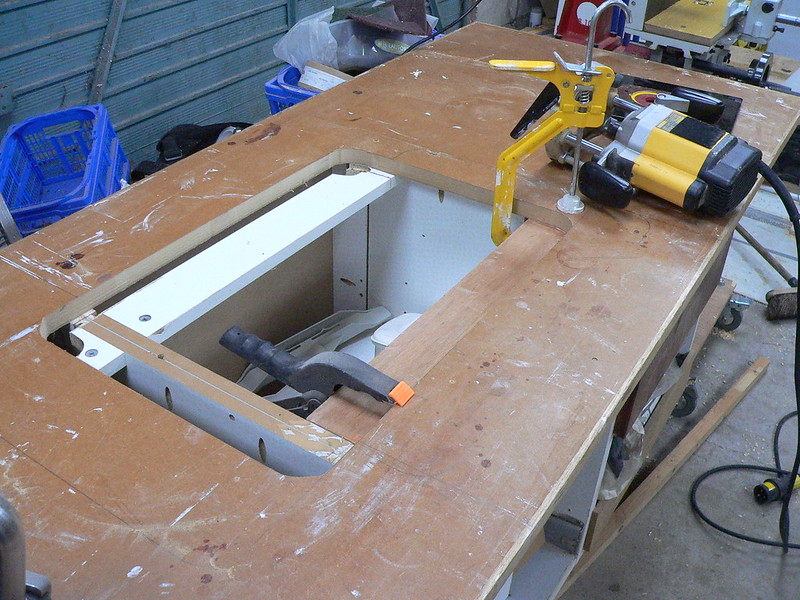
So I bought the Axminster Premier router table. It's really good value. I've got the lot for under £200. I can drop the router table top into my assembly bench. Why didn't I use the Axminster router table cabinet ?
Well, I have this little gem to make use of and there's no real-estate on the Axminster top.
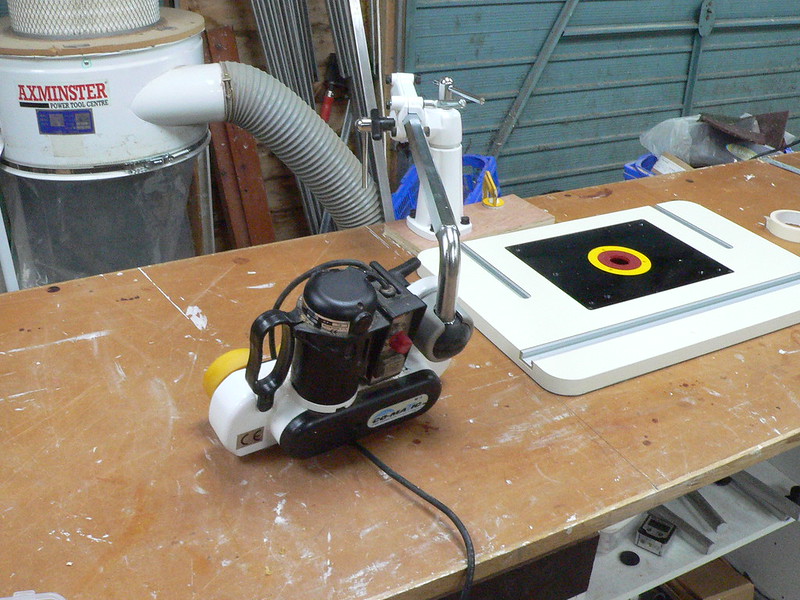
It's a Co-matic Baby power feeder and a legacy for when I was making those clocks. So watch this space. How's he going to do it, I hear you ask ? All will be revealed.
I thought that I was going to get away without having a router table again but now realise that that was being optimistic. For starters, I need to make some raised panels for the orangerie windows and doors. While I could do it on the spindle moulder, (a) I'd have to buy a cutter and they're not cheap (b) the pieces of stock are going to be relatively small and so much easier and safer to do on a router table.
I hummed and hah'd about making my own but I don't have the time. I looked into buying just, say, the top but then realised I'd still have to make the fence or buy one in and the costs soon escalated.
I vaguely thought about dropping just the router insert into the long mitre saw bench above the rotary converter - bottom LH corner of this photo
But realised that this was NOT a good idea as all the dust etc would end up being sucked into the rotary converter. Plus I'd still need a fence of some sort, cut groves in the bench top etc...all in all a lot of hassle.
So I bought the Axminster Premier router table. It's really good value. I've got the lot for under £200. I can drop the router table top into my assembly bench. Why didn't I use the Axminster router table cabinet ?
Well, I have this little gem to make use of and there's no real-estate on the Axminster top.
It's a Co-matic Baby power feeder and a legacy for when I was making those clocks. So watch this space. How's he going to do it, I hear you ask ? All will be revealed.