• Hi all and welcome to TheWoodHaven2 brought into the 21st Century, kicking and screaming! We all have Alasdair to thank for the vast bulk of the heavy lifting to get us here, no more so than me because he's taken away a huge burden of responsibility from my shoulders and brought us to this new shiny home, with all your previous content (hopefully) still intact! Please peruse and feed back. There is still plenty to do, like changing the colour scheme, adding the banner graphic, tweaking the odd setting here and there so I have added a new thread in the 'Technical Issues, Bugs and Feature Requests' forum for you to add any issues you find, any missing settings or just anything you'd like to see added/removed from the feature set that Xenforo offers. We will get to everything over the coming weeks so please be patient, but add anything at all to the thread I mention above and we promise to get to them over the next few days/weeks/months. In the meantime, please enjoy!

Everyday toolchest (tills)

David_A14

Seedling
Joined
Jan 7, 2021
Messages
22
Reaction score
4
Location
Sheffield UK
Readers of a previous project (diminished stile door in cherry, Feb '21) may remember that I received several exhortations to upgrade my B&D workmate into a proper bench. In order to create space for a proper bench I need some way of getting all of my tools out of boxes on the floor to rationalize some of the space. The good fortune of getting some reclaimed mahogany flooring, Dr Al's holiday toolchest project and previous posts on the Warrington toolchest inspired me to embark on building a traditional joiners toolchest.

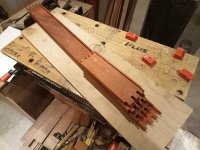
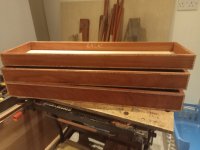
The mahogany came as 3" wide strips that were T&G jointed on the edges; these were glued up into panels, dovetailed together into a box and a skirt mitred around the base, like so:
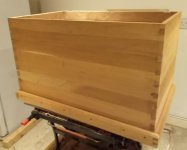
IMG20230115161241.jpg

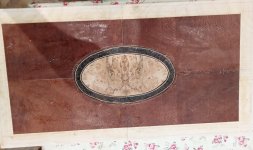
I wanted to have a bit more decoration on the inside of the chest lid, so sold a kidney to buy some birch ply as a ground and set to with the horse sauce and veneer hammer. Burr pepperwood with ebony and boxwood stringing:
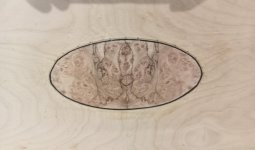
IMG20220801194824.jpg

crossbanded with rosewood and more ebony/box stringing:
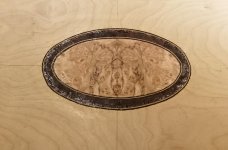
IMG20220823220909.jpg

then quartered mahogany:
IMG20220827140141.jpg

and a tulipwood inlay with satinwood banding:
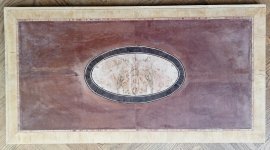
IMG20220901095027.jpgIMG20220901095040.jpg

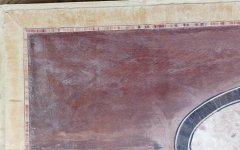
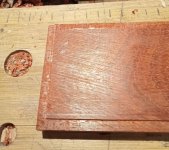
The top was then scraped
IMG20220904133411.jpg

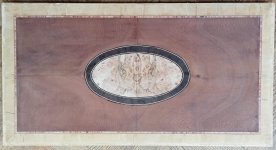
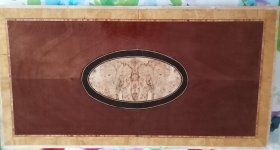
and finally french polished:
IMG20221015140612.jpg

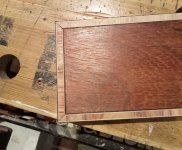
The polished top was framed-up to make the lid and morticed for hinges:
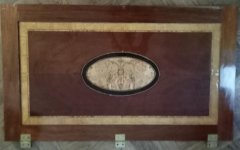
IMG20230115161423.jpg

18th century joiners tried hard to keep their tools free from dust and grime when not in use and developed several types of shutting joint to that end. I'm using a hook joint here which entailed ripping the mahogany into thin strips, planing a rebate on one edge and then using a pair of no. 4 hollows and rounds to round over the edges of the rebates; like so:
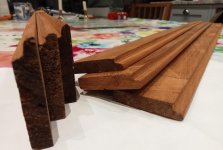
IMG20230301192612.jpg

Reversing the faces of individual strip produces what was referred to as an air-tight case joint, which was mitred around the top and chest
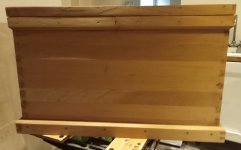
IMG20230729150750.jpg

A close-up of the hook joint from the rear
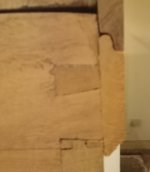
IMG20231231172756.jpg

For the internal tills I worked up a pair of drawer runners from the solid. This will enable 3 tills of 75, 65 and 60mm height to be stacked on top of each other:
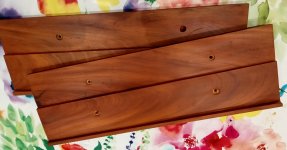
IMG20231229153318.jpg

The runners were screwed to the inside of the chest, which finished the basic carcass
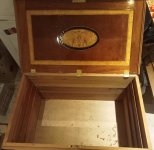
IMG20231229162942.jpg

Onto the tills next.

David
 
Nice project. Ambitious inlays too. It's going to weigh a ton when full but won't matter if it's not moved much. Would be tempted to commit the sin of putting it on a wheeled dolly or fitting castors. You could then design the bench so that the tool box pulls out from beneath if space is tight.

I like the dust lips btw. Neat and practical.
 
Wow! Very impressive project. Did anyone mention that we like photos? (Just in case you happen to have a few more...)
 
Everyday toolchest? With an inlaid veneered top :shock: . Can’t wait to see what your one off special toolchest will look like.
 
Did any of you as children get marquetry sets and kits for Christmas or birthdays? You had to make a picture out of all different sorts of wood, which came in sheets of veneer. Using Xacto knives and their small marquetry saw and block. They were great. Taught me a lot about how grain runs and how to get tight fits. Also taught me how to use plasters :oops:

The more advanced kits also had a small plough plane so that you could do do strip inlays. Those kits are what started me off with making inlaid guitar necks. Still have the childhood tools from age about 8 I suppose and still use them sometimes. Was a bit like painting by numbers, but using wood and you could then progress into Sheraton style patterns etc, or adding MoP, Abolone shell sheets and even brass or silver wire (which could be flattened with a craft hammer into a metal former.

Wonder if they still sell them. Edit: they do. Not cheap though.
 
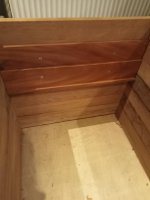
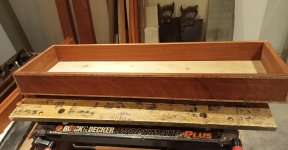
Following completion of the carcass and drawer runners I got on with the tills, which stack one on top of the other on the runners

runner.jpg

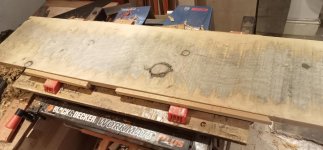
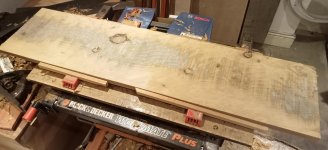
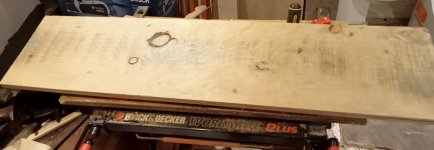
I had some left-over Cedar of Lebanon from a previous project for the drawer bootms and ordered some Padauk from Timberline for the sides. The cedar was squared up and flattened with a jack plane:

just started

after a few passes with a Record no.5.jpg

getting there

and a few more passes.jpg

flat enough

flat enough.jpg

I then re-sawed it by hand, starting

re-sawing I.jpg

half-way there

halfway through.jpg

this is becoming a chore

are we there yet.jpg

finally

at last, a couple of dead knots fell out during the re-sawing that I will patch with dutchmen.jpg

the finsished drawer components

components for bottom till.jpg

with the joinery done

completed joinery.jpg

drawer front rebated

front rebated.jpg

then inlaid, using the same tulipwood banding from the lid

banded and scraped.jpg

dry fit

dry fit, I'll sort out internal dividers once I have settled on which tool goes where.jpg

one down, two to go

David
 
Somehow I'd missed the early posts and come to this late on.

Fantastic work and an ambitious project.

I still find my work mate very useful for all sorts of odd jobs but I would not want to plane timber using it but then again I don't hand plane timber on anything :lol:

Bob
 
Cabinetman":1cczwtoj said:
Great stuff David, I like the lid seal, wood blocks with rope for handles?
Ian
I do like the idea of wooden cleats and rope becketts as lifting handles Ian, but the work that goes into them seems huge (see Mikko Snellman on the www) and I wouldn't have a clue about where to start making them myself.

Marshall Brass in Norfolk have a fine array of lifting handles that I am thinking about, but I am not sure if they are heavy-duty enough to be worth buying.

David
 
I have before mentioned my ignorance of using the word till with regard to tool storage, and really can’t explain not coming across it till now (pun). So I did a bit of digging (another pun there) and came across this, and there was me thinking that it was some strange Americanism!

86227244-E07D-408B-866C-5E65CA71D2C4.png
 
Back
Top