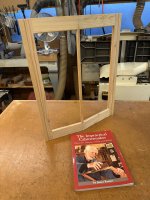
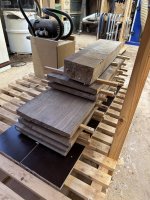
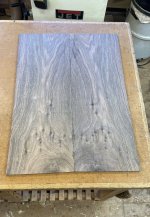
The prototype, lash up door has almost reached it's conclusion, so I started the penultimate session by:
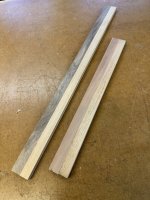
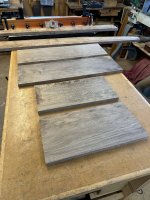
...prepping a couple of blanks for the very narrow glazing bar in the centre of the door. JK goes, in a sort of roundabout way, into a lot of detail on how to make this and he suggests gluing it to a support piece, as I've done. As you'll see later, this makes it much easier to plane the 'V'. I followed as best I could, his directions and used the smaller, trial bit to fit one end, which worked very well:
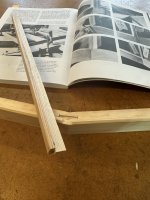
...the section being:
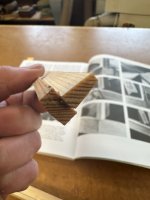
...so that when fitted dry it looked thus:
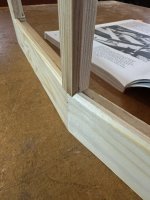
Having got that bit done, I repeated the exercise on the longer bit and fitted it to both top and bottom of the door rails. It's then apparent why the stiffener is added as it's then relatively easy:
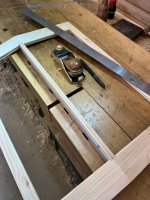
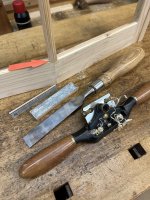
...to plane the 'V'
in situ, provided the glazing bar's a snug fit. JK then mentions that a bevel needs to be machined on the inside to make the rebates square (arrowed below):
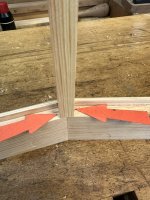
...and you can see from the try square that around 2mm needs to be removed:
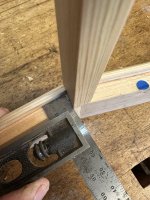
Once the marking out has been done, the bevel can be planed each side:
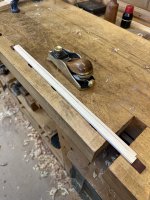
...and then checked:
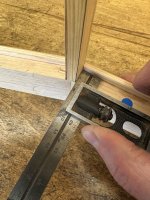
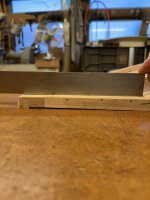
It's then got to be rebated on the router table, a task I was a bit concerned about as the component is so small, but the routing went quite well. I hot glued a small section onto one face to allow some pressure in the correct place from the feather boards:
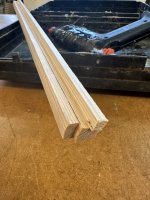
All went well until I shoved it through the wrong way!
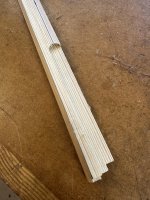
...requiring a slitherino to be glued in to effect a repair. Once that was glued in place and cleaned up, the centre glazing bar was glued in place as well as a couple of additional pieces on the outside of the doors.
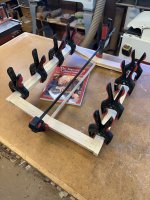
Once that's all set, I can clean it up and sort out the final chamfers on the glazing bar - Rob
Edit - the centre glazing bar is far too narrow to accept 12mm veneer pins for glazing, so I'm going to use a few teeny tiny blobs of hot melt glue to hold them (the strips of timber) in place at the appropriate time.


 - Rob
- Rob