Dr.Al
Old Oak
When I did a woodturning course with Paul Hannaby, I made a small turned box out of brown oak. To cut the inside shape of that box, I used a hollowing tool that he'd made. When I got home, I made my own version of that tool based on some photographs I'd taken while on the course.
I used the tool when making my pepper-mills and it worked well. My father visited a couple of months ago and seemed interested in the tool as he'd never seen one (he's a much more accomplished woodturner than I am). It's his birthday soon, so I thought I'd make him his own one of the tools.
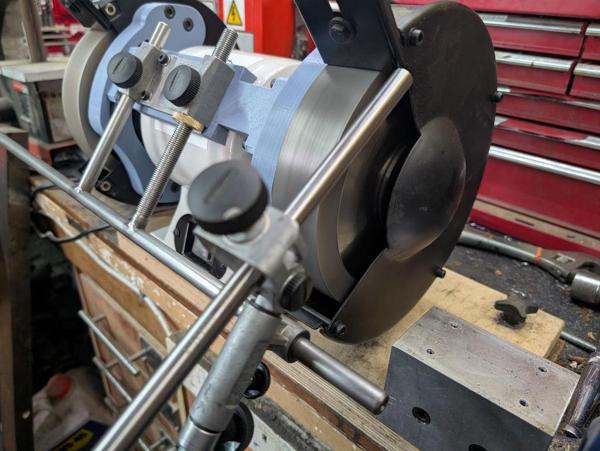
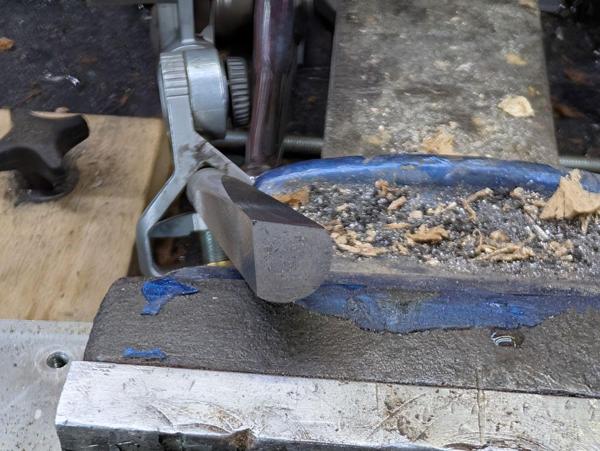
Having recently finished a series of upgrades to my medium-speed bench grinder, it seemed good to have an opportunity to use it to shape a tool from scratch. I'd purchased some 12 mm diameter 300 mm long high-speed steel (HSS) round bar from aliexpress, so I put a piece of that in one of the Tormek jigs and used the side of the coarse (80 grit) CBN wheel to grind a flat on it at a slight angle to the axis of the tool:
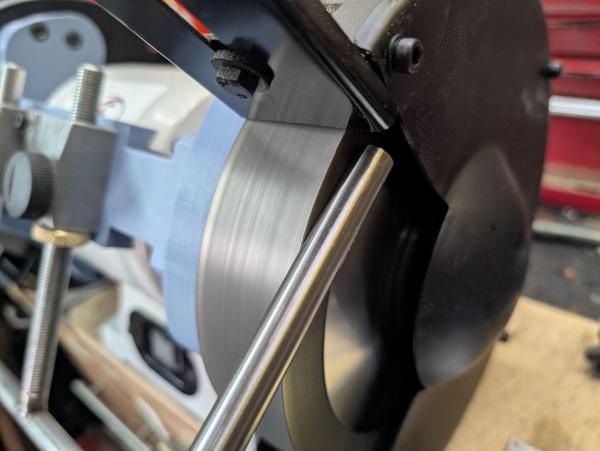
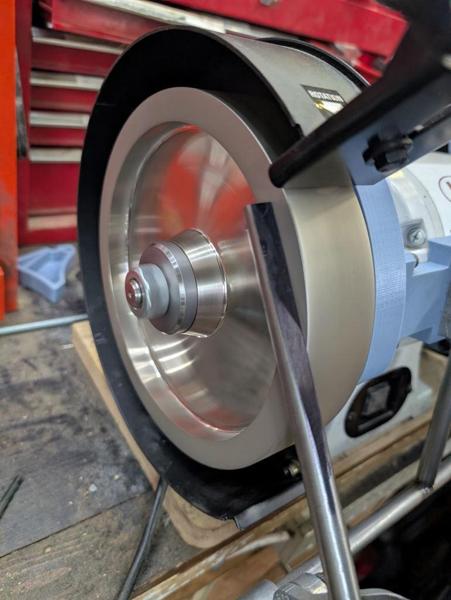
Close-up of the grinding happening:
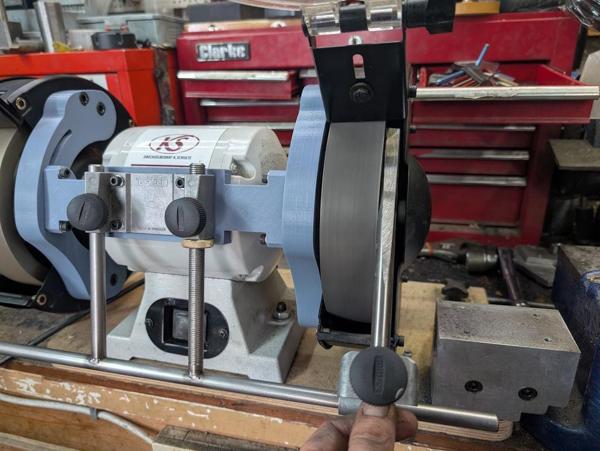
This is the first ground side:
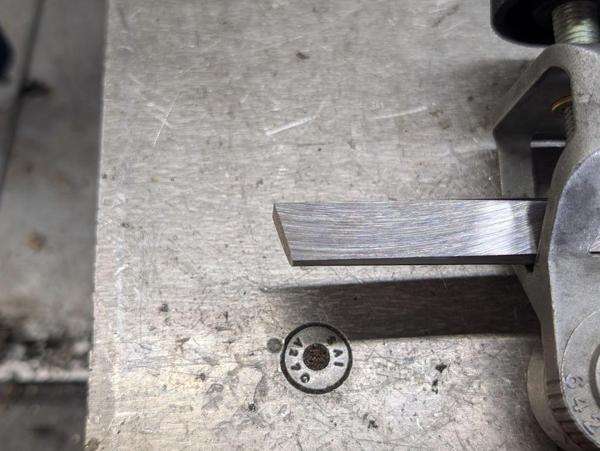
The HSS bar got rotated in the jig by a little over 90° (I didn't even try to measure the angle, just eye-balled it) and more grinding happened:
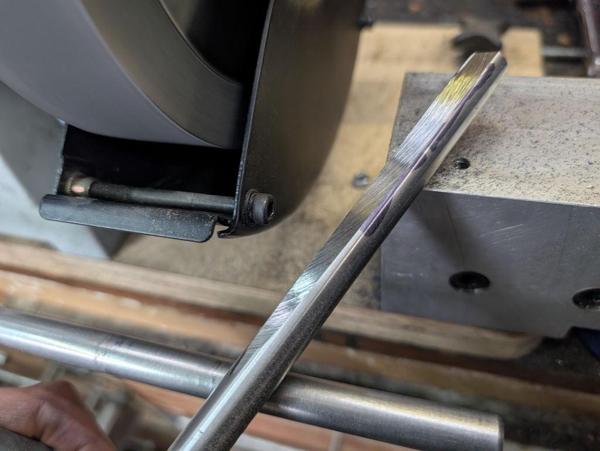
This photo (which was very difficult to get in focus!) gives an idea of the profile ground into the tool:
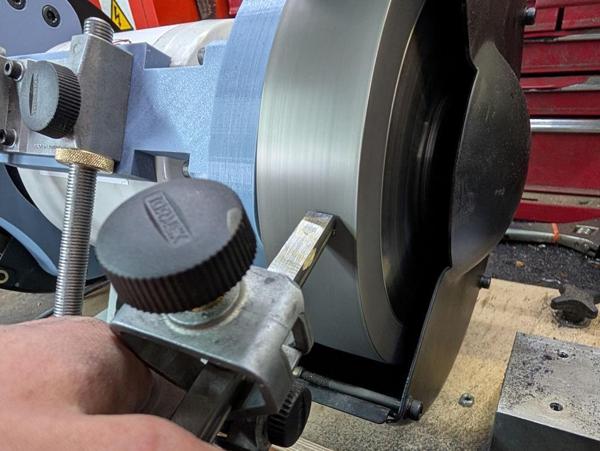
To smooth out the result of that coarse grind, I took it over to the 180 grit side of the bench grinder. There wasn't quite enough clearance for the HSS bar to squeeze between the grinding wheel and the cover, so I had to take the cover off to do this (which is perfectly safe with a CBN wheel and which was very quick and easy thanks to the rivnut-and-cap-screw modification I made to the grinder):
With the sides profiled, I could grind some relief on the end as well, again doing so at a completely arbitrary angle:
This gives an idea of the end profile; note that it tapers away left-to-right (to a lesser degree) as well as the top-to-bottom shown:
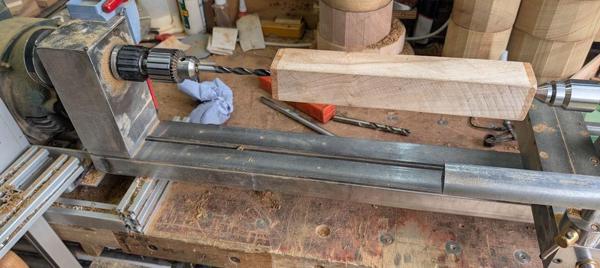
With that, the tool was done and I just needed to make a handle. I started with a bit of sycamore and drilled out the centre, initially using a 10 mm spur bit:
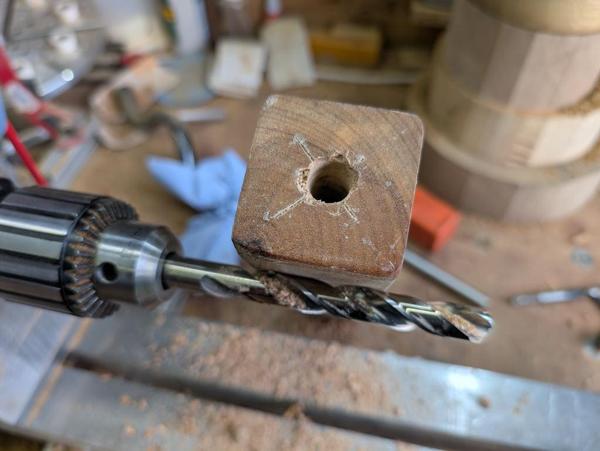
I then drilled it out 12 mm:
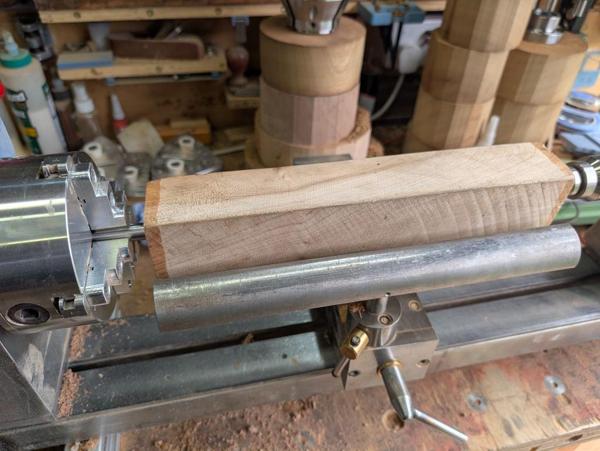
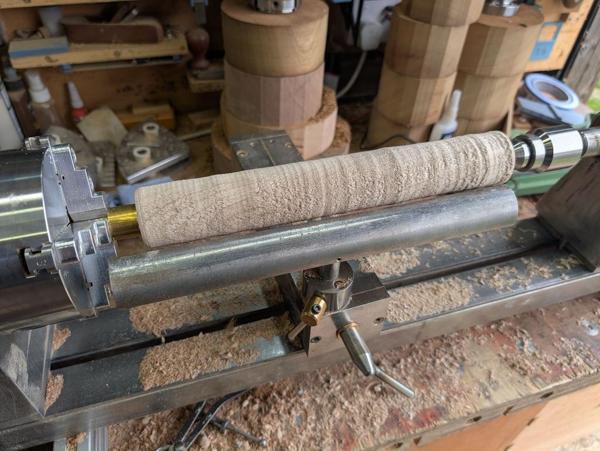
The 12 mm hole was a nice snug fit on the HSS bar, so I didn't bother with any glue and just whacked the handle onto the bar. I could then mount it in the lathe, using a chuck with soft aluminium jaws to hold onto the bar:
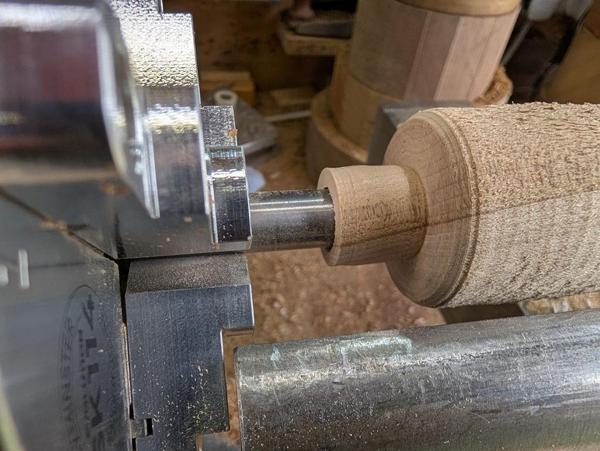
After roughing it round, I carefully reduced the size of the end down until it measured a fraction over 20 mm (which is the inside diameter of some home-made ferrules I made a while ago):
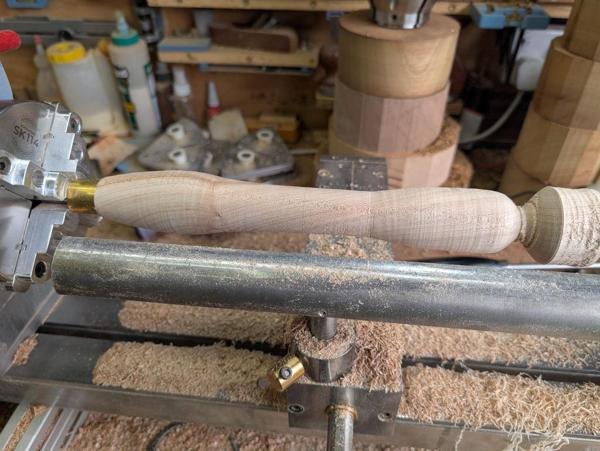
I could then fit the ferrule, which was again a tight fit so didn't need any glue. With the ferrule fitted, I could put the tool back in the lathe...
... and shape it with a spindle gouge:
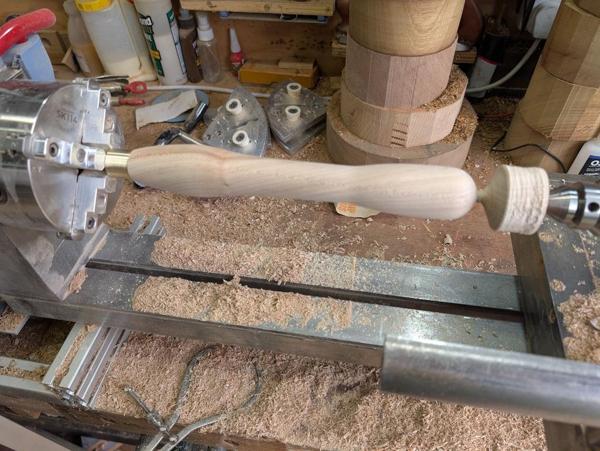
With the tailstock support still there, I sanded it, starting at 120 grit and going up to 320 grit. I tried to take a photo after sanding but got the focus wrong:
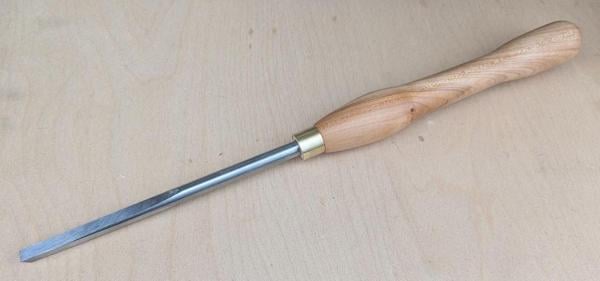
When most of it was done, I used a Dozuki to saw off the end and then, with the lathe running a bit slower and my hand supporting the outside end, sanded off the nub. Finally, I gave it a coat of Mike's Magic Mix. It'll get at least one more coat, but in the meantime, here's a picture of the finished tool:
I used the tool when making my pepper-mills and it worked well. My father visited a couple of months ago and seemed interested in the tool as he'd never seen one (he's a much more accomplished woodturner than I am). It's his birthday soon, so I thought I'd make him his own one of the tools.
Having recently finished a series of upgrades to my medium-speed bench grinder, it seemed good to have an opportunity to use it to shape a tool from scratch. I'd purchased some 12 mm diameter 300 mm long high-speed steel (HSS) round bar from aliexpress, so I put a piece of that in one of the Tormek jigs and used the side of the coarse (80 grit) CBN wheel to grind a flat on it at a slight angle to the axis of the tool:
Close-up of the grinding happening:
This is the first ground side:
The HSS bar got rotated in the jig by a little over 90° (I didn't even try to measure the angle, just eye-balled it) and more grinding happened:
This photo (which was very difficult to get in focus!) gives an idea of the profile ground into the tool:
To smooth out the result of that coarse grind, I took it over to the 180 grit side of the bench grinder. There wasn't quite enough clearance for the HSS bar to squeeze between the grinding wheel and the cover, so I had to take the cover off to do this (which is perfectly safe with a CBN wheel and which was very quick and easy thanks to the rivnut-and-cap-screw modification I made to the grinder):
With the sides profiled, I could grind some relief on the end as well, again doing so at a completely arbitrary angle:
This gives an idea of the end profile; note that it tapers away left-to-right (to a lesser degree) as well as the top-to-bottom shown:
With that, the tool was done and I just needed to make a handle. I started with a bit of sycamore and drilled out the centre, initially using a 10 mm spur bit:
I then drilled it out 12 mm:
The 12 mm hole was a nice snug fit on the HSS bar, so I didn't bother with any glue and just whacked the handle onto the bar. I could then mount it in the lathe, using a chuck with soft aluminium jaws to hold onto the bar:
After roughing it round, I carefully reduced the size of the end down until it measured a fraction over 20 mm (which is the inside diameter of some home-made ferrules I made a while ago):
I could then fit the ferrule, which was again a tight fit so didn't need any glue. With the ferrule fitted, I could put the tool back in the lathe...
... and shape it with a spindle gouge:
With the tailstock support still there, I sanded it, starting at 120 grit and going up to 320 grit. I tried to take a photo after sanding but got the focus wrong:
When most of it was done, I used a Dozuki to saw off the end and then, with the lathe running a bit slower and my hand supporting the outside end, sanded off the nub. Finally, I gave it a coat of Mike's Magic Mix. It'll get at least one more coat, but in the meantime, here's a picture of the finished tool:


