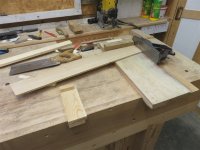
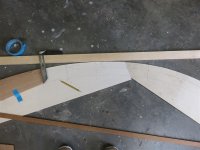
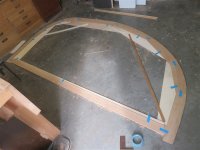
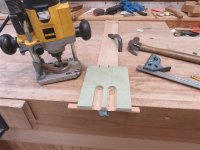
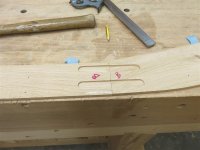
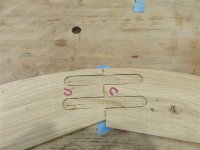
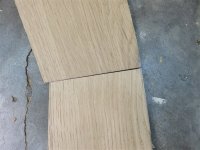
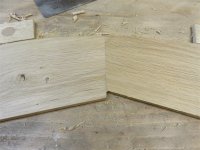
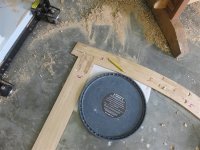
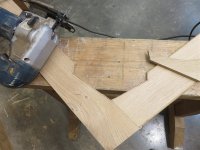
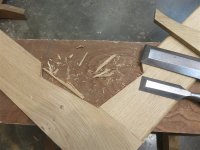
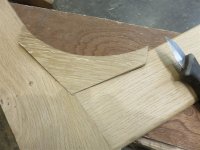
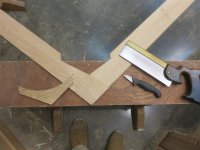
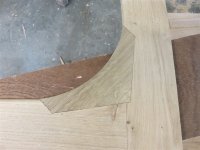
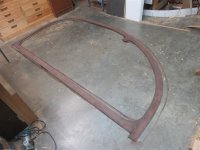
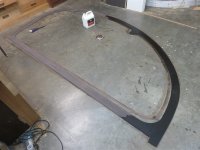
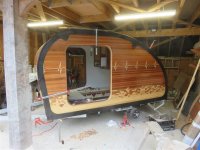
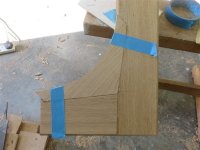
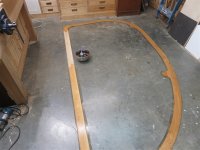
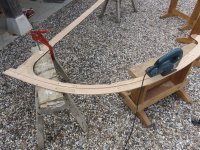
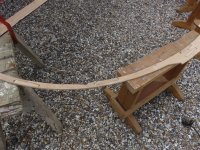
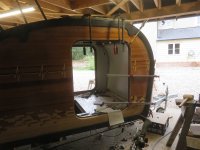
I cut the side frame to fit around the rear hatch, and the off-cut will be fixed to the side of the hatch. No photo.
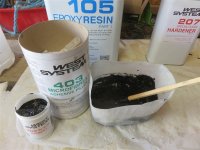
It had to be epoxy to fix the edge cap in place, for a variety of reasons, but because it was joining the face and the top, it had to be black. There would be nothing more horrible than a white glue line running the length of the teardrop. West Systems make a black additive, and liuke everything they sell, it's expensive. However, it really is properly black. Here is some mixed up thickened epoxy with the black 502 in:
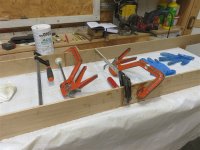
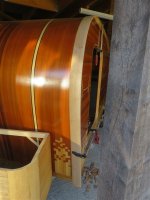
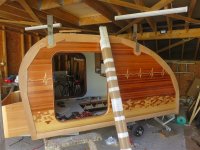
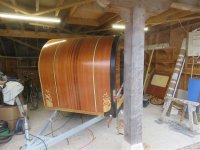
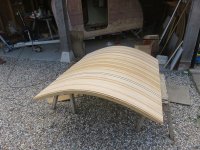
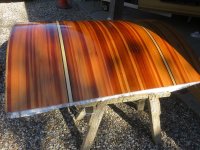
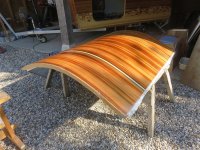
I primed the oak first with clear unthickened epoxy, then smeared the thickened stuff all over the face piece and glued and pinned it in place. There is a little sticking-down piece at the back which properly locates the frame, meaning I don't have to check carefully whether I've got it in the right place. The curved piece over the roof was a bit more of a challenge, because it needed clamping prior to pinning. It required forcing into place with pressure. The couple of small gaps (<1mm) were filled with thickened epoxy:


I ended up routing a new round-over on the outer edge because the two pieces didn't meet perfectly along the whole length. That exposed raw oak, so I had to re-ebonise. Obviously I did that once the epoxy had dried.
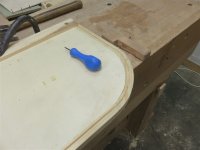
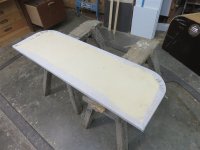
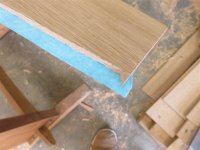
The doors had both reached their full coverage of clear epoxy, so I could now fix on the sapele face trim which I had made months ago. It's purpose is to hold the out seal. As the next coat of stuff on the doors will be a 2 part varnish, and the epoxy needed sanding prior to the application of that, I sanded now so as to form a key for the thickened epoxy glue for the trim:
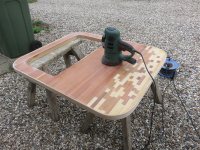
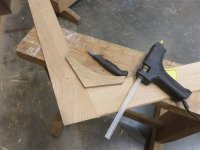
I then carefully located the trim in place, and hot-glued on some guide blocks so that it went in the right place once glued:
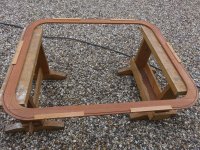
I then glued it on with ordinary clear thickened epoxy:
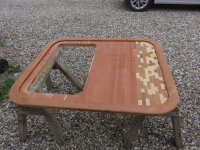

For the hell of it, I dropped window in the hole to get a feel for the final look of the doors:
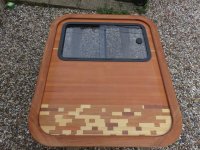
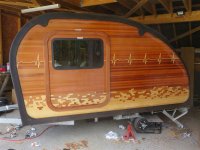
That highlighted a problem I hadn't thought about: I won't be easily able to set the door gaps when I hang the doors, because the gaps are covered by the face trim.
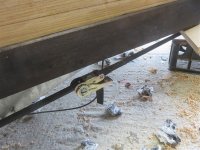
For some reason I have a random photo of the hurricane hinge in place with the rear hatch. Maybe it was to show that I had trimmed the cover piece to length to allow the hinge to run through to the outside of the teardrop:

Here's the tongue box with the canvas glued in place:
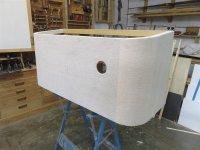
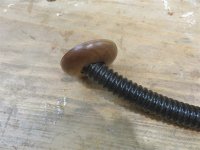
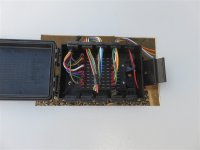
The hole is for a vent in front of the DC-DC battery charger, which gets very hot apparently.
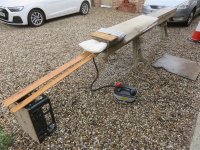
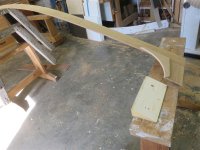
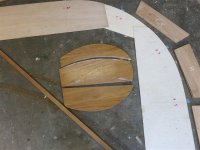
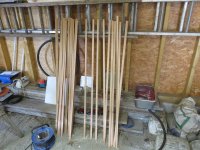
I will spare you the repetition of the build for the capping detail on the other side, because it's much the same as for the side you've just seen......albeit 2 days instead of 6, because I knew what I was doing. However, there are a couple of things which are worth looking at. Firstly, I ran out of 8mm stock for cutting the face frame. I hunted around for some scrap to make the last piece from, and saw an old broken toilet seat in my scrap bin:
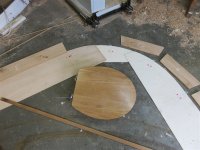
It was just the right size:
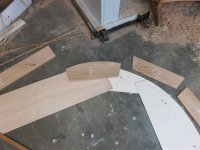
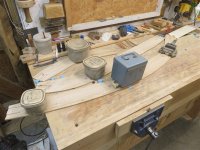
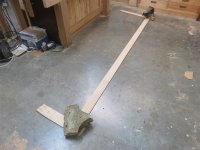
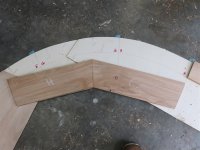
Finally, as if I needed any reminding that I make too many mistakes, when gluing up the face frame pieces in pairs, I got G and H the wrong way around:
That gets us nearly up to date. I expect to glue the other face frame and capping piece on today.


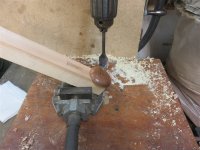

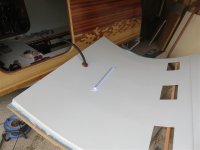

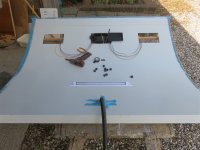
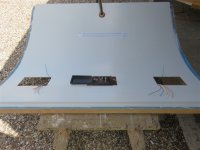

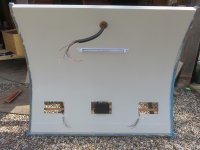






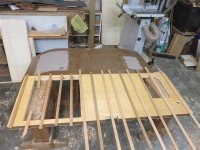
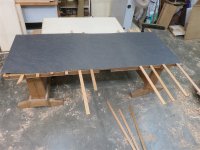
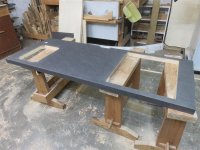


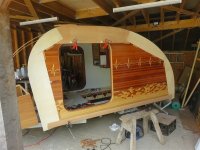
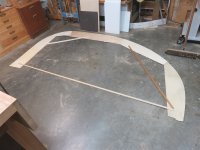
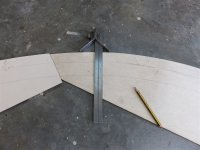
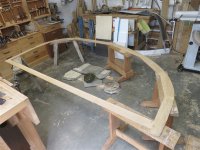
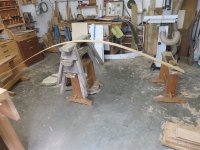
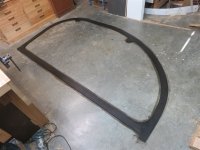
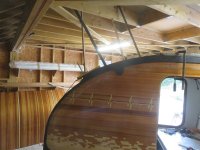
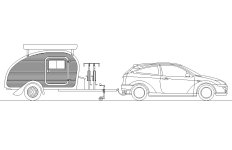 Note the line inside the edge of the teardrop, following it but with rounded bottom corners. That took 10 seconds to draw......and a week to build. Here's the process.