

Pinch
Old Oak
Although this work was finished a while ago and I posted some finished pics the other day, I thought I'd do a quick WIP on this neat little project.
I haven't steam bent for some years and felt this was a good opportunity to get my hand in again. I was also considering laminates, but wanted to go with solid first and trial run a piece of ash I had kicking around in the shop. The result wasn't good at all. I allowed for springback, but not enough and the work piece encountered approximately 20% springback. So, in with the lams instead...
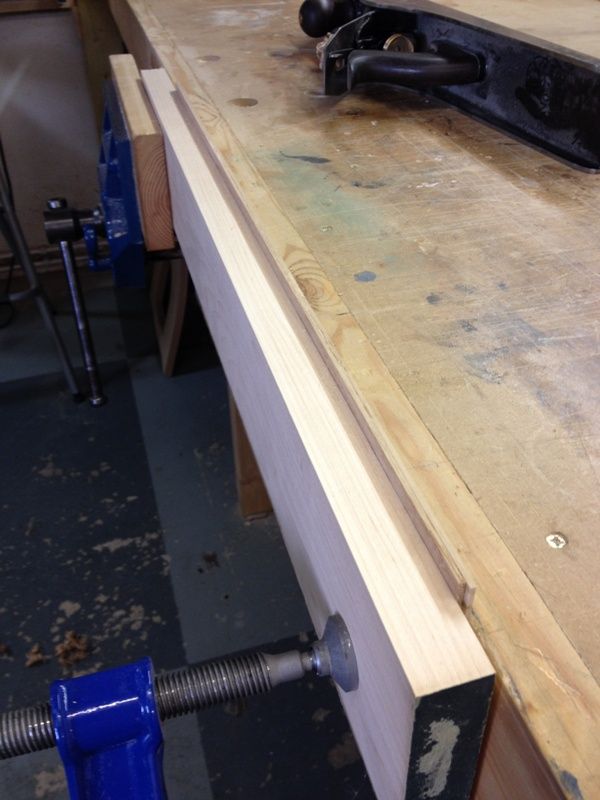
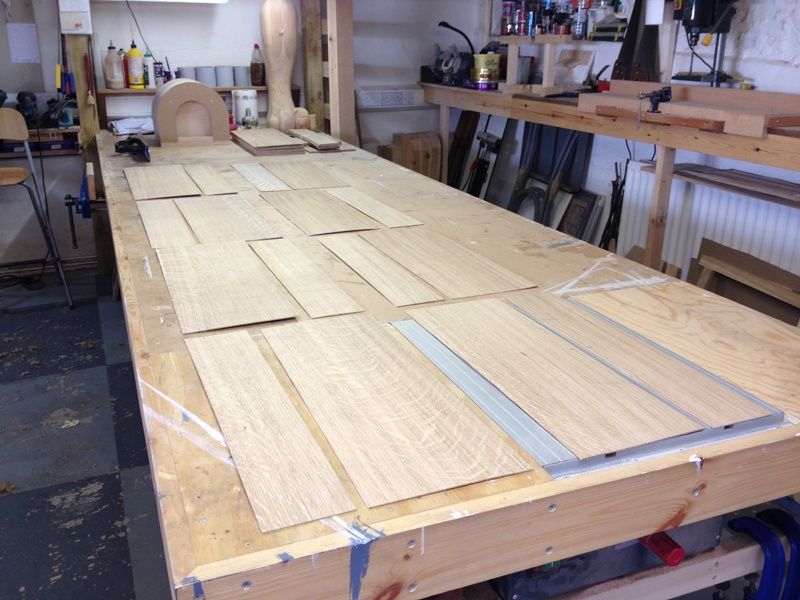
After extending the form to suit the overall depth of the work (340mm), I prepared the lams and marked/cut them accordingly. That's 16 pieces (2 lams per skin) to achieve the depth and at 2.4mm thick was a good result for the overall finished thickness, also set at a 180mm internal radius. I shot in all the mating edges, concentrating more on the external faces and laid them on the bench ready for the steam chest.
I gave the lams about an hour under steam and then left them clamped in the form for about 24 hours.
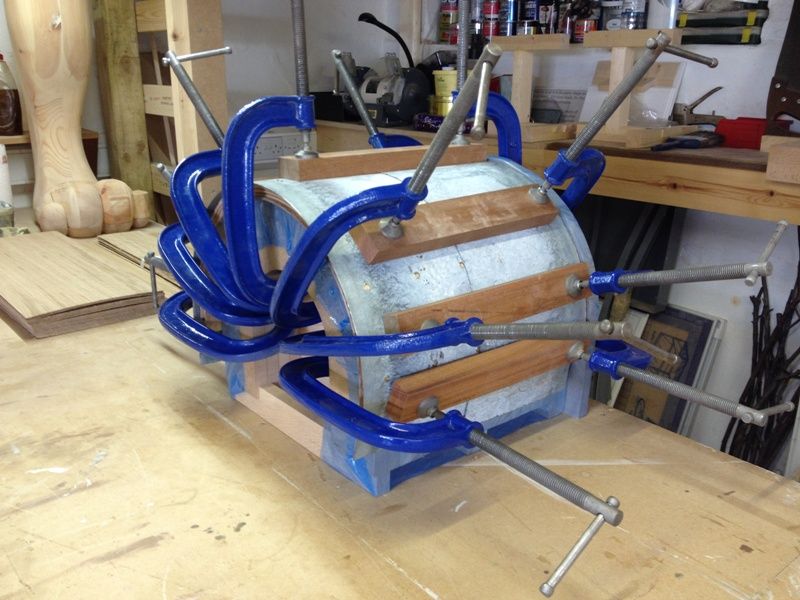
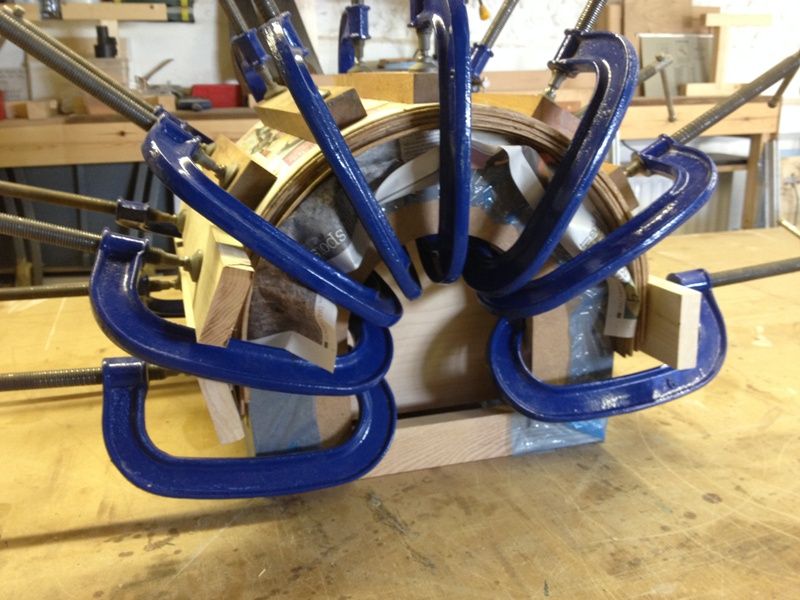
The following day, I removed the lams from the form, checking they were dry and once satisfied, I then glued them back into the form for another over night session.
The result was perfect with zero springback.
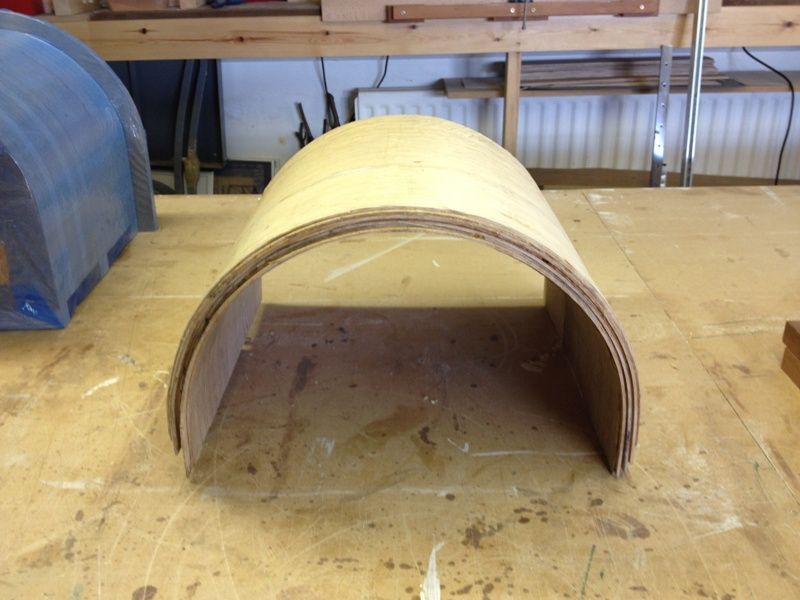
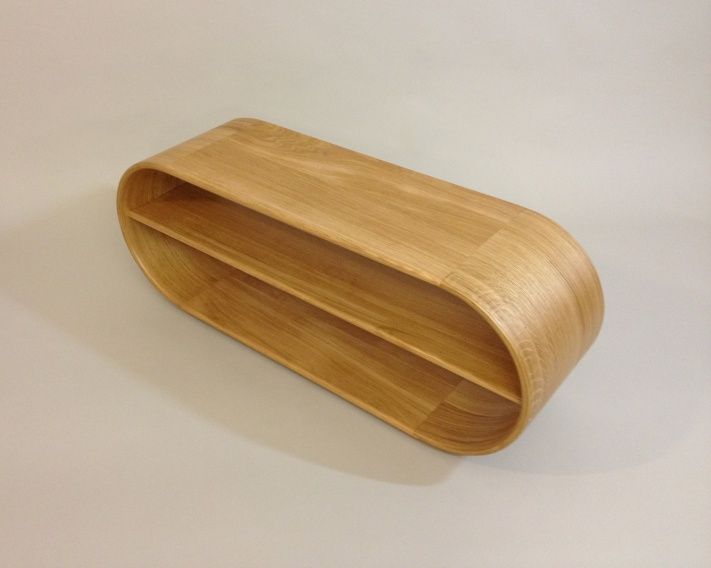
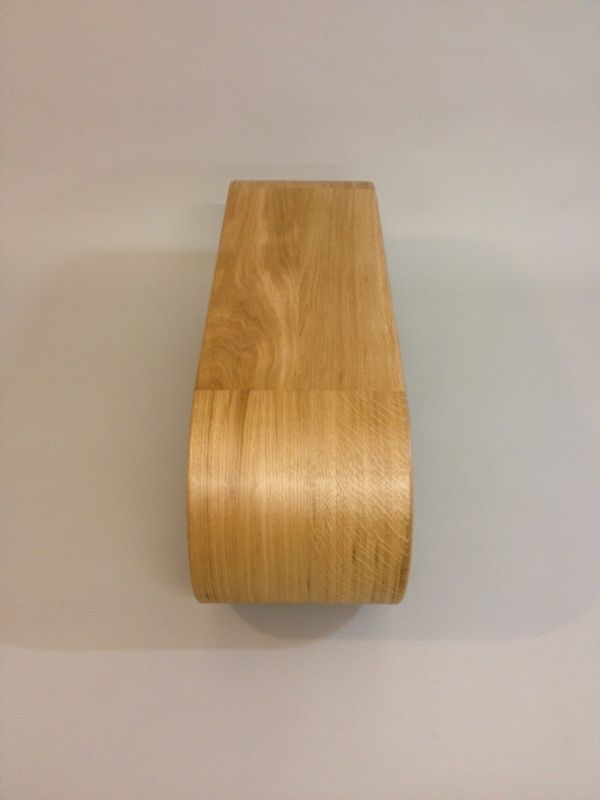
After cleaning up the two ends, top and bottom shelves, I decided to go with a simple lap joint to connect these pieces together.
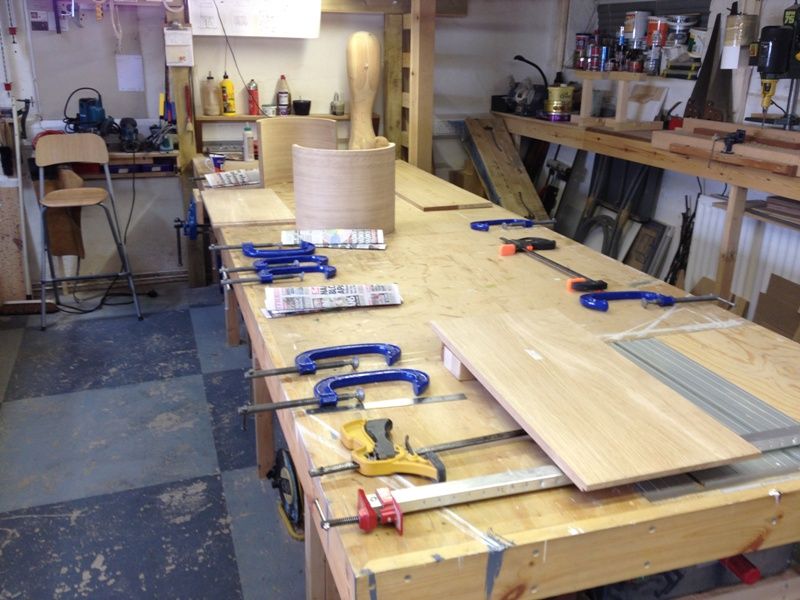
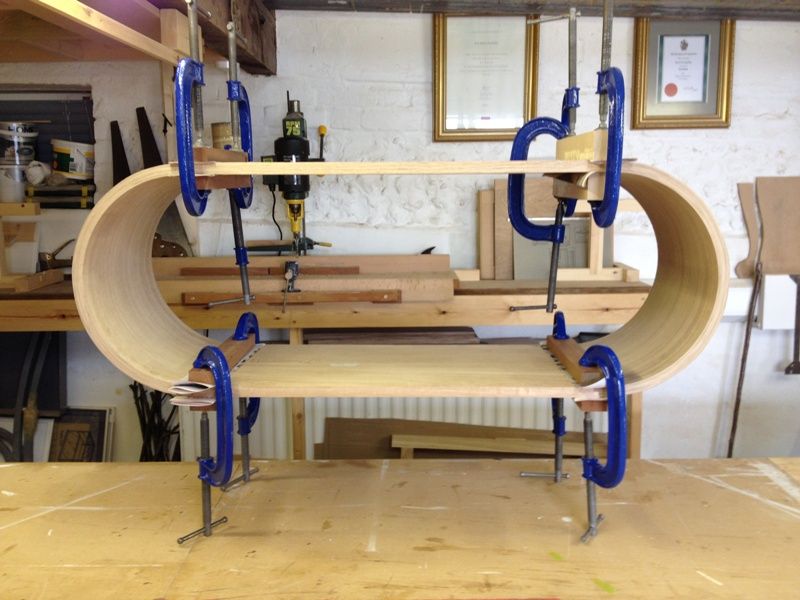
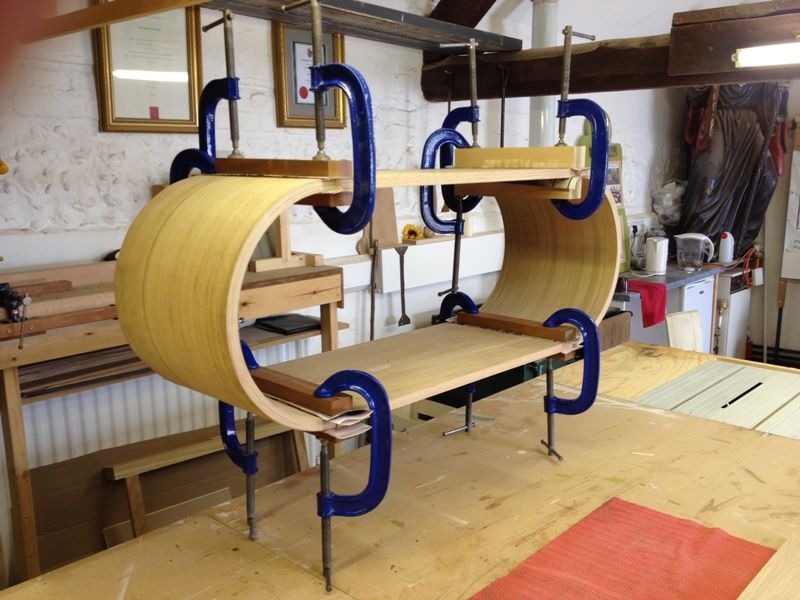
I didn't fit the middle shelf on the same glue application, simply because it would have been too awkward, so I stop housed the middle shelf after gluing the outer pieces - job was a gooden.
To finish off, I formed a round over profile using the router and after more prep work, I applied 4 coats of Danish oil, denibbing between coats.
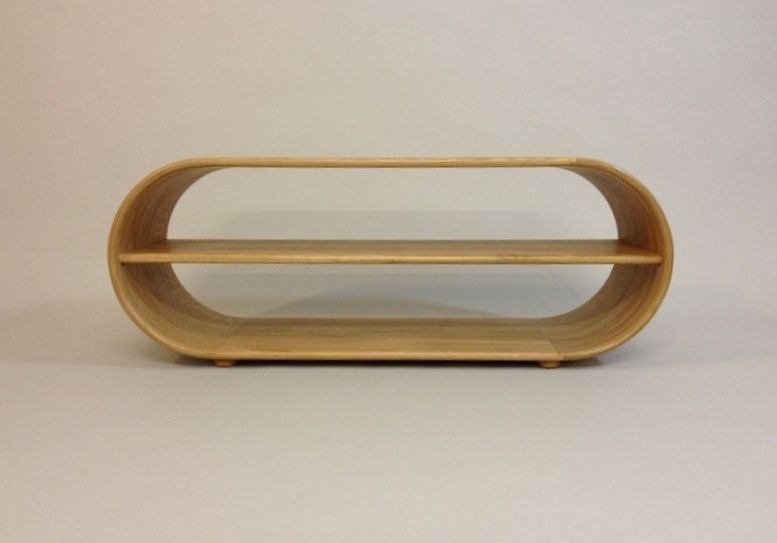
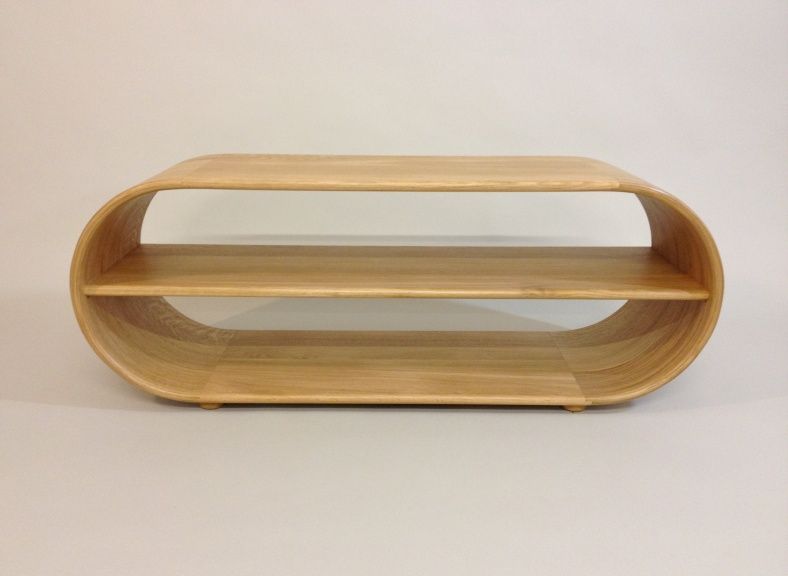
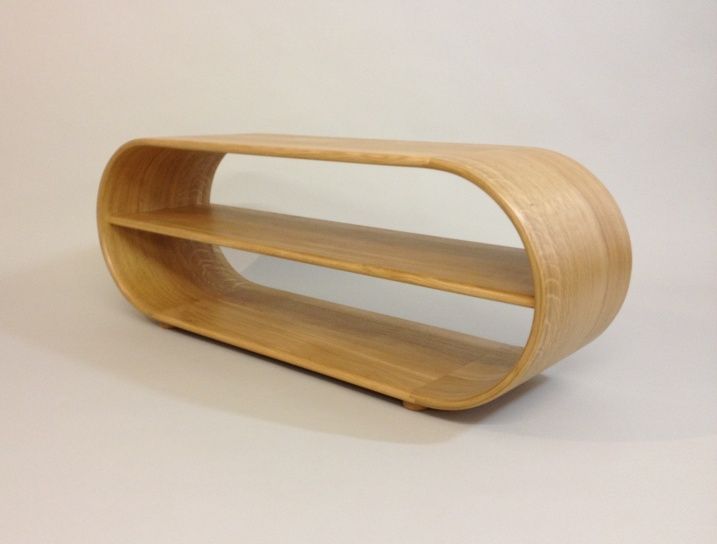
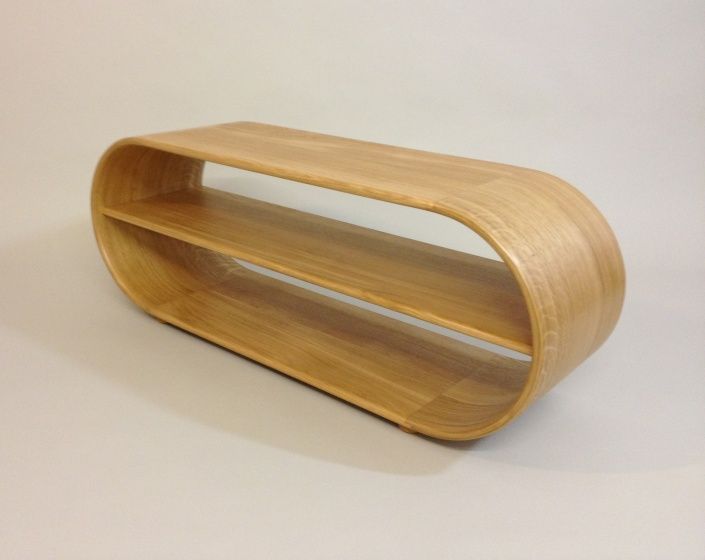
Finished work - measuring 1100 x 340 x 400mm high.
Cheers,

I haven't steam bent for some years and felt this was a good opportunity to get my hand in again. I was also considering laminates, but wanted to go with solid first and trial run a piece of ash I had kicking around in the shop. The result wasn't good at all. I allowed for springback, but not enough and the work piece encountered approximately 20% springback. So, in with the lams instead...
After extending the form to suit the overall depth of the work (340mm), I prepared the lams and marked/cut them accordingly. That's 16 pieces (2 lams per skin) to achieve the depth and at 2.4mm thick was a good result for the overall finished thickness, also set at a 180mm internal radius. I shot in all the mating edges, concentrating more on the external faces and laid them on the bench ready for the steam chest.
I gave the lams about an hour under steam and then left them clamped in the form for about 24 hours.
The following day, I removed the lams from the form, checking they were dry and once satisfied, I then glued them back into the form for another over night session.
The result was perfect with zero springback.
After cleaning up the two ends, top and bottom shelves, I decided to go with a simple lap joint to connect these pieces together.
I didn't fit the middle shelf on the same glue application, simply because it would have been too awkward, so I stop housed the middle shelf after gluing the outer pieces - job was a gooden.
To finish off, I formed a round over profile using the router and after more prep work, I applied 4 coats of Danish oil, denibbing between coats.
Finished work - measuring 1100 x 340 x 400mm high.
Cheers,


