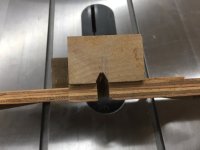
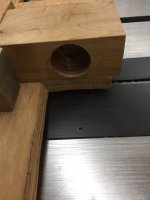
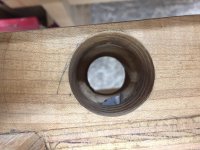
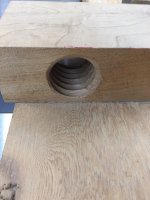
Like many other people, I've been fascinated by wooden threads and how to cut them. Over the years I've read quite a few chapters of books, magazine articles and online discussions. I've watched videos. But nothing beats getting the tools and trying them for yourself.
I've made one or two bits and pieces, where threaded parts were needed. Most of them have been clamps, because apparently we all need more of them. But I'm not keen on making stuff that won't ever be used, so my experiments had stopped. That's a bit frustrating, as I have old wooden thread boxes and taps in a variety of sizes. I've also proved that I can cut coarse external and internal threads on my treadle driven metalwork lathe. But I've not done much of this sort of thing for quite a while.
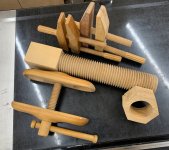
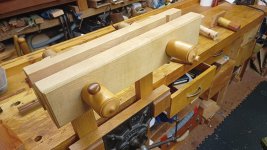
So, it was very nice when chatting to my friend Peter the other day to learn that he wants to make himself a "Moxon Vice" and only has some nasty metal studding to use on it. I offered to make him a pair of suitably chunky wooden alternatives and he said Yes please. Time to reacquaint myself with how to do it!
First, I needed to find some suitable wood.
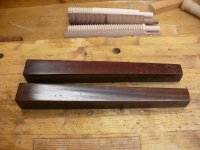
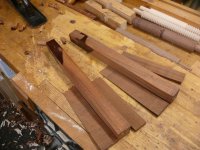
Here's one candidate, pulled from a skip some decades ago:
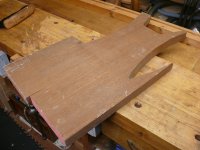
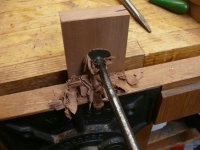
As far as I can tell, it's the sort of vaguely named tropical hardwood that most ordinary timber merchants used to keep in the 90s. Fairly heavy, with a spicy smell when you cut it. Not especially hard. Quite easy to cut:
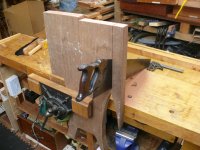
plane the corners off
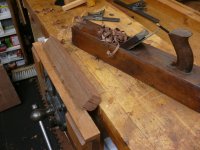
turn
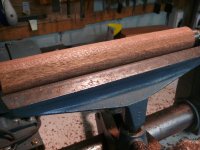
and get fairly straight. On other projects, in smaller sizes, I've hammered the turning through a dowel plate to regularise the size, but I don't have a big enough hole for this and decided against another side project.
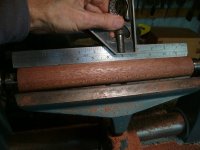
This wood is thick enough to yield a cylinder 1½" in diameter. I cut a smaller tenon on one end, which will be glued into a knob later. That also serves to grip in the 4-jaw chuck over on the other lathe. Here I was getting it all as set up as straight as I could - threads need to be reasonably accurate to work nicely.
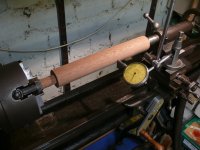
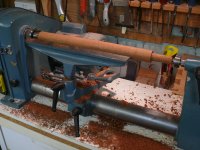
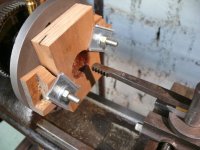
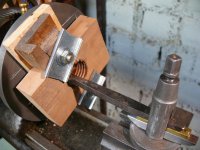
There followed some time getting my cutter - a carving v-tool - set up in the original old American style tool post, supported by some roughly carved bits of wood that I used last time.
What doesn't show is that I also spent far too long searching for a new, handle-less v-cutter that I bought specifically for a job like this and put in a safe place.
So safe even I couldn't find it, though I did find a screwdriver that I had lost and efficiently replaced.
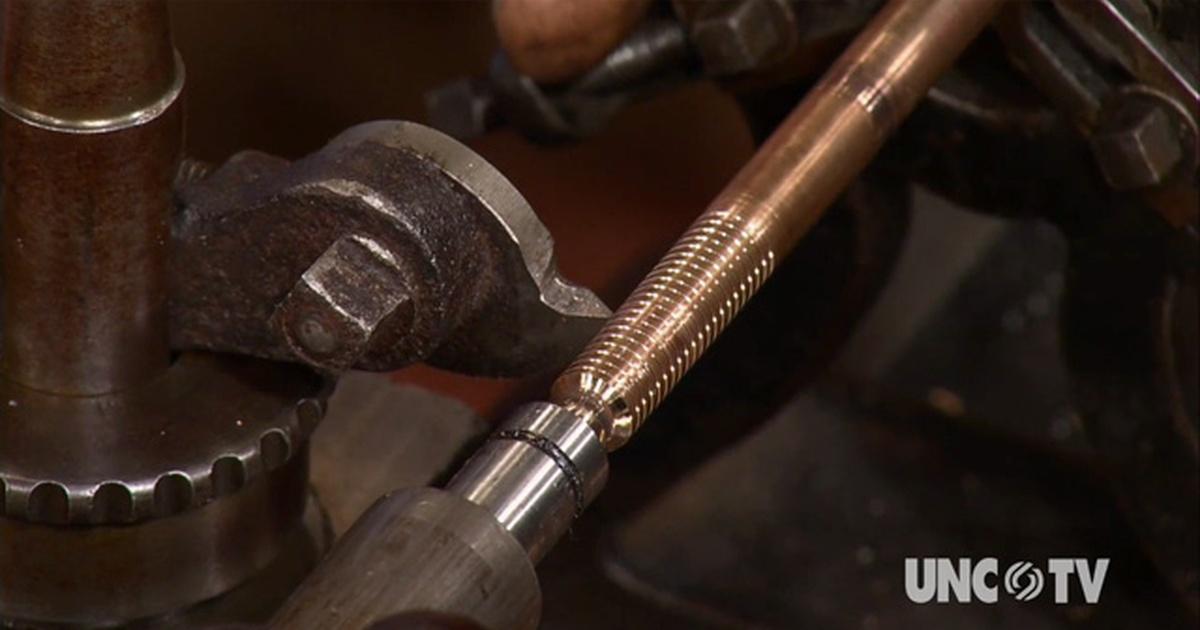
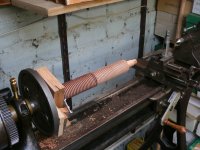
Here you can see that I have set up the lathe change wheels so that it will cut a nice 6 tpi thread and I have positioned the cutter so it just touches. One big advantage of using the lathe is that you can cut these threads in several passes, taking just a light cut each time.
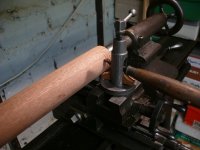
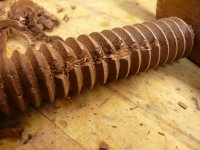
Here's the first full pass. You can see that the cut isn't as deep on the left hand end and that's because the cylinder is a few thou narrower there. Fortunately, I was able to deepen the cut by eye when I got to that bit.
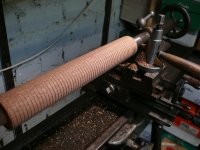
I also found that the thread was a bit disappointingly rough in this softish wood. I did two things to help with that. One, which tool longest and was quite fiddly, was to arrange the cutter so it was more tangential to the wood, just like it would be in a thread box. If you get things lined up properly, you cut the bottom of the thread and the whole of the sides, with the cutting edges effectively angled forward so the defining lines on the surface are cut first.
I also applied some cheap runny CA glue to beef up the wood fibres a bit. Here is the better aligned cutter going over the reinforced wood to complete the profile:
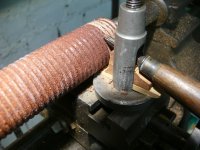
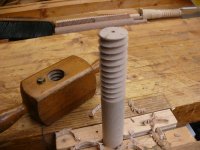
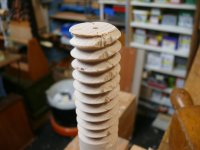
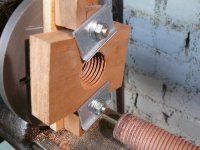
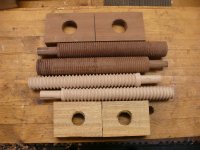
And here's the whole thing, with a test nut that I made on a previous session that I can't find the pictures of at the moment.
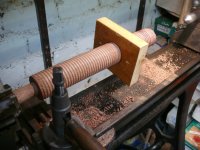
Lots of fiddly fun.
To be continued!
I've made one or two bits and pieces, where threaded parts were needed. Most of them have been clamps, because apparently we all need more of them. But I'm not keen on making stuff that won't ever be used, so my experiments had stopped. That's a bit frustrating, as I have old wooden thread boxes and taps in a variety of sizes. I've also proved that I can cut coarse external and internal threads on my treadle driven metalwork lathe. But I've not done much of this sort of thing for quite a while.
So, it was very nice when chatting to my friend Peter the other day to learn that he wants to make himself a "Moxon Vice" and only has some nasty metal studding to use on it. I offered to make him a pair of suitably chunky wooden alternatives and he said Yes please. Time to reacquaint myself with how to do it!
First, I needed to find some suitable wood.
Here's one candidate, pulled from a skip some decades ago:
As far as I can tell, it's the sort of vaguely named tropical hardwood that most ordinary timber merchants used to keep in the 90s. Fairly heavy, with a spicy smell when you cut it. Not especially hard. Quite easy to cut:
plane the corners off
turn
and get fairly straight. On other projects, in smaller sizes, I've hammered the turning through a dowel plate to regularise the size, but I don't have a big enough hole for this and decided against another side project.
This wood is thick enough to yield a cylinder 1½" in diameter. I cut a smaller tenon on one end, which will be glued into a knob later. That also serves to grip in the 4-jaw chuck over on the other lathe. Here I was getting it all as set up as straight as I could - threads need to be reasonably accurate to work nicely.
There followed some time getting my cutter - a carving v-tool - set up in the original old American style tool post, supported by some roughly carved bits of wood that I used last time.
What doesn't show is that I also spent far too long searching for a new, handle-less v-cutter that I bought specifically for a job like this and put in a safe place.
So safe even I couldn't find it, though I did find a screwdriver that I had lost and efficiently replaced.
Here you can see that I have set up the lathe change wheels so that it will cut a nice 6 tpi thread and I have positioned the cutter so it just touches. One big advantage of using the lathe is that you can cut these threads in several passes, taking just a light cut each time.
Here's the first full pass. You can see that the cut isn't as deep on the left hand end and that's because the cylinder is a few thou narrower there. Fortunately, I was able to deepen the cut by eye when I got to that bit.
I also found that the thread was a bit disappointingly rough in this softish wood. I did two things to help with that. One, which tool longest and was quite fiddly, was to arrange the cutter so it was more tangential to the wood, just like it would be in a thread box. If you get things lined up properly, you cut the bottom of the thread and the whole of the sides, with the cutting edges effectively angled forward so the defining lines on the surface are cut first.
I also applied some cheap runny CA glue to beef up the wood fibres a bit. Here is the better aligned cutter going over the reinforced wood to complete the profile:
And here's the whole thing, with a test nut that I made on a previous session that I can't find the pictures of at the moment.
Lots of fiddly fun.
To be continued!