

Peri
Sapling
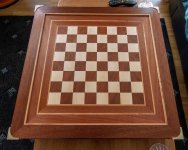
I promised a few people I'd try and keep a wip log of this project - I sort of, kind of succeeded. Like most people I tended to get stuck into the job and forgot all about the photo's. I took them when I remembered and hopefully it's enough to show the process I used.
I was asked by a very good friend to make a domino board for one of his local establishments. As it was described to me "Just a board with a lip around it". I could've put an edge on a bit of 3/4 ply, but I'd like to make him something better. I had an idea for a games board could be used for chess or checkers as well.
A couple of things to remember - I had no plan and no idea what the finished item would look like, also, as I won't charge him for timber I wanted to use some of the nice door frames I've ... liberated (ie salvaged out of a skip
 )
)-----------------------
To start as I mean to go on, I forgot to take a photo of the stock I started with
 - a piece of maple and an unknown red wood, milled true, cut into strips on the bandsaw and run through the thicknesser. This is the really important part. If the edges aren't perfect there'll be gaps in the finished board.
The strips are held together just with tape (the light blue/grey sticking out at the bottom) - seems to be perfectly adequate.
-----------------
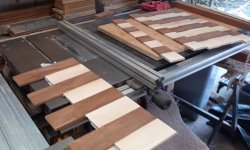
Once dry, rotate through 90 degrees and resaw into strips. Again, getting clean, straight cuts is paramount - any blade wander or chatter will be very obvious later.
----------------
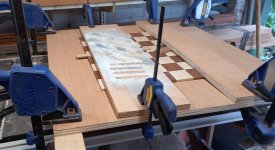
After that, simply flip every other strip and glue to the base.
---------------
Now I really am in the 'make it up as you go along' realm. My first thought was 'thin strip/wide strip/main border'
First job is to take a straight edge and a shoulder plane to each edge of the playing surface (picture needed), making sure they are as straight as possible.
Next I cut some thin strips from a piece of beech I had.

Mitred the corners,
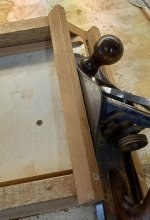
Which gives a pretty clean joint.
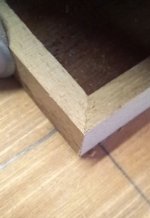
4 strips glued down and planed to a hair above the board surface.

----------------
Now for the wider strip of dark wood. I had this chunk of door frame.
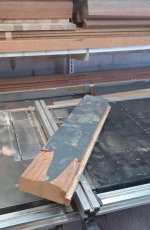
That was milled up, cut into strips and the ends mitred. My hand plane jig can't cope with larger pieces like that, so I use a 45 degree jig on the router table.


--------------------
Once I glued those to the board I realised the playing surface needed to be bigger - so I repeated the thin/thick border once more, then gave it a good sanding and a wipe down.

------------------
On to the main frame, and the big downside to using reclaimed timber is very apparent. Ideally I'd have just put a rebate down the centre of a nice chunk of 2"x3"x3', creating a flat bottomed 'U', mitre both ends and job done. Unfortunately I didn't have one 3 foot length (let alone 4) without a mortise, or a hole where a handle had been chopped out.
Splitting the frames into 3 (lengthwise) meant I could work around the mortices. Each edge was covered with 2 wide and 1 narrow strip.
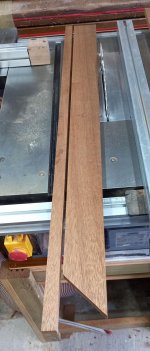
Top and side on, bottom piece to be added.

All sides added.

Then it's just a matter of adding a few chamfers, putting some brass corners on and a couple of coats of satin varnish.


