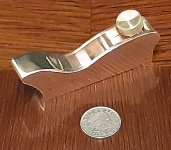
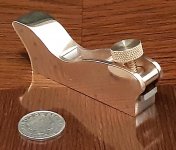
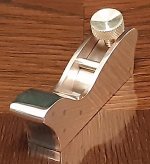
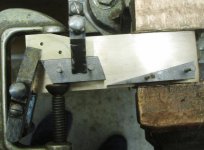
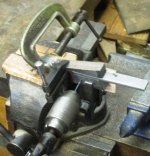
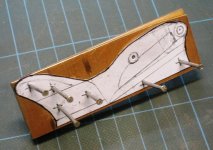
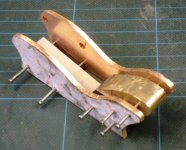
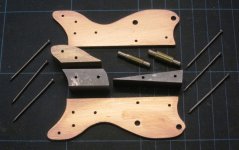
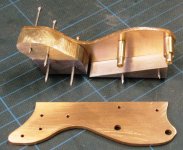
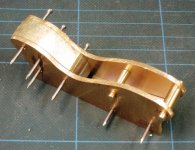
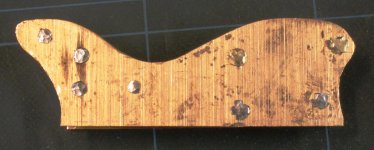
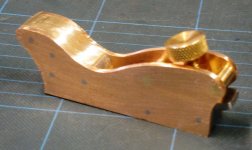
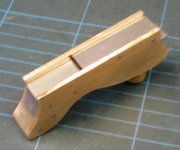
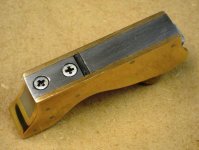
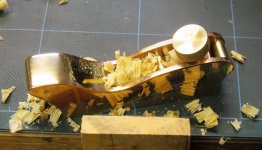
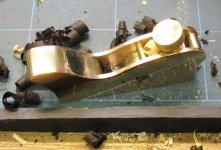
This little plane was made from offcuts of bronze, brass and steel. The iron is 1/2" wide, bevel up and bedded at 12 degrees. Overall length 3 3/4". Some WIP photos to follow.

-
Hi all and welcome to TheWoodHaven2 brought into the 21st Century, kicking and screaming! We all have Alasdair to thank for the vast bulk of the heavy lifting to get us here, no more so than me because he's taken away a huge burden of responsibility from my shoulders and brought us to this new shiny home, with all your previous content (hopefully) still intact! Please peruse and feed back. There is still plenty to do, like changing the colour scheme, adding the banner graphic, tweaking the odd setting here and there so I have added a new thread in the 'Technical Issues, Bugs and Feature Requests' forum for you to add any issues you find, any missing settings or just anything you'd like to see added/removed from the feature set that Xenforo offers. We will get to everything over the coming weeks so please be patient, but add anything at all to the thread I mention above and we promise to get to them over the next few days/weeks/months. In the meantime, please enjoy!
You are using an out of date browser. It may not display this or other websites correctly.
You should upgrade or use an alternative browser.
You should upgrade or use an alternative browser.
Small Metal Plane Making Project
- Thread starter rxh
- Start date

Rod
Old Oak
A little beauty
Rod
Rod
Thanks Rod.Rod":1in9rrgw said:A little beauty
Rod
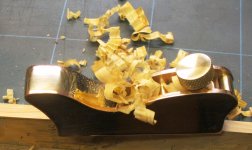
Here is a trial on a bit of boxwood.
Attachments

Lons
Old Oak
Nice. :eusa-clap:
Stunning are, absolutely beautiful! I am so jealous of anyone who has the skills and tools to work metal as I would love to do stuff like this.
More! I demand more!
More! I demand more!

Trevanion
Old Oak
Wonderful work as always rxh, a nice way to use up those small little mostly useless offcuts that accumulate too.

Woodbloke
Sequoia
Beautiful job and very handy! :eusa-clap: - Rob


Sheffield Tony
Nordic Pine
Planing small things of course ... A very nice little tool :eusa-clap:
I too wish I had the space and tools for proper metalwork. I used to have at least a decent bench and vice at work, but the space was needed for other things, so now I have a Record Imp vice and "toy" anvil. Not going to be making anything like this
I too wish I had the space and tools for proper metalwork. I used to have at least a decent bench and vice at work, but the space was needed for other things, so now I have a Record Imp vice and "toy" anvil. Not going to be making anything like this

Pete Maddex
Old Oak
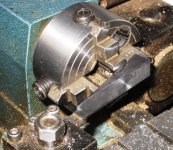
Very nice, and your wedge machining method noted for future use.
Pete
Pete