• Hi all and welcome to TheWoodHaven2 brought into the 21st Century, kicking and screaming! We all have Alasdair to thank for the vast bulk of the heavy lifting to get us here, no more so than me because he's taken away a huge burden of responsibility from my shoulders and brought us to this new shiny home, with all your previous content (hopefully) still intact! Please peruse and feed back. There is still plenty to do, like changing the colour scheme, adding the banner graphic, tweaking the odd setting here and there so I have added a new thread in the 'Technical Issues, Bugs and Feature Requests' forum for you to add any issues you find, any missing settings or just anything you'd like to see added/removed from the feature set that Xenforo offers. We will get to everything over the coming weeks so please be patient, but add anything at all to the thread I mention above and we promise to get to them over the next few days/weeks/months. In the meantime, please enjoy!

Stool Build WIP

Nico Adie

New Shoots
Joined
Oct 8, 2020
Messages
95
Reaction score
0
Location
Ceinture Centrale
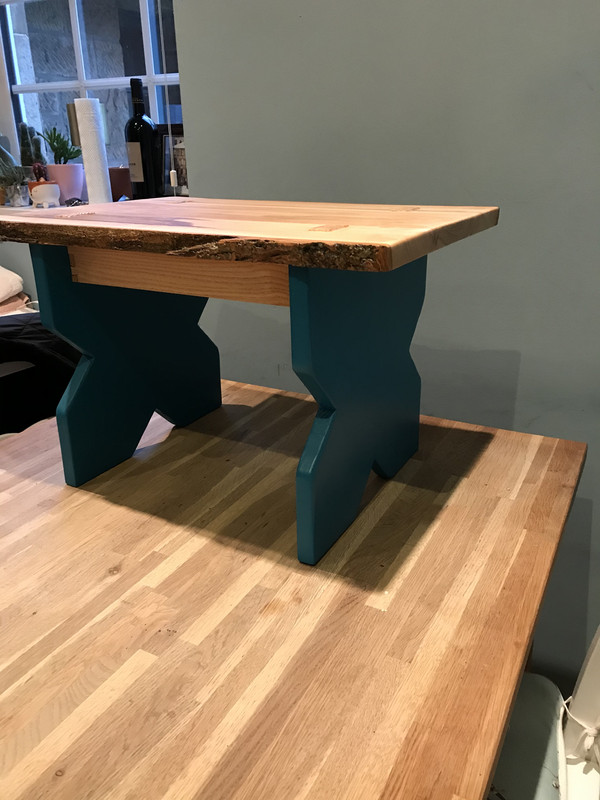
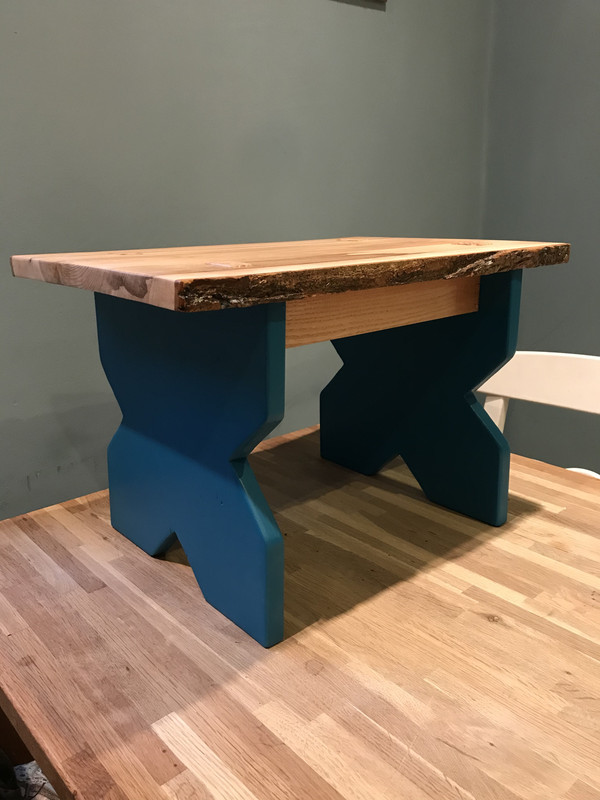
We need a stool for the house as the ceilings are tall and so are the cupboards. And my wife isn’t. This is for her.

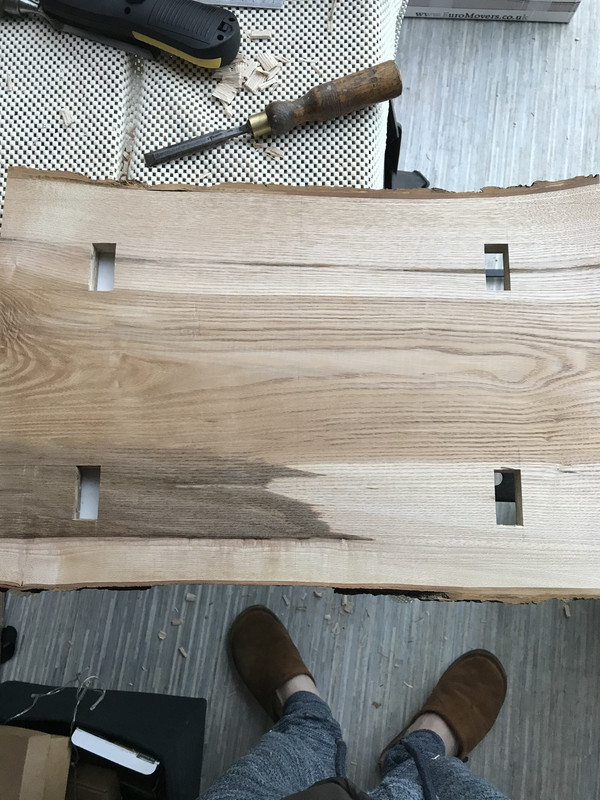
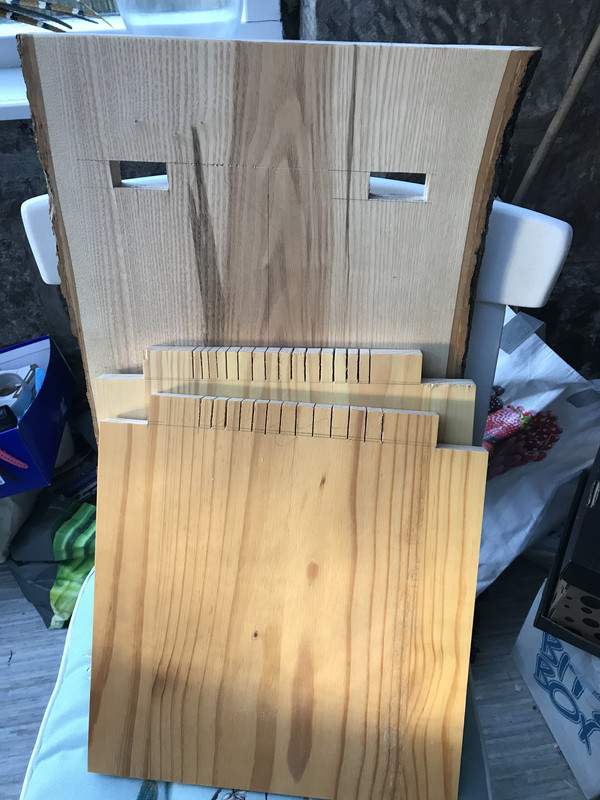
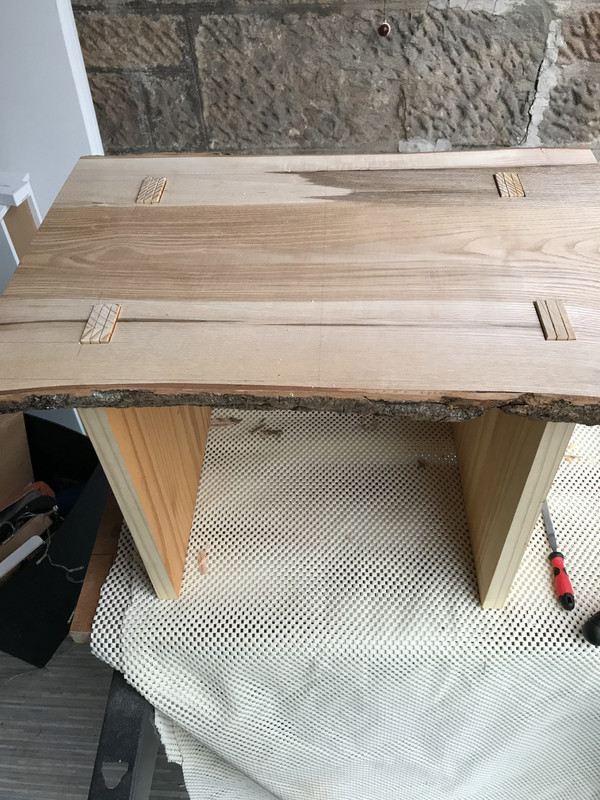
I got a lovely piece of Ash from Scottish Wood to make this, the legs/frame will be from a pine bedside cabinet I got from the dump and have disassembled. This’ll be the first time I’ve made mortises. The top will remain live edge because my wife likes that look, and that’s good enough for me. I started this today at about 1pm.

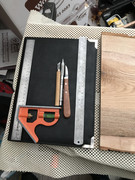
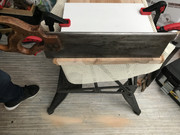
First off, squaring up the board and the implements used to mark out.
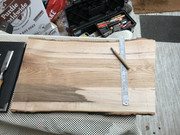


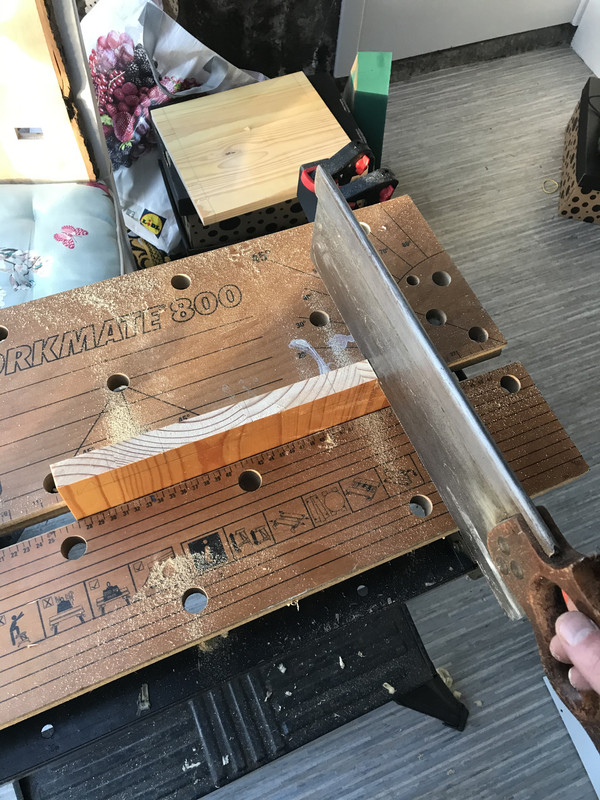
My patented straight cutting jig, a shelf from a bathroom unit. And a big tenon saw with an incredibly heavy steel spine.
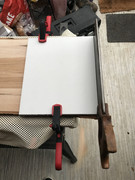


With that done, it was time to set out the mortises. This took some time and planning. My faithful Ohto Super Promecha pencil was invaluable. I set the depth on the mortise gauge to the thickness of the wood I’ll be using for the legs/base.
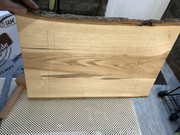


At this point I realised I’d made a stupid mistake - I’d just eyeballed the distance the legs would be inset from the edge of the top and scribed the mortises which is going to make measuring the rail more difficult than it otherwise should be, but nothing insurmountable. And so onto cutting my first ever mortise...
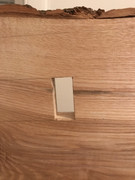
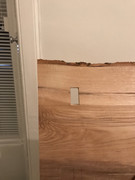
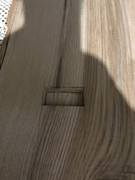


I got one finished before bad light (and the need to do food shopping) stopped play. Quite pleased with how it’s turned out, and the through tenons are going to be wedged so should help to hide any sloppiness.

Looking forward to getting the rest of the mortises cut tomorrow!
 
First mortise?....You've got to be happy with that. It looks spot on.

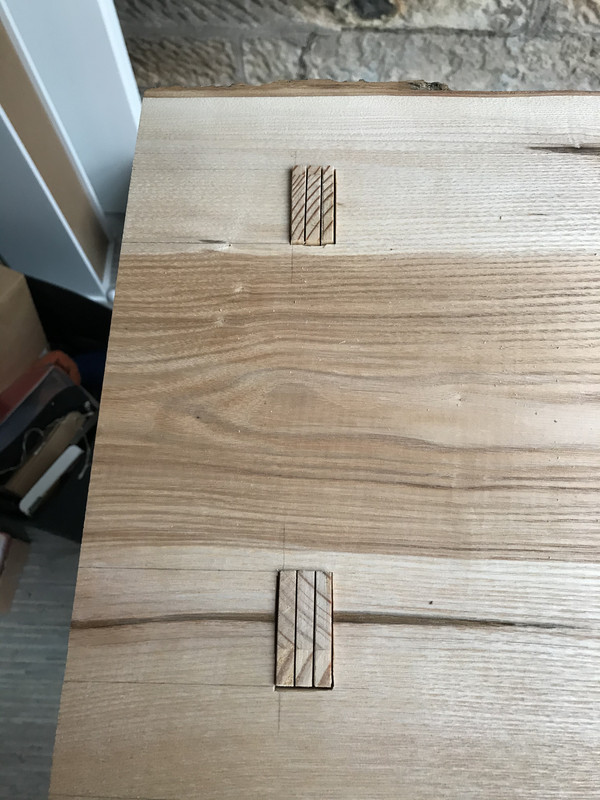
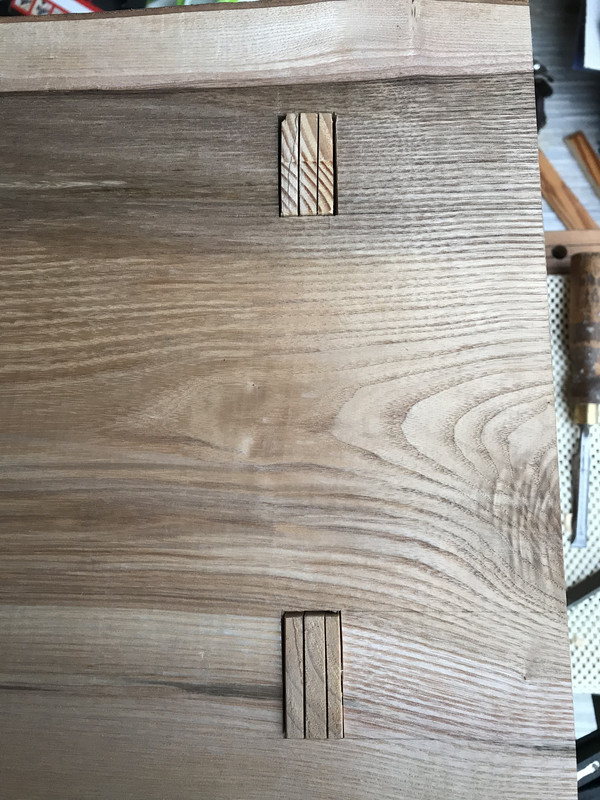
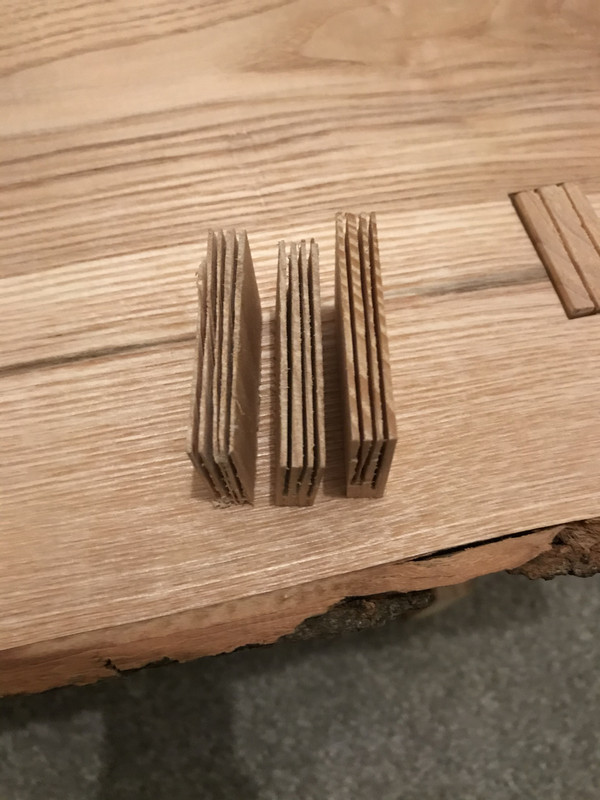
That's rather a dramatic piece of wood, and I'm sure this will be a beautiful stool very soon. You're right about wedged tenons filling gaps nicely, but you will take care to wedge it the right way, won't you (such that the wedge isn't prising the grain of the seat apart).

Anyway, well done so far Nico, and I'm following along with interest.
 
Mike G":3k082t43 said:
First mortise?....You've got to be happy with that. It looks spot on.
Agree, nice job. As the tenons will be wedged, please don't make the elementary mistook :eusa-doh: of banging it (or them) in parallel with the grain; they should be at 90deg to the direction of the grain as Mike has already commented - Rob
 
Woodbloke":2rns3r9u said:
Mike G":2rns3r9u said:
First mortise?....You've got to be happy with that. It looks spot on.
Agree, nice job. As the tenons will be wedged, please don't make the elementary mistook :eusa-doh: of banging it (or them) in parallel with the grain; they should be at 90deg to the direction of the grain as Mike as already commented - Rob


I’ve got that particular t-shirt. :oops:
 
Thanks for all the kind word s so far!
9fingers":2jhum625 said:
Are the legs going to be splayed out?
If you going to be standing on the stool, the base foot print should be at least as large as the top to help with stability.

Bob

You make a very valid point and one that may lead me to modify my design!

Today’s progress:

The rest of the mortises chopped out

616-F79-D6-3970-45-D4-A0-F7-FC533893867-A.jpg


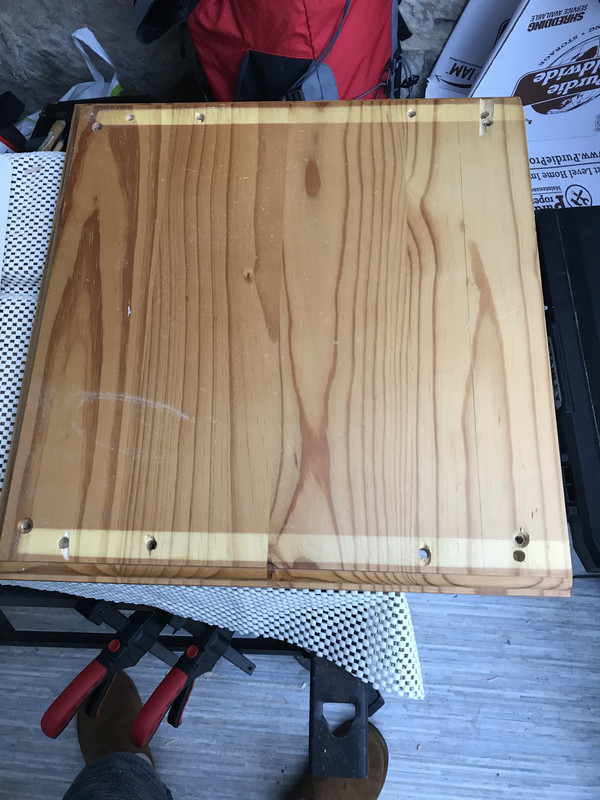
Now onto dimensioning the frame/legs/base. To begin with I had two pieces that looked like this:

908-EF3-D2-E79-A-445-C-834-C-F017-F5222746.jpg


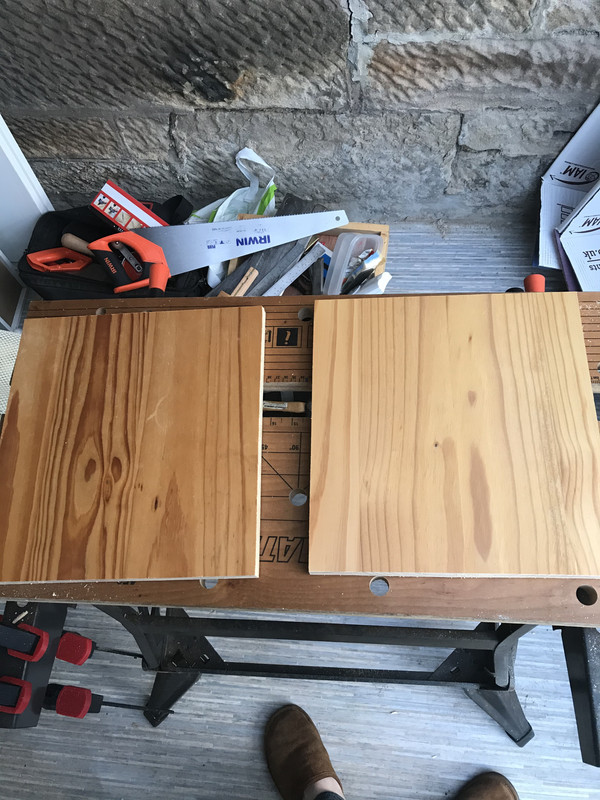
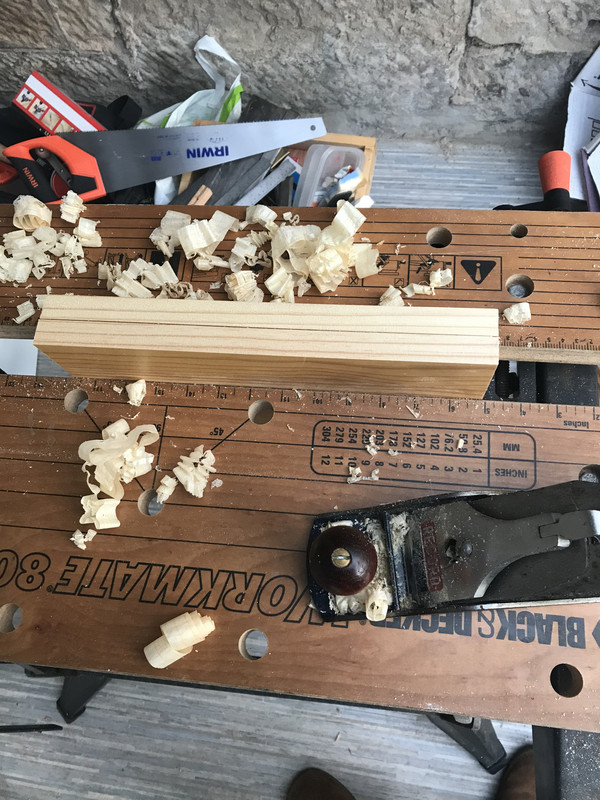
After some cutting with a lovely old Sandvik saw that I’ve filed to rip, they looked like this (the Irwin hardpoint is for cutting firewood):

096-BFFE4-8-A62-425-A-B487-C0-D1-A0-F9-D55-A.jpg


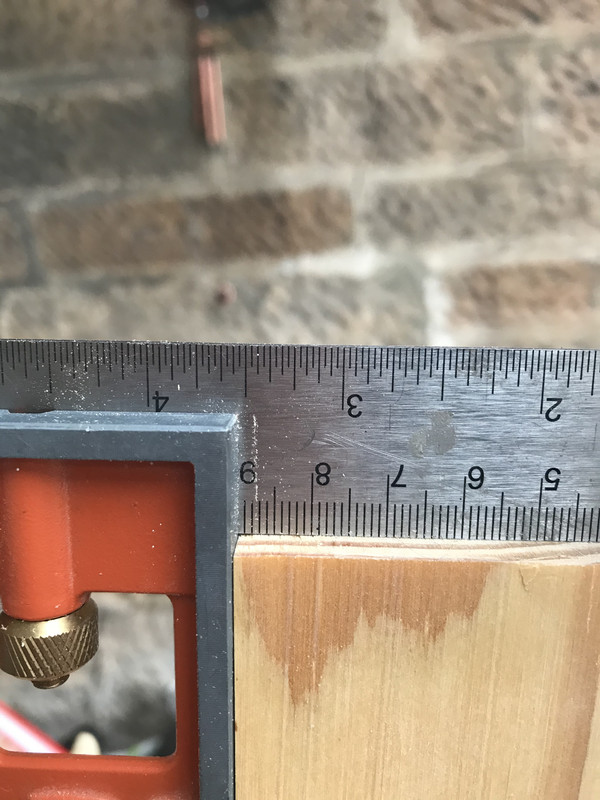
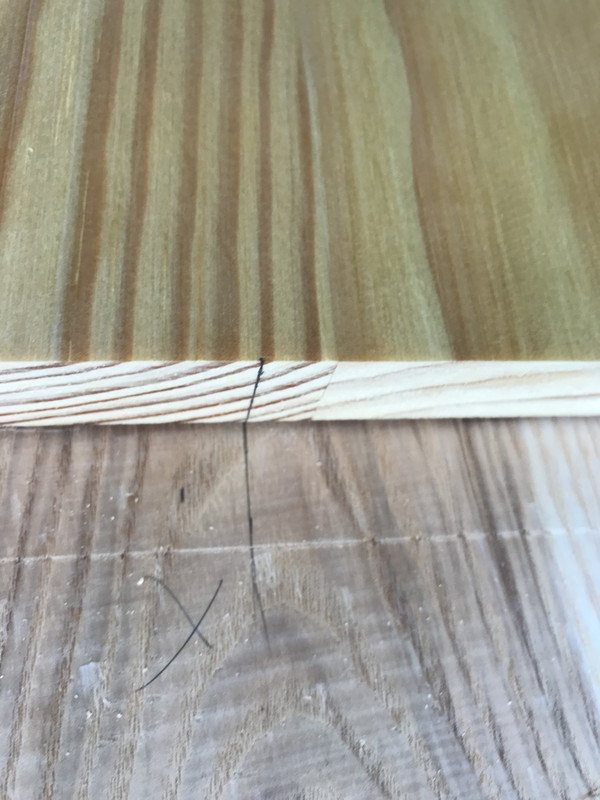
Now to square the boards up:

FC725-C58-5910-4-BFA-80-A3-3-EF29410-C09-E.jpg

38-ACF1-E4-0-A27-4-DCE-988-C-13643-BA91-CE1.jpg

32-CE8-E07-AAB9-4-EEF-87-A4-4646616-B94-B7.jpg


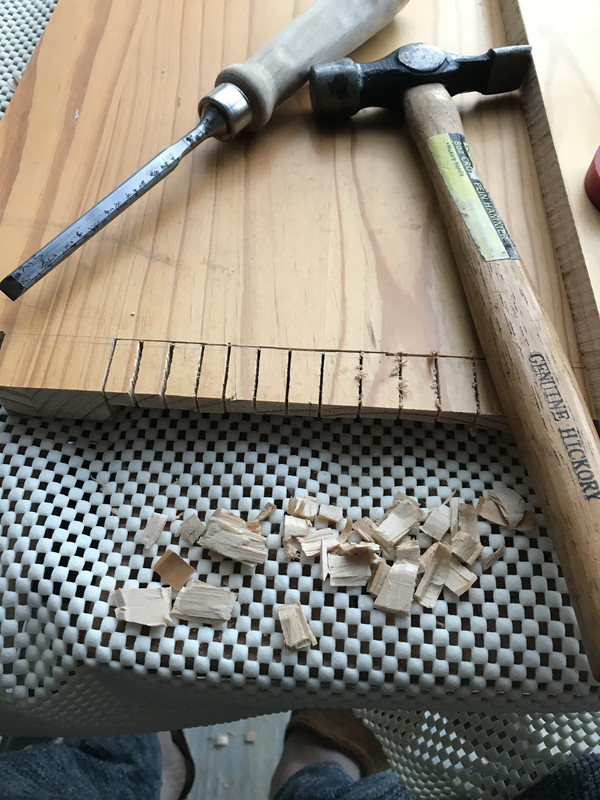
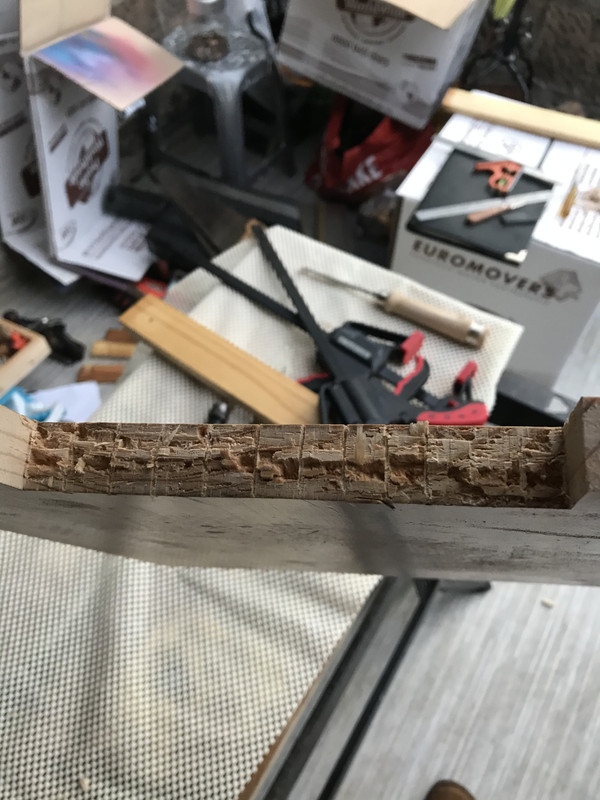
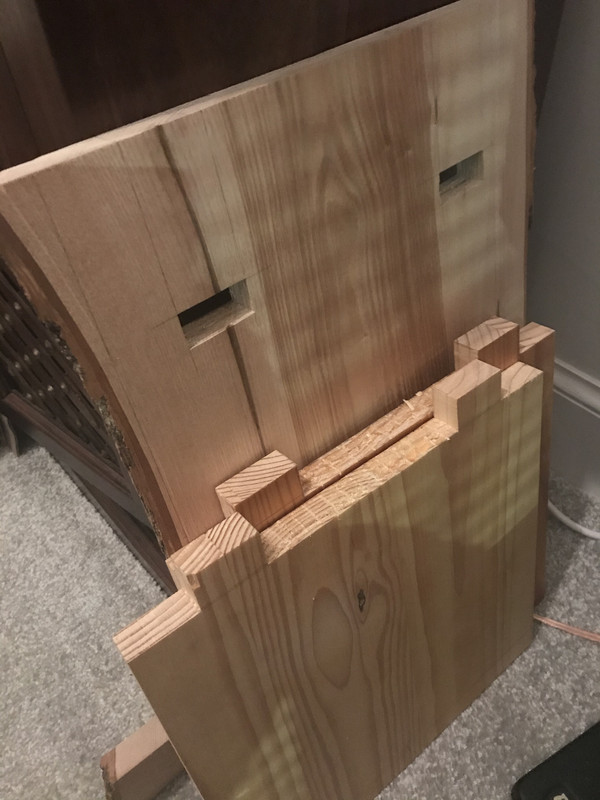
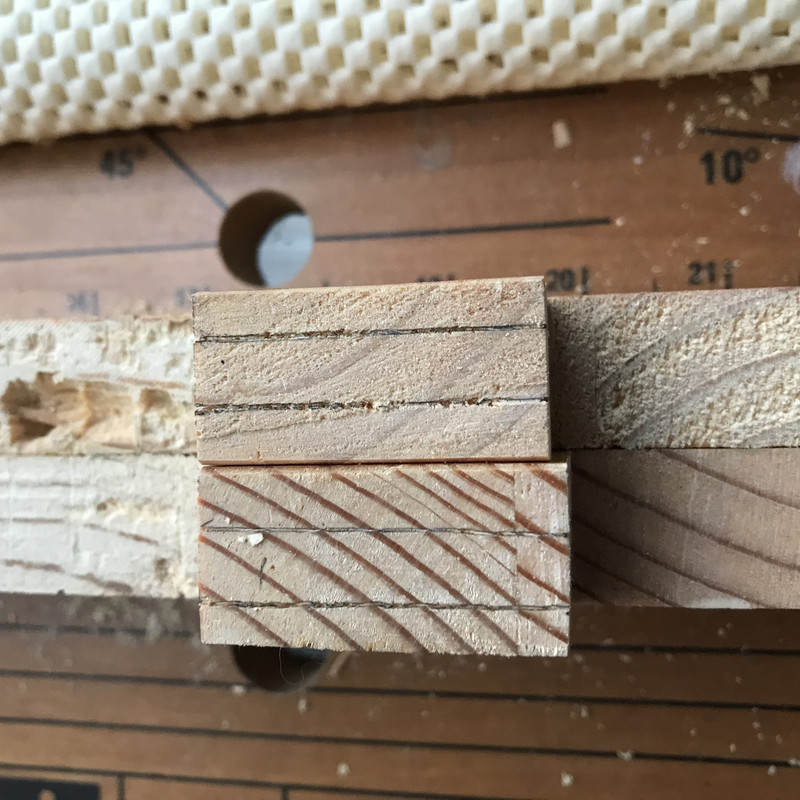
Now to mark the tenons. I drew a centre line on each board to align with the centre line on the top, and then marked the cut lines from the mortises. Then I cut the tenons, using lots of relief cuts to make chiselling the waste away easier. A router would’ve been a godsend here! The pine is absolutely horrible to work with compared to the Ash. Crumbly and brittle. A lesson!

BEEADA5-B-9-A4-C-4938-9-FA9-D41-C402-E78-D1.jpg

0028070-E-EBC0-4-ADA-979-A-88-B70-jE91-DE1-B.jpg
31-E786-FC-C5-EF-4015-9844-0-D2-B3-E190-C64.jpg
9459-D191t-30-D3-4-BCC-AC30-10-E86-ADF985-B.jpg
A9-C591-A4-2243-4-E80-BE82-86-EE1-B9419-A6.jpg

1984-C974-92-BD-4-E98-A5-ED-A8-A1-FE4-B5-D16.jpg


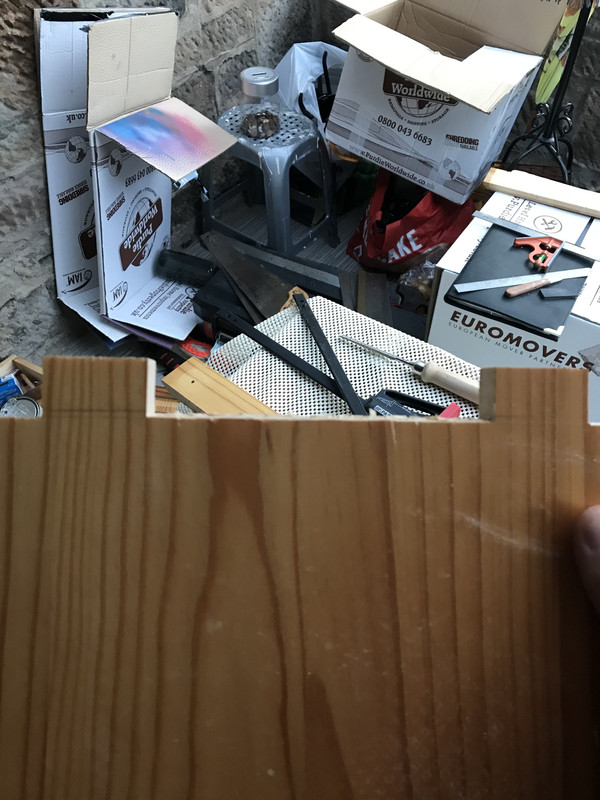
After about 6hrs in total, I’m left with this (the chip out of one of the tenons an example of the pine’s brittleness, I just had to look at it the wrong way and that happened):

910-B16-F4-E2-E0-4-D43-8680-5-C352408096-A.jpg


Tomorrow I’ll fettle the joints (I purposely cut the tenons oversized to allow paring and as contingency for my lack of skills) and start to shape the legs. They’re going to be painted too. The top will be varnished.
 
Wow, Nico.......all that on a Workmate! It's a hell of a good effort to chop out mortices on a Workmate. They'll have bounced around all over the place.

Actually, I learned all my early lessons working on a Workmate, or on the floor. I can't tell you just how wonderful and transformative (transformational?) a bench is when you first get one. If you like woodworking now, you'll absolutely love it once you've got a bench.
 
It’s surprisingly solid, although nowhere near as solid as the workbench I had in my last house. Very much looking forward to building one, but need to fix the leaking roof on the garage first...
 
you often need very very sharp tools for pine like that, even so some pieces are very brittle, I've experienced that as well, looks good so far nico, looking forward to seeing how this turns out.
 
That’s almost soul destroying, cutting back to that shoulder line with a mallet and chisel over that wide area, don’t know if you had a coping saw or a jigsaw to remove most of the waste first it would’ve made life much easier for you and then just pare off the last millimetre down to the line, going well though. Ian
 
Cabinetman":1ik62hhe said:
That’s almost soul destroying, cutting back to that shoulder line with a mallet and chisel over that wide area, don’t know if you had a coping saw or a jigsaw to remove most of the waste first it would’ve made life much easier for you and then just pare off the last millimetre down to the line, going well though. Ian

I have a resilient and dogmatic soul :D

This morning’s progress:

Clean up of that horrible wood as best I could

A7-B9-DF76-8-E2-C-4-CA3-A56-D-6-C1671-B3796-F.jpg


Then to mark and cut where the wedges will go. I forgot to take a picture of the saw in the cut, but you know what that looks like

6-B1885-C5-439-E-46-D0-8-B92-335-D14-C6-DF09.jpg

DC8-BE276-C1-C0-4514-AED0-724-F4-A663-AC9.jpg


Now to fettle and fit, this took longer than I hoped and consisted of roughly 35% fettling and 65% swearing. Got there in the end though

844-A4-CA8-6-EFB-46-B4-8-B03-75-E26-EF1-E557.jpg

A3421327-BD70-4823-A0-FB-37-CEC6-F8-A59-F.jpg

CF36-E036-3439-4372-BDF1-A405-B86-C40-C4.jpg

F2-B46237-EE86-432-C-899-B-0-DEAECA128-CD.jpg


Now for lunch and to contemplate cutting the rail and shaping the legs.
 
Looking good!

It's probably too late to say this, but when you have to use brittle timber and get annoying bits that chip off strategic corners, IF you can catch the right chip at the time, it's easy to stick it back on. I use a drop of superglue / cyano acrylate / CA and a bit of masking tape to hold it in place. I feel your pain!
 
AndyT":3o632u2d said:
Looking good!

It's probably too late to say this, but when you have to use brittle timber and get annoying bits that chip off strategic corners, IF you can catch the right chip at the time, it's easy to stick it back on. I use a drop of superglue / cyano acrylate / CA and a bit of masking tape to hold it in place. I feel your pain!

Great tip, unfortunately the chip I need is the one I can’t find!

This afternoon’s progress:

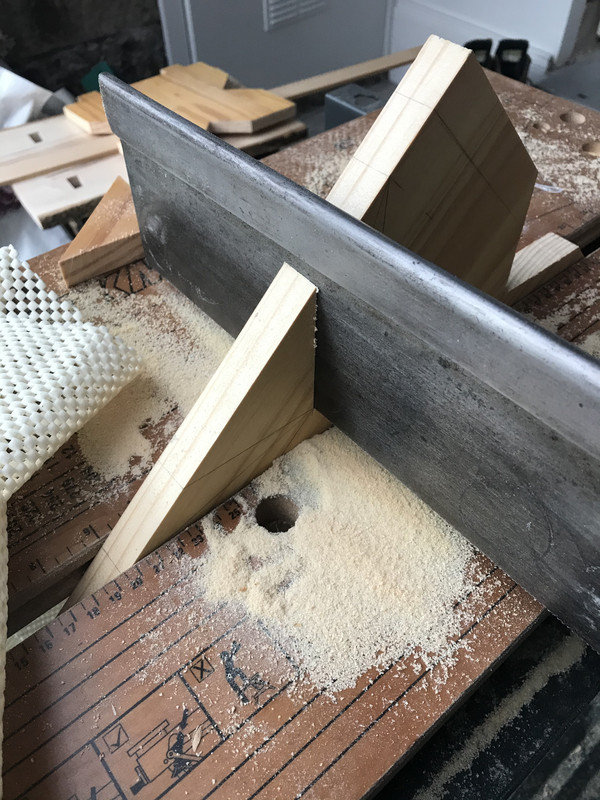
The legs need shape to look less clunky. I settled on cutting a right angled triangle from each side, with the idea of smoothing them off tomorrow, probably with a belt sander, my one concession to electricity during this build. Other than the lights, obviously.

Some marking out, some cutting (that big old tenon saw packs a punch), and I was left with this:

5-A295-EA6-D025-4-CFF-AD39-11-AD79-EBEC7-C.jpg

C281-A470-328-C-4-E6-A-B32-F-746-AE083-FE7-C.jpg


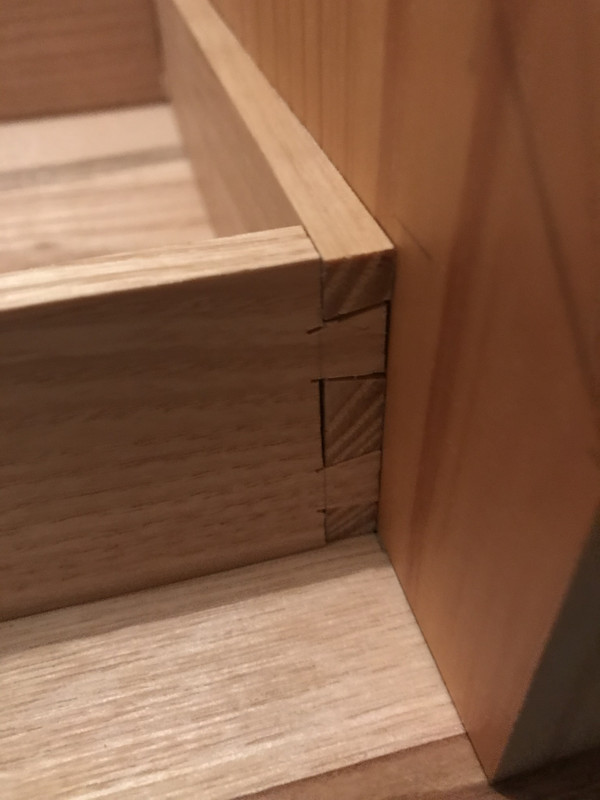
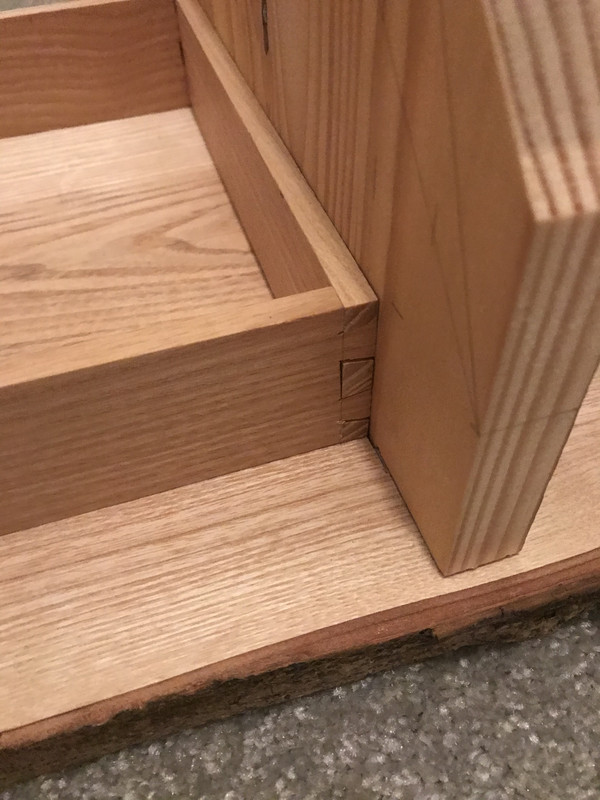
Then onto the rail. Or not. I dreaded the thought of more chiselling through the Weetabix pine, so had an idea: A dovetailed frame to sit beneath the top which would be glued to the legs and hopefully provide some rigidity. I have cut exactly 2 dovetail joints in my life. I had some 8mm x 50mm Ash that I’d bought years ago with the intention of making a tray. That didn’t happen, although I did make a pencil case from it.

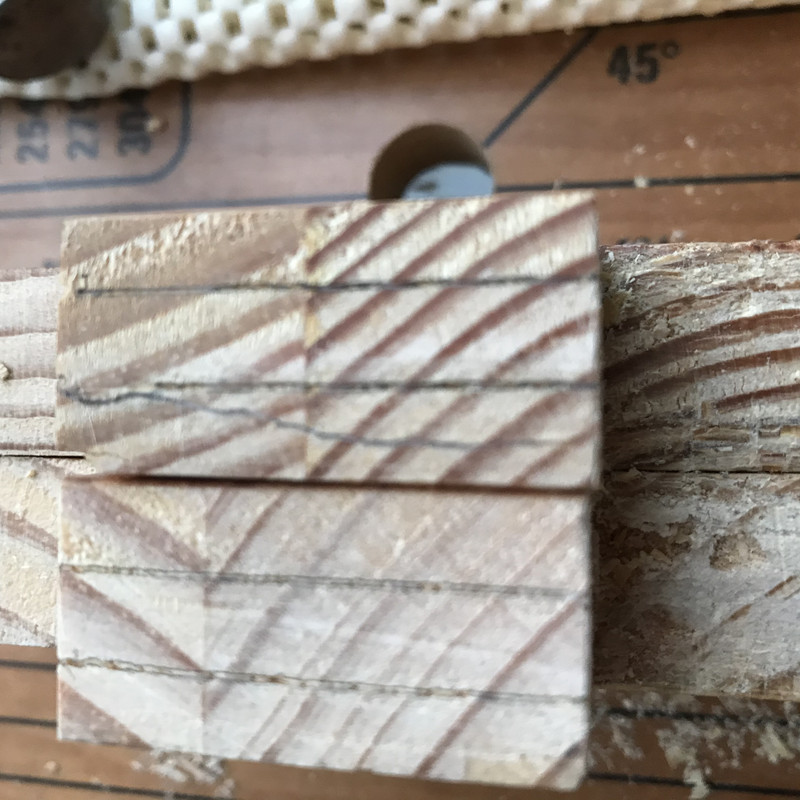
Anyway, I digress. Time to mark out and do some joinery. Unfortunately the photos I took are blurred except from one - at this point it was 3.15pm and light was fading fast. Fortunately the wood was square. So here it is:

643-BDAD3-E90-A-4-CCD-9-D48-B6-ACFAF81911.jpg


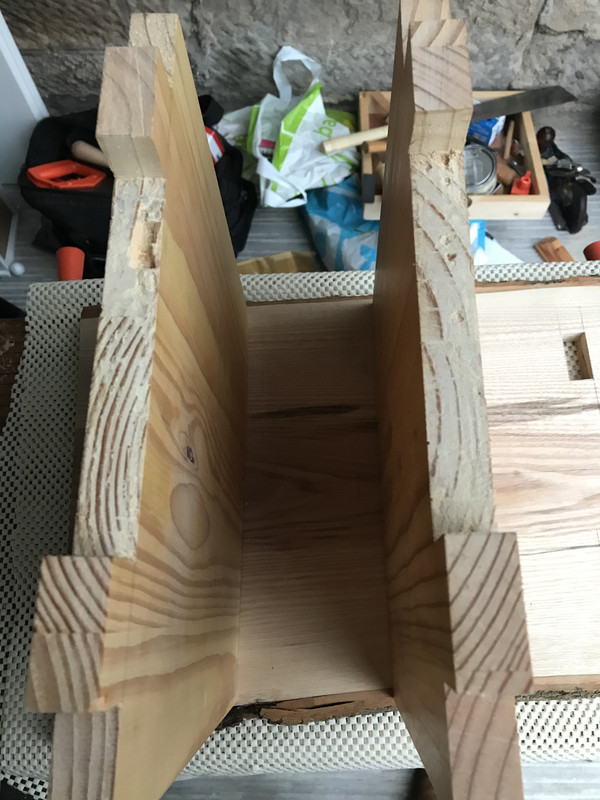
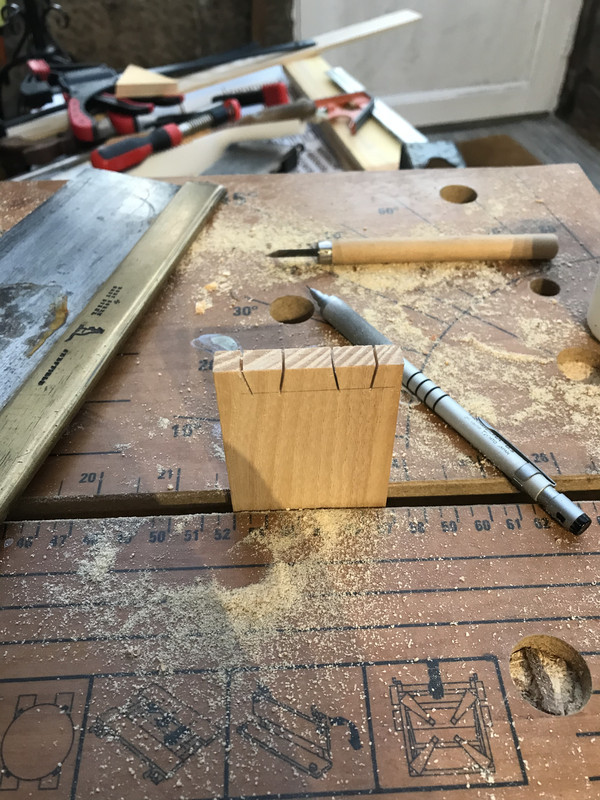
Cue lots of chiselling (and a break to sharpen) and here we have my first set of dovetails:
0-C2-A8133-A02-E-4637-B257-1-F954261-B908.jpg
8811-CFBE-95-A0-4985-B5-E8-BBDC7-F964614.jpg
1-D1091-C1-FE95-4132-9136-EF98119812-C7.jpg

B7-E936-E5-CF6-A-48-A9-B158-EB2-E870-C2-D05.jpg


And the whole thing as it stands just now:

7-ACE349-C-123-E-4-EA6-9-C45-8-FA432962-B1-B.jpg
 
Good plan.
And if I may say so, for first time at it they look like they will glue up to make something strong and practical. Dovetails don't have to be visually perfect to be useful.
 
I know just how satisfying and yet frustrating you will have found all this. Crumbly pine is a bit of a pain to work with. Anyway, this looks like it should be strong and attractive, and that's the definition of a good piece of furniture in my book.
 
Malc2098":1kg0xujs said:
Not a pink Strat!! How could you?! :D

Stool looks great.

I’ve actually got 2, the other’s at our practice space where it’s sat forlornly in its case since September, along with almost all my pedals and a Tele!
 
Nico Adie":5d9nzn8w said:
Malc2098":5d9nzn8w said:
Not a pink Strat!! How could you?! :D

Stool looks great.

I’ve actually got 2, the other’s at our practice space where it’s sat forlornly in its case since September, along with almost all my pedals and a Tele!

Nice. :eusa-clap:
 
Pretty good attempt at dovetails, stiffening up that underframe could be done in a number of ways, but that wasn’t one of the ways that would’ve sprung to my mind first off, so top marks for ingenuity. Ian
 
As well as strong and attractive I would add fit for purpose.

So long as it is stable you have done a good job.
 
Very nice! It will be strong enough for anything. I suggest rounding off all the edges a little, though. Your feet and shins will thank you....

Kirk
 
The final hurdles then...

Cut some wedges

42-CBD797-36-E1-414-E-8-DD0-65-C82-E928790.jpg


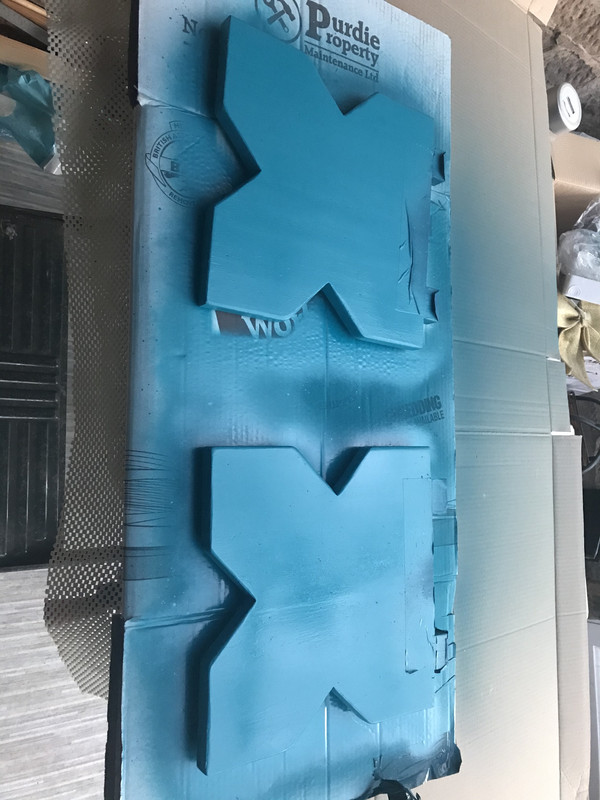
Paint those legs - Montana Gold spray paint, shade - Aqua


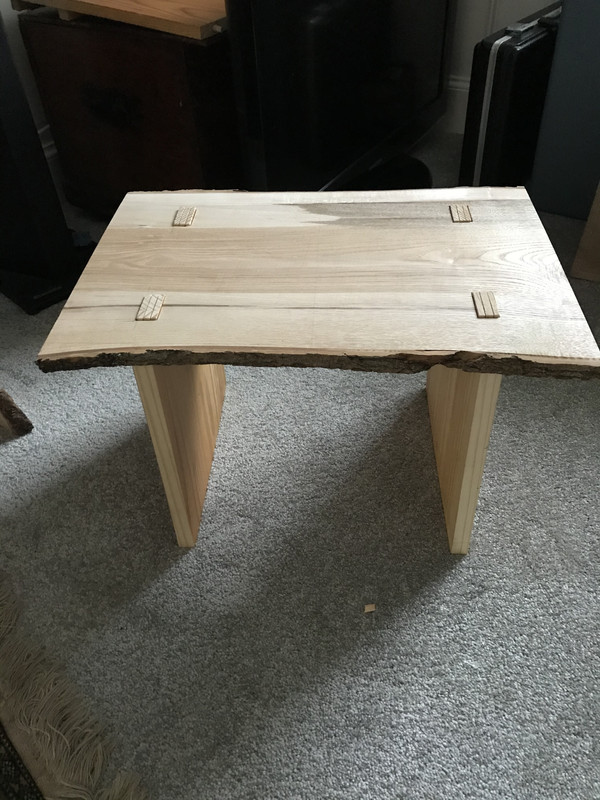
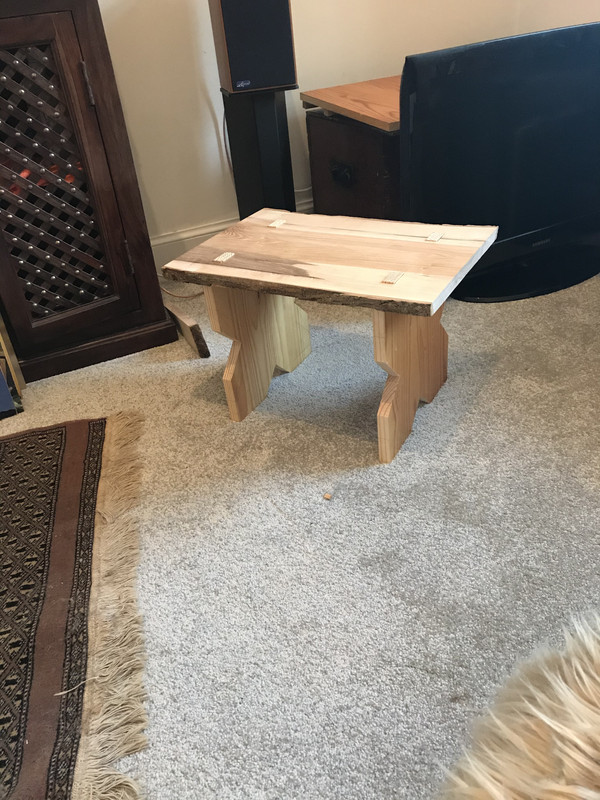
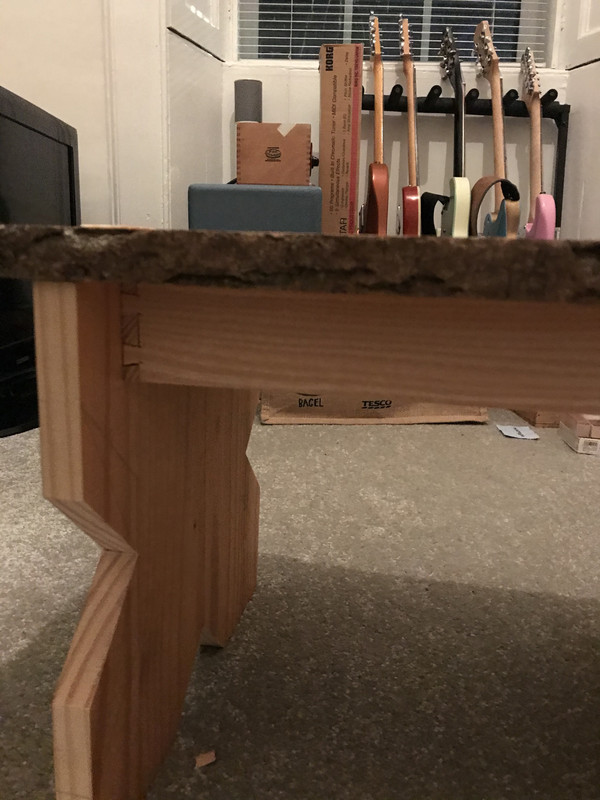
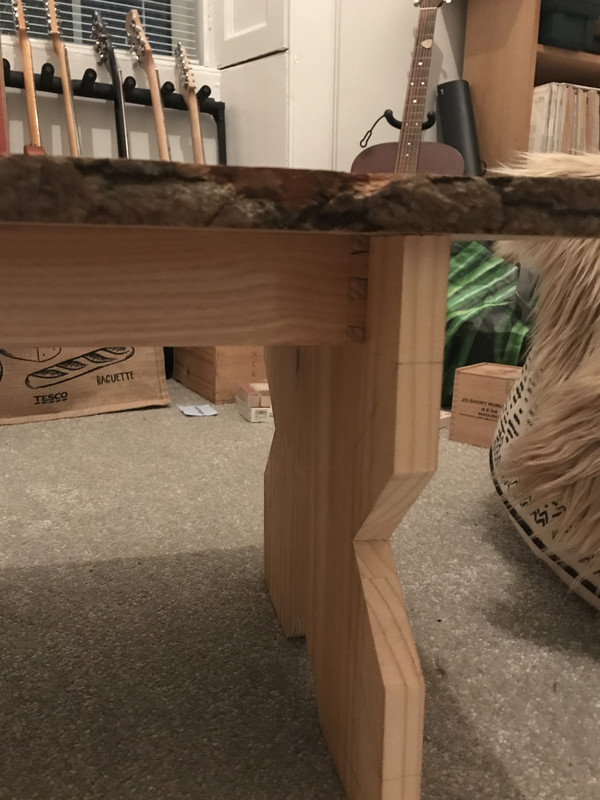
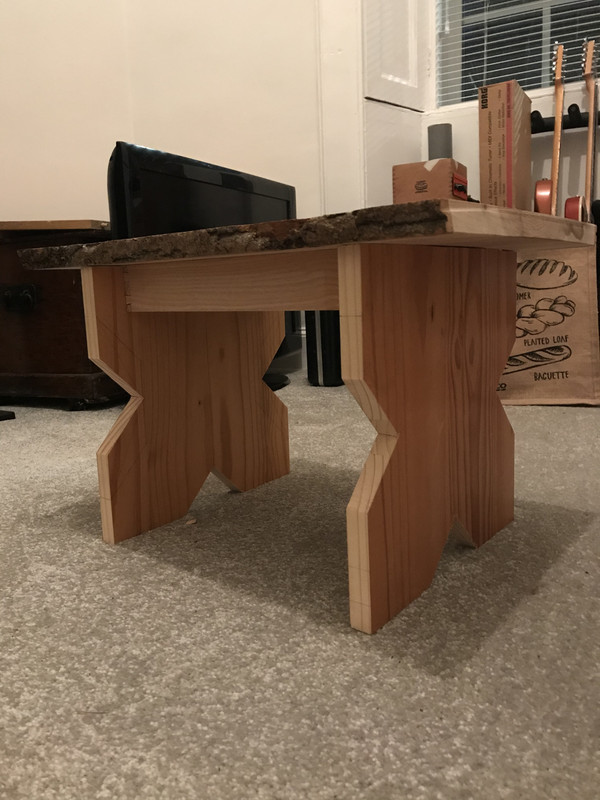
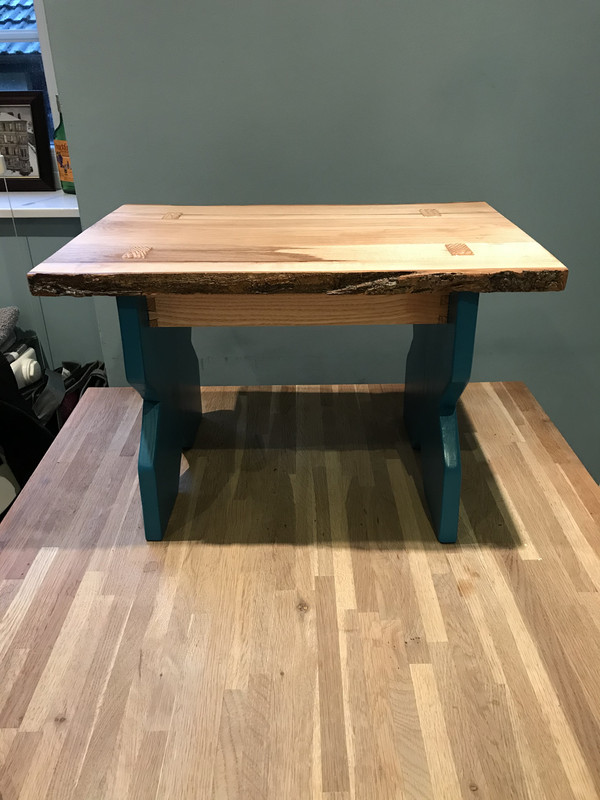
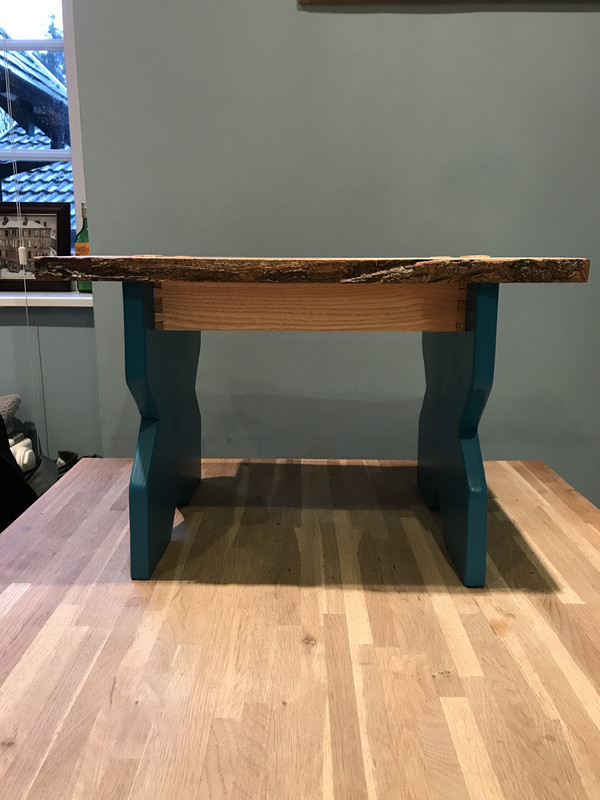
The glue up was far too stressful to take photos during, despite my best efforts at planning. However, I got there in the end. I should have cut the tenons and wedges down a bit before assembly, so that’s a definite lesson learned. My little mouse sander was invaluable at smoothing them off. The top was finished with Ronseal Diamond Hard Satin varnish, clear/untinted.

116-CFB60-B49-C-43-FE-AD37-561136107471.jpg

31545971-4878-4-B71-8-F87-A5776-A0983-A6.jpg

9-C6-E12-F9-B1-C7-488-A-B4-A6-CD679-F5-D98-B7.jpg

CEB68602-596-A-4809-B093-6-E7-ADD80-EF83.jpg


All in all, I’m pretty pleased with it and I’ve learned absolutely loads during the process. My wife loves it.

Hope you all had a wonderful Christmas!
 
Nice perch you've made there. Like the painted pine, hides the crap grain nicely.

My first bass was a bright pink squire P bass. Cost me the grand total of a mars bar and a two bonfire toffee lollies. I took it apart and fixed the buzz with a new saddle earth, at which point i thought i was king of the world.
 
:eusa-clap: :eusa-clap: Very good, Nico. Well done.
 
Nice job on that stool and as others have said, pine is bloody horrible stuff to work with, especially if you're cutting across the grain with chisels. They need to be sharp, REALLY sharp and even then it's difficult. In fact, it's sometimes how I test the edge on a chisel; if it will cut a small 45deg chamfer across the end grain of a nasty bit of pine with no (or very little deformation) of the grain it's 'adequate' - Rob
 
Back
Top