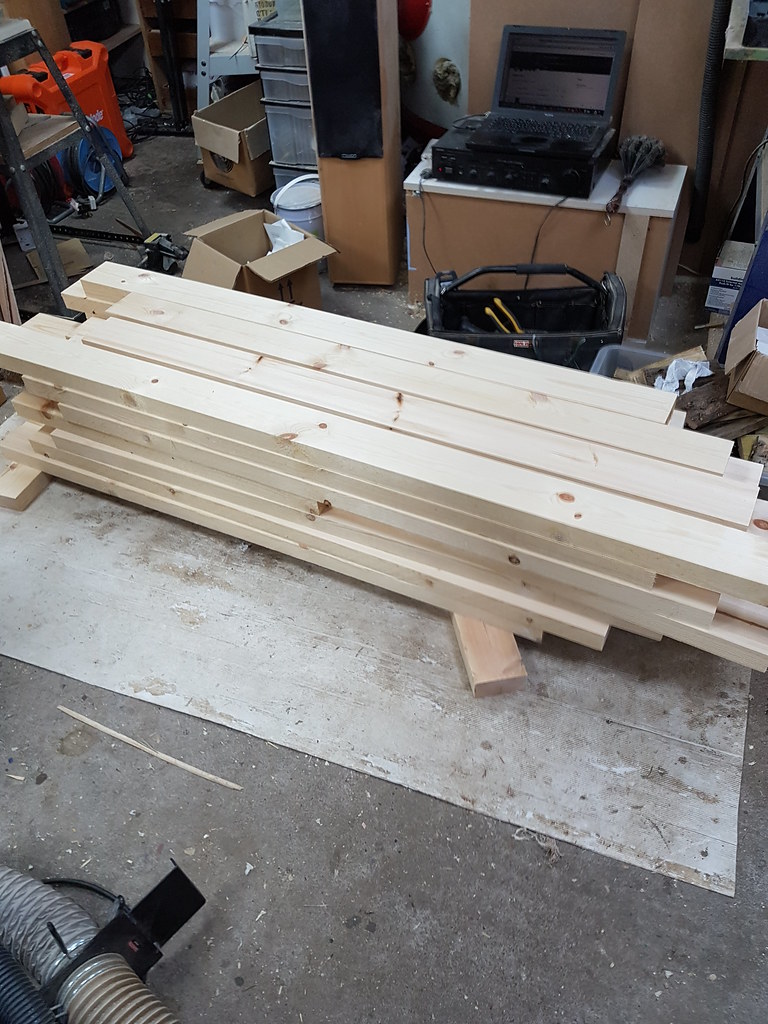
Thursday
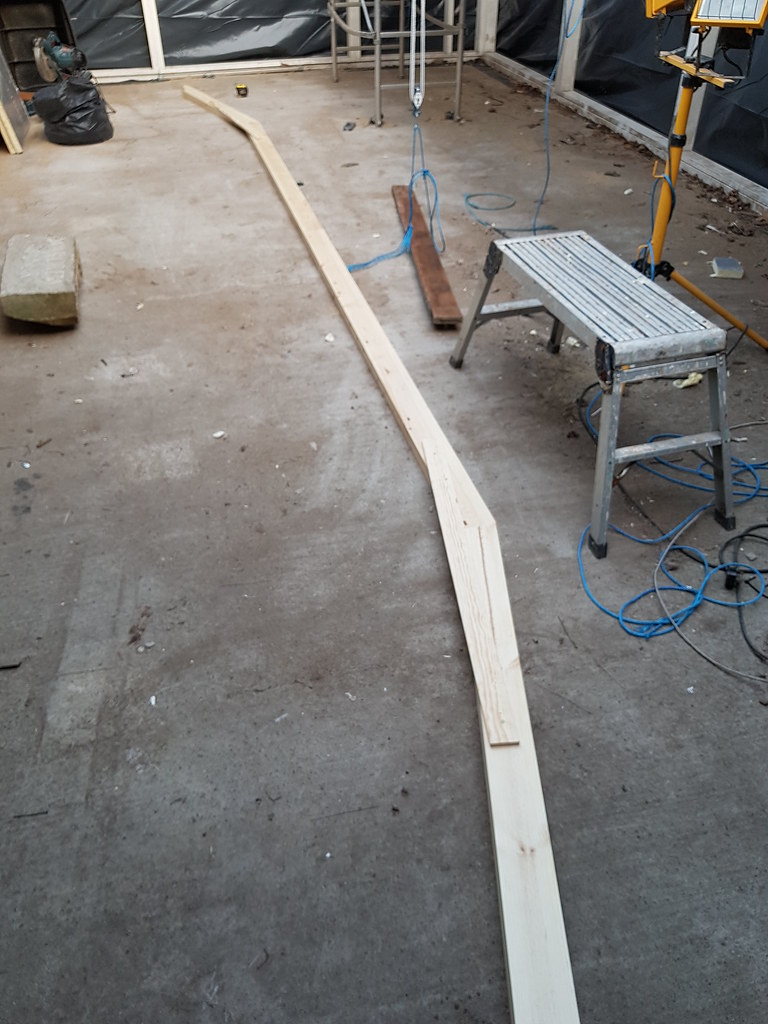
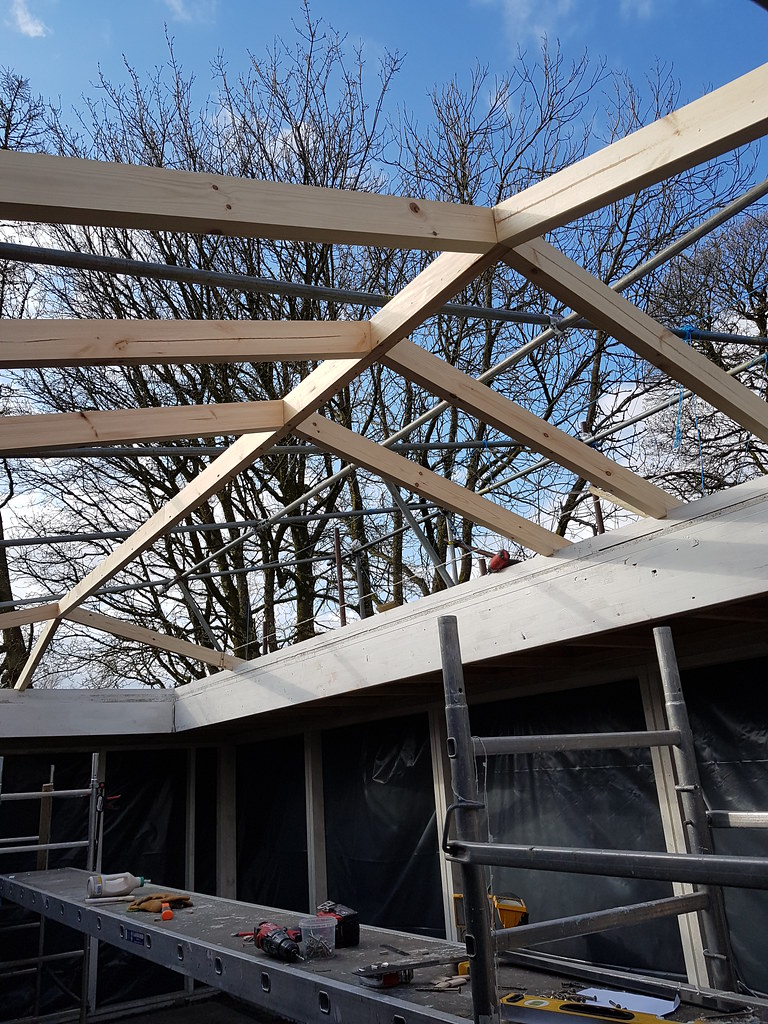
A new day dawns and with renewed vigour, the ridge beam was hauled up and into place all by my ownsome.

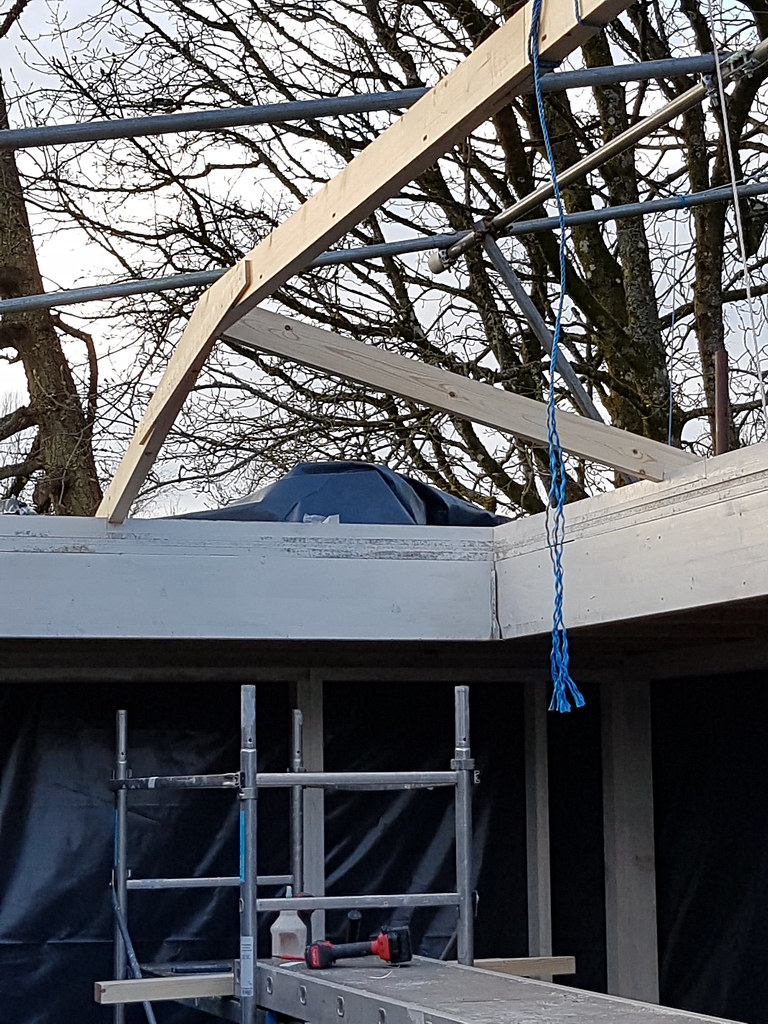
First rafter in place and it fits (more or less)
Had to go out for the day but determined to get the ridge beam reasonably secured before nightfall so I could drag the cover back over.

All feels a little bit rickety though, TBH

Hopefully when it all gets screwed down and more rafters added it will stiffen up.
Friday
Once the frost had gone from the covering, started to add more rafters. Incidentally, having that scaffold frame still present gives lots of handholds !
The ridge beam has domino slots already cut for alignment purposes. Marked up the other ends on the 'wall-plates' ...for want of a better word. Some niggling thoughts though at the back of my mind. First rafter went in OK although the birdsmouth wasn't a brilliant fit. I'm glad though that I've opted to do a 'reverse' birdsmouth as it means I can tap in some thin folding wedges between the birdsmouth and wall-plate to tighten up the rafter prior to fixing to the wall-plate.
Second rafter on the other side turned out to need more tweaking then I would have liked. Reason for saying that is that I'd thought I'd be able to make a template for the rafters and then 'cookie-cut' the birdsmouths out with a bearing guided router cutter. Trouble is that, given the length and width of the building, the wall-plates are not mm level, co-planar with each opposite member or equal in spacing down the length. So each rafter is going to have to be individual trimmed.
The other cock-up is that I've managed to install the ridge beam not 100% vertical. This makes checking for rafter squareness relative to the ridge beam tricky as if you don't hold the square evenly spaced then because of the skew on the ridge beam, the rafter looks out of square. It took me a while to realise that. I hate working with slopes !
So got into a bit of a routine. Measuring the distance to the birdsmouth is made much easier with one of these.

I've got a range of sizes that cover most things. Absolutely brilliant for checking inside diagonals, amongst other things.
So cut the 15 degree slope off the rafter end....or 16 degrees as it is on one side due to my ridge beam cock-up


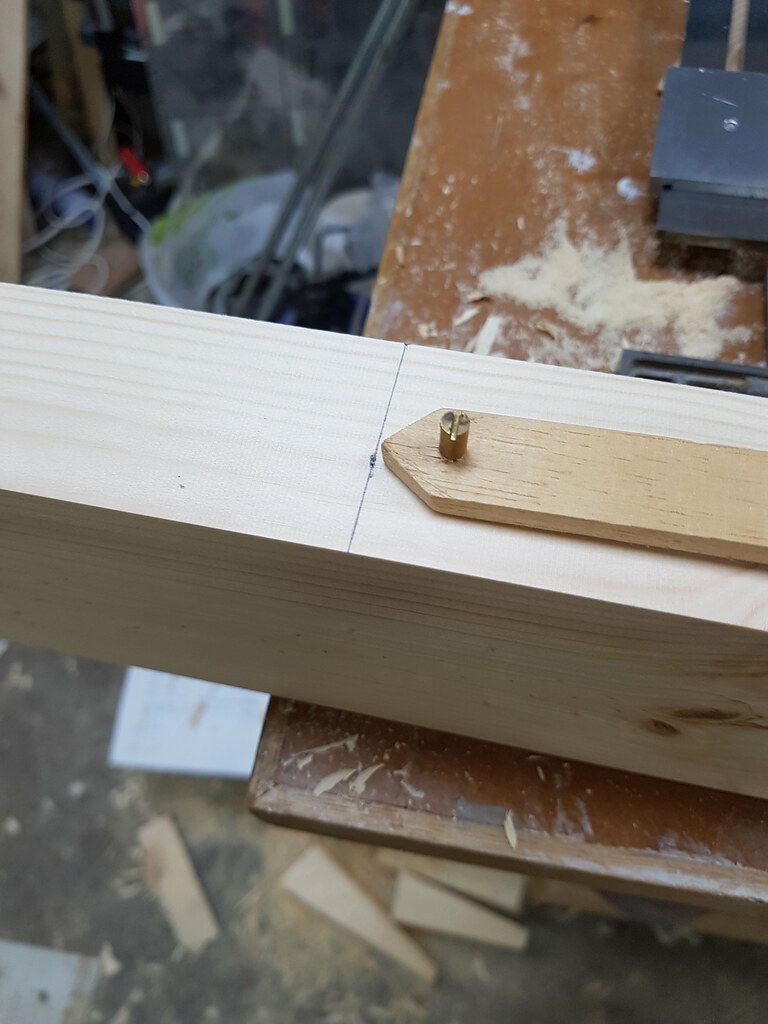
Cut the domino slot while it's all clamped down.

Quick blast of compressed air to clean it out.

Apply the measuring stick to mark the birdsmouth
Mark the right 15 degree slope

Mark off the depth...note it will be slightly less than the 20mm needed due to the slope. That's where this gizmo comes in handy. Very quick to mark off. I use these a lot.

Use this to get my 90 degree line. It's here that I guess I could use a template for marking out.

Cut the shoulder. Not a lot of kerf on the small tenon saw I use.

Then cut the slope with a jigsaw.

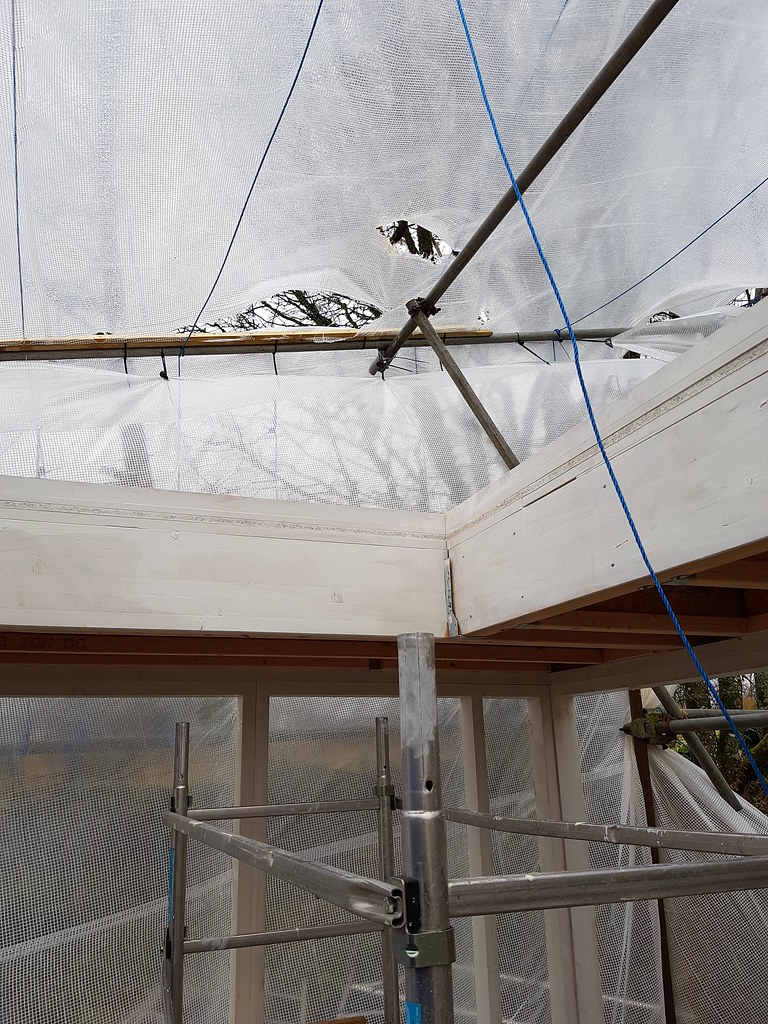
Check for squareness as sometimes the jigsaw blade wanders. This ones OK although TBH they never sit that well on top of the wall-palte. Remember - Roger - it's not furniture.

That niggling doubt won't go away. Just wish I knew what it was.
Other 'must-do's' came into play and so not as much progress as I'd have liked. By the end of the day I'd done these
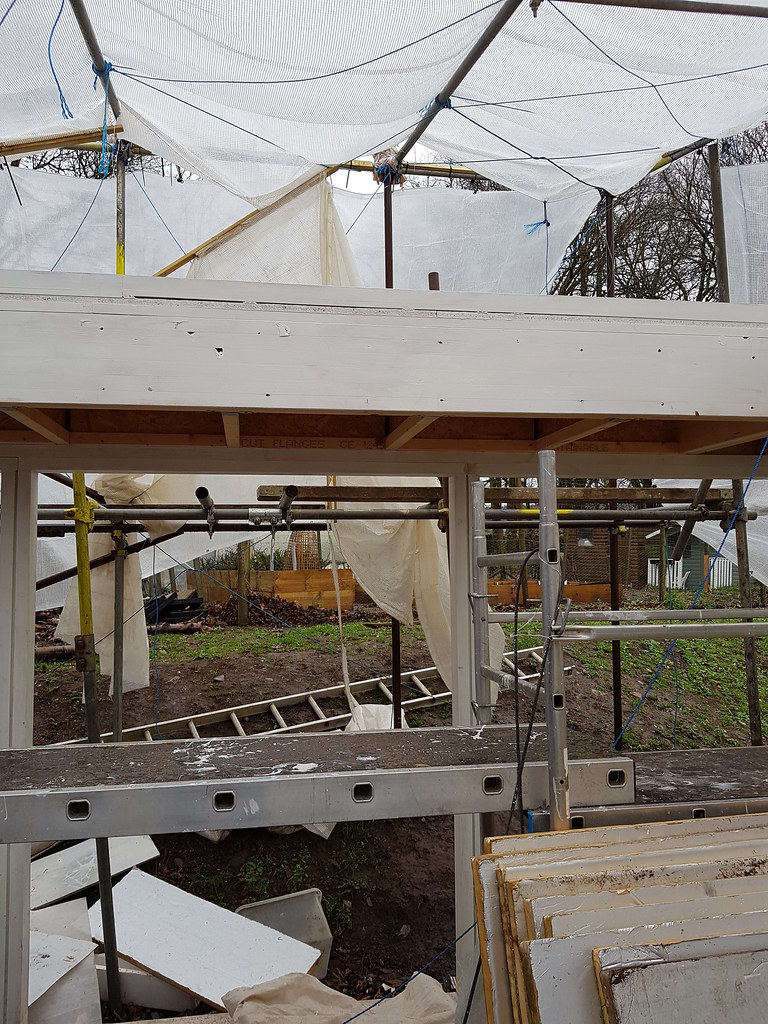
On the plus side, it's all stiffened up nicely. On the downside, the gusts of wind make the building nudge slightly. Sooner I get the walls finished the better.
And that niggling doubt is 'Have I got those rafters parallel and square to each other or are they tapering out or in such that the glass won't fit properly ? I hunted around for something to cut up into the size of a pane. 9mm offcuts of plywood not large enough. My board cutting space on the floor is filled up with prepared timber for the rafters. Too much of a fag anyway to get the track saw out. I'm sure those rafters are spot-on.
Saturday morning
Dammit. I've got to do a dry run with a mock-up pane of glass. Cardboard is too flimsy and will droop. Ditto the worktop templating material. Going to have to be a jury-rigged bit of 9mm plywood.
To be continued ....

")

")
 bscene-drinkingbuddies: