• Hi all and welcome to TheWoodHaven2 brought into the 21st Century, kicking and screaming! We all have Alasdair to thank for the vast bulk of the heavy lifting to get us here, no more so than me because he's taken away a huge burden of responsibility from my shoulders and brought us to this new shiny home, with all your previous content (hopefully) still intact! Please peruse and feed back. There is still plenty to do, like changing the colour scheme, adding the banner graphic, tweaking the odd setting here and there so I have added a new thread in the 'Technical Issues, Bugs and Feature Requests' forum for you to add any issues you find, any missing settings or just anything you'd like to see added/removed from the feature set that Xenforo offers. We will get to everything over the coming weeks so please be patient, but add anything at all to the thread I mention above and we promise to get to them over the next few days/weeks/months. In the meantime, please enjoy!

WIP - my version of Dr Al’s travel tool chest and workbench

SteveMP

Seedling
Joined
Jun 18, 2026
Messages
20
Reaction score
47
Name
Steve
LOCATION
San Diego
Hello all,

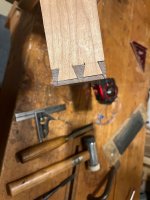
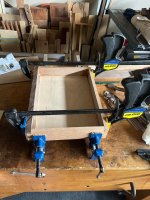
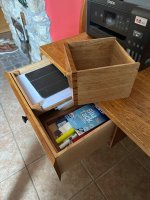
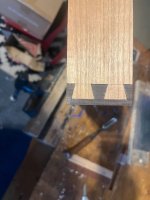
I have family 500 miles away and often travel to help out with projects there or build things for my daughter and grandson etc. In the past couple of years I load up a canvas bag with some hand tools but they get banged up in transit and i sometimes need more tools that will fit in the bag so i have some in paper bags etc. I decided it was time to build a proper tool chest but I also needed a better way to hold my work as i am working on it. It gets dangerous trying to improvise stuff or hold things in my hands while trying to do work (especially with sharp chisels etc) After looking around the internet for a while I stumbled onto Dr Al’s travel tool chest and thought this would be the perfect thing for my needs. I built another chest as practice and to use while this is being built as I am guessing this will take me some time to finish. I have been working on this a few weeks and am currently on around page 26 of Dr Al’s build log here:

I’ll update this thread when i make more progress
 

Attachments

  • IMG_1958.jpeg
    IMG_1958.jpeg
    539.7 KB · Views: 12
  • IMG_1955.jpeg
    IMG_1955.jpeg
    495.6 KB · Views: 12
Looking great Steve. I'm really pleased you've decided to post a WIP of your build. I know for sure that I'm going to enjoy this - the tool chest is still probably my favourite of all the projects I've done and now I get to experience it all again vicariously!
 
This is what I like about online sharing of what we do - inspiration plus support and encouragement. 🙂
 
Nice one, Dr Al, you could end up being as famous as Roubo if this catches on.
Will follow this with interest Steve. As it’s a wip don’t be shy, we love photos so pls give us the full size ones.
Ian
Thank you! I didn’t realize i wasn’t posting full size pics. I just clicked attach photo from my phone. I may need to look at settings to see why they aren’t uploading the full size.
 
Looking great Steve. I'm really pleased you've decided to post a WIP of your build. I know for sure that I'm going to enjoy this - the tool chest is still probably my favourite of all the projects I've done and now I get to experience it all again vicariously!
Thank you! And thanks again for all your help and answering my questions etc!
 
Thank you! I didn’t realize i wasn’t posting full size pics. I just clicked attach photo from my phone. I may need to look at settings to see why they aren’t uploading the full size.
A few seconds after a photo finishes uploading, two buttons appear over the photo, giving you a choice of posting a thumbnail or the full image. Now that most people have a decent web connection, just go for the Full Image option to put an automatically resized picture in your post.
 
A few seconds after a photo finishes uploading, two buttons appear over the photo, giving you a choice of posting a thumbnail or the full image. Now that most people have a decent web connection, just go for the Full Image option to put an automatically resized picture in your post.
Ok cool thank you! Let me try it:

Edit : i didn’t see it before because the buttons are cut off on my iphone and just says “Insert…”

IMG_1958.jpegIMG_1955.jpeg
 
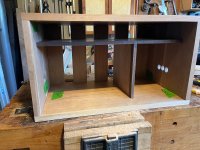
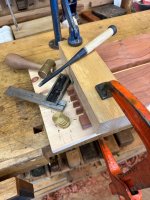
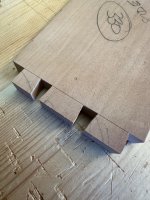
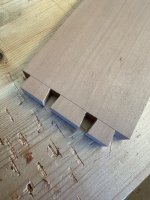
Ok got a little shop time today and made progress on the housing joints for the drawer dividers. Am hoping to cut out the hand holds on the sides too tonight.
IMG_1966.jpegIMG_1969.jpeg
 
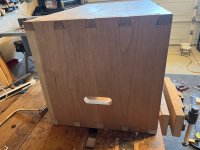
Made a cup of tea and knocked out the holes for the handles before it got too dark (my shop has terrible lighting ) I actually kind of like it like this, feels like a bowling ball lol. IMG_1971.jpegIMG_1970.jpeg
 
I agree with Mike there. My chest is liftable fully loaded but it's definitely in the territory of "think before you lift", so anything you can make thinner will pay dividends later.
 
Well done Steve. This is a nice start to your project. Careful it doesn't get too heavy, though. Thin down components where you can.

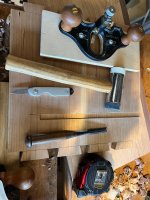
What's the shoulder plane for? I can't see any shoulders.
Thanks yeah, i am keeping track of the weight and making some changes to the drawers etc.

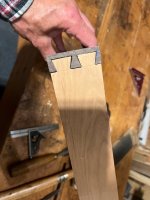
I was using the shoulder plane to fine tune all the mortise and tenons on the back brace pieces.
 
I agree with Mike there. My chest is liftable fully loaded but it's definitely in the territory of "think before you lift", so anything you can make thinner will pay dividends later.
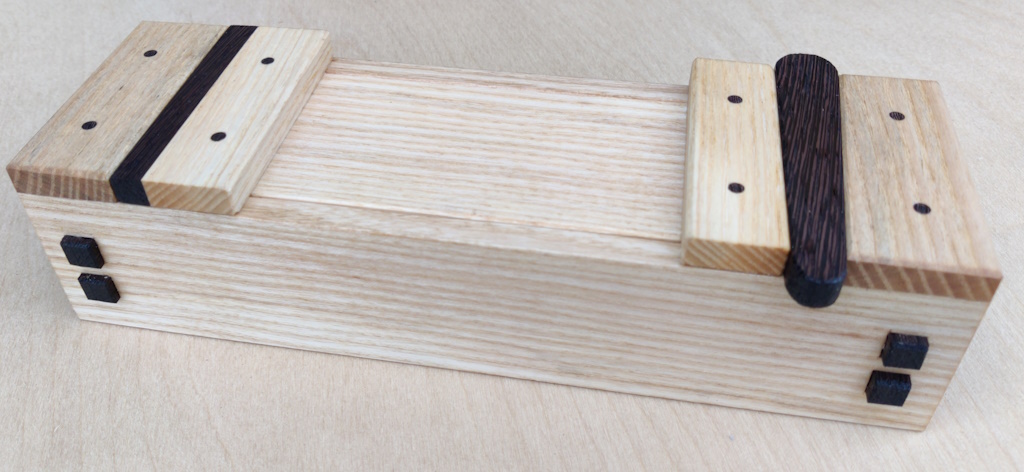
Gotcha. Yeah i am actually doing something different for the drawers that should shave some weight off. Also, considering the right side being a removable mini-toolbox instead of more drawers.
 
Back
Top