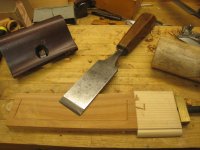
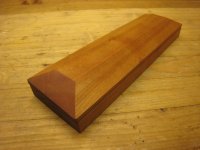
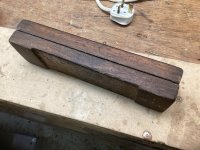
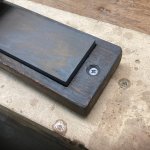
A holiday weekend with cloudy weather and the promise of rain - so my thoughts turned to the workshop. It was time to combine two welcome gifts and play with some old tools.
Over a decade ago, a neighbour kindly left a log of wood on our doorstep. I didn't know much about seasoning and converting wood, so it's really just been sat in a corner of the basement since then. It's dried out, with a split all the way down it, but with a bit of effort it can yield nice timber. ( I made a saw handle from a piece of it some time ago.) I don't know exactly what it is but I think it might be some sort of cherry. I know that it was a garden tree and there are hundreds of Prunus species grown as ornamentals.
Also, my generous friend Peter gave me a nice little oilstone, which needs a box.
So I dragged the log to the bench and sawed a bit more off:
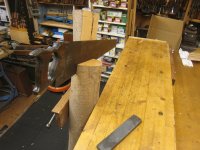
A Record 52½ does give a good grip!
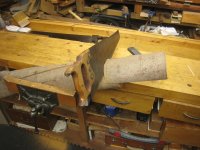
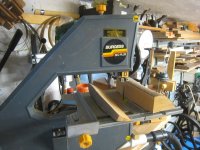
This was followed by some trimming on my electric bandsaw, which probably counts as an antique to some people, as it was made in Leicester in the 1970s...
I soon had a piece that I thought would be just big enough, if I could work around that bit of sloping bark.
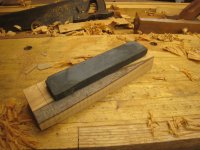
This is the sort of project where it's not necessary to use any numerical measurements; you can do the whole thing by eye or by direct comparison, which I prefer.
The next step was to cut it to length, then rip it in two.
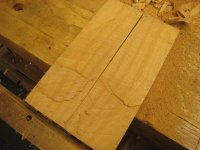
Not my neatest ever sawing, but I had just enough wood left after planing those two reasonably flat.
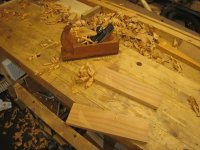
Now, if you look at old books or old oilstone boxes, the normal approach seems to have been to use a thicker piece of wood, so you can bore a lot of holes to get rid of most of the waste. I've made one or two that way before and didn't want to repeat myself. I did want this box to be quite slim, so it can fit on the shelf with the others, and because I had already cut the wood. So a different approach was needed.
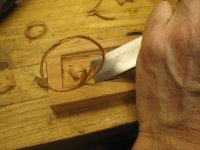
Having drawn around the stone and marked out with a chisel safely inside that line, I started off just chiselling, a bit like fitting a very thick hinge. You must bear in mind that when I approach this sort of little project, I enjoy exploring different approaches, even if they are not the best. This was very slow.
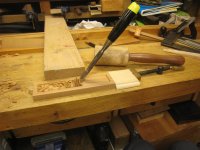
I remembered that a gouge can be quicker than a chisel, like a heavily cambered plane is quicker than a smoother.
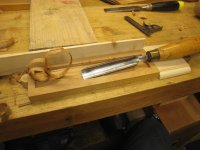
That was more productive. I had soon increased the depth enough to swap to a router to get things level and smooth.
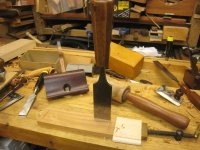
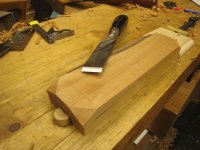
At first, I used the ever-popular (and now very expensive) Stanley 71, which you can see abandoned in the background here. With its right-angled cutter, it needs a lot of room; I was bumping against the sides too much.
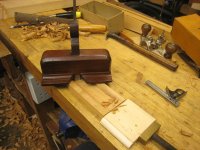
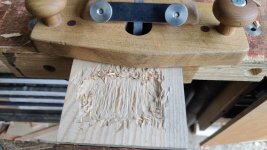
This old user-made "old woman's tooth" router was better. The shape was good for bridging the gap. Adjustment was easy too - just a tap down on the iron to advance it, then a tap on the wedge to secure it. But it was still a bit slow and it was quite hard to pull when taking long-grain cuts. I remembered that I had a second example and managed to find it.
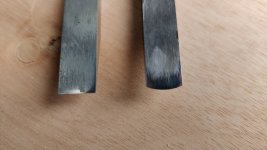
I think this is a good illustration of how variable user-made tools can be. Viewed side by side you can see that the other router has a much less steep cutting angle and is significantly deeper front to back. So if you try one of these excellent tools and don't like it, don't write them off; just try another one, or make your own.
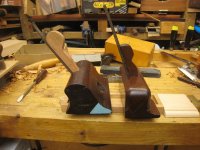
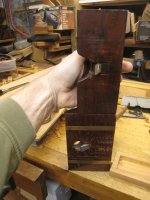
On this job, those differences were significant, and I was able to make much better progress.
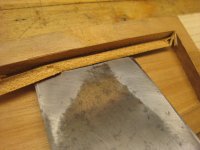
As I neared my target depth, I paused to chisel away the safety margins I had left and cut right up to my pencil lines. For the final adjustments I used a Record 2506 side rebate plane. For the first time ever, this was a job where it was useful to be able to remove the nose piece and plane right into the corner!
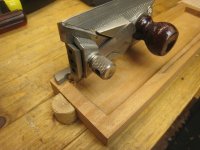
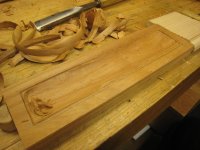
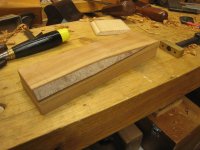
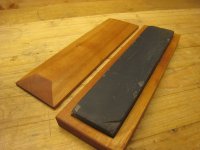
I soon reached this happy stage where the stone fitted snugly into what will be the base, leaving me ready to work on the top, in the next exciting instalment!
Over a decade ago, a neighbour kindly left a log of wood on our doorstep. I didn't know much about seasoning and converting wood, so it's really just been sat in a corner of the basement since then. It's dried out, with a split all the way down it, but with a bit of effort it can yield nice timber. ( I made a saw handle from a piece of it some time ago.) I don't know exactly what it is but I think it might be some sort of cherry. I know that it was a garden tree and there are hundreds of Prunus species grown as ornamentals.
Also, my generous friend Peter gave me a nice little oilstone, which needs a box.
So I dragged the log to the bench and sawed a bit more off:
A Record 52½ does give a good grip!
This was followed by some trimming on my electric bandsaw, which probably counts as an antique to some people, as it was made in Leicester in the 1970s...
I soon had a piece that I thought would be just big enough, if I could work around that bit of sloping bark.
This is the sort of project where it's not necessary to use any numerical measurements; you can do the whole thing by eye or by direct comparison, which I prefer.
The next step was to cut it to length, then rip it in two.
Not my neatest ever sawing, but I had just enough wood left after planing those two reasonably flat.
Now, if you look at old books or old oilstone boxes, the normal approach seems to have been to use a thicker piece of wood, so you can bore a lot of holes to get rid of most of the waste. I've made one or two that way before and didn't want to repeat myself. I did want this box to be quite slim, so it can fit on the shelf with the others, and because I had already cut the wood. So a different approach was needed.
Having drawn around the stone and marked out with a chisel safely inside that line, I started off just chiselling, a bit like fitting a very thick hinge. You must bear in mind that when I approach this sort of little project, I enjoy exploring different approaches, even if they are not the best. This was very slow.
I remembered that a gouge can be quicker than a chisel, like a heavily cambered plane is quicker than a smoother.
That was more productive. I had soon increased the depth enough to swap to a router to get things level and smooth.
At first, I used the ever-popular (and now very expensive) Stanley 71, which you can see abandoned in the background here. With its right-angled cutter, it needs a lot of room; I was bumping against the sides too much.
This old user-made "old woman's tooth" router was better. The shape was good for bridging the gap. Adjustment was easy too - just a tap down on the iron to advance it, then a tap on the wedge to secure it. But it was still a bit slow and it was quite hard to pull when taking long-grain cuts. I remembered that I had a second example and managed to find it.
I think this is a good illustration of how variable user-made tools can be. Viewed side by side you can see that the other router has a much less steep cutting angle and is significantly deeper front to back. So if you try one of these excellent tools and don't like it, don't write them off; just try another one, or make your own.
On this job, those differences were significant, and I was able to make much better progress.
As I neared my target depth, I paused to chisel away the safety margins I had left and cut right up to my pencil lines. For the final adjustments I used a Record 2506 side rebate plane. For the first time ever, this was a job where it was useful to be able to remove the nose piece and plane right into the corner!
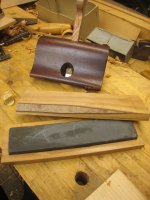
I soon reached this happy stage where the stone fitted snugly into what will be the base, leaving me ready to work on the top, in the next exciting instalment!
Last edited: