I've been very wrapped up for the last 7 weeks or so with family matters, in particular a housefull of children and grandchildren. Up to 11 in the house for a few days. They've all gone now, so I thought I would catch up with the work I did running up to their arrival in July, and some from before that. Some of the order might be unsequential.
Here is a "before" of the last piece of paving, from the side door to the patio area:

And "after":

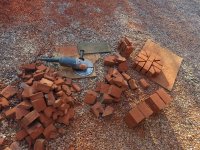
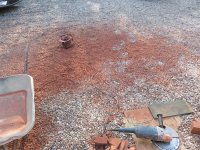
Unfortunately, when I built the retaining wall I allowed for stones which were 600 wide, and the ones I ended up with were 565mm wide. Hence the extra cuts. I can report that this area of paving is still unpointed.
I fitted the doors and windows into the sunroom. Firstly, here's a couple of "before" images of the temporary door, and of the window openings:




And then "after", with the doors and windows fitted:



Here's a random photo of a grass snake spotted in a compost heap:

A day or two later I had to cut it loose from some netting in the veggie garden, and it thanked me by smearing itself and me with a really stinky liquid which took 2 washes to get out of my clothes.
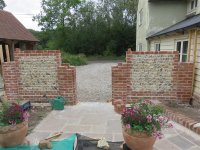
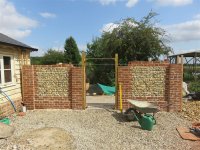
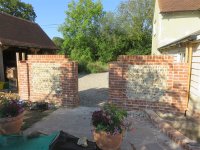
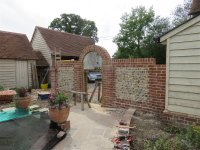
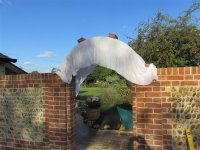
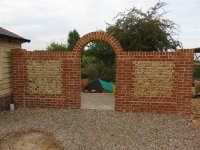
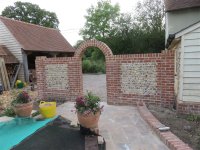
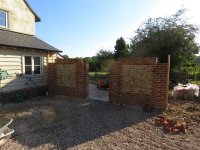
Let's catch up with exciting paving news. I continued the curved retaining wall to the brick & flint parking/ garden wall, and did a little wall mirroring the other side, so create an entrance into the garden:

Then after concreting the base, I paved it:

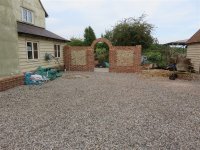
Originally I had planned to build a little return on the garden wall going back into the garden, as can be seen here by the brickwork at ground level which I did some years ago:



I finished the paving up to the existing circular patio:

It's worth saying that the levels of all of this paving was very complex to get right. It all had to fall away from the house, and it had to also fall along its length down to 3 surface water gullies. That would be relatively easy with straight edges, but to work all that out around curves took a lot of the available brainpower.
I moved my sand heap to clear the space, and then had a delivery of reject stone, or quarry waste. This is unsorted flint which is left over after the more useful shingle has been removed. It's horrible stuff, full of clay:


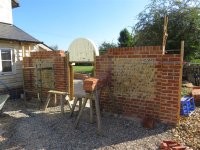
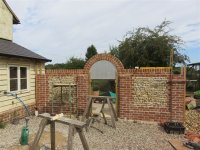
At least a half, and probably three quarters, of it is completely useless for flint walls. You spend rather a lot of time opening up the heap and picking out the useable stone (in the yelklow bucket, above). And then you lay out your sting lines and just slowly get on with it. Flint walls consist of 2 flint faces with a rubble infil between. Because flint doesn't drw any moisture from the mortar, it helps to use broken bricks and other pottery crocks to act as a pozzolam to help set the mortar a bit quicker:


I course my flint, as was done traditionally. Many modern flint walls are done "randomly", with big and small stones shoved in any-old-how. Anway, slowly (6" per day) onwards and upwards:


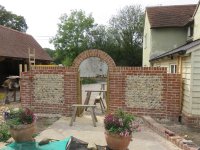
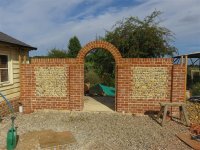
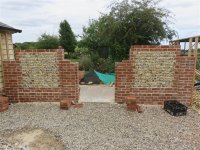
I changed the design of the wall after I started it, which meant adding some halved stretchers inside the piers. The first few were just planted on the face, but then when I caught up with the piers I could bond them in:


I'll carry on in another post, so if you could hold off from commenting for a moment there'll be a bit of continuity.