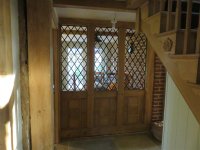
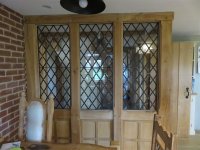
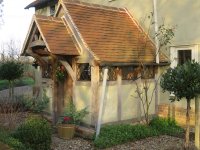
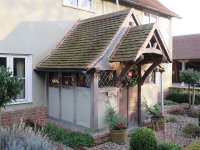
I've spent months doing leaded lights, but the process is so repetitious and un-photogenic that I'll cover it in just one post and a dozen or so photos.
I'd like to give a mention to billybuntus, who no longer posts here. He is an experienced leaded light and stained glass guy, and he gave me a bit of help before I started via PMs.
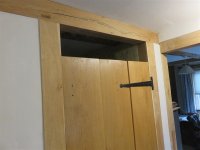
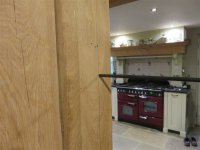
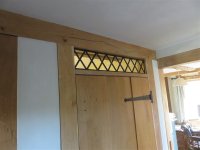
Firstly, a little woodwork. This was the opening above my downstairs loo door:
View attachment 30681
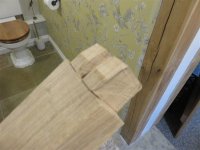
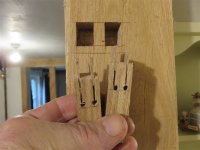
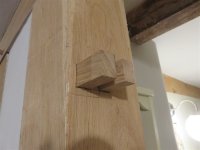
I needed to insert a door head, but obviously cant move the posts apart to enable me to put tenons on both ends. So, it was a pair of tenons on one end, and a pair of floating tenons on the other:
View attachment 30682
View attachment 30683
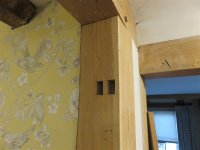
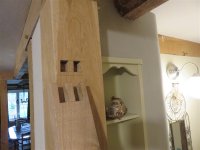
At the other end:
View attachment 30684
View attachment 30685
View attachment 30686
Obviously you hold your breath a little with fox wedged tenons! I failed to take a photo of the door head in place, but I'm sure you get the drift.
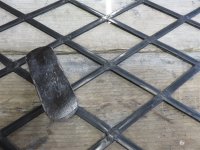
Let me say from the outset that making leaded lights is not the most riveting DIY task I've ever set myself. There are many many hours of doing precisely the same thing over and over and over again. It is also not the most difficult task. With the right kit anyone could do it. The most difficult part is cutting glass accurately, and with basic woodworking measuring and marking kit, that's really pretty simple. You spend an awful lot of time straightening up cames ("H" section pieces of lead into which the glass [quarries] sit), cutting them to length, straightening them up where they got squished when cutting.
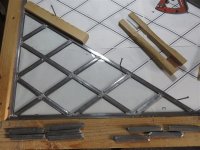
All leaded lights start with a drawing, and a batten under the lower edge and one side edge:
View attachment 30680
I tended to pre-cut all of the quarries (glass), and all of the lead, and then have a grand session of assembly. Soldering is the simplest and easiest of all the tasks. It's pretty hard to stuff up, frankly.
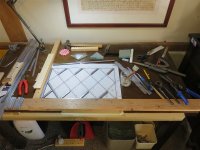
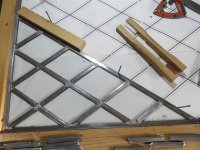
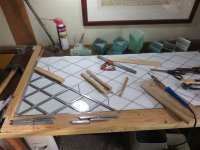
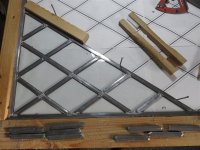
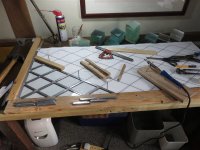
You can see in the following photo my stock of quarries at the back of the table, my straightening tool for the cames, and some of the shorter pre-cut lead pieces. You just fiddle it all together, and whack a few nails in to the table to hold it all in place whilst you solder:
View attachment 30687
As a matter of curiosity, have a look at the different colours of glass in those stack at the back of the table. There's a green, two different blues, and a white. There are also 2 different thicknesses of glass......4mm and 5mm (or was it 3mm & 4mm??!). This was all stuff I found left in the various outbuildings here when we moved in, plis a bit of speciality stuff I bought especially. It made not a jot of difference! The glazing looks identical
in situ. Very disappointing.
After soldering up the panels, the job moved outside. I'd been working in my study up to now, just the odd hour here and there, on a temporary table I'd cobbled together especially. Now I moved to the garage, because the rest of the process is filthy.
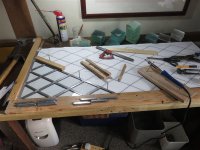
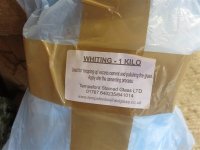
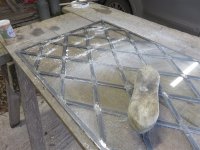
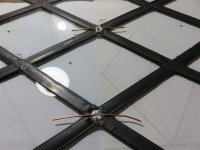
The next step after soldering is to brush a black putty in the cames. This waterproofs and stiffend the panel, sealing the gaps between lead and glass. It's a frustrating and physical task. You are trying to brush stuff carefully into the ehtirety of the lead, but the product (called Leaded Light Cement) is actually just a thinned down and coloured putty, with the texture of golden syrup. Imagine brushing that for hour after hour! You can thin it down, which makes it much easier to brush into place, but makes it harder to clean up again afterwards. The entirety of your panel is smeared with the stuff, and you spend just as much time getting it back off as you did applying it. You then swap brushes, and dust everything with whiting (turns out that's just chalk dust) which sets the cement, before another inordinately long session of brushing which cleans almost everything up:
View attachment 30695
View attachment 30694
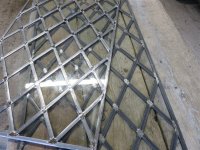
You can see a before and after here, with the lower panel having been cemented, and the upper panel not:
View attachment 30696
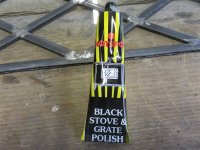
At this point you leave the cement to harden up (overnight, in theory, although with it being outside and December, I found it actually took about 24 hours), before applying miniscule amounts of another potion:
View attachment 30697
And then you brush and brush and brush, with a soft shoe brush:
View attachment 30698
I spent about 3 days brushing before they were ready to install.