There are a couple of bits n'pieces that I can do on this unit prior to the hinges, one of which is the veneered back panel. I only had one 40mm thick board of Brown Oak to get all the pieces from, so the veneers were cut from those slithers of material that were left over. Fortunately, with careful cutting and even more careful thought, I cut sufficient (with one bit spare...I call it 'arry :lol: ) and even managed to book match a 'candle flame' which will be positioned in the middle of mug display area:

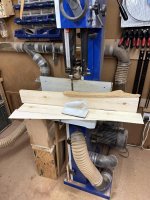
The rest of the leaves were slip matched to obtain a reasonably pleasing pattern. I then sawed up some pine for the backing veneers:
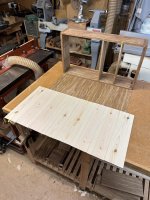
...which were then cut in half:
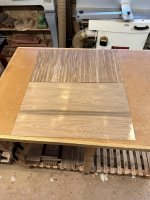
All veneers were then stuffed through the Jet 16-32 drum sander to bring them down to 2mm thick. I then sorted out a lump of 5mm ply, veneered in teak that I've scavenged from an old bookcase I'd made at least thirty years ago. This too was run through the drum sander to remove the finish and most of the teak:

The various leaves of veneer were shot in a matching pair at a time. As they were only short, there was no need for 'Big Woody' and the super long, super sophisticated veneer shoot:

To join the leaves I first need to clamp a lump of pine to the assembly table. This gives something to pull against when stretching the masking tape over the joint. I use two types of tape, the first is a very tacky, über-stretchy 'Scotch' tape but there are plenty of others to choose. This pulls the joint up righty-tighty but if it's slightly convex (ie it 'rocks

then a wiffle of a shaving from the offending edge(s) ought to make it straight again. The ordinary el-cheapo tape finishes off the joint:
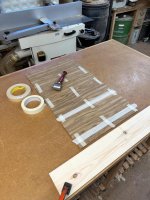

..and I always use a roller to make sure that the tape is well and truly stuck. The gluing stuff was then assembled with a water pot into which the spreader was dropped after use:
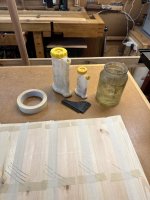
Each 'lay up' has a smear of glue applied to the joining edges by laying it over the edge of the assembly table:
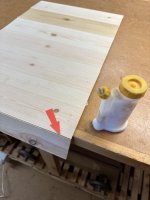
...after which the glue is applied to each side of the ply base in turn, ensuring that there's a sufficient margin of waste all round. I always tape the corners as well to prevent or limit the veneer lay ups going 'walkabout' as the vacuum is applied:

When veneering both sides together, it's
absolutely vital that the base board inside the bag is well waxed; any squeeze out from the job will mean that it becomes really,
really difficult to get it out!!
I usually also use a 'lecky under-blanket heater and one of kids old duvets:
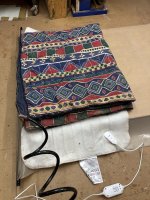
...to make sure the job's nice n'toasty, which speeds up setting time for the glue (Everbuild D4)
It came out the bag after a couple of hours and had taken on a very slight 'bow':

...and once the tape had been removed and the edges trimmed on the bandsaw:

...it was clamped to the bench to make it's flat (holdfast block) and planed with a very finely set BU smoother. The 80g loading on the drum sander does a good job but leaves a significant scratch pattern which is a bit too much for a card scraper to remove. However, as the veneers are 2mm thick it's a doddle to plane them out and then finish with the scraper. An ROS will eventually be used on the back to clean up the pine.
The finished panel (planed and lightly scraped):
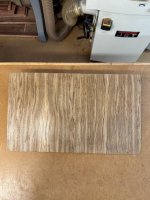
...is now ready to be sanded (240g) and eventually fitted to the cabinet. This is a fairly convoluted process but I've done it now so many times it's almost second nature, but the 'game changer' is the drum sander :eusa-dance: - Rob










 - Rob
- Rob