• Hi all and welcome to TheWoodHaven2 brought into the 21st Century, kicking and screaming! We all have Alasdair to thank for the vast bulk of the heavy lifting to get us here, no more so than me because he's taken away a huge burden of responsibility from my shoulders and brought us to this new shiny home, with all your previous content (hopefully) still intact! Please peruse and feed back. There is still plenty to do, like changing the colour scheme, adding the banner graphic, tweaking the odd setting here and there so I have added a new thread in the 'Technical Issues, Bugs and Feature Requests' forum for you to add any issues you find, any missing settings or just anything you'd like to see added/removed from the feature set that Xenforo offers. We will get to everything over the coming weeks so please be patient, but add anything at all to the thread I mention above and we promise to get to them over the next few days/weeks/months. In the meantime, please enjoy!

Minimal Tool Challenge

Dr.Al

Old Oak
Joined
Dec 31, 2020
Messages
3,852
Reaction score
2,755
Location
Dursley, Gloucestershire
Name
Al
After spending all of last year working on the tool chest (and using pretty much every tool in my armoury), I thought I'd choose something a lot quicker for my next project. However, I'm keen to stretch myself a bit and, while thinking about options I came up with what struck me as an interesting idea:

                           Make a wooden box using as few tools as possible.

That sounded to me like a fun challenge, so I thought I'd write down a few rules that I'm going to adhere to and I thought I'd share them in case anyone else fancies having a go as well.

Challenge rules:

  1. The aim is to produce a box and have a list of used tools that is as short as possible.
  2. The box must be made from ONE plank of rough-sawn timber.
    • Two planks are allowed if (and only if) they're different timber species (e.g. one for the box frame and another for the top & bottom).
  3. No manufactured boards are allowed (e.g. plywood, MDF, OSB etc).
  4. Any and all tools used MUST be included in the list. Less obvious examples include:
    • Bench hardware (vices, bench dogs, holdfasts, etc). A bench is assumed, but only as a horizontal flat surface you can work on / clamp stuff to.
    • Other sawing aids (bench hooks, shooting boards, saw horses, etc).
    • Marking tools such as knives, pencils, pencil erasers, squares. A pencil counts as one tool (whether propelling or not), but if you use the eraser on the back end, that's another one.
    • Sharpening tools (stones, honing guides, strops etc).
    • Consumables like glue, masking tape, oil (along with anything you use to apply the glue or oil).
    • Every time you change to a different blade in a tool, it's an additional entry on the list. For example, use a plough plane or router plane with one cutter size and it's one entry. Change the blade to a different size and it's another entry.
    • Basically anything else you touch that isn't the timber you've chosen goes on the list. Pick up a cloth to clean some glue squeeze-out? The cloth goes on the list.
    • Water doesn't count (so you can wash your hands or clean a freshly sharpened blade) and neither does any lubricant specifically used for sharpening stones; any other fluid does. If you use a towel or paper cloth to dry your hands, that doesn't count; if you use it to dry the blade or remove some glue squeeze-out, it does.
    • Simple-shaped blocks cut out of excess wood from your plank of source timber don't count, but if you have to fix more than one block together, it counts.
      • For example, if you want to use an offcut of the source timber to protect your bench from chisel cuts or as something to clamp to the bench to push against, that doesn't count.
      • However, if you make something like a carpenter's square or a dovetail marking gauge out of the offcuts, that counts as another tool.
  5. One power tool counts the same as 5 hand tools. Any fence is included in the power tool count; other fixtures count as an extra tool. Combination power tools (e.g. surface planer / thicknessers) count 5 for each function you use. Electric routers / drills count 5 per cutter/bit used. A lathe counts as one tool if treadle/human powered or 4 if electric. Each turning chisel used gets counted as one additional tool.
  6. Re-use of tools is encouraged. Use the side of a hand plane as a straight edge and the blade as a marking knife? That still counts as one tool.
  7. The box must be made out of multiple pieces of wood joined together: for example connecting the sides with dovetails, finger joints or splined mitres is fine; taking a large lump of wood, carving out a pocket and calling it a box isn't acceptable. Similarly, sticking a blank in a lathe and drilling a hole doesn't count.
  8. There won't be any prizes but maximum kudos will go to the prettiest box made with the fewest tools, especially if you take photos of the processes that were most awkward with your chosen tool set!
 
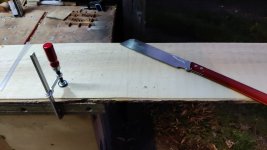
This is the plank (of rough-sawn Ash) I'm going to use (mainly because it's the first one that came to hand and wasn't already allocated for something else):

02_initial_plank.jpg

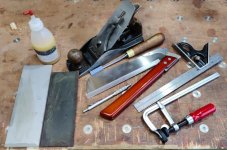
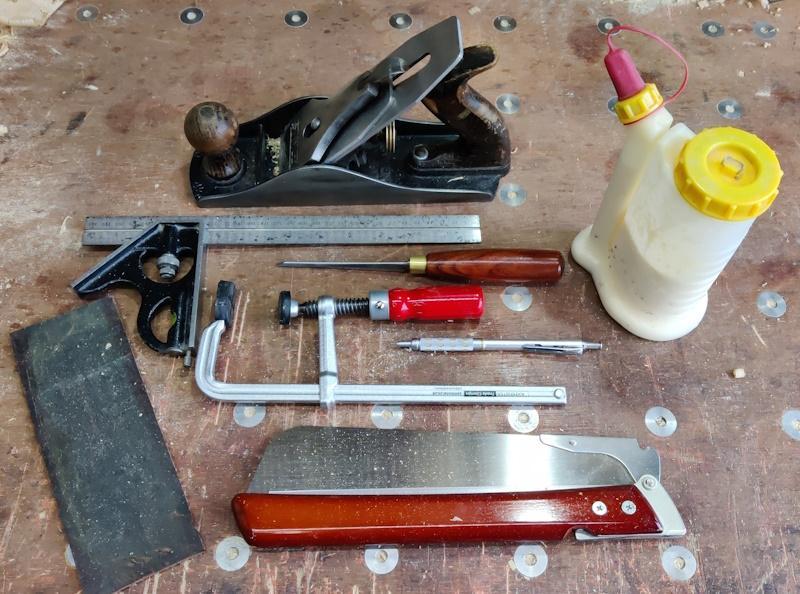
and this is my initial set of tools:

01_initial_tools.jpg

I suspect I'll need more in due course, but this seemed like a sensible set to begin with. I'll also add some finish of some sort to that list, so that'll be 9 tools I think in total if I manage not to need anything else.

My tool set described in a bit more detail...

Definite:
  • Stanley #4½. Seems a good compromise size; I'm sure a #4 would also be fine.
  • One saw - probably Kataba, possibly Dozuki. A Ryoba would probably be a good option, but I'm sure someone would argue that it's two saws as it has two sets of teeth!
  • Combination square. This can be used as a square and also as a distance gauge for marking board thickness.
  • 6 mm chisel. This will be used for paring and chopping; it has to be small enough to get into the pins. Ideally it is also small enough to not need a hammer, so 6 mm seems a good option.
  • An F-Clamp. If the joinery's good enough, it won't need clamping. The clamp will be for holding stuff to the bench for sawing and planing.
  • Pencil for marking which piece goes where. Arguably I could cope without this, but that sounds too hard!
  • One thin cheap diamond sharpening sheet (1000 grit probably).
  • Leather strop.
  • Fish glue.
  • Oil/other finish of some sort.

Maybe (I'll avoid if at all possible):

  • Hammer (if the chisel is sharp enough I might get away without this).
  • Another F-Clamp.
  • Paintbrush for applying glue (I'll try to just use my finger and see whether that works).
  • Damp cloth or similar for glue clean up. If I'm very careful, I might get away without this, although if I don't use the paintbrush, being careful might be difficult!
  • Something to clean up the finish and also to clean blades after sharpening (paper towels probably).

Notable absences from my list:
  • Marking knife. I'd normally consider this an essential, but the plane iron has a sharp corner that I hope will serve the purpose.
  • Honing guide. I usually use a honing guide as, while it adds about 15 seconds to set-up time, it saves that in sharpening time as you can move the blade so much faster on the stone; it also gives a more consistent edge so saves time regrinding later. However, I'm trying to minimise tools here, so it has to be out.
  • Shooting board. One of my most used tools, but I think I can cope without.
  • Bench hook or equivalent. I'll just clamp the board to the bench with the end hanging off.
  • Vice. I'll have to find ways to cope with just clamping stuff to the bench.
  • Bench dogs / planing stop - I'll assume that the only thing available is a sturdy flat surface. I can clamp offcuts to the bench to use as stops.
  • Bandsaw :) - so resawing the board for the box top & bottom is going to be hard work (especially without a vice)!
 
9fingers":3jz6vyaq said:
Lets see:-
Table saw
P/T
Ruler -optional as the above both have dro
Fine sand paper
Cloth or brush to apply finish
Sounds enough to me!

Bob

Ah, but that's more than my list: remember power tools count as 5, so table saw + P/T is 15 already. :D :lol:

Dr.Al":3jz6vyaq said:
One power tool counts the same as 5 hand tools. Combination power tools (e.g. surface planer / thicknessers) count 5 for each function you use. Electric routers / drills count 5 per cutter/bit used. A lathe counts as one tool if treadle/human powered or 4 if electric. Each turning chisel used gets counted as one additional tool.
 
Dr.Al":1h0lgzen said:
9fingers":1h0lgzen said:
Lets see:-
Table saw
P/T
Ruler -optional as the above both have dro
Fine sand paper
Cloth or brush to apply finish
Sounds enough to me!

Bob

Ah, but that's more than my list: remember power tools count as 5, so table saw + P/T is 15 already. :D :lol:

Ah i did not spot that skew in favour of neanderthal practices :lol:
Bob
 
Damn, this is poorly timed! I'd love to play along.

If a bench is "assumed", what about a saw horse? I'm pretty sure I could do without all work-holding kit if I used a saw horse. And thinking about it, I reckon a bigger box would need less kit than a small one. And, I mean, if a butt-jointed nailed box counts, then handsaw (using the square on the handle), pencil, plane, hammer........5 tools. :D
 
Mike G":3d4c1qkz said:
Damn, this is poorly timed! I'd love to play along.

If a bench is "assumed", what about a saw horse? I'm pretty sure I could do without all work-holding kit if I used a saw horse. And thinking about it, I reckon a bigger box would need less kit than a small one. And, I mean, if a butt-jointed nailed box counts, then handsaw (using the square on the handle), pencil, plane, hammer........5 tools. :D

Saw horse counts as one tool:

Dr.Al":3d4c1qkz said:
Other sawing aids (bench hooks, shooting boards, saw horses, etc).
 
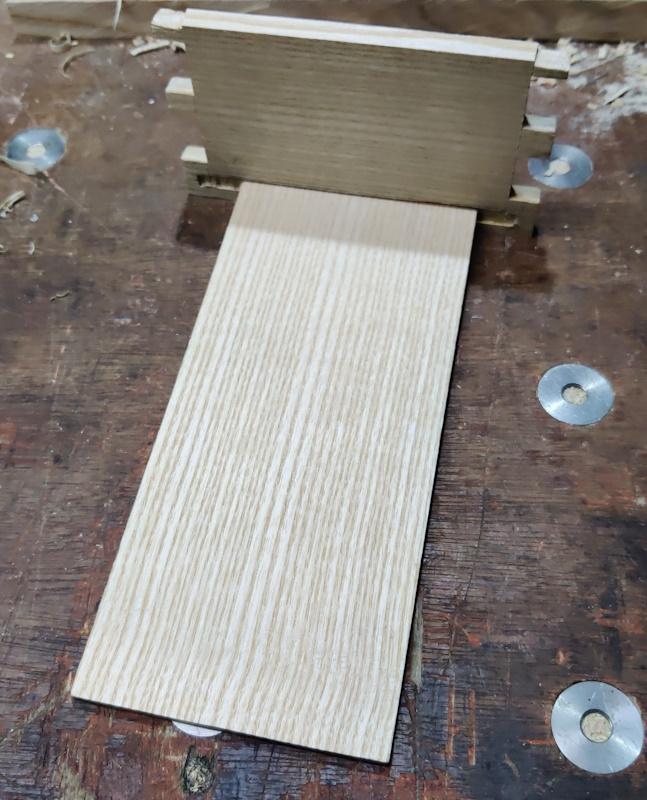
I started by shortening the board to a more sensible (and rather arbitrary) length so I had something a bit more manageable to work with:

03_shorten.jpg

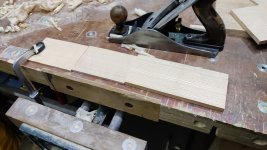
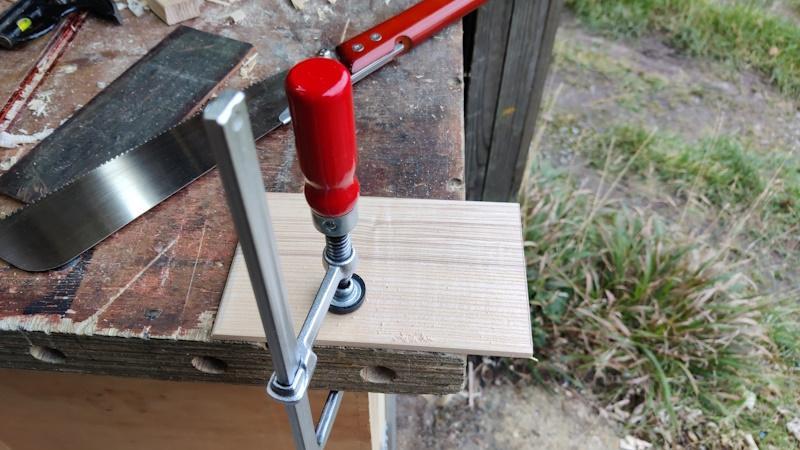
Then I drew a straight-ish line (my combination square isn't that long, so I just accepted straight-ish) and sawed off the bark:

04_bark_trim.jpg

It was a bit wobbly with only one clamp holding it down, but it worked.

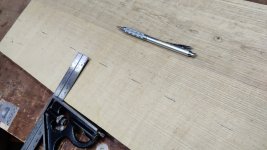
I then used the combination square to mark a fixed distance (about 85 mm I think) away from the sawn edge:

05_mark.jpg

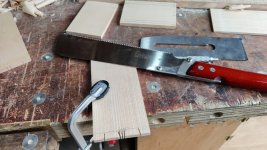
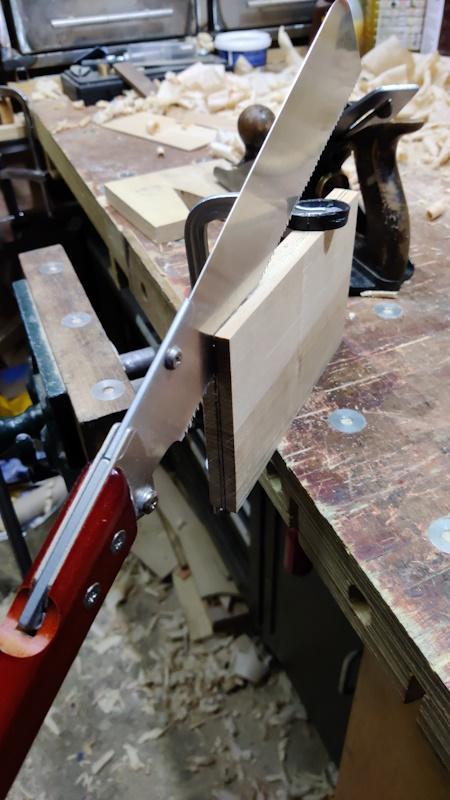
I'm not worrying too much about actual sizes at the moment, that'll come after planing. I sawed that bit off and also sawed a thin bit (about 8 mm wide) off the other side:

06_sawing.jpg

All the bits cut up for now (including a random little block that I had an idea to use but didn't in the end):

07_sawed.jpg

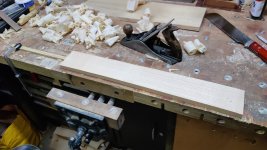
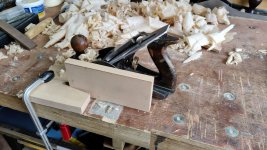
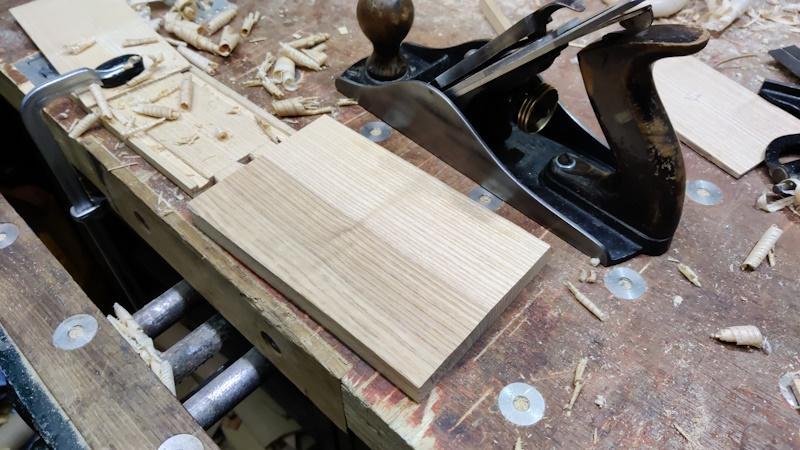
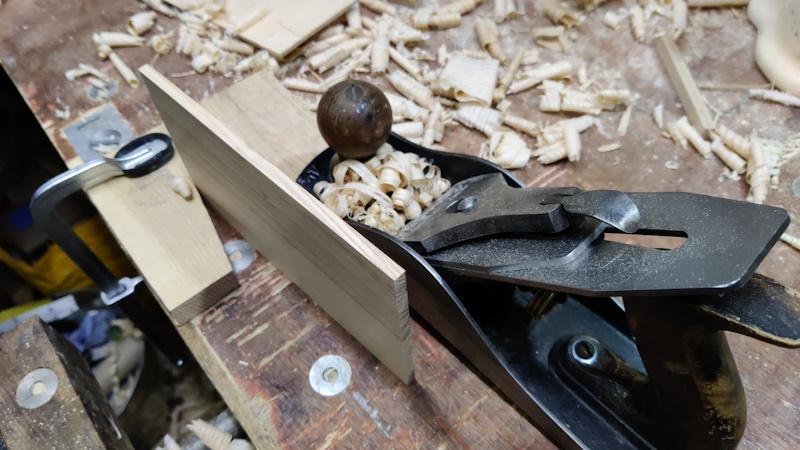
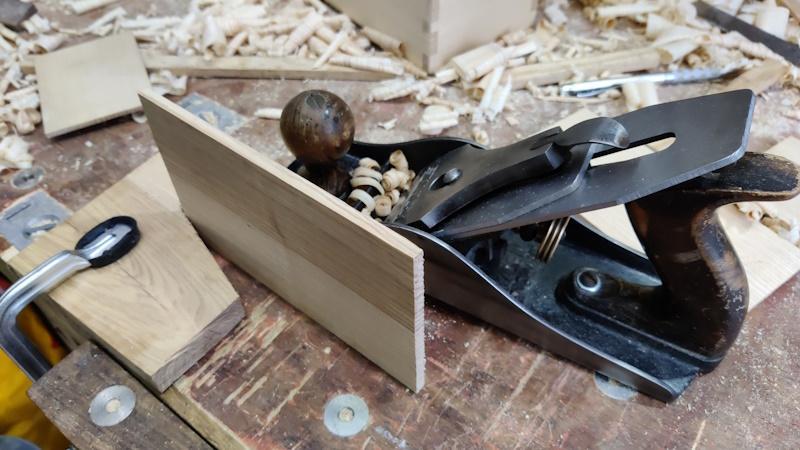
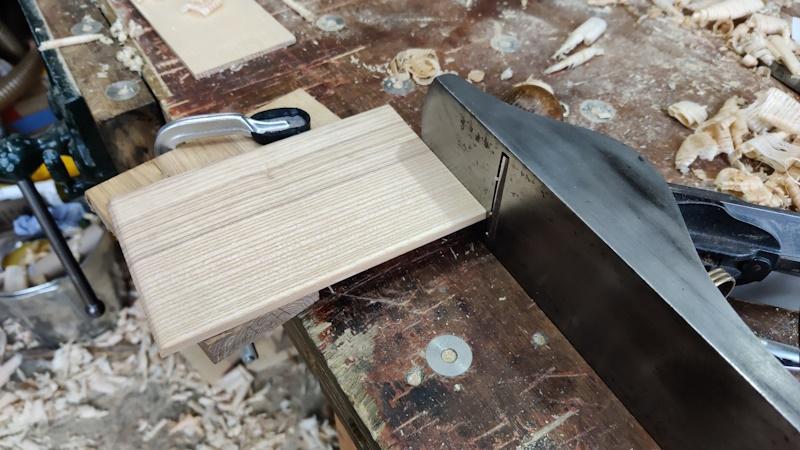
The thin bit acts as a planing stop: it's quite long so the plane doesn't crash into the clamp at the end of the stroke (this will be more important once I get the thickness of the plank down to something more sensible):

08_planing.jpg

I haven't finished flattening one face yet (and haven't decided whether to chop it up into bits before doing so). Once a face is flattened it needs to come down in thickness by quite a lot. I haven't decided whether to try resawing (which I'll almost certainly have to do for the box lid and base), or just to keep attacking it at with the plane. I'm already wishing I'd included some wax (for the plane base) on the list, but I'm trying to resist adding it for now.
 
Mike G":1t780vnt said:
Damn, this is poorly timed! I'd love to play along.

If a bench is "assumed", what about a saw horse? I'm pretty sure I could do without all work-holding kit if I used a saw horse. And thinking about it, I reckon a bigger box would need less kit than a small one. And, I mean, if a butt-jointed nailed box counts, then handsaw (using the square on the handle), pencil, plane, hammer........5 tools. :D

I'm not sure how I feel about nails either for that matter - do they count as additional tools? Glue does, so I would argue a nail does too. :)
 
OK, I've got this. I'll swap a handsaw for a coping saw, and do dovetails on a saw horse, just with that (no chisel). My one plane will be a rebate plane, which I can also use for surfacing the sawn board. Using one of the other boards as a (hand-held) guide I can plane a dovetail-like housing/ rebate for the base. No glue, no nails.....coping saw, rebate plane, pencil, saw horse.......4 tools. It won't be pretty! :lol:

Can you work out how I'll mark the right angles?
 
Mike G":3smflb7m said:
OK, I've got this. I'll swap a handsaw for a coping saw, and do dovetails on a saw horse, just with that (no chisel). My one plane will be a rebate plane, which I can also use for surfacing the sawn board.

I'd wondered about using a carriagemaker's rebate plane as the ultimate do-everything plane. I thought I'd try to keep to simpler tools, but that's not to say there's anything wrong with your plan.

Mike G":3smflb7m said:
Using one of the other boards as a (hand-held) guide I can plane a dovetail-like housing/ rebate for the base.

Good plan (as long as "one of the other boards" means "a bit cut off the board")

Mike G":3smflb7m said:
No glue, no nails.....coping saw, rebate plane, pencil, saw horse.......4 tools. It won't be pretty! :lol:

I'm looking forward to seeing the photos and how well it works (hint, hint :D )

Mike G":3smflb7m said:
Can you work out how I'll mark the right angles?

With the frame of the coping saw? Alternatively, using blade of the coping saw - assuming the teeth are on a consistent pitch, then you can use the 3-4-5 triangle by counting teeth.
 
9fingers":2hael8rb said:
Dr.Al":2hael8rb said:
9fingers":2hael8rb said:
Lets see:-
Table saw
P/T
Ruler -optional as the above both have dro
Fine sand paper
Cloth or brush to apply finish
Sounds enough to me!

Bob

Ah, but that's more than my list: remember power tools count as 5, so table saw + P/T is 15 already. :D :lol:

Ah i did not spot that skew in favour of neanderthal practices :lol:
Bob

When I was thinking about the rules, it occurred to me that a table saw could do almost everything (especially if you didn't care too much about surface finish), although I would automatically count any and all jigs as extra tools. Hence the restriction to make sure the challenge wasn't too easy.
 
Dr.Al":1ebr1h1t said:
Mike G":1ebr1h1t said:
Can you work out how I'll mark the right angles?

With the frame of the coping saw? Alternatively, using blade of the coping saw - assuming the teeth are on a consistent pitch, then you can use the 3-4-5 triangle by counting teeth.

Well, the easiest way would be using the square end of a saw horse. Next choice would be to do an approximate cut across the middle of the board, flip one over and compare the cuts ends. Half-way between the errors is a right angle. Or, use the width of a board as a unit, and mark out using pythagorus.
 
Dr.Al":1f69pyiv said:
I'm looking forward to seeing the photos and how well it works (hint, hint :D )....

I've got a sunroom to finish, then a new bench to build, then some oak windows and doors for the sunroom to make, then some leaded lights to make. I don't have time for this brilliant idea, I'm afraid.

If I did, I think I might nail on a planing stop to the saw horse, and make it 5 tools.
 
If I were to have a go at this, in the new year, how many points do I forfeit for starting with a ready planed plank?
The only suitable timber I have is some planed oak left over from my V&A table.
 
Mike G":djyw80rh said:
If I did, I think I might nail on a planing stop to the saw horse, and make it 5 tools.

I think that makes 6: coping saw, rebate plane, pencil, saw horse, hammer, nail.

How will you make (and fix in place) your base / lid? There's no glue in the list. I guess you could re-use the nail and just have one nail holding the base in :D

Andyp":djyw80rh said:
If I were to have a go at this, in the new year, how many points do I forfeit for starting with a ready planed plank?
The only suitable timber I have is some planed oak left over from my V&A table.

It's just an interesting exercise so it's up to you how rigidly you stick to the rules. I imagine your V&A table oak plank is going to be a bit thick for a box, so there's likely to still be a fair amount of planing or similar involved.
 
I left the board yesterday with one face planed and not much else done. The first job this morning was to plane the edges. I started by cutting a notch into the end of the off-cut:

11_notching.jpg

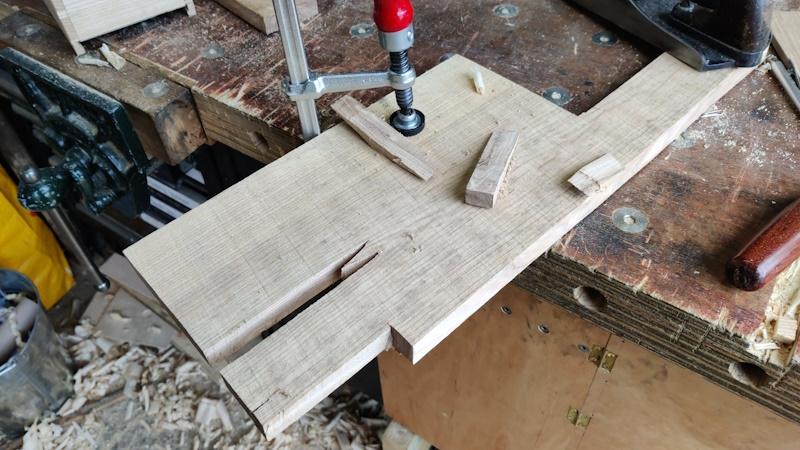
... and then chopping it off the end of the board and clamping it to the bench. It could then be used to hold the board while getting the edge square and straight:

12_edge_planing.jpg

I've never used that method of work holding for edge planing (I usually just hold it in the vice); it worked really well and I'll probably use it a lot more in future - I might even make something that drops into the dog holes for ease of use, but that's for another day and another project.

At this point, I decided to chop the board up into four pieces and work on them separately. I slightly regretted this later, but it wasn't a big deal.

13_chopping_up.jpg

The width of the boards was marked up (purely based on the widest I could get out of all four pieces):

14_marking_width.jpg

I then planed them down to the line, checking for square and comparing the board widths to each other periodically. This was the stage where I regretted chopping them up so small as the notched stop thing didn't work as well as a vice with such a short length of board.

15_planing_to_width.jpg

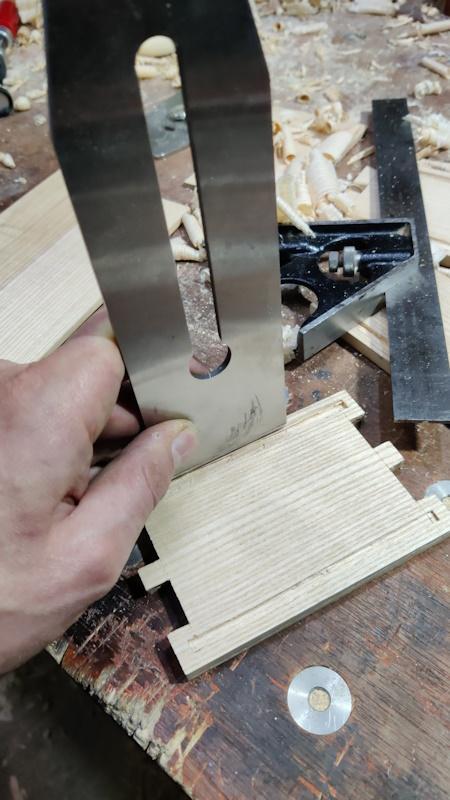
Next up was dismantling the plane so that I could use the blade as a marking knife. I took the opportunity to strop it a few times on the leather piece; I still haven't needed to use the diamond plate yet; I thought I may get away without the diamond plate if I get in the habit of stropping very regularly.

I used the combination square and the plane iron to mark thickness of about 8 mm, which seemed reasonable for a box this size. The plane iron worked well; the lines aren't that visible in this photo, but they're clear enough in reality (I went over them later with a pencil anyway for clarity):

16_marking_thickness.jpg

The next job was to remind myself why I bought a bandsaw: resawing. The process was straightforward enough: clamp the piece upright to the bench (this was why I made sure both edges were square before starting resawing) and attack it with the saw:

17_resawing.jpg

I dislike resawing enough when using my big 300 mm Ryoba (with progressive 7 to 4.5 TPI rip teeth). It's even worse using a Kataba with teeth that look to be designed for cross-cutting!

Anyway, one plank done ready for planing; three more to go (plus the pieces for the top and bottom if I can't use the offcuts from this resawing operation):

18_resawed.jpg
 
Dr.Al":5dtywyjg said:
Mike G":5dtywyjg said:
If I did, I think I might nail on a planing stop to the saw horse, and make it 5 tools.

I think that makes 6: coping saw, rebate plane, pencil, saw horse, hammer, nail.

How will you make (and fix in place) your base / lid? There's no glue in the list. I guess you could re-use the nail and just have one nail holding the base in ....

There's no need for a hammer and nail. The base of the box would be friction fitted in the skewed rebates, and if it needed a lid, then that would slide in similar rebates at the top. If you are counting the planing stop, then forget that. I'll plane the board up against a wall.
 
Mike G":3rivt65l said:
Dr.Al":3rivt65l said:
Mike G":3rivt65l said:
If I did, I think I might nail on a planing stop to the saw horse, and make it 5 tools.

I think that makes 6: coping saw, rebate plane, pencil, saw horse, hammer, nail.

How will you make (and fix in place) your base / lid? There's no glue in the list. I guess you could re-use the nail and just have one nail holding the base in ....

There's no need for a hammer and nail. The base of the box would be friction fitted in the skewed rebates, and if it needed a lid, then that would slide in similar rebates at the top. If you are counting the planing stop, then forget that. I'll plane the board up against a wall.

:eusa-clap:

Of course, it only counts if you actually do it :lol:
 
Why oh why oh why did I choose a cross-cut saw? †

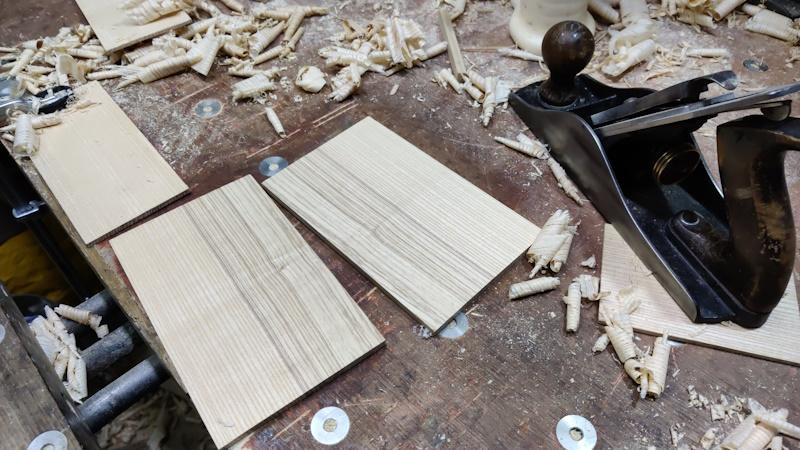
That was really hard work, but all four pieces are resawn down to a more respectable thickness now:

20_all_resawed.jpg

The offcuts from the smaller pieces were used as planing stops:

21_using_offcuts_as_planing_stop.jpg

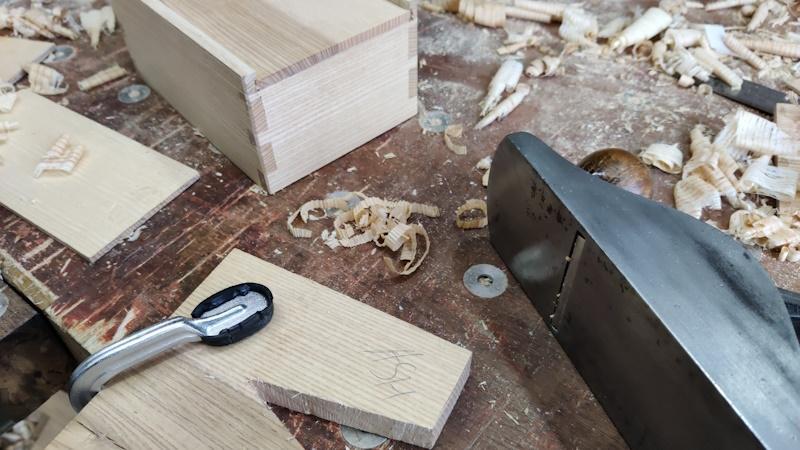
I didn't leave much excess material when sawing (my sawing is getting more accurate!), so it didn't take long to plane them all down to the line. The offcut from one of the long sides was thick enough that I'll be able to use it as a drawer bottom; unfortunately I meandered a bit when sawing the other long piece, so the other long offcut is too thin to be usable, so I'll have to do more resawing (or think of an alternative plan for a lid) :(

22_all_planed.jpg

So far, the tools I've used are:

  • Stanley 4½
  • Kataba (cross-cut saw)
  • Combination Square
  • One F-Clamp
  • Pencil
  • Leather strop

I haven't used a chisel yet, but I will soon. The size will depend a bit on what I choose to do for the top and the bottom as the chisel is the only tool I've got for preparing grooves (gulp) and hence it needs to be an appropriate size.

† The reason I chose a cross-cut saw was that I thought a Ryoba (with cross-cut and rip teeth) would be cheating and I don't have any other backless rip saws. Doesn't mean I don't regret choosing a cross-cut saw though!
 
I decided to put off thinking about resawing more material for the box lid and just get on with the dovetailing. I started by marking out the shoulder lines with the plane blade and the combination square. The plane blade doesn't make a great marking knife (unsurprisingly) although it cuts nicely. The main problem with it is all that extra sharp blade hanging out the back: I'm not counting finger plasters as tools for the tool list :lol:

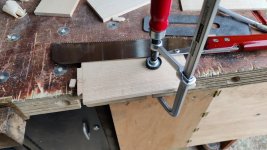
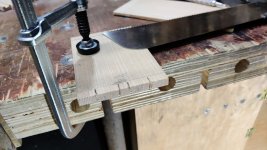
With the shoulder lines marked out, I could pencil some lines across the ends for tails and clamp the board down for sawing:

31_sawing_tails.jpg

The extra saw line in the middle of the pin socket is to help with chiselling out the waste.

A similar set-up was used to saw the ends off, keeping away from the line as I don't trust myself doing this with a Kataba.

32_sawing_ends.jpg

I then added another tool to the arsenal: a 3 mm chisel. I had been planning to use a 6 mm one originally, but I figured the 3 mm one would be easier to push through the end grain without having a hammer or mallet available.

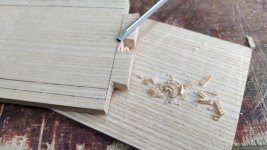
33_chiselling_pin_sockets.jpg

All four pin sockets and six out of eight ends are now chiselled to the line:

34_chiselled_pin_sockets.jpg

I haven't done one corner of each board as I'm still figuring out how the (sliding) lid will work. I probably need to do another straight cut in from the end and chisel out the waste.
 
Before moving onto cutting pins, I wanted to get the grooves ploughed in the long sides. The main reason for this is so that I could figure out what to cut out for the open end of the box. Ploughing was done by marking the sides of the groove with the straight edge of the combination square and the corner of the plane iron and then using a 3 mm chisel to remove the waste.

41_ploughing.jpg

It was a bit messy (especially the first one) with some side tear-out when I wasn't being careful, but there's no chance in hell I'm starting again, so I'm just going to live with the tear-out :lol:

42_ploughing_2.jpg

As I ploughed the grooves, I kept stropping the chisel on the leather in the hope that I won't have to add a sharpening stone to the list if I keep it regularly stropped.

All the grooves in the long sides ploughed and an extra bit chopped out at the front end of the box for a narrow pin:

43_ploughed.jpg

Marking the pins without having a vice or a proper marking knife on the tool list was, quite frankly, a pain in the proverbial posterior. This is how I did it:

44_marking_pins.jpg

The top side of each tail wasn't that bad to mark; the bottom side was extremely awkward. This is not a way I would recommend anyone transfer tails to pins :D

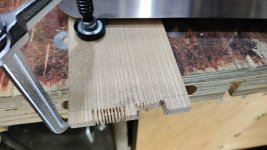
With the lines marked on the end of the board, I clamped the board to the bench and sawed as close to the line as possible, again wishing I'd chosen a rip saw rather than a cross-cut one:

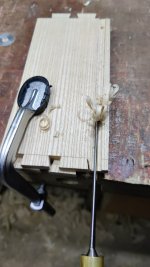
45_sawing_pins.jpg

To try to save the work for the chisel, I also sawed a load of intermediate lines and then came in at an angle to get rid of as much of the waste as possible:

46_sawing_waste.jpg

Then it was just a case of chopping the waste out, using a wiggling action on the chisel as I don't have a hammer or mallet in the list. Thankfully, the small size of the 3 mm chisel means it goes through quite easily, it just takes a lot of goes to clear out the big tail sockets.

Given the difficulty of transferring marks, I was quite pleased with the first joint:

47_first_joint.jpg

This is where I've got to so far: two joints finished (the second one wasn't quite as neat as the first, but like I said, I'm not starting again!)

48_status_quo.jpg

I've just been handed a glass of mulled wine, so I don't think I'll be doing any more this evening :obscene-drinkingbuddies:
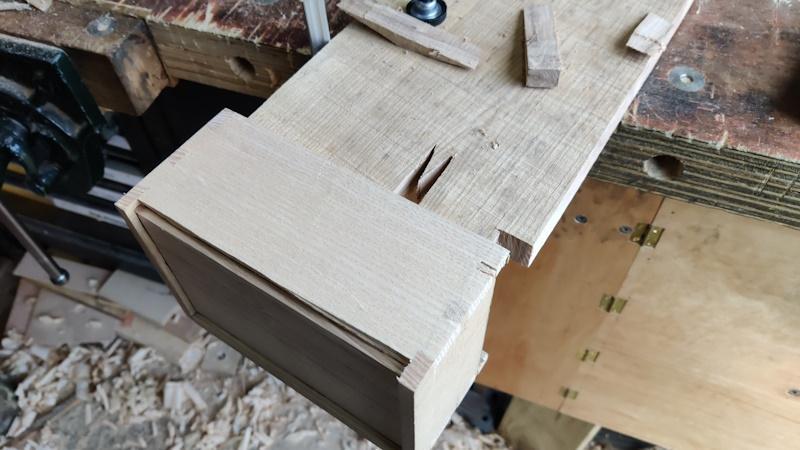
 
After struggling with the marking up method shown in the last post, I decided to try something different for the last two:

51_alternative_mark_up_method_800.jpg


That worked much better and gave me a crisper line to work to. Unfortunately, on one of the joints I then proceeded to saw very carefully on the wrong side of the line on both sides of one of the pins, so I've created some gaps that will need filling later. C'est la vie: I'm certainly not going to remake the part now!

With all the joints made, I could do a test fit and transfer the groove locations across onto the end pieces:
52_test_fit_no_base_800.jpg


This was the pin where I sawed on the wrong side of the line:

53_gappy_800.jpg


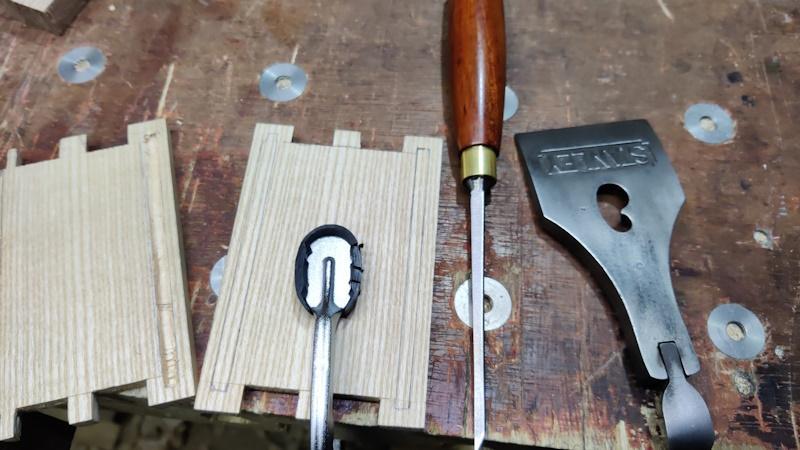
Chopping out the blind grooves was done in a similar way to the previous grooves. The only difference was I chopped down at the end to start the grooves off. This was getting quite hard on the last one; I suspect that's because, despite regular strops on the leather, the chisel is probably in need of a proper sharpen now after all those dovetails. To eke a little bit more life out of it, I used the lever cap from the plane as a hammer for the last few chops:

54_hammer_800.jpg


With all the grooves chiselled, I could get the piece I'd carefully planed to thickness to be the base of the box. Now if only I'd chosen a piece that was actually wide enough before I'd done all that planing. D'Oh!

55_whoops_800.jpg


A new piece was sawed from the plank and I planed both faces:

56_new_piece_800.jpg


I then tortured myself a bit more by resawing it in half with the cross-cut Kataba (why oh why didn't I choose a rip saw!)

57_torture_800.jpg


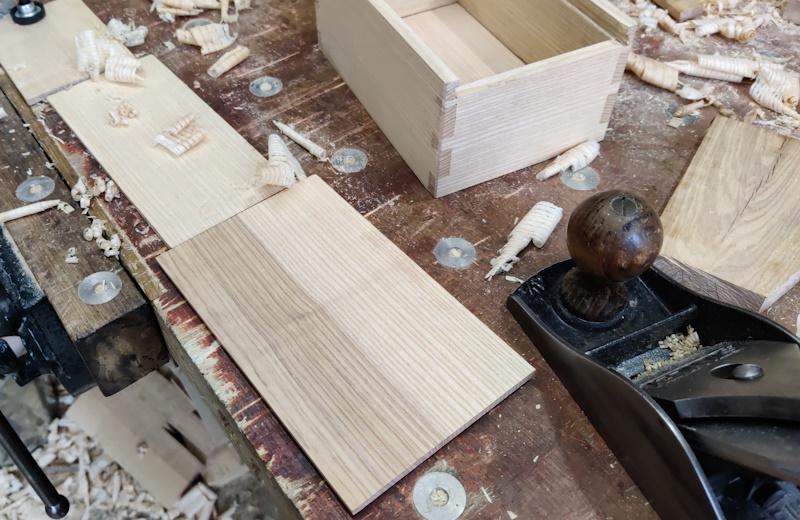
The resulting two pieces could then be planed down further.

58_plane_holding_up_well_800.jpg


Looking at the plane blade, it's clear that it needs sharpening, but stropping it on the leather seems to be letting it keep cutting okay, so I'm still managing without a sharpening stone thus far.

The edges were planed to size in the same way as before:

59_edge_planing_800.jpg


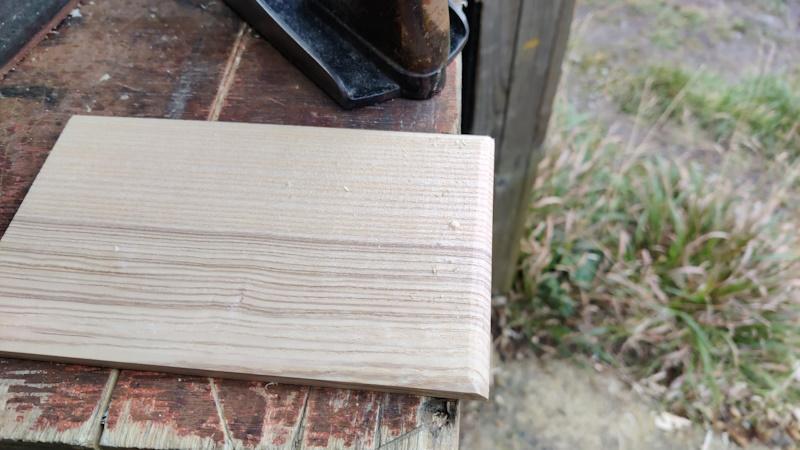
A chamfer was added on the bottom edges of the base. The pockets were also tweaked slightly in size by using the plane blade as a wide chisel:

60_adjusting_width_800.jpg


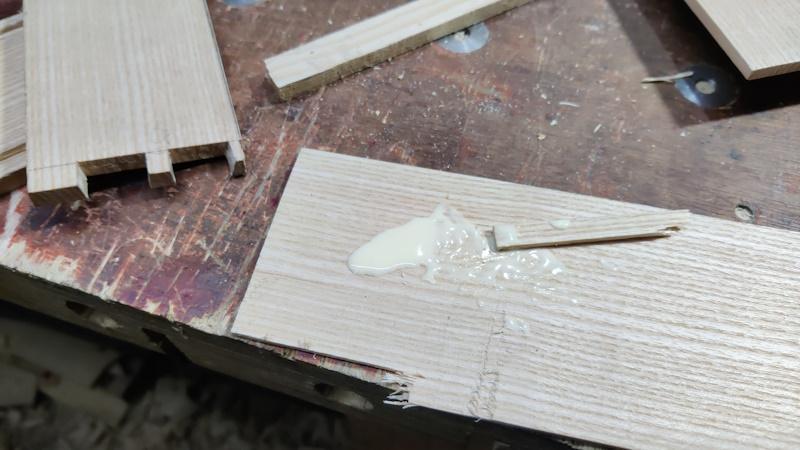
Finally, with everything looking okay, I chopped a bit off one of the offcuts to use as a glue spreader:

61_glue_spreader_800.jpg


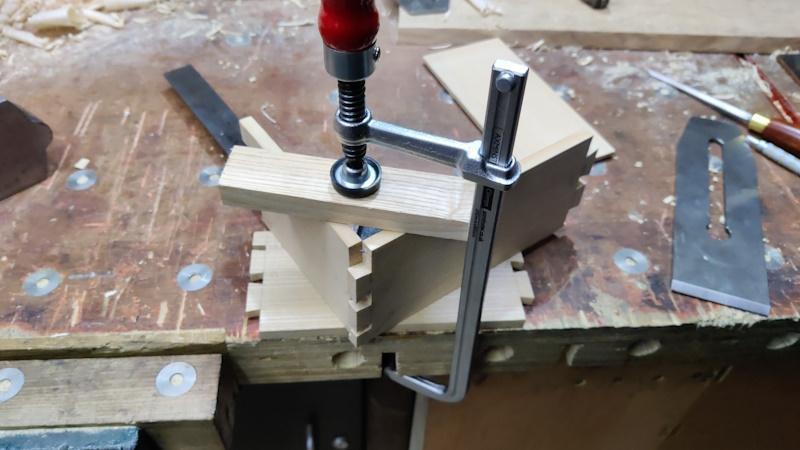
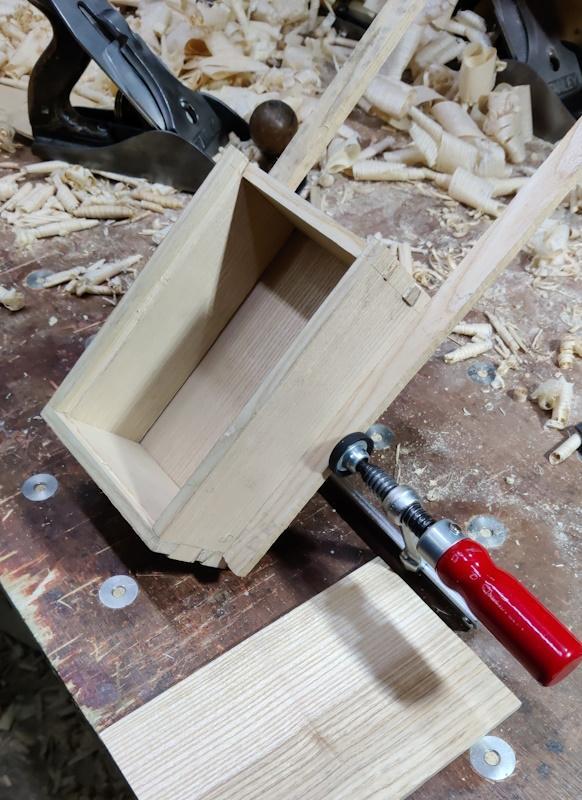
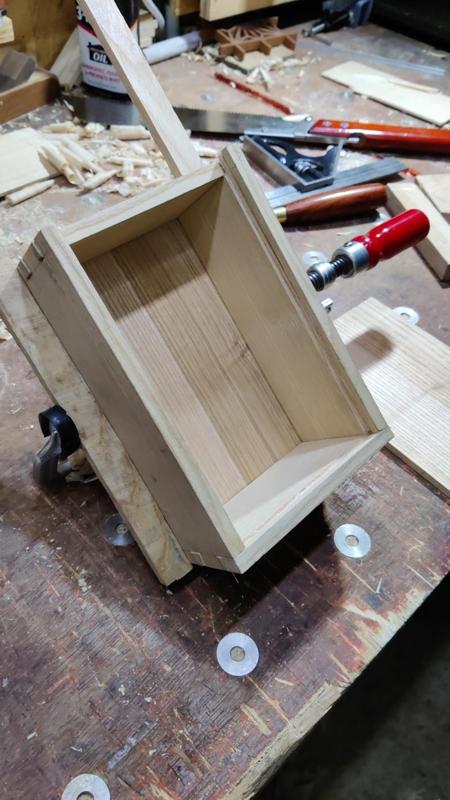
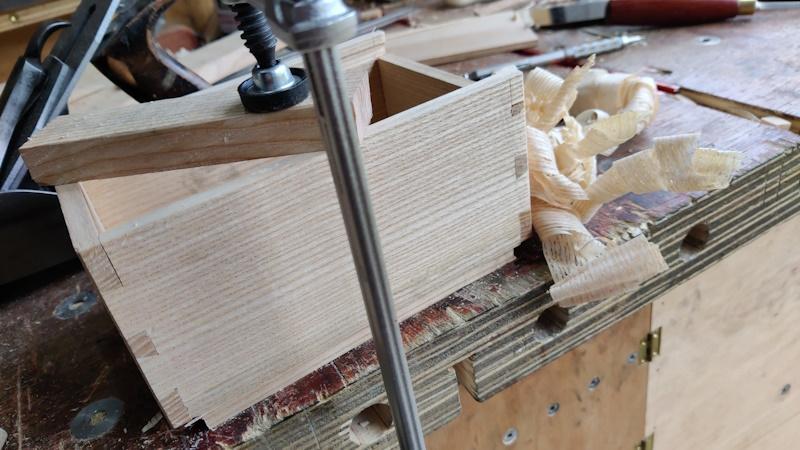
Then glued the box together. With only one clamp in the arsenal, I had to be a bit creative with holding it together, but the joints are very tight, so it probably would have been fine without the clamp in all honesty.

62_glue_up_800.jpg


63_glue_up_2_800.jpg


Once the glue has had the night to cure, I'll plane the outside faces and fit the lid. I'll also do something about that gappy dovetail joint.
 
Looking good Al and exactly the design I had in mind for my own attempt at this challenge. I wont be resawing by hand though.
 
To help planing the sides without a vice available, I cut some notches in some of the leftover ash:

71_notches_in_offcut_800.jpg


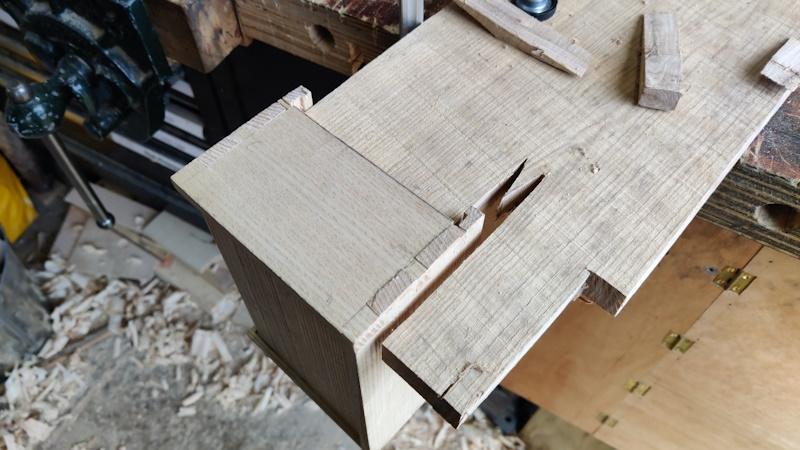
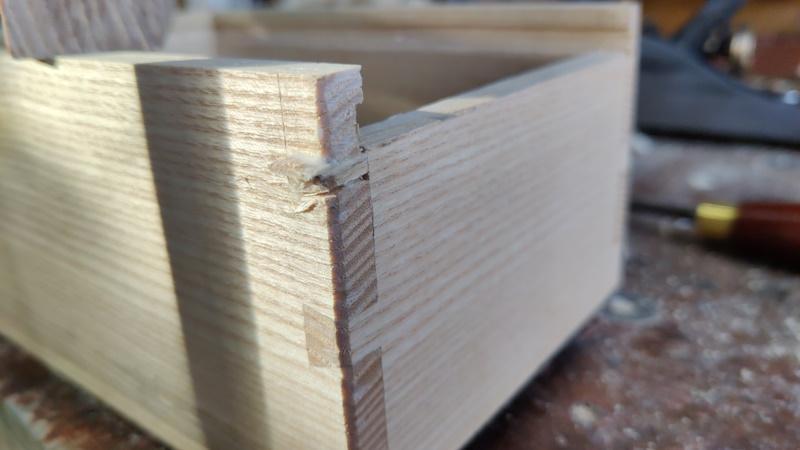
Unfortunately, as soon as I did the first pass with the plane, the bottom of one of the sides snapped off:

72_snap_800.jpg


I guess the groove wasn't big enough. At least it was a fairly clean break, so I used the plane blade to enlarge what is now a rebate in the snapped off bit. That should give plenty of clearance for when I glue the snapped off bit back on.

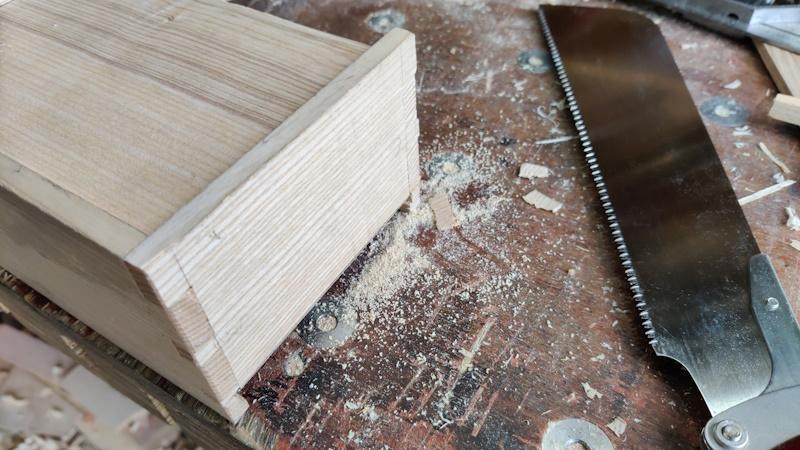
To save working my long-suffering plane blade (which has had a lot of stropping but still hasn't been sharpened), I sawed the ends off the tails and pins where they were long enough to do so:

73_sawing_ends_800.jpg


I could then use the notched offcut to plane the sides...

74_planing_sides_800.jpg


... and the ends:

75_planing_ends_800.jpg


While the offcut was clamped to the bench, I also used it as a planing stop to plane the top surface:

76_planing_top_800.jpg


That done, I figured the best thing to get on with was gluing the broken off bit back on again:

77_glued_on_break_800.jpg


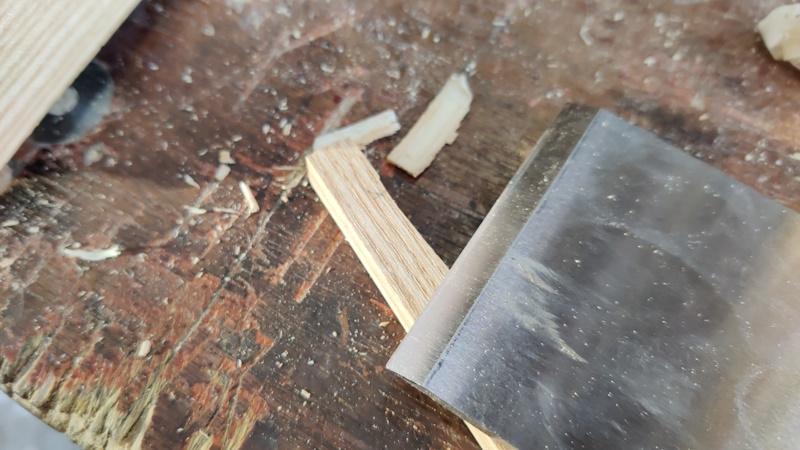
While that was clamped in place, I used the plane blade to pare off bits from an offcut:

78_paring_800.jpg


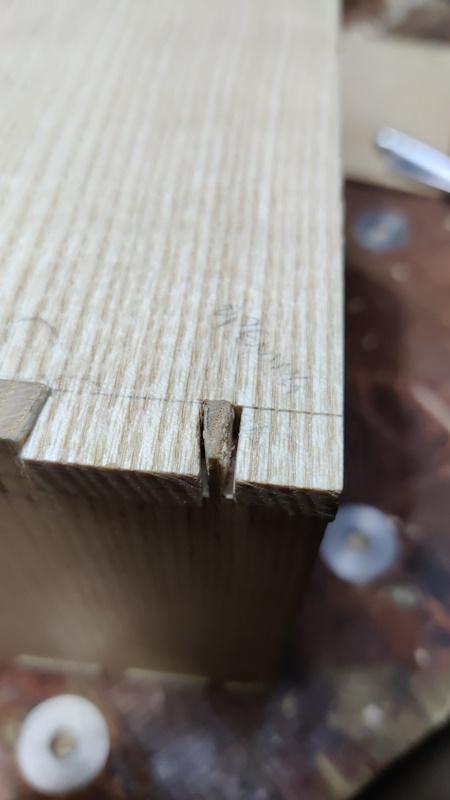
Two of those pared bits were smothered in glue and shoved into the holes where I sawed on the wrong side of the line. This photo was taken after inserting the first one.

79_glued_in_one_insert_800.jpg


They were hammered into place with an offcut of ash (actually the notched piece I used for edge planing earlier).

I don't think it's going to look beautiful, but hopefully it won't be as obvious as it was before.

I was going to get on with preparing the lid, but then I realised that my only clamp is busy holding the box to the bench for the glue-up, so I won't have a way of making a planing stop and hence it's going to have to wait until the glue has dried enough.
 
I find this fascinating to watch but I don't think I will be trying to outdo your almost masochistic level of ingenuity, Al. Surely you could sharpen your plane iron on the doorstep without increasing your points score?

Anyone who's had the patience to follow any of my WIPs will know that my tools get jealous of each other if left on the shelf too long. I have to give a moment in the spotlight to as many of them as I can, just so they all know I care about them! ;)

I wonder if the ultimate tool in minimalist woodworking would be an axe? I think I have seen it claimed that American colonists could build a house with just an axe and no other tools.
 
AndyT":3v3aue00 said:
I wonder if the ultimate tool in minimalist woodworking would be an axe? I think I have seen it claimed that American colonists could build a house with just an axe and no other tools.

That would be quite an impressive thing to see done.
 
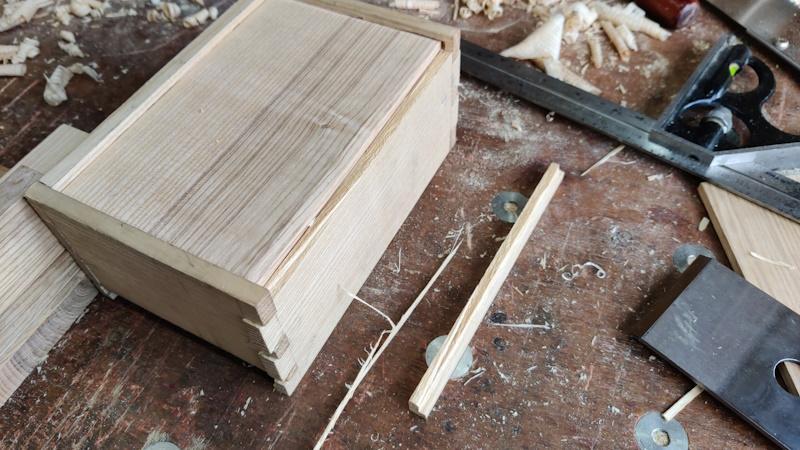
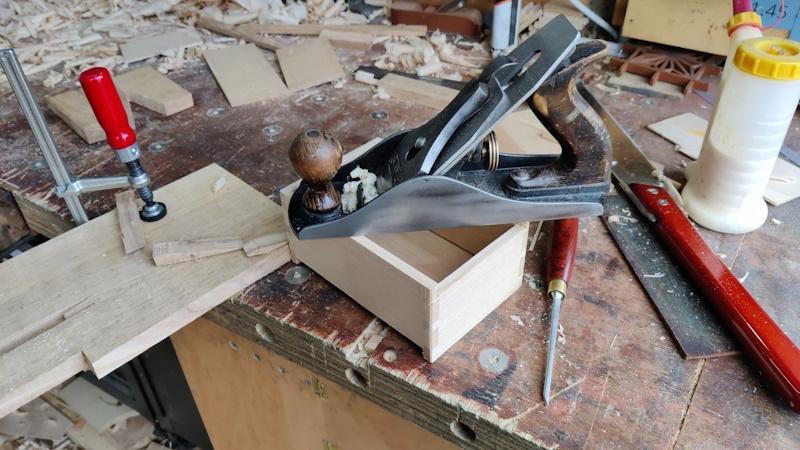
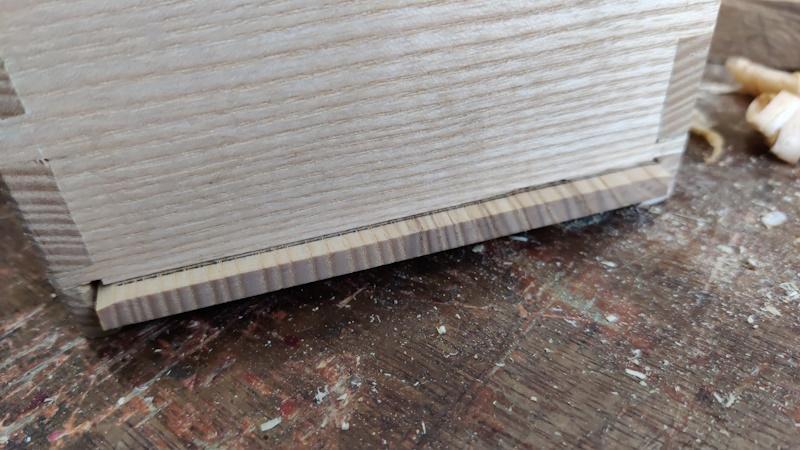
Once the glue had been left for enough time to dry, I planed the face on the side with the gap-fillers and the bit that had previously snapped off. Once that was done I got back to the lid. First of all, I trimmed it to width (having trimmed an offcut to width first to use as a reference):

80_trimming_lid_to_width_800.jpg


I then planed the lid down to the thickness of the groove, leaving it at a rather tight fit:

81_planing_lid_to_thickness_800.jpg


A chamfer was applied to the underside (now making it a more comfortable fit) on three sides:

82_chamfering_lid_underside_800.jpg


The lid was then slid into the box and the length marked:

83_marking_length_800.jpg


I chopped it to length in the usual way (for once, the cross-cut saw was actually doing what it's good at!)

84_chopping_to_length_800.jpg


To clean up the end, I used a makeshift shooting board:

85_makeshift_shooting_board_800.jpg


Amazingly, the plane was still managing to take some nice end-grain shavings despite all the abuse and lack of sharpening it has endured:

86_end_grain_shavings_800.jpg


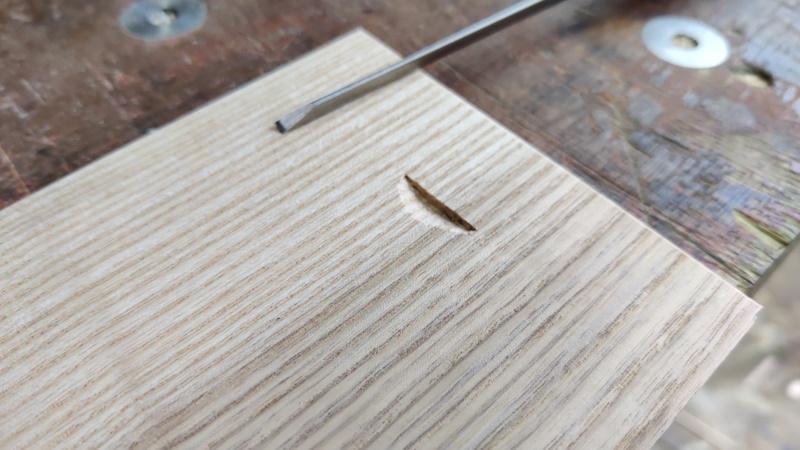
The last job was to chisel out a notch for use as a finger pull:

87_chiselled_finger_pull_800.jpg


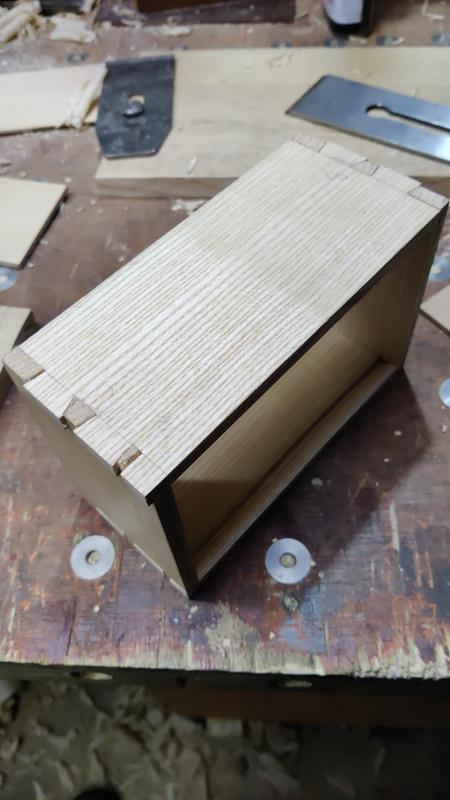
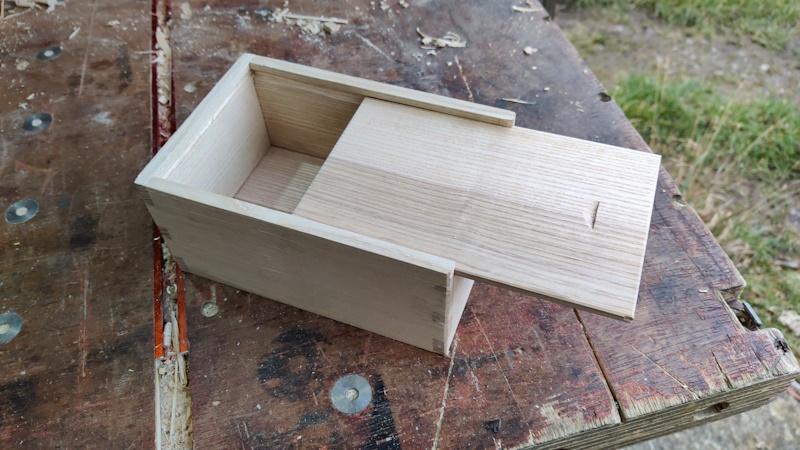
Finally, I can call it done:

88_done_1_800.jpg


I guess it could be argued that it's not finished without some, well, finish, but I've decided it's a perfectly serviceable and attractive box without any oil or whatever. That's partly to keep the tool count down, but mainly because I really can't be bothered to do any oiling!

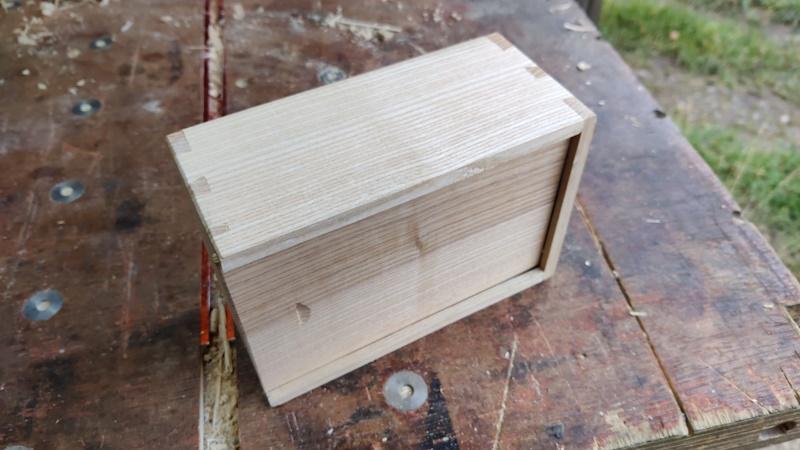
89_done_2_800.jpg


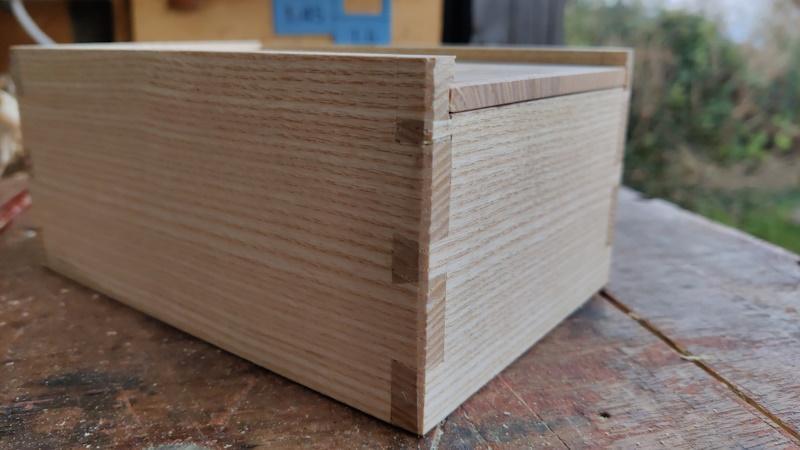
This photo shows the filled in gaps and the re-glued snapped-off bit: neither are especially obvious in my opinion:

90_filled_in_gaps_800.jpg


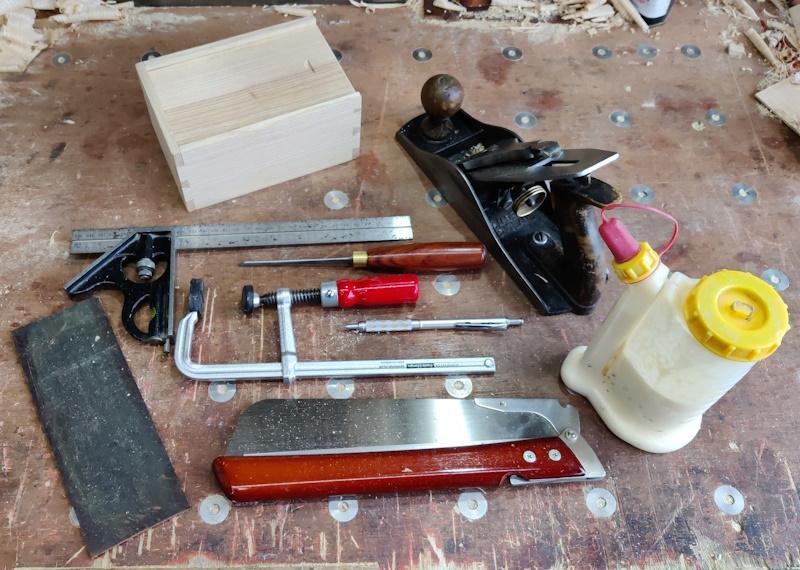
The final tool list consisted of the following 8 tools:

92_tools_800.jpg


A Stanley 4½, a combination square, a 3 mm chisel, an F-clamp, a pencil, a (poorly chosen) cross-cut saw, some glue and a leather strop. No vice, no bench dogs, no sharpening stone, no cloths/rags and a distinct lack of any common sense shown by trying to do this challenge!

All that was left to do was a quick photo with the 8 tools I used to make the box:

91_box_and_tools_800.jpg


Given how difficult some of the operations were, I really don't think I'd do it again, but I also think it was worthwhile in some ways as I learnt a few things and came to appreciate a few things more.

For example, I really grew to appreciate how good a rip saw is at ripping & resawing! I was really impressed with how well the plane blade and the chisel continued to cut with regular stropping and no sharpening stone attention. They'll get some TLC now that the project is finished, but they coped admirably. With hindsight it would have been better to pick a slightly more robust F-clamp as that little one was quite hard to tighten sufficiently for some operations. I also learnt that a plane blade doesn't make a very good (for which read: safe) marking knife: I've picked up a lot of cuts and nicks from this project! Finally, I'm sure the next few times I pick up a plough plane or router plane I'll be very appreciative of how much easier they make things compared to just a chisel.
 
I'd admire your ingenuity, perseverence and self control to do all that without grabbing a multitude of other tools from the cabinet :lol:

Very impressive box at the end of it with so few tools.
 
Excellent result!

Al, if you change your mind and decide you do want another challenge, or if anyone else is having a go, how about an extra rule that the box must be big enough to contain all the tools used to make it?
 
Excellent, Al. Great idea, and well executed with the kit you restricted yourself to using.
 
Back
Top