I bet the apparent simplicity of the design belies the skills involved to produce.


 That said, mine are higher.
That's probably right, although there's no particular magic involved. The key is really accuracy in preparing the components. For example, the thickness of the legs where they go into the housing needs to be very consistent to avoid gaps in the housing. The edge of the seat needs to be square so the layout of the mortises result in square mortises (again to avoid gaps in the mortises - especially where they're cut with the grain; across the grain, the wedges will hide small inaccuracies). The angles need to be consistent (sliding bevel set and checked regularly), and you need to remember to apply the angle when necessary (eg in the mortises and on shoulders etc).I bet the apparent simplicity of the design belies the skills involved to produce.
Thanks. They're just a bit taller than our dining chairs. I think the comfort depends on how tall you are. My wife finds them comfortable but, like you say, does find the seat edge can cut in a bit. I don't have any issues. We don't sit at the table for hours so they're OK.For use in place of dining chairs I find that if I sit on the stool for a long time, I get a numb leg pretty quickly. The curved seat looks bum shaped but I find the seat edges cut off the nerves.

That would be an option. There's nowhere to hide with the housing, but as long as the tops of the legs have uniform thickness, it's OK.I think I might have put a tiny shoulder around the leg to disguise where it goes into the housing on the underside of the top, but maybe not worth it.
But I’ve just noticed the neat chamfer to remove some of the bulk/thickness of the seat, it emphasises the curve on the top of the seat as well, nice work.
Adrian, I like the hardware for the sliding door. Is it much more expensive than the standard offered?I made this (complete building) over the past year or so. As with almost all of my projects it was not quite finished, and since early December I have been doing wiring and snagging, making steps (see carving threads etc).The oak frame has moved a bit with a super hot summer and pretty wet winter, so it was wise to delay the snagging
I've posted bits and pieces before maybe (?), but not a WIP as I couldn't face the photo posting. But I do have snaps of everything from ground prep to concrete pour, timber framing, roofing, laying the stone tiles etc, but as it recedes into history I suspect it will never see the light of day here.
View attachment 18691
Here be the sliding door that leads to another room. That room is panelled and the door is disguised on that side as part of the panelling. This is before I fitted the step and wall sockets in December. Paint is Mylands.
View attachment 18692
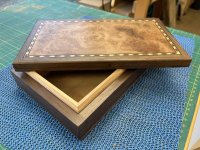
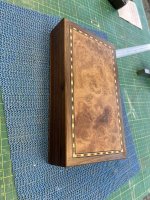
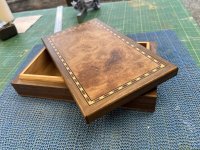
Thanks Ian.Another beautiful box Robert, just curious what you do with them all?
 . I probably need to have a word with myself

I've done stuff for our local hospice shop in Salisbury and they're always delighted to receive decent quality items for sale. What I've done is to have a word with the 'powers that be' and actually tell him or her the amount of hours/work that goes into a box; you can then indicate a reasonable price for it (or they) to be sold and which punters would be happy to pay. Last year I made some Cosmanesque boxes for Wessex Rehab at our local hospital which were sold for around £200 each, but they did contain some Victorian heirloom oak from the bell towers of St. Paul's Cathedral - RobThanks Ian.
for the local hospice charity shop in the New Year. Hopefully this next bit will make sense as I don’t have any illusions of grandeur about my woodworking but … the thing that is holding me back is an irrational concern that I may see them in the shop window at an insultingly low price of £2
It's probably worth having a chat with Rob about how he arranged things when donating some other lovely boxes to a good cause. It was discussed in this thread, which suggests a sensible selling price was agreed, to reflect the skill and materials.Thanks Ian.
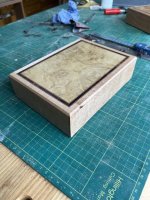
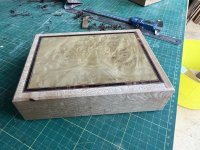
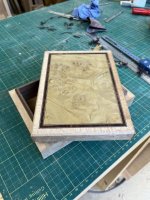
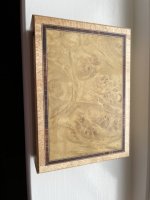
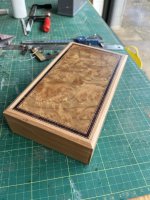
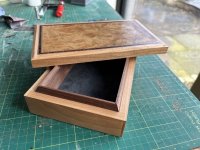
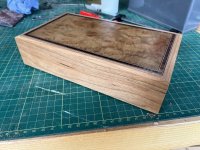
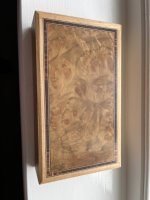
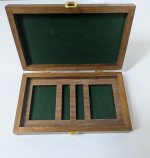
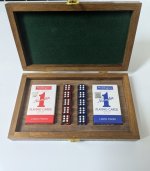
These ones being made from offcuts are earmarked by my wife as Christmas presents for friends. I’ve previously done candle boxes and playing card boxes for friends at Christmas.
As these don’t have hardware they are relatively inexpensive to make. I think if I get organised I can be more efficient and do them as a batch so am thinking about doing some for the local hospice charity shop in the New Year. Hopefully this next bit will make sense as I don’t have any illusions of grandeur about my woodworking but … the thing that is holding me back is an irrational concern that I may see them in the shop window at an insultingly low price of £2

 www.thewoodhaven2.co.uk
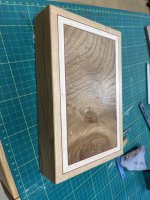
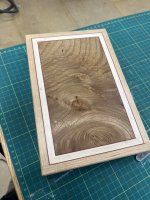
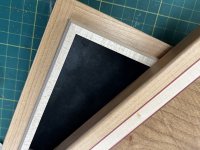
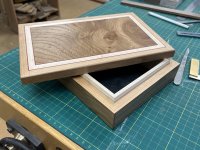

 . I look around my wood pile and find a bit of walnet, sapele then loads of pine and ply! I need to up my game clearly. The boxes are stunning and inspirational too.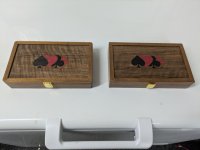
Very nice indeed.After some of the boxes shown here I am somewhat embarrassed by my efforts, but a couple of xmas gifts for work colleagues - apologies for the picture quality, there was a significant time pressure here. I really struggled to get the lid from these for some reason and both nearly went in the bin more than once. Still not happy with them, specifically the fit between lid and base, which does not really show here, and I had chipping on the one on the left, hence the slightly different shape to overcome this.
View attachment 30647
View attachment 30648
View attachment 30649
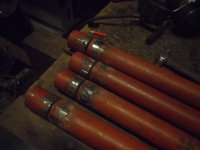
They look like Christmas pipe bombs to me...!!!
So, what actually are these?

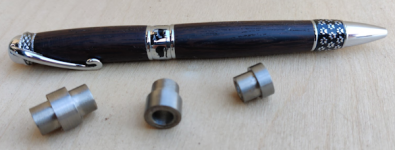
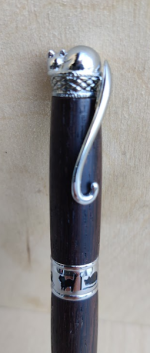
It's got a coat of cellulose sanding sealer and some beeswax on itNice Pen Al, have you put a finish on it?
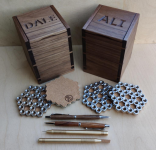
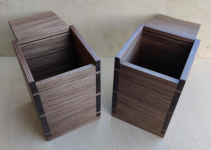
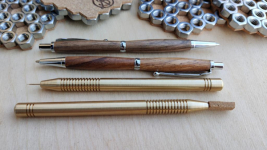
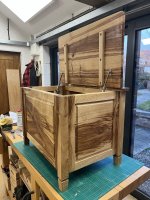
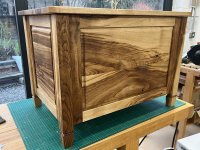
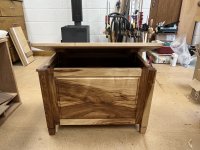
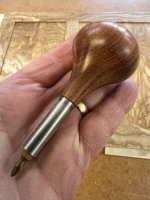



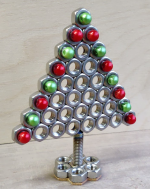
 I had a little nut tree...