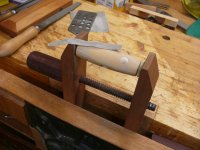
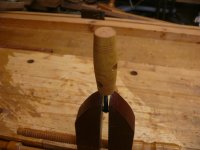
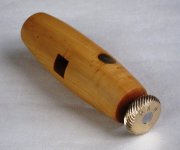
Ever since I saw one belonging to @toolsntat , years ago, I've rather admired the sort of bit holder introduced by Preston and included in their 1909 catalogue:
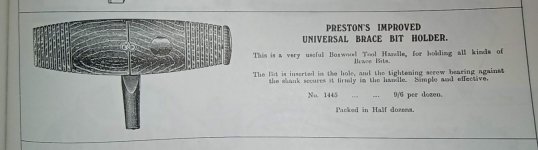
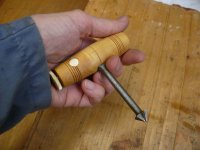
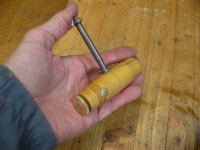
It's a simple but elegant design. There's a brass pin across a turned boxwood handle. A steel screw goes through a threaded hole in the pin, and can be tightened against a square taper bit inserted in the central hole. Simple and occasionally useful.
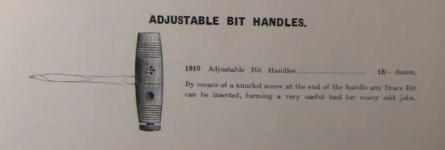
After Preston had gone out of business in the 1930s, Marples made them available again, with their own name on - this is from the 1938 catalogue:
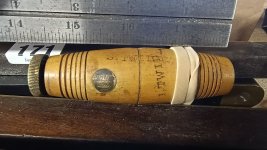
Here's a close up of one I saw on sale, photographed but failed to buy. Maybe I was thinking of making my own, and that's why it was next to a ruler?
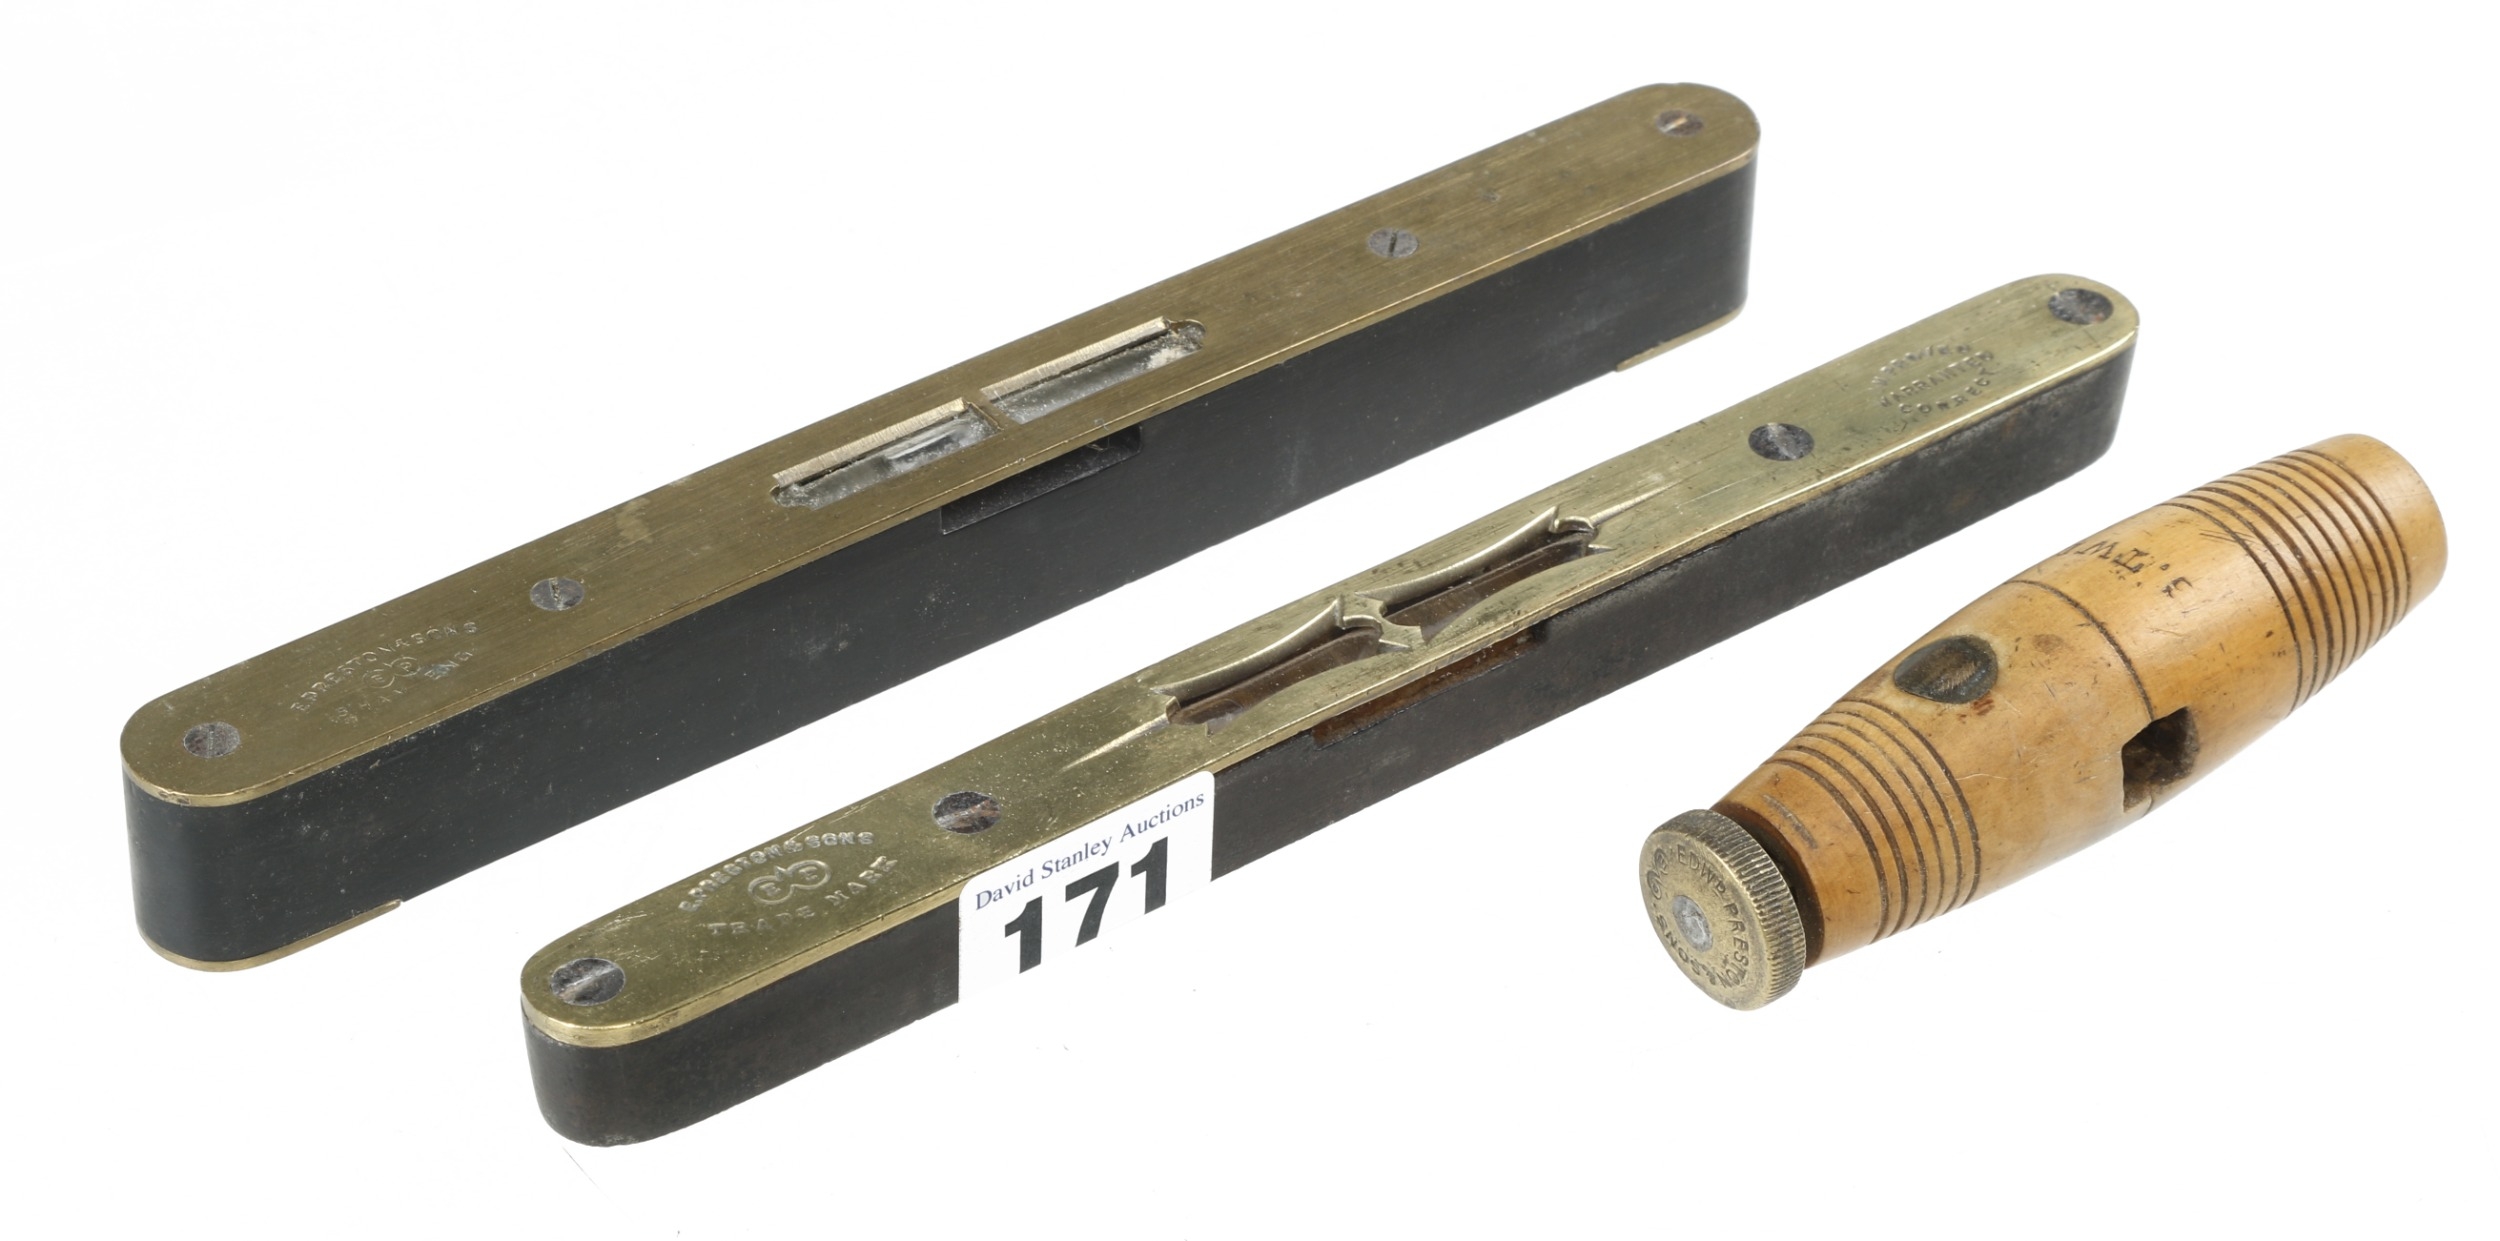
Actually, the David Stanley label is the clue - this was the preview day for an auction, which I forgot to bid on. I should have done - the Preston bit holder sold for only £20 + fees, along with two rather nice levels, so I think I missed a bargain:
Never mind, I knew that @rxh had made himself a rather nice copy of one, and was keen to have a go.
He very kindly shared some photos and provided a working drawing, which was all the incentive I needed.
After a bit less than a month, I found myself down in the workshop with these promising looking materials gathered in readiness:
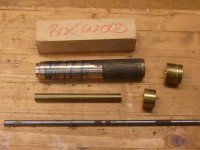
The boxwood was given to me in a selection box of exotic offcuts by Custard some years ago, and had been waiting patiently for this moment.
I was hoping to get the brass knob out of one of the little offcuts of nice free-machining brass, but if I couldn't, the rough cast lump might be easier to work than when I last tried to turn it, as I have since acquired some extra tooling for the lathe.
I'd had a long think about what order to approach this all in, and decided that the place to start was with the wooden part. I checked it for squareness and marked it out carefully.
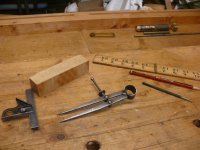
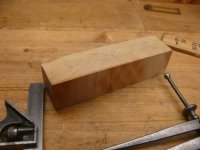
I could see from the photos and drawing that the cross pin was at right angles to the central tapered hole for the bits. I marked centres at both ends; one for drilling but both for mounting on the woodworking lathe.
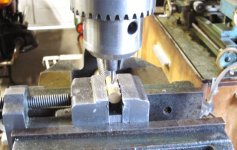
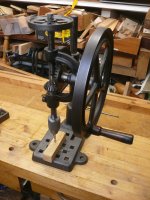
I used my nice old bench drill, that you've seen before, to make sure all the holes were straight and square. I'm not setting out to make this whole project with tools from the Edwardian era, but that's what I have and what I like using. (I considered trying to drill the holes on the lathe, which could have been more accurate, but couldn't see how to secure the pieces at the right height without a lengthy side project making a platform and special clamps, which I didn't fancy diverting onto. I was going slowly enough already!)
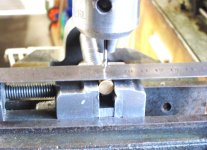
I thought about how to drill a nice tapping hole across the 3/8" brass rod and decided to make a quick and simple jig from a bit of scrap. This also gave me a chance to check sizes and clearance for the finished article. In the photo above, I was making a preliminary smaller hole, to enlarge later.
Here's the jig:
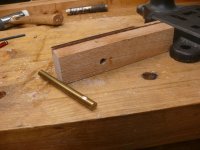
and here's proof that it worked ok:
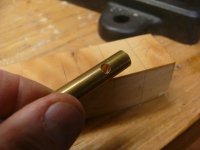
enabling me to tap at 1/4" BSW:
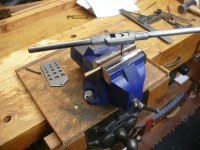
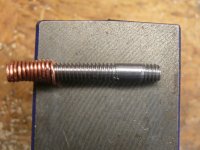
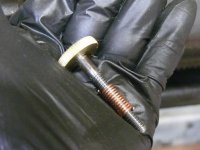
I carried on with metalwork to make the matching steel screw:
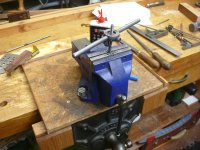
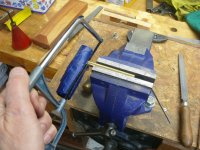
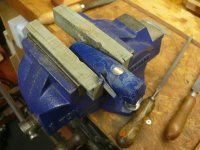
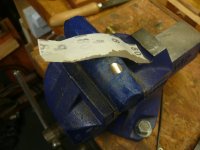
I didn't want to damage the rest of my piece of 1/4" mild steel rod by gripping it in the bare vice jaws, so first of all I tried using the leather jaws you can see in the earlier photo, but that didn't grip well enough. I tried putting the rod into the three jaw chuck on the lathe, but that slipped a bit as well. So I cut a bit off and filed flats on the end. That worked much better.
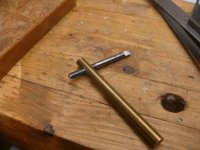
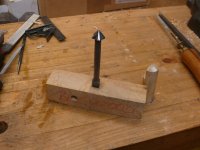
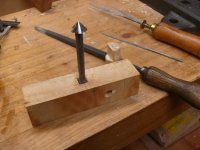
I knew that a 3/8" bit gave me a nice tight fit on the brass, so I enlarged the transverse hole you saw me drilling earlier. I was pleased when, with very little extra fettling, I managed to screw the steel part into the hole in the brass bar, which I had not yet cut to length:
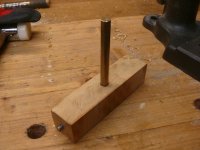
How do you like the look of that? I was feeling quite encouraged by my success, for a few minutes. Hands up who's seen what I did?
Yep, I had enlarged the wrong hole. The central hole, where the bits will go, doesn't need to be that big. That's why I'd marked it as 1/4" diameter, back at the beginning. Bother!
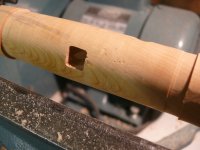
Having left the room for a few minutes and thought about it, I decided not to chuck it all away, but to fill in the big hole and see if I can salvage what I had made so far. I found a tiny scrap of nice, tough, dry holly and sawed a little stick out of it:
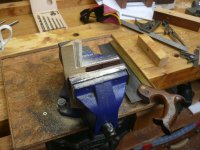
I bashed it through two holes in my dowel plate:
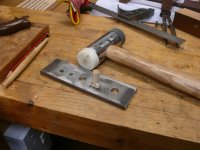
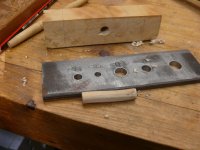
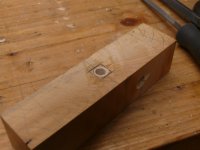
and straightened it a bit with some coarse sandpaper. Then I glued it in place
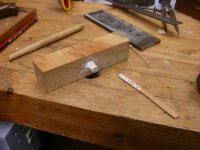
and drilled the first hole in the place I should have been using:
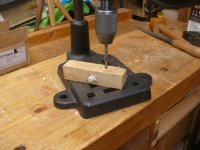
Next time, I can start over on the tapered central hole and make sure that the steel screw goes through the cross pin ok in the proper position.
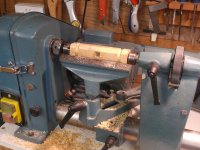
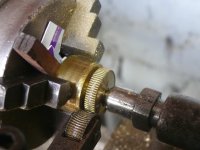
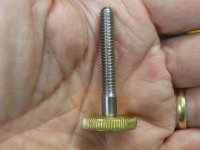
Oh and I can do some wood turning and make a little knurled knob. I'm not sure when that will be - maybe at the weekend if the wind and rain continue. There's no other deadline creeping up that suspends normal workshop activities is there?

It's a simple but elegant design. There's a brass pin across a turned boxwood handle. A steel screw goes through a threaded hole in the pin, and can be tightened against a square taper bit inserted in the central hole. Simple and occasionally useful.
After Preston had gone out of business in the 1930s, Marples made them available again, with their own name on - this is from the 1938 catalogue:
Here's a close up of one I saw on sale, photographed but failed to buy. Maybe I was thinking of making my own, and that's why it was next to a ruler?
Actually, the David Stanley label is the clue - this was the preview day for an auction, which I forgot to bid on. I should have done - the Preston bit holder sold for only £20 + fees, along with two rather nice levels, so I think I missed a bargain:
Never mind, I knew that @rxh had made himself a rather nice copy of one, and was keen to have a go.
He very kindly shared some photos and provided a working drawing, which was all the incentive I needed.
After a bit less than a month, I found myself down in the workshop with these promising looking materials gathered in readiness:
The boxwood was given to me in a selection box of exotic offcuts by Custard some years ago, and had been waiting patiently for this moment.
I was hoping to get the brass knob out of one of the little offcuts of nice free-machining brass, but if I couldn't, the rough cast lump might be easier to work than when I last tried to turn it, as I have since acquired some extra tooling for the lathe.
I'd had a long think about what order to approach this all in, and decided that the place to start was with the wooden part. I checked it for squareness and marked it out carefully.
I could see from the photos and drawing that the cross pin was at right angles to the central tapered hole for the bits. I marked centres at both ends; one for drilling but both for mounting on the woodworking lathe.
I used my nice old bench drill, that you've seen before, to make sure all the holes were straight and square. I'm not setting out to make this whole project with tools from the Edwardian era, but that's what I have and what I like using. (I considered trying to drill the holes on the lathe, which could have been more accurate, but couldn't see how to secure the pieces at the right height without a lengthy side project making a platform and special clamps, which I didn't fancy diverting onto. I was going slowly enough already!)
I thought about how to drill a nice tapping hole across the 3/8" brass rod and decided to make a quick and simple jig from a bit of scrap. This also gave me a chance to check sizes and clearance for the finished article. In the photo above, I was making a preliminary smaller hole, to enlarge later.
Here's the jig:
and here's proof that it worked ok:
enabling me to tap at 1/4" BSW:
I carried on with metalwork to make the matching steel screw:
I didn't want to damage the rest of my piece of 1/4" mild steel rod by gripping it in the bare vice jaws, so first of all I tried using the leather jaws you can see in the earlier photo, but that didn't grip well enough. I tried putting the rod into the three jaw chuck on the lathe, but that slipped a bit as well. So I cut a bit off and filed flats on the end. That worked much better.
I knew that a 3/8" bit gave me a nice tight fit on the brass, so I enlarged the transverse hole you saw me drilling earlier. I was pleased when, with very little extra fettling, I managed to screw the steel part into the hole in the brass bar, which I had not yet cut to length:
How do you like the look of that? I was feeling quite encouraged by my success, for a few minutes. Hands up who's seen what I did?
Yep, I had enlarged the wrong hole. The central hole, where the bits will go, doesn't need to be that big. That's why I'd marked it as 1/4" diameter, back at the beginning. Bother!
Having left the room for a few minutes and thought about it, I decided not to chuck it all away, but to fill in the big hole and see if I can salvage what I had made so far. I found a tiny scrap of nice, tough, dry holly and sawed a little stick out of it:
I bashed it through two holes in my dowel plate:
and straightened it a bit with some coarse sandpaper. Then I glued it in place
and drilled the first hole in the place I should have been using:
Next time, I can start over on the tapered central hole and make sure that the steel screw goes through the cross pin ok in the proper position.
Oh and I can do some wood turning and make a little knurled knob. I'm not sure when that will be - maybe at the weekend if the wind and rain continue. There's no other deadline creeping up that suspends normal workshop activities is there?


 I can send you some box or other suitable wood.




 I often turn it or use for small projects and it's never been easy.