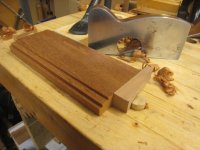
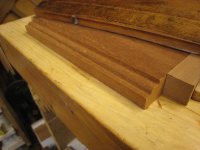
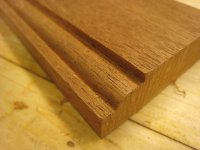
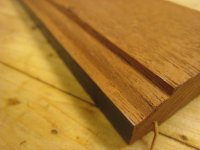
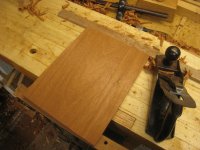
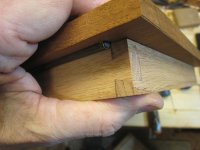
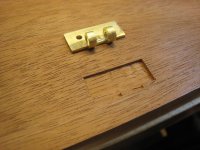
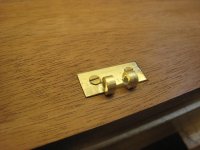
It's time for another little project to use up some of my hoard of "useful" wood and keep me happy pottering harmlessly in the basement. I'll post pictures as I go, but don't expect anything speedy - I shall do a bit more whenever I feel like it and only until I get too cold - the workshop is lovely and dry because it's well ventilated but that does mean it can get a bit parky at this time of year.
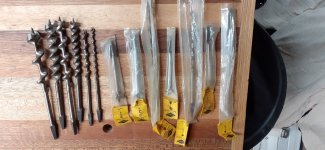
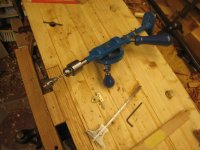
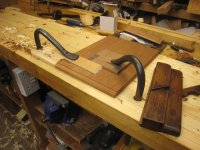
I've got a set of centre bits that are a bit nicer than the others and deserve a little box to put them in. They range from 1/4" to 1 1/4" plus a couple of countersinks. A friend of mine has an old tool chest which has a neat rack for similar centre bits, so I started by copying that. The bits can rest on a pair of little battens with carved sockets to hold them steady. Here's the set laid out temporarily to get an idea of what's needed.
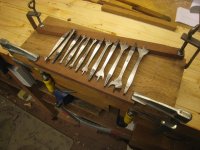
In that picture they mostly have the cutting "wing" pointing upwards. That's how it was done in the toolchest, but I decided to make it harder for myself by arranging them all the other way up. It needs more carving that way but I think it means they can all be held in place better.
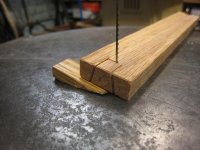
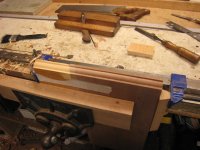
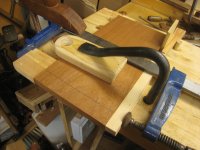
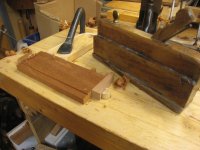
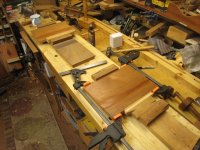
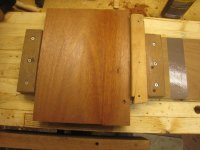
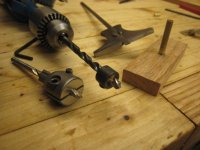
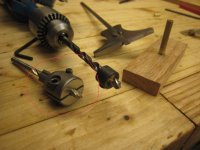
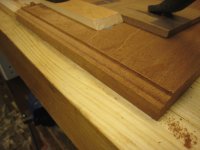
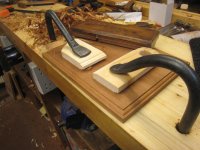
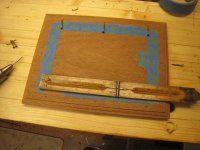
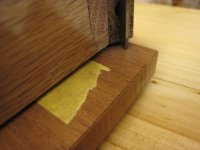
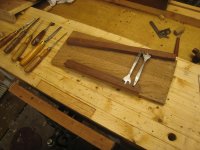
I started off with the biggest ones and with the battens loose so I could get at them easily. (That oak base is not what I intend to use, it was just the first handy piece about the right size.)
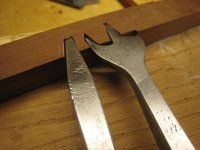
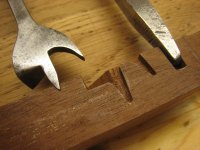
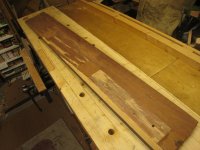
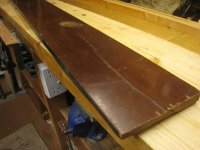
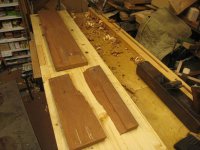
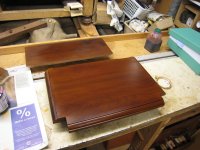
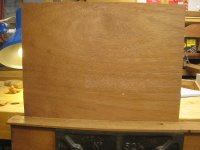
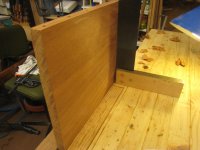
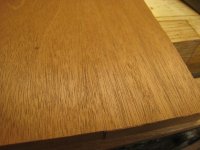
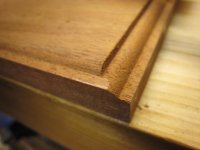
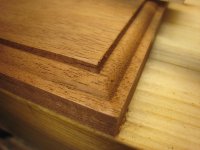
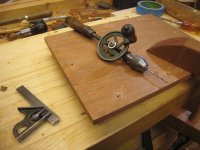
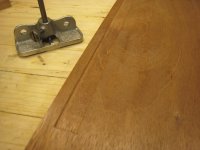
This turned out to be rather enjoyable. The wood I was using was a tiny scrap left over when I made a shelf for the hall. It was a single leaf from a dining table. Definitely mahogany, and a real treat to work with. I can see why it got so popular. It's soft enough to carve easily but without the challenging hard/soft layers of pine.
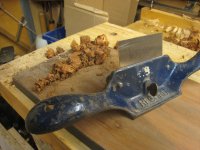
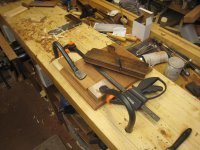
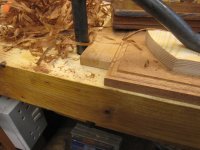
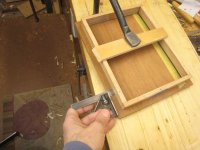
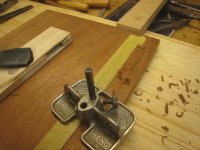
It was a good excuse to unpack a selection of carving tools and tiny chisels and put them to use.
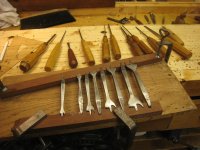
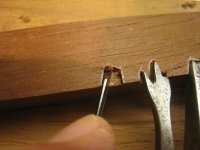
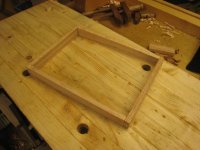
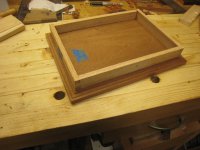
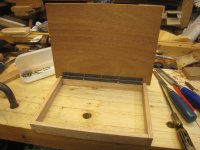
Progress continued over several sessions, which allowed plenty of time to think about how the rest of the box could be constructed.
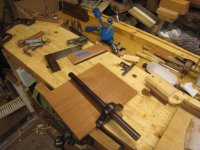
I speeded up a little as I got more used to what was needed, leading to this exciting stage, where they all nestle in quite nicely. More soon!
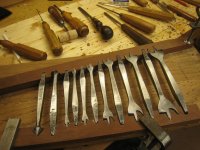
I've got a set of centre bits that are a bit nicer than the others and deserve a little box to put them in. They range from 1/4" to 1 1/4" plus a couple of countersinks. A friend of mine has an old tool chest which has a neat rack for similar centre bits, so I started by copying that. The bits can rest on a pair of little battens with carved sockets to hold them steady. Here's the set laid out temporarily to get an idea of what's needed.
In that picture they mostly have the cutting "wing" pointing upwards. That's how it was done in the toolchest, but I decided to make it harder for myself by arranging them all the other way up. It needs more carving that way but I think it means they can all be held in place better.
I started off with the biggest ones and with the battens loose so I could get at them easily. (That oak base is not what I intend to use, it was just the first handy piece about the right size.)
This turned out to be rather enjoyable. The wood I was using was a tiny scrap left over when I made a shelf for the hall. It was a single leaf from a dining table. Definitely mahogany, and a real treat to work with. I can see why it got so popular. It's soft enough to carve easily but without the challenging hard/soft layers of pine.
It was a good excuse to unpack a selection of carving tools and tiny chisels and put them to use.
Progress continued over several sessions, which allowed plenty of time to think about how the rest of the box could be constructed.
I speeded up a little as I got more used to what was needed, leading to this exciting stage, where they all nestle in quite nicely. More soon!