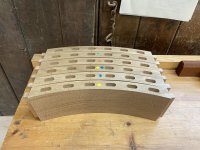
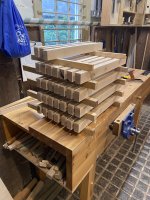
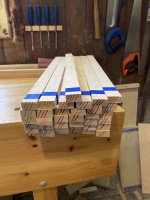
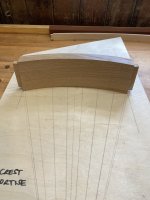
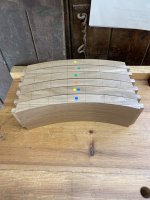
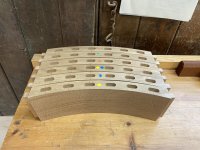
No chance of me overtaking you! For one thing, I need to make 36 laminated back bars and I can probably only glue one per day! I haven't started those yet. That will slow me down, and I should probably have started them sooner in the process, but I'm not too worried about it and there will be lots of other tasks I can do on the chairs whilst those are being glued (e.g. partial glue ups, making crest rails, more shaping on the rear legs etc.). However, I do think I will turn my attention to the back bars as soon as I've finished the side rails.That is a lot of work. It is oak not some mild compliant wood. Excellent work. You will be heading into the lead I am still sanding legs. Not that its a race![]()


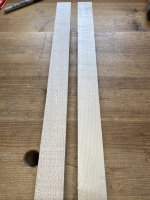
Ha! I think you're right, but you can have too much of a good thing! I quite like a transition from white to flecks, but I'm not so keen when it's all flecks.Philistine! Sycamore fleckles are beautiful.![]()


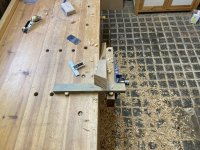
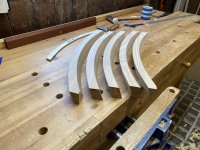
Great stuff Nick. There's so much work in these chairs!I needed to finish shaping the back legs.
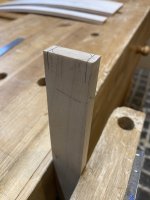
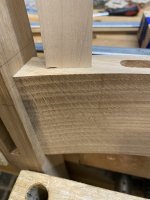
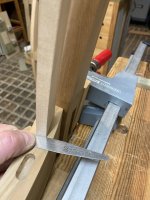
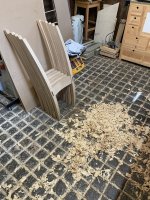
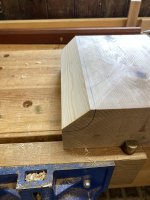
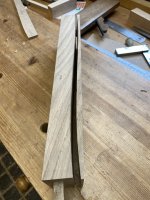
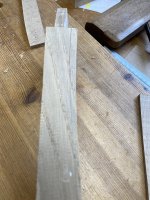
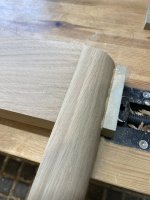
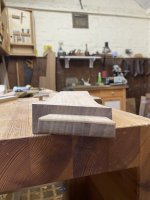
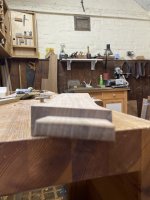
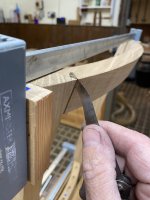
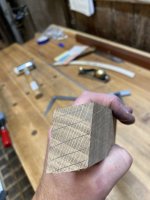
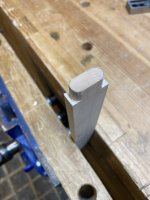
You might recall from the prototype, that I'm running the curve of the crest rail into the legs. In this photo looking at the top of the left leg, imagine the crest rail curving away to the right (the back of the chair is at the bottom of the photo).
View attachment 36351
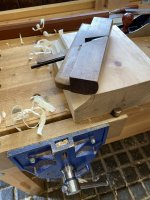
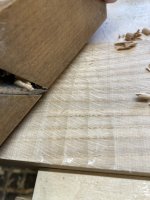
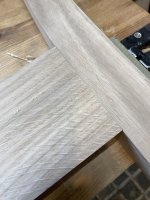
The hatched wood needs to be removed. As it progresses down to the seat of the chair, it twists back to horizontal. Out with the spoke shave (definitely the hand tool I've spent most time using on these chairs) and scraper (and a bit of sandpaper) again.
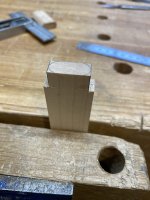
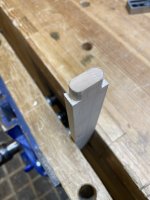
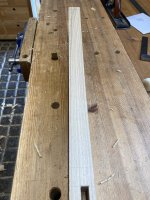
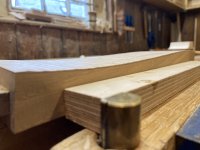
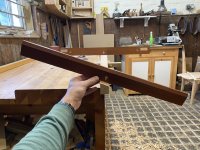
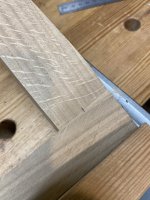
The winding sticks show the subtle twist.
View attachment 36352
Thanks Mike. Yes, there's a lot of work! I'm still really enjoying the process but I have also welcomed the odd break from the chairs to work on something else!Great stuff Nick. There's so much work in these chairs!
It looks like you aren't yet at the stage where you are matching up components in their final locations. By that I mean you are just shaping all of the legs, then making all of the crest rails............and only then will you match them up into sets, and "blend" the surfaces together. Is that right?
I'm curious how far down the leg the shaping for the crest rail goes, and how you came to decide that length.


PVA (regular titebond).Great stuff nick. Those joints look spot on.
What glue are you using?
Perhaps. Certainly an option I'll consider, but think I'll be happier doing it with a trim router and do some bits by hand (eg where the rebate goes into the front legs.Looking good.
Can you assemble the front legs and side rails turn it upside down and do the rebate on the router table with a rebating cutter.
Pete
Thanks. No chance! I might try to progress one chair a bit faster than the others so we'll see how far I can get that one before Christmas.That looks great and must be really satisfying.
All finished in time for C_r_s_m_s D_n_e_ ?![]()
Thanks. Where are you with your chairs?Well done it is a serious milestone to achieve.
That's why I wondered whether you might have used hide glue.......long open time, repairable, and flexible enough to not give that cracking noise.PVA (regular titebond).
The guys at Edward Barnsley advised against gluing chairs up with UF resin because you can get cracking noises when stressing the joints because the glue is so brittle.
However, attempting to glue up the whole of the chair back in one go with PVA seemed impossible to me (16 joints!).
My strategy was to glue the bars into the seat rail and then clamp everything up to make sure they're in the right position. I then dismantled it and glued the bars into the top rail, again assembling everything else dry. Finally, I glued the legs on.
It seemed to work well.
I dare say that would be a good option. I haven't used it very much before so decided to stick with the devil I know!That's why I wondered whether you might have used hide glue.......long open time, repairable, and flexible enough to not give that cracking noise.
It makes senseThe late and very great Alan Peters also advised not to use a UF resin glue (ie one that sets 'glass hard') Instead he always advocated PVA simply because there's a certain amount of 'flex' in the hardened glue - Rob
That is a long story but in a nutshell I have not been near my chairs since early September. I might get back this week if I am lucky.Thanks. Where are you with your chairs?
I would be scared about wobbling with a hand held router and leaving a gouge in the rebate, that’s why suggested a router table.Perhaps. Certainly an option I'll consider, but think I'll be happier doing it with a trim router and do some bits by hand (eg where the rebate goes into the front legs.
I'd actually like to do it all by hand but the rebates aren't straight so it would be difficult. I couldn't just use a rebate plane for example.
UF is the right glue for laminating as for that application, you do need somat that goes off 'glass hard' but for jointing legs etc to the frame then PVA is your 'go to' adhesive - RobIt makes sense
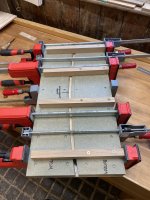
I am using UF for laminating the back bars but that's a different scenario altogether. If anything, that's taking too long to harden off because in current temperatures I can only glue up one bar a day!
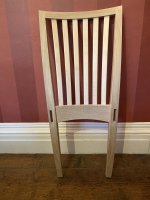
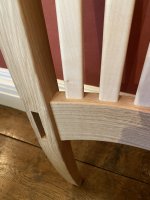
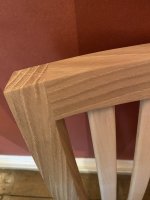
That's looking absolutely lovely Nick. Top job. I don't think I'd ever be tempted by the idea of making chairs (too much repetition for me!) but seeing yours come together is quite inspiring. I'd forgotten the original design intent so, while I'd been enjoying reading the process of you making the bits for the chairs, I hadn't really known what they were going to look like when they came together. Seeing the back together has really shown what beautiful chairs they're going to be.Quick update...
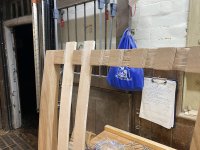
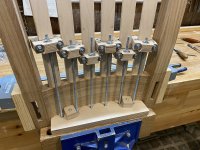
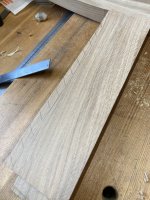
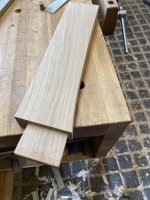
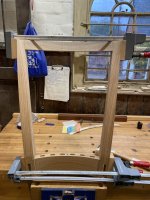
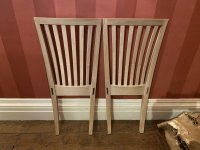
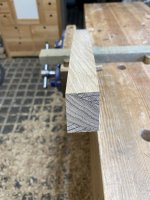
I've glued up one of the chair backs. There are a lot of steps to get to this point (mainly related to fitting the back bars) which I'll try to cover in separate posts at some point, but this feels like a milestone so I thought I'd share a few pictures!
View attachment 36587
View attachment 36588
View attachment 36589
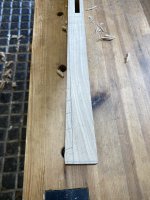
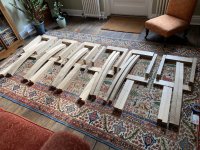
The current state of play is that I've got another chair which isn't too far from this point (maybe a day's work) and back bars glued up (but not shaped) for another two. I've got a dozen more back bars to make.
I might also start looking again at the front end of the chair and the side rails in parallel with working on the backs. The main job on those is making the rebate for the seat base to sit in and I need to think about how to do that (some kind of router template - not my favourite tool if I'm honest). There is no rebate for the back of the seat as that will be supported by the corner braces.
Thanks! You could always make one chair...I don't think I'd ever be tempted by the idea of making chairs (too much repetition for me!) but seeing yours come together is quite inspiring.
One day maybe....Thanks! You could always make one chair...