Been a while since I posted on this thread. To be honest I have been on a bit of a low on the workshop build recently, its becoming a bit of a slog and the fact I was shipping water did not improve my mood. But that kind man Rob came over yesterday and I am now feeling a lot better disposed to the workshop.
First, I think I left it owing you a final photo of the soffits in place

Despite finding it a slog I have still been working away on getting the cladding up. So I got some battens up on the studs under the breather membrane. This picture reveals a problem I will come back to later.

Once the battens were up I quickly opened a trade account at a local fencing supplier who were then able to beat all the general builders' merchants' prices and went off to buy 300m of 150mm feather edge. Whilst I can't usually give any useful tips, here is one I can, 300m of 15mm featheredge is too much weight for a Grand Cherokee's roof bars
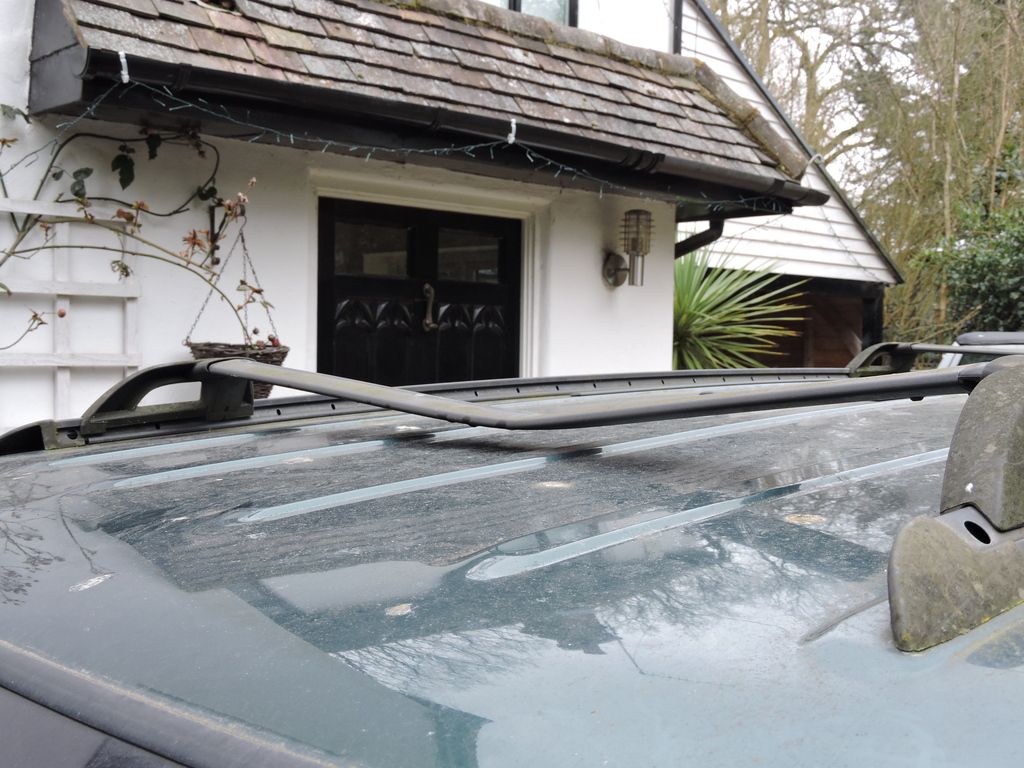
No matter it I just an old work horse that I am keeping until it dies.
Then it was on to cladding. As I was doing this on my own most of the time I cam up with a little jig to help me get the boards up, very much based on Mike's. I didn't like the idea of nailing it into the last board up so I managed to use a combination of hands, mouth (to hold nails), knees and belly to keep everything in place and get the nails in the boards. Not pretty but it pretty effective.

So plenty of boards went up around three sides. The back will have to wait until the point the fence comes down as otherwise it will be a complete PITA to get to with long boards.
I plan to have a corner detail which I am going to make out of 22mm thick gravel boards, but the ones I bought were so wet I need to let them dry out. It would have been ideal to have this up first and then fit the boards to it, instead I mocked up a corner piece and used that to try and line the boards up to. On the first corner I could clamp it, but after that I just fixed it with a screw. Not perfect but better than nothing.

But, despite the fix on the leaking side I mentioned previously (adding another piece of membrane to bridge the join between frame and block wall) I still had a leak, smaller but still a problem. It has been surprisingly dry here so it has been hard to test, when it did rain I was at work so I had to rely on quizzing SWMBO on what she could see.

Apologies for picture quality but it was taken on SWMBO's phone so she could text it to me in the office.
Yesterday I began investigating and it looked very much as though it was finding its way in under the hatch through the join between frame and block wall, with the corners particular issue and the wood on the inside still damp and a few drips of water still present.


There was no membrane to lap under here so a different solution was required. At this point Rob came over and we came up with a plan (well Rob came up with a plan and I nodded). The chosen solution involved some plastic window trim, a ripped piece of wood and a lot of sealant. The result is a lot more watertight than it was before.


After this picture the strip of wood Rob ripped down was added as a drip rail to the underside of the hatch frame, but afraid I forgot to take a picture of that.
It has rained a fair bit here today, enough to keep me inside and at the moment not a drop of water in the workshop, so I think this may have worked. May not be able to see from the pictures but the wood on the inside of the corners is noticeably drier today than yesterday.

I mentioned another problem I had made for myself. Rob pointed out that by pinning my EPDM under my battens if I could not achieve a perfect seal where the facia met the roof I would just be channelling water behind my featheredge cladding. Sadly nothing I do is perfect so I needed a bit of rework. Where necessary we un-nailed the battens where the nail went through the EPDM and then pulled the EPDM out from under the battens. Quick to type, longer to do. I used ring shank nails for the battens and whilst I could prise the batten off the joist behind it the nail was well bedded into the batten. The battens would snap if we tried to leaver it off enough to get the nail clear and with most of the cladding in place that would have been a disaster. So we had to prise the batten off as far as safe and then slip a hacksaw behind it and cut the nails. Time consuming, but we got there in the end.
The idea was to then extend the roof deck beyond the cladding by fixing left over 4x2 to the top edge of the wall. First I added horizontal strips of batten so when the 4x2 was fixed to the upright battens it would not leave a section of unsupported EPDM at the edge.

Then it was up with the 4x2s. Rob had to take a break for a family errand, so for the first side I bodge another little helper by making a shelf that I screwed to the wall. This meant I could hold one end of the 4x2 up while I fixed the other.

Rob was back in time to help with the second side. After this we worked more on getting the cladding up under the overhanging EPDM and ended the day like this.

As you an see now the EPDM comes over the extra 4x2 it overhangs the cladding. A facia will be added shortly to make it neater. The cladding now also goes well up behind where the facia will end, o any water would have to travel a long way up hill to get behind the cladding.
Hopefully things are back on track now!
Terry.


