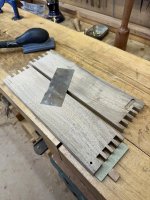
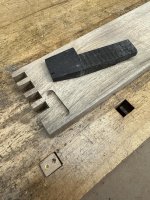
The first thing are the narrow housings for the 3mm wide ply slots used in the shelf jointing. The small de Walt router is set to a doc of 4mm using a brass gauge block; I never now use the thingie on the machine as this way is much simpler and more accurate:

I've got two matched lh and rh ply fences the router will run against:

...and with the job firmly secured to the assembly table, the first one was cut:

...so then it was simply a matter of joggling along the various cramps and fences until they were all done:

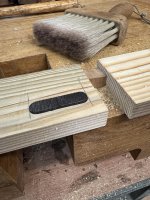
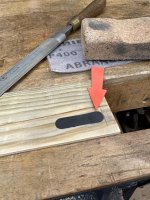
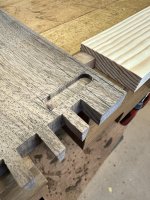
The next job was to machine the slot for the JK door catch. The big danger with machining a small bit of wood with a large router is the dreaded 'drop off' where there's insufficient support and it drops as the cut's finished; to be avoided at all costs. The way I get round it is to use a couple of gash bits of pine either side but also dead level with the end of the job, which enables the router fence to run true and not wander:

Once the doc on the big router has been set to 4mm, it's easy then to machine the 10mm wide recess:
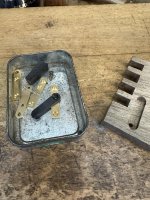
The Brusso hinges arrived from the postie this morning, so were unpacked and lobbed into the aforementioned 'baccy tin in the bench well. The supplied screws are always too long for my needs and are always replaced with proper slotted brass cs ones:

Eventually the tin will get chocca with all sorts of little odd n'sods and if they're kept in a 'baccy tin there's a better than even chance they won't go walkabout or even get lost on the floor with all the other accumulated detritus. My suggestion is that if you haven't got 'baccy tins (or similar) for this sort of application, then get some :lol:
The big Festool router was set to the thickness of a hinge:

It's absolutely critical that the hinge is set precisely to the right depth as the little 'washer' on the pivot pin determines the eventual shadow gap for the door and the thickness of the 'washer' is less than a mm :shock:
I always do a couple of trial runs to get the depth:
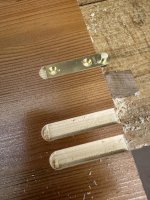
The first two were a fraction too deep, but the last one was spot on. Next was the machining of the two actual slots for the hinges, one on the top and one on the bottom. The set up is similar to the one shown above, but this time to stop the router 'drop off' I've used the other piece of wood, rather than something gash:

...and 'cos they're both in line, I'm able to do one cut, passing from the first bit, across the gap and then machining the second bit:
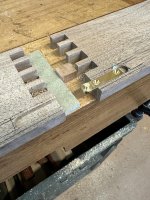
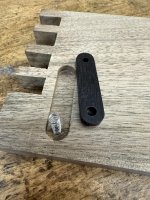
The last little bit to do is some chisel work to square out the round corners; this actually isn't too crucial as it can be adjusted '
in situ' when the door's fitted. At this point what I was aiming for was for the centre of the pin to be in line with the end of the walnut:
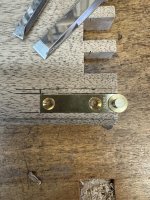
The other hinge is fitted similarly:

With all the machining done (slots, hole and housings) the next thing to do is to clean up the inside faces and polish:
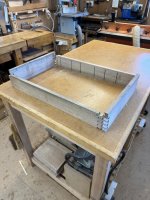
...and MikeG, if you've been following you'll now see where the door fits into the cabinet - Rob


 Door? What door? There's no door on your drawing, and I think we all assumed this was a set of open shelves.





 - Rob
- Rob
 :shock: from Aldermaston to the Holy Loch in Scotland. His pay and prospects are currently far better (and he gets to play with guns). Had he joined the RM he would have taken a big pay cut; downside is he didn't get his green beret - Rob